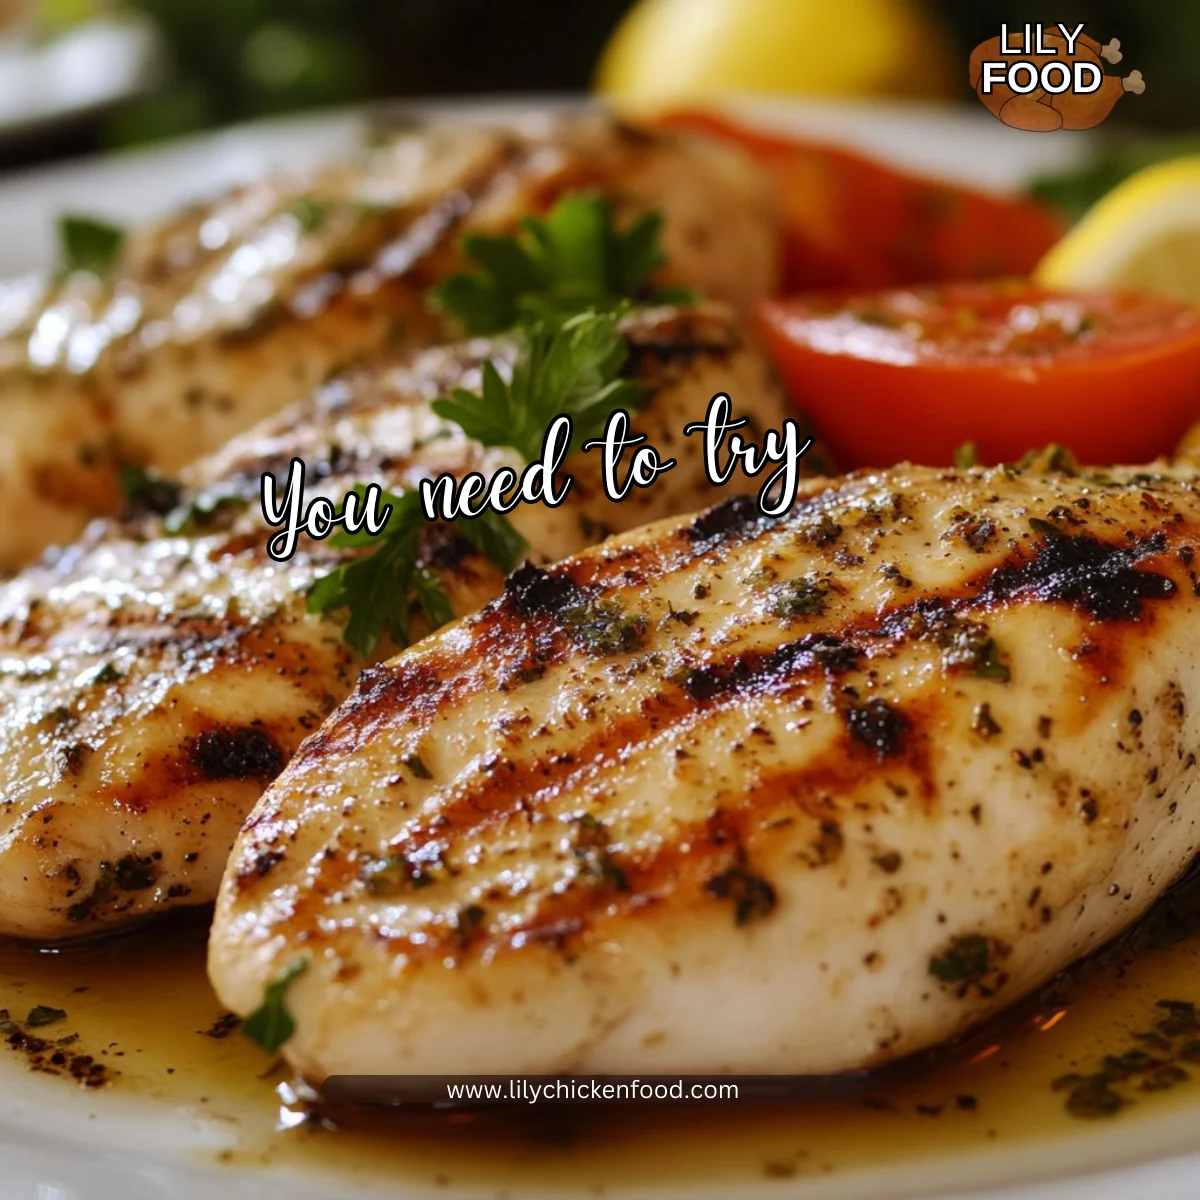
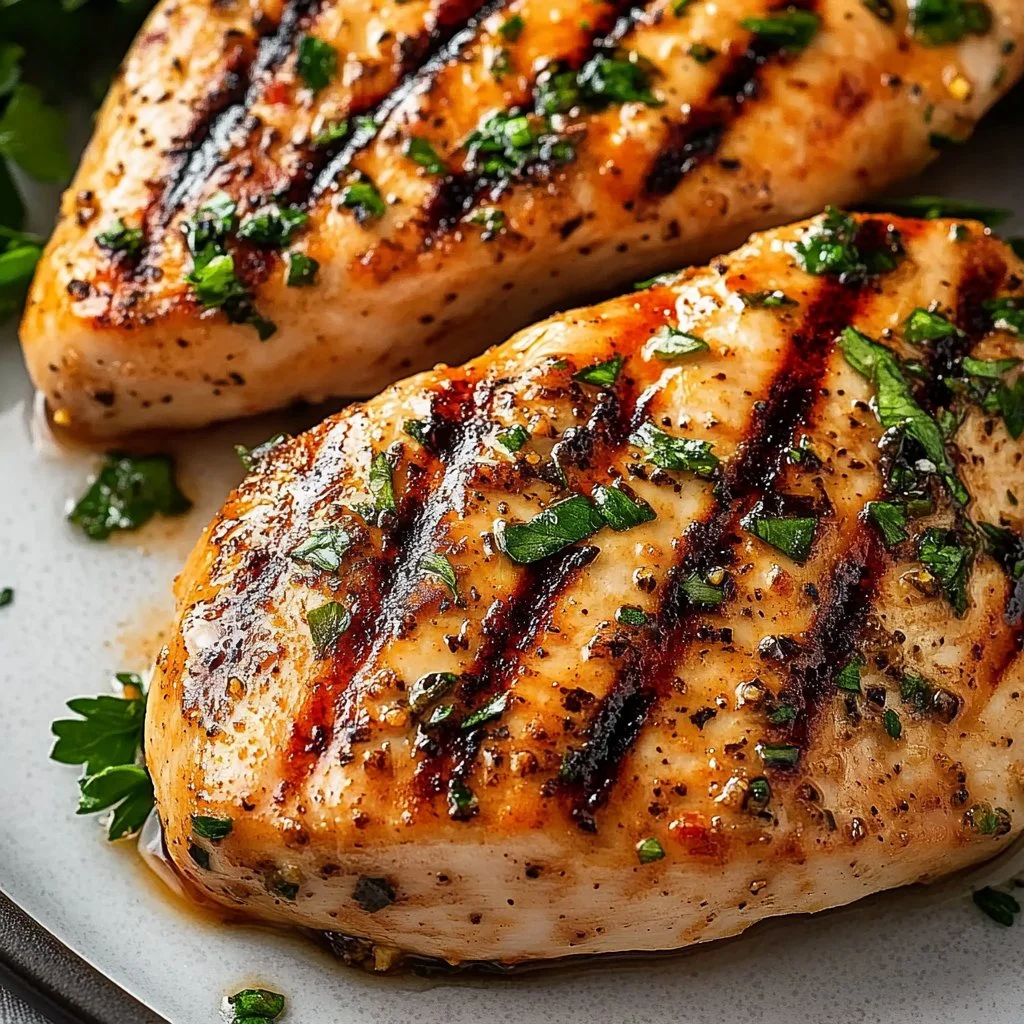
There’s something magical about the smell of grilled chicken wafting through the kitchen. As the sizzle fills the air, you can almost hear the happy chatter of family gathering around the table. This is more than just a meal; it’s a moment spent together, sharing stories and creating memories. Grilling chicken breasts is a simple yet delicious way to bring everyone together for dinner while making your kitchen smell delightful.
Why This Works
Grilled chicken breasts are a family favorite for many reasons. They are quick to prepare, perfect for busy weeknights or relaxed weekend gatherings. Not only do they cook in less time than some other protein options, but they also absorb flavors beautifully from marinades.
This recipe highlights the ease of preparation which makes it a lifesaver for parents and anyone trying to juggle a million things. You can prep the marinade, let the chicken soak up all the flavors, and enjoy the time to do something else while the grill does the work. It’s a win-win that brings both deliciousness and convenience.
Process Overview
“This is where the magic happens—when the aroma fills the kitchen.”
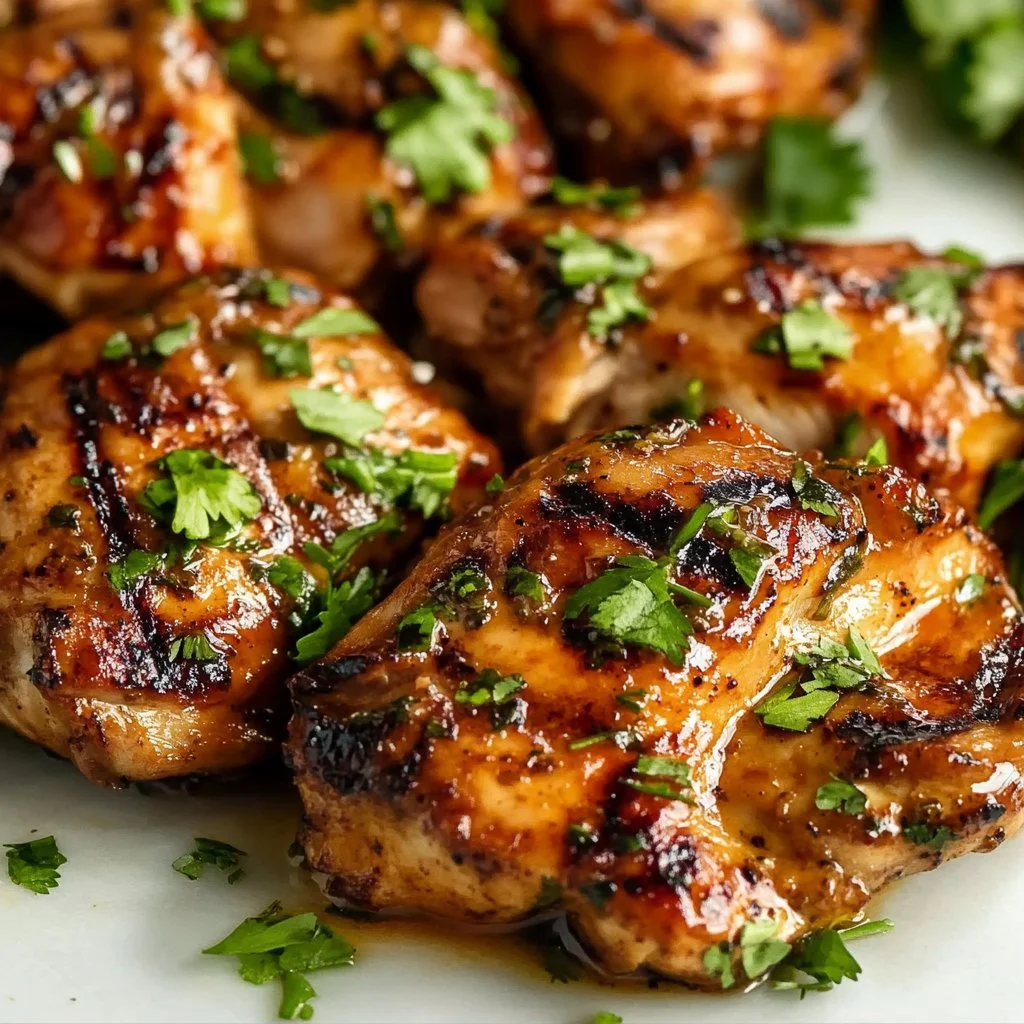
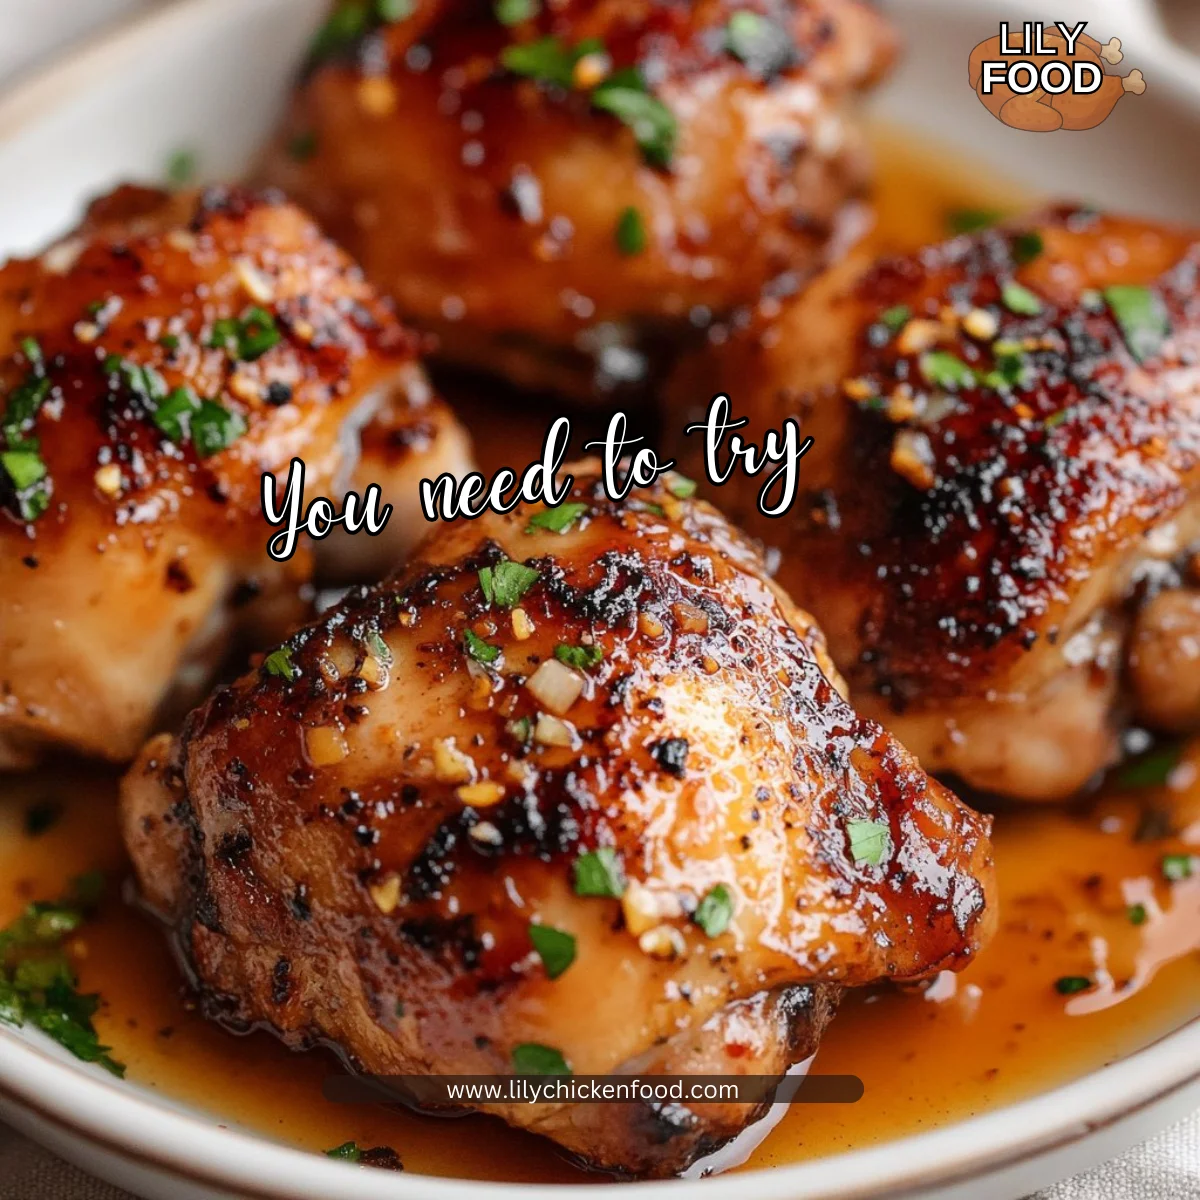
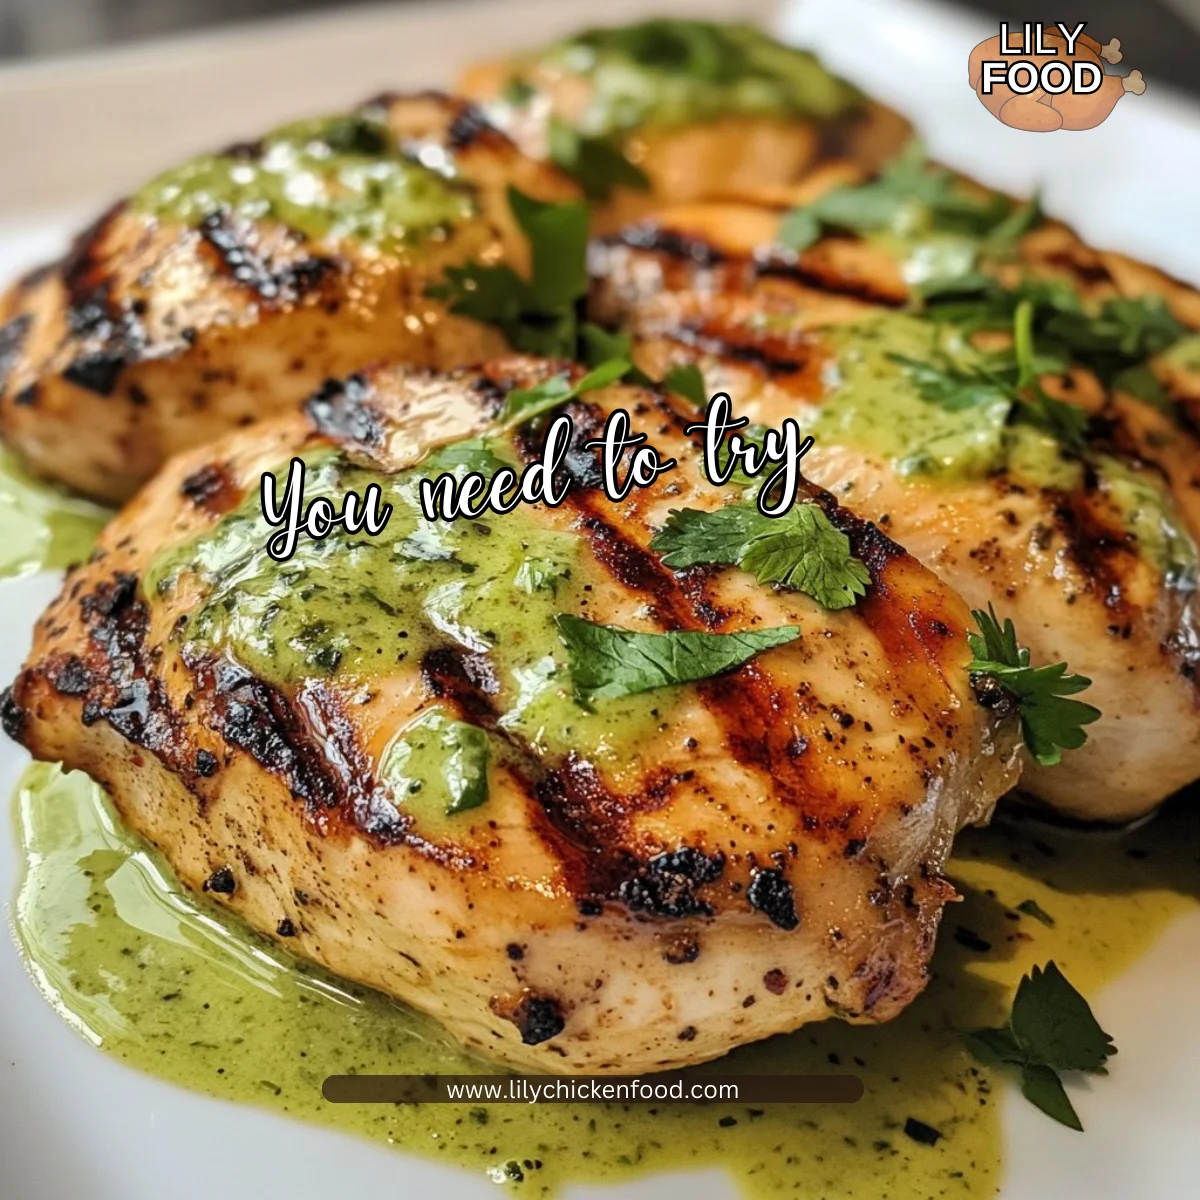
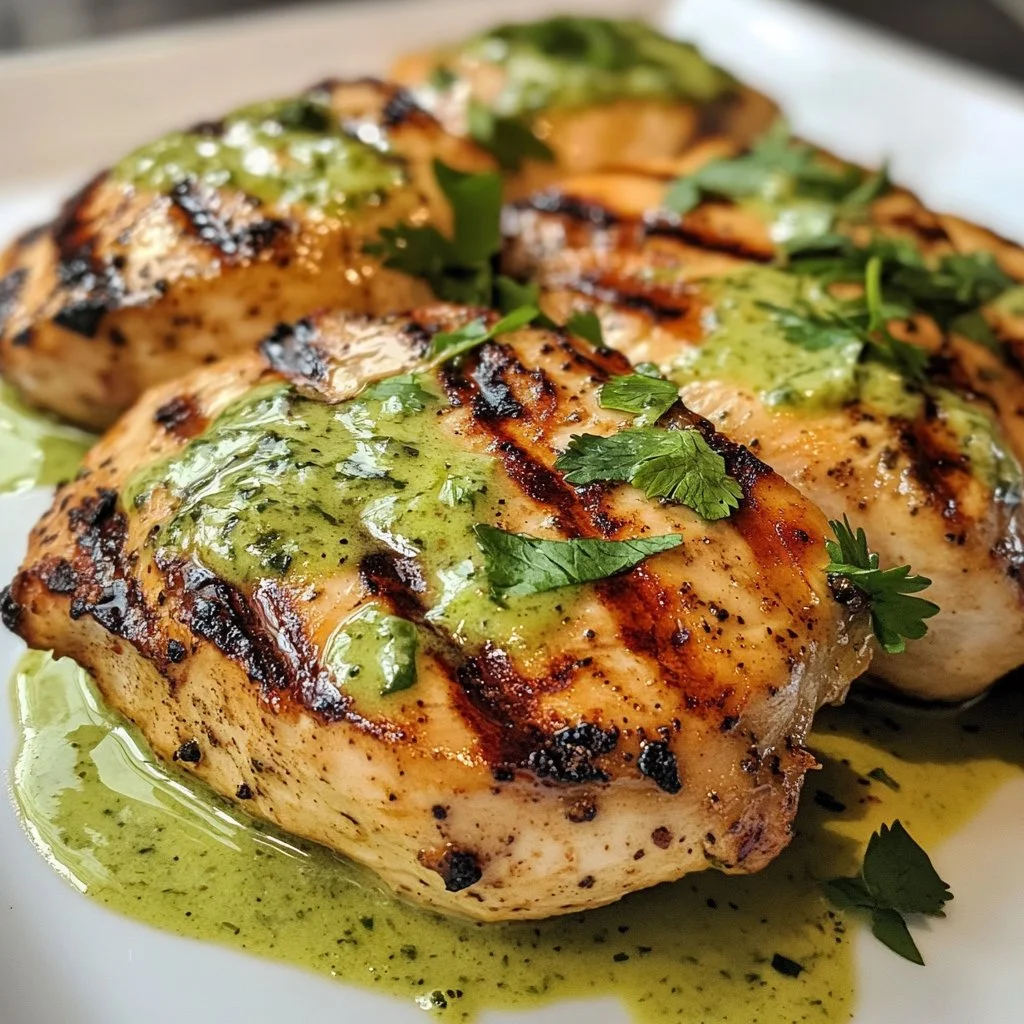
The process of making grilled chicken breast is straightforward. You will marinate the chicken, allowing it to soak in all those delicious flavors. Then, grilling it for just the right amount of time will give you juicy, tender chicken that your family will love. It’s easy, and when you follow these steps, you’ll see just how rewarding it can be.
Ingredients
To make the best grilled chicken breast, you will need the following ingredients:
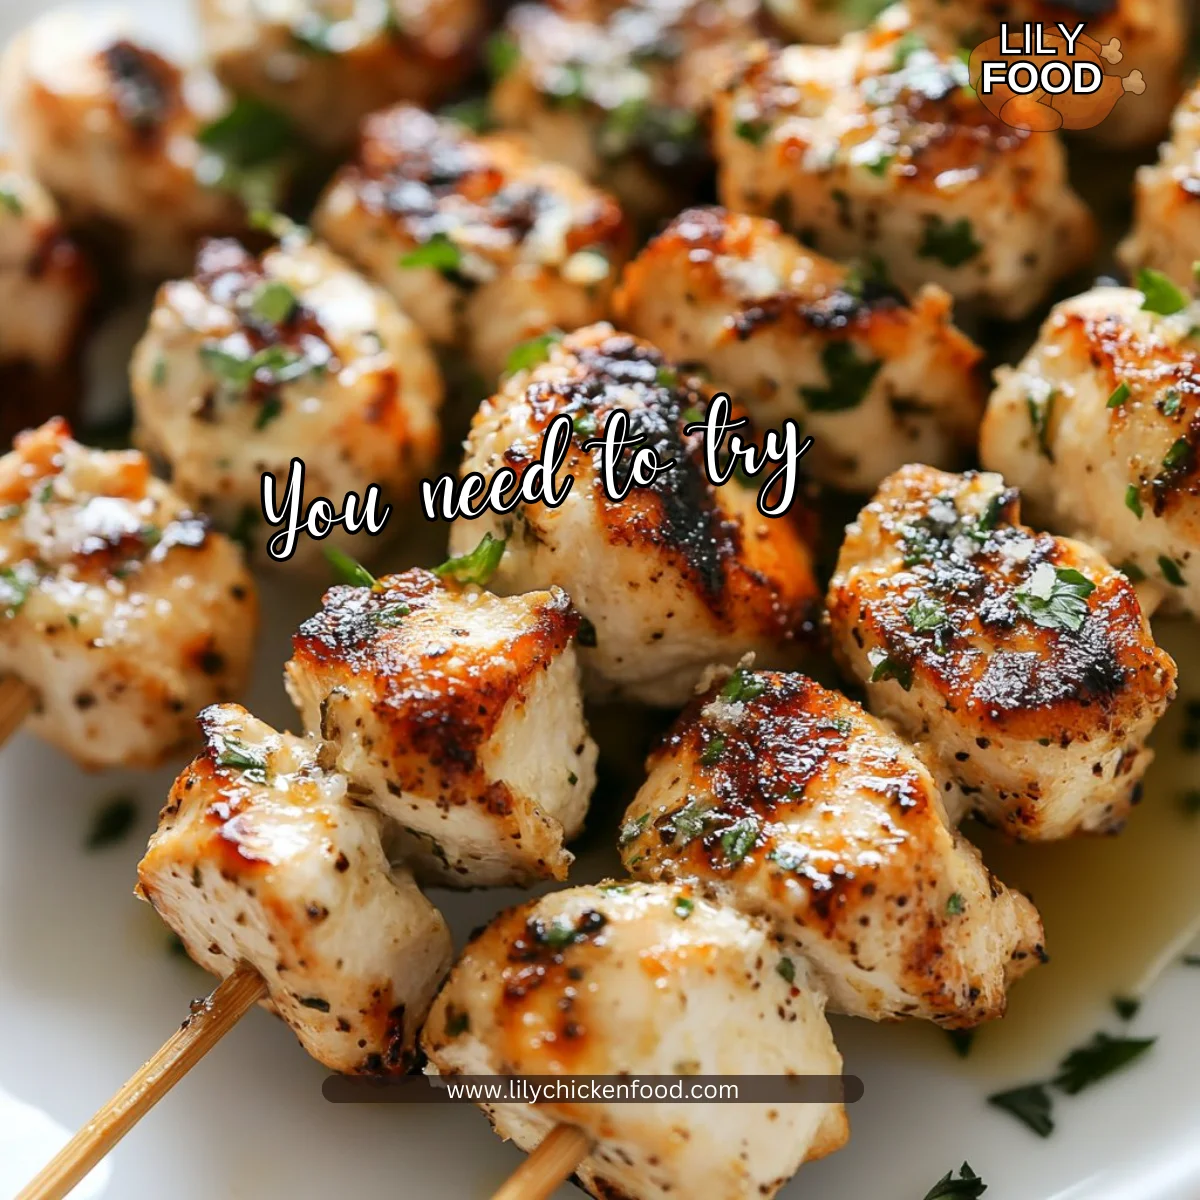
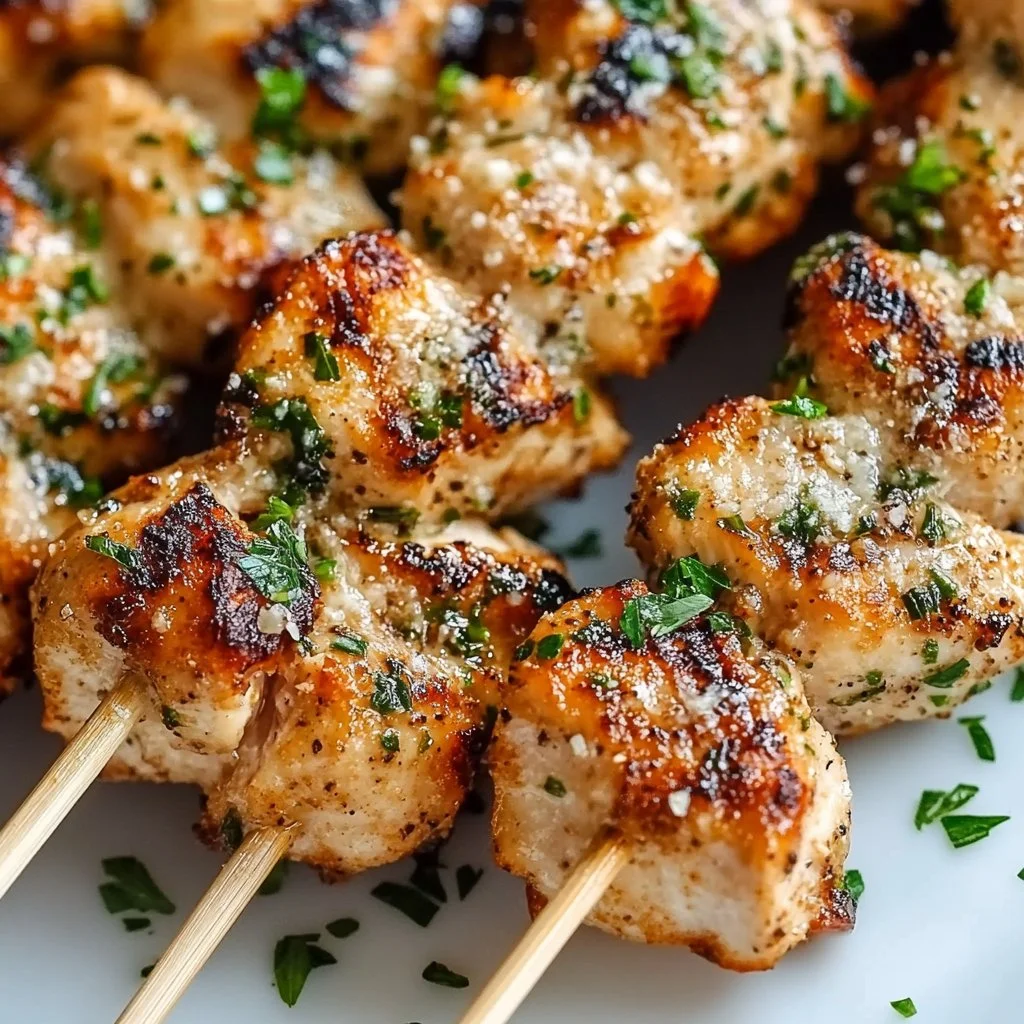
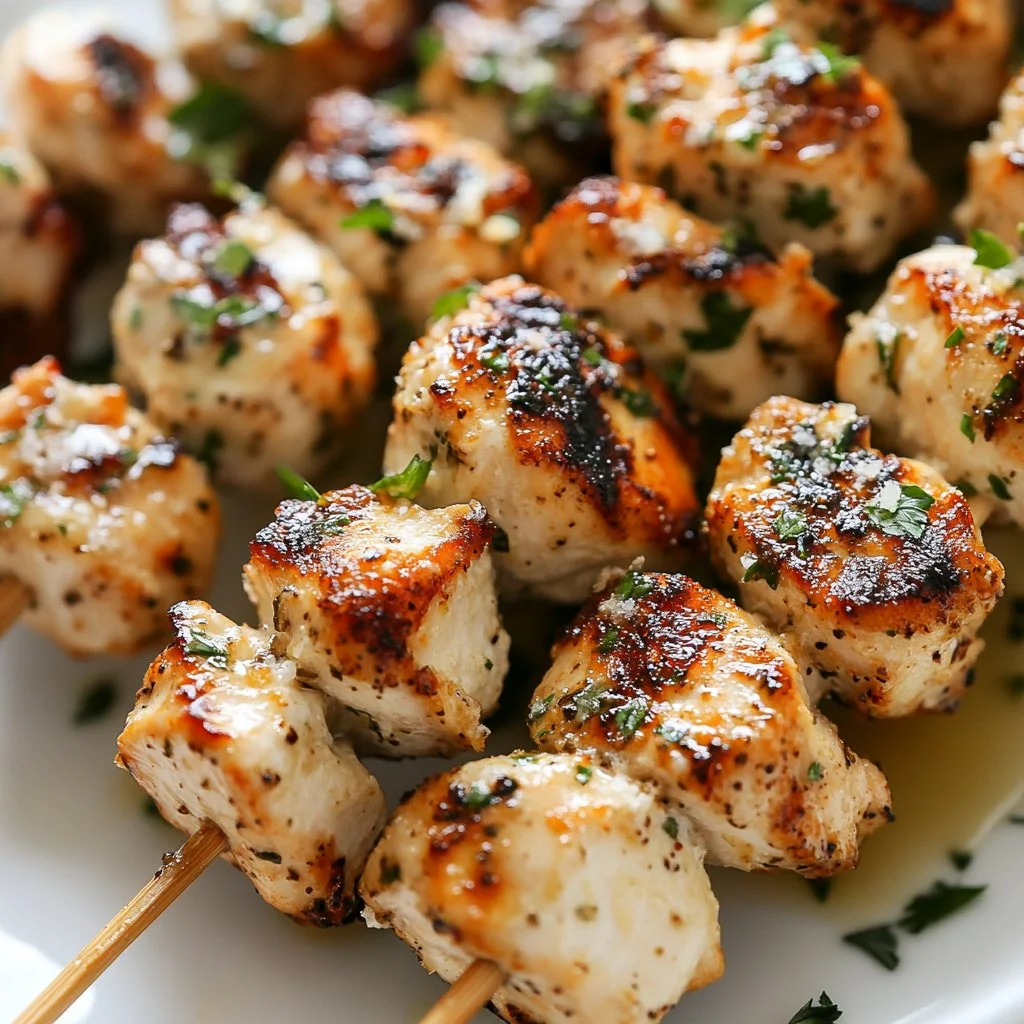
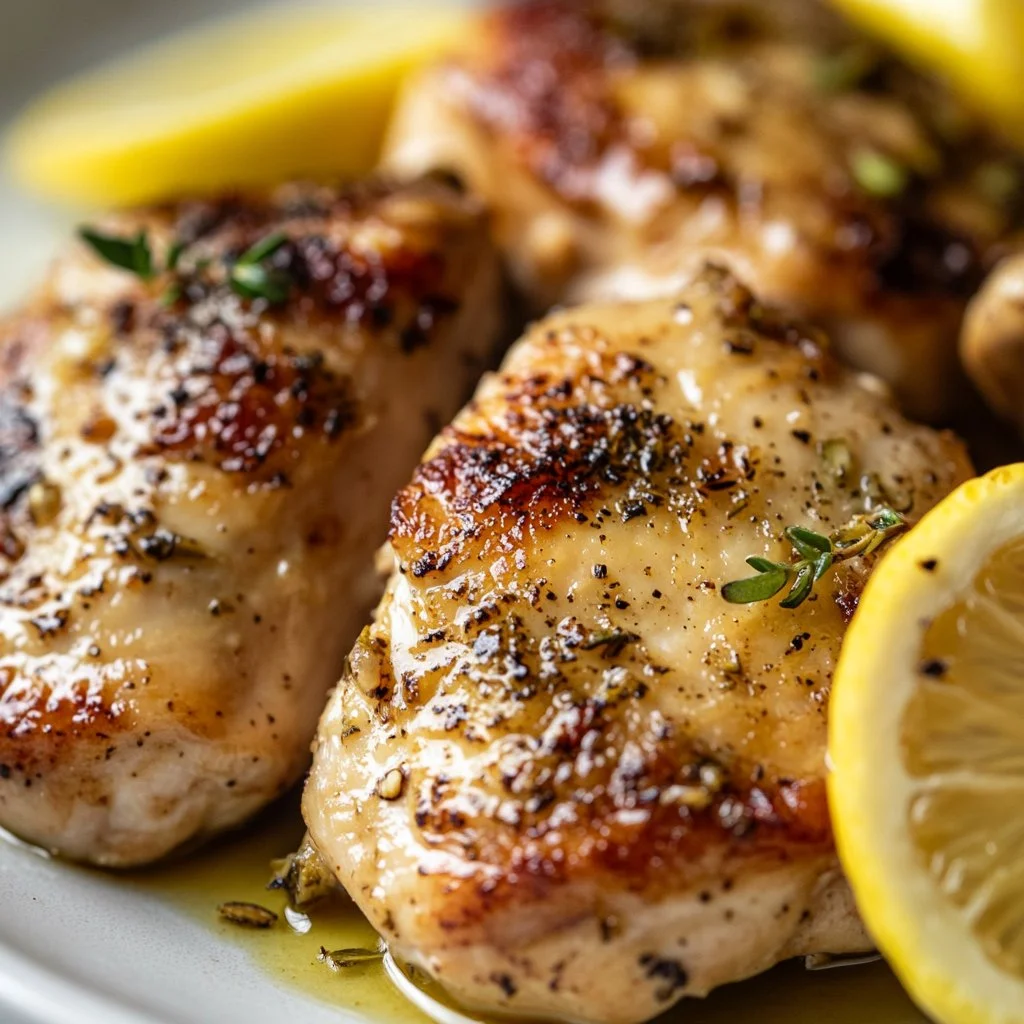
- 4 boneless, skinless chicken breasts
- 1/4 cup olive oil
- 2 tablespoons lemon juice
- 2 cloves garlic, minced
- 1 teaspoon dried oregano
- 1 teaspoon salt
- 1/2 teaspoon black pepper
Here are some personal tips from my kitchen to yours:
- Chicken Breasts: Look for chicken that’s free-range or organic if you can. It often has better flavor and texture.
- Olive Oil: A good-quality extra-virgin olive oil makes a difference. It adds richness that enhances the overall taste.
- Lemon Juice: Freshly squeezed lemon juice gives the best flavor. It brightens up the marinade beautifully.
- Garlic: Don’t skip the garlic. It adds depth and a welcoming warmth that makes the dish special.
- Dried Oregano: Fresh herbs can be substituted, but dried oregano is super convenient and still packs plenty of flavor.
Directions
-
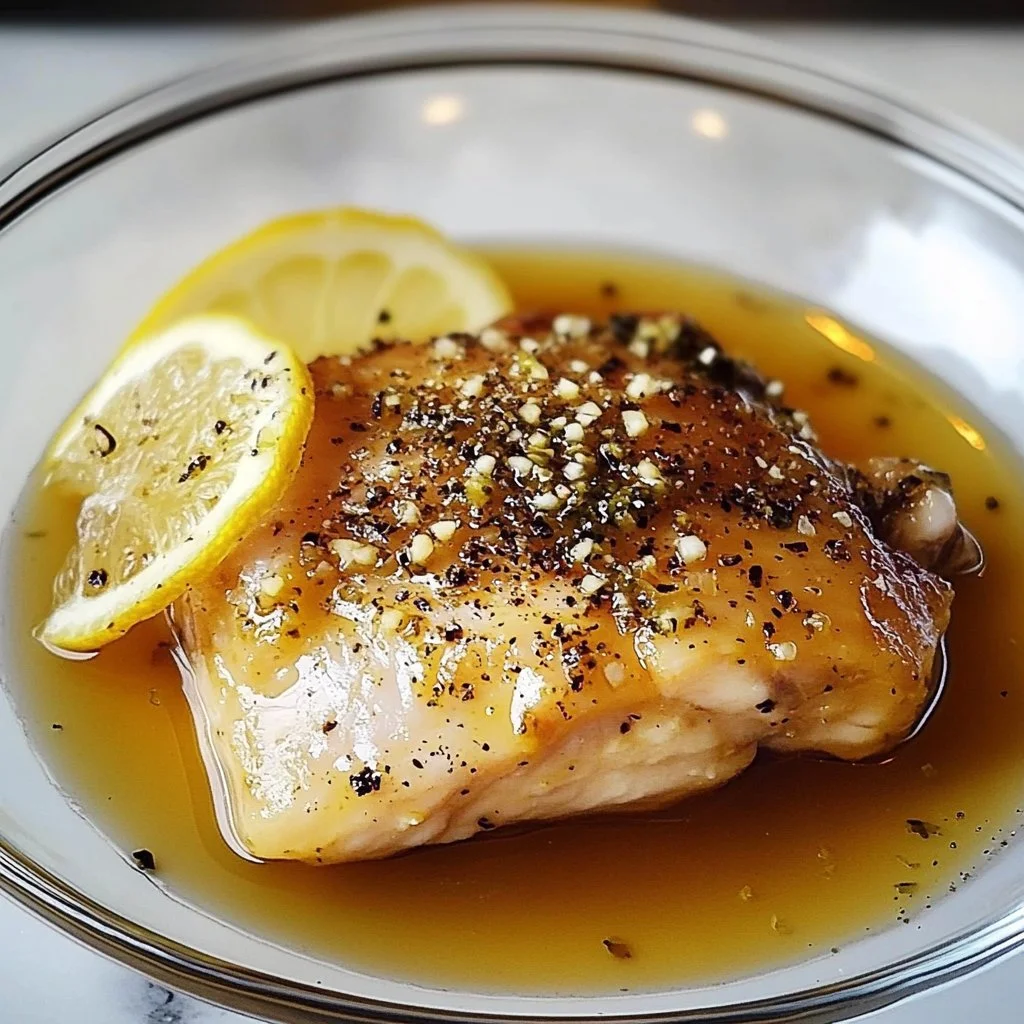
In a bowl, whisk together olive oil, lemon juice, garlic, oregano, salt, and pepper to create the marinade. Take your time with this step. The more you mix, the more your flavors blend.
-
Place chicken breasts in the marinade, ensuring they are well coated. Cover and refrigerate for at least 1 hour, or overnight for the best flavor. The longer it marinates, the more delicious the chicken will be.
-
Preheat the grill to medium-high heat. This step is crucial for achieving those perfect grill marks and an even cook.
-
Remove chicken from the marinade and discard the excess marinade. Make sure to shake off any extra liquid so your chicken can sear nicely.
-
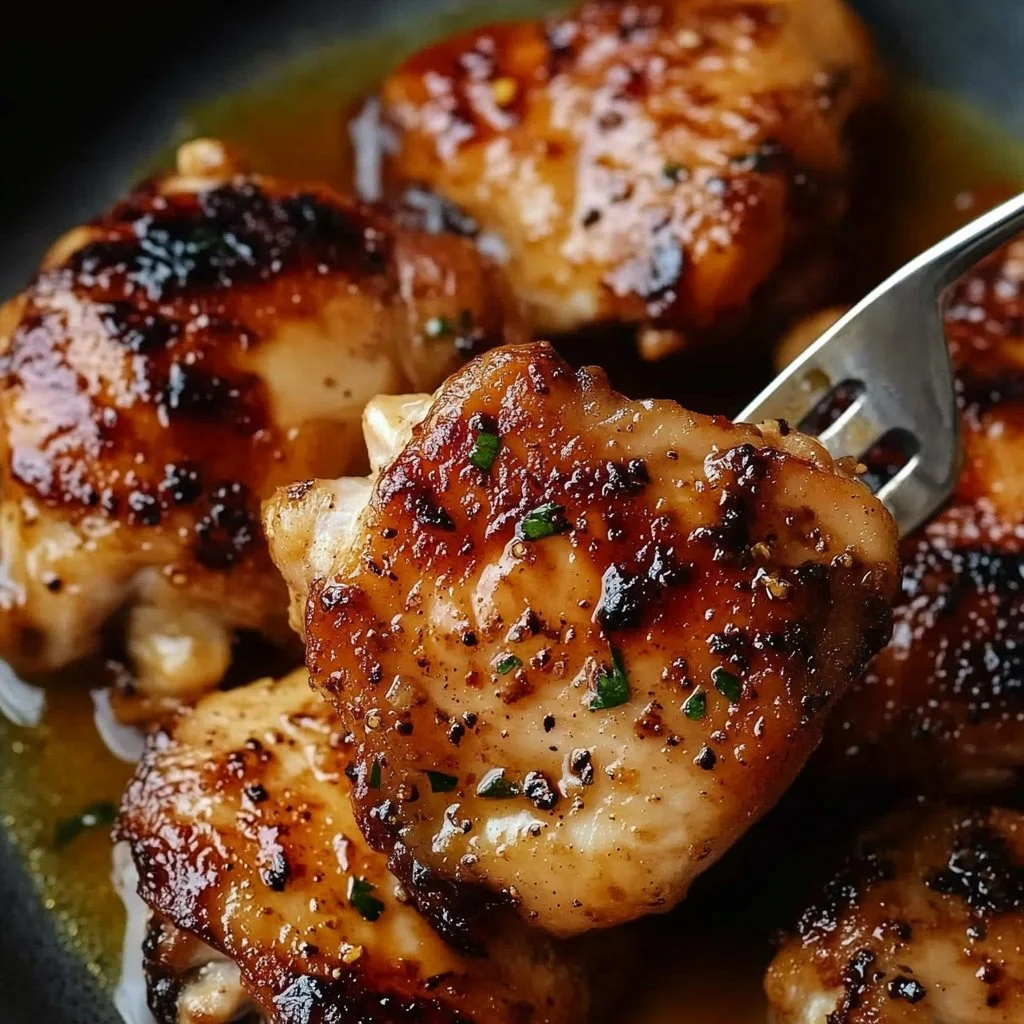
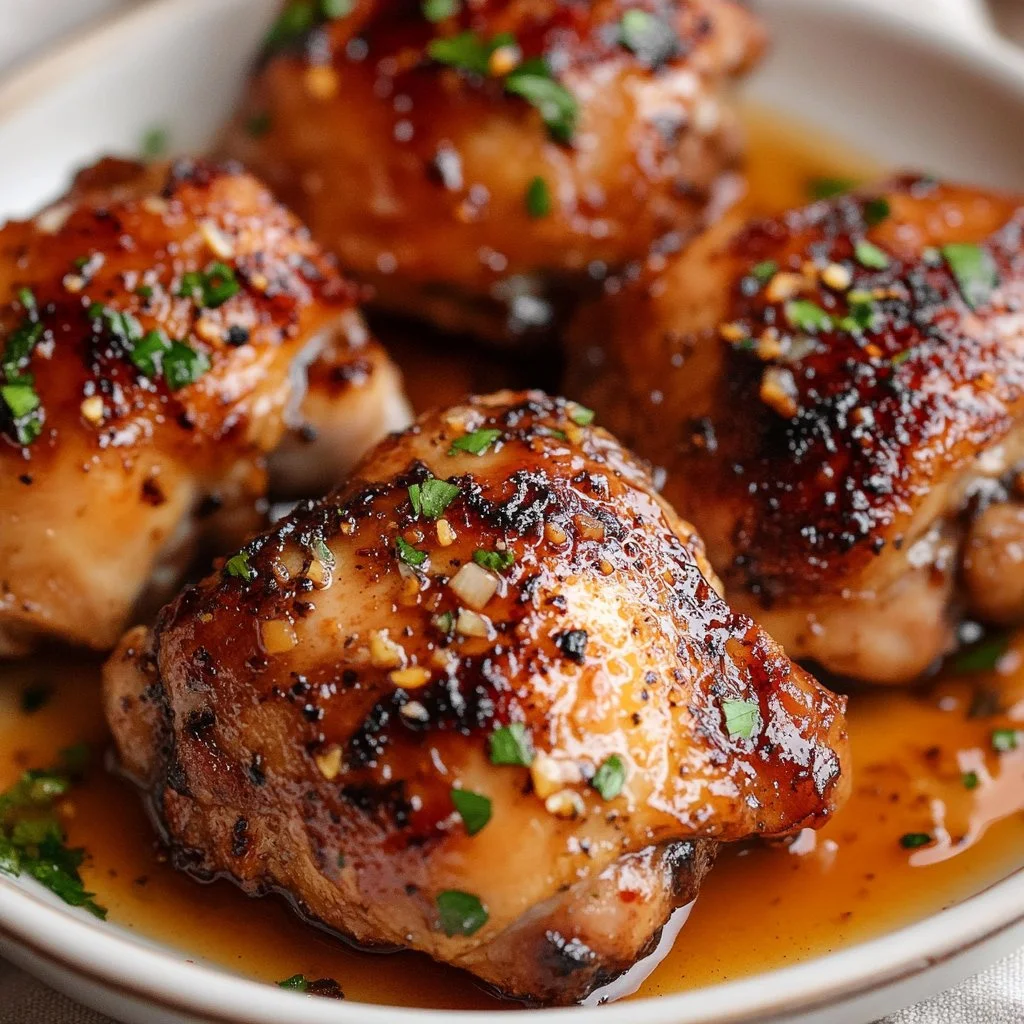
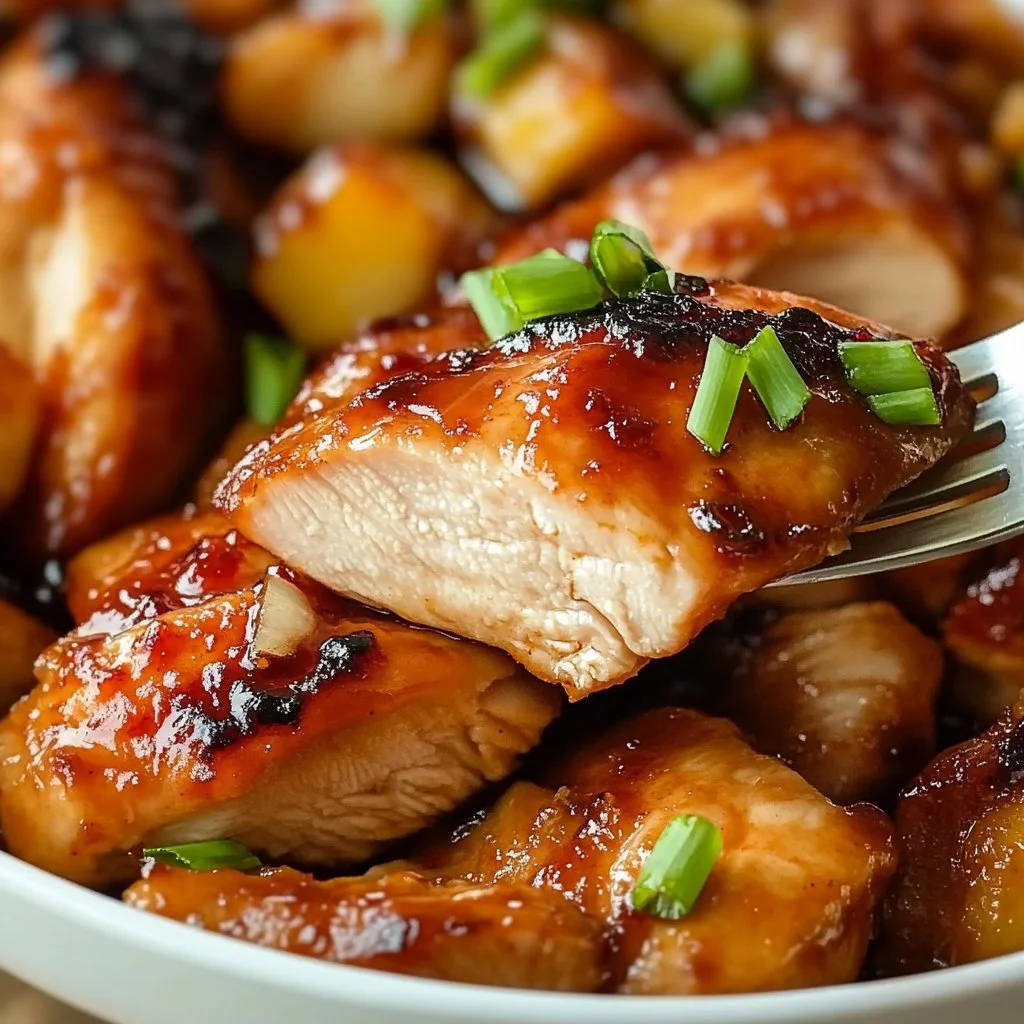
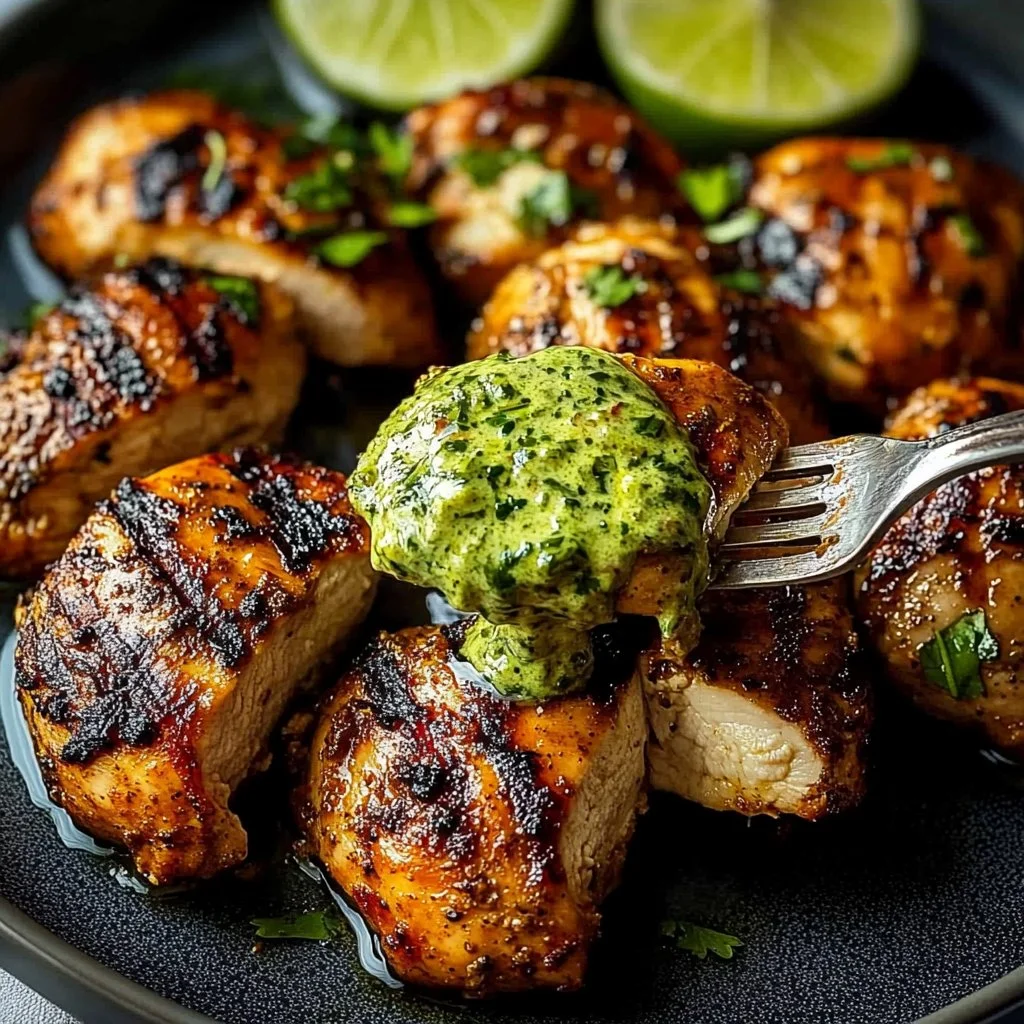
Grill the chicken for 6-7 minutes on each side, or until fully cooked and the internal temperature reaches 165°F (75°C). Use a meat thermometer to be sure—it’s a simple tool that can prevent dry chicken.
-
Let the chicken rest for a few minutes before slicing. Serving it hot allows all those juices to redistribute, keeping it tender and juicy.
Serving

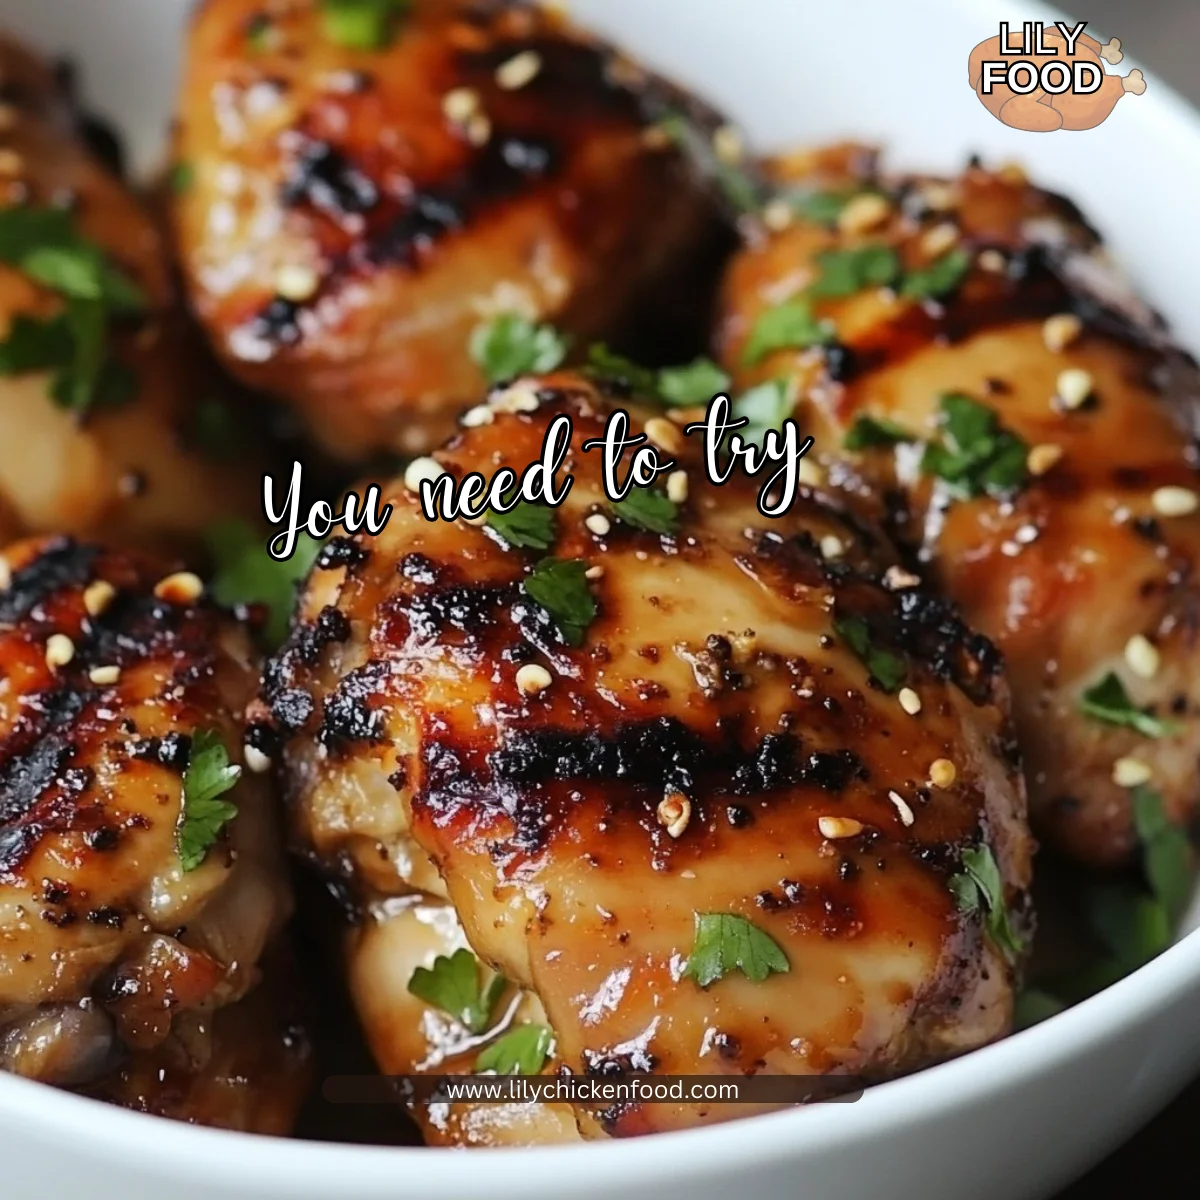
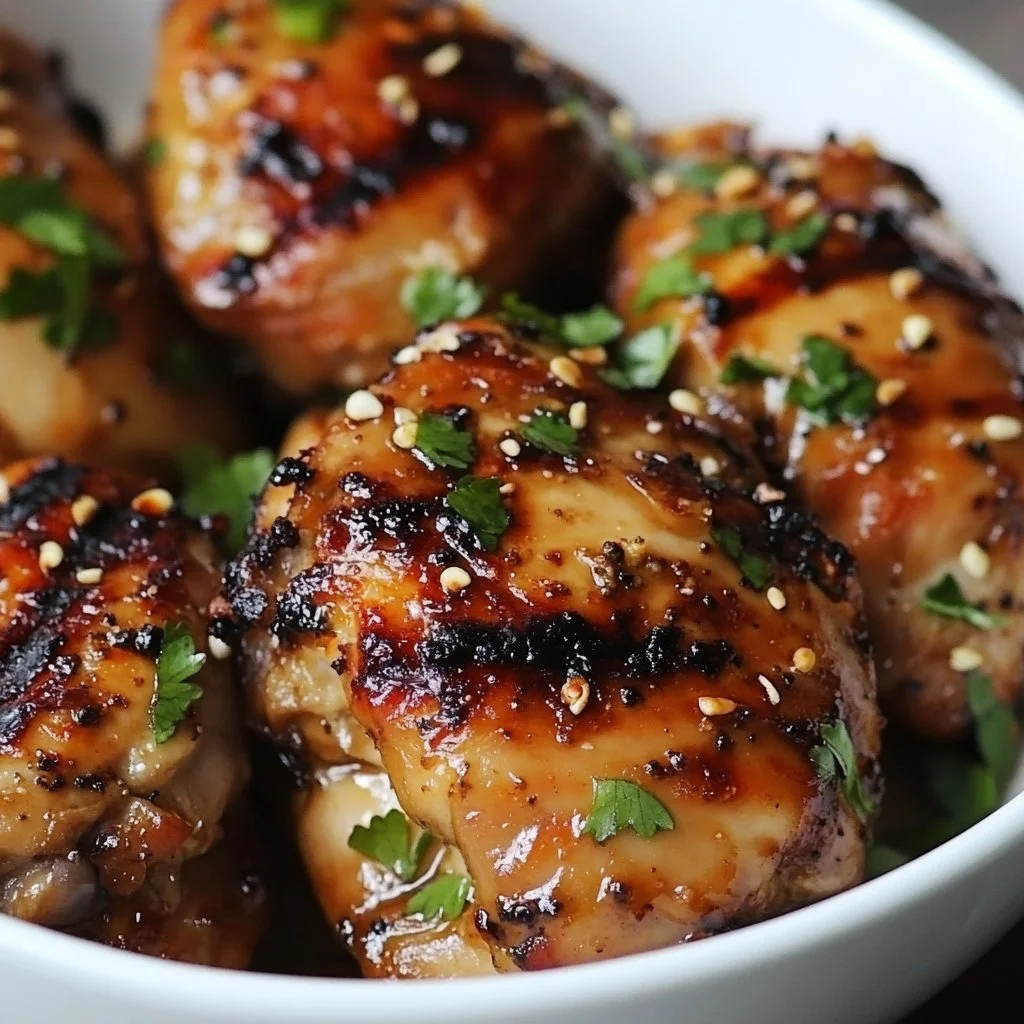
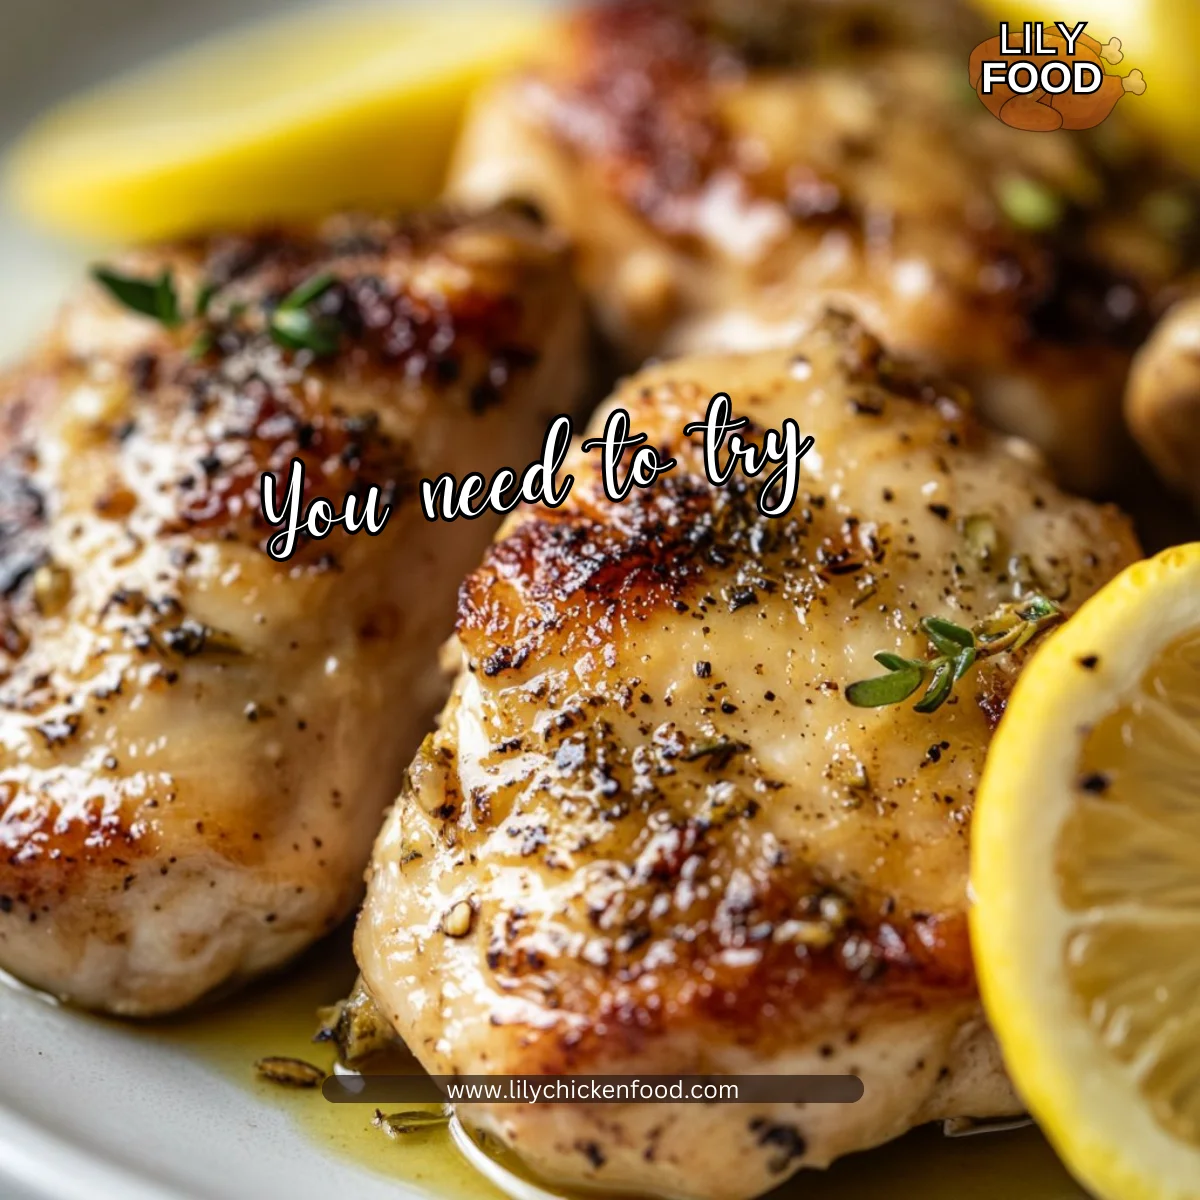
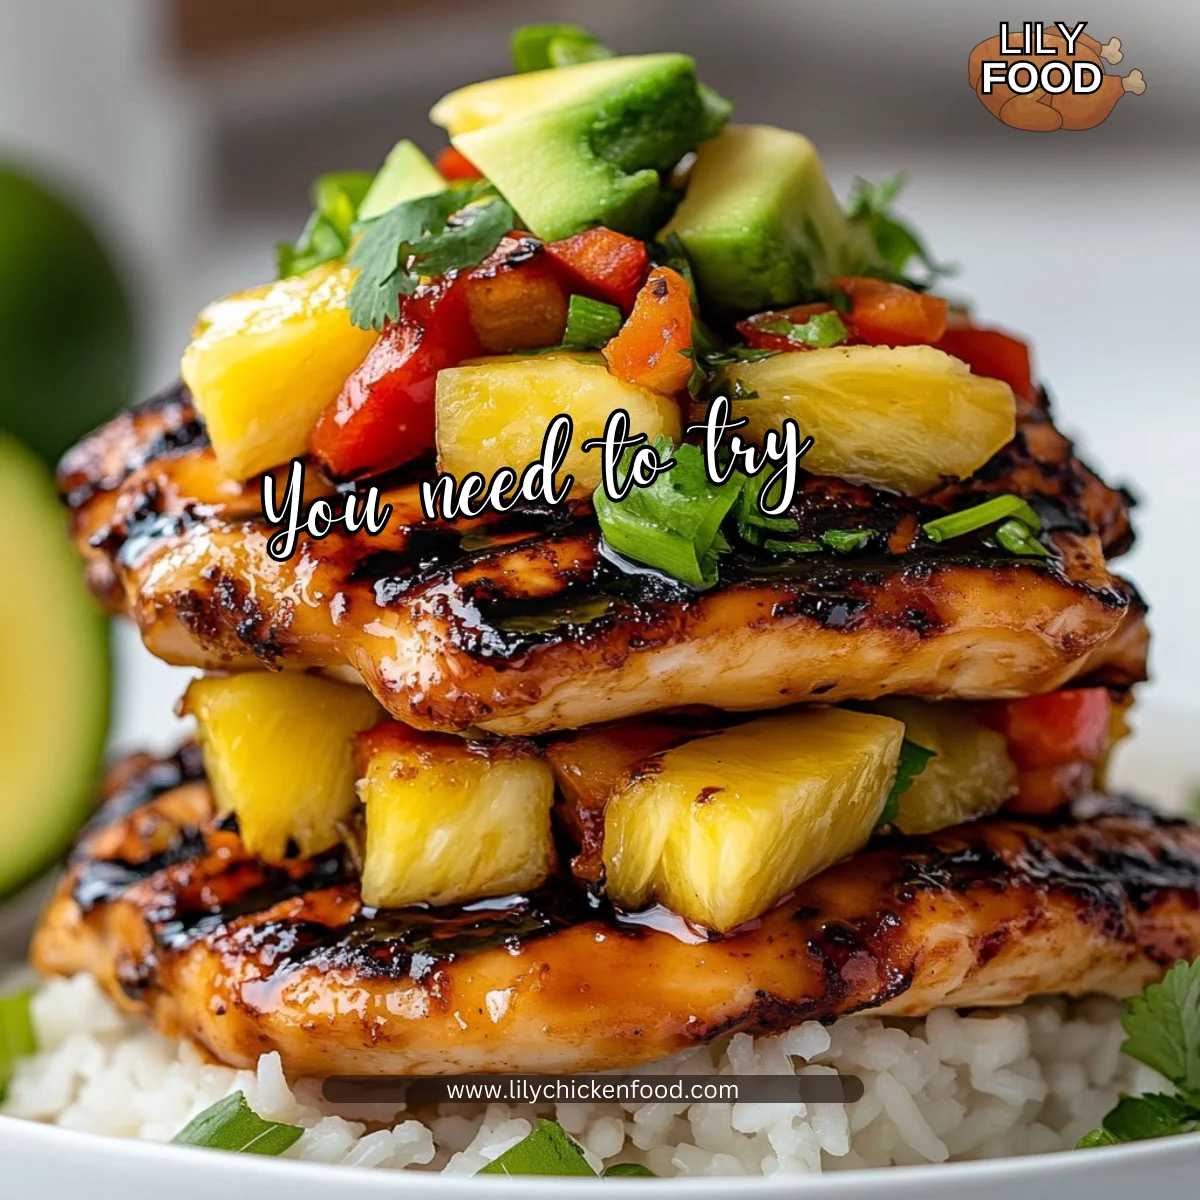
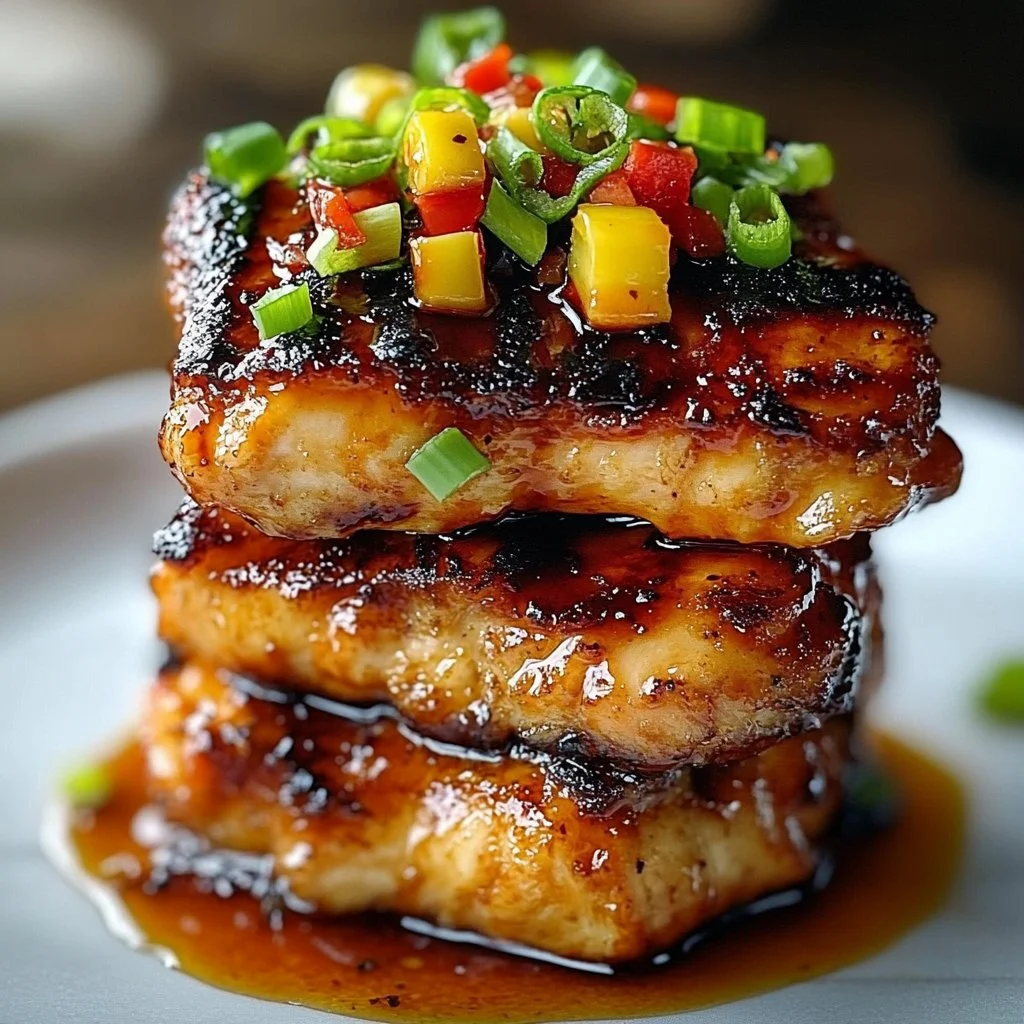
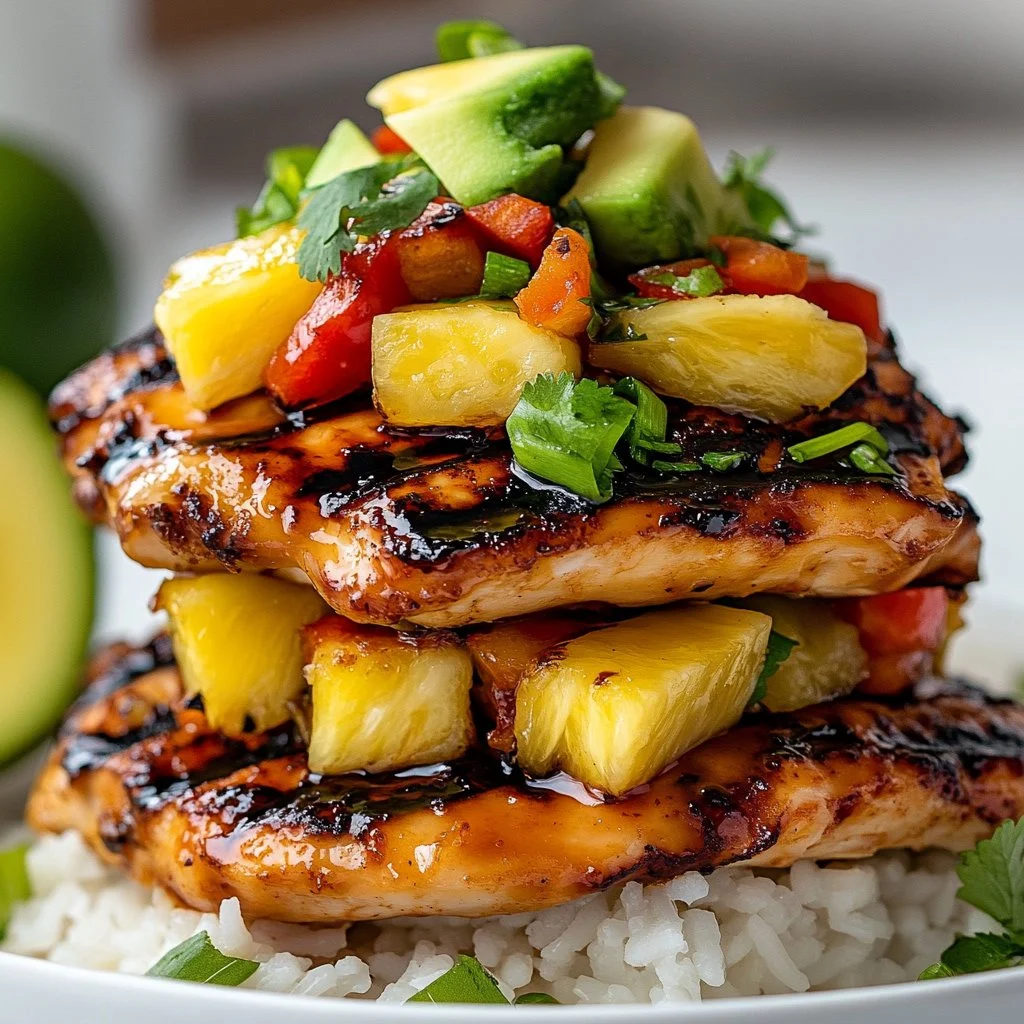
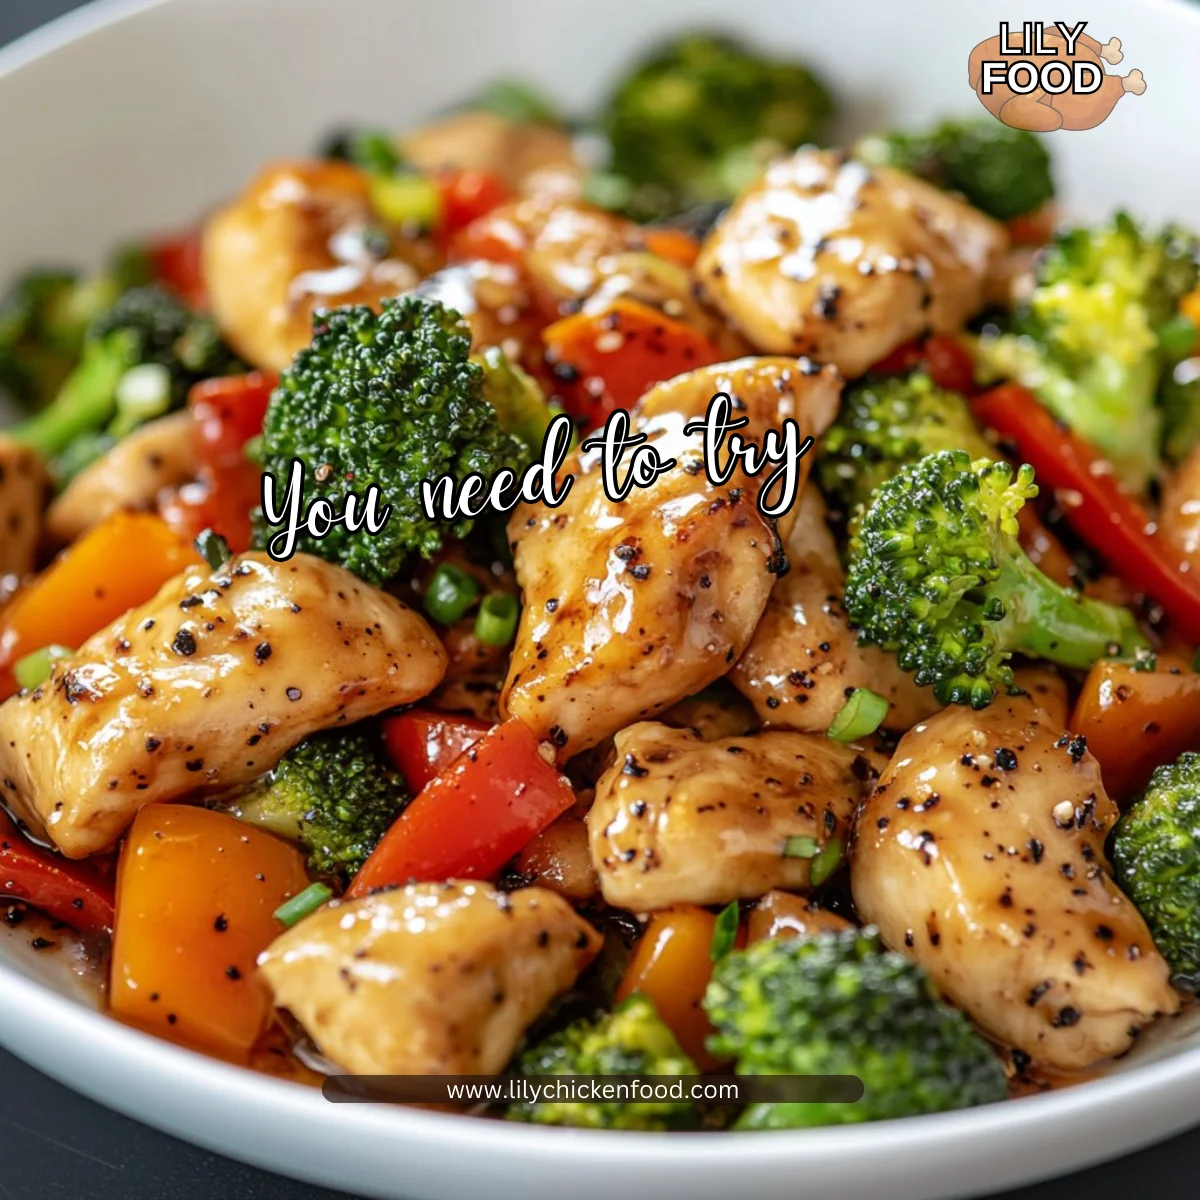
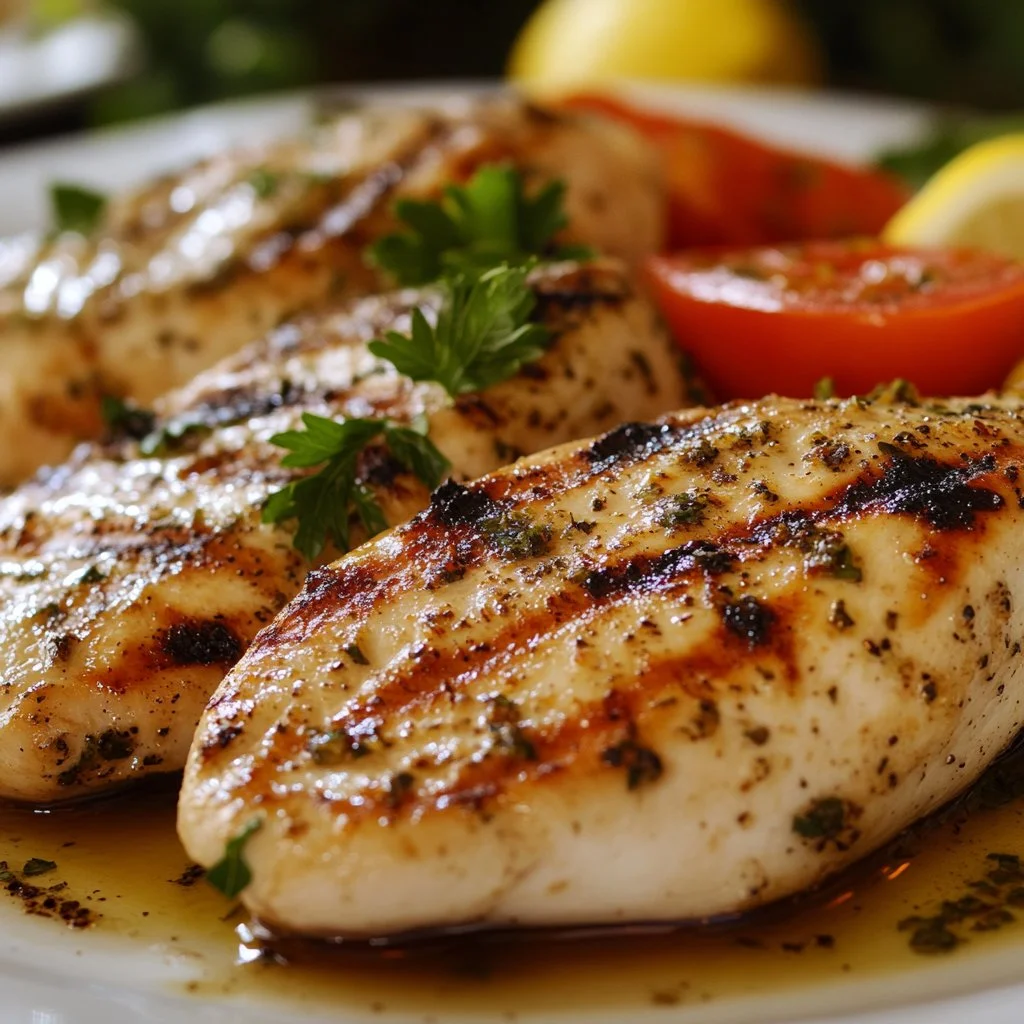
When it comes to serving grilled chicken, I recommend a family-style approach. Serve the sliced chicken on a large platter, alongside sides like grilled vegetables, a fresh garden salad, or fluffy rice.
You can also offer a few condiments, like BBQ sauce or a yogurt sauce, to give everyone a choice. Placing everything on the table encourages conversation and sharing, making mealtime more fun for everyone.
Storage
If you happen to have leftovers, don’t worry. Grilled chicken stores quite well. Place the cooled chicken in an airtight container and store it in the fridge for up to 3-4 days.
Reheat slices gently in the microwave, or chop them up and toss them into a salad or wrap for an easy lunch. It’s perfect for meal prep!
Kitchen Notes
- Keep a meat thermometer handy to check for doneness.
- If short on time, you can marinate the chicken for just 30 minutes, though more marinating time yields better flavor.
- For extra flavor, add other spices or herbs to your marinade, like thyme or paprika.
- Slice the chicken against the grain after grilling for more tender bites.
- Feel free to double the recipe for larger gatherings.
Variations
Cooking for picky eaters or different diets? Here are a few tweaks:
- Spicy: Add red pepper flakes to the marinade for a kick.
- Herb Lovers: Substitute the oregano with fresh rosemary or thyme for a different flavor profile.
- Honey Mustard: Swap half of the olive oil for honey mustard for a sweet and tangy twist.
- Vegetarian Option: Use tofu or portobello mushrooms marinated in the same mixture for a delicious plant-based alternative.
FAQ
1. How do I know when the chicken is done?
Using a meat thermometer is best. It should read 165°F (75°C) at the thickest part.
2. Can I grill chicken without a grill?
Yes, you can use a grill pan on the stove or bake in the oven. Just adjust cooking times accordingly.
3. How do I keep my chicken juicy?
Marinating is key. It imparts flavor and moisture, plus letting the meat rest after grilling makes it even juicier.
4. Can I freeze the marinated chicken?
Absolutely! Marinade the chicken, then place it in a freezer bag. Freeze for up to 2 months. Thaw before grilling.
5. What sides pair well with grilled chicken?
Grilled vegetables, mashed potatoes, or a light pasta salad complement grilled chicken beautifully.
As you gather around the table with your loved ones, remember that grilling chicken breast is more than just cooking; it’s about sharing moments and flavors. I hope this easy recipe brings warmth to your kitchen and smiles to your family’s faces. Enjoy every bite as you create memories that last long after the last piece of chicken has been served. Happy grilling!
Grilled Chicken Breasts
Ingredients
Chicken and Marinade
- 4 pieces boneless, skinless chicken breasts (Look for free-range or organic chicken for better flavor.)
- 1/4 cup olive oil (Use high-quality extra-virgin olive oil.)
- 2 tablespoons lemon juice (Freshly squeezed gives the best flavor.)
- 2 cloves garlic, minced (Adds depth and warmth to the dish.)
- 1 teaspoon dried oregano (Can substitute with fresh herbs.)
- 1 teaspoon salt
- 1/2 teaspoon black pepper
Instructions
Preparation
- In a bowl, whisk together olive oil, lemon juice, garlic, oregano, salt, and pepper to create the marinade.
- Place chicken breasts in the marinade, ensuring they are well coated. Cover and refrigerate for at least 1 hour, or overnight for the best flavor.
Grilling
- Preheat the grill to medium-high heat.
- Remove chicken from the marinade and discard the excess marinade. Shake off any extra liquid.
- Grill the chicken for 6-7 minutes on each side, or until fully cooked and the internal temperature reaches 165°F (75°C).
- Let the chicken rest for a few minutes before slicing.