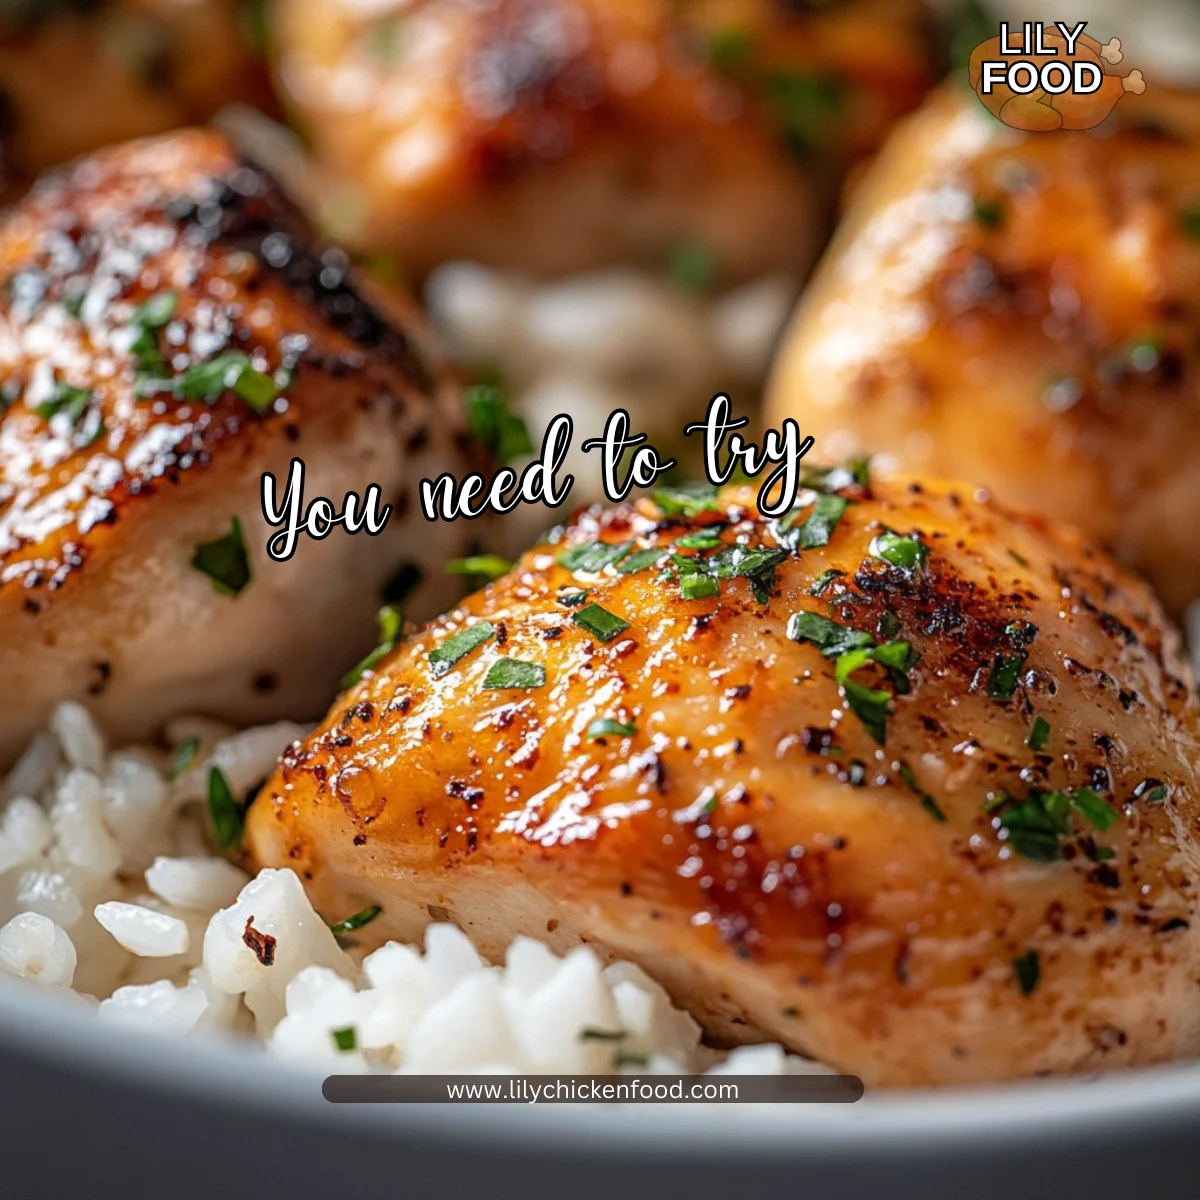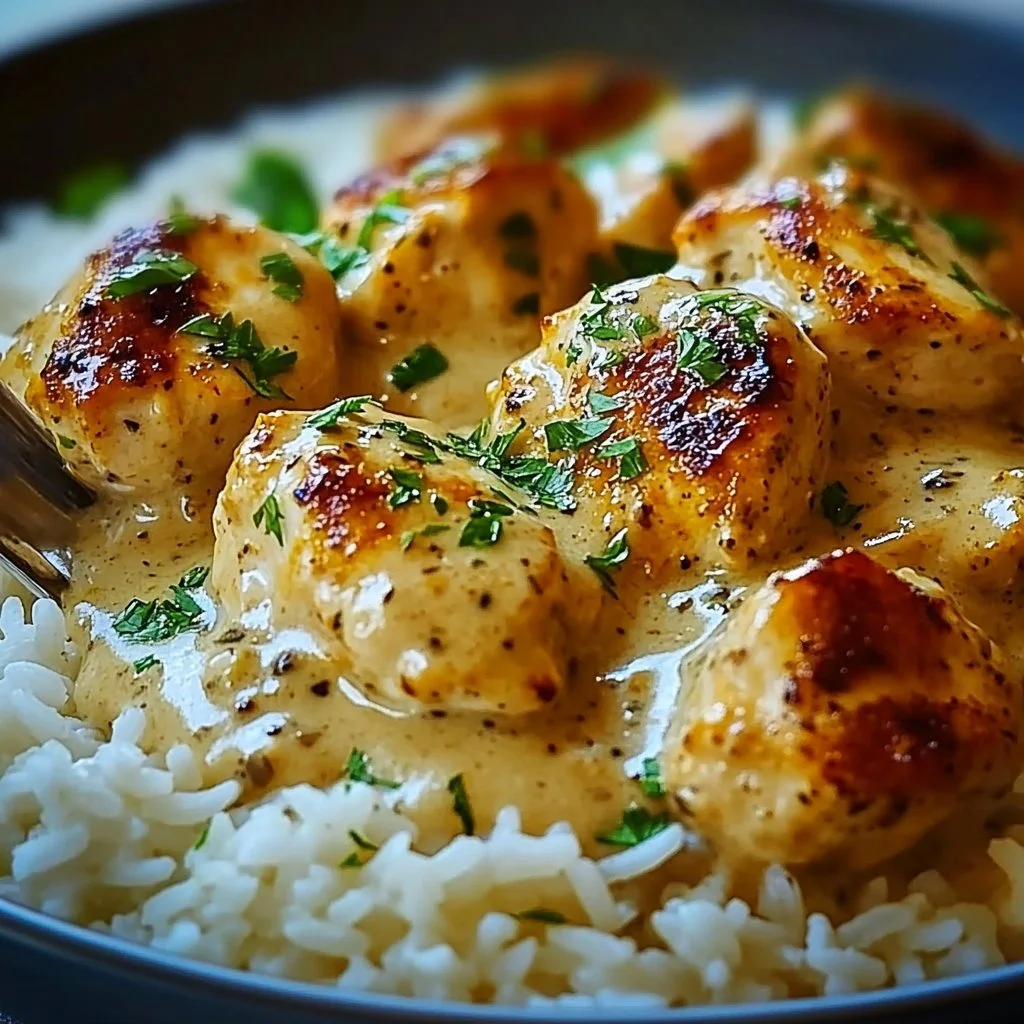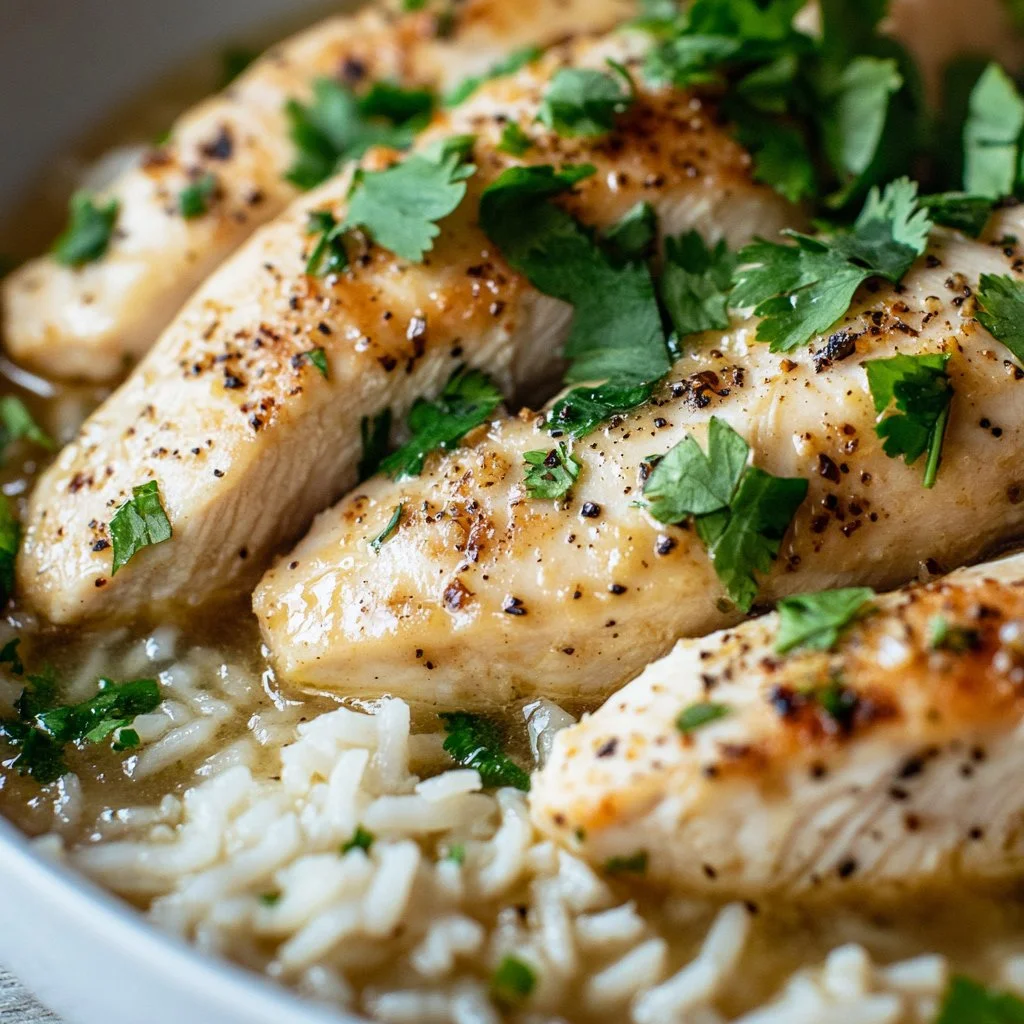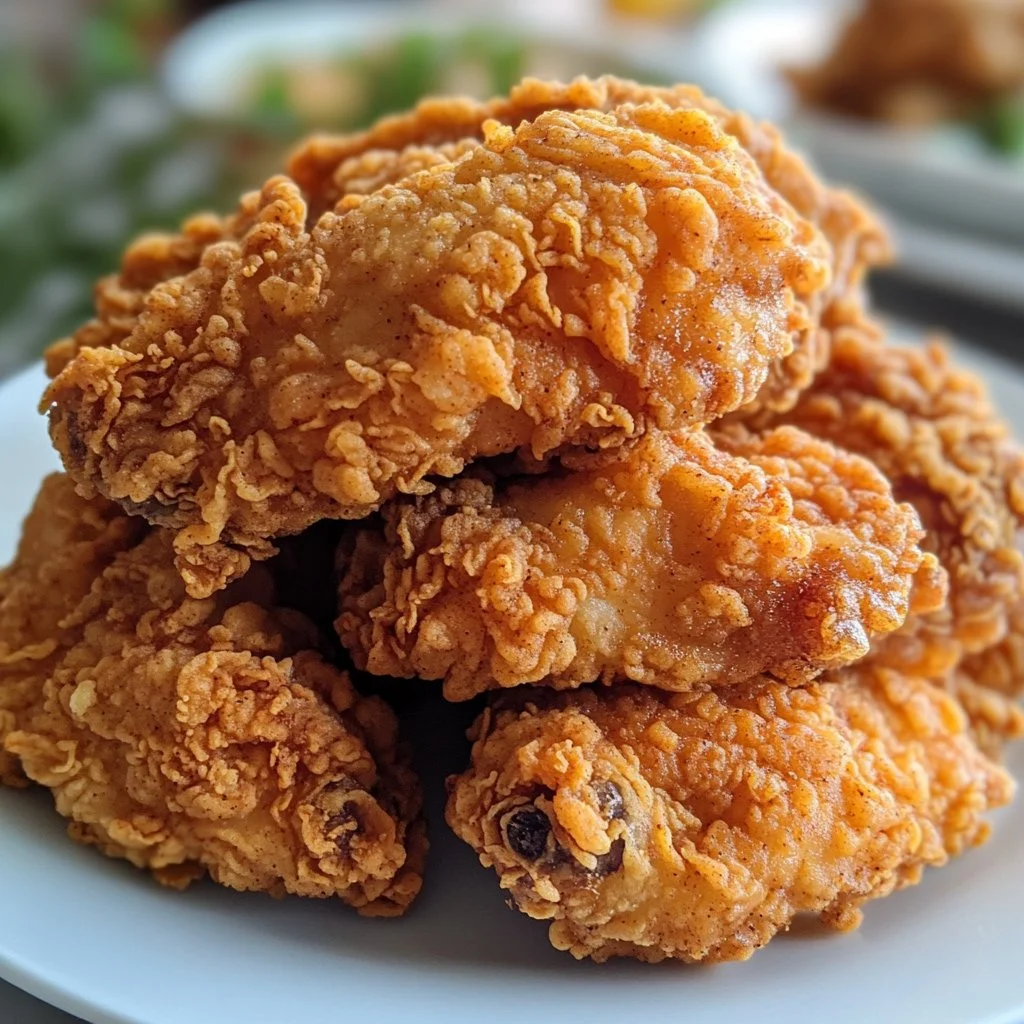
There’s something about entering a kitchen while dinner is cooking. The sweet smell of Honey BBQ chicken fills the air, blending with the savory scent of roasted garlic potatoes. You can almost hear the sizzle from the pan, a calming and familiar sound that says home. This experience is perfect for any family gathering, weeknight dinner, or simply a way to show your loved ones you care.
Why This Works
Life gets busy, and finding a meal that’s both delicious and quick is a treasure. This Honey BBQ Chicken with Garlic Parmesan Potatoes is perfect for family dinners where you want to gather everyone around the table without spending hours in the kitchen.
The combination of sweet and savory flavors appeals to both kids and adults. Bonus: it’s easy! You can make it in under an hour, allowing more time for laughter and conversation at the dinner table.
Process Overview
“This is where the magic happens—when the aroma fills the kitchen.”
The process of making this meal is straightforward and engaging. You’ll find it’s not just about cooking; it’s about creating memories as you chop, sauté, and serve. With each step, you’ll notice how the kitchen transforms into a haven filled with family-friendly flavors, bringing everyone together.
Ingredients
To make Honey BBQ Chicken with Garlic Parmesan Potatoes, you’ll need:
- 4 chicken breasts: Look for breasts that are even in size for uniform cooking.
- 1 cup Honey BBQ sauce: A good quality sauce will enhance the flavor. You can even make your own if you like!
- 2 cups potatoes, diced: I recommend using russet or Yukon gold potatoes for a fluffy texture.
- 1 cup shredded Parmesan cheese: Freshly grated cheese melts better than the pre-shredded variety.
- 2 tablespoons garlic, minced: Fresh garlic gives a more robust flavor compared to powdered garlic.
- 2 tablespoons olive oil: Use extra virgin olive oil for richer taste and health benefits.
- Salt and pepper to taste: Adjust based on your family’s preferences.
- Chopped parsley for garnish: Fresh herbs brighten up the dish visually and add freshness.
Directions
-
Preheat the oven to 400°F (200°C).
Start with this step to ensure your oven is ready when the time comes to roast your potatoes. -
In a bowl, combine the diced potatoes, olive oil, minced garlic, salt, and pepper; toss to coat.
This is a crucial step. Make sure every potato is coated evenly for maximum flavor. -
Spread the potatoes on a baking sheet and bake for 20-25 minutes until tender and golden.
Keep an eye on them. You want them crispy but not overcooked. -
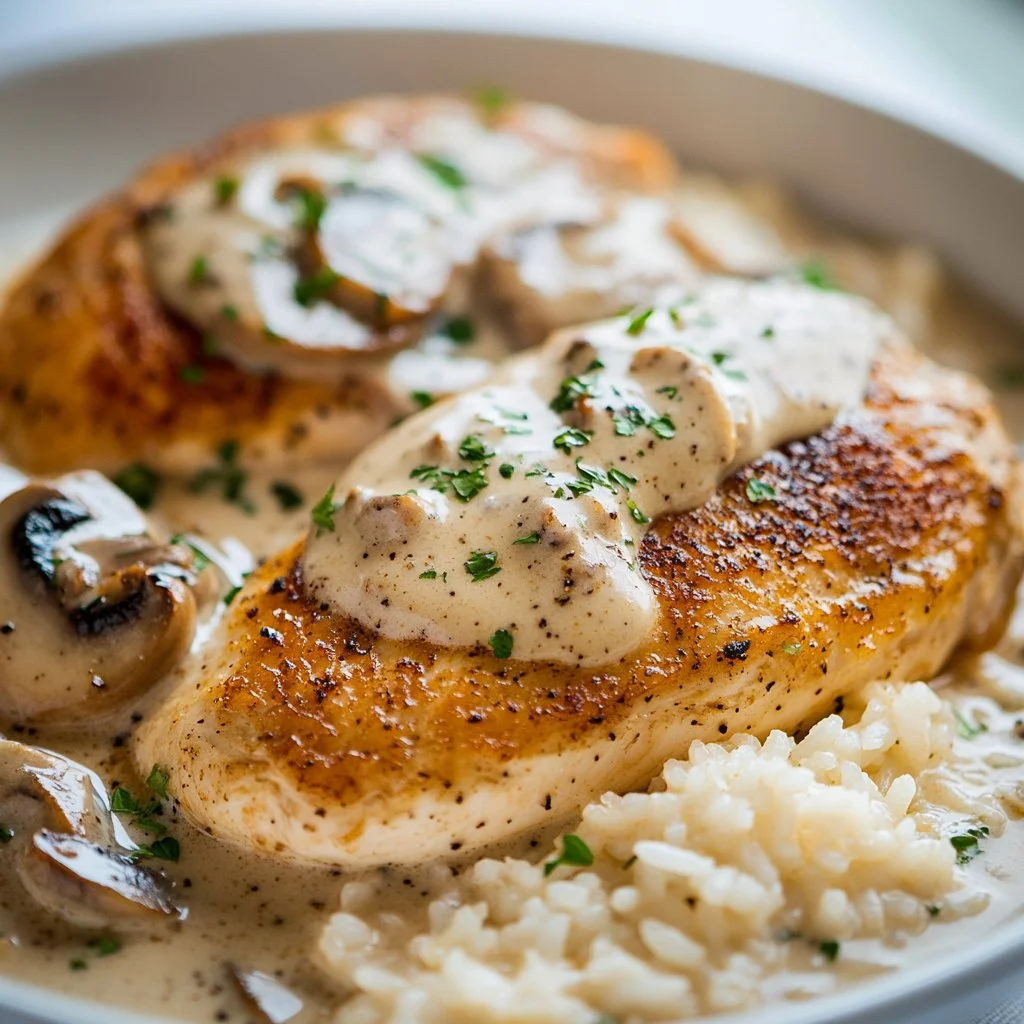
While the potatoes are baking, grill or pan-fry the chicken breasts until cooked through.
Cooking chicken can seem daunting, but the best way to check is by using a meat thermometer—it should read 165°F. -
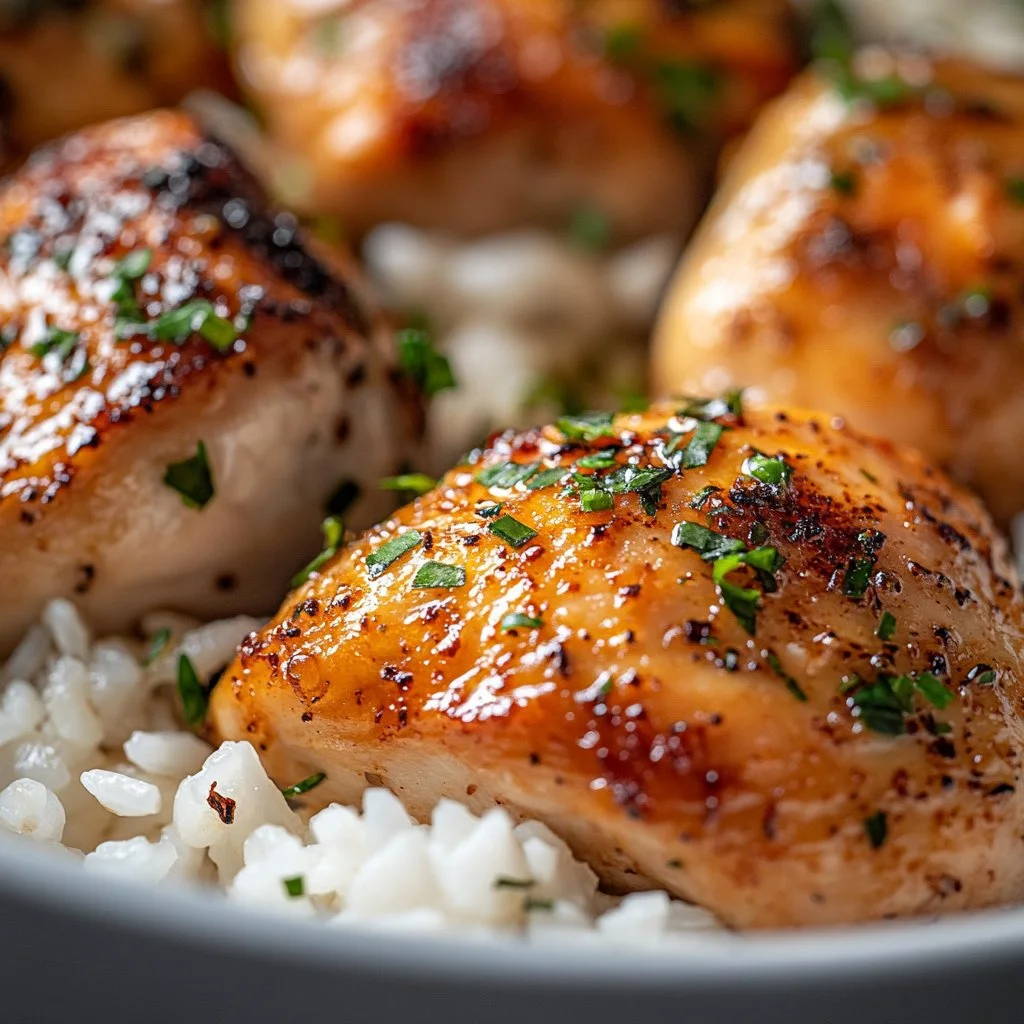
Brush the Honey BBQ sauce over the chicken during the last few minutes of cooking.
This allows the sauce to caramelize a bit, making every bite absolutely heavenly. -
Remove the potatoes from the oven, sprinkle with Parmesan cheese, and return to the oven for an additional 5 minutes until the cheese is melted.
This is one of the best moments—watching the cheese melt into a golden crust. -
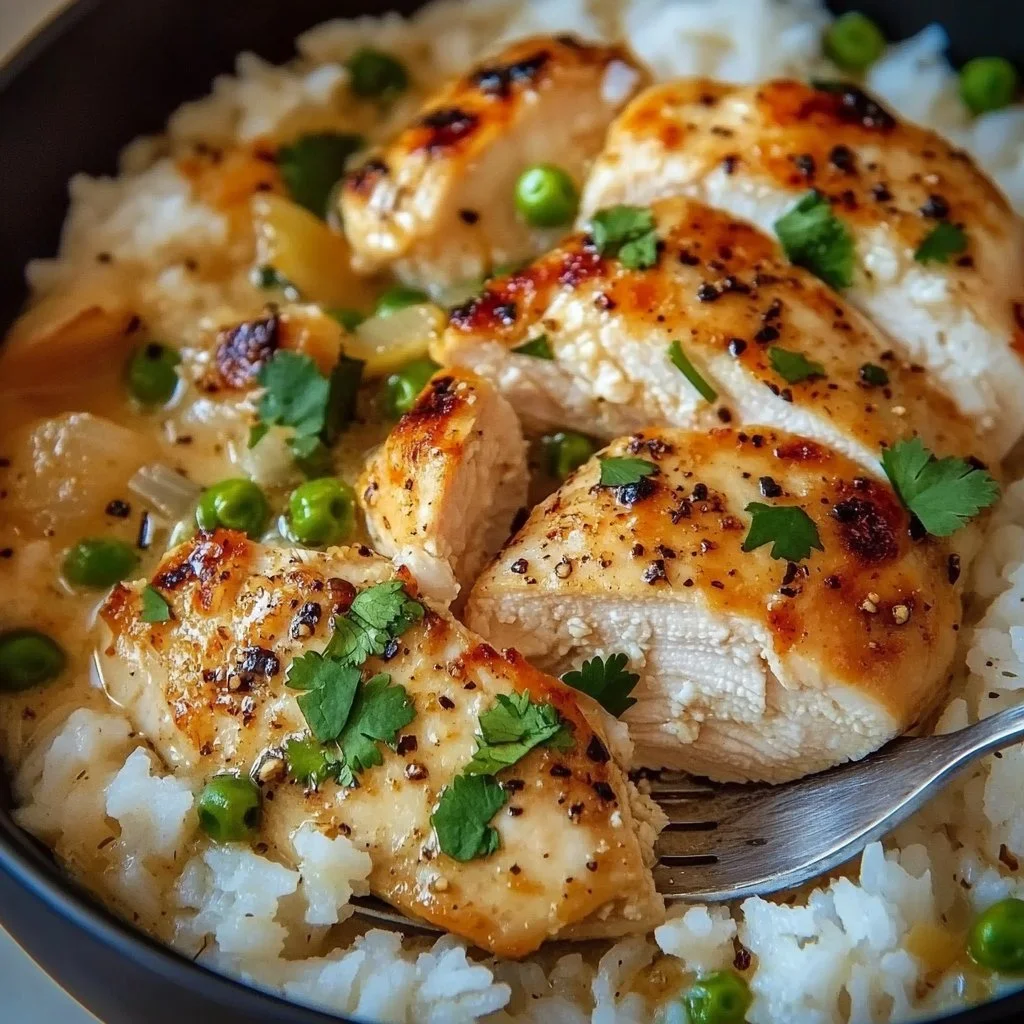
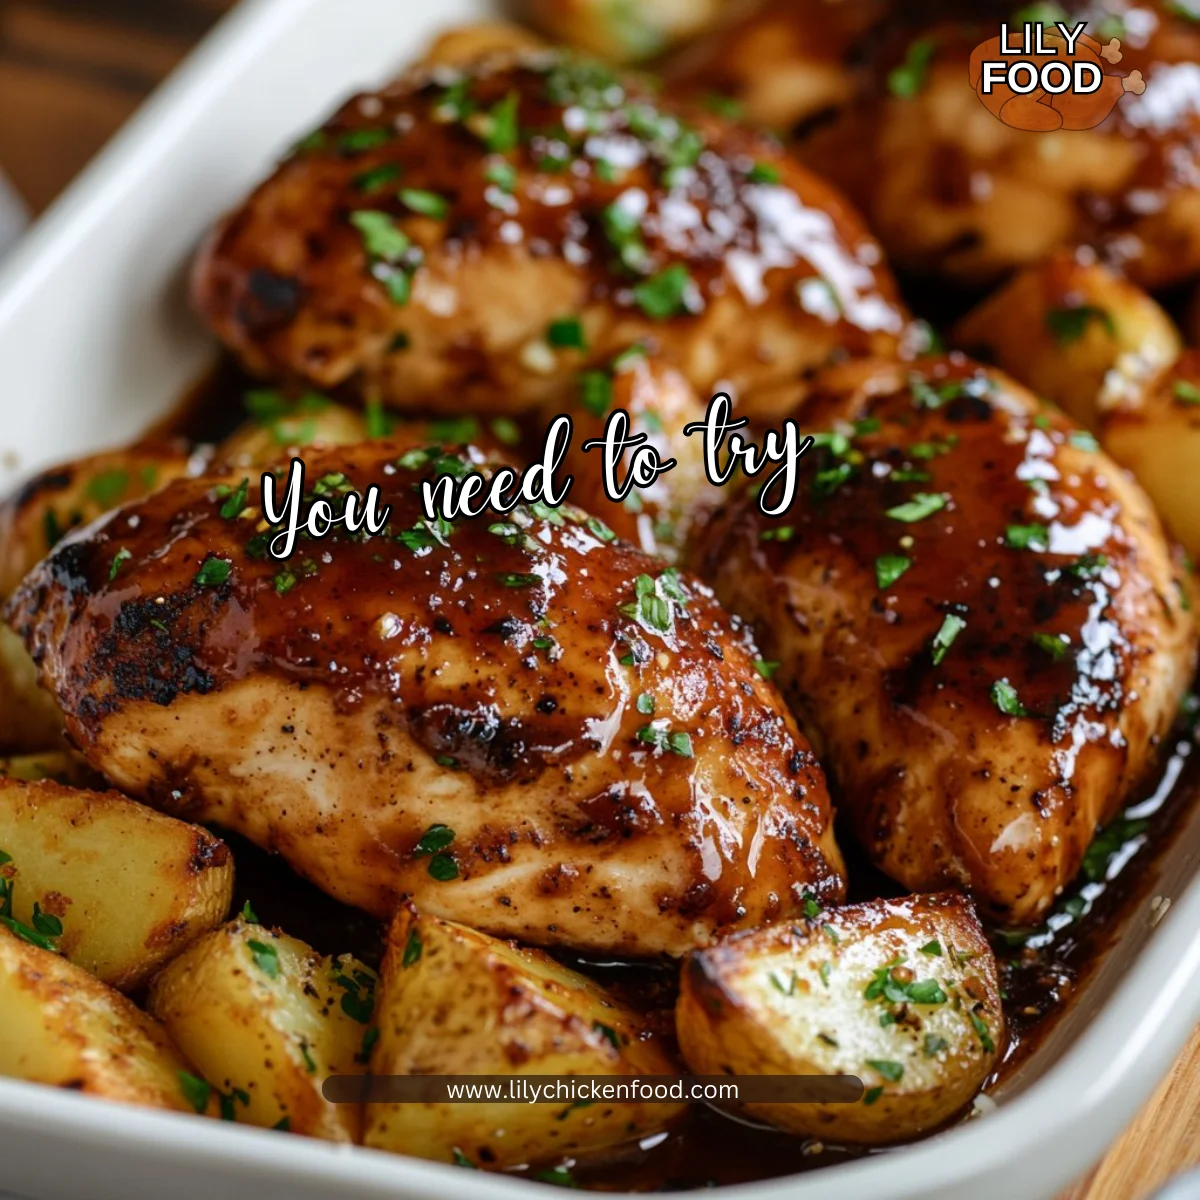
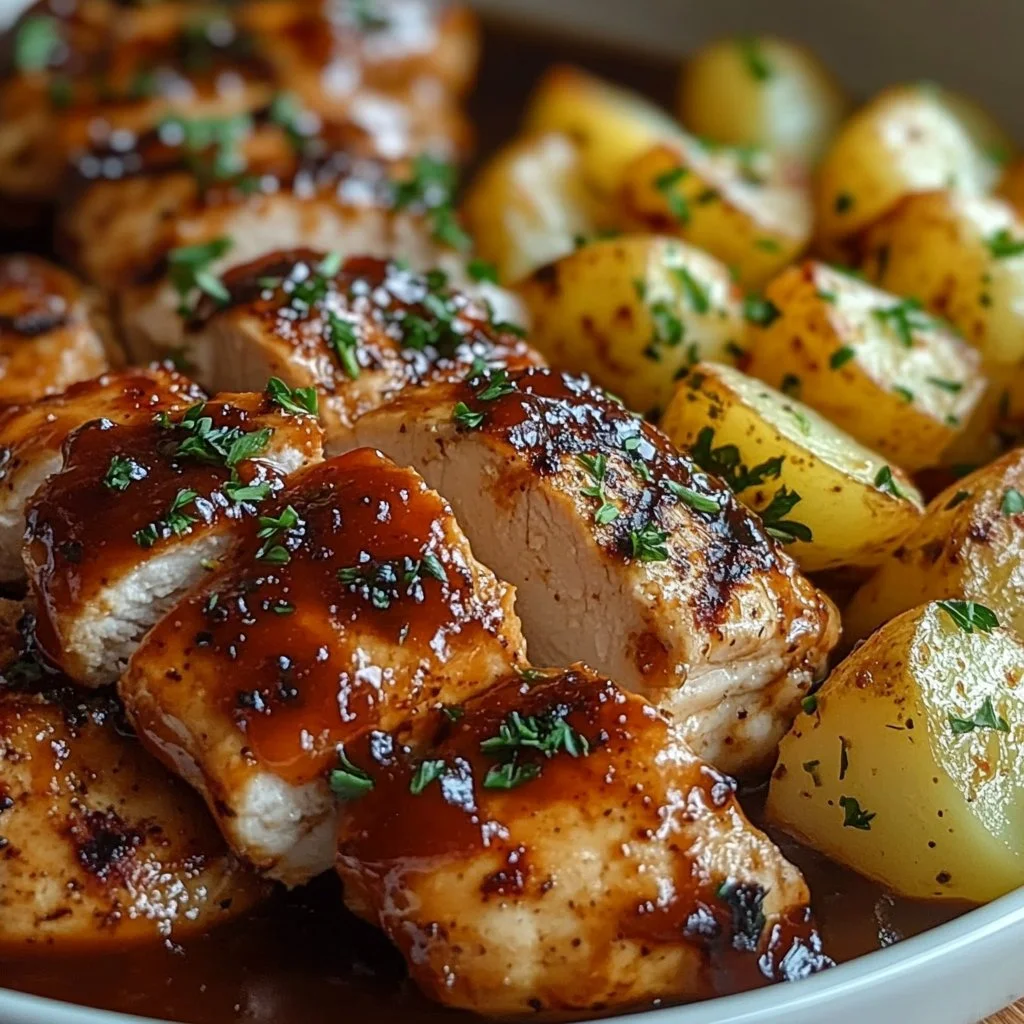
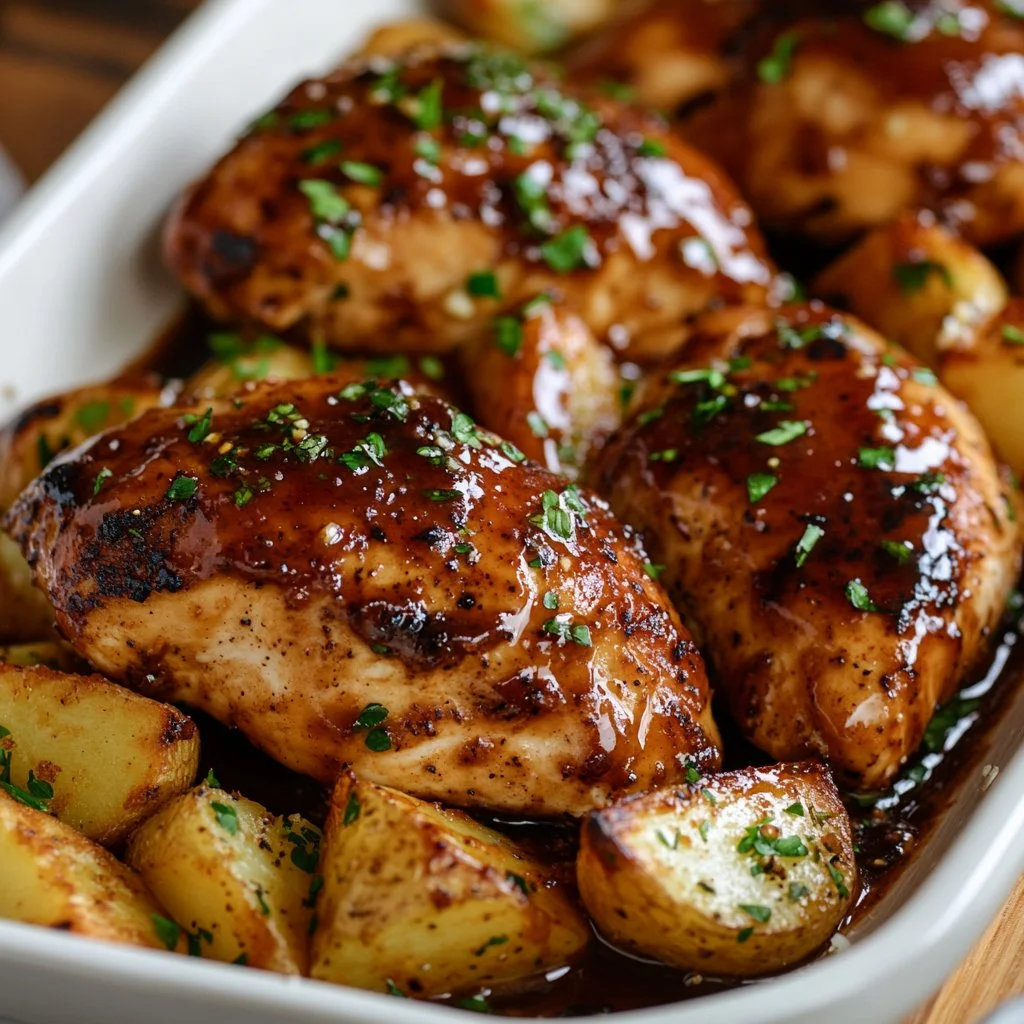
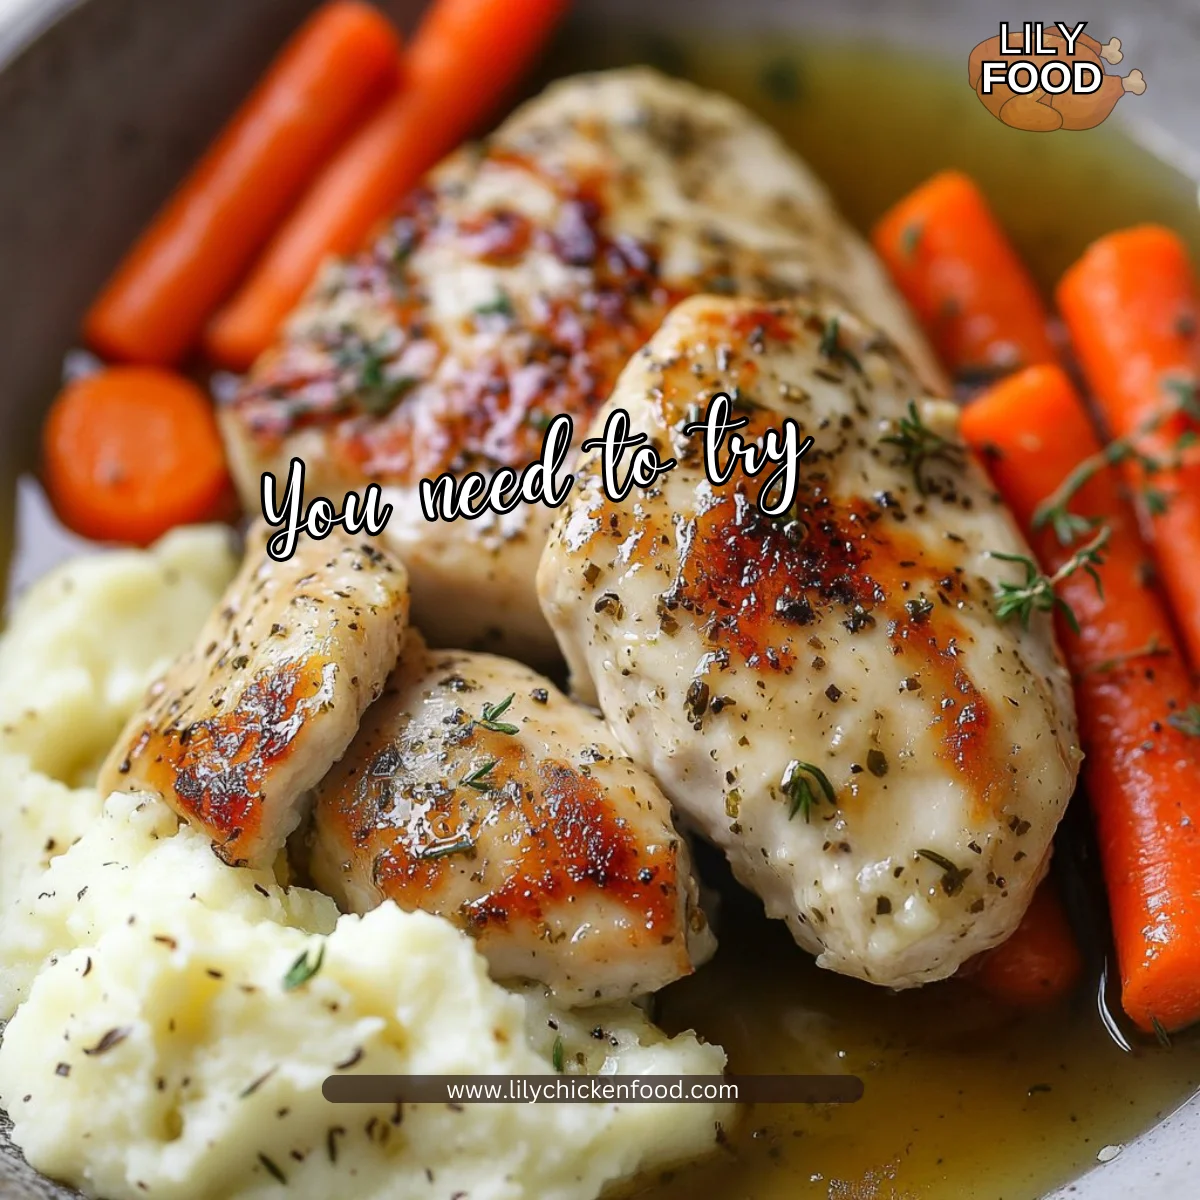
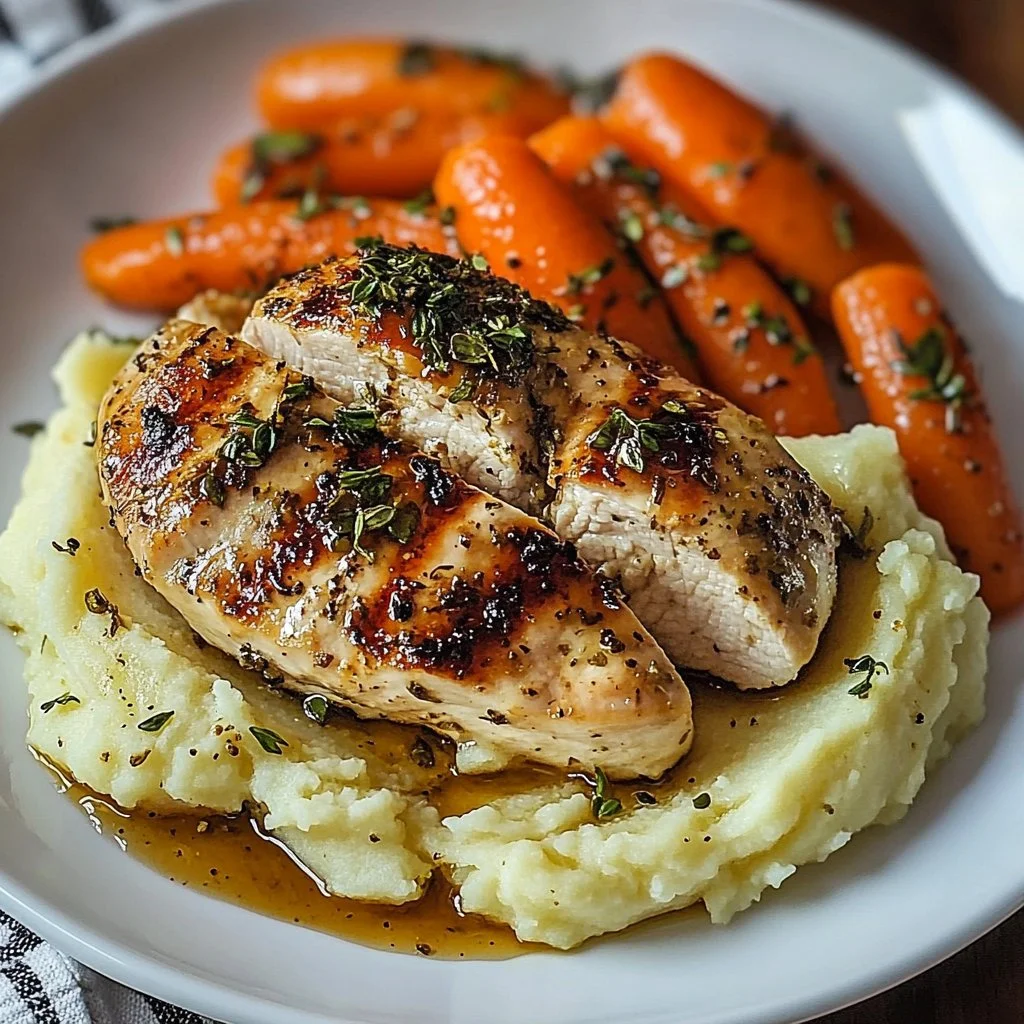
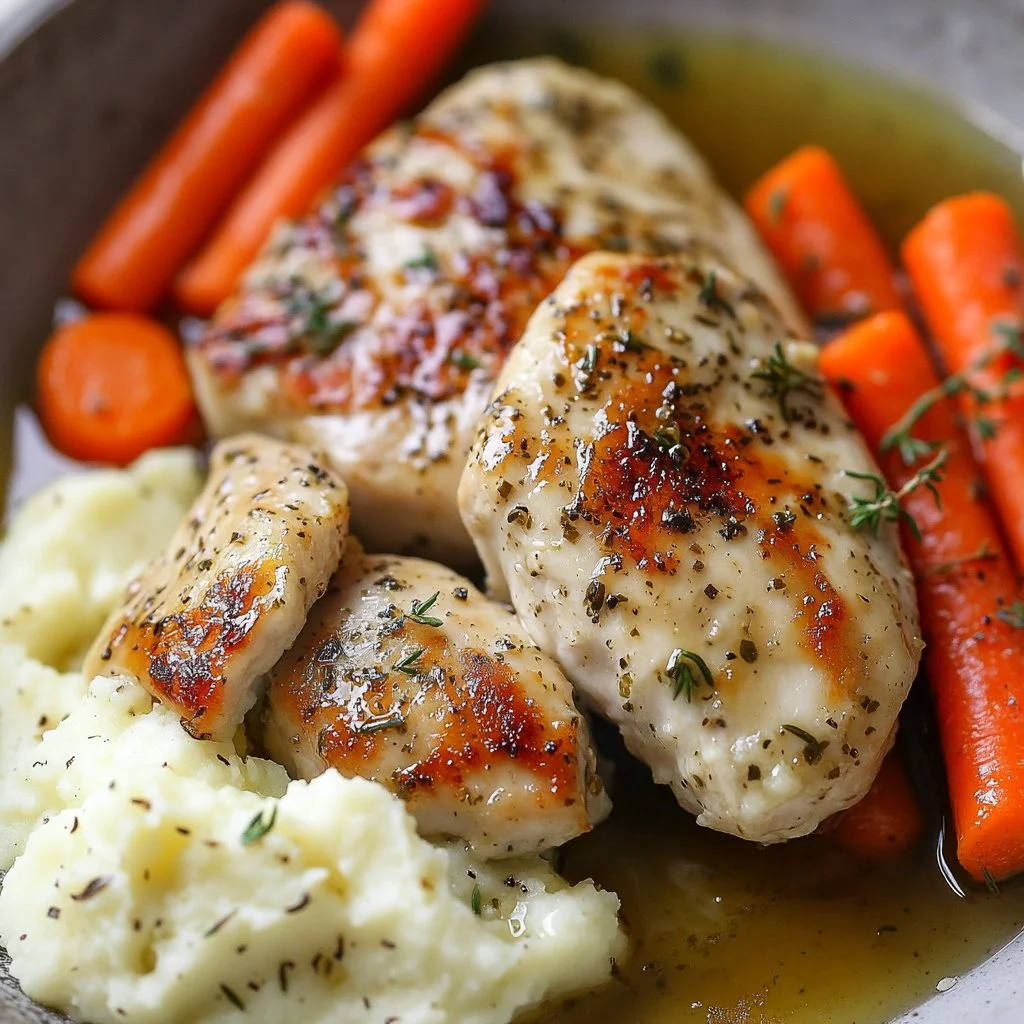
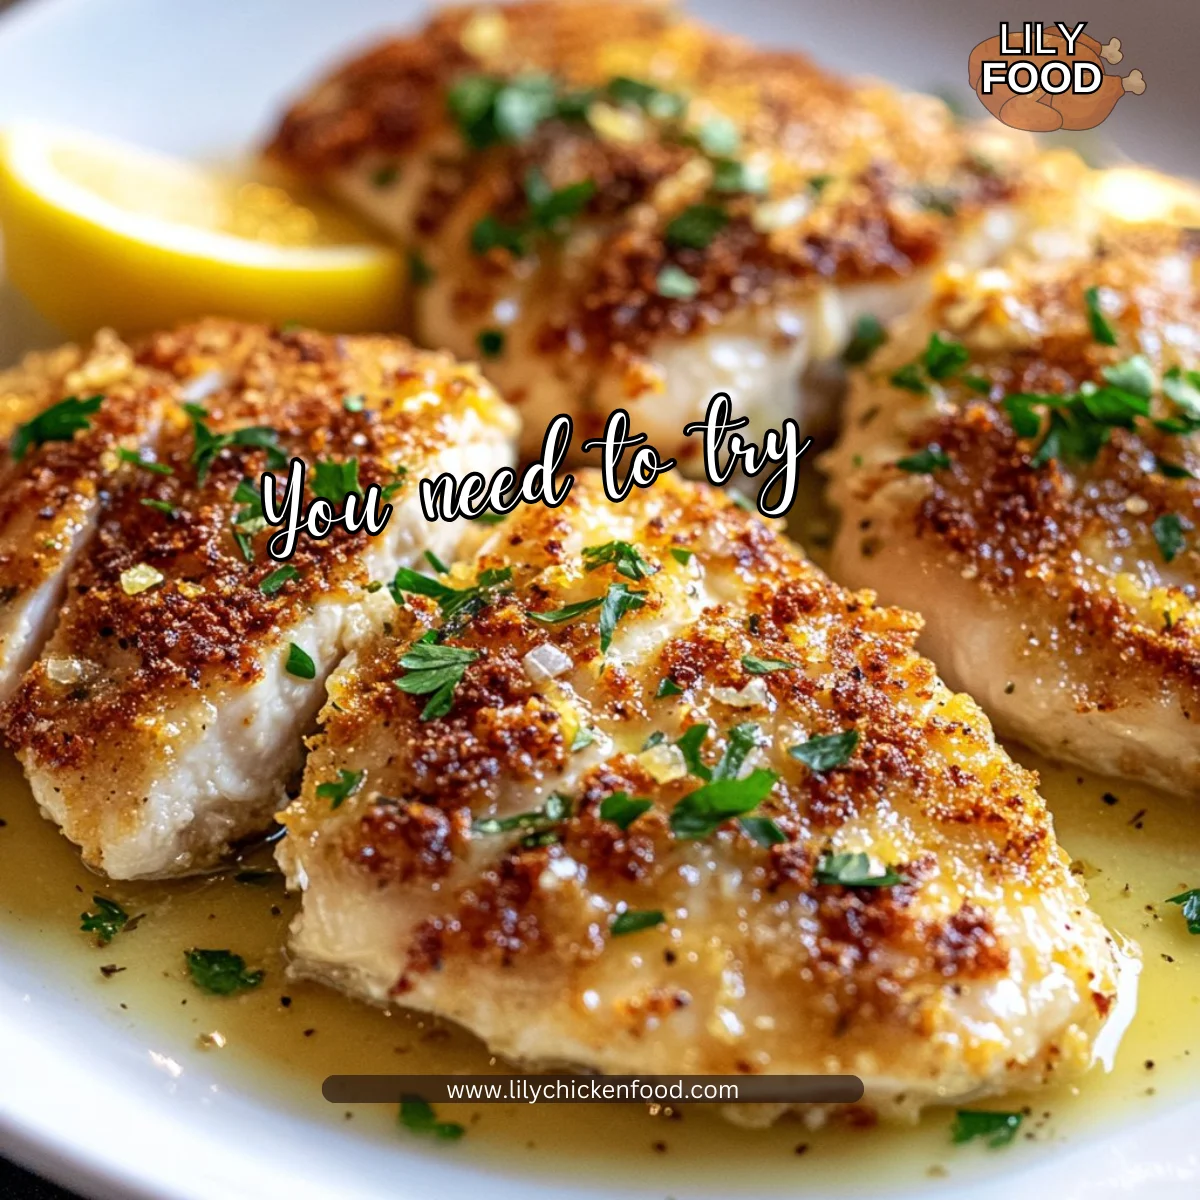
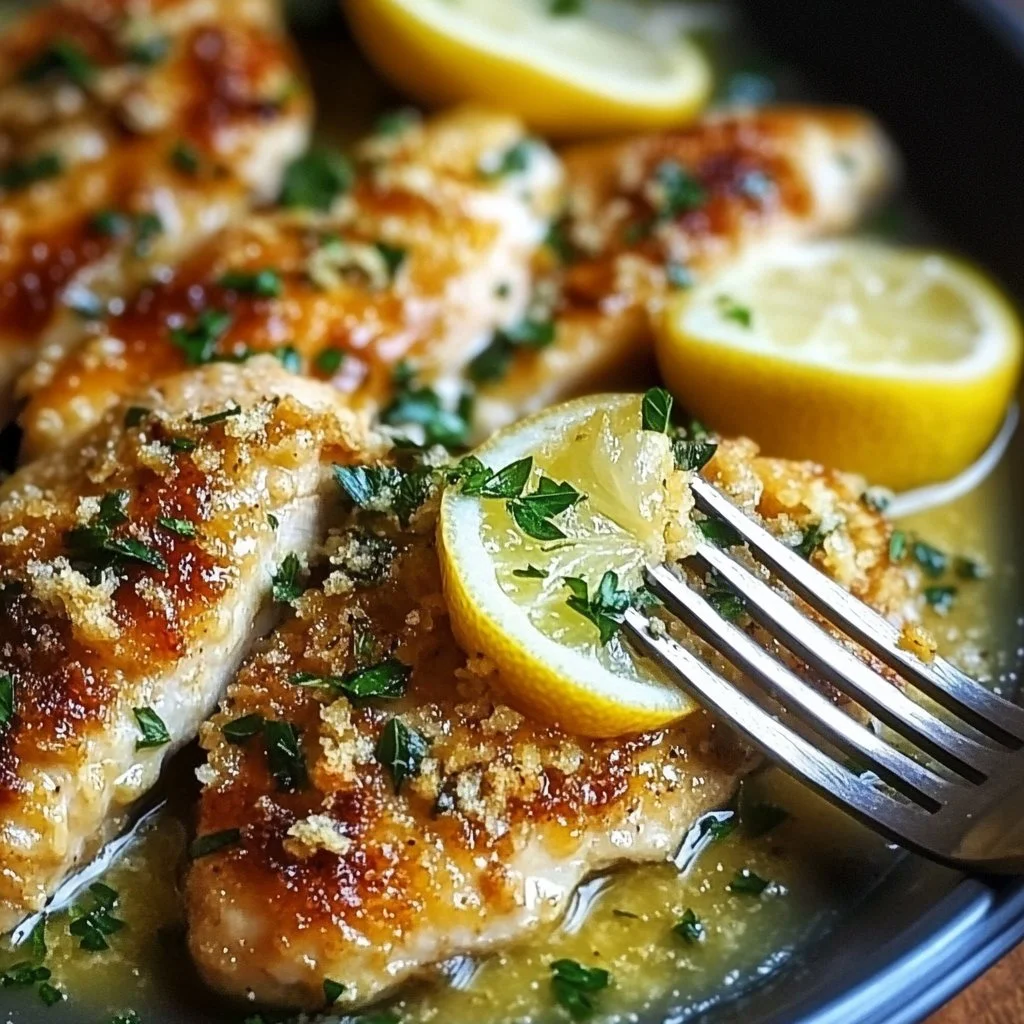
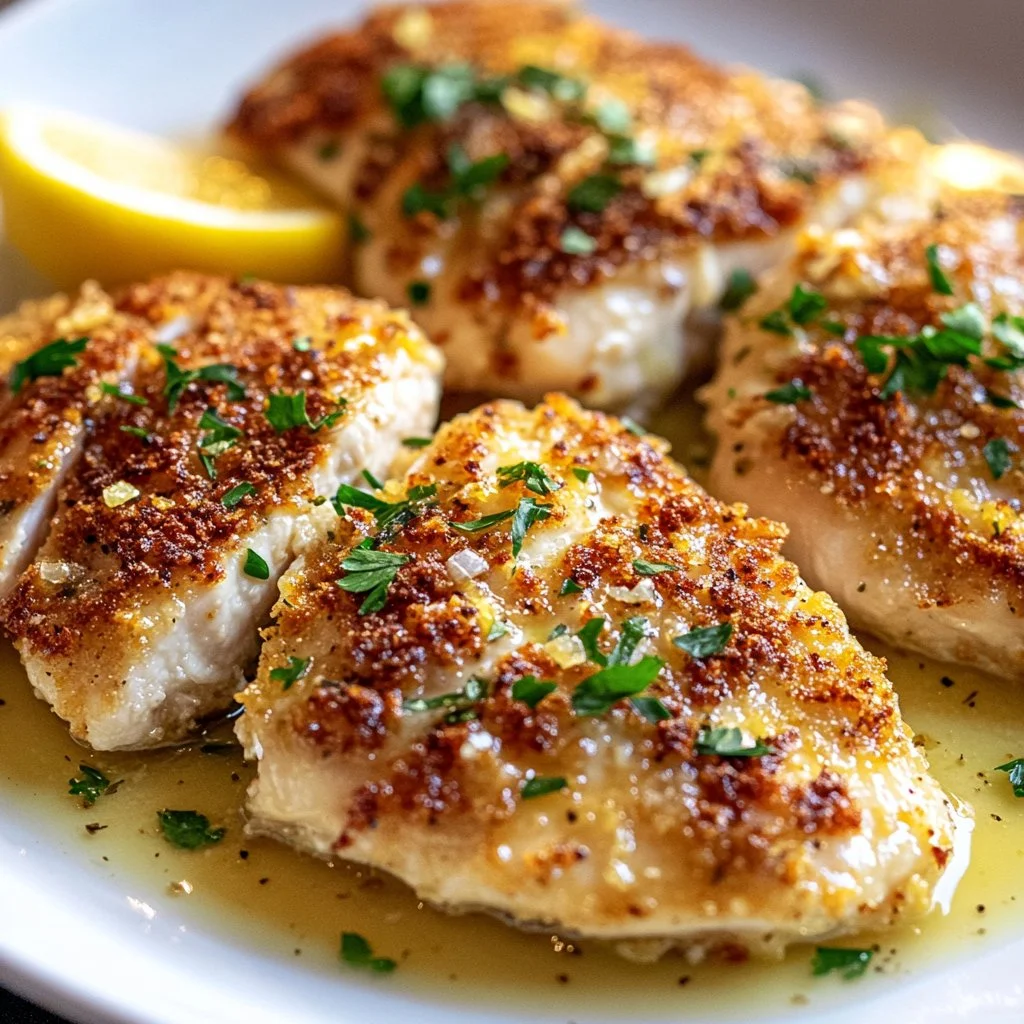
Serve the BBQ chicken with the Garlic Parmesan Potatoes and garnish with chopped parsley.
Take a moment to appreciate your amazing creation before digging in.
Serving

Serve this dish family-style on a large platter. It encourages sharing and conversation. Let your family dish out their favorites. The sweet BBQ chicken pairs perfectly with the gooey cheesy potatoes. Don’t forget to sprinkle a little more parsley for that pop of color.
Storage
If you have leftovers, they can stay fresh in the fridge for up to 4 days. Just make sure to store the chicken and potatoes in airtight containers. When you’re ready to enjoy them again, simply reheat in the oven at 350°F (175°C) for 15-20 minutes until warmed through. You can also use a microwave, but the oven will keep the potatoes crispy.
Kitchen Notes
- Prep Ahead: You can dice the potatoes and marinate the chicken the night before to save time.
- Add Veggies: Toss in some broccoli or green beans before roasting the potatoes for extra nutrition.
- Chicken Substitutes: This recipe works great with thighs or drumsticks too.
- Quick Cleanup: Line your baking sheet with parchment paper for easy cleanup.
- Cooking Tools: A meat thermometer will help you avoid over or undercooking your chicken.
Variations
- For Picky Eaters: If BBQ sauce isn’t a favorite, try a simple salt and pepper seasoning or teriyaki sauce instead.
- Low-Carb Options: Substitute potatoes with cauliflower florets for a lighter version.
- Gluten-Free: Ensure your BBQ sauce is gluten-free, and you’re all set.
- Spicy Kick: Add some cayenne pepper or hot sauce to the BBQ sauce for a spice lovers’ twist.
- Herb Alternatives: Use different herbs like thyme or rosemary instead of parsley for varied flavor profiles.
FAQ
-
Can I use frozen chicken?
Yes, but it’s best to thaw it overnight in the fridge beforehand. -
What side dishes go well with this meal?
A simple salad or steamed vegetables would be a great addition. -
Can I bake the chicken instead of grilling it?
Absolutely! Bake at 375°F (190°C) for 25-30 minutes. -
What BBQ sauce do you recommend?
I love using a honey BBQ sauce for this, but any favorite BBQ sauce will work. -
Can I prepare the potatoes the night before?
Yes, but it’s best to keep them in water to prevent browning.
As you savor every bite of this warm, filling meal, remember that cooking is more than just about nourishment. It’s an opportunity to create family traditions and moments that last a lifetime. Enjoy the process and the result, and don’t hesitate to gather your loved ones around the table. Happy cooking!
Honey BBQ Chicken with Garlic Parmesan Potatoes
Ingredients
For the Chicken
- 4 pieces chicken breasts (Look for breasts that are even in size for uniform cooking.)
- 1 cup Honey BBQ sauce (A good quality sauce will enhance the flavor. You can even make your own if you like!)
For the Potatoes
- 2 cups potatoes, diced (I recommend using russet or Yukon gold potatoes for a fluffy texture.)
- 1 cup shredded Parmesan cheese (Freshly grated cheese melts better than the pre-shredded variety.)
- 2 tablespoons garlic, minced (Fresh garlic gives a more robust flavor compared to powdered garlic.)
- 2 tablespoons olive oil (Use extra virgin olive oil for richer taste and health benefits.)
- to taste Salt and pepper (Adjust based on your family’s preferences.)
- as needed Chopped parsley for garnish (Fresh herbs brighten up the dish visually and add freshness.)
Instructions
Preparation
- Preheat the oven to 400°F (200°C).
- In a bowl, combine the diced potatoes, olive oil, minced garlic, salt, and pepper; toss to coat.
- Spread the potatoes on a baking sheet and bake for 20-25 minutes until tender and golden.
Cooking Chicken
- While the potatoes are baking, grill or pan-fry the chicken breasts until cooked through.
- Brush the Honey BBQ sauce over the chicken during the last few minutes of cooking.
Finishing Touches
- Remove the potatoes from the oven, sprinkle with Parmesan cheese, and return to the oven for an additional 5 minutes until the cheese is melted.
- Serve the BBQ chicken with the Garlic Parmesan Potatoes and garnish with chopped parsley.


")