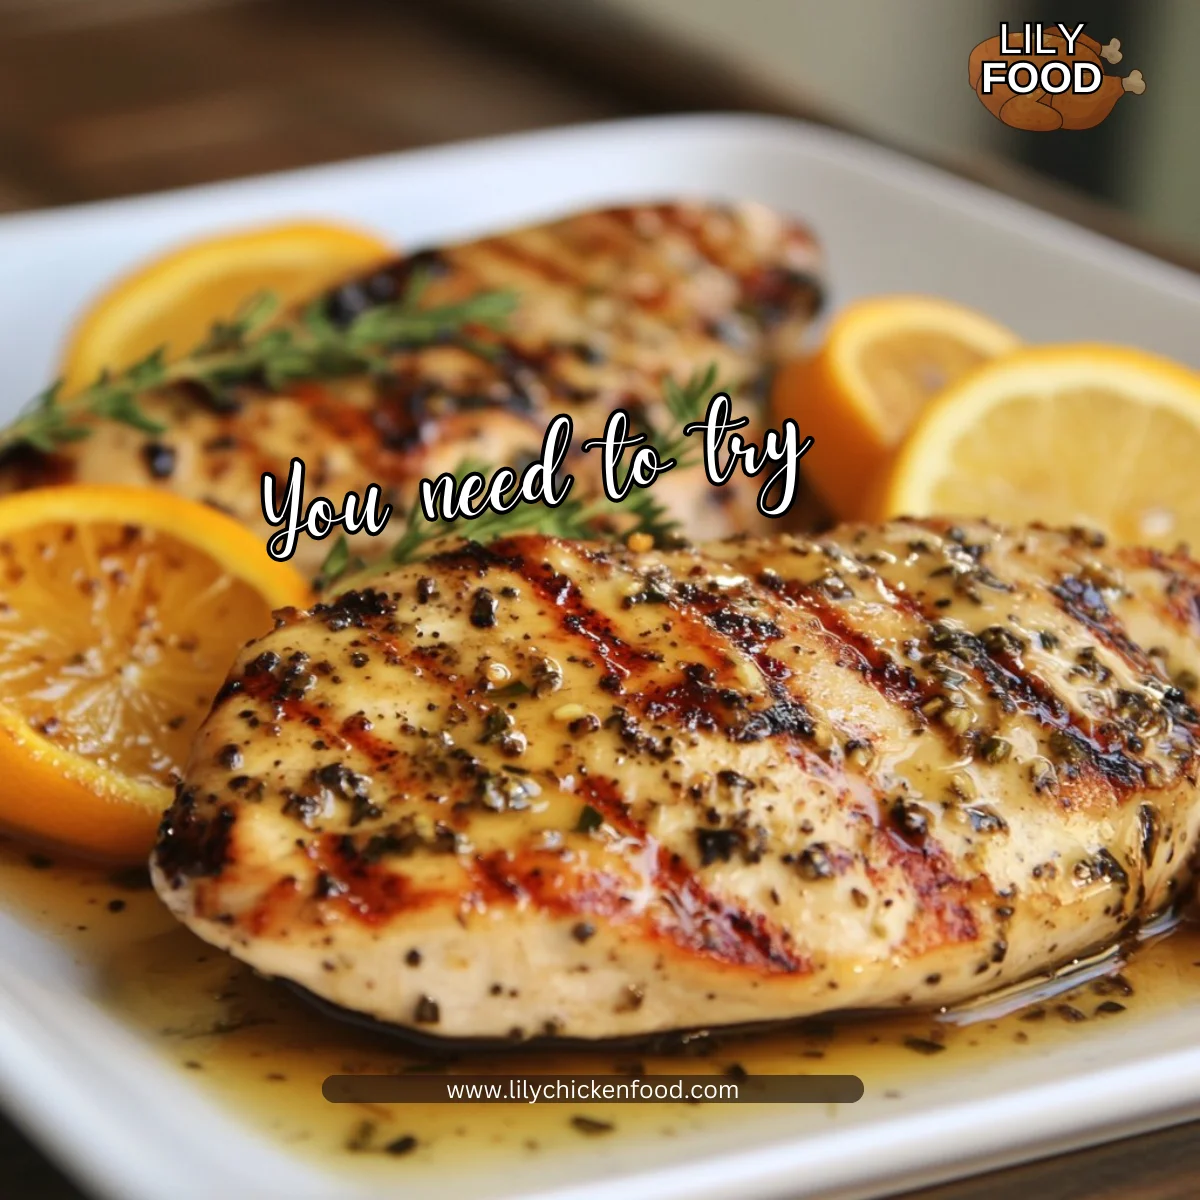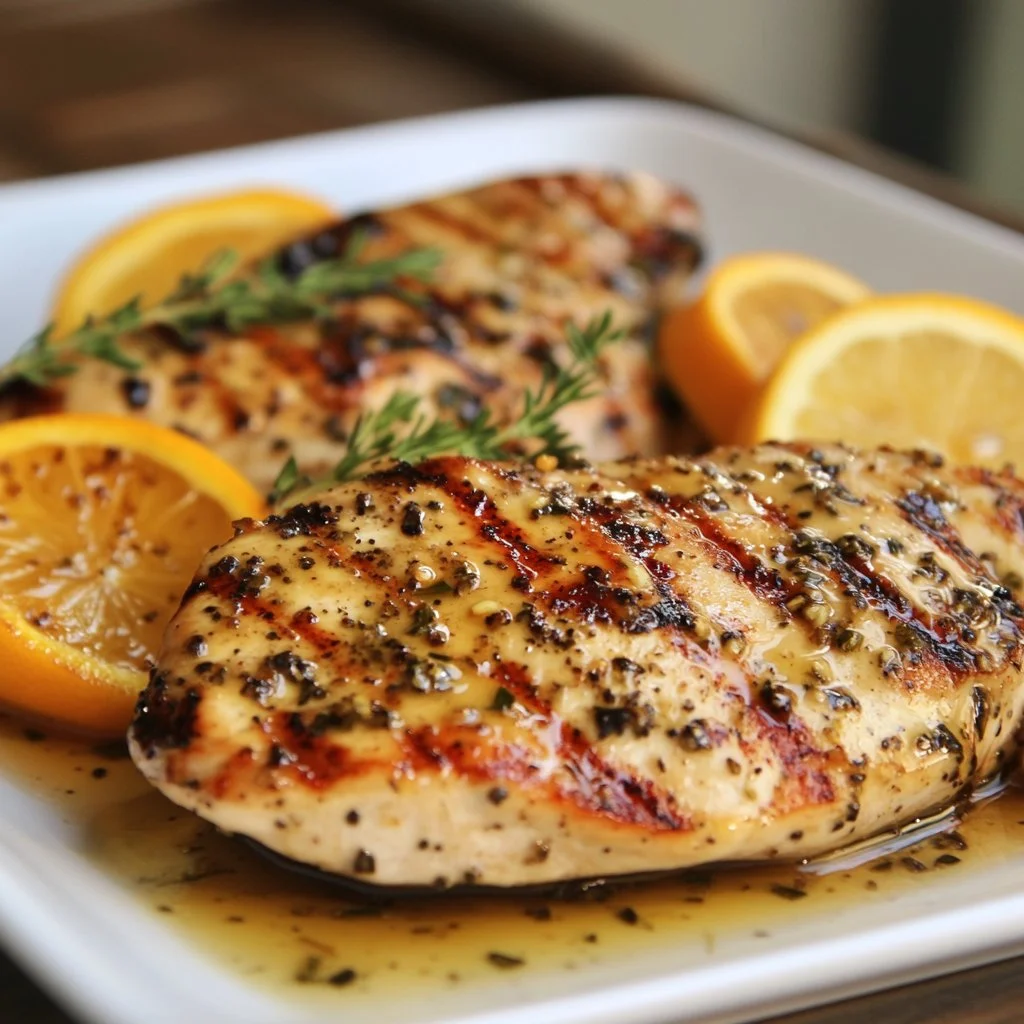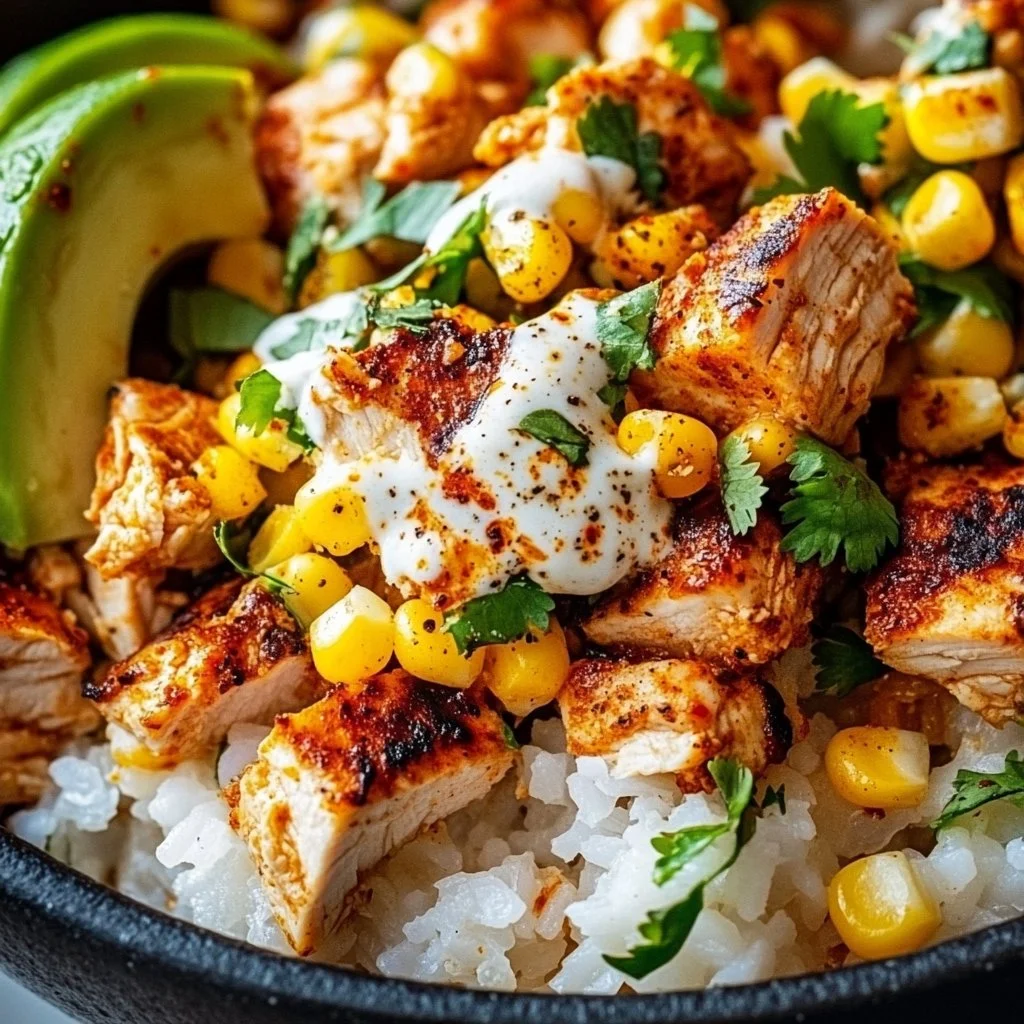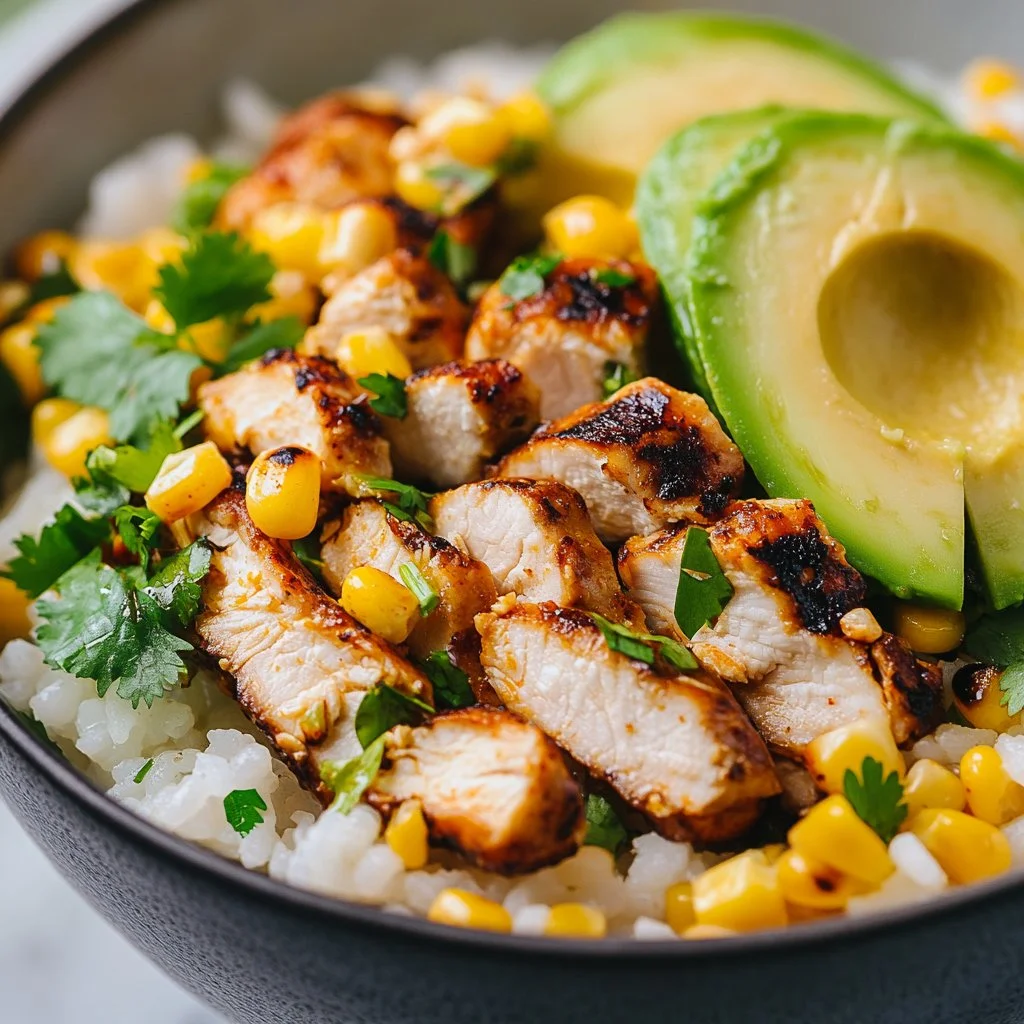
The kitchen fills with a delightful aroma as the chicken kabobs sizzle on the grill. The sound of the meat searing is music to the ears, making everyone wander in from their corners of the home. Just the scent alone gets your taste buds excited.
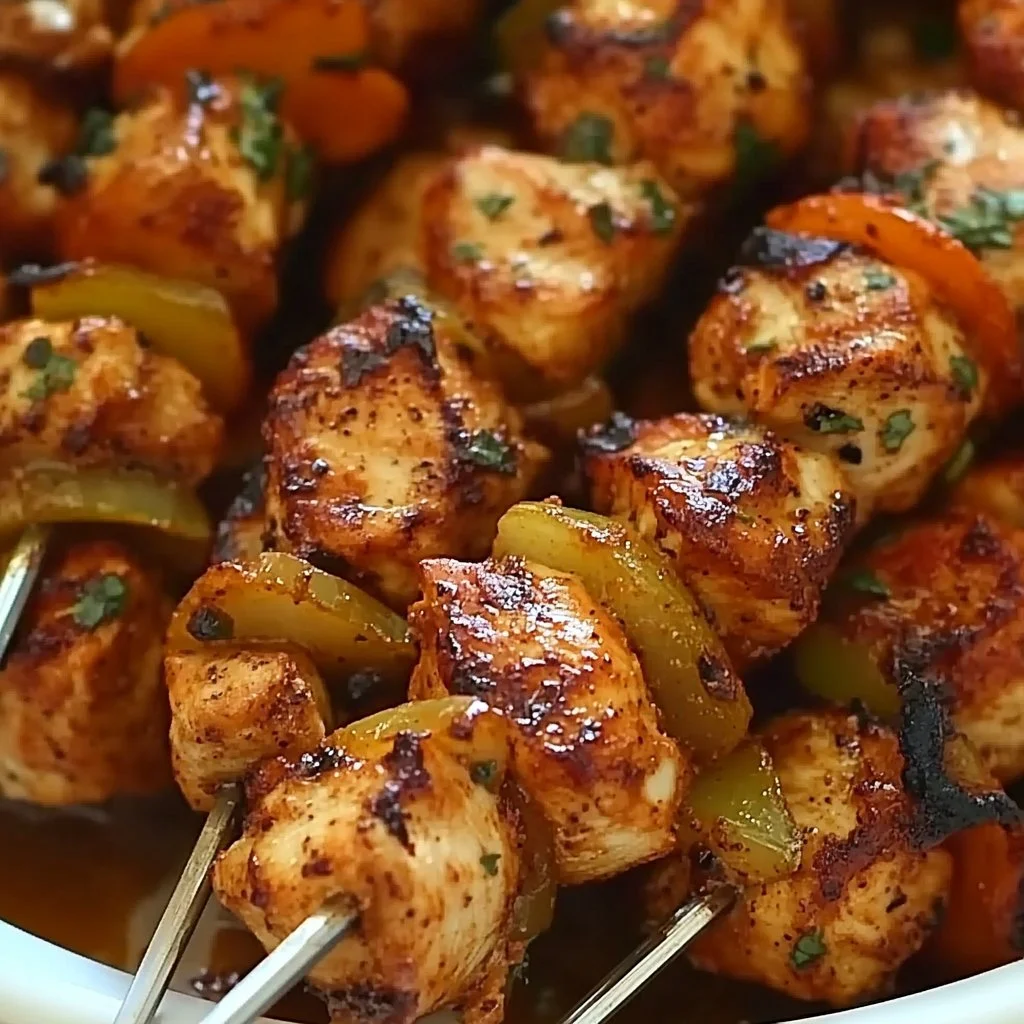
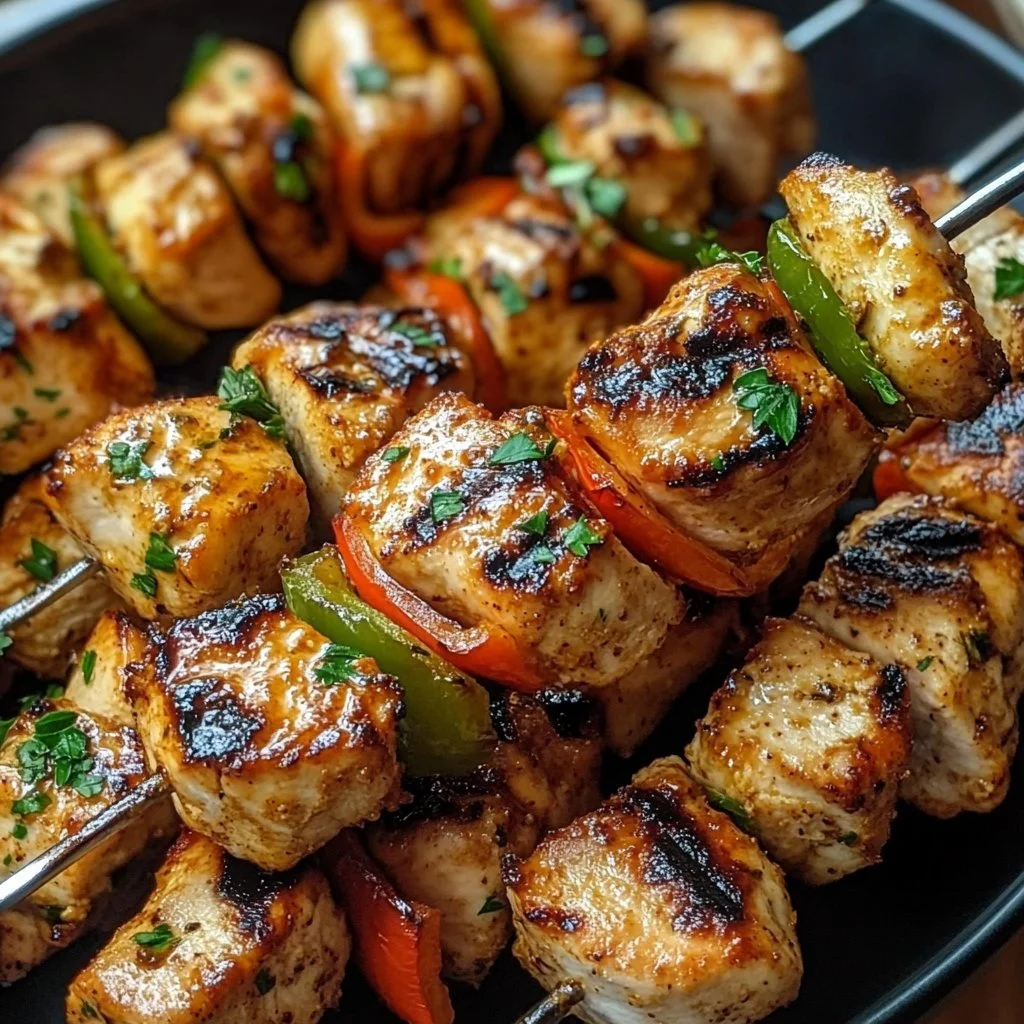
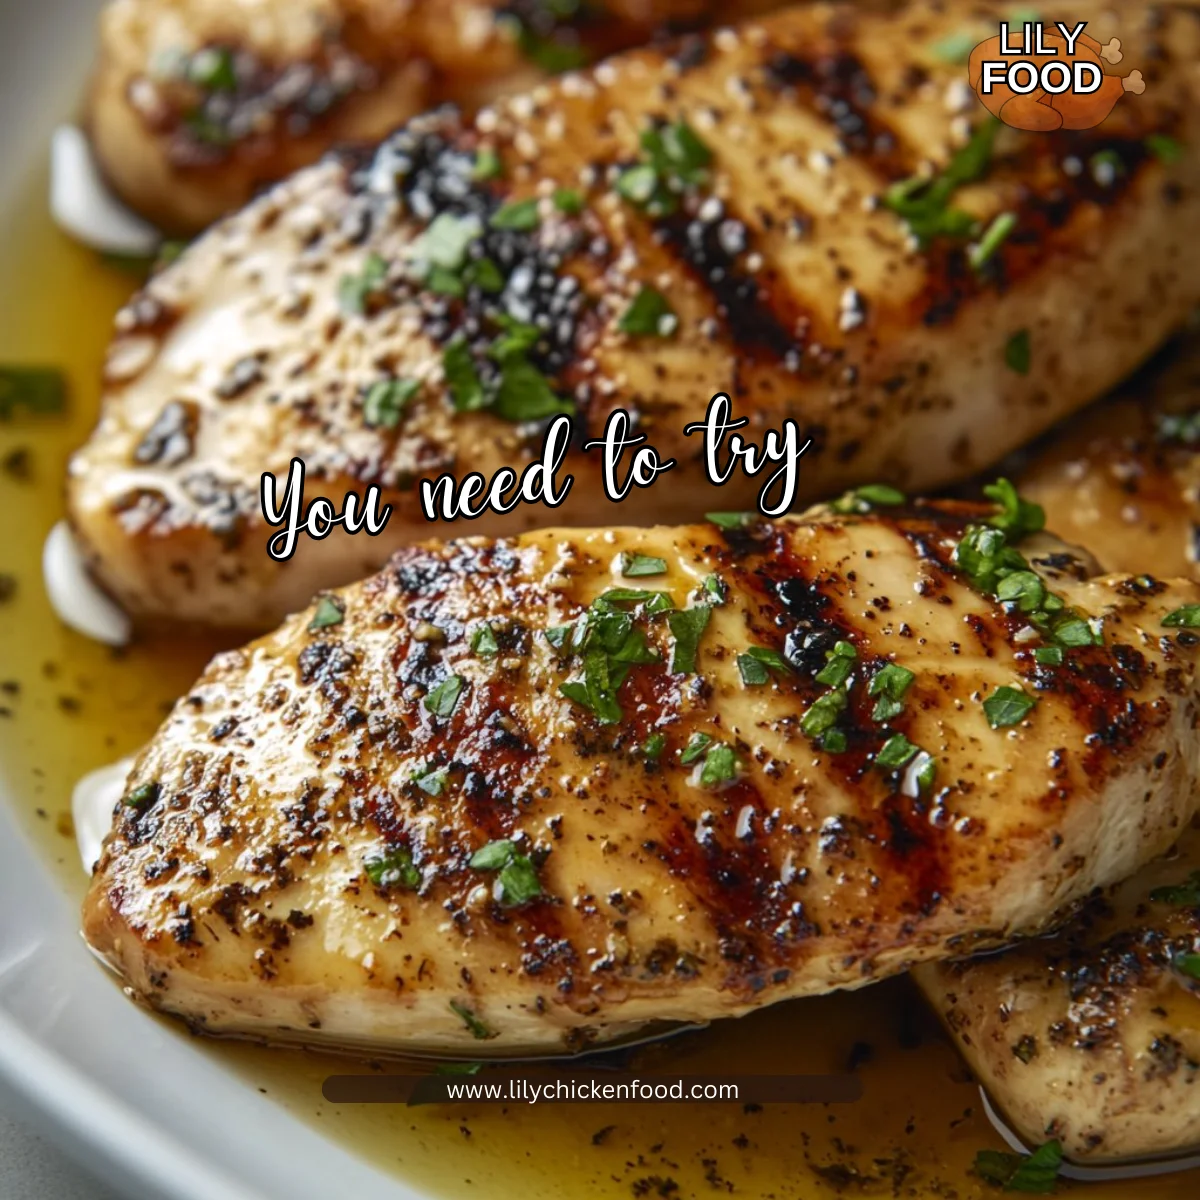
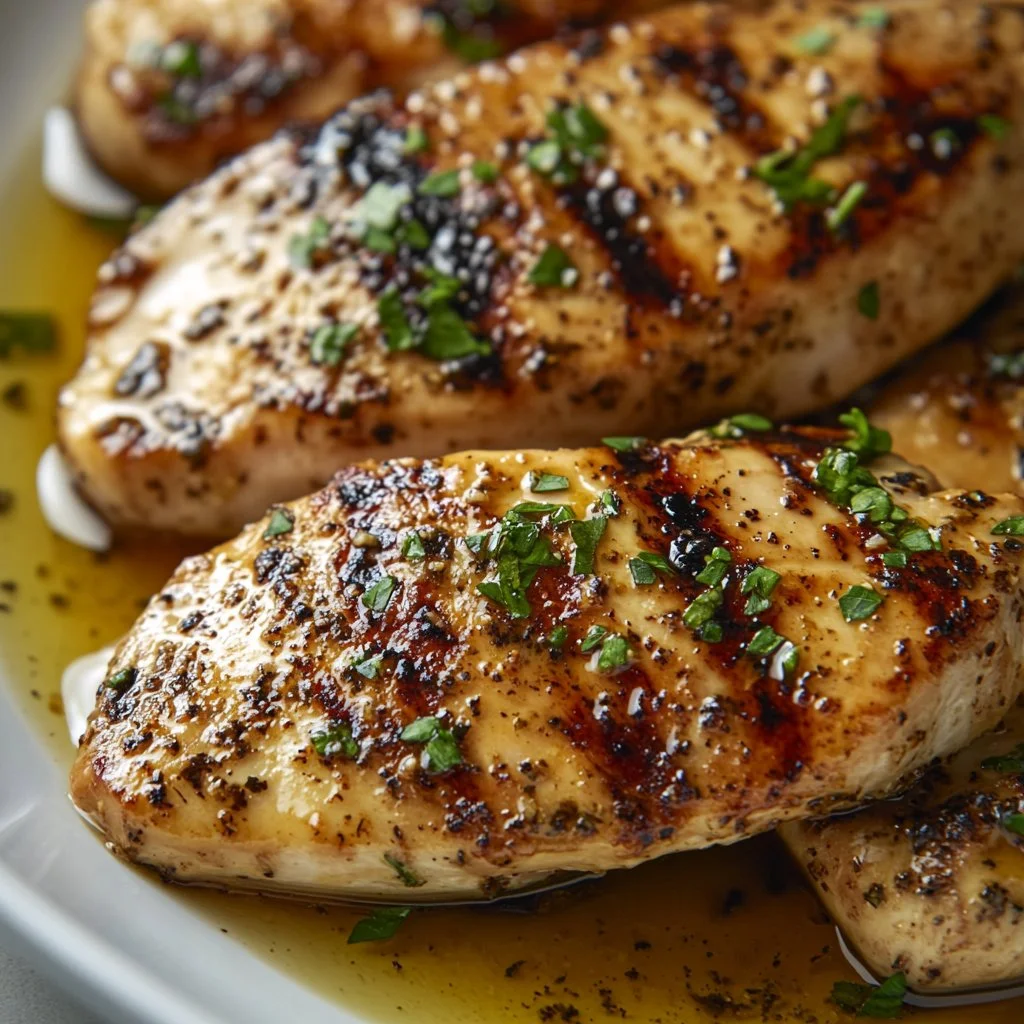
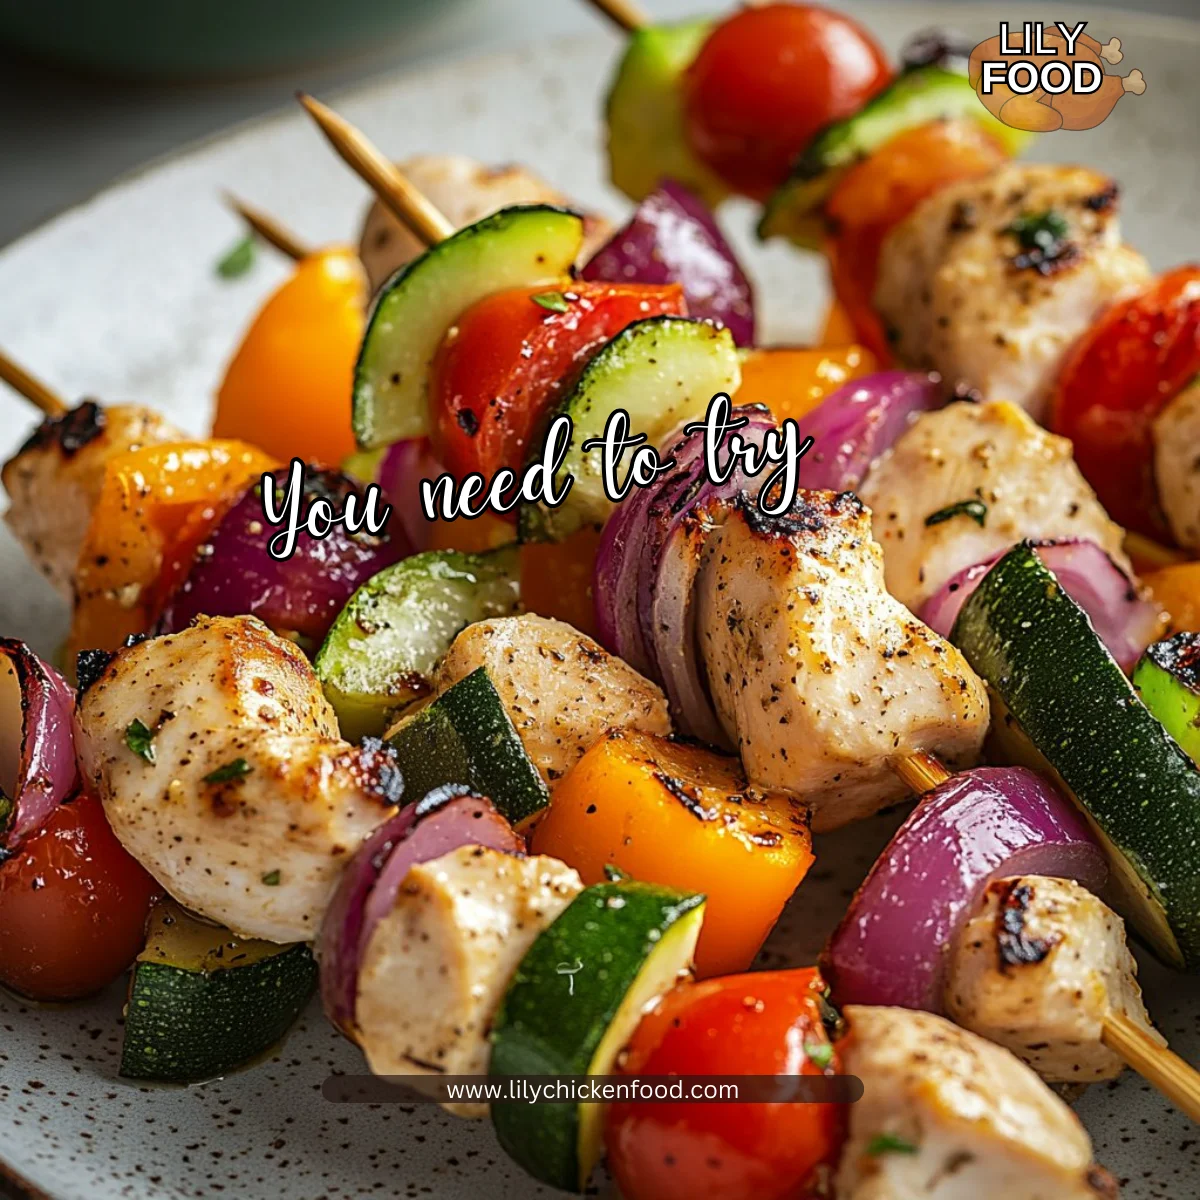
Grilled Chicken Kabobs with Vegetables are more than just a meal; they’re an invitation to gather around the table. Picture the vibrant colors of fresh vegetables mingling with tender chicken. It’s a feast that is full of warmth and goodness, perfect for families and friends alike.
Why This Works
These kabobs are a fantastic time-saver for busy families. With simple ingredients and minimal prep, you can have a wholesome dinner ready in no time. You can marinate the chicken early in the day, allowing the flavors to meld beautifully while you go about your day. When dinner time rolls around, your only task is grilling. And let me tell you, the seconds between pulling the skewers off the grill and serving them will feel like a lifetime for everyone waiting to dig in.
This recipe is also highly versatile. You can mix and match vegetables based on what your family enjoys or what you have on hand. The fun presentation of kabobs makes them a hit with kids too. Plus, they bring everyone together around the table, creating a cozy atmosphere that I cherish in every family meal.
Process Overview
“This is where the magic happens—when the aroma fills the kitchen.”
When you put together these kabobs, you create more than just a dinner. You create a moment. A moment to bond with loved ones over cooking, laughter, and the anticipation of a warm meal. The process is simple and requires only a few, easily accessible ingredients, making it stress-free.
Ingredients
For 4 servings, gather:
- 2 lbs chicken breast, cubed
- 1 bell pepper, chopped (any color you like)
- 1 red onion, chopped
- 1 zucchini, sliced
- 1 cup cherry tomatoes
- 1/4 cup honey
- 3 cloves garlic, minced
- 1/4 cup soy sauce
- 2 tbsp olive oil
- 1 tsp salt
- 1/2 tsp black pepper
- 1 tsp dried oregano
- Skewers (wooden or metal)
Lily’s Personal Tips:
- If you are using wooden skewers, soak them in water for 30 minutes before grilling. This prevents them from burning.
- Metal skewers are reusable and heat up quickly, making them great for grilling.
- Prepare your chicken and veggies ahead of time and keep them in the fridge until you’re ready to marinate.
- Experiment with different veggies—everyone loves a touch of personal flair!
- If you’re feeling adventurous, sprinkle some fresh herbs like parsley or cilantro before serving.
Directions
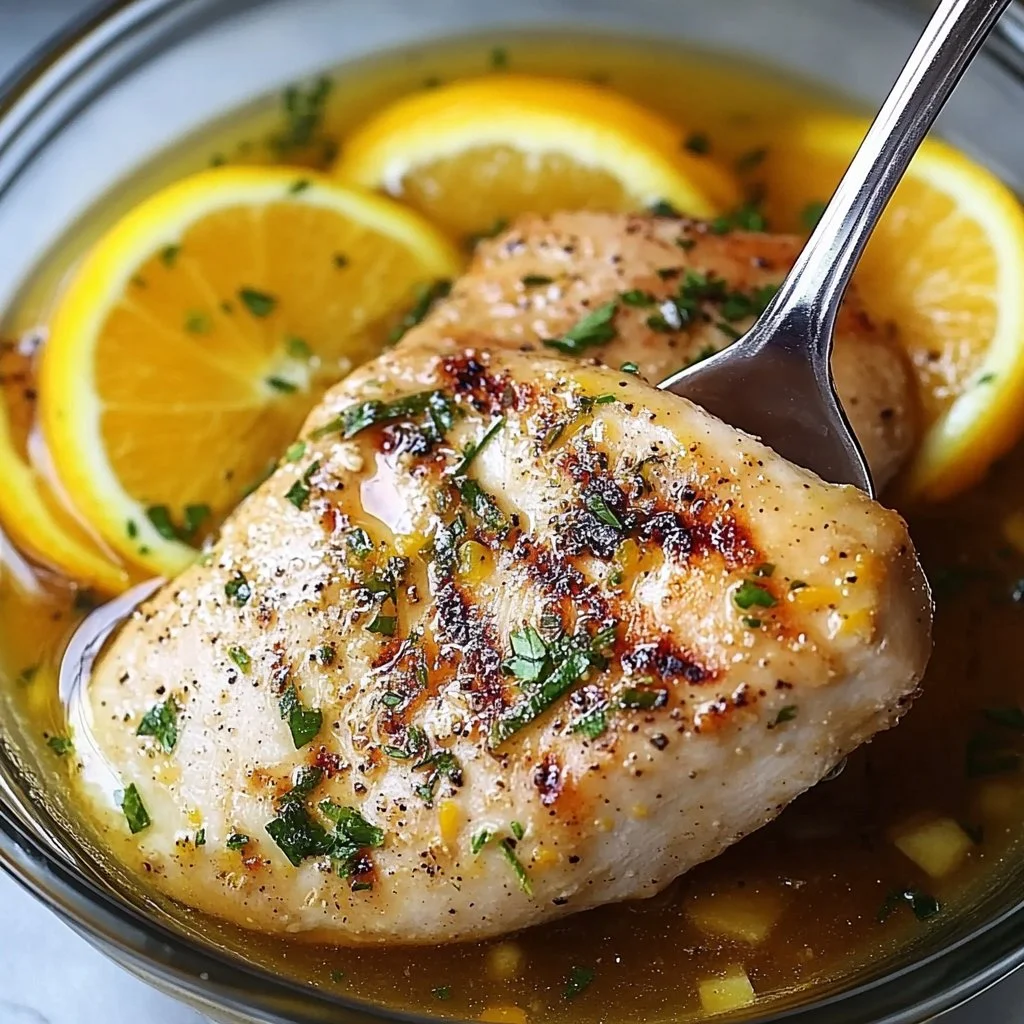
- In a bowl, mix honey, garlic, soy sauce, olive oil, salt, pepper, and oregano to create the marinade. It smells incredible as you combine these flavors.
- Add the cubed chicken and chopped vegetables to the marinade, ensuring everything is coated. Cover and refrigerate for at least 30 minutes. The longer, the better!
- Preheat the grill to medium-high heat, giving it time to get nice and hot.
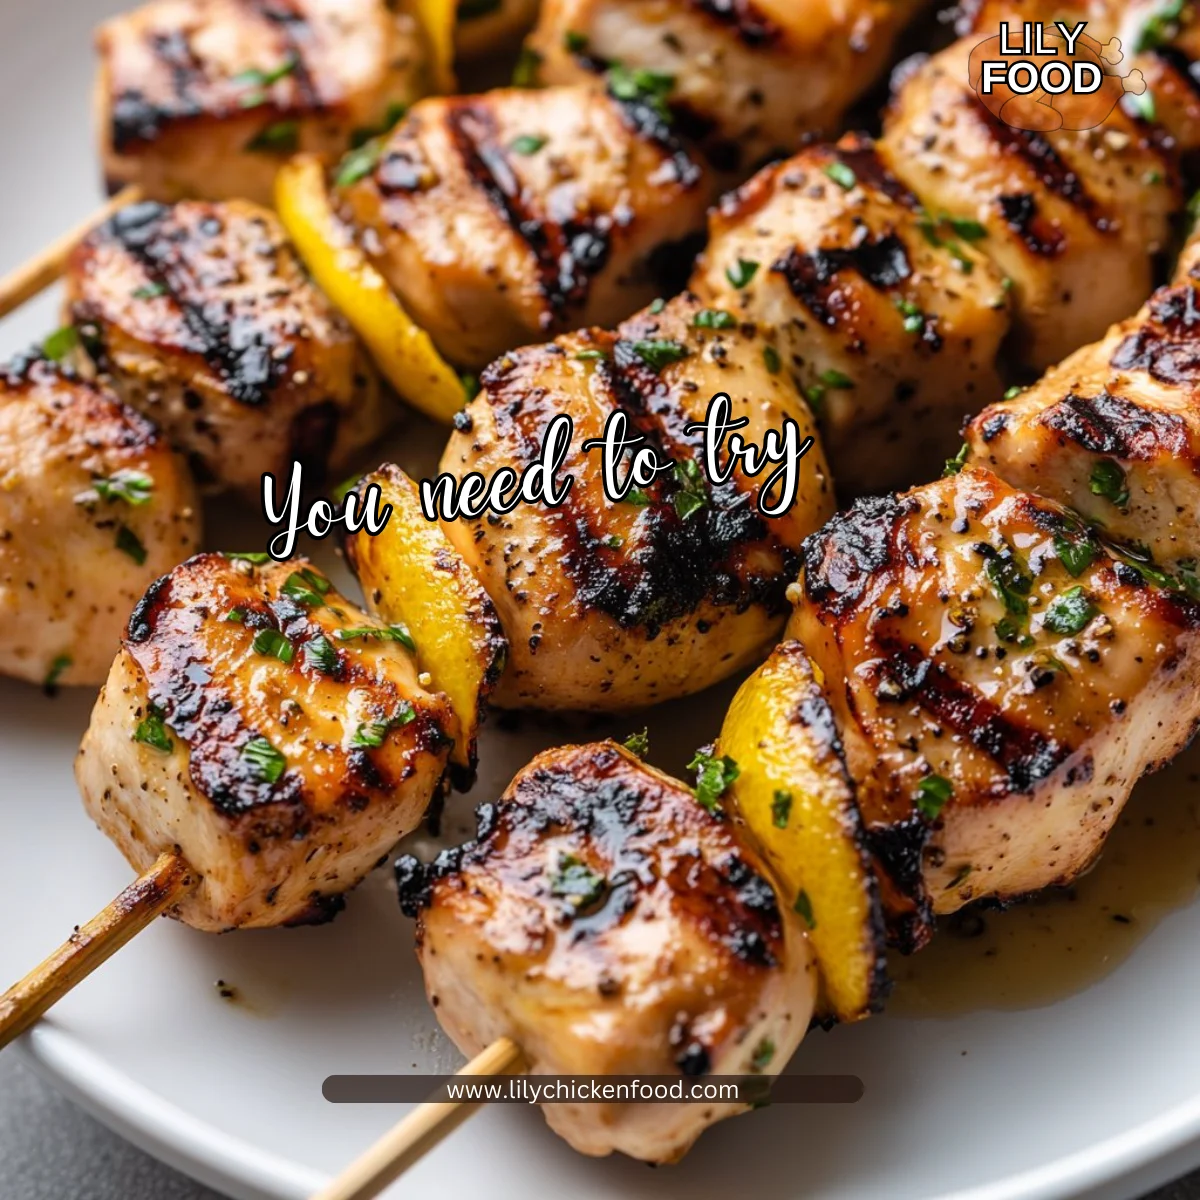
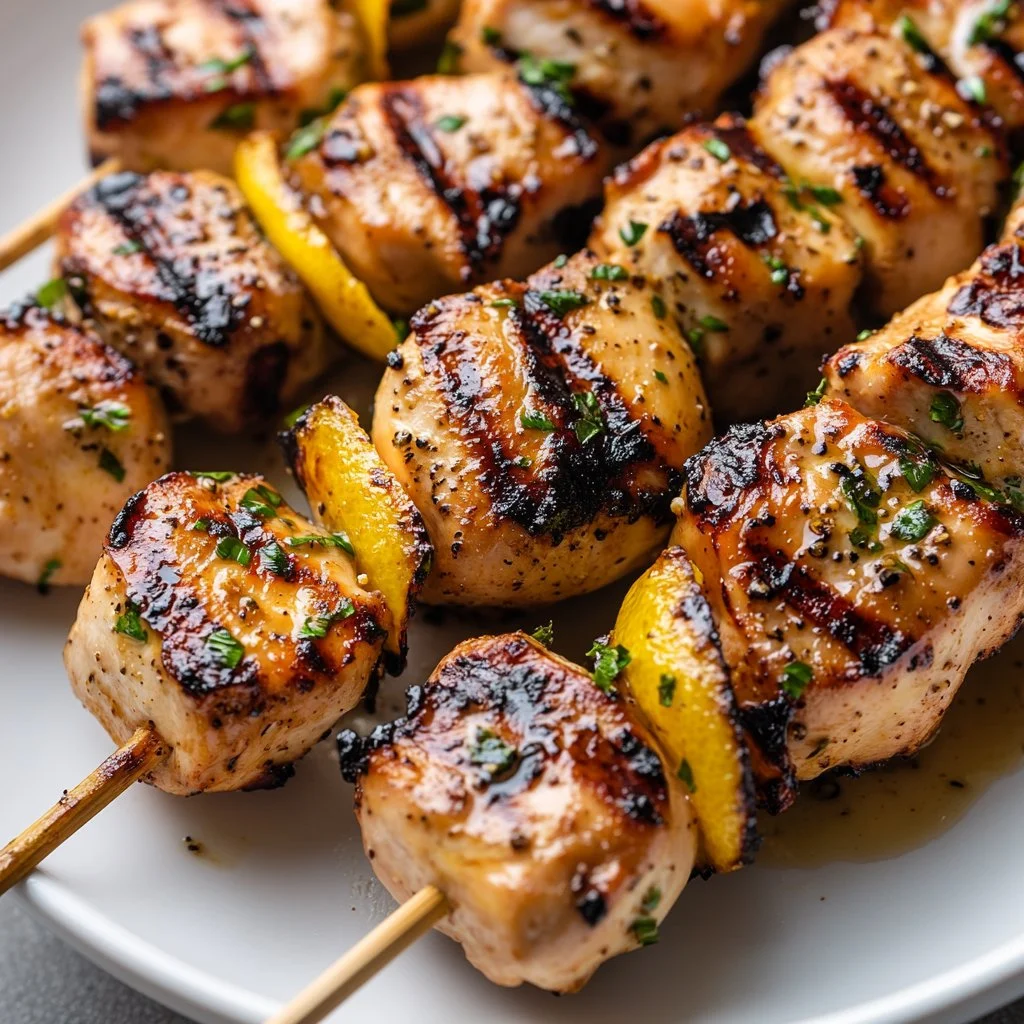
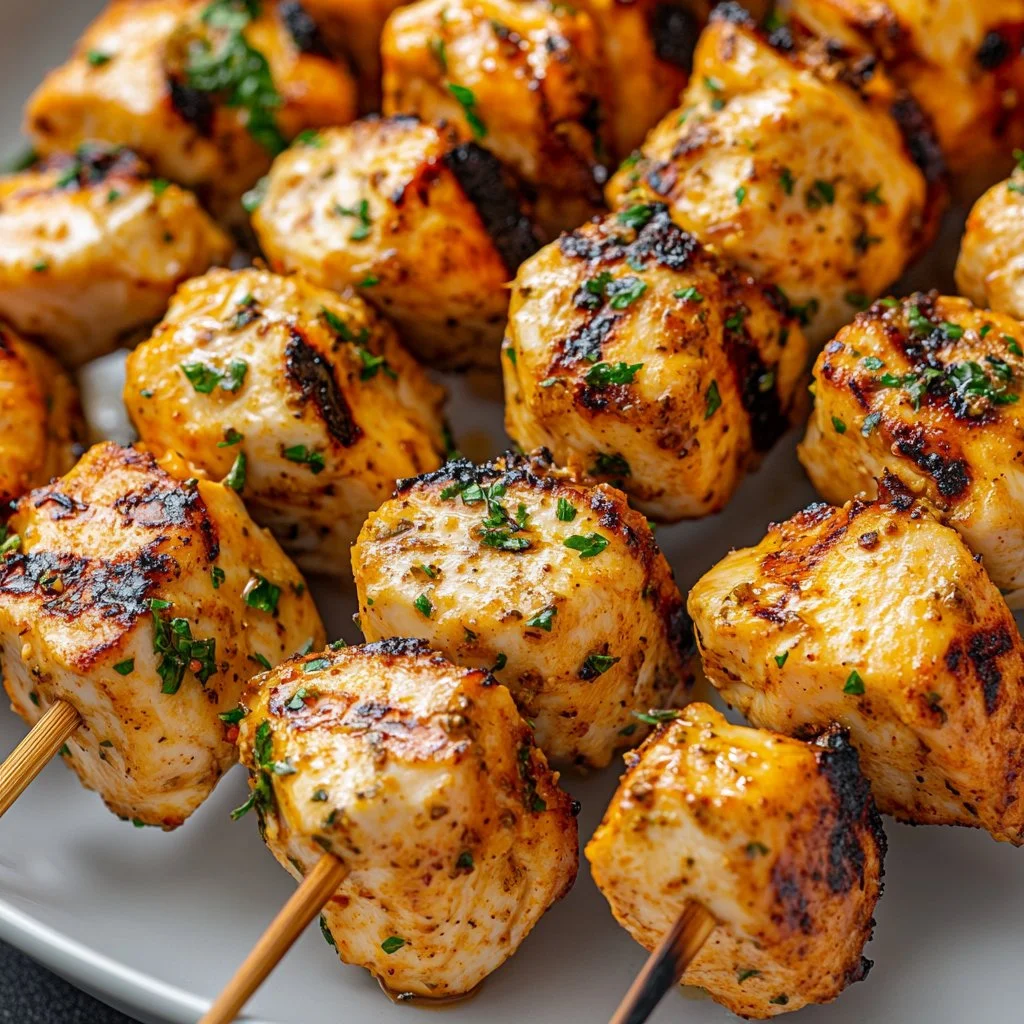
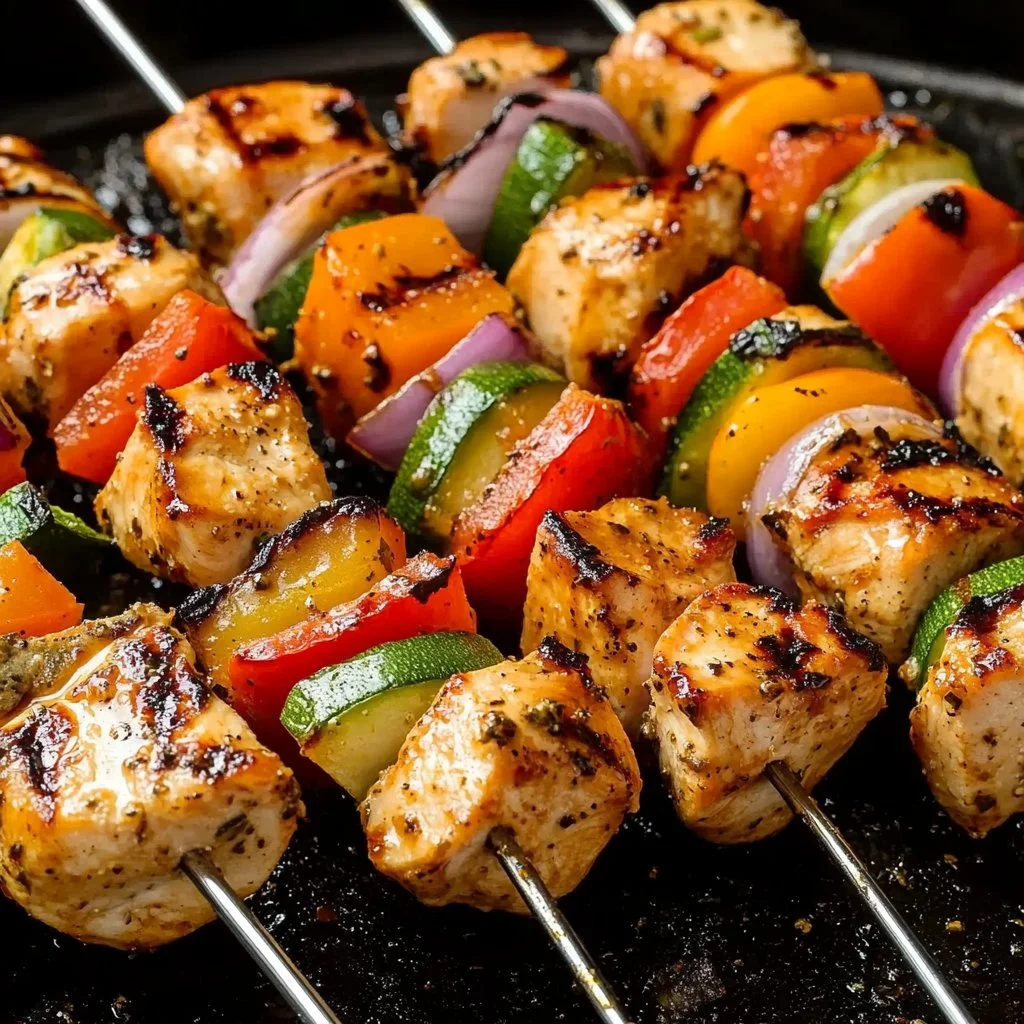
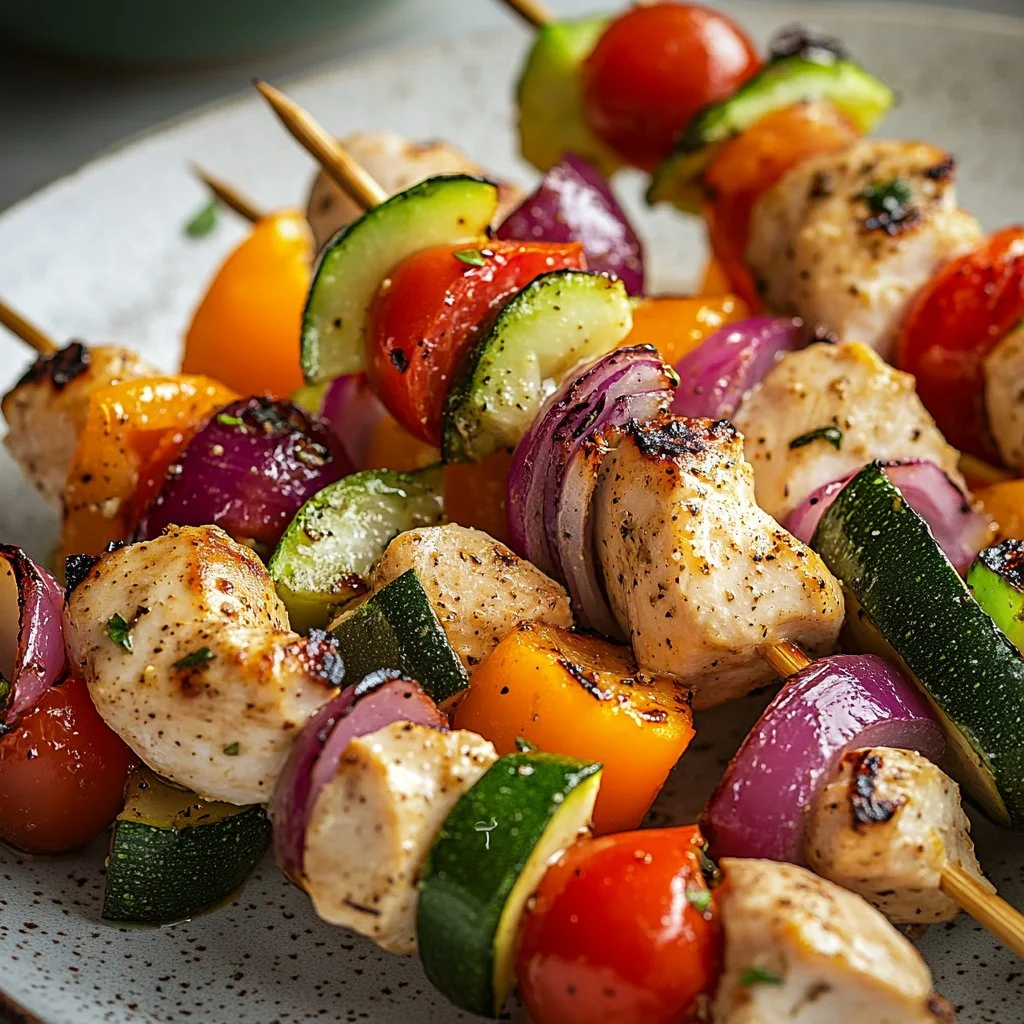
- Thread the marinated chicken and vegetables onto skewers. Alternate between chicken and veggies for a colorful display.
- Grill the kabobs for about 10-15 minutes, turning occasionally, until the chicken is cooked through and the vegetables are tender. The sounds of sizzling means you’re almost there!
- Serve immediately and enjoy the thrilled smiles around the table.
Serving

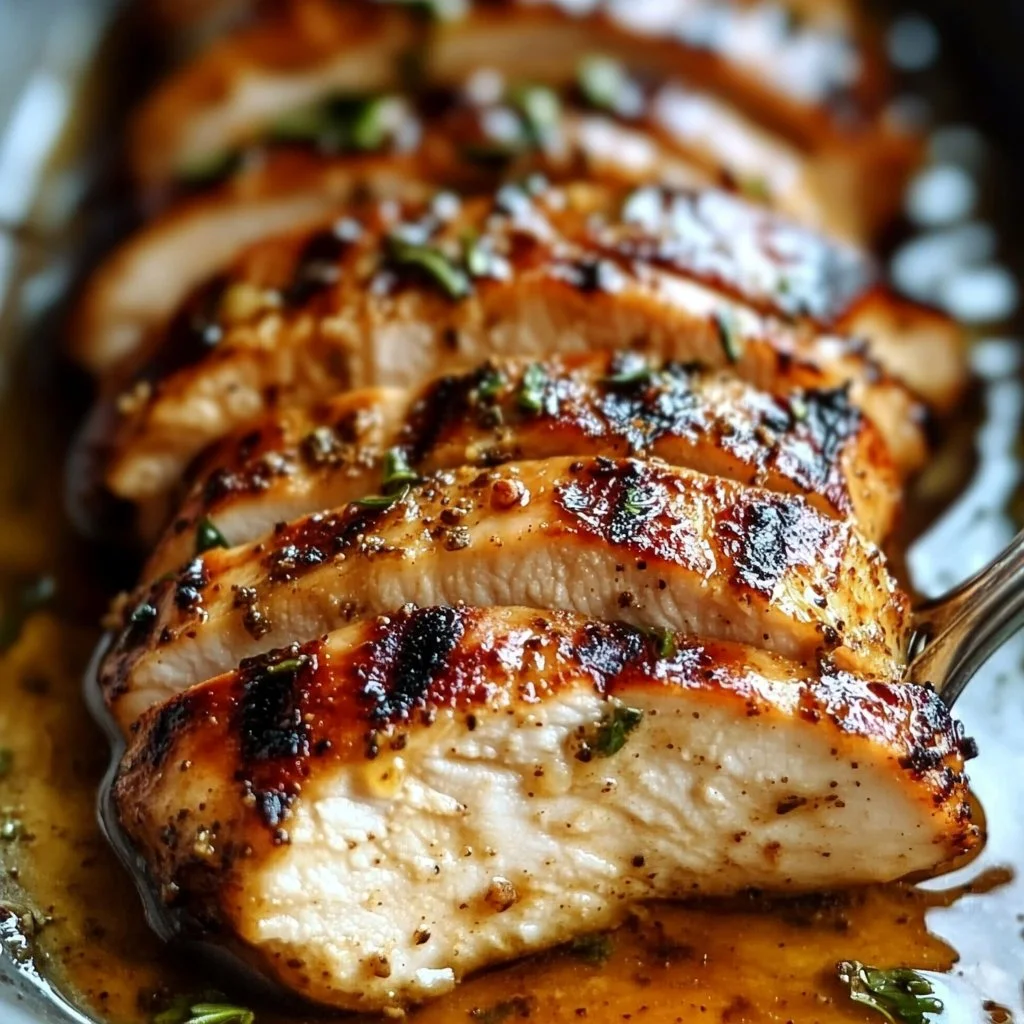
To serve these delightful kabobs family-style, simply place the skewers on a large platter. Garnish with a sprig of fresh herbs for an extra touch. Family-style serving encourages everyone to help themselves, making it a communal experience. Pair your kabobs with a side of rice, quinoa, or a fresh green salad. This makes for a well-rounded meal everyone will love!
Storage
If you have any leftovers (which is rare with such a tasty dish), store the kabobs in an airtight container in the fridge. They will last for up to 3 days. To reheat, you can use the oven or microwave. If using the oven, preheat it to 350°F and warm for about 10 minutes until heated through.
Kitchen Notes
- Prepare your marinade ahead to save time on busy evenings.
- Cut your vegetables and chicken in uniform sizes for even cooking.
- Use a grill basket if your veggies keep falling through the grates.
- Make double the marinade; it works well for any protein.
- Switch up the veggies according to the season for the freshest flavors.
Variations
Don’t hesitate to customize your kabobs! Here are some delightful tweaks:
- For Picky Eaters: If you have little ones who are hesitant about veggies, try using familiar ones like bell peppers and mushrooms.
- For Different Diets: You can substitute chicken with shrimp, beef, or even tofu for a vegetarian option.
- Flavor Variations: Spice things up by adding a teaspoon of cayenne pepper or using teriyaki sauce instead of soy sauce.
- Herbal Infusions: Fresh herbs like thyme or rosemary can add an extra layer of flavor if you want to try something unique.
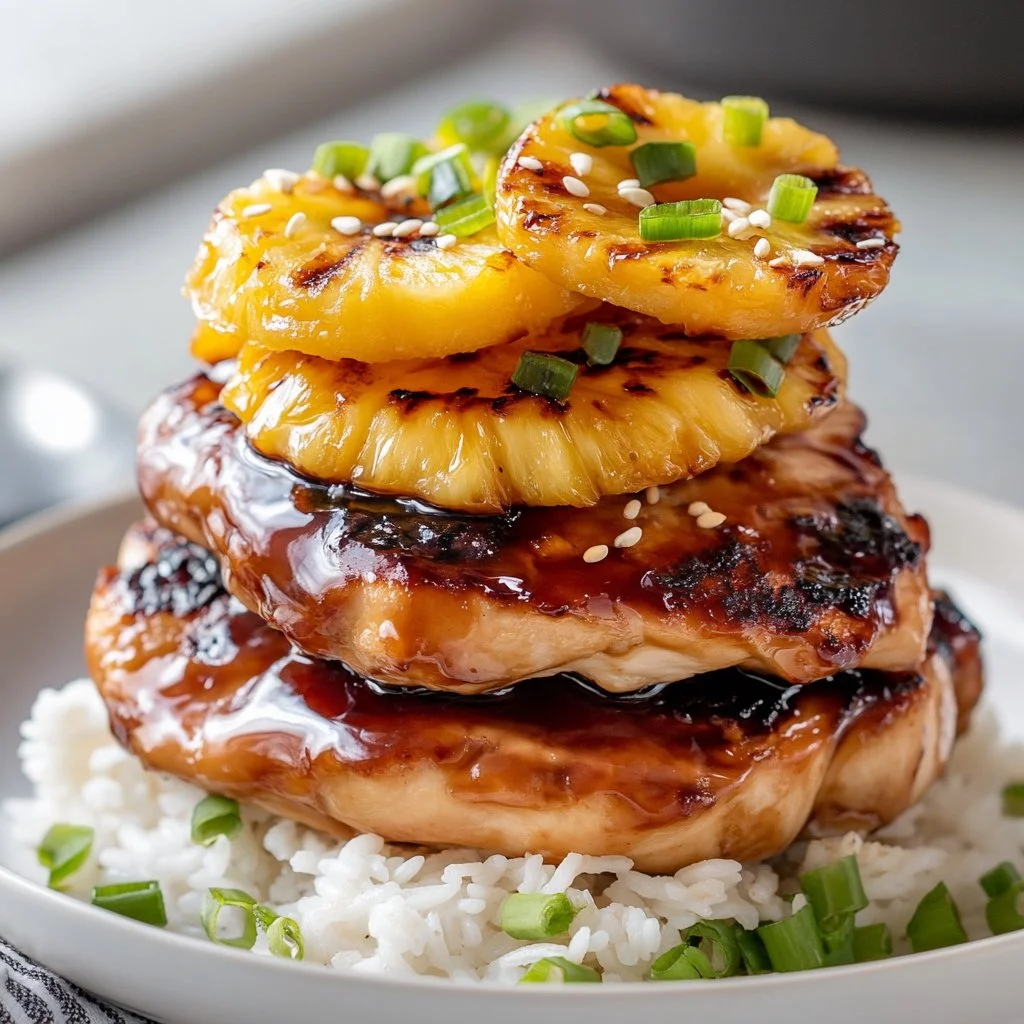
- Fruit Kabobs: For a sweet twist, add pineapple or peach cubes to your skewers.
FAQ
-
Can I use frozen chicken?
- Yes, but thaw it completely before marinating to ensure even flavor distribution.
-
What can I substitute for soy sauce?
- You can use coconut aminos for a soy-free option or tamari if you need it gluten-free.
-
How can I tell when the chicken is cooked?
- Chicken should reach an internal temperature of 165°F. Use a meat thermometer for accuracy.
-
Can I make these ahead of time?
- Yes, you can prepare the kabobs and marinate them a few hours ahead. Just keep them chilled until you are ready to grill.
-
What can I serve with the kabobs?
- Kabobs pair beautifully with rice, couscous, or a refreshing salad.
As you gather around the table with your loved ones, take a moment to appreciate the love that went into preparing this meal. Food is not just about nourishment; it’s about connection, laughter, and sharing. Grilled Chicken Kabobs with Vegetables embody all of that.
Happy cooking, and may your kitchen continue to be a place of joy and warmth!
Grilled Chicken Kabobs with Vegetables
Ingredients
Marinade
- 1/4 cup honey
- 3 cloves garlic, minced
- 1/4 cup soy sauce
- 2 tbsp olive oil
- 1 tsp salt
- 1/2 tsp black pepper
- 1 tsp dried oregano
Main Ingredients
- 2 lbs chicken breast, cubed
- 1 ea bell pepper, chopped (any color)
- 1 ea red onion, chopped
- 1 ea zucchini, sliced
- 1 cup cherry tomatoes
- Skewers wooden or metal (If using wooden skewers, soak in water for 30 minutes before grilling.)
Instructions
Preparation
- In a bowl, mix honey, garlic, soy sauce, olive oil, salt, pepper, and oregano to create the marinade.
- Add the cubed chicken and chopped vegetables to the marinade, ensuring everything is coated. Cover and refrigerate for at least 30 minutes.
- Preheat the grill to medium-high heat.
Grilling
- Thread the marinated chicken and vegetables onto skewers, alternating chicken and veggies.
- Grill the kabobs for about 10-15 minutes, turning occasionally, until the chicken is cooked through and the vegetables are tender.
Serving
- Serve immediately and enjoy the thrilled smiles around the table.