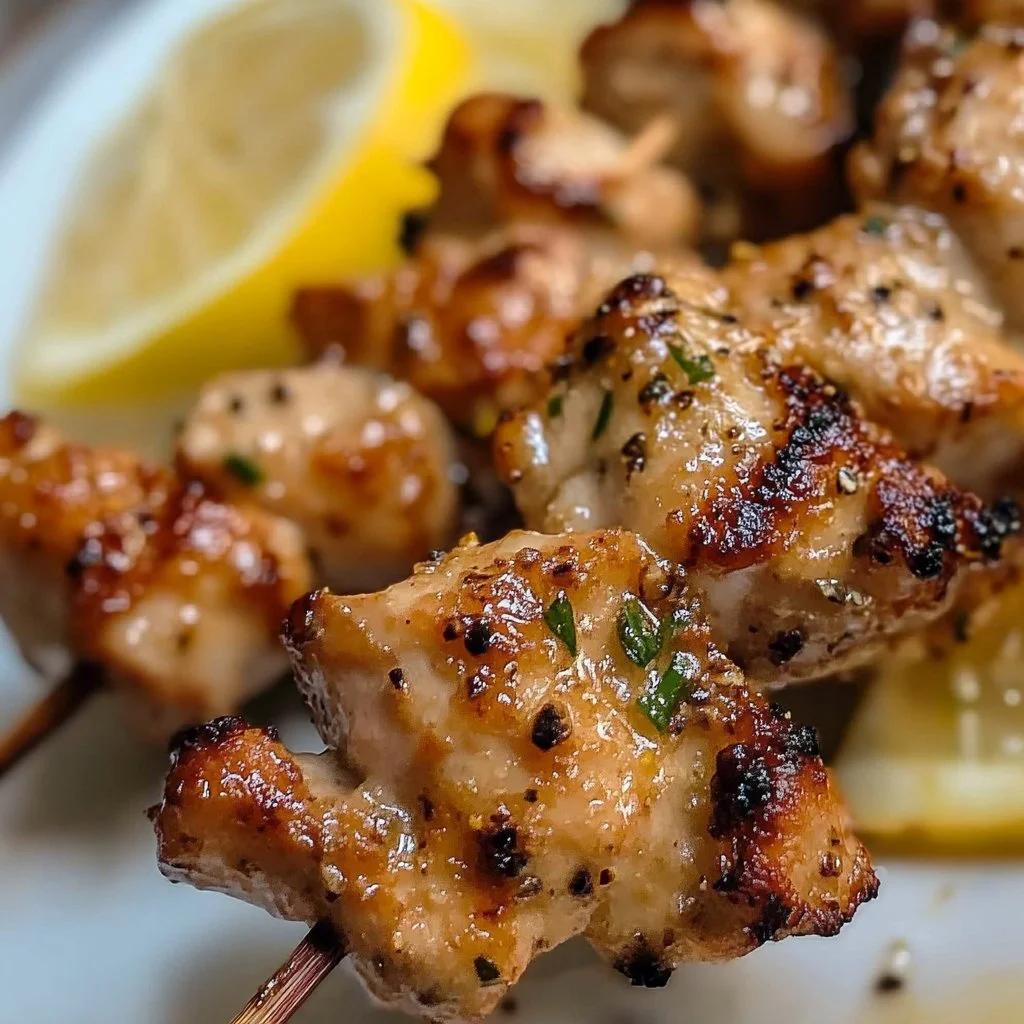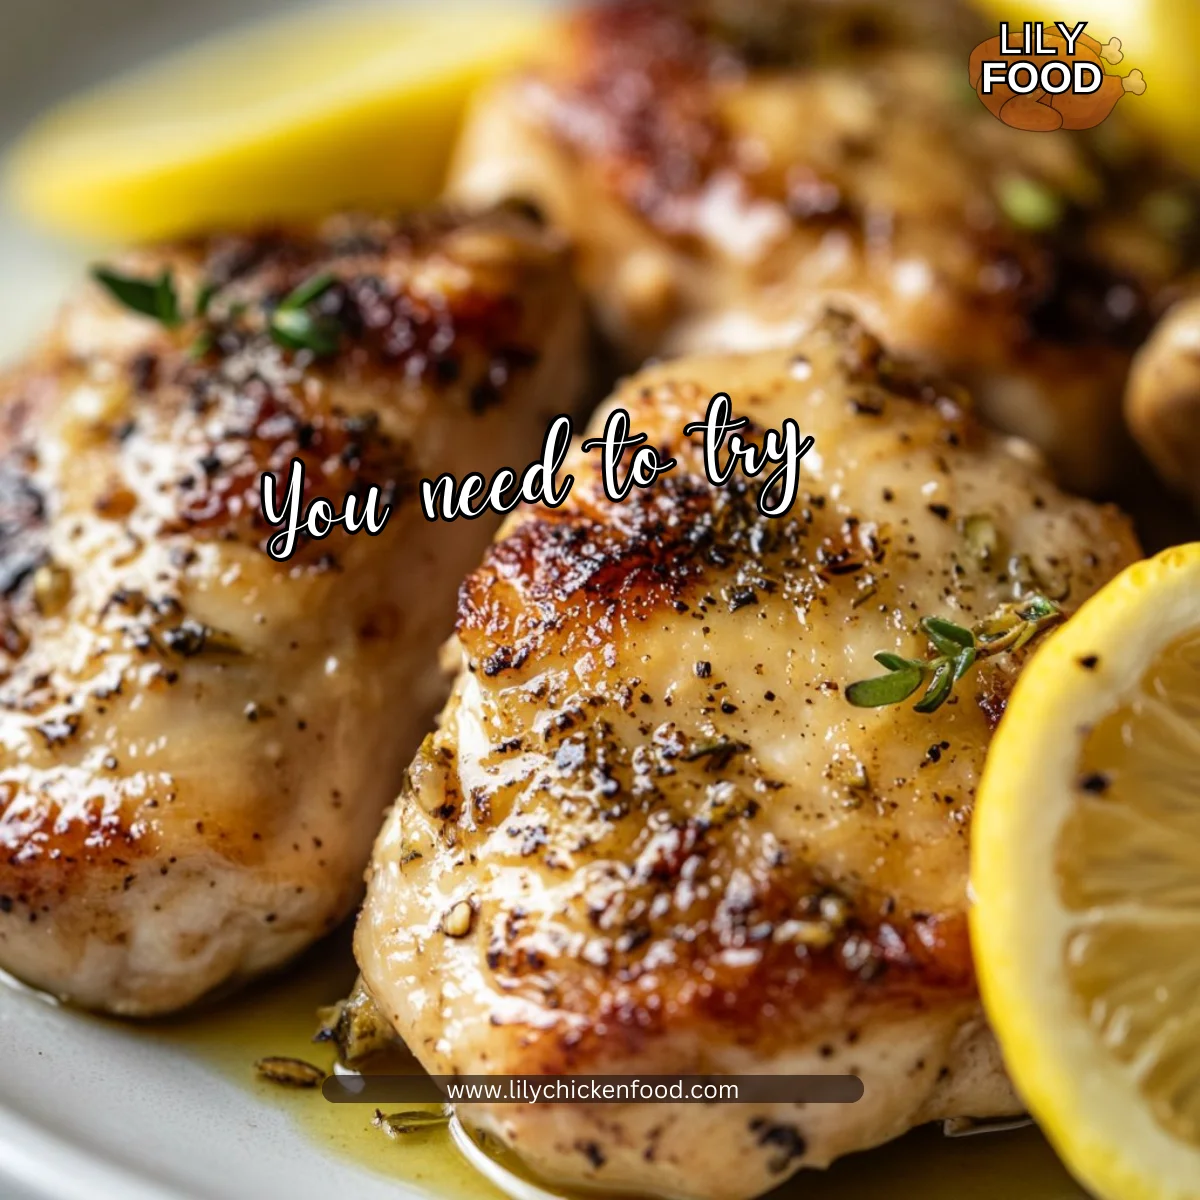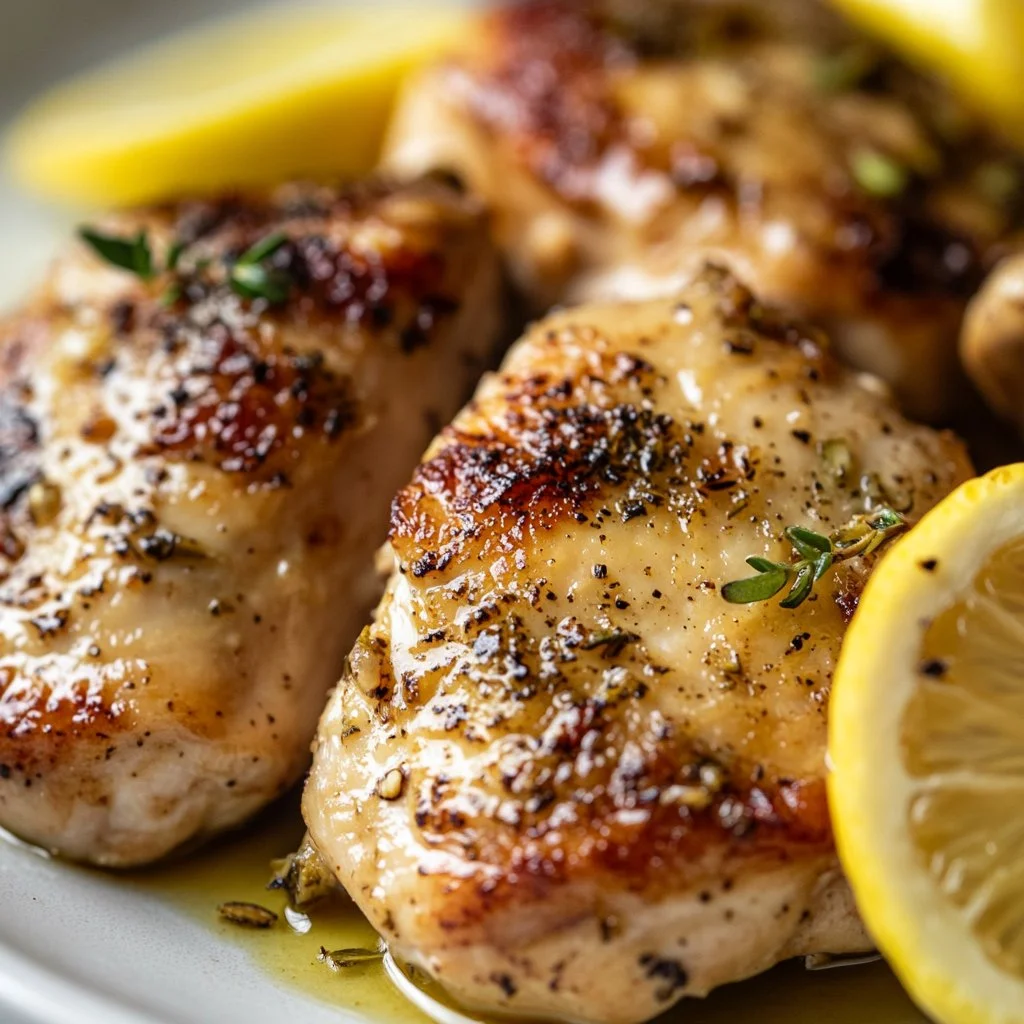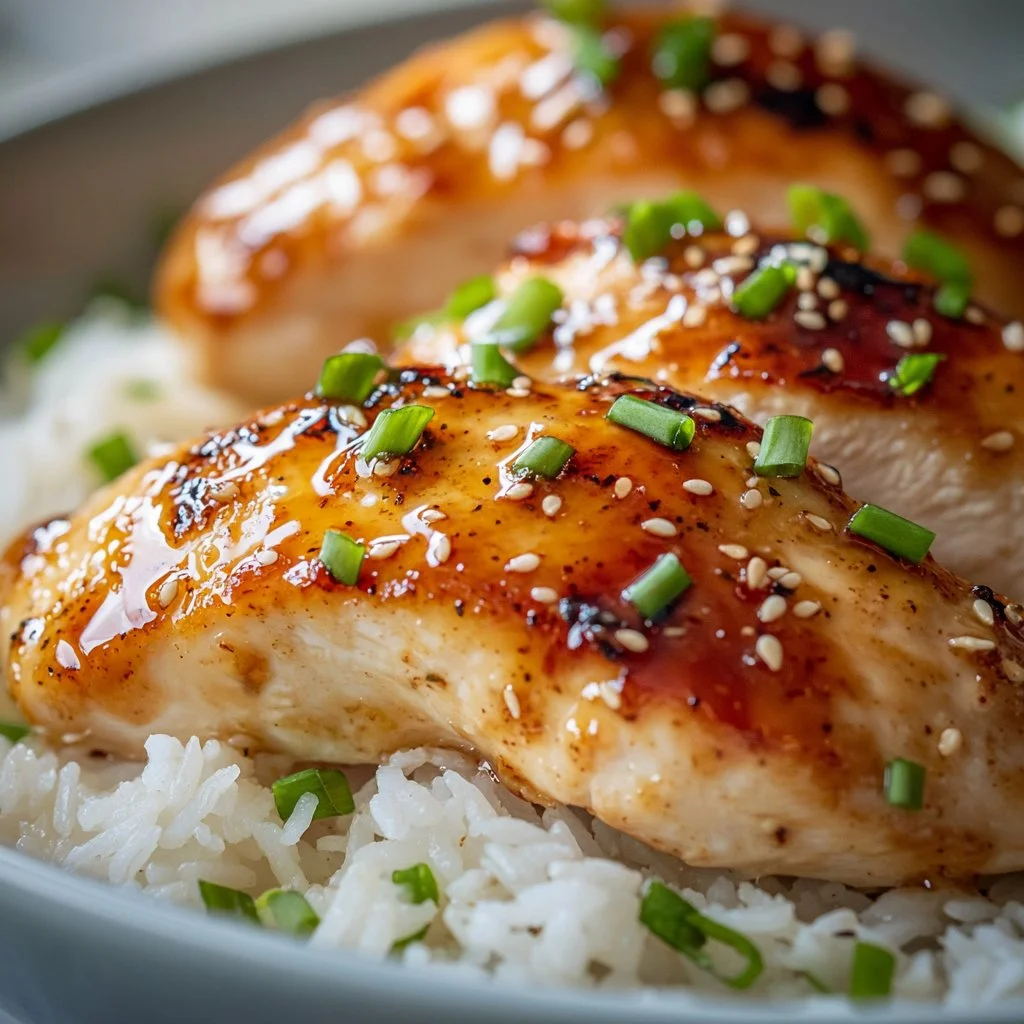
I can almost smell it now. The bright tang of lemon hits the air, and the little sizzle of chicken in a hot pan makes the whole kitchen feel like home. That sound means dinner is close, and it always draws the family in.
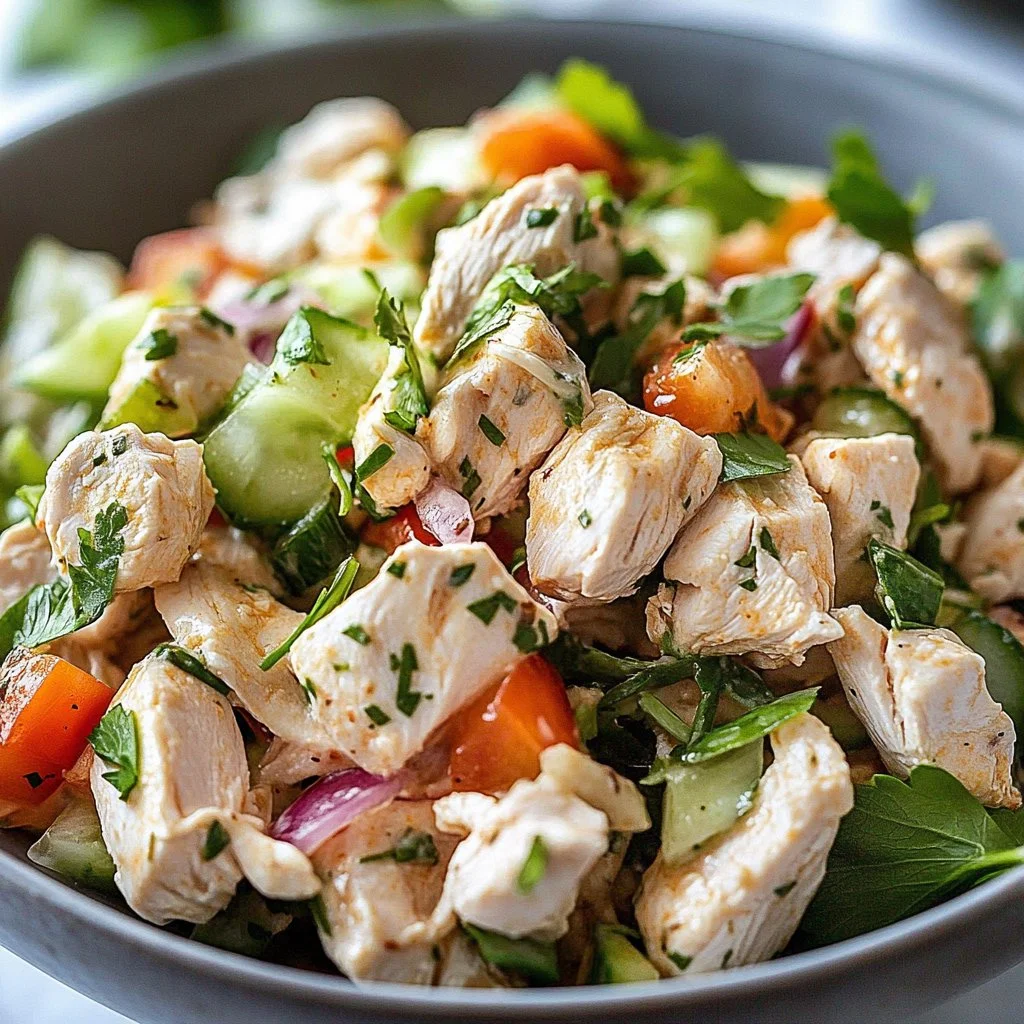
This High Protein Mediterranean Lemon-Dill Chicken Bowl is one of my favorite weeknight solutions. It is full of flavor, easy to scale, and gentle on the budget. If you like meals that please kids and adults, this bowl will become a rotation staple. For a different kind of weeknight winner, I sometimes pair it with my buffalo chicken salad when we want a spicier night.
Why this works
This recipe balances bold flavors with simple prep. The lemon and dill brighten every bite, while the honey gives a touch of sweet to calm the tang. The chicken stays moist thanks to the olive oil and quick sear. I love how it comes together faster than you think.
It is meal prep friendly. Cook a batch of chicken and rice on Sunday and you have lunches ready for the week. Swap the base to roasted sweet potato for a warm twist, inspired by my chicken and sweet potato meal prep. This makes it practical for busy families and weeknight cooks.
Process Overview
“This is where the magic happens—when the aroma fills the kitchen.”
Start by marinating the chicken so the lemon and herbs can work their magic. While the chicken soaks in that flavor, you can cook the rice and prep the vegetables. The final steps are quick: sear the chicken and assemble warm bowls.
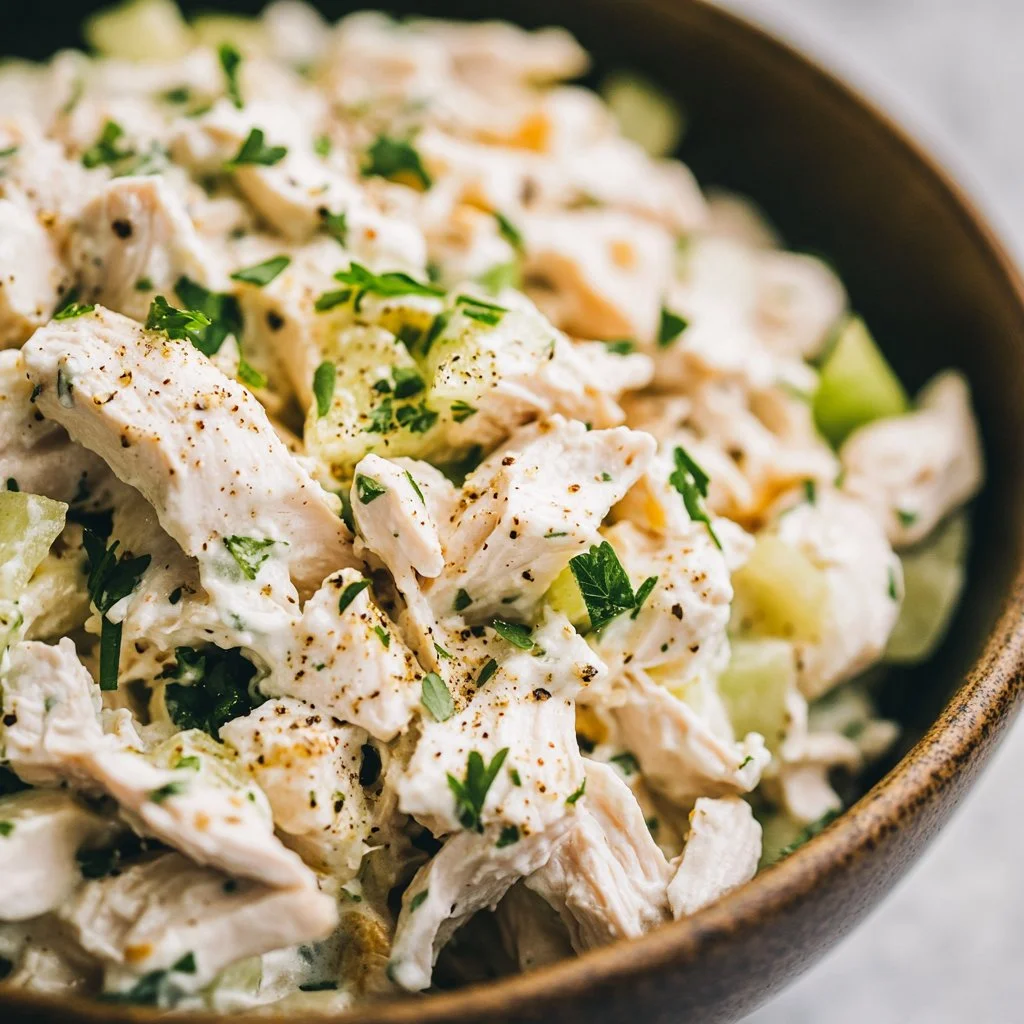
If you like a feta-forward bite, this process matches the approach I use in my feta chicken salad. The timing and plating are almost identical, and that consistency makes meal planning easier.
Ingredients
-
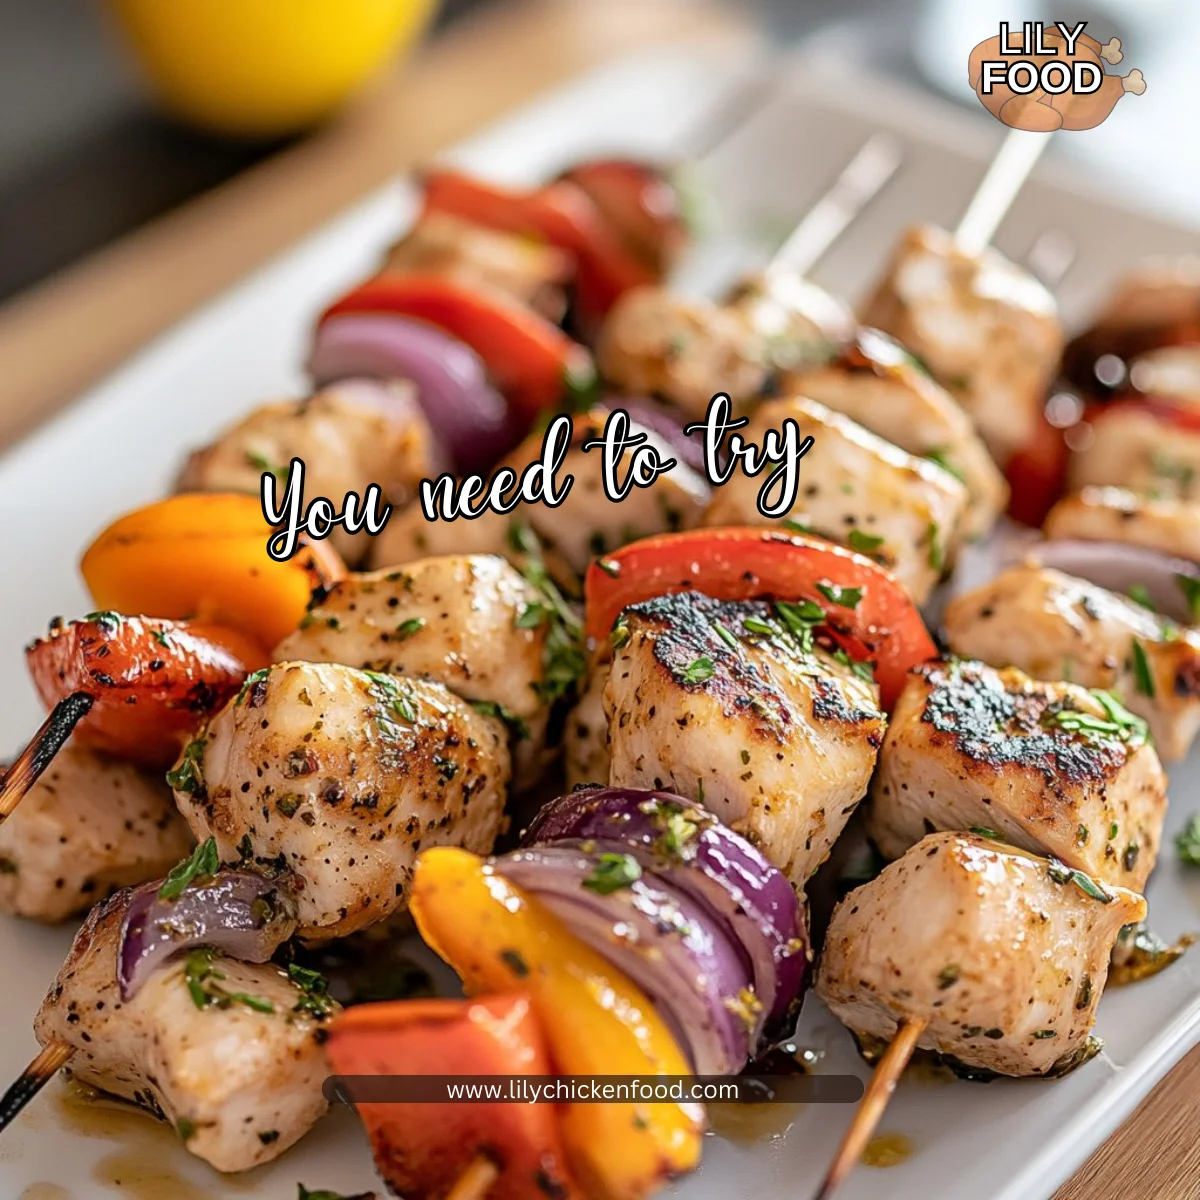
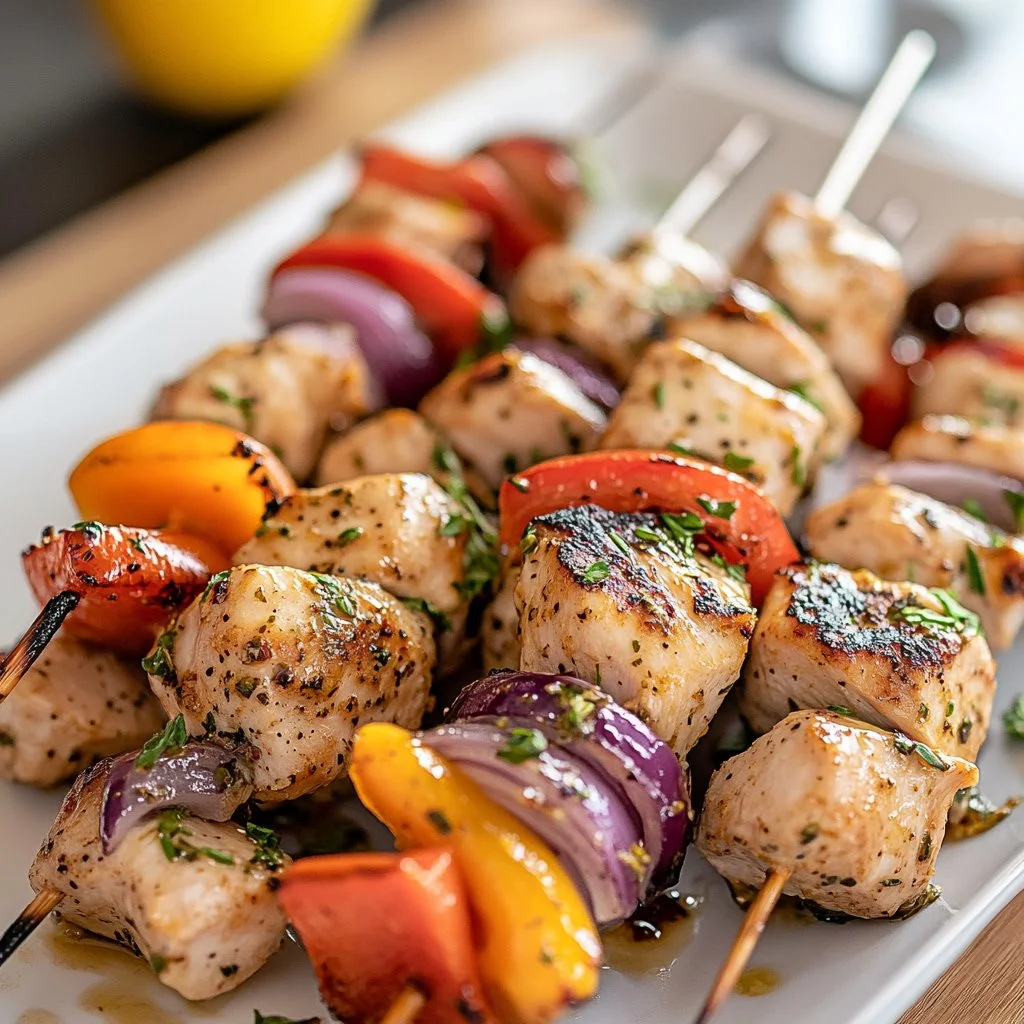
1 1/4 lb chicken breasts, cut into 1-inch cubes
Lily’s tip: Choose even-size pieces so they cook evenly. If you have time, pound the thicker parts slightly for uniformity. -
1/3 cup olive oil
Lily’s tip: Use extra virgin for flavor in the marinade, and save a little for drizzling when serving. -
1 1/2 tbsp lemon zest
Lily’s tip: Zest before juicing to get the most bright aroma. A microplane works best. -
3 tbsp lemon juice
Lily’s tip: Fresh juice always. If you must use bottled, add a pinch of extra zest. -
2 1/2 tbsp honey
Lily’s tip: Honey balances the lemon. If serving to toddlers under 1, skip the honey and add a splash more olive oil. -
1 tsp garlic powder
Lily’s tip: Powder spreads evenly in a marinade and keeps the sauce smooth. -
1 1/2 tsp oregano
Lily’s tip: Dried is fine here. If you use fresh, double the amount and chop finely. -
1 1/2 tsp basil
Lily’s tip: I like dried basil in the marinade and fresh basil as a garnish when available. -
1 tsp salt
Lily’s tip: Adjust to taste, but remember some salt helps the chicken retain moisture. -
1/4 tsp pepper
Lily’s tip: Freshly ground if you can. It wakes up the herbs. -
1/2 tsp red pepper flakes
Lily’s tip: Keep it mild for kids. Leave them out if anyone is sensitive to heat. -
2 cups basmati rice
Lily’s tip: Rinse the rice until the water runs clear for fluffier grains. -
2 cups diced tomatoes
Lily’s tip: Use ripe tomatoes for sweetness. If tomatoes are watery, drain briefly. -
2 cups chopped cucumber
Lily’s tip: Peel if the skin is thick. For a creamier result, remove seeds before chopping. -
4 cups chopped lettuce
Lily’s tip: Romaine or butter lettuce holds up well under warm rice and chicken. -
1 cup thinly sliced red onion
Lily’s tip: Soak slices in cold water for 10 minutes if you want milder onion flavor. -
1 cup crumbled feta
Lily’s tip: Choose a tangy block feta and crumble yourself. It tastes fresher. -
1/4 cup chopped fresh parsley
Lily’s tip: Flat leaf parsley has the best flavor. Chop just before serving.
Tzatziki sauce
-
1 cup Greek yogurt (Fage preferred)
Lily’s tip: Thick Greek yogurt gives the best texture. If you only have regular yogurt, strain it in a fine sieve. -
1/2 cup grated cucumber, squeezed dry
Lily’s tip: Squeeze firmly to avoid a watery sauce. Use paper towels or a clean dish towel. -
1 tbsp lemon juice
Lily’s tip: Adds bright acid to the sauce. Taste and add more if you like it tangy. -
1 tbsp olive oil
Lily’s tip: Adds silkiness to the tzatziki. Use a good quality oil. -
1 tsp minced garlic
Lily’s tip: Fresh garlic is sharp. Let the sauce rest 10 minutes to mellow. -
1/4 tsp salt
Lily’s tip: Salt tightens the flavors. Add a little at a time. -
1 tbsp finely chopped dill
Lily’s tip: Dill is the star here. Chop finely so it disperses through the yogurt.
Want a portable version? Try wrapping the bowl in a pita like my chicken crunch wrap for lunches on the go.
Directions
-
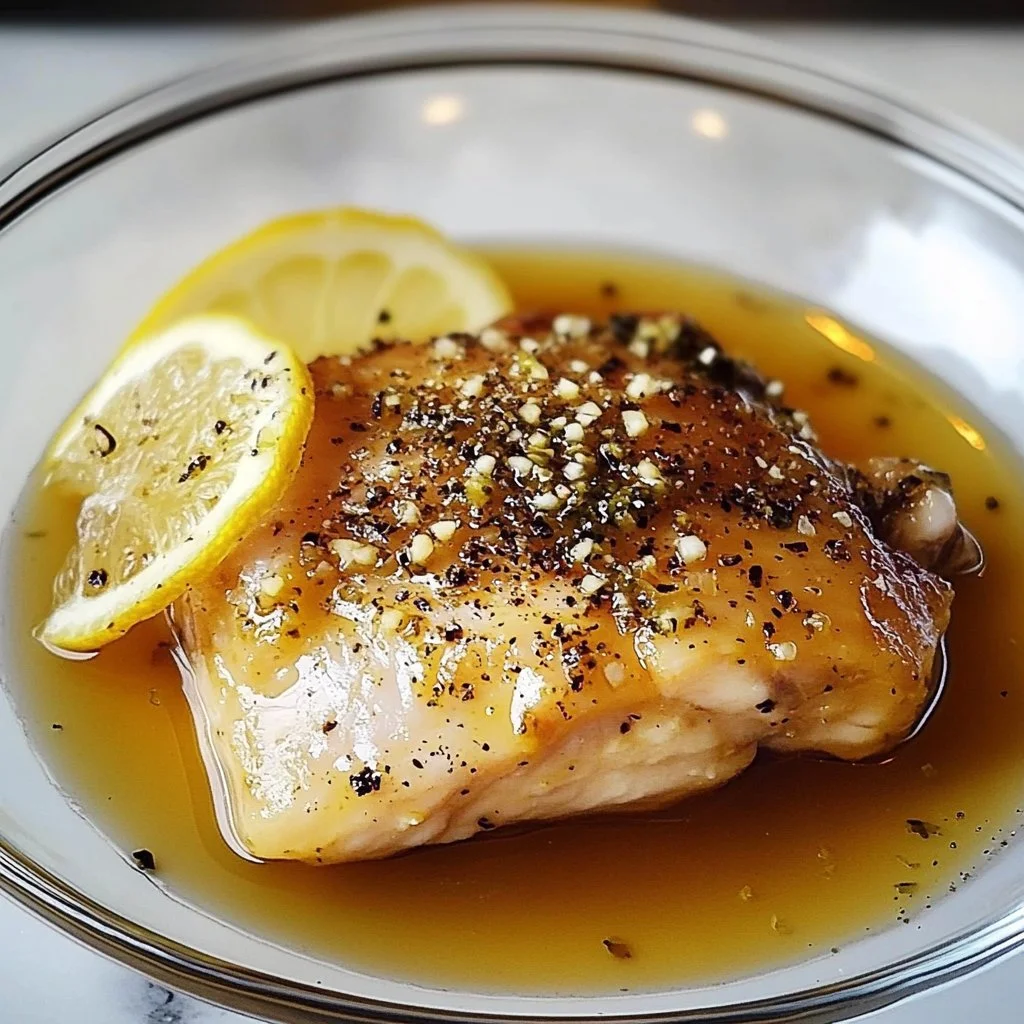
In a bowl or zip-top bag, mix olive oil, lemon zest, lemon juice, honey, garlic powder, oregano, basil, salt, pepper, and red pepper flakes.
Encouraging note: This marinade is simple but powerful. Give it a good whisk and smell the brightness. -
Add chicken cubes to the marinade and refrigerate for at least 30 minutes or overnight.
Encouraging note: Longer is better when you can spare the time. Overnight infuses the deepest flavor. -
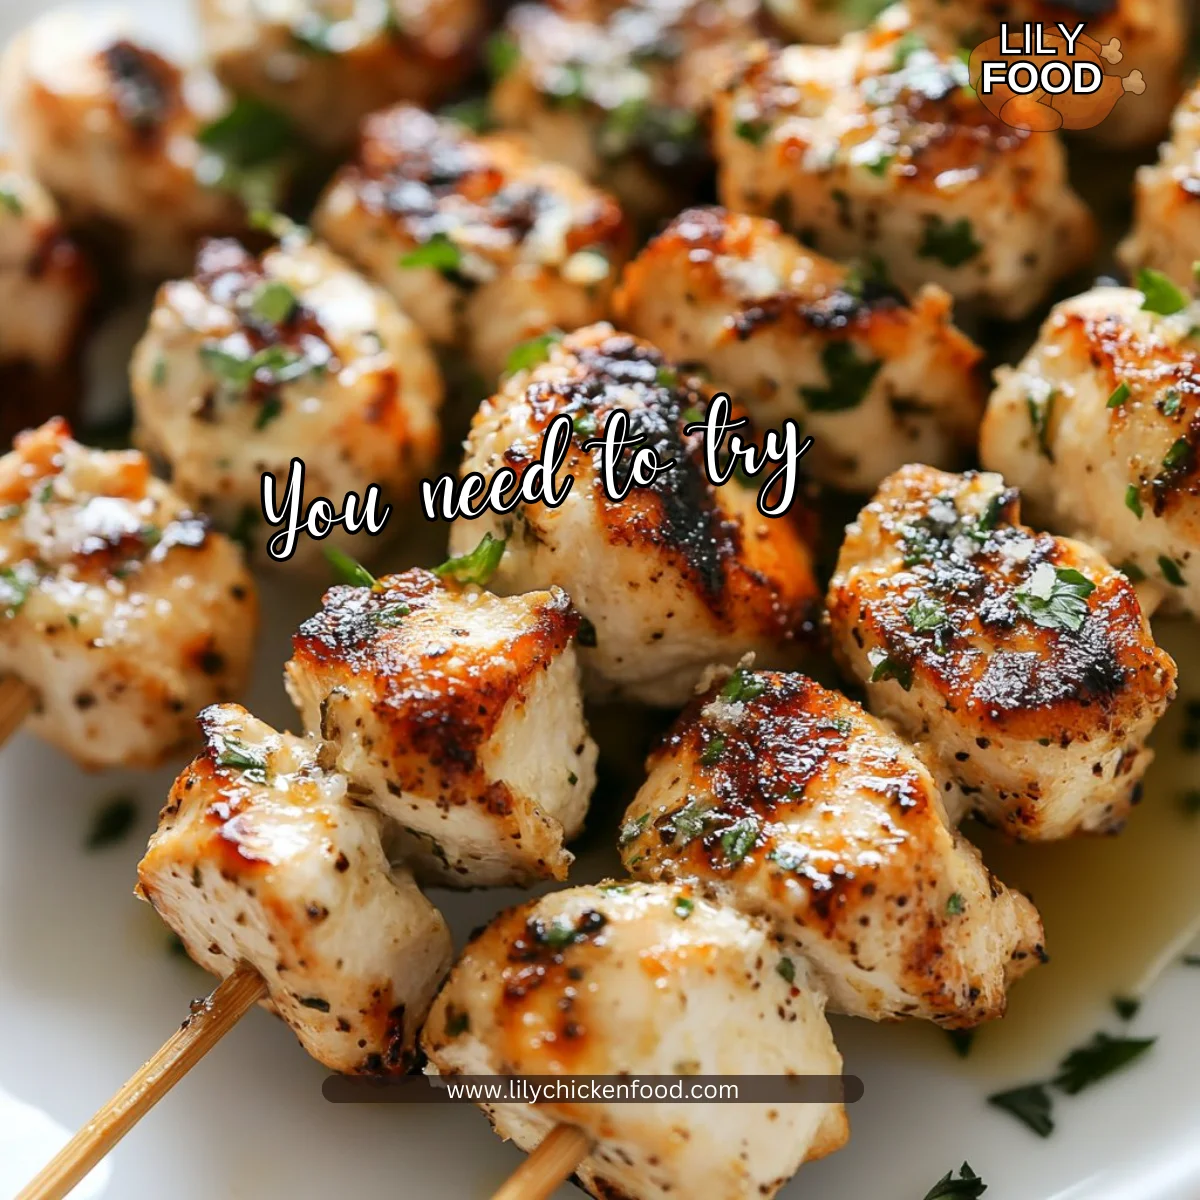
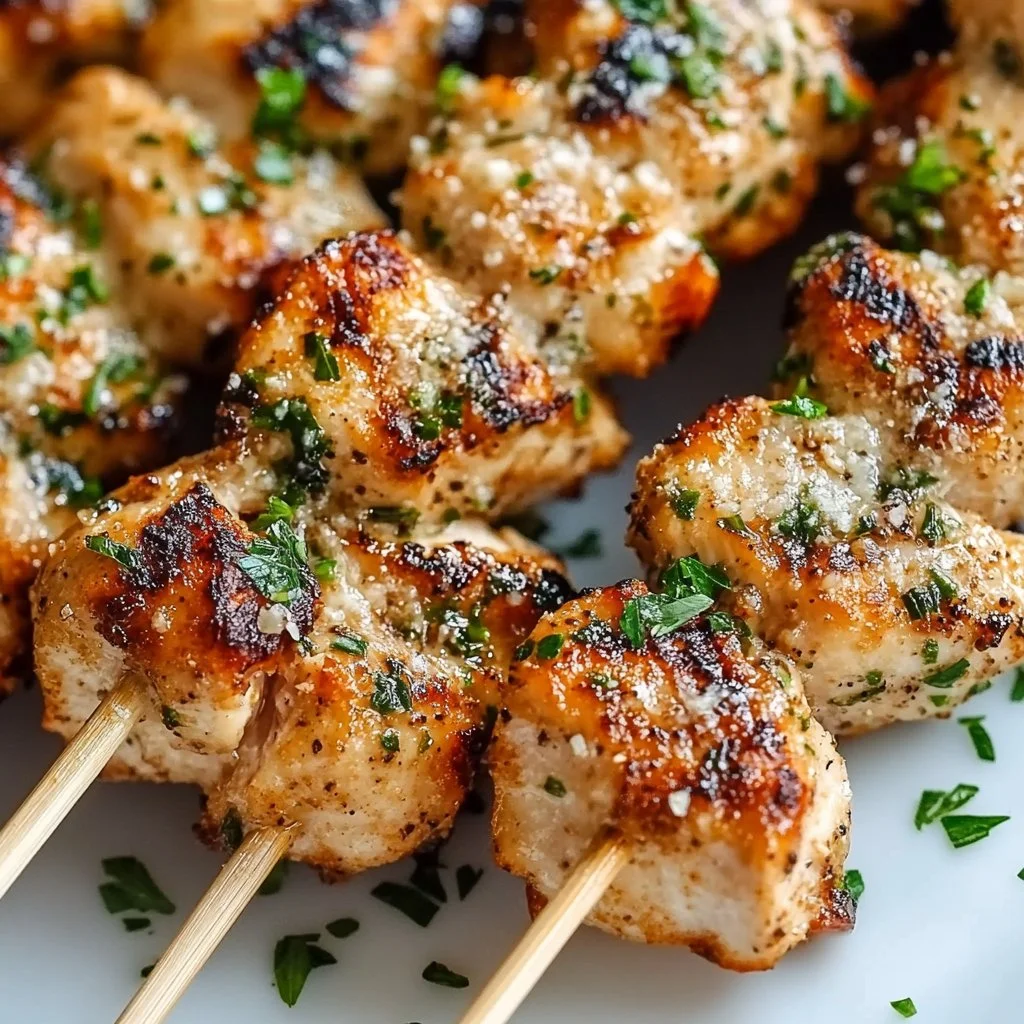
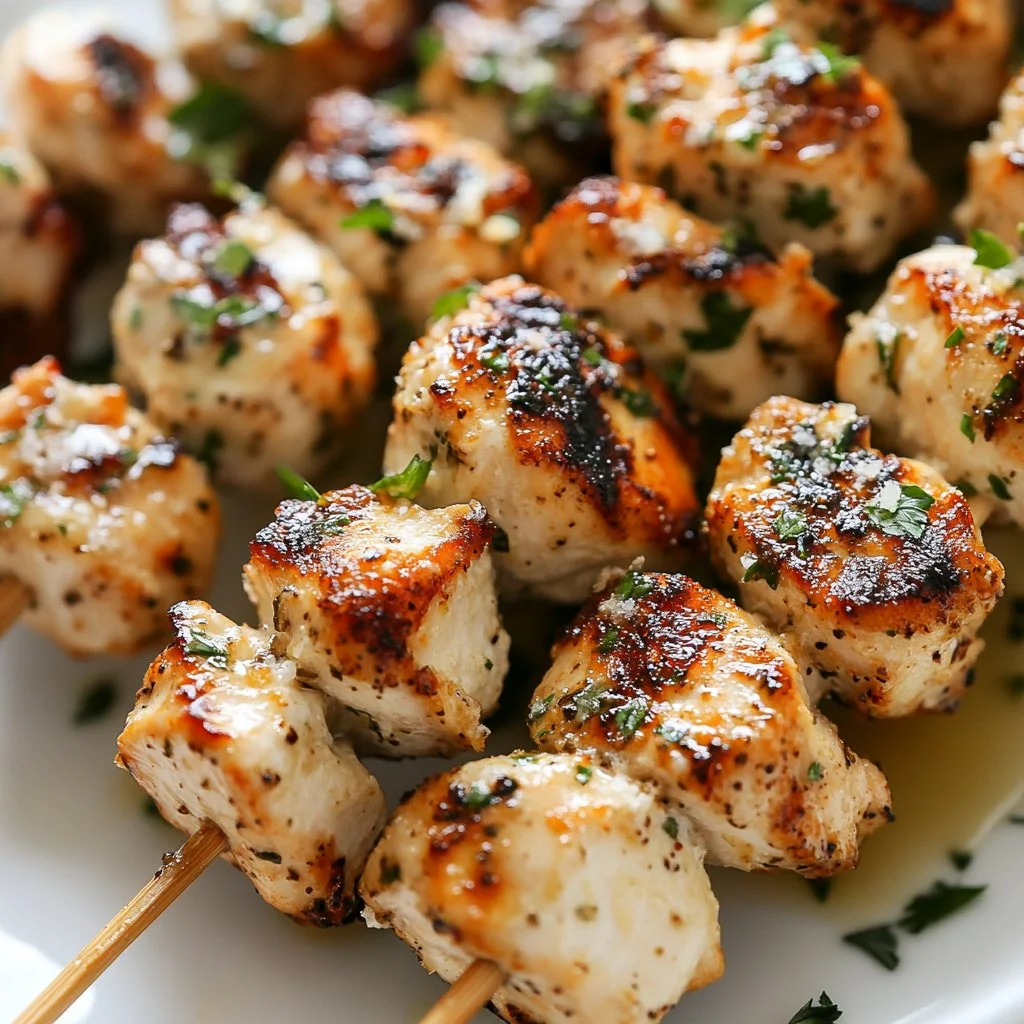
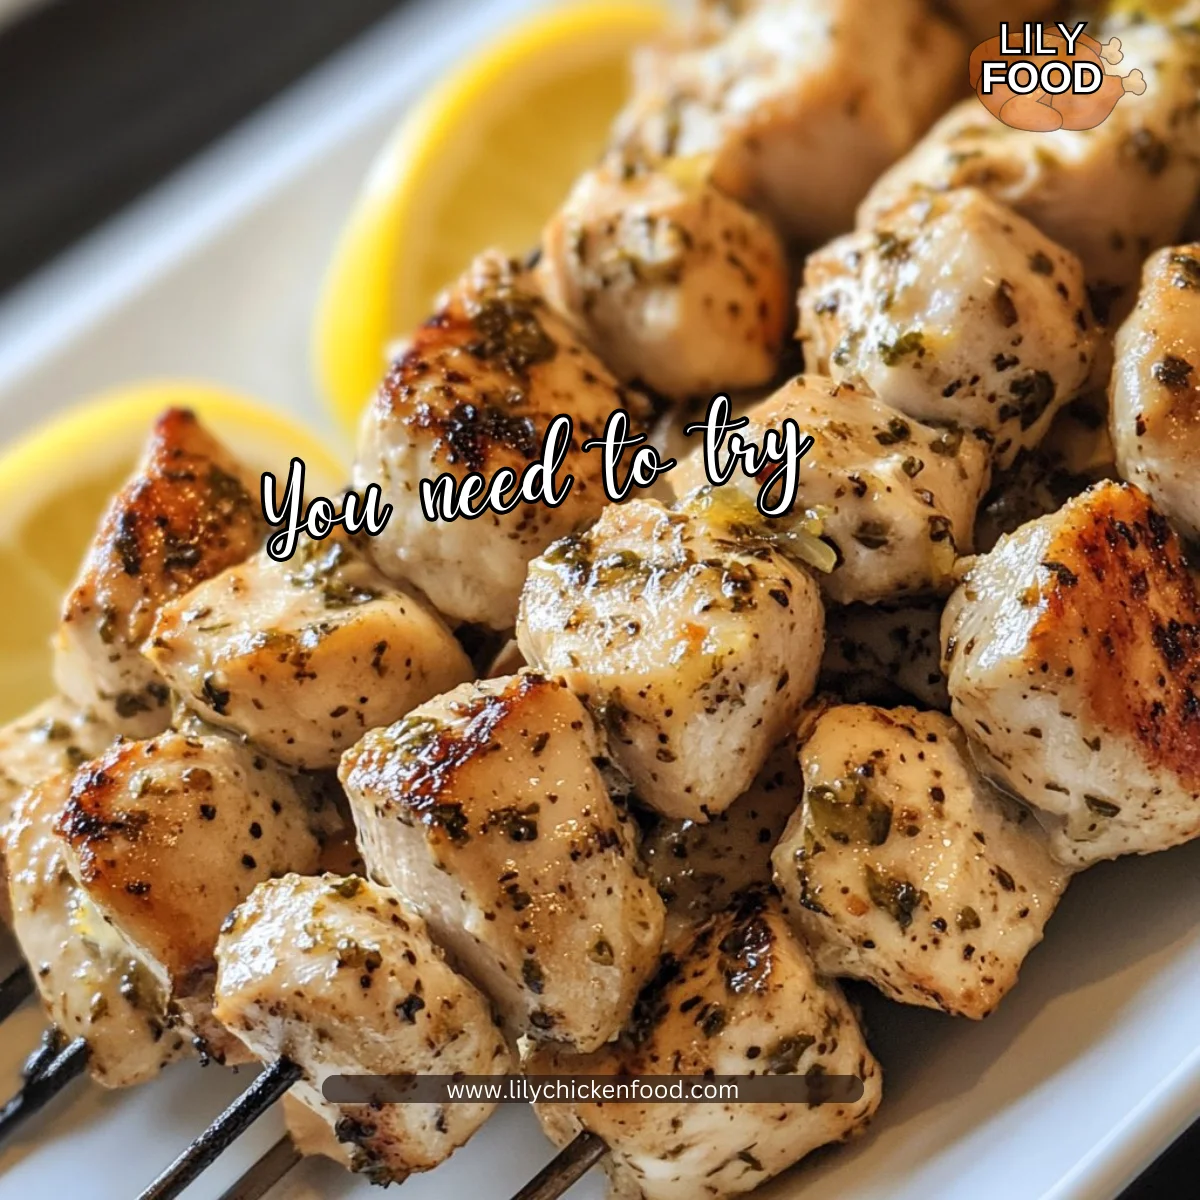
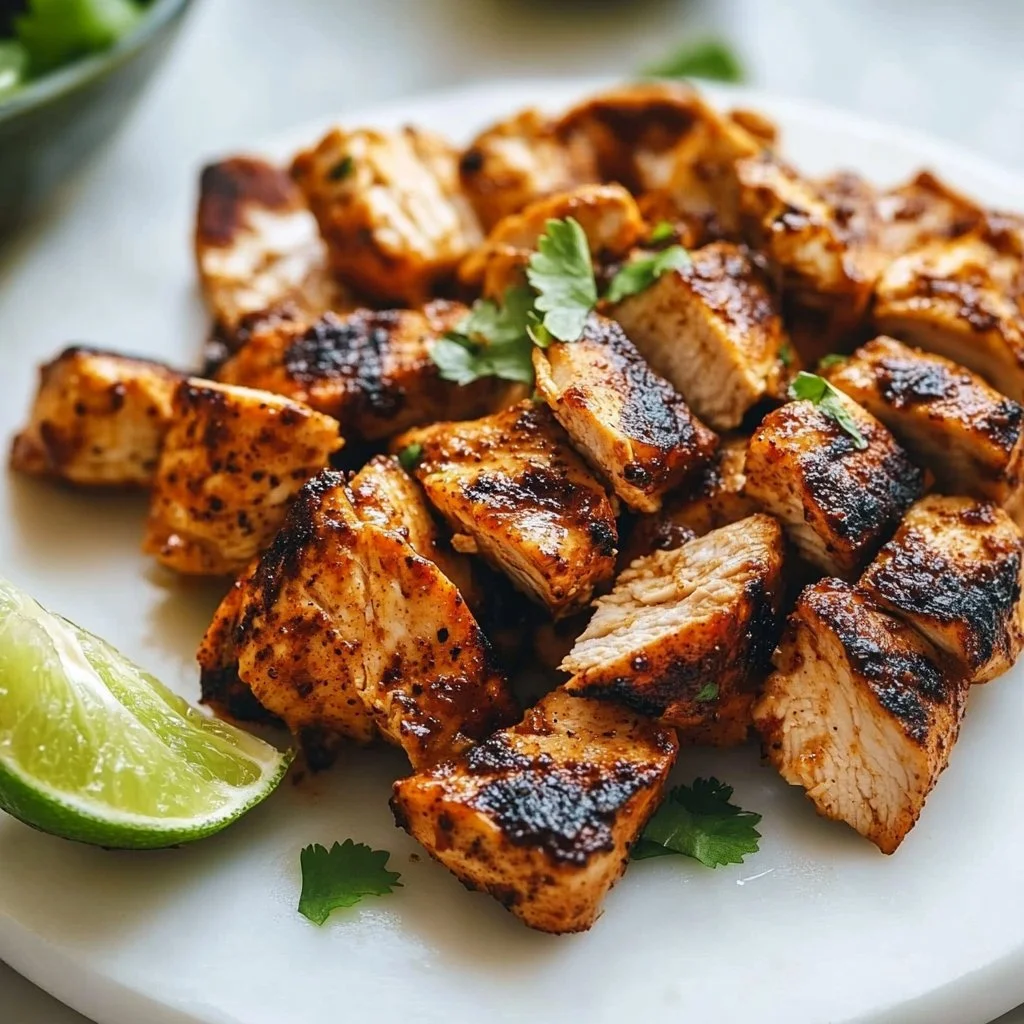
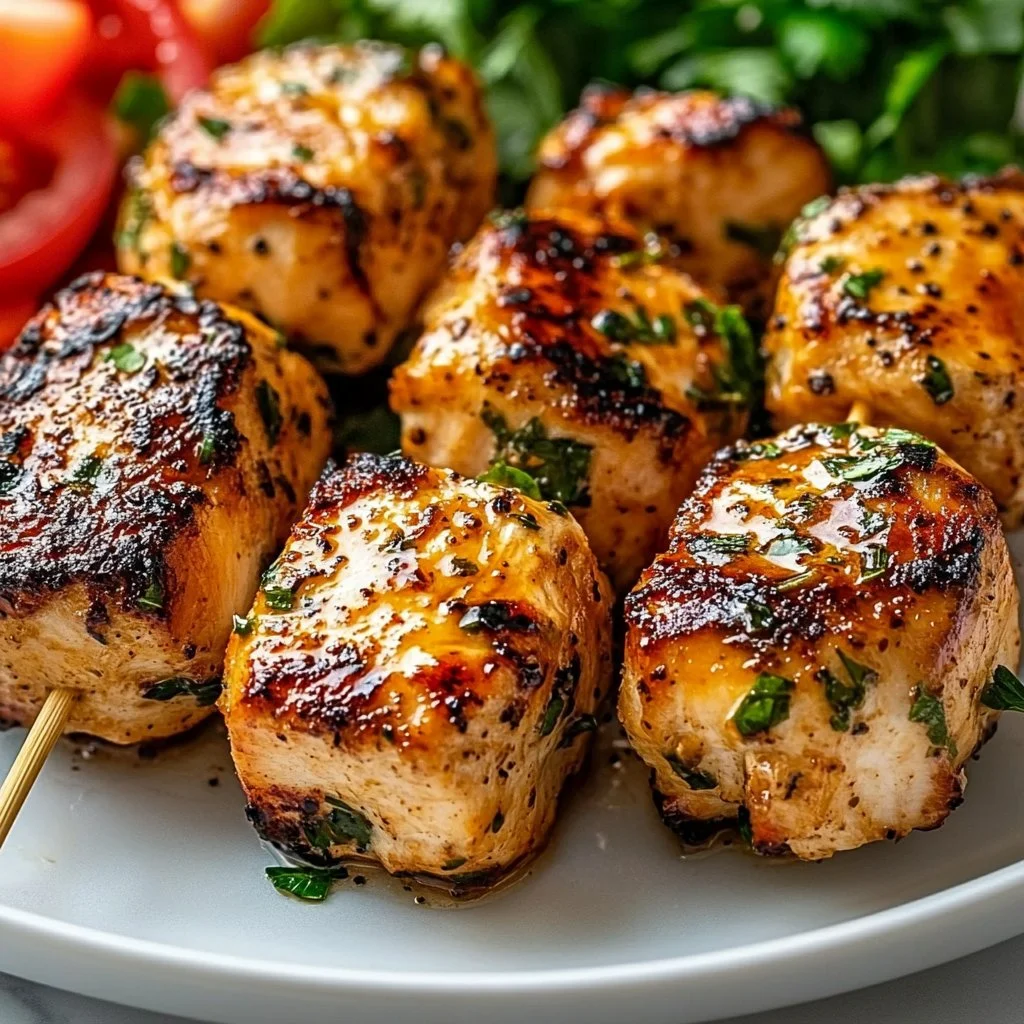
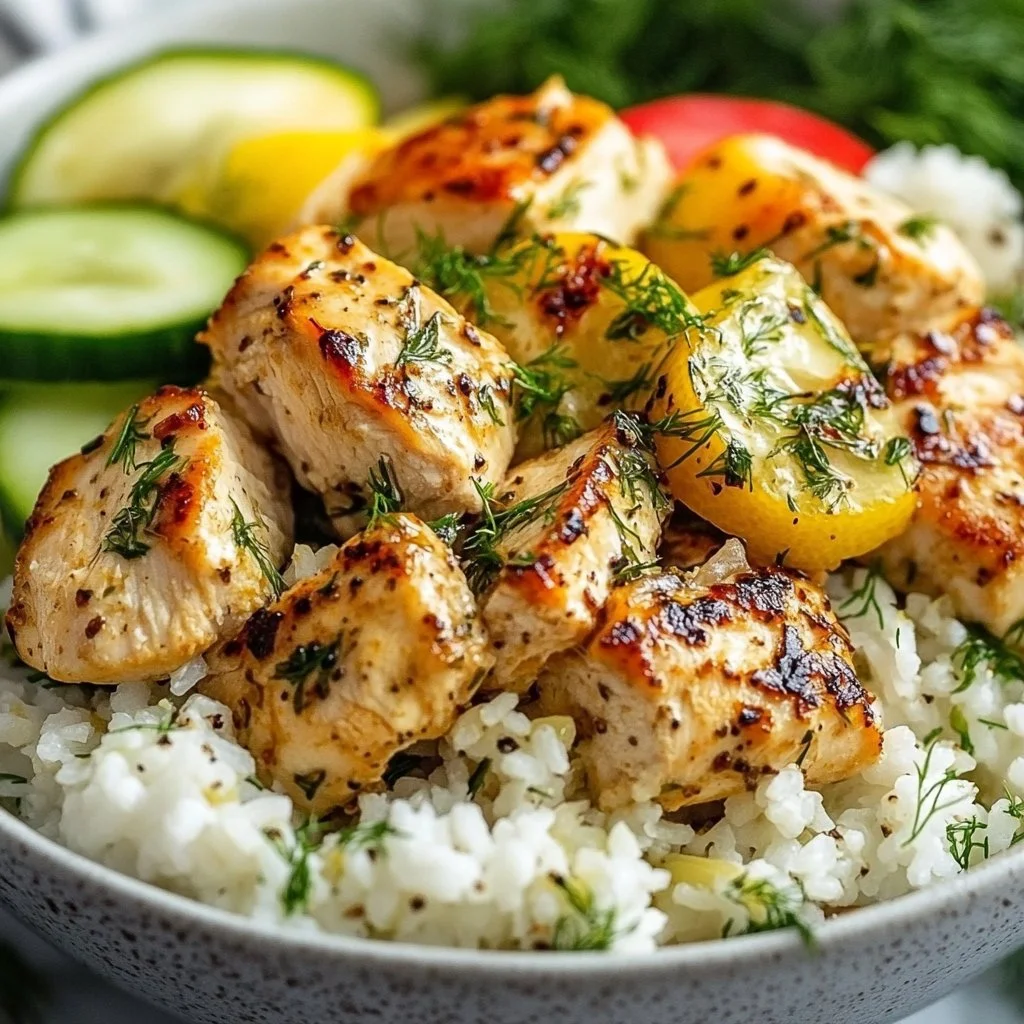
Heat a skillet or grill pan over medium-high. Cook chicken in batches for 5 to 6 minutes until golden and cooked through.
Encouraging note: Do not crowd the pan. A hot surface gives a nice color and seals in juices. -
Cook rice according to package directions. Fluff and keep warm.
Encouraging note: Freshly cooked rice is comforting. Keep it covered so it stays soft. -
Prep all vegetables: dice tomatoes, chop cucumber and lettuce, slice onion, chop parsley, and crumble feta.
Encouraging note: Make a small assembly line. Kids can help with simple tasks like tearing lettuce. -
Mix yogurt, grated cucumber, lemon juice, olive oil, garlic, salt, and dill to make the tzatziki sauce.
Encouraging note: Taste and adjust salt or lemon. Let it chill for 10 minutes for flavors to marry. -
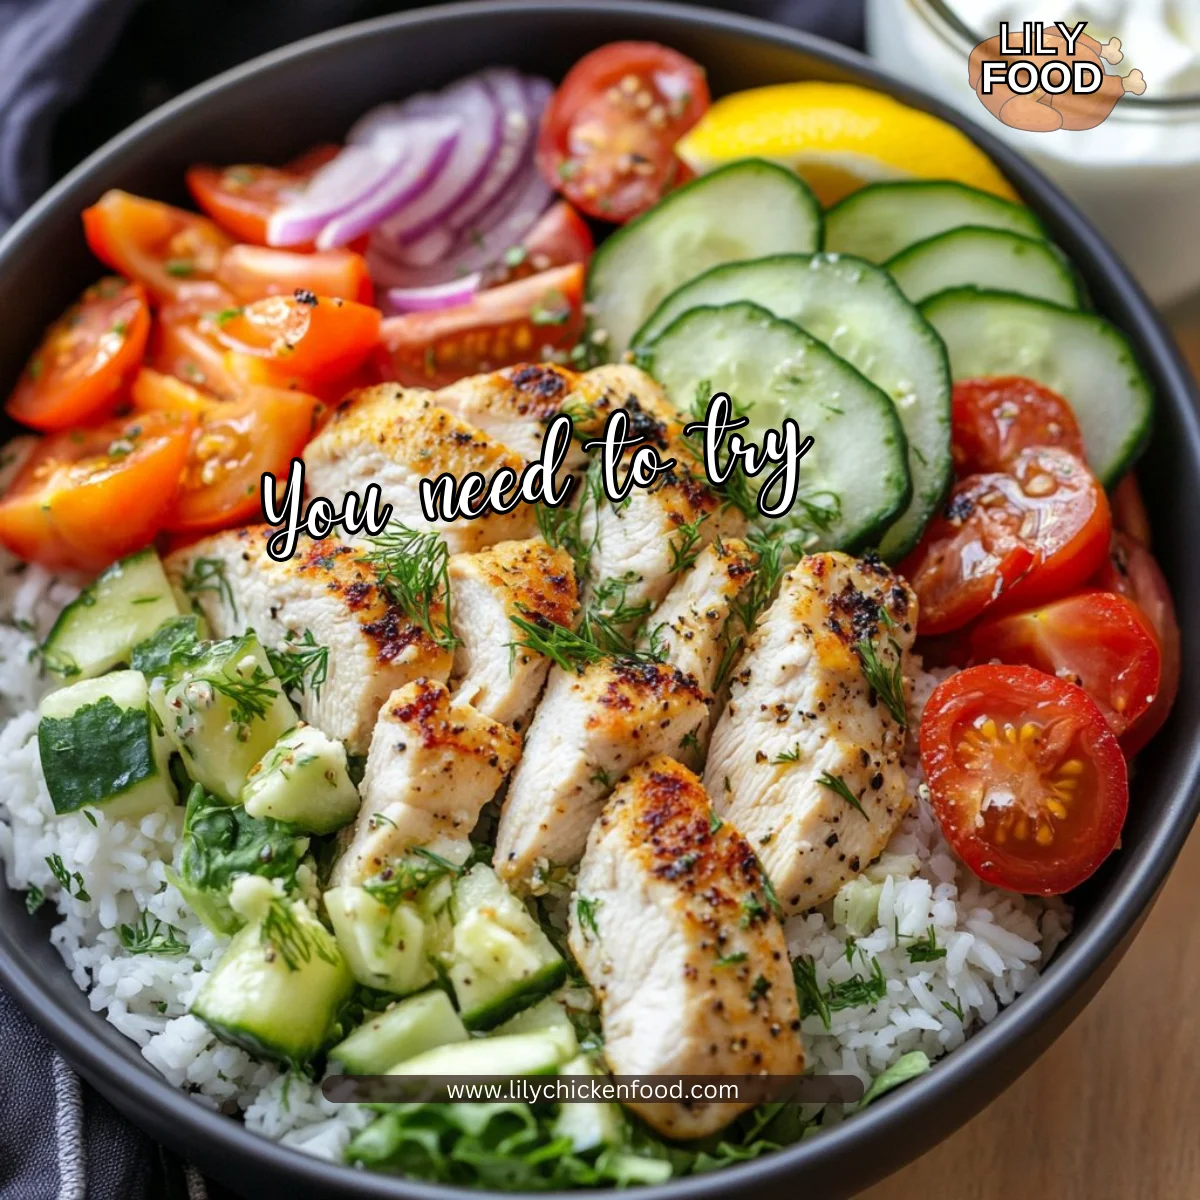
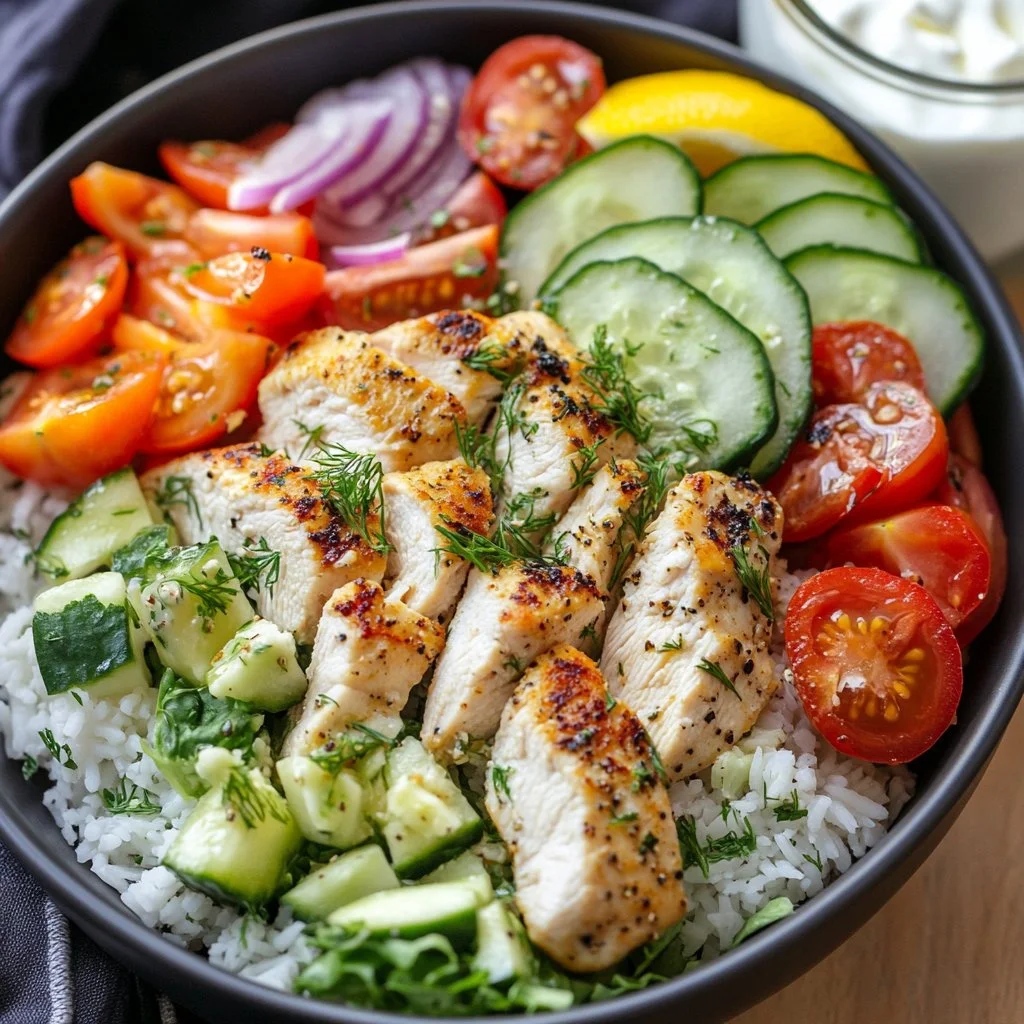
Assemble bowls with warm rice, lettuce, cucumber, tomatoes, onion, parsley, and feta.
Encouraging note: Arrange colors so the bowl looks inviting. That makes family members more likely to eat everything. -
Top with cooked chicken and a generous spoonful of tzatziki.
Encouraging note: Serve a little extra sauce on the side for those who love it. -
Serve immediately or store in airtight containers for meal prep.
Encouraging note: To reheat for lunch, remove the tzatziki and add it back after heating. Your future self will thank you.
If you want to pair this meal with something fun, try serving it alongside a batch of my chicken enchiladas for a family potluck.
Serving

Serve family-style for the warmest meals. Place bowls of rice, chicken, tzatziki, and veggies on the table so everyone can build their plate. Let kids add feta or skip the red pepper flakes. A big lemon wedge bowl encourages squeezing fresh juice for each plate.
For a casual dinner, scoop everything onto a large platter and let everyone help themselves. This way, you can accommodate picky eaters and keep the meal relaxed.
Storage
Fridge: Store components separately in airtight containers for up to 4 days. Keep tzatziki in its own container. This prevents the lettuce and rice from getting soggy.
Freezer: Cooked chicken freezes well for up to 3 months. Store in a freezer-safe container without the tzatziki or fresh vegetables. Thaw in the fridge overnight.
Reheat tips: Warm rice and chicken together in a microwave safe dish or on the stove. If microwaving, cover loosely and add a splash of water to keep rice moist. Add tzatziki and fresh veggies after reheating.
Pack for lunch: Layer warm rice and chicken at the bottom of a container, add chopped lettuce and veggies on top, and keep tzatziki in a small separate cup. The bowl stays fresh until lunchtime.
Kitchen Notes
- Use one pan for the chicken to reduce cleanup. Wipe and reheat for additional batches.
- If you are short on time, marinate for at least 30 minutes and make a quick rice in a rice cooker.
- Grate the cucumber with a box grater and press out moisture in a towel to avoid watery tzatziki.
- Swap basmati for quinoa for a gluten free and protein boost.
- Double the chicken and freeze half for effortless dinners later in the month.
Variations
- For picky eaters: Serve components deconstructed. Offer rice and chicken separately from veggies so kids can pick what they like.
- Low carb: Replace rice and lettuce with cauliflower rice or a bed of roasted vegetables.
- Vegetarian: Swap chicken for grilled halloumi or roasted chickpeas for a protein rich alternative.
- Spicy: Add a drizzle of harissa or mix crushed red pepper into the marinade for adults.
- Kid friendly: Reduce honey and red pepper flakes. Add a side of pita cut into fingers.
FAQ
Q: Can I make this with chicken thighs instead?
A: Yes. Use boneless, skinless thighs and cut into similar size pieces. Thighs stay very juicy and may take a minute or two longer to cook.
Q: How long does the tzatziki keep?
A: Tzatziki keeps up to 3 days in the fridge. It may thin slightly; just give it a stir before serving.
Q: Can I use frozen chicken?
A: Thaw fully in the refrigerator before cutting and marinating. It will not absorb the marinade properly if still partially frozen.
Q: What if I do not have fresh dill?
A: You can use 1/2 teaspoon dried dill, but fresh gives the best flavor. Parsley helps if you must substitute.
Q: Is basmati rice necessary?
A: No. Basmati lends a light texture, but long grain white or brown rice works too. Cook times will vary, so follow the package.
Conclusion
Thank you for cooking with me. I hope these bowls bring a little brightness to your week and make meal time easier and more joyful. If you want more bowl inspiration, I often look to other creators for new twists, like a good Greek chicken bowl from Eat the Gains or another take on the same idea at Eat With Clarity. Come back soon and tell me how your family liked tonight’s dinner.
Lemon-Dill Chicken Bowl
Ingredients
For the chicken marinade
- 1 1/4 lb chicken breasts, cut into 1-inch cubes (Choose even-size pieces so they cook evenly.)
- 1/3 cup olive oil (Use extra virgin for flavor in the marinade.)
- 1 1/2 tbsp lemon zest (Zest before juicing to get the most bright aroma.)
- 3 tbsp lemon juice (Fresh juice always.)
- 2 1/2 tbsp honey (Honey balances the lemon.)
- 1 tsp garlic powder (Powder spreads evenly in a marinade.)
- 1 1/2 tsp oregano (Dried is fine here.)
- 1 1/2 tsp basil (I like dried basil in the marinade.)
- 1 tsp salt (Adjust to taste.)
- 1/4 tsp pepper (Freshly ground if you can.)
- 1/2 tsp red pepper flakes (Keep it mild for kids.)
For the bowl
- 2 cups basmati rice (Rinse until the water runs clear.)
- 2 cups diced tomatoes (Use ripe tomatoes for sweetness.)
- 2 cups chopped cucumber (Peel if the skin is thick.)
- 4 cups chopped lettuce (Romaine or butter lettuce holds up well.)
- 1 cup thinly sliced red onion (Soak in cold water for milder flavor.)
- 1 cup crumbled feta (Choose a tangy block feta.)
- 1/4 cup chopped fresh parsley (Flat leaf parsley has the best flavor.)
For the tzatziki sauce
- 1 cup Greek yogurt (Fage preferred) (Thick Greek yogurt gives the best texture.)
- 1/2 cup grated cucumber, squeezed dry (Squeeze firmly to avoid a watery sauce.)
- 1 tbsp lemon juice (Adds bright acid to the sauce.)
- 1 tbsp olive oil (Adds silkiness to the tzatziki.)
- 1 tsp minced garlic (Fresh garlic is sharp.)
- 1/4 tsp salt (Salt tightens the flavors.)
- 1 tbsp finely chopped dill (Dill is the star here.)
Instructions
Marinating the Chicken
- In a bowl or zip-top bag, mix olive oil, lemon zest, lemon juice, honey, garlic powder, oregano, basil, salt, pepper, and red pepper flakes.
- Add chicken cubes to the marinade and refrigerate for at least 30 minutes or overnight.
Cooking the Chicken
- Heat a skillet or grill pan over medium-high. Cook chicken in batches for 5 to 6 minutes until golden and cooked through.
Preparing Rice and Veggies
- Cook rice according to package directions. Fluff and keep warm.
- Prep all vegetables: dice tomatoes, chop cucumber and lettuce, slice onion, chop parsley, and crumble feta.
Making the Tzatziki Sauce
- Mix yogurt, grated cucumber, lemon juice, olive oil, garlic, salt, and dill to make the tzatziki sauce.
Assembling the Bowl
- Assemble bowls with warm rice, lettuce, cucumber, tomatoes, onion, parsley, and feta.
- Top with cooked chicken and a generous spoonful of tzatziki.
Serving
- Serve immediately or store in airtight containers for meal prep.