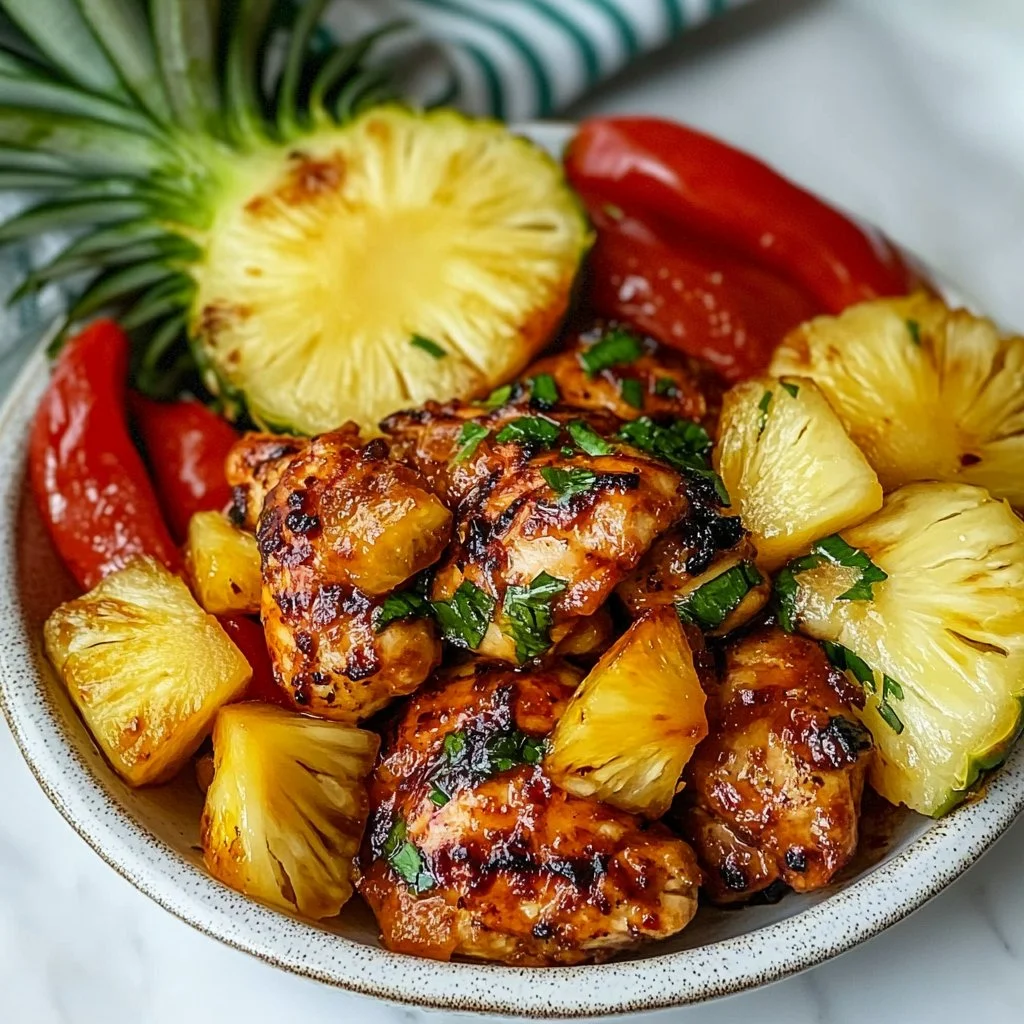
I can still remember the first time my kitchen smelled like slow-cooked peppers and warm spices. The sizzle of onions as I sliced them and the steady hum of the crockpot felt like the soundtrack of a busy, happy household. This Easy Crockpot Chicken Fajitas recipe has become a staple in my family for those evenings when everyone needs dinner and I need simplicity.
If you like fast weeknight solutions, take a peek through my quick and easy chicken category for more meals that feel homemade with very little fuss. This recipe is forgiving, family-friendly, and perfect for busy nights or relaxed weekends when you want to let the crockpot do the work.
Why this works
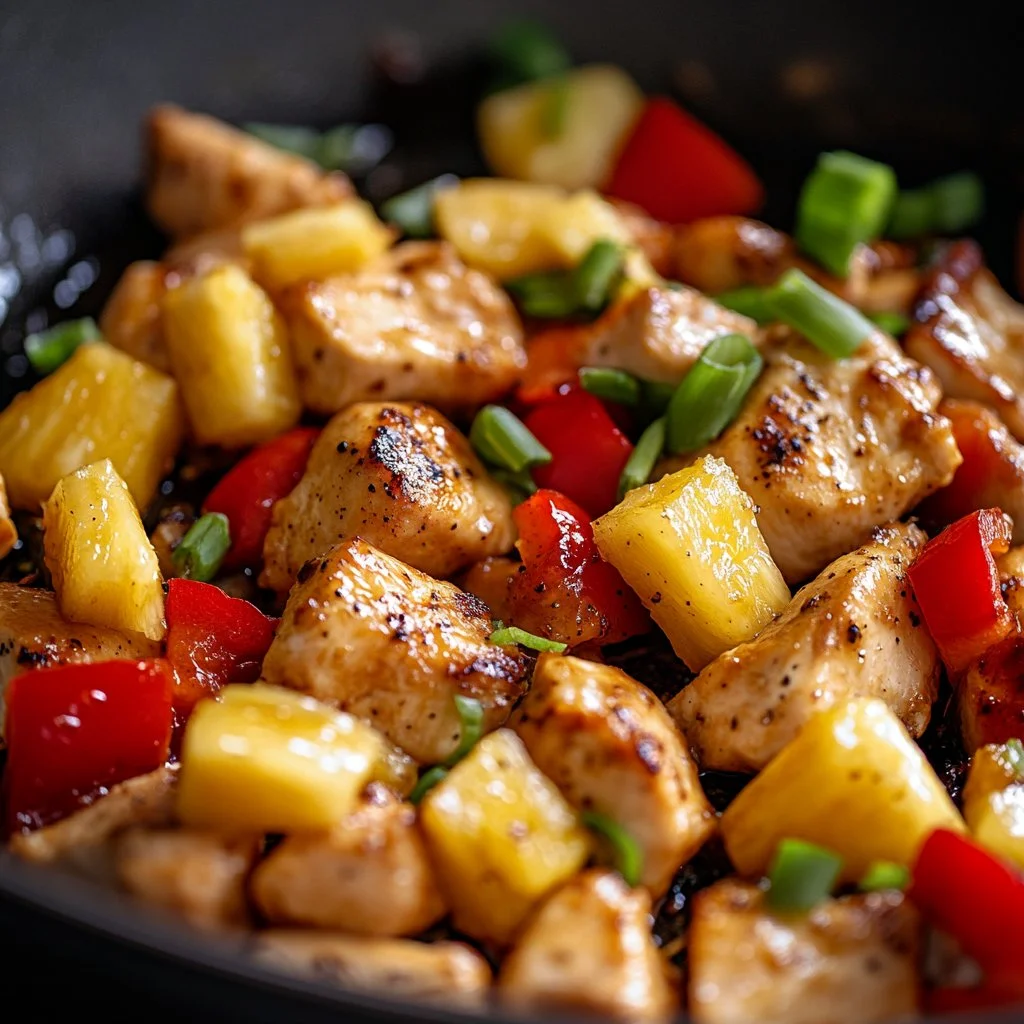
There are three simple reasons this recipe is a keeper. First, the crockpot does the heavy lifting. You get tender, shreddable chicken without watching a pot or tending a pan.
Second, the ingredients are pantry-friendly. You likely have a can of diced tomatoes and a fajita seasoning packet on hand. Third, the whole family loves it. Kids like the mild flavors, and adults can add toppings to suit their tastes.
If you need more crowd-pleasers for weeknights, try my roundup of the best 5 easy chicken recipes for additional ideas to rotate through your menu.
Process Overview
“This is where the magic happens—when the aroma fills the kitchen.”
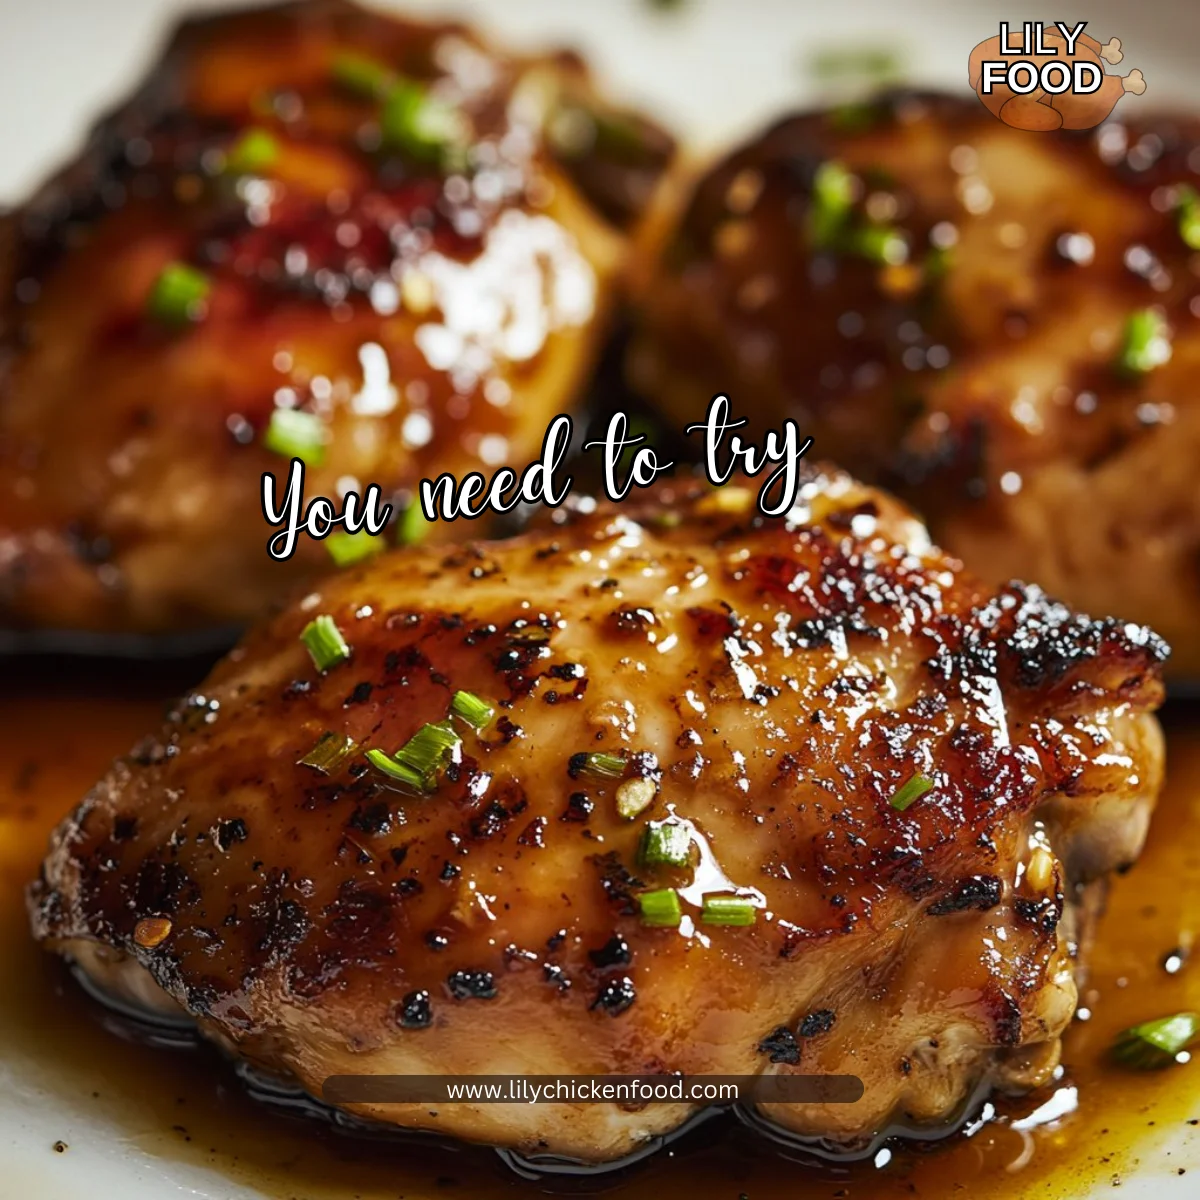
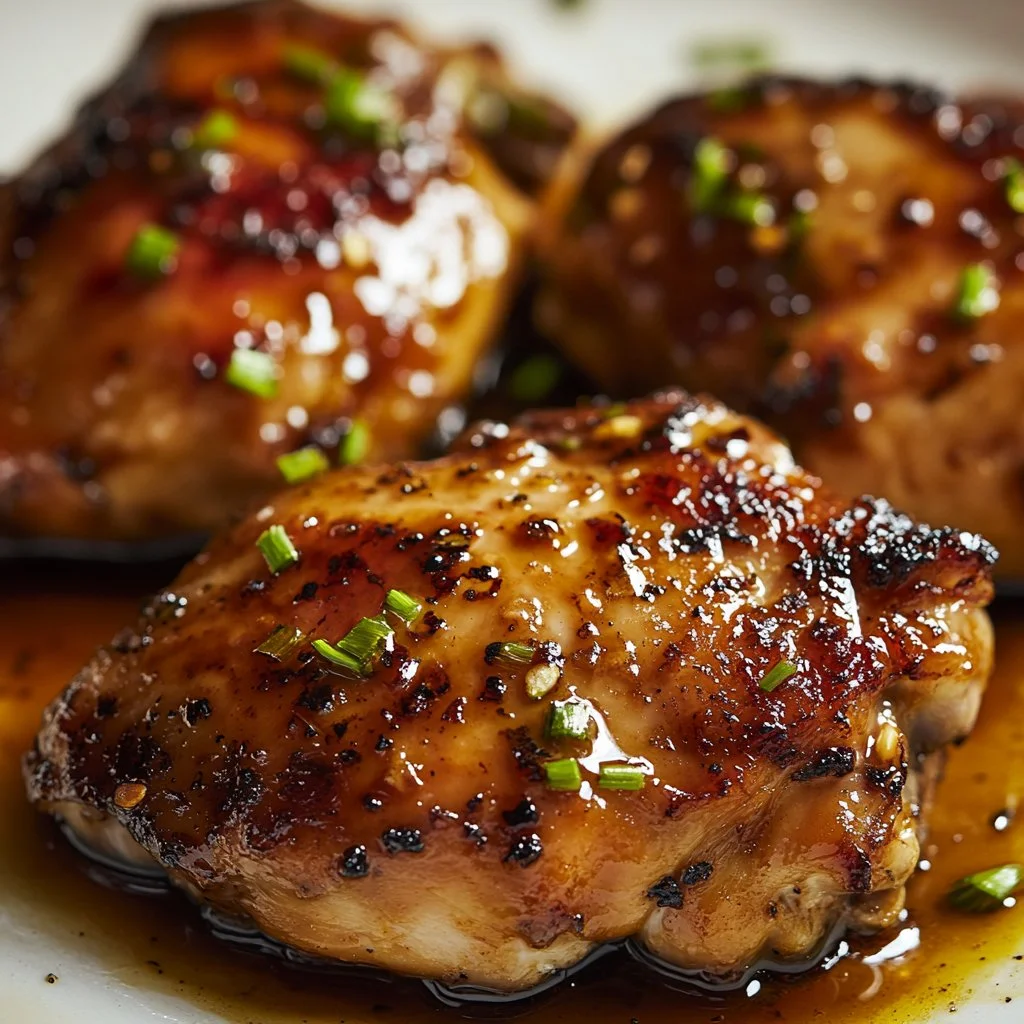
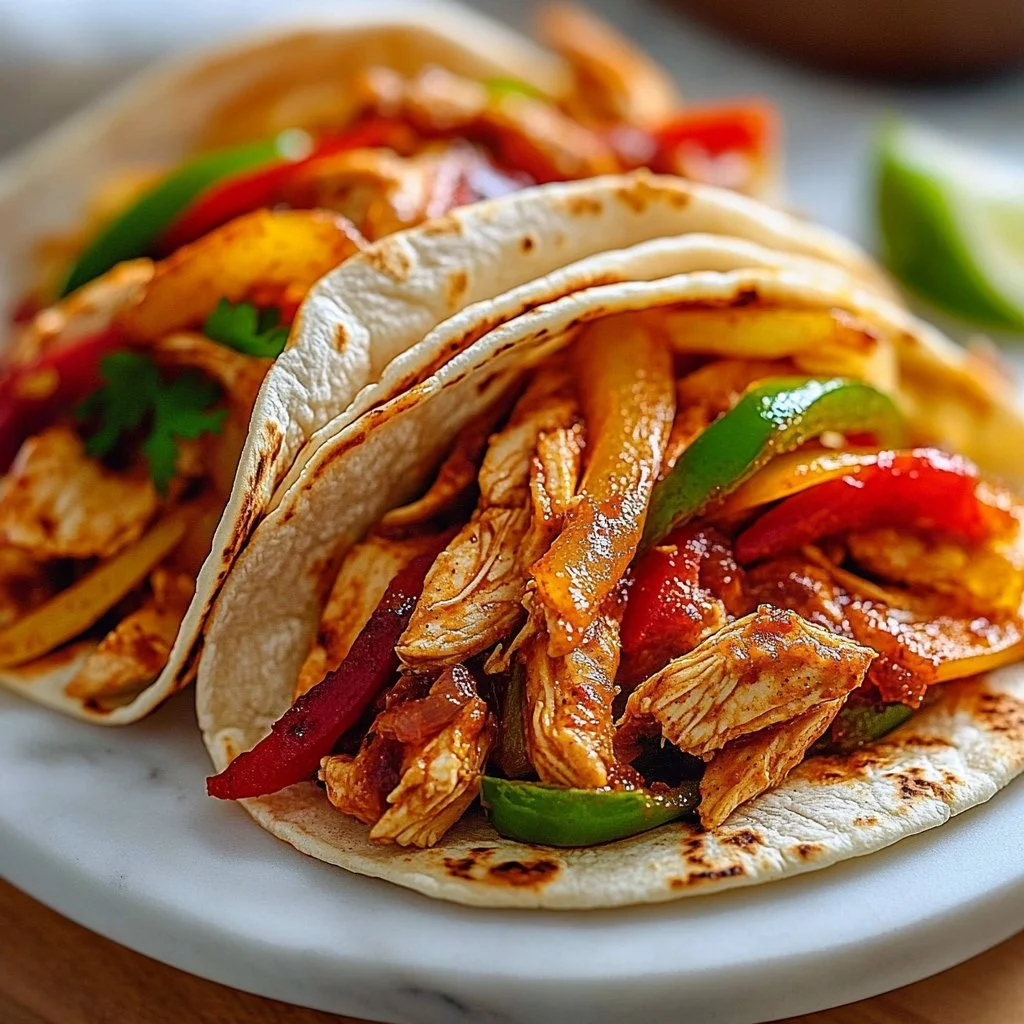
This recipe keeps the method simple. Layer the chicken, add vegetables and tomatoes, sprinkle the fajita seasoning, and let low heat work its magic. In a few hours you have juicy shredded chicken ready to build into tortillas.
If you like creamy slow-cooker dinners, the technique is similar to my popular Marry Me Chicken, where slow cooking brings out deep flavor with minimal hands-on time.
Ingredients
- 1 lb chicken breasts — Tip: Use boneless, skinless breasts for easy shredding. If you prefer more fat and flavor, thighs work well too.
- 1 bell pepper (sliced) — Tip: Use a mix of colors for a pretty plate and slightly different sweetness. Remove seeds for a milder bite.
- 1 onion (sliced) — Tip: Yellow or sweet onions soften beautifully in the crockpot and add natural sweetness.
- 1 can diced tomatoes (14 oz) — Tip: Use fire-roasted diced tomatoes for a smokier flavor, or plain diced tomatoes for a brighter taste.
- 1 packet fajita seasoning — Tip: Taste for salt. Some packets are saltier than others; you can use half and add more later if needed.
- Tortillas (for serving) — Tip: Warm flour or corn tortillas on a skillet with a light brush of oil for the best mouthfeel.
- Optional toppings: sour cream, cheese, cilantro — Tip: Sour cream cools the heat, shredded cheddar or Monterey Jack melts nicely, and cilantro adds fresh brightness.
If you want a soup or stew variation, these same flavor notes pair well with my white chicken chili soup ideas when you want more broth and fewer tortillas.
Directions
-
Place the chicken breasts in the bottom of the crockpot.
- Encouraging note: Arrange them in a single layer if you can. It’s okay if they overlap; they will cook down and shred easily.
-
Add in the sliced bell pepper and onion.
- Encouraging note: Scatter them over the chicken. The peppers and onions will soften and perfume the whole pot.
-
Pour the diced tomatoes over the top.
- Encouraging note: Let the juices coat the chicken. Those tomatoes will keep the meat moist and infuse flavor.
-
Sprinkle the fajita seasoning evenly over everything.
- Encouraging note: Rub the seasoning lightly into the vegetables and chicken for even taste. If you prefer less salt, use part of the packet.
-
Cover and cook on low for 6-8 hours or on high for 3-4 hours.
- Encouraging note: Low and slow gives more tender results, but high works when you are short on time. Set a timer and forget it until dinner.
-
Once cooked, shred the chicken with two forks and stir everything to combine.
- Encouraging note: Shred right in the crockpot to soak the meat in juices. This is the moment the dish really comes together.
-
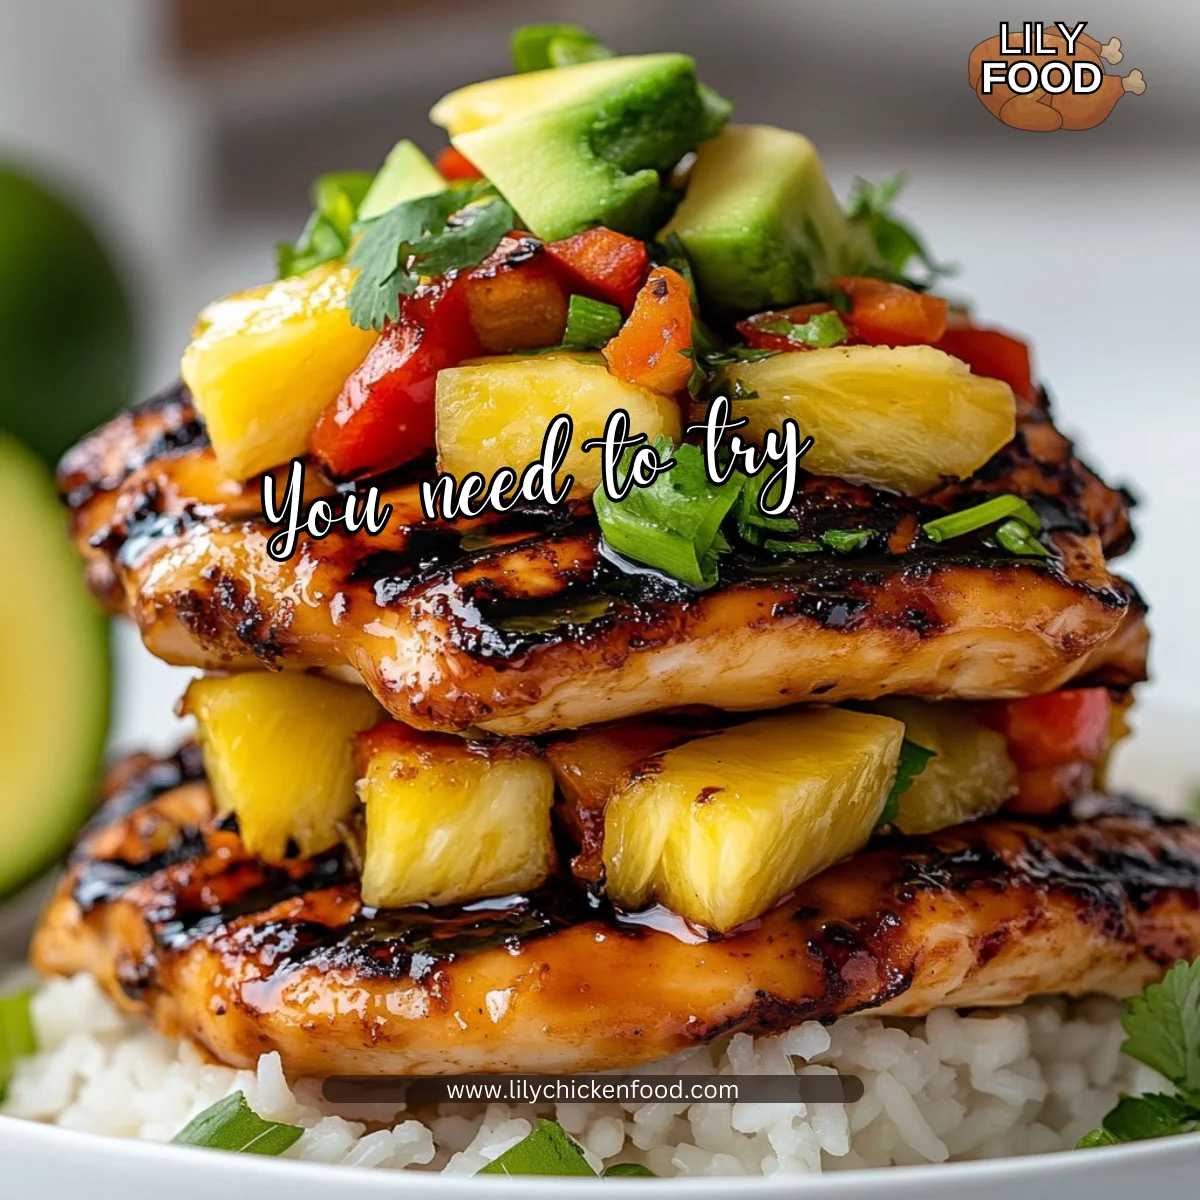
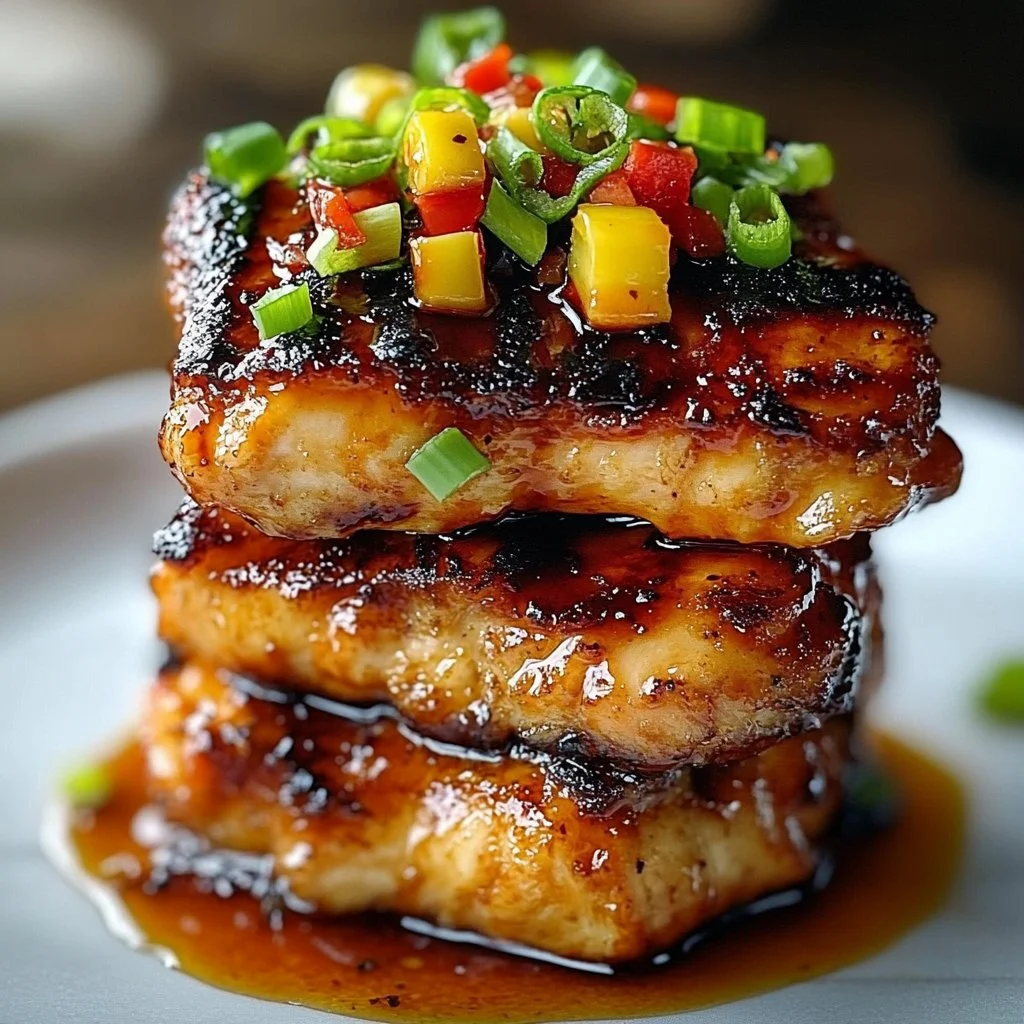
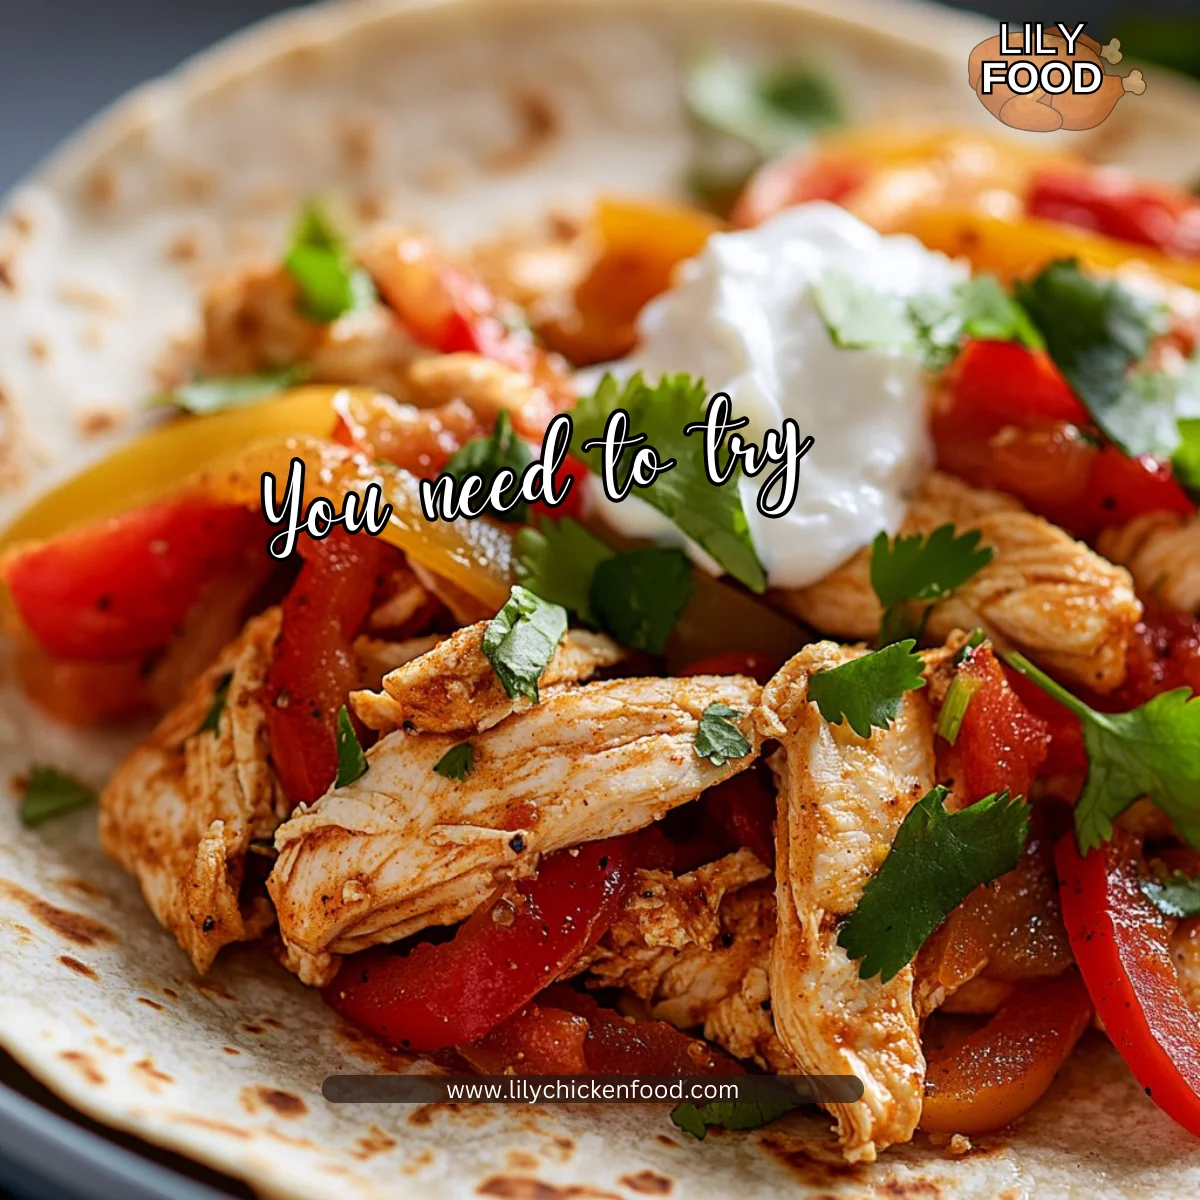
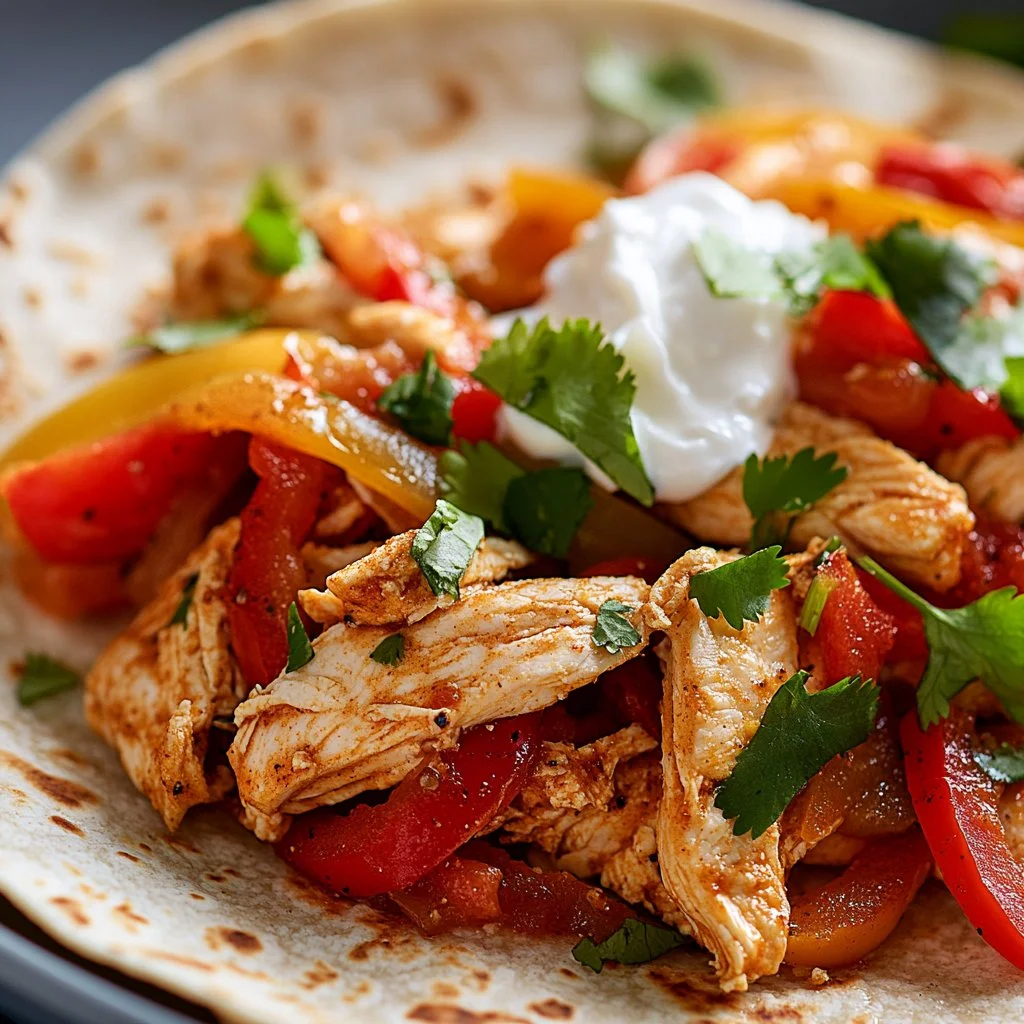
Serve in warm tortillas with desired toppings.
- Encouraging note: Let everyone top their own fajitas at the table. It makes dinner playful and lets picky eaters choose what they like.
If you’d rather swap to a slightly different protein or method, you can adapt the same steps like I do in my slow-cooker chicken thighs recipe for creamier, richer results: creamy crockpot chicken thighs.
Serving

Serve family-style on the table. Place warm tortillas on one platter, shredded chicken in another, and bowls of toppings in the center. A simple tray with sour cream, shredded cheese, chopped cilantro, lime wedges, and a jar of pickled jalapeños keeps everyone happy.
For a complete meal, add a side of Mexican-style rice or a crisp green salad. Kids appreciate a plate with a little of everything, and adults will enjoy customizing their portions. Family-style serving keeps things relaxed and encourages second helpings.
Storage
Store leftovers in an airtight container in the fridge for up to 4 days. Keep tortillas and toppings separate to maintain texture. When reheating, use these tips:
- Microwave: Place chicken in a microwave-safe dish, add a splash of water or broth, cover, and heat in 30-second intervals until warm.
- Stovetop: Reheat in a skillet over medium heat with a splash of water. Stir frequently to avoid drying.
- Freezing: Freeze cooked, shredded chicken in freezer bags for up to 3 months. Thaw overnight in the fridge before reheating.
If you plan to reheat in tortillas, warm the tortillas first. A too-hot filling can make a tortilla fall apart, so warm everything just enough.
Kitchen Notes
- Shortcut: Use pre-sliced peppers and onions from the produce aisle to save 10 minutes.
- Double batch: This recipe scales well. Double it in a larger crockpot for meal prep or a family gathering.
- Make it smoky: Add a half teaspoon of smoked paprika or use fire-roasted tomatoes to add depth.
- Low-sodium option: Use a low-sodium fajita mix or half the packet and season to taste at the end.
- Slow release: If you will be out longer than planned, set the crockpot on the warm setting after cooking to keep the chicken safe and tender.
Variations
- Mild for kids: Use just the tomatoes and a mild seasoning packet. Offer toppings like cheese and avocado to make it creamy and familiar.
- Gluten-free: Use corn tortillas or serve over rice for a naturally gluten-free plate.
- Whole30 or Paleo: Skip the tortillas and serve over cauliflower rice. Use a compliant fajita seasoning or make your own with chili powder, cumin, and garlic powder.
- Low-carb/Keto: Serve over shredded lettuce or in lettuce cups with full-fat toppings for a satisfying low-carb meal.
- Add beans: Stir in a can of drained black beans in the last 20 minutes on high to warm through for extra protein and fiber.
These tweaks let you adapt the recipe to picky eaters and special diets without losing the ease that makes this a weeknight hero.
FAQ
Can I use frozen chicken breasts?
Yes. You can start with frozen chicken breasts on the low setting, but allow extra cooking time. I recommend checking the internal temperature to ensure it reaches 165 °F.
Do I need to add any oil?
No. The tomatoes and the natural juices from the chicken and vegetables usually provide enough moisture. If you want a bit more flavor, drizzle a teaspoon of olive oil over the peppers before cooking.
Is fajita seasoning necessary?
The seasoning packet makes this super easy, but you can substitute 1 tablespoon chili powder, 1 teaspoon cumin, 1 teaspoon garlic powder, and a pinch of salt. Taste and adjust after shredding.
Can I make this ahead of time?
Absolutely. Cook it the day before, shred the chicken, and refrigerate. Gently reheat before serving and refresh the toppings. This makes weeknight dinners a breeze.
How do I keep the tortillas from tearing?
Warm them briefly on a dry skillet or wrap them in a damp cloth and microwave for 20 seconds. This softens them and helps them hold up to the juicy filling.
Conclusion
I hope this Easy Crockpot Chicken Fajitas recipe becomes one of your go-to weeknight meals. It is simple, forgiving, and made with family in mind. When the house fills with that warm aroma and everyone gathers around the table, you will know why slow-cooked dinners are so comforting.
For another slow cooker approach to fajitas, I like the clear step-by-step on Easy Slow Cooker Chicken Fajitas – CenterCutCook as a reference. If you are aiming for the simplest possible version with only a few ingredients, this take from Crockpot chicken fajitas recipe – Only 4 ingredients! – Eating on a Dime is a great companion idea.
Enjoy the flavors, and happy slow-cooking from Lily.
Crockpot Chicken Fajitas
Ingredients
Main Ingredients
- 1 lb chicken breasts (Use boneless, skinless breasts for easy shredding.)
- 1 each bell pepper (Use a mix of colors for a pretty plate.)
- 1 each onion (Yellow or sweet onions soften beautifully.)
- 14 oz can diced tomatoes (Use fire-roasted for a smokier flavor.)
- 1 packet fajita seasoning (Taste for salt; some packets may be saltier.)
- Tortillas for serving Tortillas (Warm flour or corn tortillas for best mouthfeel.)
Optional Toppings
- sour cream (Cools the heat.)
- cheese (Shredded cheddar or Monterey Jack melts nicely.)
- cilantro (Adds fresh brightness.)
Instructions
Preparation
- Place the chicken breasts in the bottom of the crockpot.
- Add in the sliced bell pepper and onion, scattering them over the chicken.
- Pour the diced tomatoes over the top.
- Sprinkle the fajita seasoning evenly over everything.
- Cover and cook on low for 6-8 hours or on high for 3-4 hours.
- Once cooked, shred the chicken with two forks and stir everything to combine.
- Serve in warm tortillas with desired toppings.