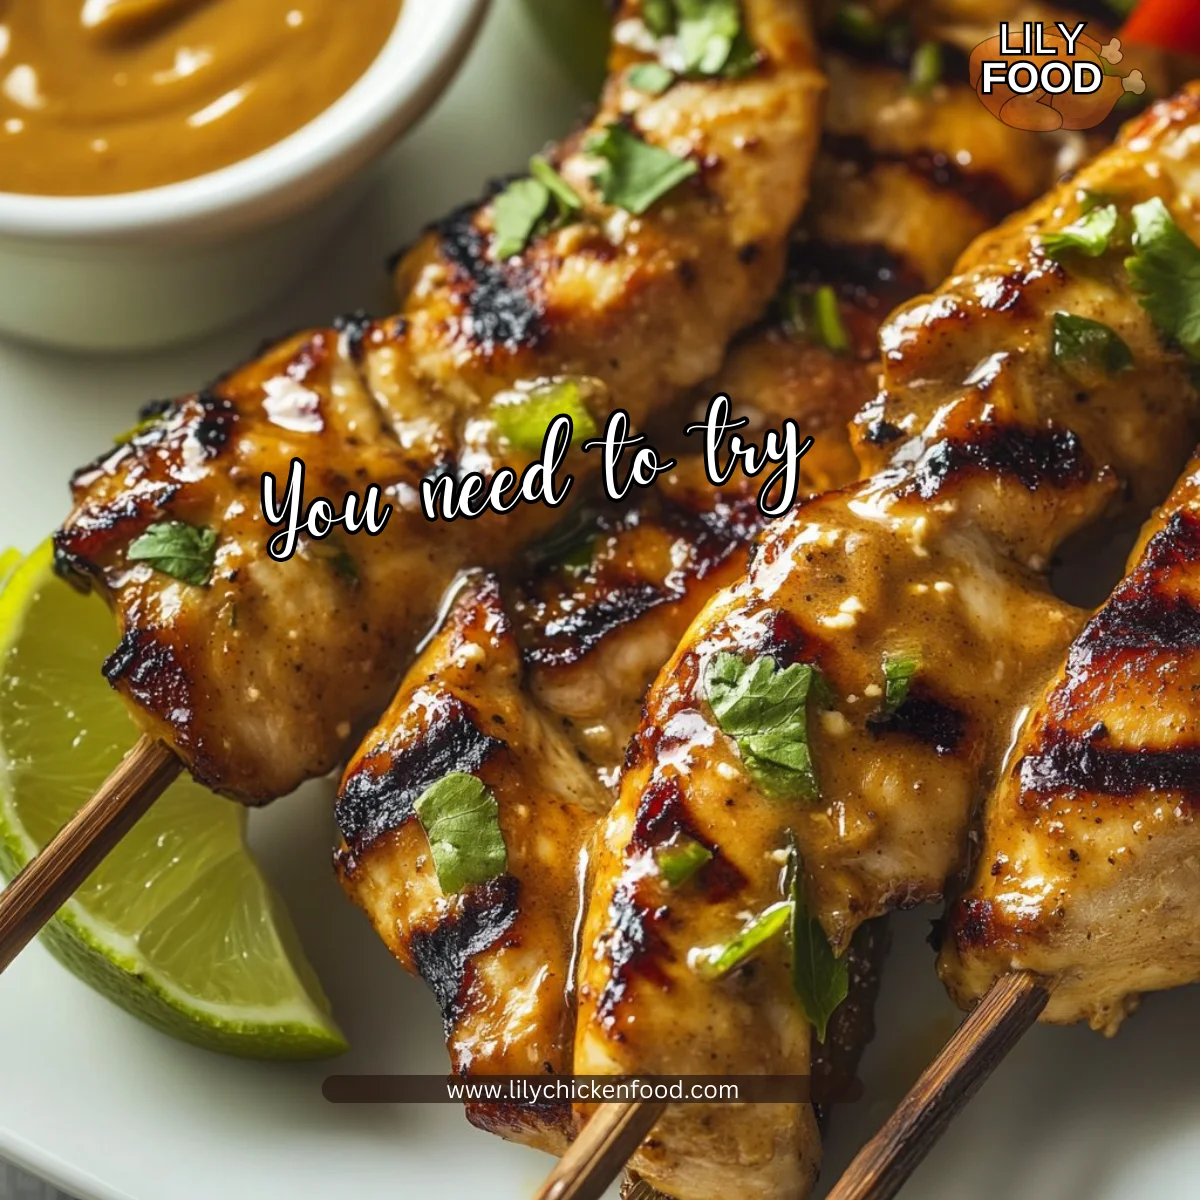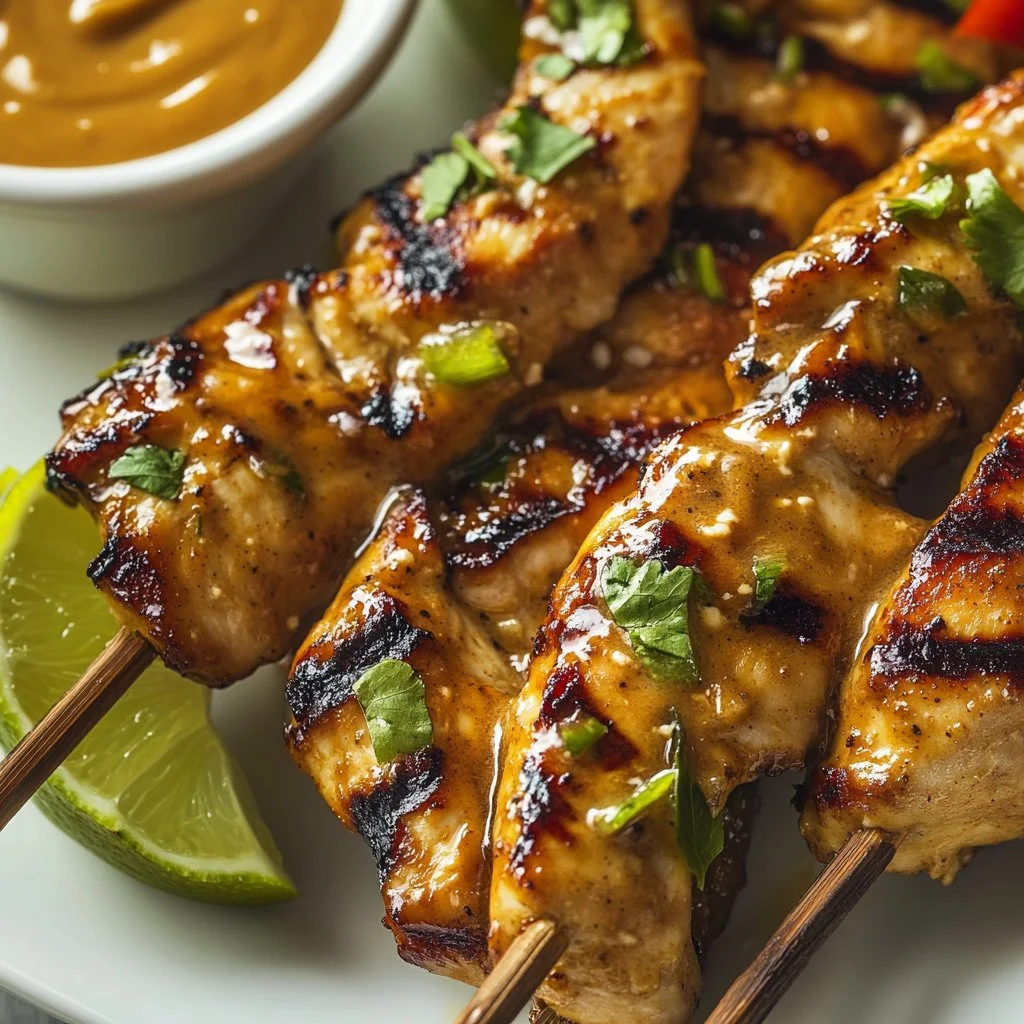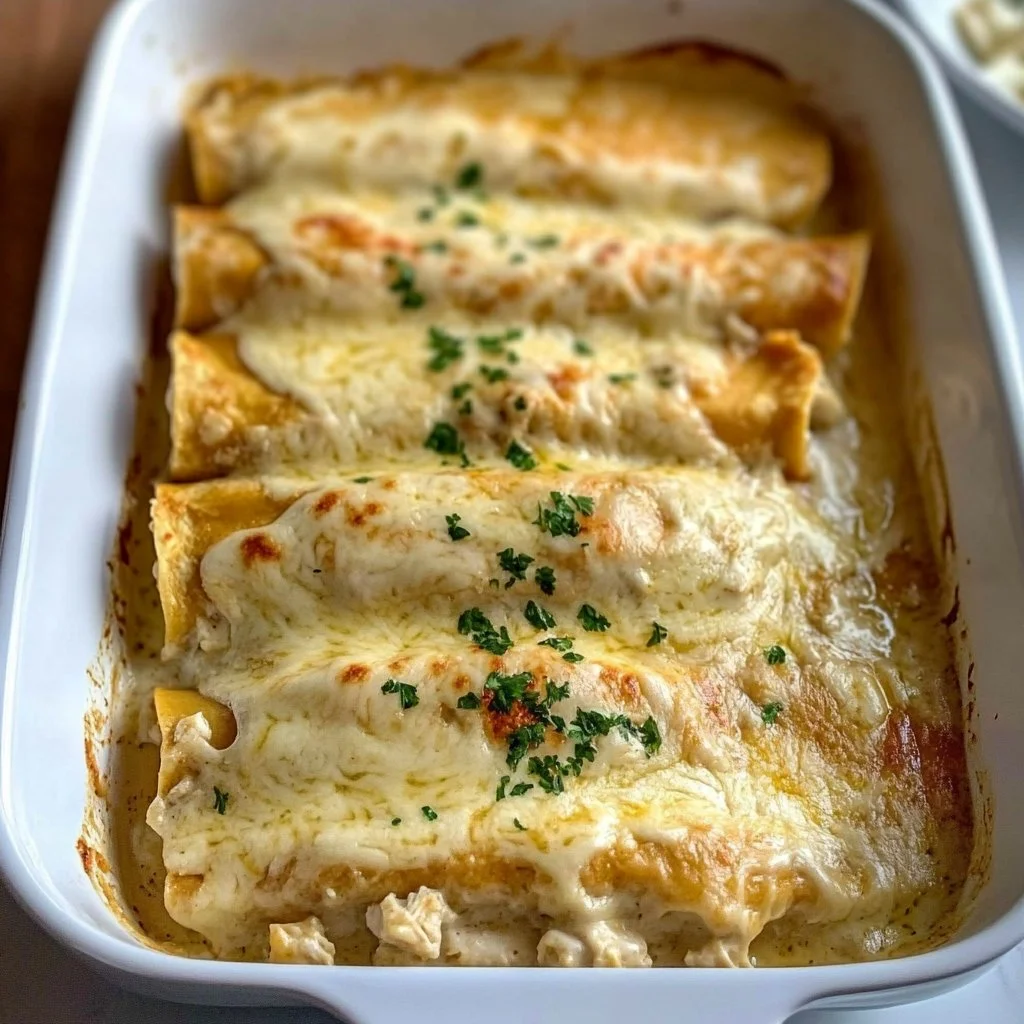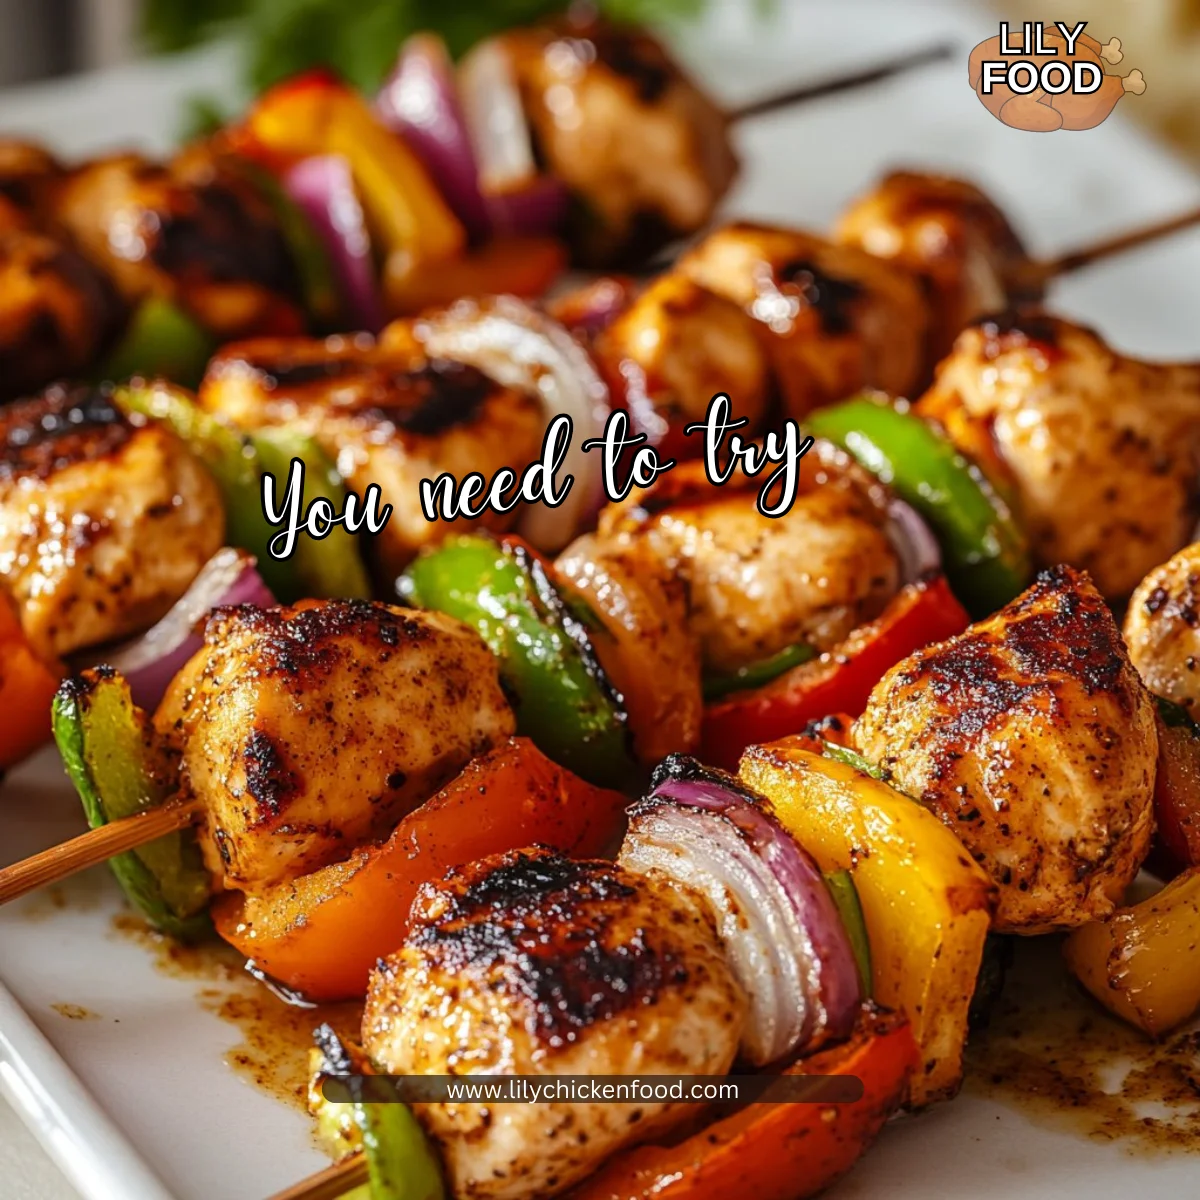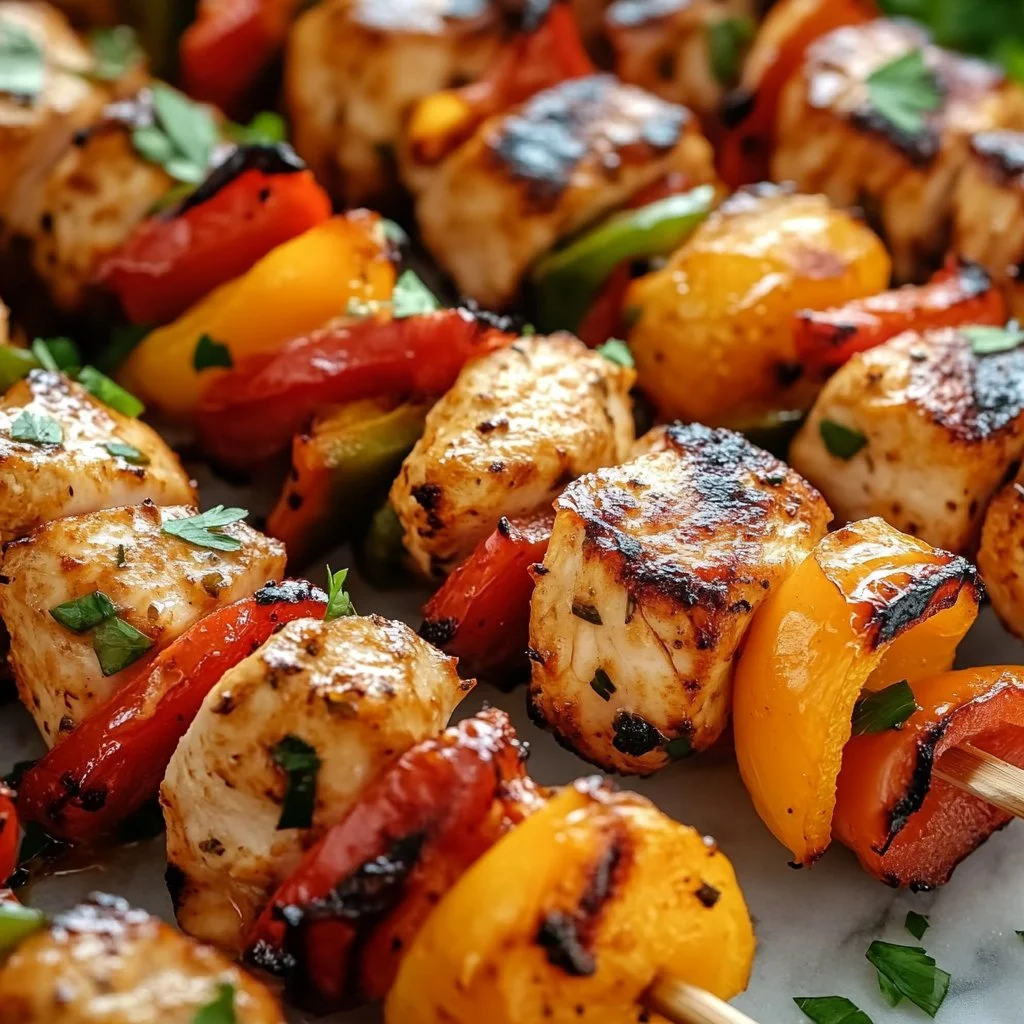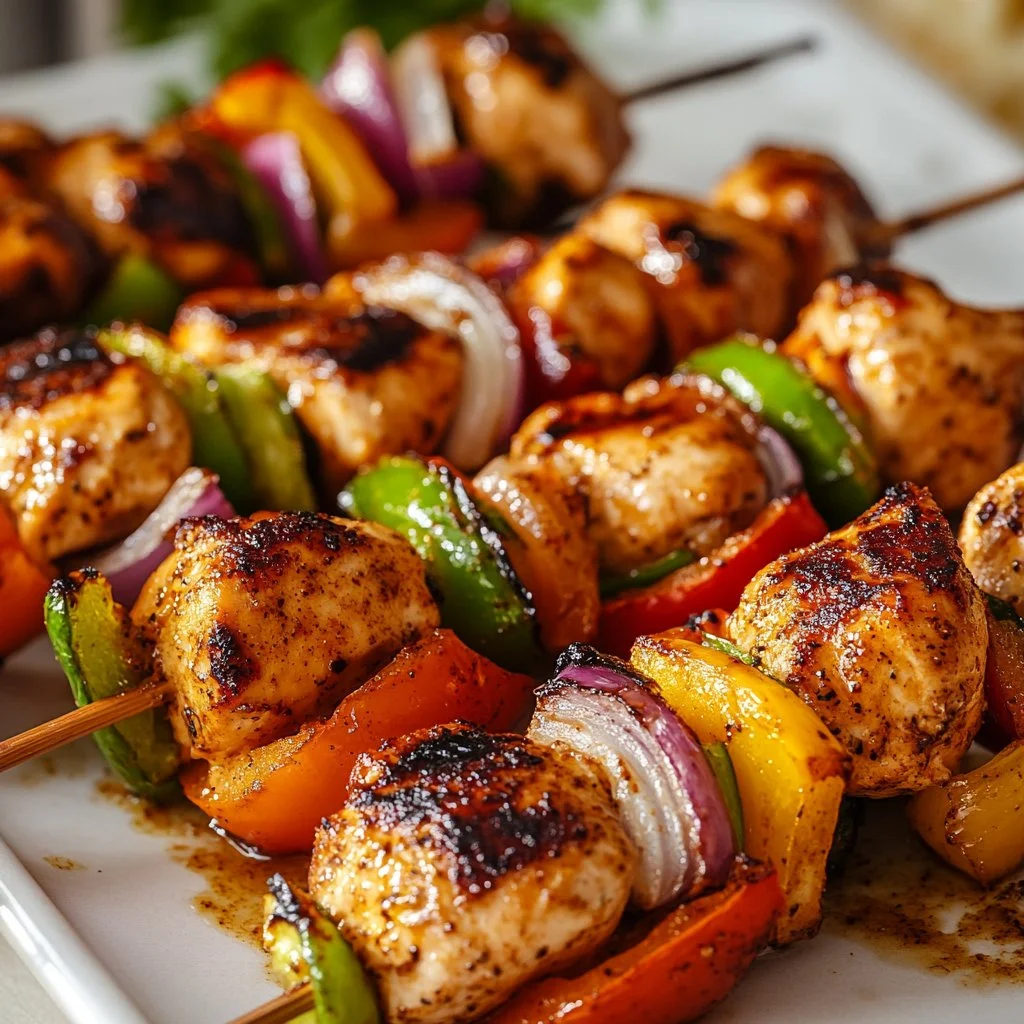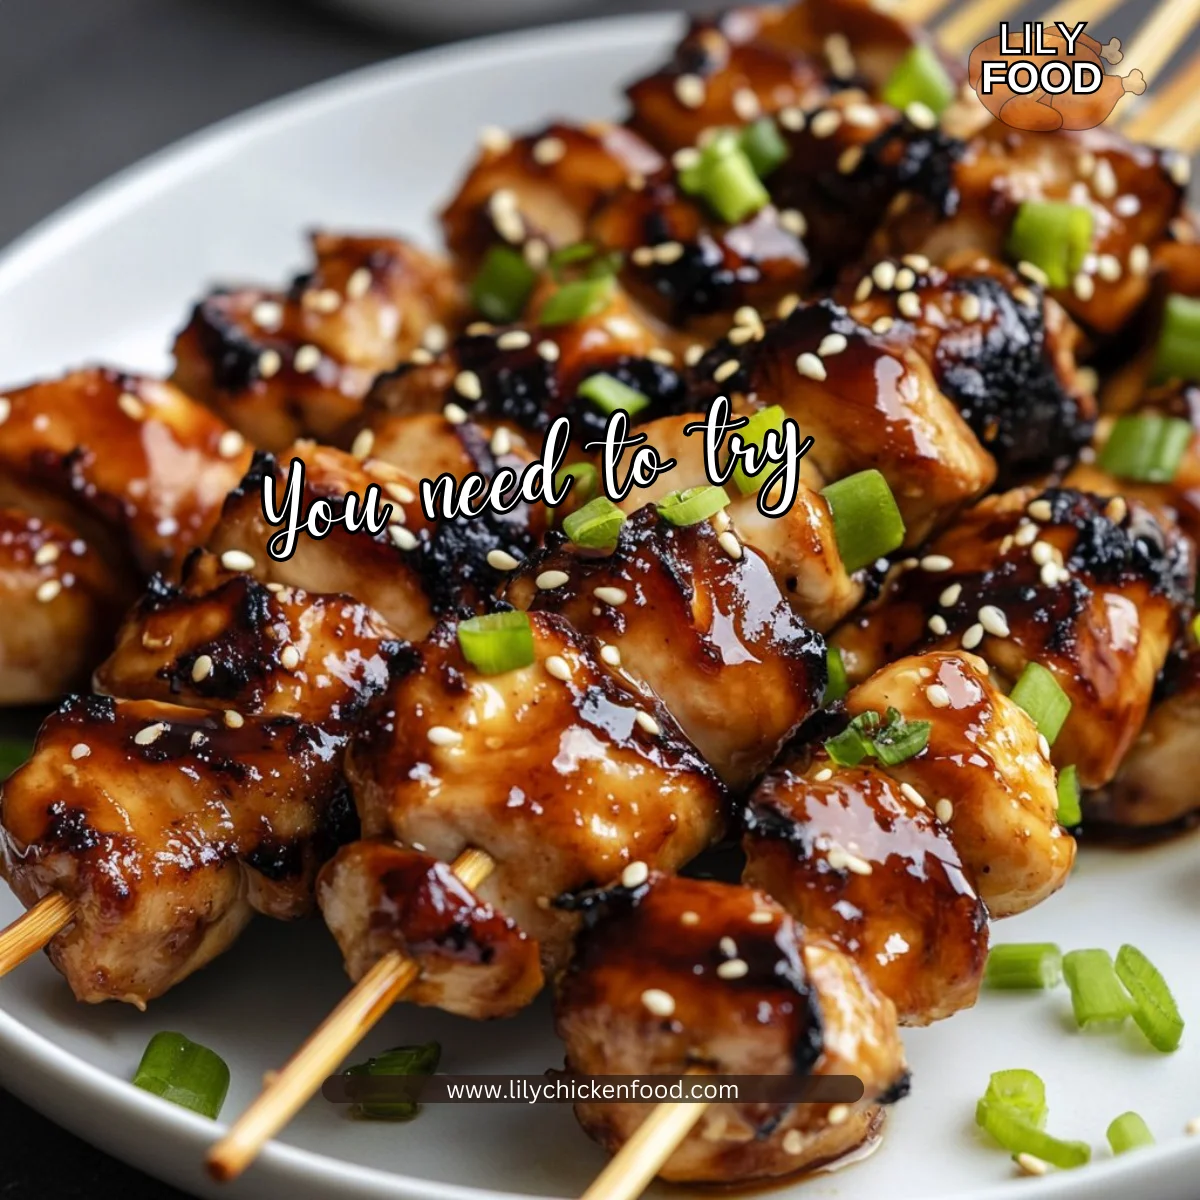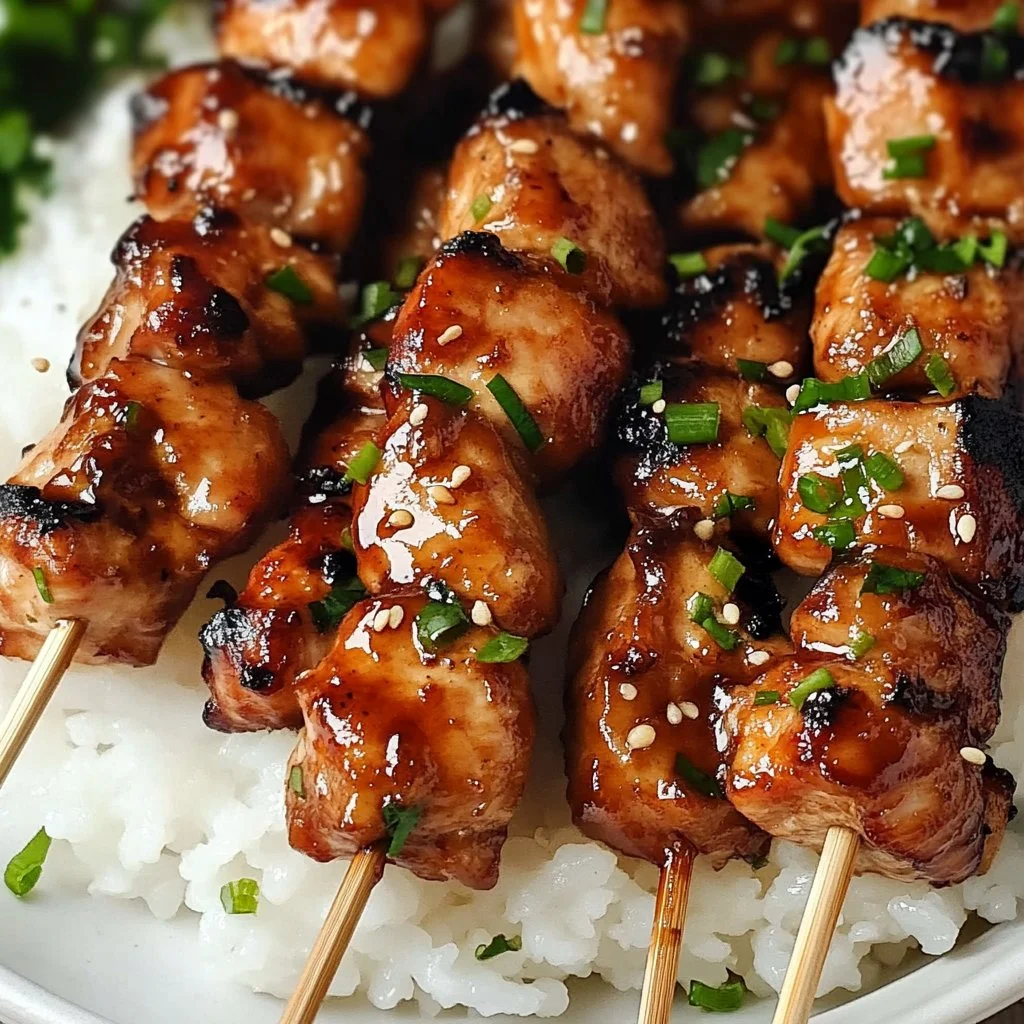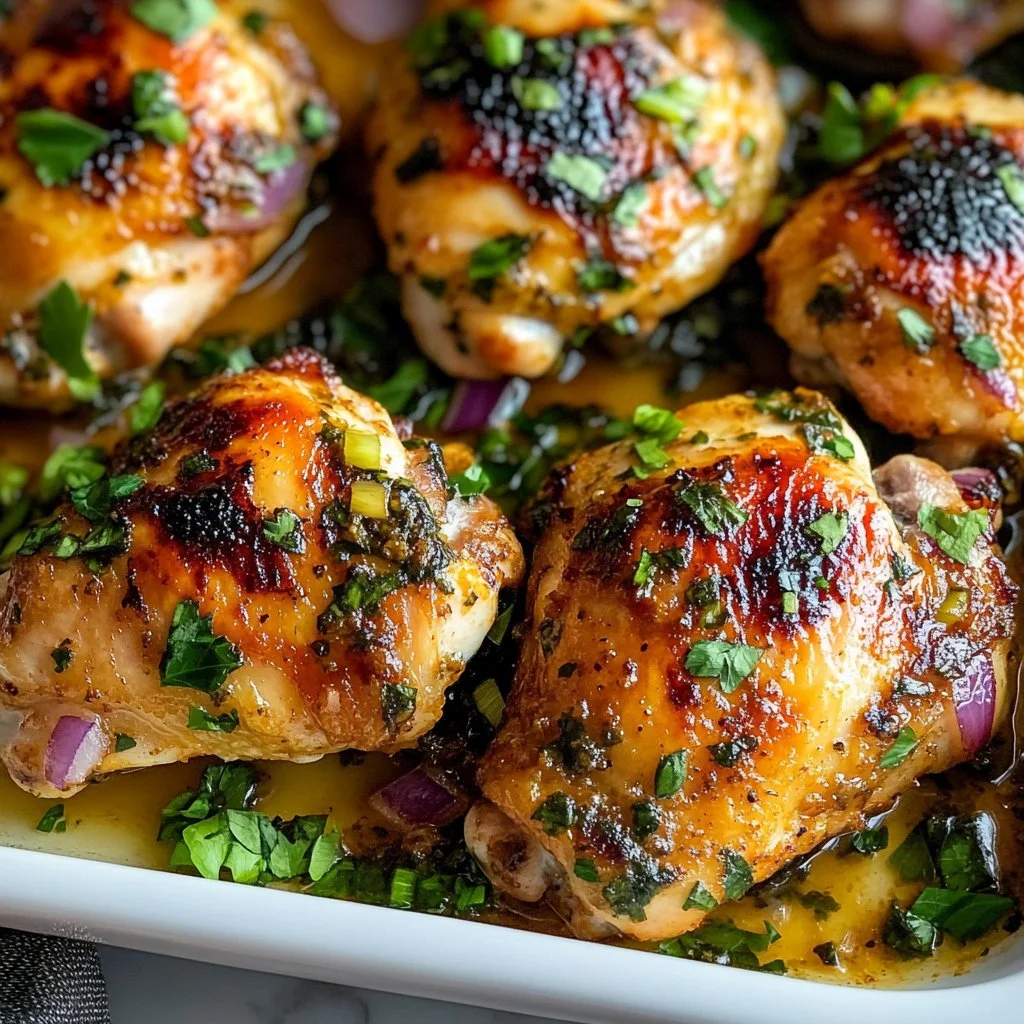
I inhaled deeply the first time I mixed this marinade for my family. The bright lemon, sweet honey, and garlic filled the kitchen and the kids came running. You can hear the sizzle of chicken hitting a hot pan and the warm chatter around the table.
If you need a reliable, weeknight-friendly marinade that makes everyone smile, this is it. For more ideas on quick family dinners, I often turn to my list of easy weeknight dinners to pair with whatever I grill or bake.
Why this works
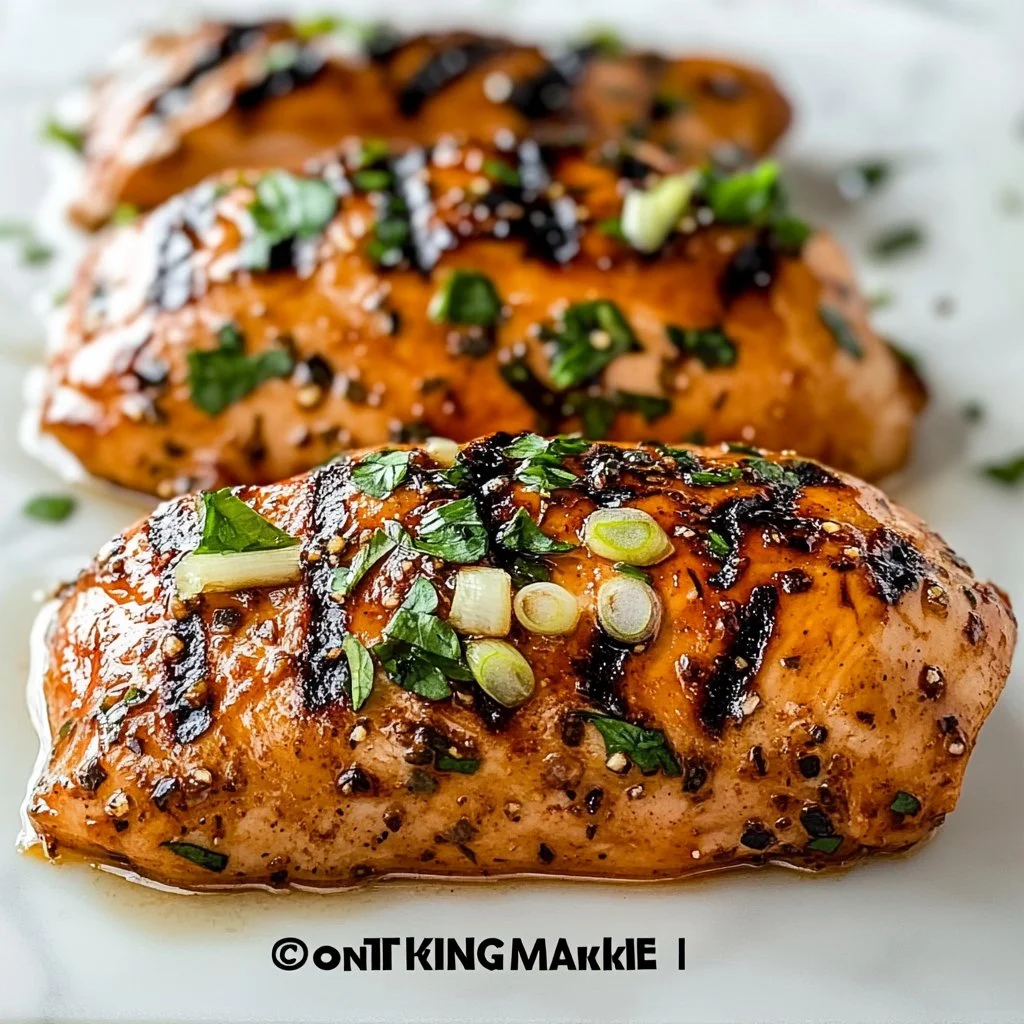
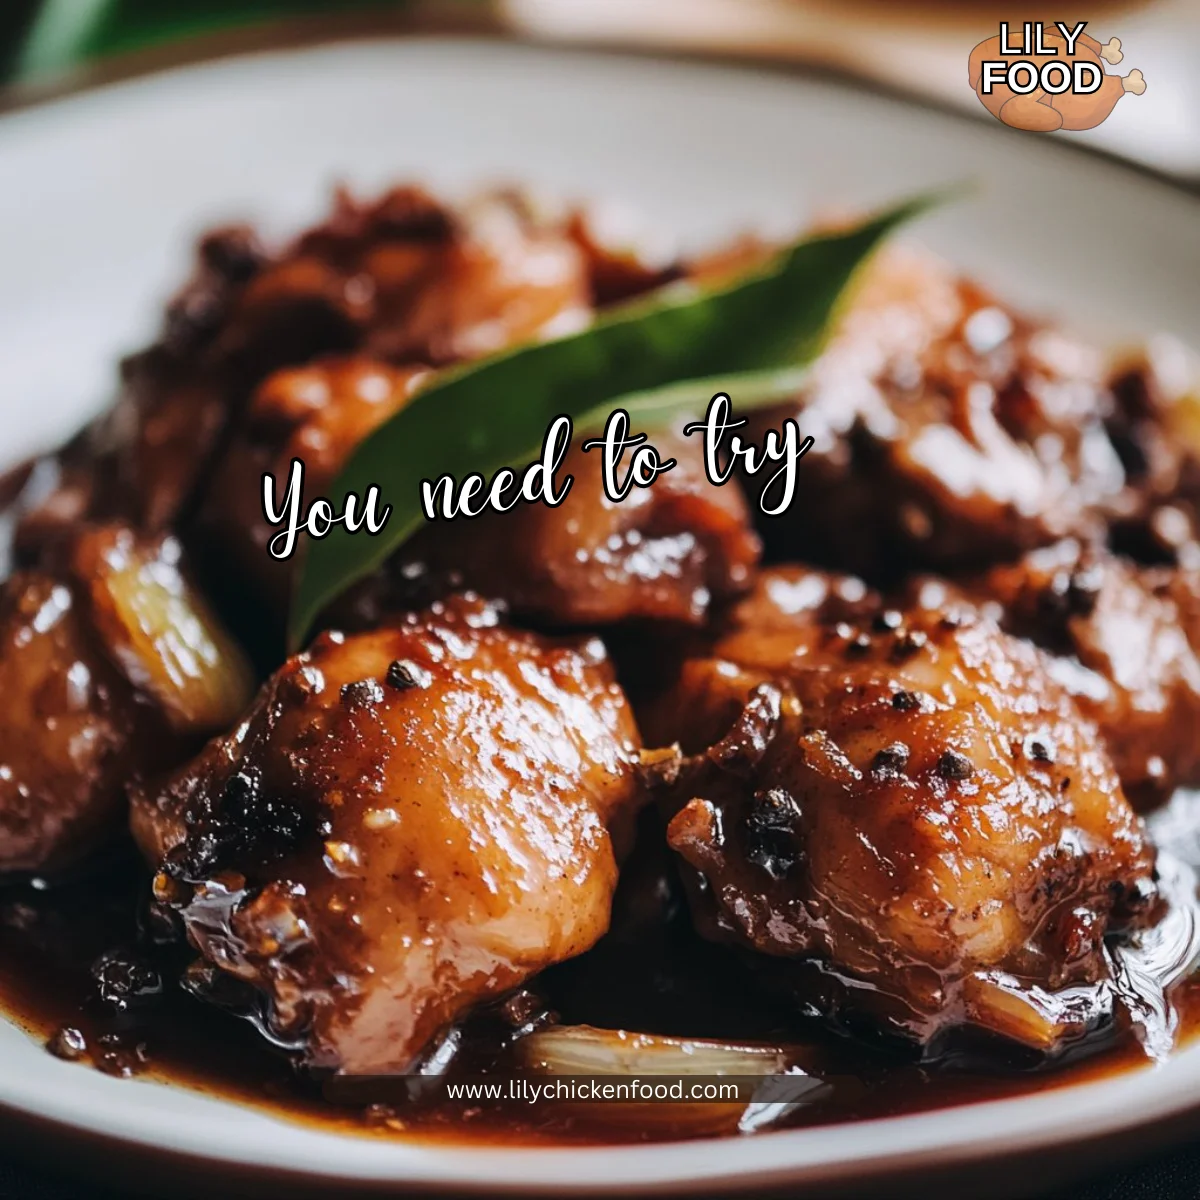
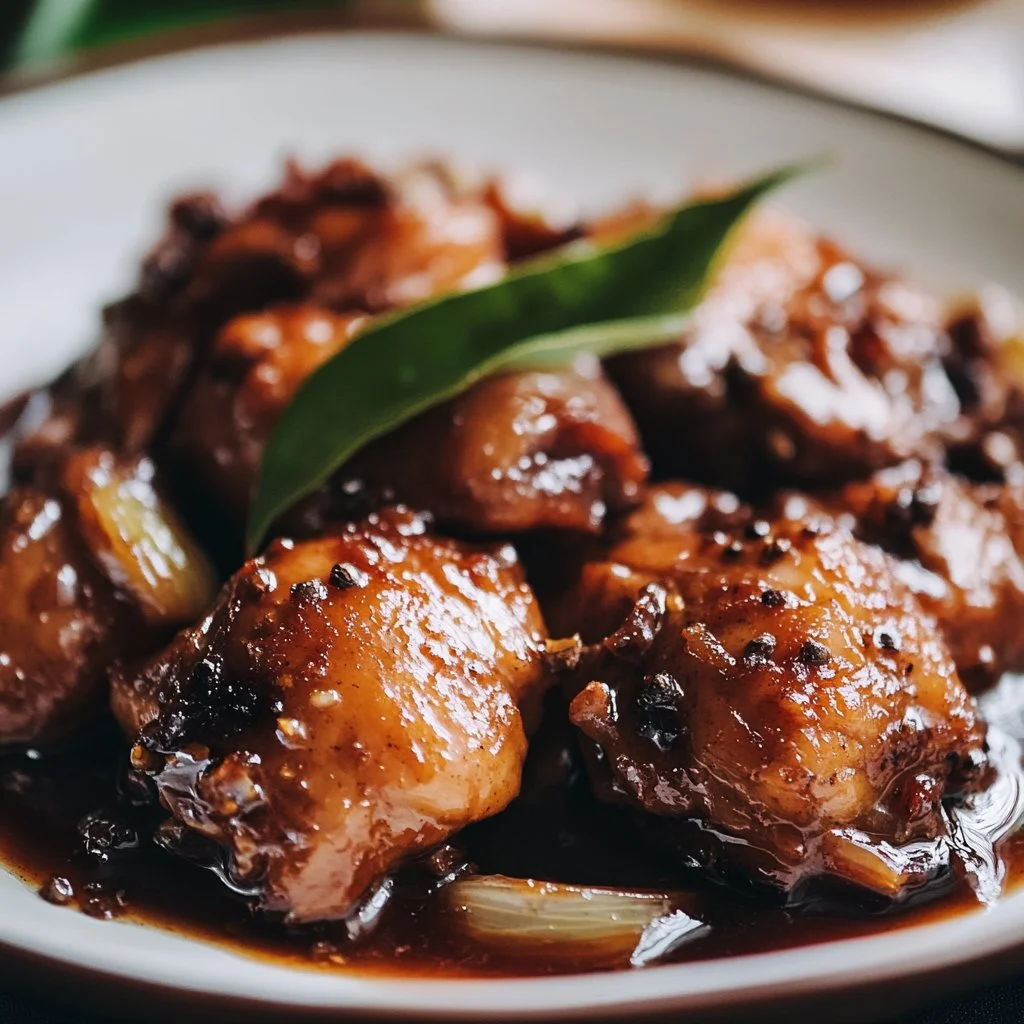
This marinade hits three family-friendly notes. It balances bright acid from lemon, savory depth from soy sauce, and gentle sweetness from honey. Together they tenderize the chicken while building flavor.
It saves time in a busy week. Mix the marinade in minutes and refrigerate the chicken while you finish homework, prep a salad, or take a quick walk. When the family sits down, you already have a main course that tastes like you spent more time on it than you did.
If you want full meals that feature this kind of flexible protein, browse my collection of family chicken dinner recipes for inspiration. You will see how a single marinade can be the backbone of many meals.
Process Overview
“This is where the magic happens—when the aroma fills the kitchen.”
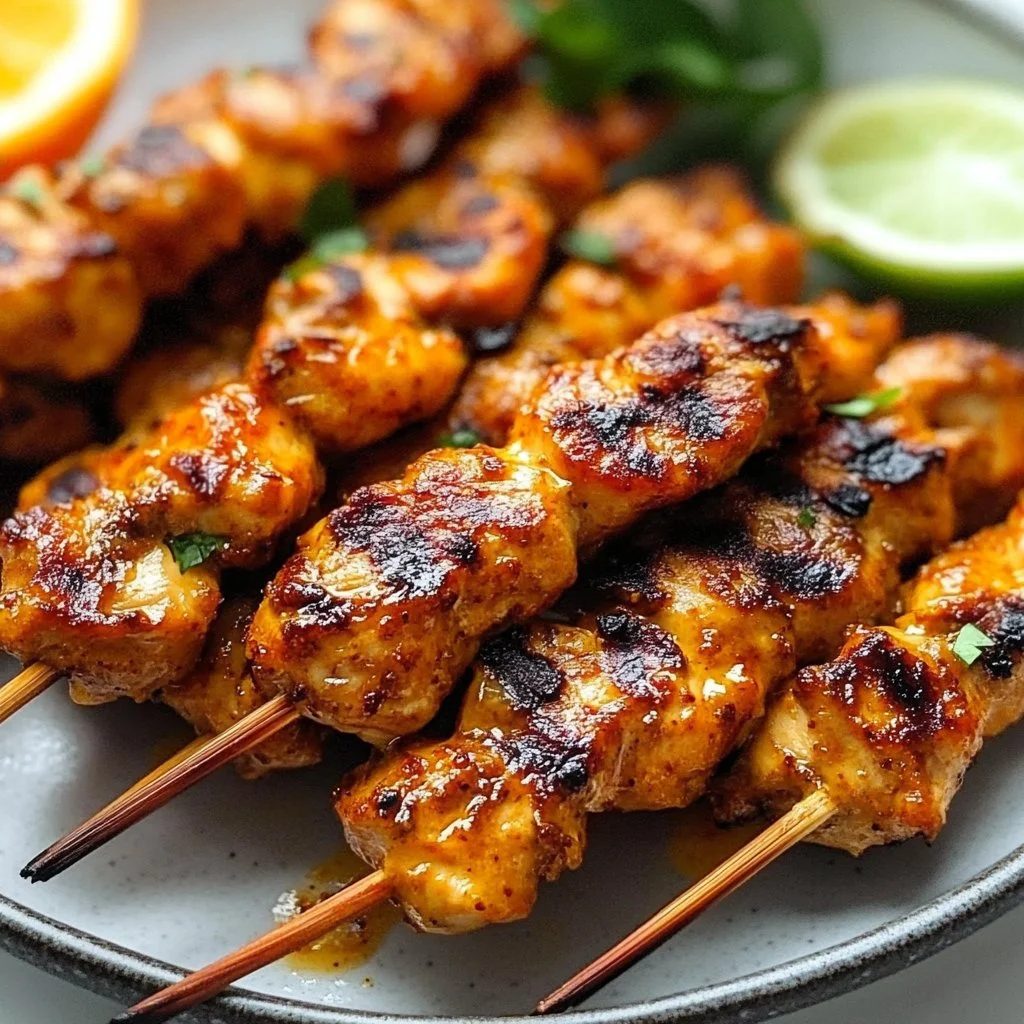
The method is simple and forgiving. Whisk, soak, and cook. The longer the chicken marinates, the deeper the flavor, but even one hour makes a difference.
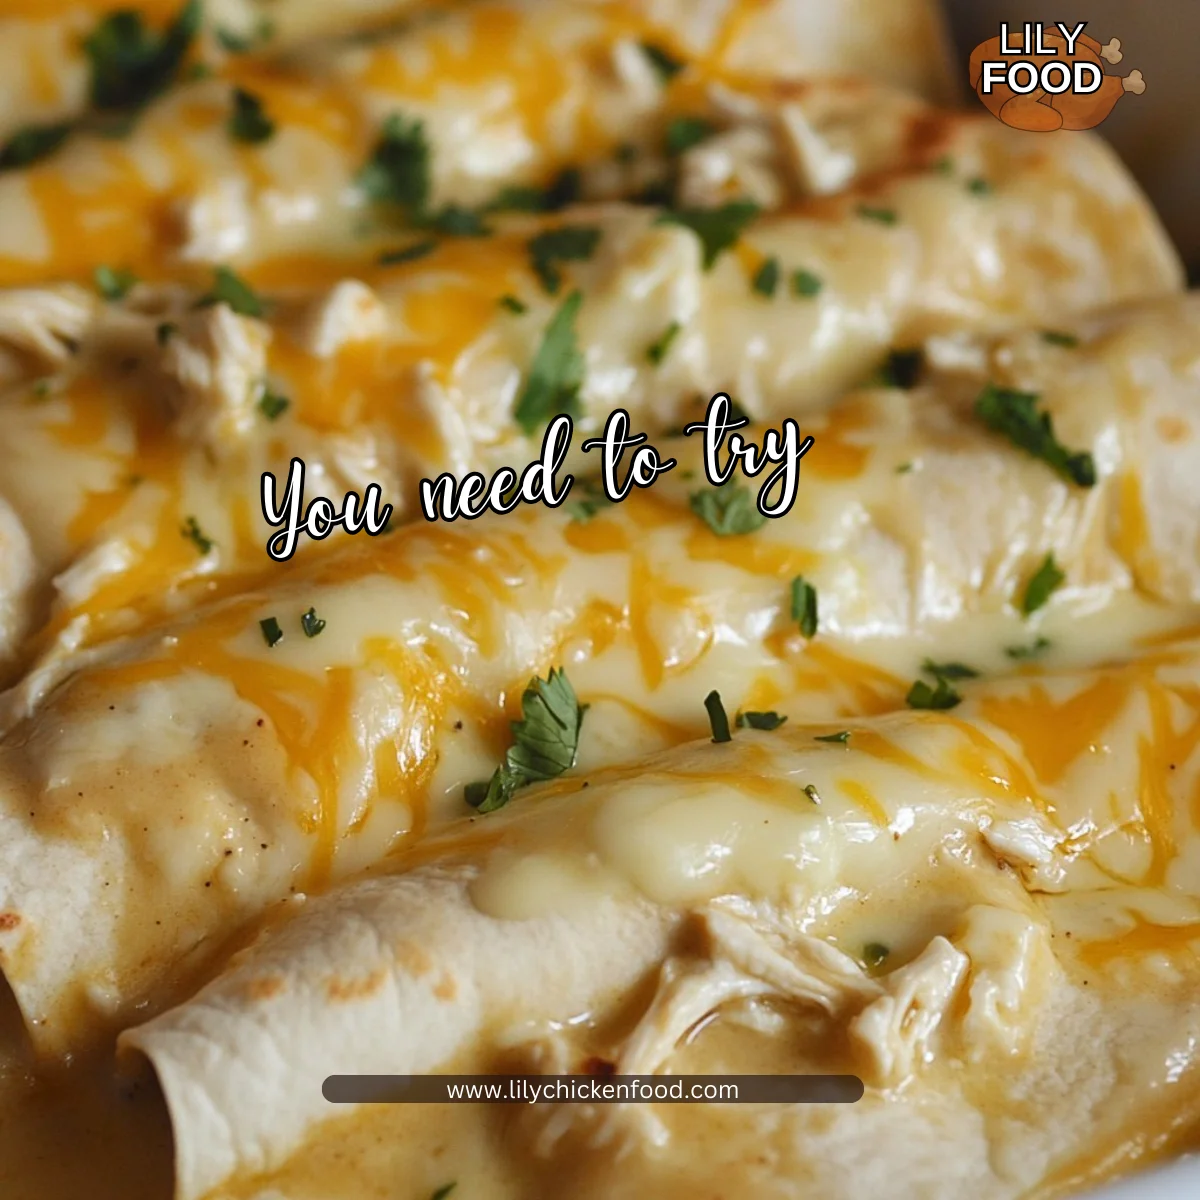
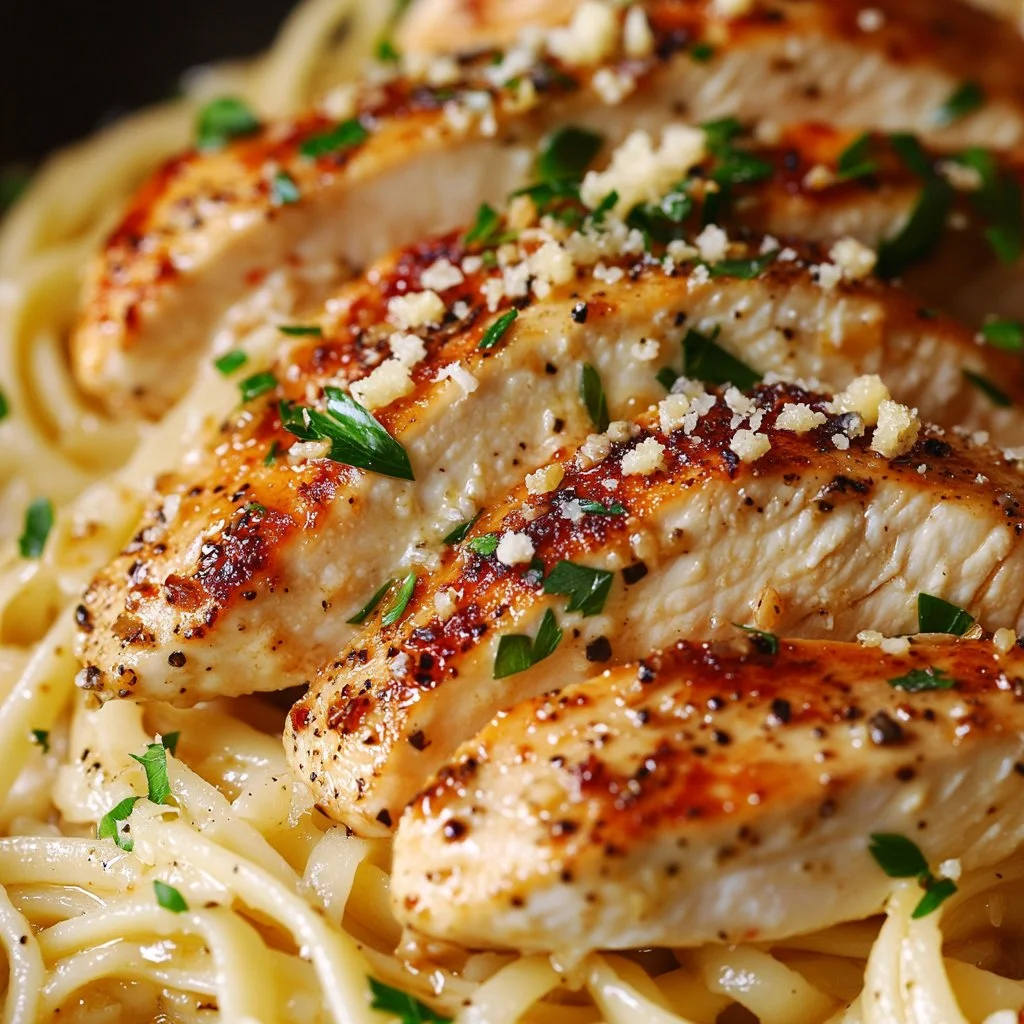
I often use this marinade to convert a plain chicken breast into something the whole table will reach for. It also works for thighs, drumsticks, or even chicken tenders. If you are looking for comforting sides to go with this, try a creamy pasta from my chicken macaroni recipes collection.
Ingredients
Below are the exact amounts and my personal tips for each item. These tips make the marinade easy to use and tailor to your family.
1/4 cup olive oil
Tip: Use regular olive oil for a neutral taste or extra virgin olive oil for a fruitier note. Measure in a liquid cup for accuracy. Olive oil helps the marinade coat the chicken and prevents sticking when you grill.
1/4 cup soy sauce
Tip: Use low-sodium soy sauce if you are watching salt. If your family likes bold umami, stick with regular soy sauce. It adds depth and color to the chicken.
2 tablespoons lemon juice
Tip: Freshly squeezed lemon juice brightens the whole dish. One medium lemon usually yields about 2 tablespoons. If you prefer milder acid, reduce to 1 tablespoon.
2 tablespoons honey
Tip: Honey balances the acid and creates a light glaze when you grill. For less sweetness, use 1 tablespoon or swap in maple syrup for a different flavor.
3 cloves garlic, minced
Tip: Fresh garlic gives the best aroma. If you need to swap, use 1 teaspoon garlic powder, but fresh minced packs more punch.
1 teaspoon dried oregano
Tip: Dried oregano is pantry-friendly and pairs well with lemon and garlic. You can substitute Italian seasoning if you prefer a blend.
1 teaspoon black pepper
Tip: Freshly ground black pepper adds brightness. If you have a pepper-sensitive eater, reduce to 1/2 teaspoon.
1 teaspoon salt
Tip: If you used low-sodium soy sauce, you can keep this amount. Otherwise, taste before adding more later. Salt helps the marinade penetrate for more even seasoning.
Directions
-
In a bowl, whisk together the olive oil, soy sauce, lemon juice, honey, garlic, oregano, pepper, and salt.
- Encouragement: Take a moment to smell the mixture. That aroma means you are already winning dinner tonight.
-
Place chicken in a resealable plastic bag and pour the marinade over the chicken.
- Encouragement: Seal the bag gently and press out extra air so the chicken stays in contact with the liquid. You will appreciate how evenly it flavors.
-
Seal the bag and refrigerate for at least 1 hour, or overnight for best results.
- Encouragement: Overnight marinades deepen the flavor. If time is short, even 60 minutes will do. While it marinates, set the table or chop a quick salad. For inspired side ideas, try pairing with recipes from my chicken and sweet potato recipes collection.
-
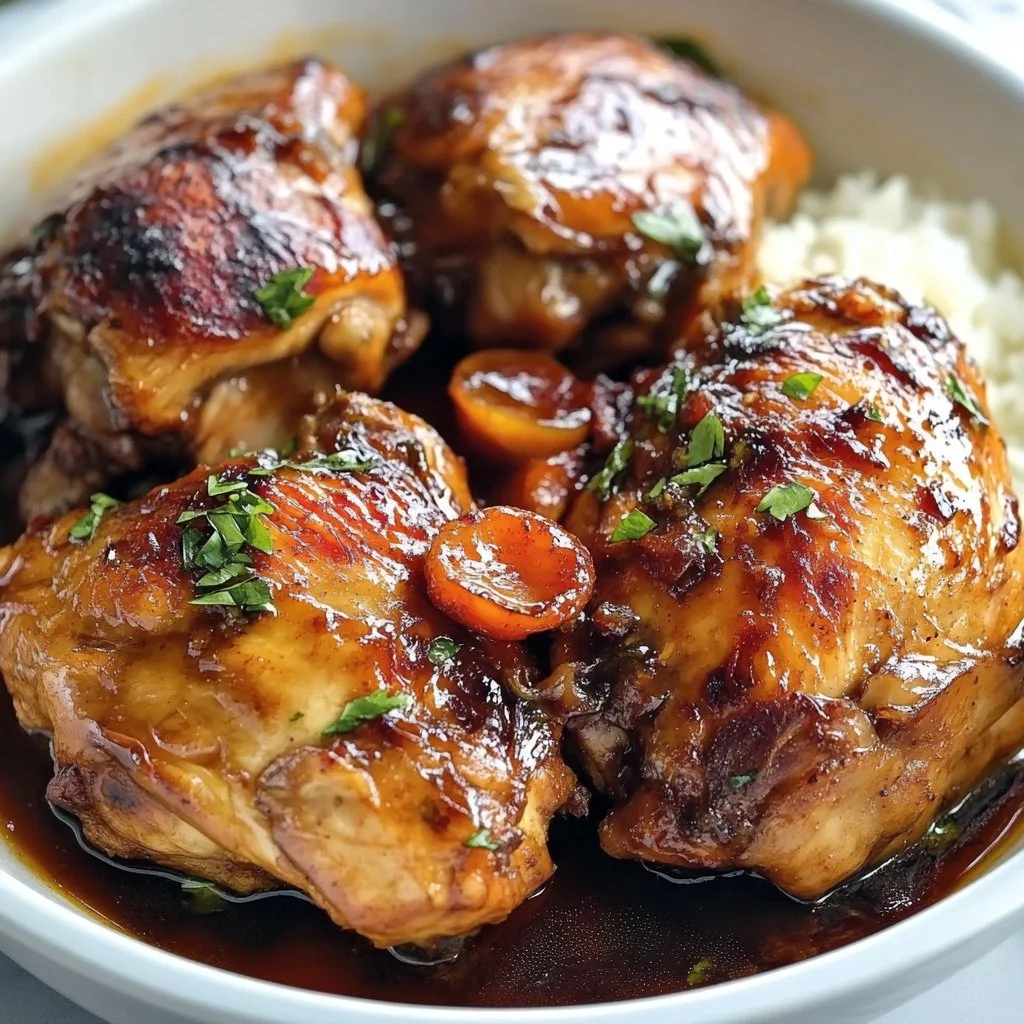
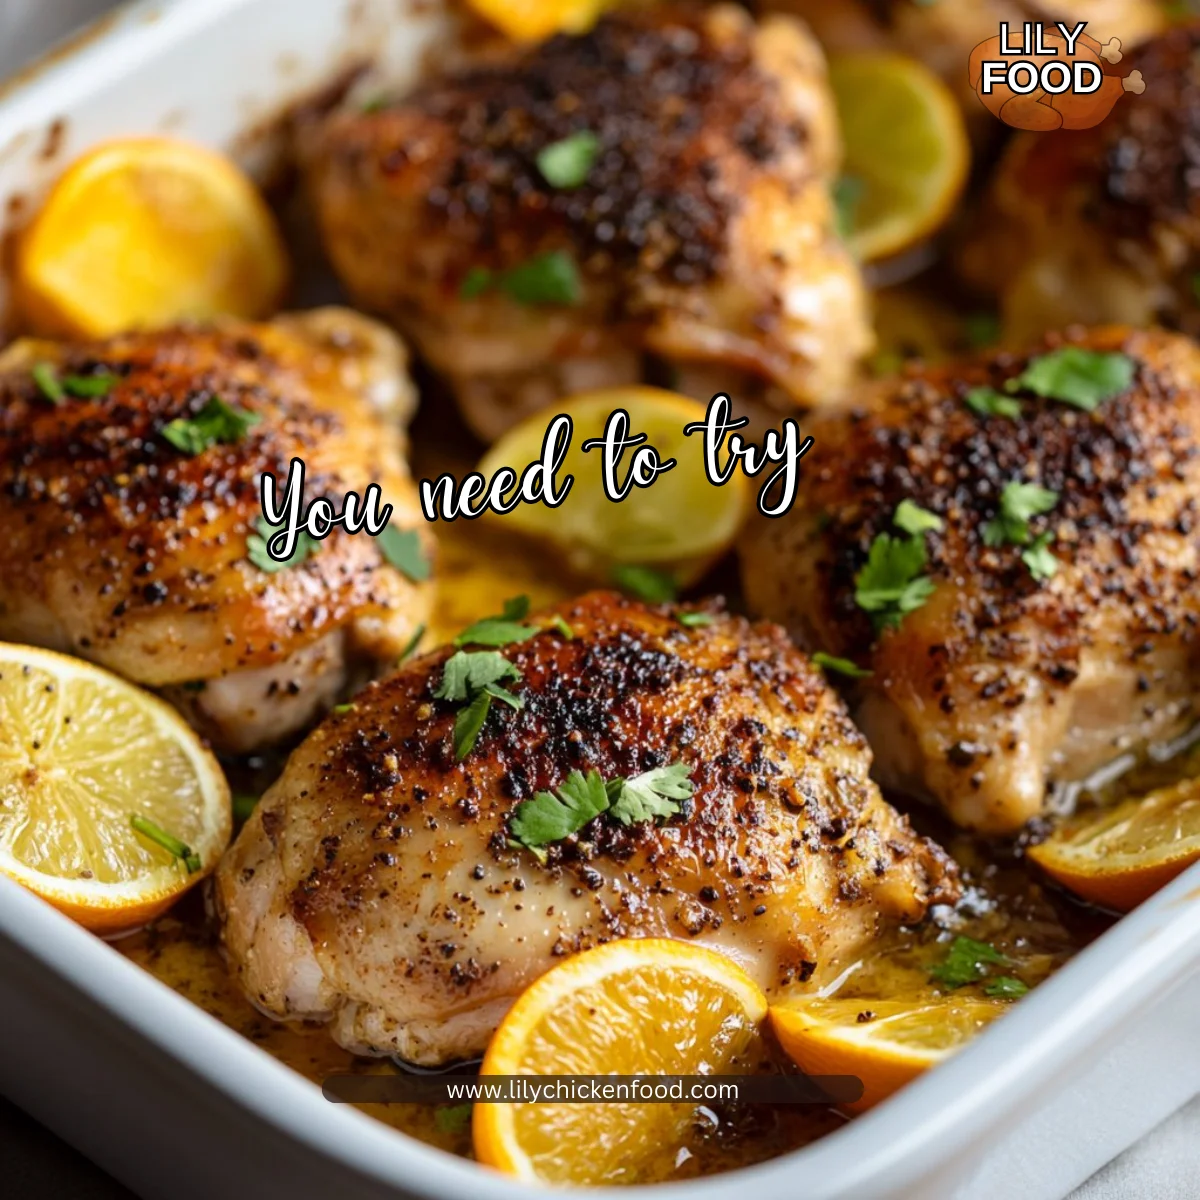
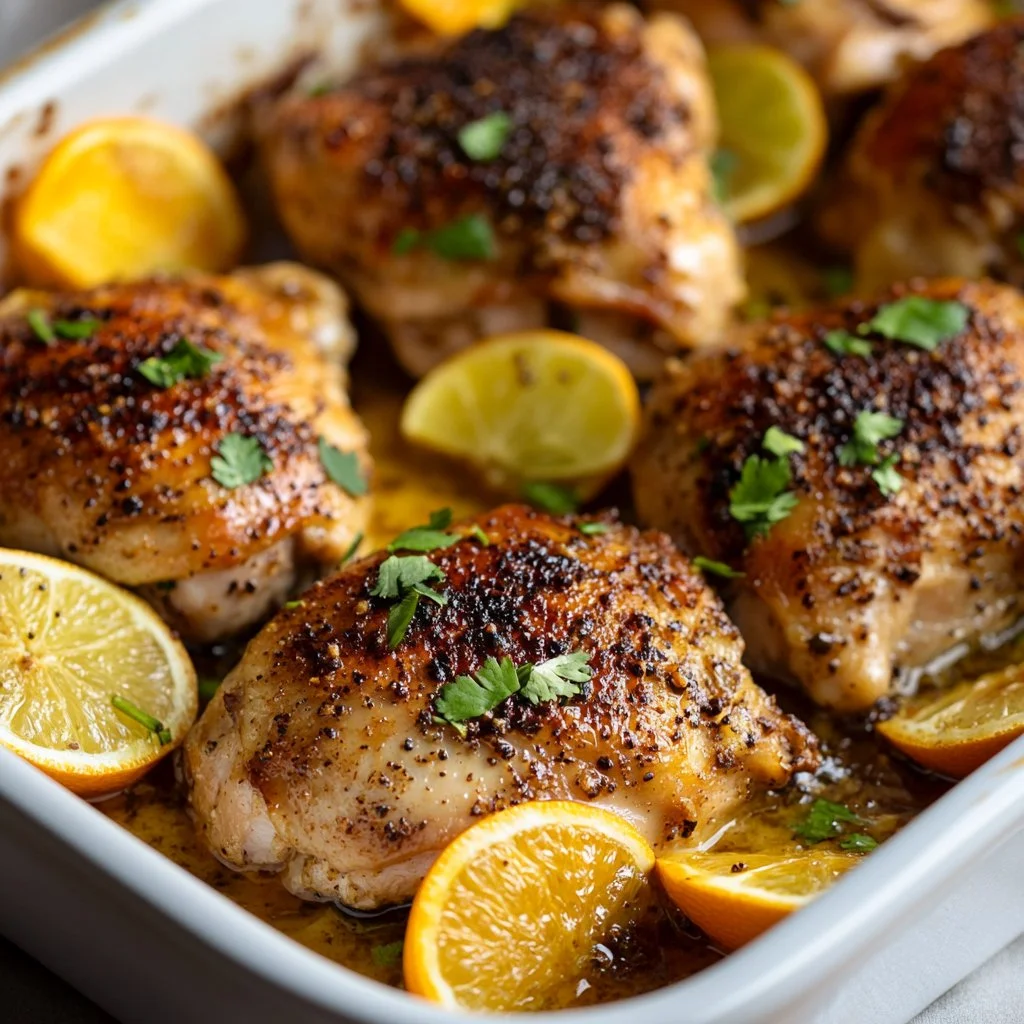
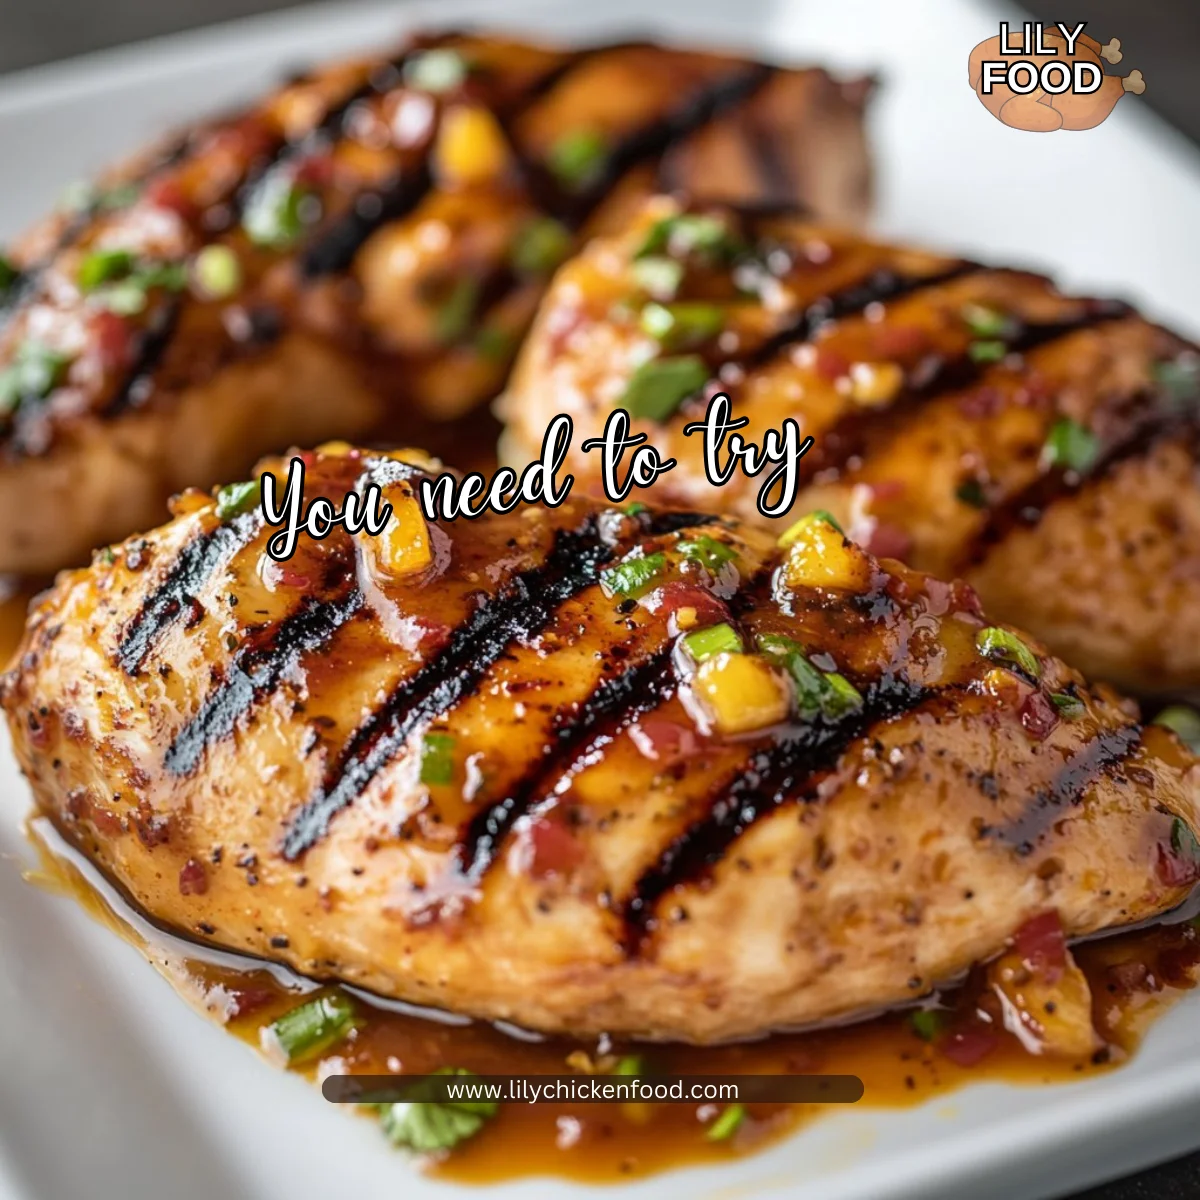
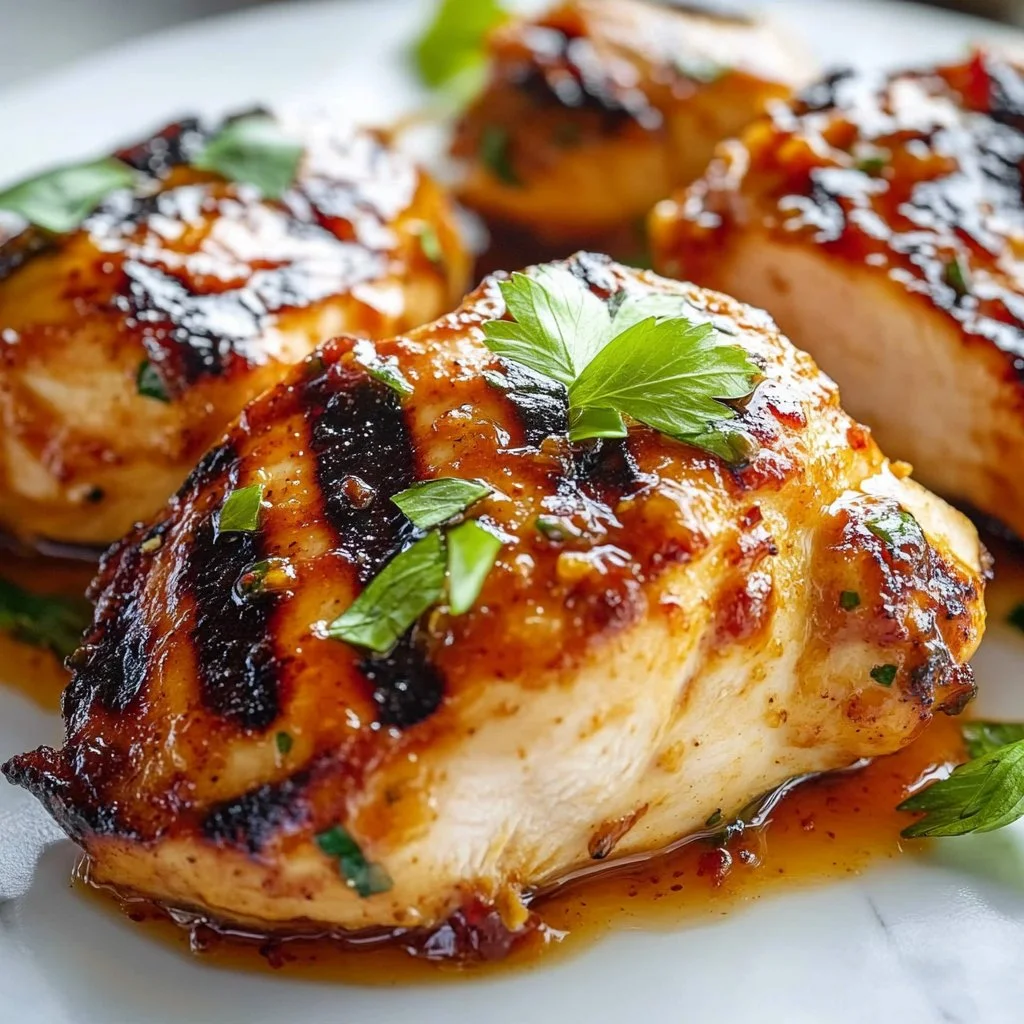
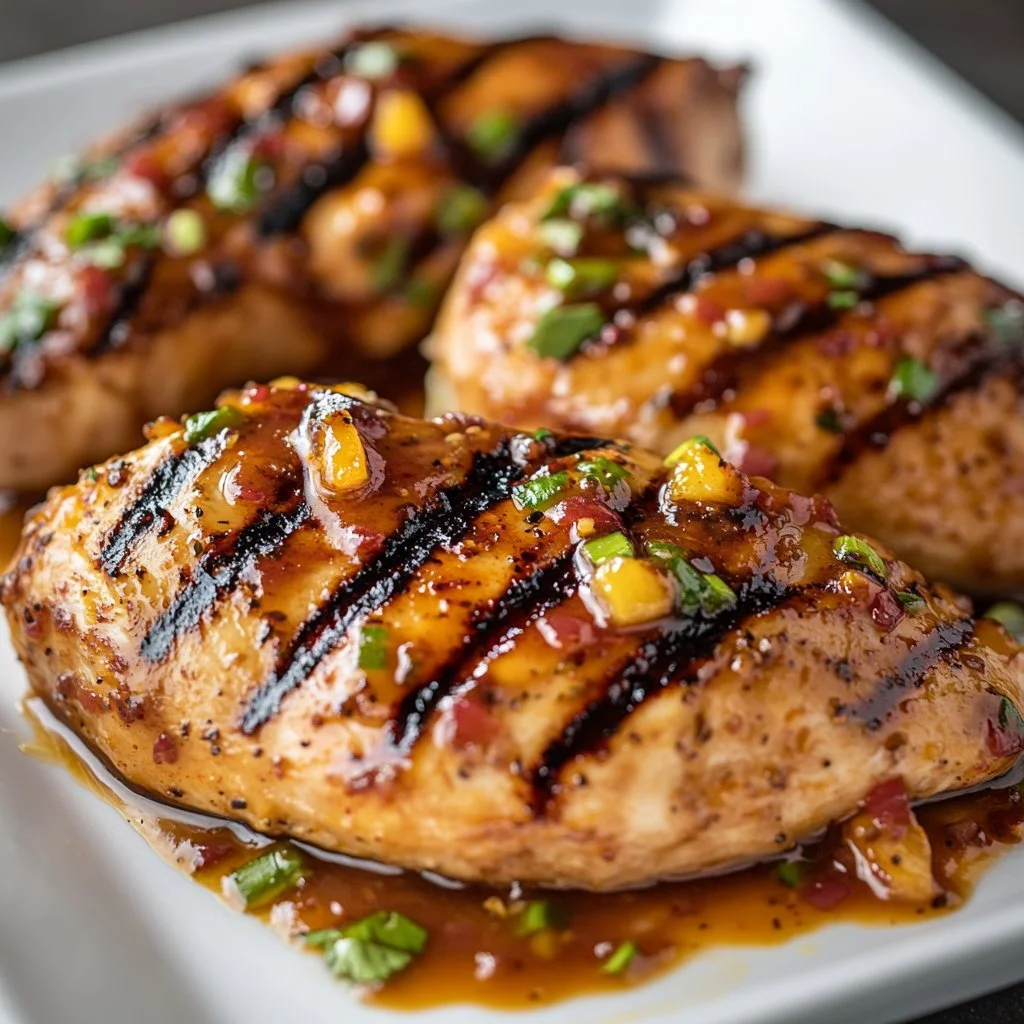
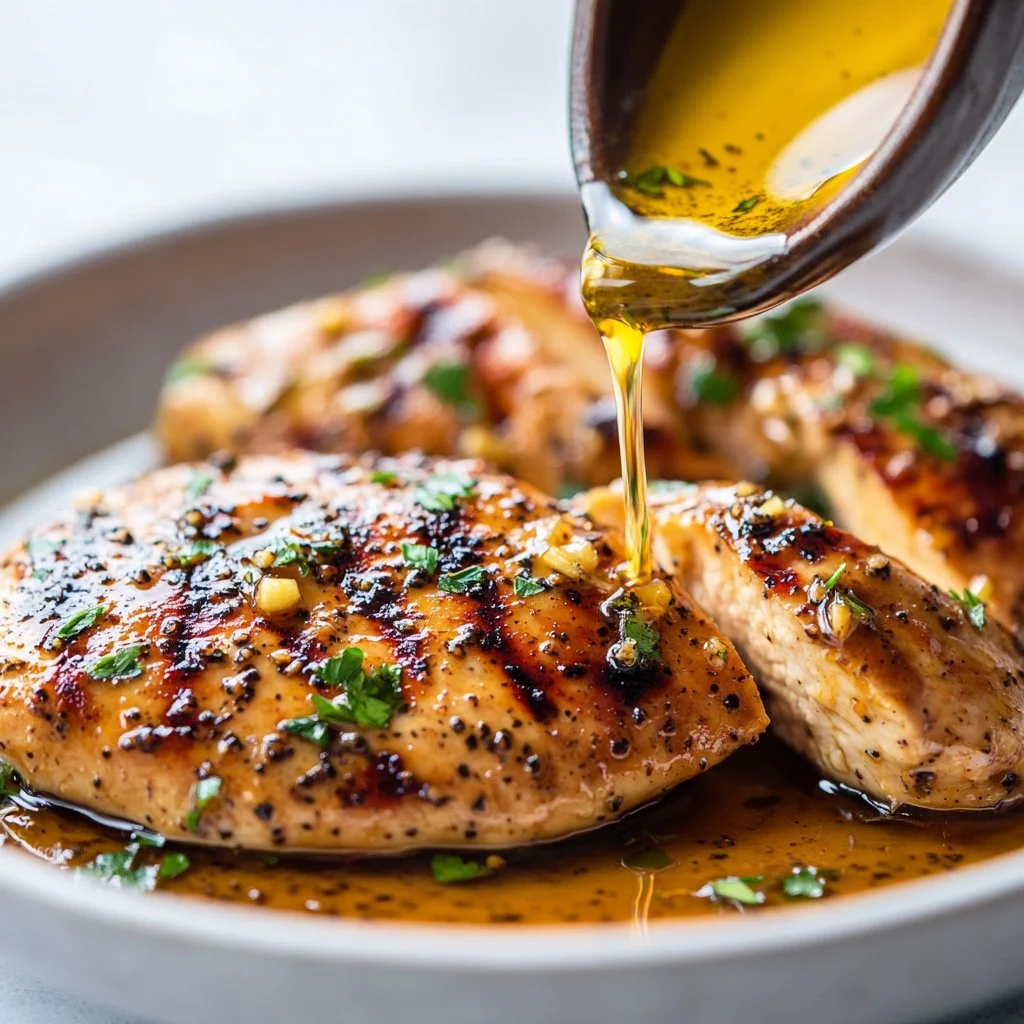
Remove chicken from marinade and grill, bake, or sauté as desired.
- Encouragement: Pat the chicken dry first for better browning. Cook to an internal temperature of 165 °F. Serve hot and watch the family smile.
Each step is forgiving. If you forget to marinate early, a quick 30 to 60 minute soak still gives better results than none.
Serving

Serve this chicken family-style on a large platter so everyone can choose portions. Slice grilled breasts across the grain for tenderness. Thighs and drumsticks are perfect for little hands.
Pair it with simple sides that the family loves. A green salad, roasted vegetables, warm rolls, or a buttery mashed potato work well. For a casual weeknight spread, I often put out bowls of rice, steamed broccoli, and pickled cucumbers so everyone builds their own plate.
To keep things cozy, set the platter in the center and invite everyone to pass it around. The aroma will bring the family together before the first bite.
Storage
Refrigerator
- Store leftover cooked chicken in an airtight container for up to 4 days. Cool the chicken to room temperature no longer than two hours before refrigerating.
Freezer
- Freeze cooked pieces in freezer bags for up to 3 months. Label with the date and portion sizes for easy thawing later.
Reheating
- Reheat gently in a 350 °F oven until warmed through. To keep chicken moist, add a light splash of chicken stock or water and cover the dish with foil.
- For quicker reheats, slice the chicken and warm in a skillet over medium heat for a few minutes. Avoid high heat which dries the meat.
Marinade safety
- Never reuse marinade that has touched raw chicken unless you boil it for several minutes to kill bacteria. If you want a sauce, reserve a bit of the marinade before it touches raw meat.
Kitchen Notes
- Use a resealable bag to marinate for easier cleanup and better contact between chicken and liquid.
- If grilling, oil the grates lightly to prevent sticking and to get those pretty grill marks.
- Swap lemon juice with lime juice for a subtle citrus swap that kids usually enjoy.
- For even faster weeknight prep, double the marinade and freeze half in an ice tray. Pop a cube into a bag of chicken when you remember ahead of time.
- If you have picky eaters, reserve a small portion of the chicken plain before marinating or reduce garlic and pepper.
Variations
- Kid-Friendly: Reduce black pepper to 1/4 teaspoon and omit oregano if your kids prefer milder herb notes. Use a little extra honey to make a lightly sweet glaze.
- Low-Sodium: Use 1/4 cup low-sodium soy sauce and reduce added salt to 1/2 teaspoon. Taste before serving and adjust as needed.
- Gluten-Free: Substitute tamari or a gluten-free soy sauce to keep the flavor while avoiding gluten.
- Whole30 / Paleo: Replace honey with a tablespoon of date paste for sweetness and use coconut aminos instead of soy sauce.
- Spicy Kick: Add 1/2 teaspoon crushed red pepper or 1 teaspoon chili paste to the marinade. Serve cooled yogurt on the side to balance heat for kids.
These tweaks let you keep one base recipe while addressing different tastes and diets in your home.
FAQ
Q: How long can I marinate chicken safely?
A: You can marinate in the refrigerator for 1 hour up to 24 hours. White meat like breasts benefits from 1 to 8 hours. Dark meat like thighs can go longer. Avoid marinades longer than 24 hours as the texture can become mushy.
Q: Can I use this marinade for other proteins?
A: Yes. It works well on pork chops, firm tofu, and even shrimp. Adjust marinating time for delicate proteins. Shrimp needs only 15 to 30 minutes.
Q: Do I need to baste the chicken while cooking?
A: Not necessary. If you want a glossy finish, brush reserved marinade that you boiled, or a fresh mix of honey and lemon, onto the chicken during the last few minutes of cooking.
Q: Can I skip the oil?
A: You can omit oil if you prefer, but oil helps distribute fat soluble flavors and protects the chicken from sticking when grilling. If avoiding oil, consider a nonstick pan or grill mat.
Q: How do I know when the chicken is done?
A: Use an instant-read thermometer. The safe internal temperature for cooked chicken is 165 °F in the thickest part. Let it rest five minutes before slicing.
Conclusion
Thanks for letting me share this simple, reliable chicken marinade from my family to yours. If you want a proven marinade specifically tuned for grilling or baking, I like the clear instructions in The BEST Chicken Marinade (For Grilling or Baking). For more healthy and easy marinade ideas you can rotate through the week, see these easy chicken marinades that work for different dietary needs.
Cooking for the people you love is the best kind of cooking. Keep trying, keep tasting, and enjoy the sounds and smells of a busy, happy kitchen.
Family-Friendly Chicken Marinade
Ingredients
Marinade Ingredients
- 1/4 cup olive oil (Use regular or extra virgin olive oil depending on desired flavor.)
- 1/4 cup soy sauce (Use low-sodium if watching salt.)
- 2 tablespoons lemon juice (Freshly squeezed is best.)
- 2 tablespoons honey (Can substitute with maple syrup for a different flavor.)
- 3 cloves garlic, minced (Fresh garlic is preferred for aroma.)
- 1 teaspoon dried oregano (Can substitute with Italian seasoning.)
- 1 teaspoon black pepper (Reduce if sensitive to spice.)
- 1 teaspoon salt (Adjust based on soy sauce used.)
Instructions
Preparation
- In a bowl, whisk together the olive oil, soy sauce, lemon juice, honey, garlic, oregano, pepper, and salt.
- Place chicken in a resealable plastic bag and pour the marinade over the chicken.
- Seal the bag gently, pressing out extra air for even flavor.
- Refrigerate for at least 1 hour, or overnight for best results.
Cooking
- Remove chicken from marinade and grill, bake, or sauté as desired.
- Cook to an internal temperature of 165 °F and serve.