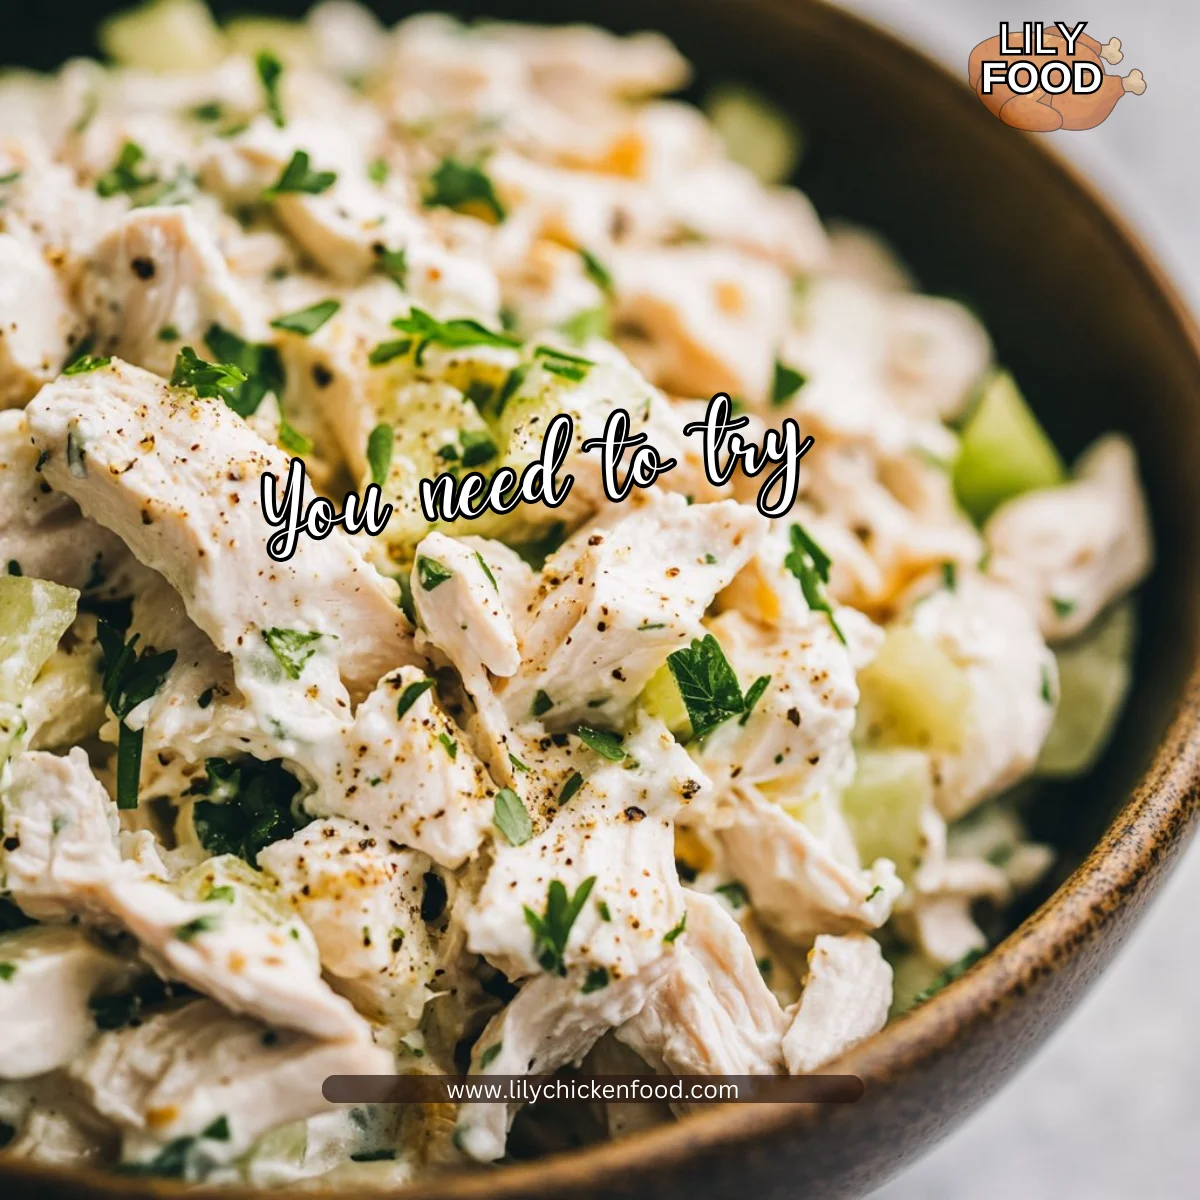
There’s something magical about the sound of a chopping board under a sharp knife and the soft clanking of mixing bowls in a bustling kitchen. The aroma of freshly diced celery fills the air, mingling with the savory scent of cooked chicken. It’s a symphony of comforting smells that whisk you back to family gatherings and sunny afternoons. This Chicken Salad recipe not only pleases the palate but also brings loved ones together around the table.
Why This Works
This simple Chicken Salad recipe is all about bringing family together while saving time in the kitchen. You can whip it up in just 20 minutes, making it perfect for lunch or a light dinner. It requires very little cooking and uses ingredients that you may already have on hand. Plus, it’s versatile—everyone can enjoy it their own way.
When it comes to busy weeknights, I appreciate recipes that are easy yet delicious. This Chicken Salad fits the bill perfectly. Pair it with fresh bread or serve it in lettuce wraps, and you’ve got a meal that satisfies both your taste buds and your schedule.
Process Overview
“This is where the magic happens—when the aroma fills the kitchen.”
The steps to create this delightful dish are straightforward. Start by gathering your ingredients. Then, you’ll mix a few simple components to make the dressing. Combine everything in a large bowl, and you are done! It’s as easy as that.
In just a few steps, you’ll create a dish that’s sure to become a staple in your cooking repertoire.
Ingredients
Here’s what you’ll need:
- 2 cups cooked chicken, shredded: Use rotisserie chicken for a quick shortcut.
- 1 cup celery, diced: This adds a nice crunch.
- 1/2 cup mayonnaise: For creaminess. Opt for light mayo if desired.
- 1 tablespoon Dijon mustard: A bit of tang that elevates the salad.
- 1 tablespoon lemon juice: To awaken all the flavors.
- Salt and pepper to taste: Essential for seasoning.
- Optional:
- Diced apples or grapes: A sweet twist.
- Chopped nuts: Pecans or walnuts add delightful texture.
These ingredients are all easily found in your kitchen or at your local grocery store. Don’t hesitate to customize to fit your family’s tastes!
Directions
-
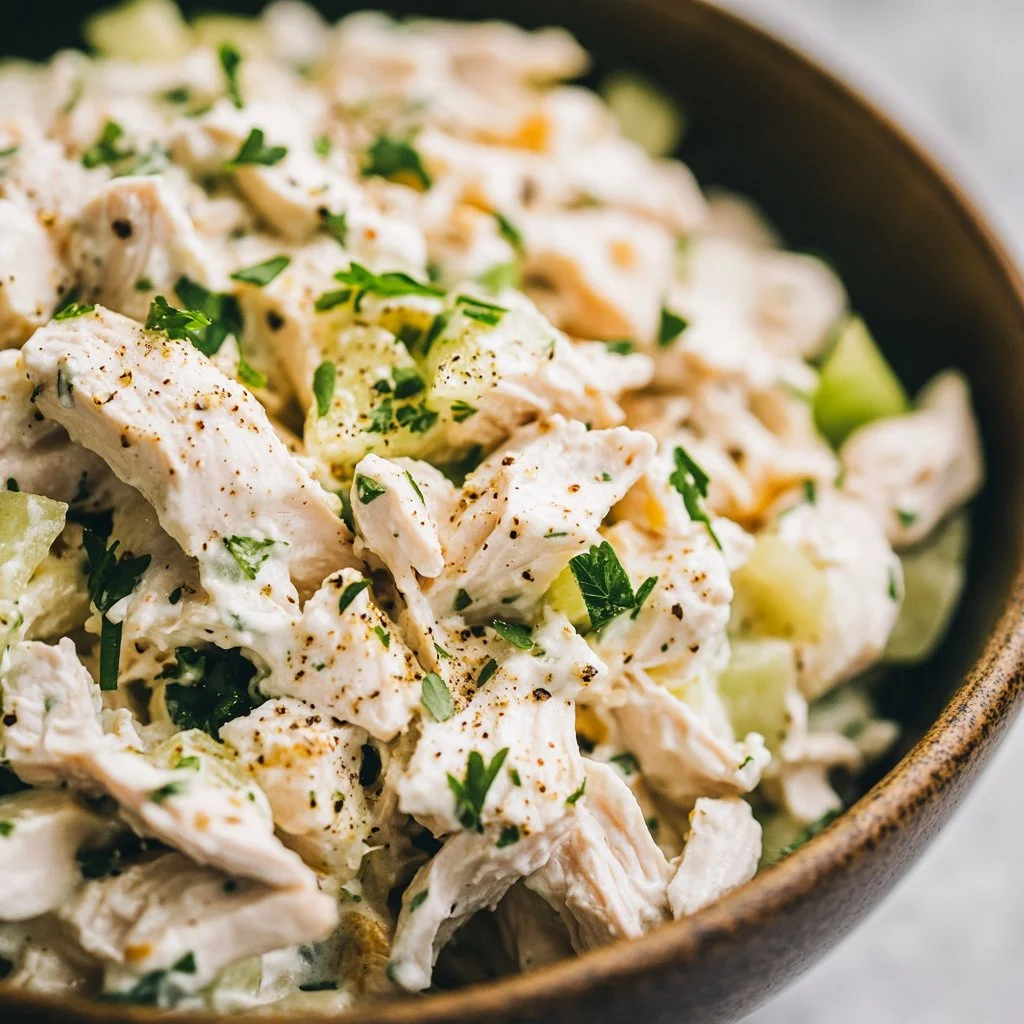
In a large bowl, combine the shredded chicken and diced celery. Mix them gently, ensuring the chicken is evenly distributed. This is your base—make it hearty.
-
In a separate small bowl, mix together the mayonnaise, Dijon mustard, lemon juice, salt, and pepper. This dressing is key to making the chicken salad flavorful. Taste it before you add it to your chicken; you want it just right.
-
Pour the dressing over the chicken and celery mixture. Stir until everything is well mixed. You want to see that glossy coating all around.
-
If desired, add in any extra ingredients such as diced apples, grapes, or nuts. These additions bring another layer of flavor and fun texture. Just be careful not to add too much; you want a nice balance.
-
Serve the chicken salad chilled or at room temperature. It’s perfect for gatherings or just a cozy night in.
Each step brings you closer to that satisfying chicken salad, and it’s okay if it’s not perfect the first time. Remember, cooking is about the journey as much as the destination!
Serving

To serve this Chicken Salad family-style, place it in a large bowl at the center of the table. Let everyone scoop their own portions. This not only makes serving easy but also allows for conversation and involvement from all.
Consider serving it with toasted bread, pita, or fresh lettuce leaves for a vibrant and inviting meal. A side of fresh fruit can complement the dish perfectly, making your mealtime experience refreshing and heartwarming.
Storage
If you have leftovers, you can easily store them in an airtight container in the fridge for 3-4 days. Be sure to keep it cool, especially if it’s a hot day. If you want to reheat, it’s best to serve it cold or at room temperature. The flavors meld wonderfully after a day in the fridge, making this a great make-ahead option.
Kitchen Notes
- Shortcut Chicken: Use rotisserie chicken for less prep time.
- Prep Ahead: Chop celery and mix the dressing the day before, so it’s quick to assemble.
- Frozen Chicken: If you have frozen chicken, cook it in the Instant Pot to save time.
- Single Serve: Make smaller portions to take for lunch during the week.
- Taste as You Go: Adjust the seasoning and add-ins to your family’s liking; it’s all about personal preference!
Variations
For those with picky eaters or specific dietary needs, here are some ideas:
- For Gluten-Free Diets: Serve the salad in lettuce wraps or enjoy it on gluten-free bread.
- For Lower-Calorie Options: Substitute plain Greek yogurt for mayonnaise.
- Vegetarian Twist: Replace chicken with chickpeas for a hearty vegetarian salad.
- For Fruit Lovers: Add diced peaches or mandarin oranges for a summer vibe.
- Spicy Version: Stir in a dash of hot sauce for a kick.
This Chicken Salad is flexible, catering to different tastes and dietary preferences, making it an ideal family recipe.
FAQ
1. Can I use canned chicken for this recipe?
Yes, canned chicken works perfectly in a pinch. Just drain and shred before mixing.
2. How can I make this recipe dairy-free?
You can substitute mayonnaise with an avocado or a dairy-free mayonnaise alternative.
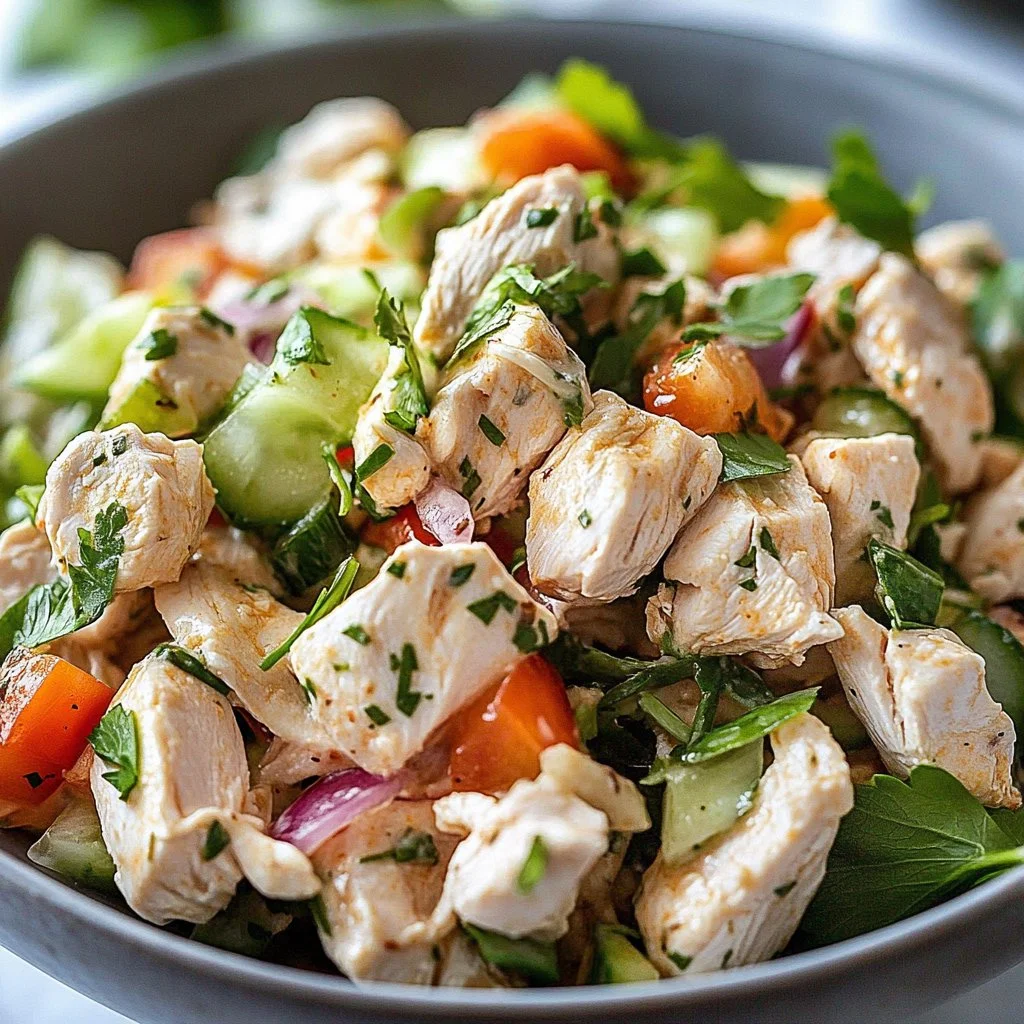
3. Can I add other vegetables?
Absolutely! Chopped bell peppers or red onions can add extra crunch and flavor.
4. How do I keep the salad fresh?
Keep it in an airtight container to extend its freshness in the refrigerator.
5. Can I freeze chicken salad?
Freezing is not recommended as it can change the texture of the mayonnaise and veggies. It’s best enjoyed fresh.
Conclusion
This Chicken Salad is more than just a recipe; it’s a chance to spend time with family while enjoying something delicious. Whether you’re hosting a gathering or quietly enjoying a Saturday at home, I encourage you to gather your loved ones and dive into this dish. The aroma that fills your kitchen will remind you of treasured moments shared around the table. Happy cooking!
Chicken Salad
Ingredients
Main ingredients
- 2 cups cooked chicken, shredded (Use rotisserie chicken for a quick shortcut.)
- 1 cup celery, diced (This adds a nice crunch.)
- 1/2 cup mayonnaise (For creaminess. Opt for light mayo if desired.)
- 1 tablespoon Dijon mustard (A bit of tang that elevates the salad.)
- 1 tablespoon lemon juice (To awaken all the flavors.)
- Salt and pepper to taste (Essential for seasoning.)
Optional ingredients
- Diced apples or grapes (A sweet twist.)
- Chopped nuts (Pecans or walnuts add delightful texture.)
Instructions
Preparation
- In a large bowl, combine the shredded chicken and diced celery. Mix them gently, ensuring the chicken is evenly distributed.
- In a separate small bowl, mix together the mayonnaise, Dijon mustard, lemon juice, salt, and pepper. This dressing is key to making the chicken salad flavorful.
- Pour the dressing over the chicken and celery mixture. Stir until everything is well mixed.
- If desired, add in any extra ingredients such as diced apples, grapes, or nuts. Mix gently to balance flavors.
- Serve the chicken salad chilled or at room temperature.