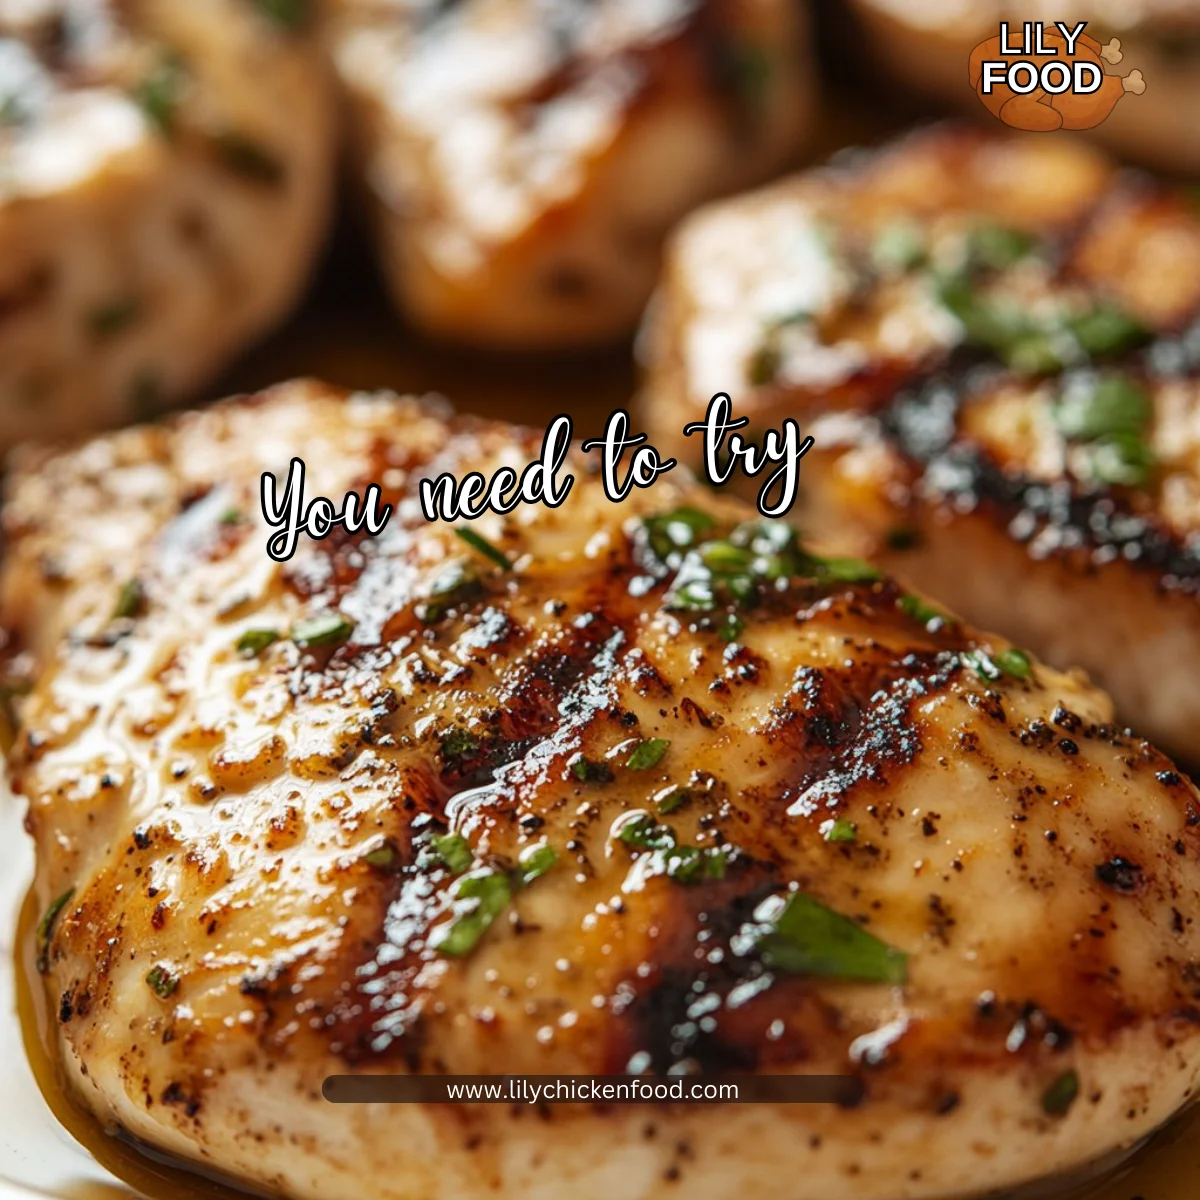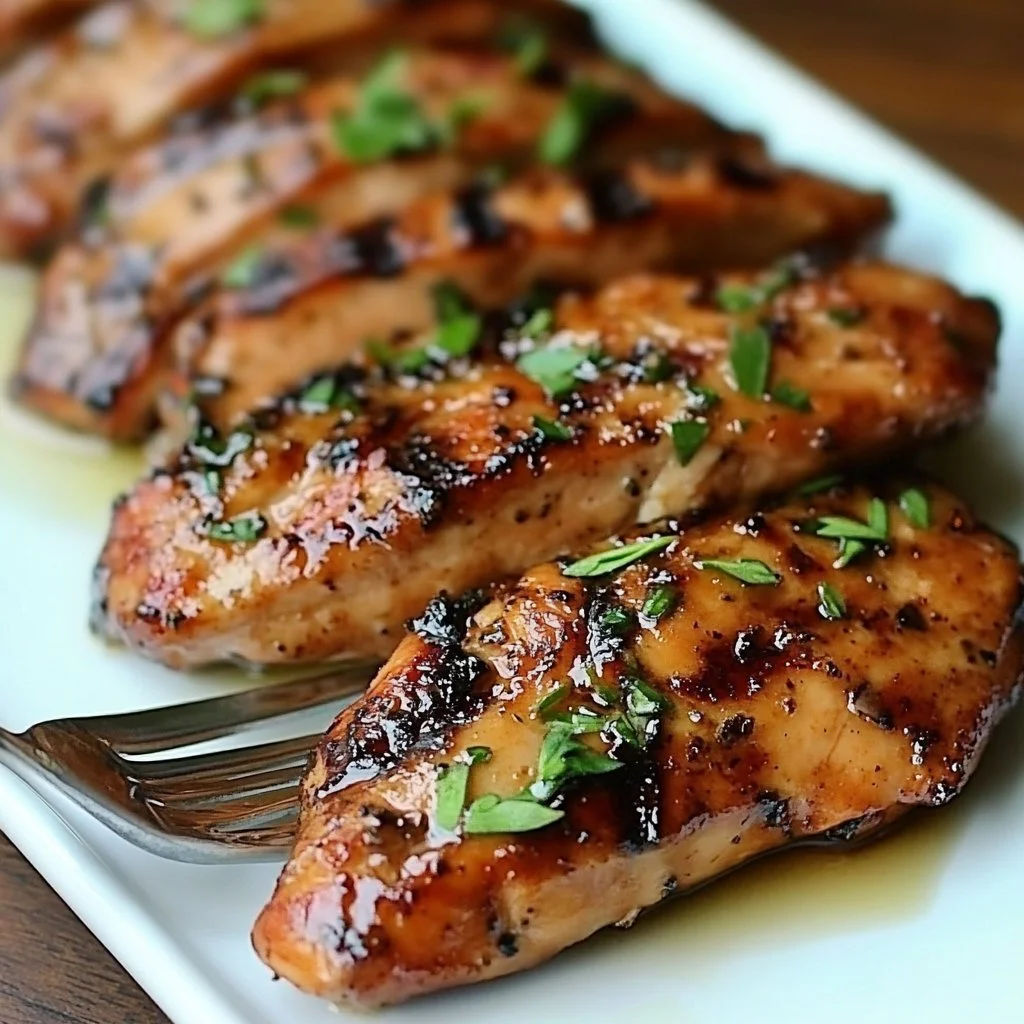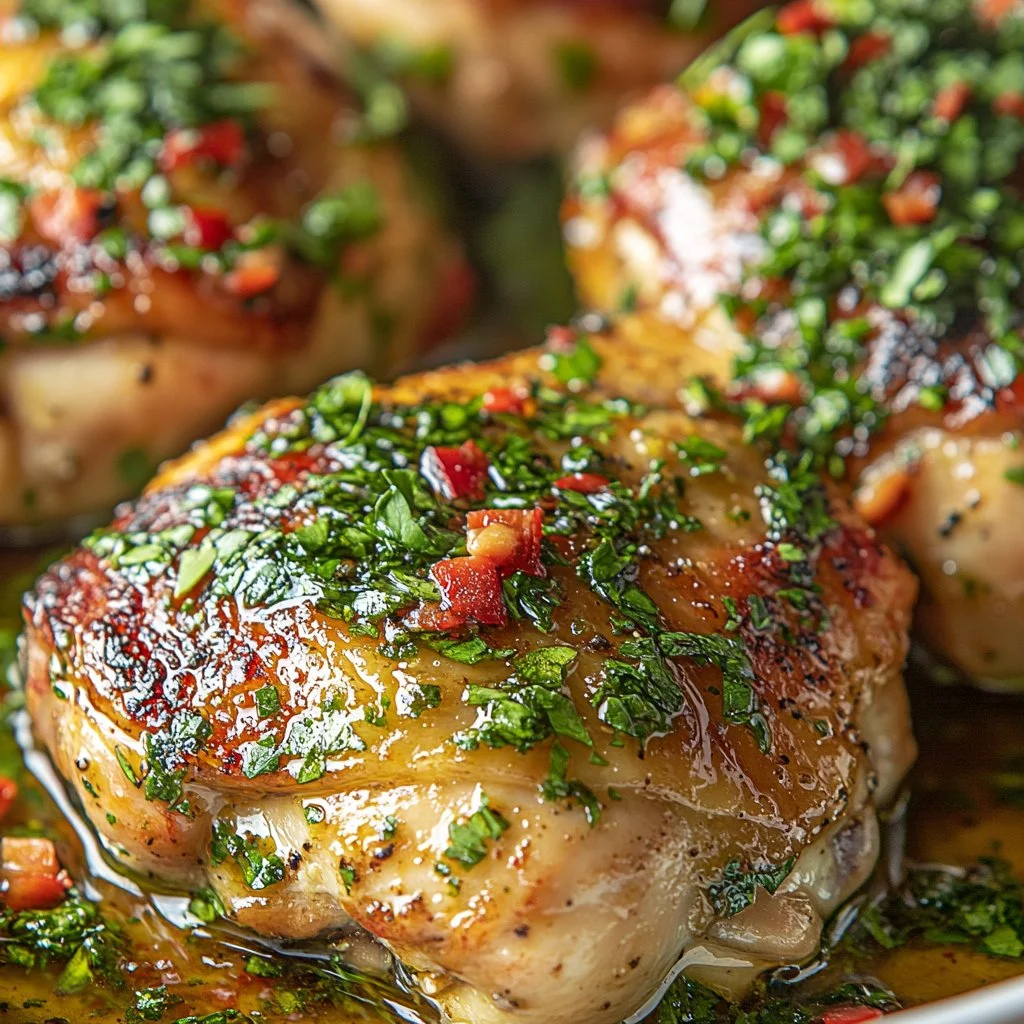
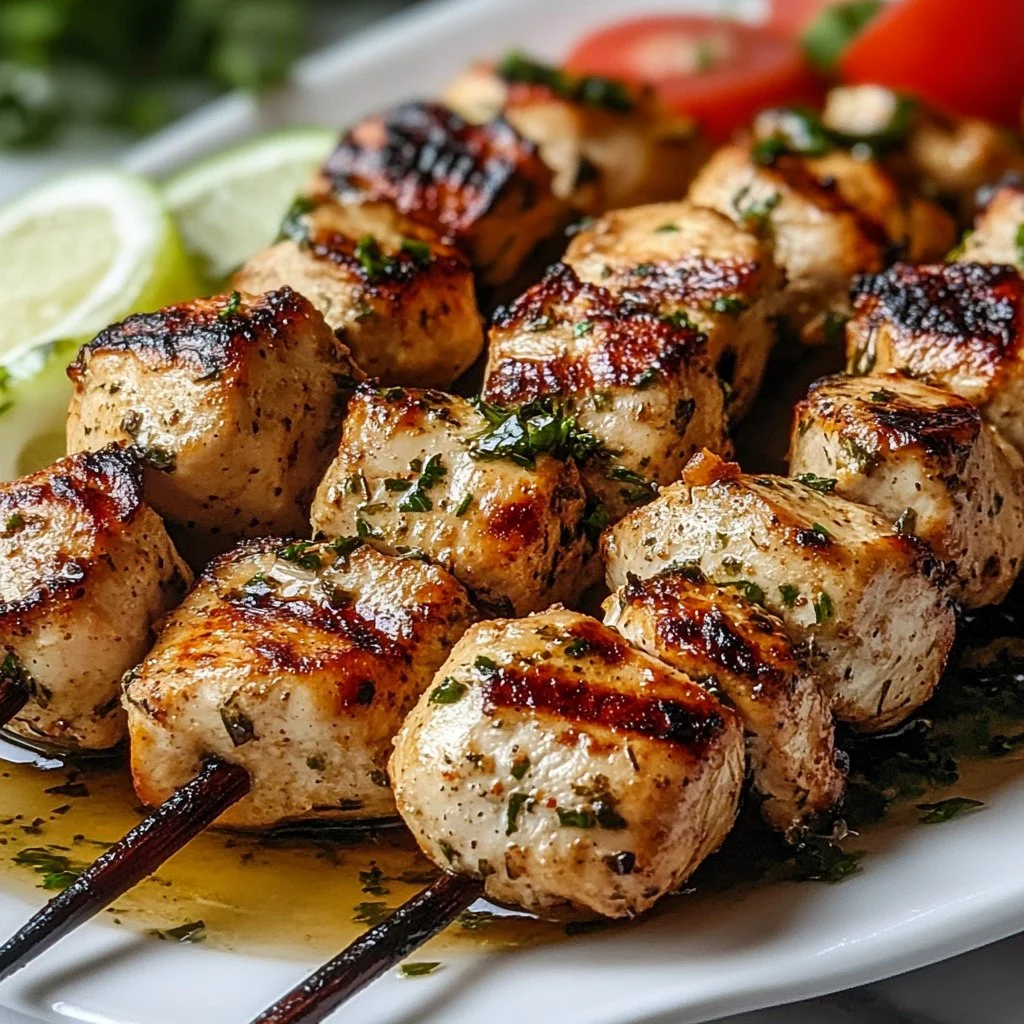
The kitchen comes alive with the smell of marinated chicken sizzling on the grill. It’s a melody of sounds; the pops of the grill, the gentle chatter of my family, and the sizzling chicken that tells us dinner is almost ready. There’s something undeniably special about preparing a meal that brings everyone together, and this Authentic Greek Chicken Souvlaki Marinade is a family favorite that’s sure to delight.
Why this works
One of the reasons this marinade works so well is its balance of flavors. The tanginess of the yogurt and lemon harmonizes beautifully with the earthy spices. It’s a simple mix of ingredients that are often already in my kitchen, making it a time-saver too. Marinades are a great way to enhance the natural flavor of chicken while also making dinner easy to prepare.
This recipe is not just about eating; it’s about creating memories. Spending time as a family, sharing stories, and enjoying a meal together makes everything more special. Perfect for busy nights or weekends, this marinade allows you to prep ahead so that on the grill night, all you have to do is cook and enjoy.
Process Overview
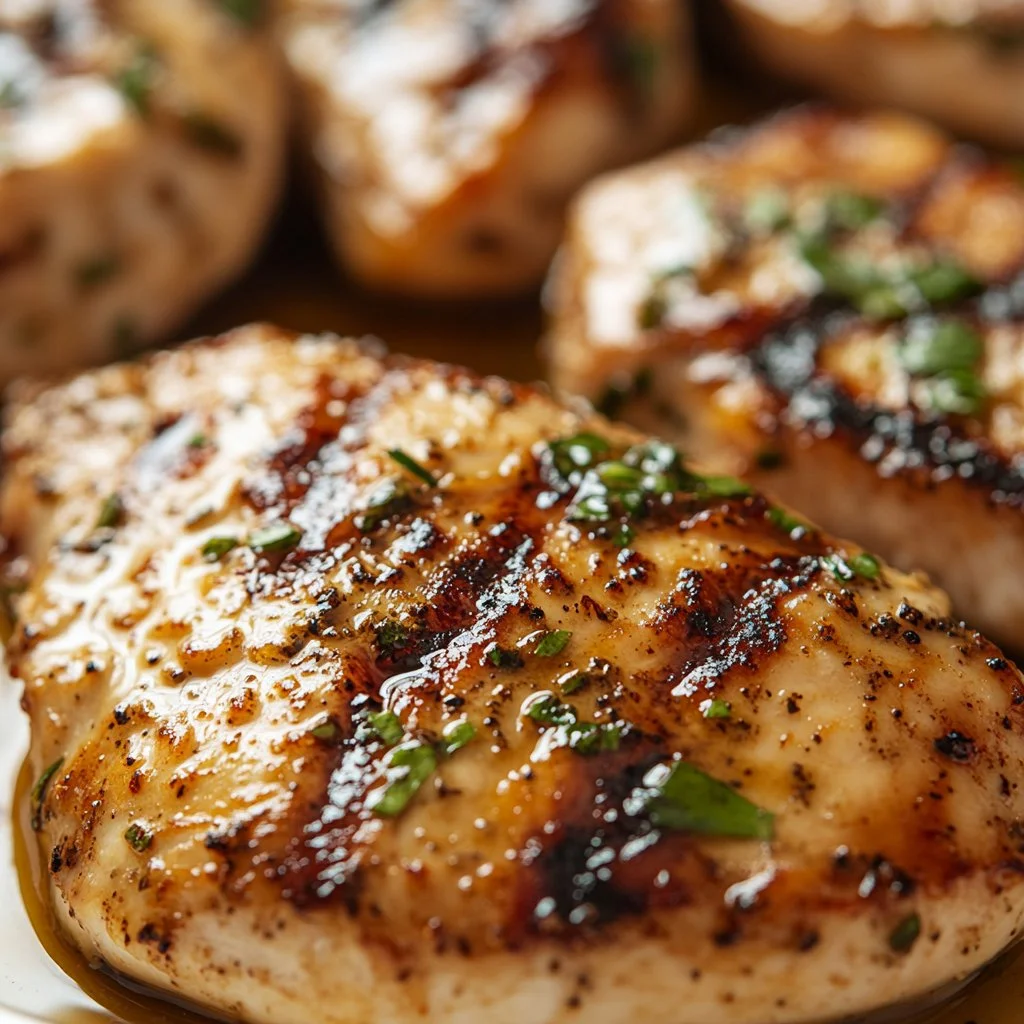
“This is where the magic happens—when the aroma fills the kitchen.”
Once you’ve prepped the marinade, the real fun begins. The moment the chicken hits the grill, you can practically taste the adventure each bite holds. This marinade isn’t just a preparatory step; it’s where flavors come alive and fill your home with aromas that beckon everyone to the table.
Ingredients
Here’s what you’ll need for the Authentic Greek Chicken Souvlaki Marinade:
-
1 cup plain Greek yogurt
- Tip: Opt for full-fat yogurt for creamier texture and better flavor absorption.
-
1/4 cup olive oil
- Tip: Choose a robust olive oil for richer taste.
-
3 tablespoons red wine vinegar
- Tip: This adds a necessary tang. Use good quality vinegar, as it makes a difference.
-
3 cloves garlic, minced
- Tip: Fresh garlic gives the best flavor. Don’t substitute with garlic powder here!
-
1 tablespoon dried oregano
- Tip: Try using Greek oregano if you can find it for authentic flavor.
-
1 teaspoon dried thyme
- Tip: Ensure the thyme is fresh for the best taste; if it’s been in your cupboard for over a year, consider a new jar.
-
1 teaspoon ground cumin
- Tip: Toasted cumin adds an extra depth of flavor if you have the time.
-
1 teaspoon ground coriander
- Tip: Like cumin, toasted coriander will boost your marinade.
-
1 teaspoon salt
- Tip: Make sure to adjust according to your taste; if you’re using kosher salt, use a bit more.
-
1/2 teaspoon black pepper
- Tip: Freshly ground is always better than pre-ground spices.
-
Juice of 1 lemon
- Tip: Roll the lemon on the counter before cutting it to get more juice.
-
Zest of 1 lemon
- Tip: Use a microplane for the best zest without the bitter pith.
-
2 pounds boneless, skinless chicken breast or thighs, cut into 1-inch cubes
- Tip: Thighs will give you juicier results, but breasts are also great for a leaner option.
Directions
-
In a large mixing bowl, combine the Greek yogurt, olive oil, and red wine vinegar. Whisk together until smooth.
- This creamy base is pivotal for tenderizing the chicken. Make sure it’s well mixed!
-
Add the minced garlic, dried oregano, dried thyme, ground cumin, ground coriander, salt, black pepper, lemon juice, and lemon zest to the bowl. Mix well until all ingredients are fully incorporated.
- Take a moment to breathe in those delicious aromas as you mix. It’s going to be fantastic!
-
Place the cubed chicken into the marinade, ensuring each piece is evenly coated. If necessary, use your hands or a spatula to mix well.
- Don’t be shy! Get in there and make sure every bit of chicken is coated for maximum flavor.
-
Cover the bowl with plastic wrap or transfer the marinated chicken into a zip-lock bag. Refrigerate for at least 2 hours, preferably overnight for maximum flavor.
- This step is crucial. It allows the flavors to meld beautifully!
-
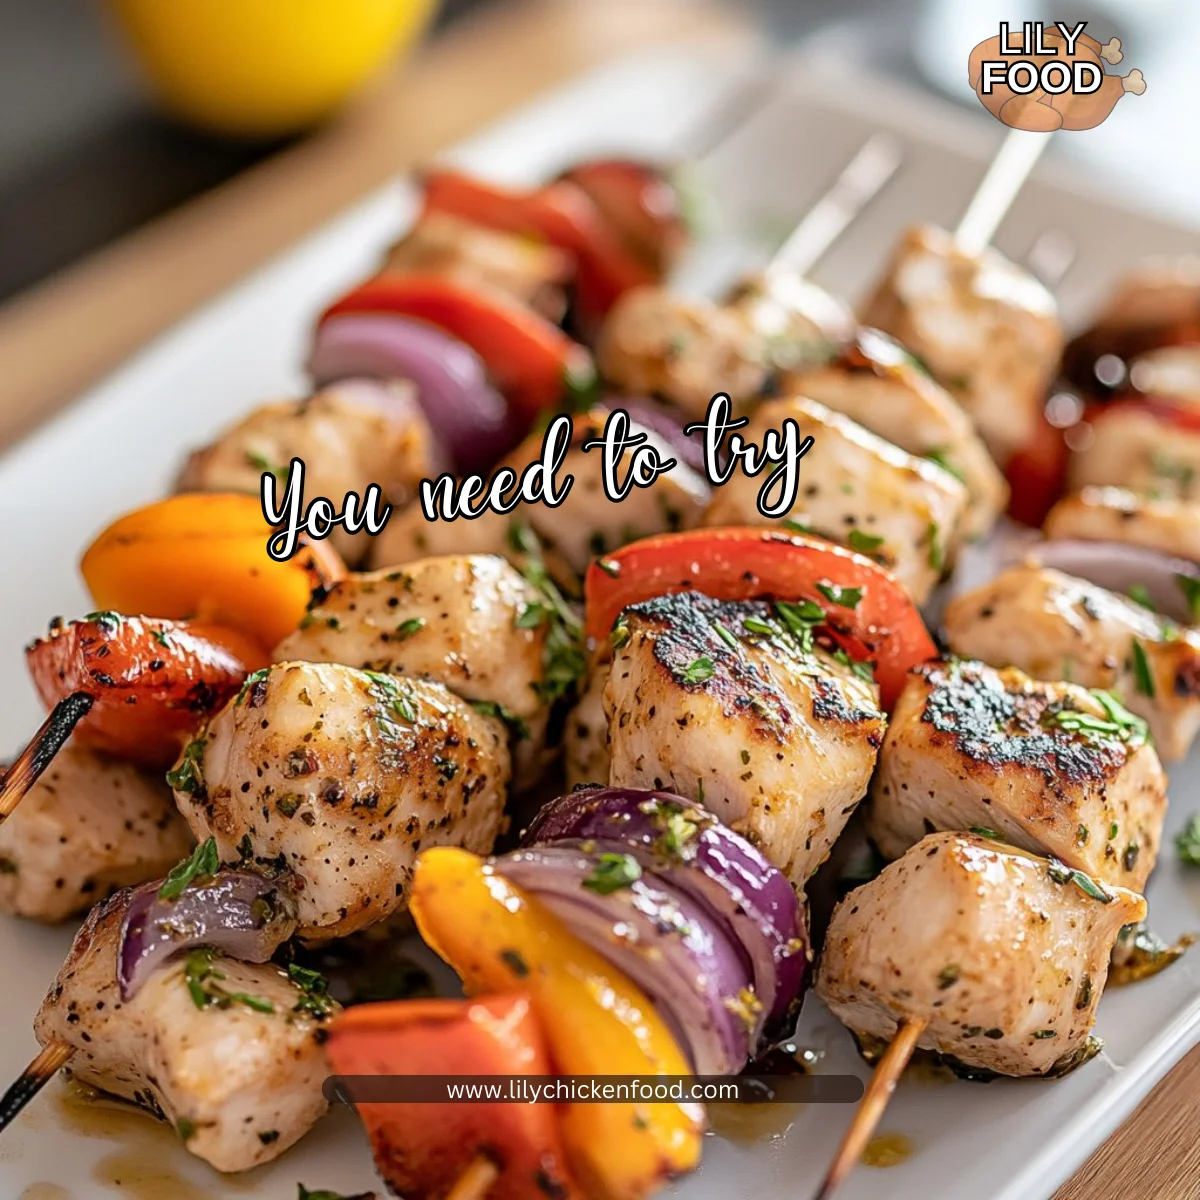
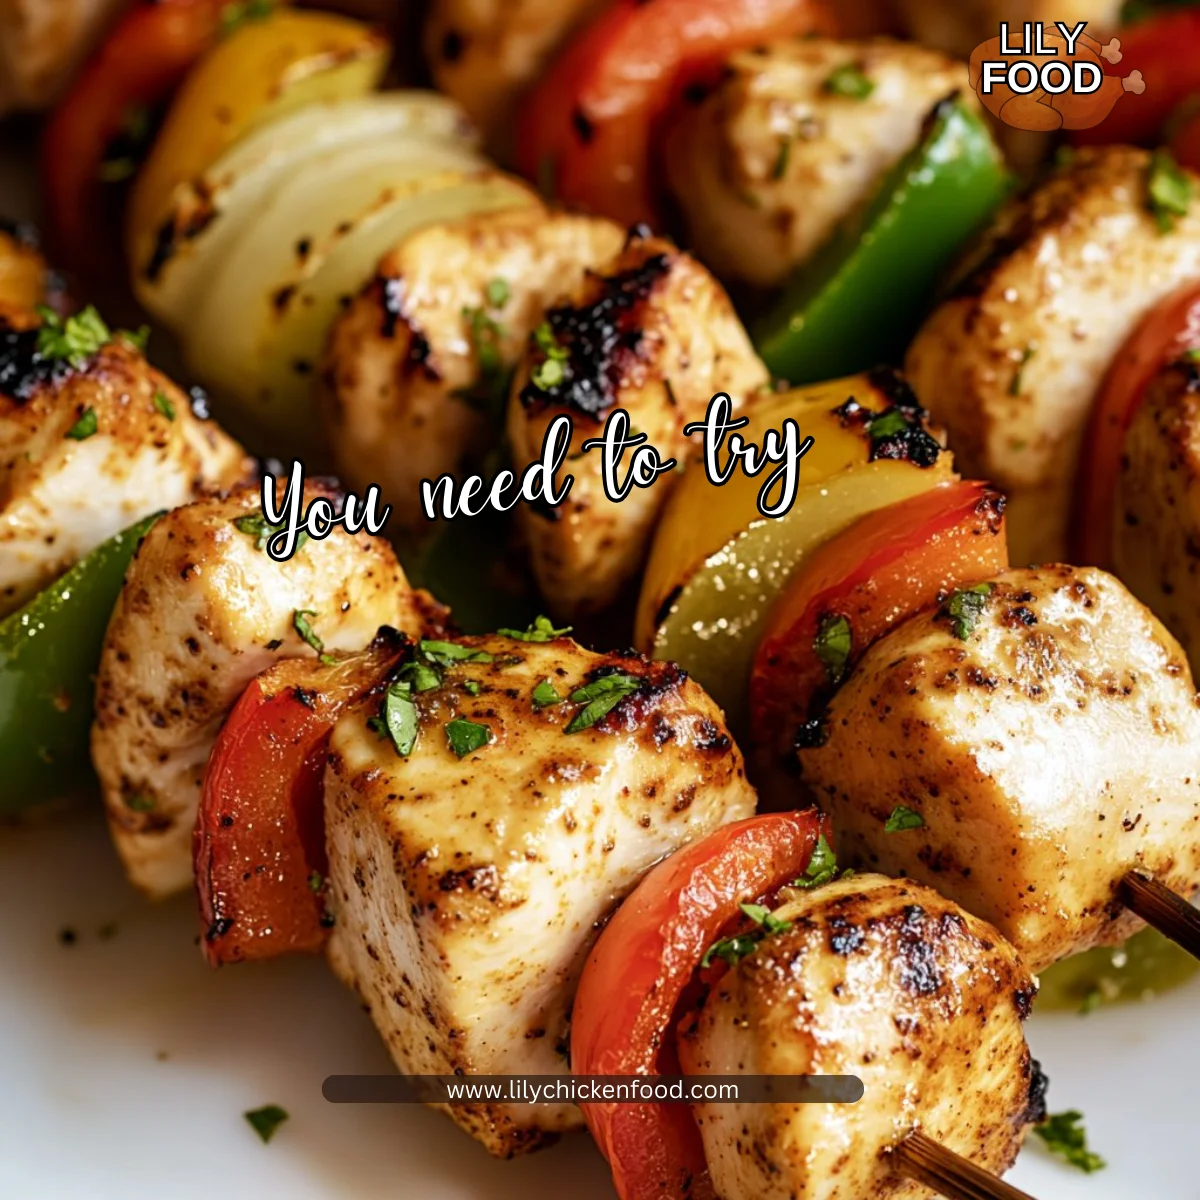
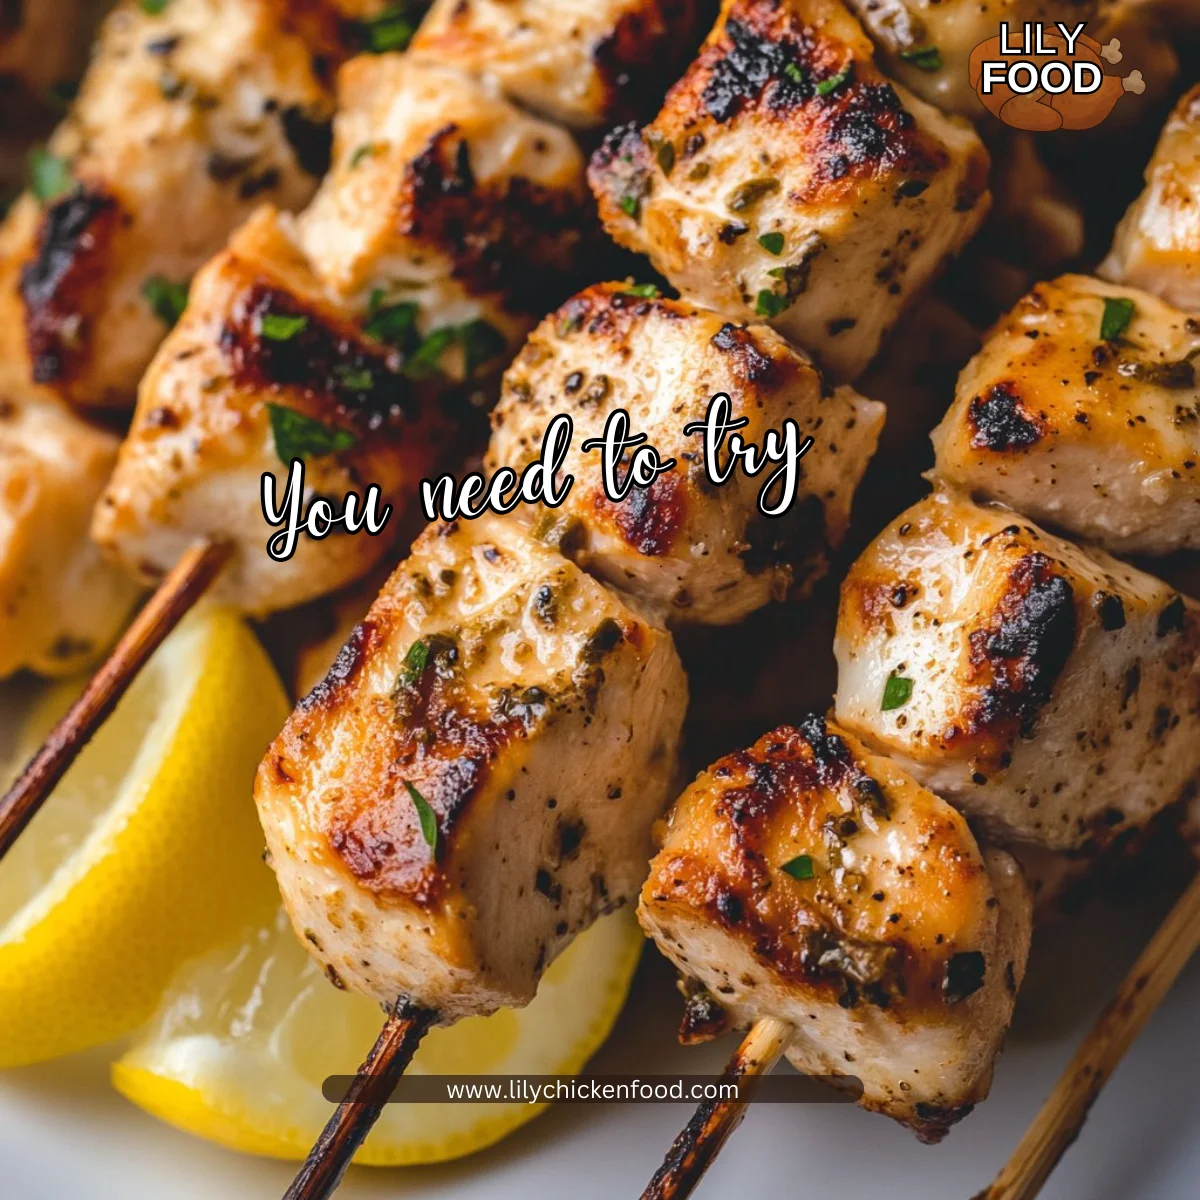
When ready to cook, preheat the grill or a grill pan over medium-high heat. Thread the marinated chicken onto skewers, leaving a little space between each piece for even cooking.
- Don’t rush this step—spacing is key to getting that perfect char.
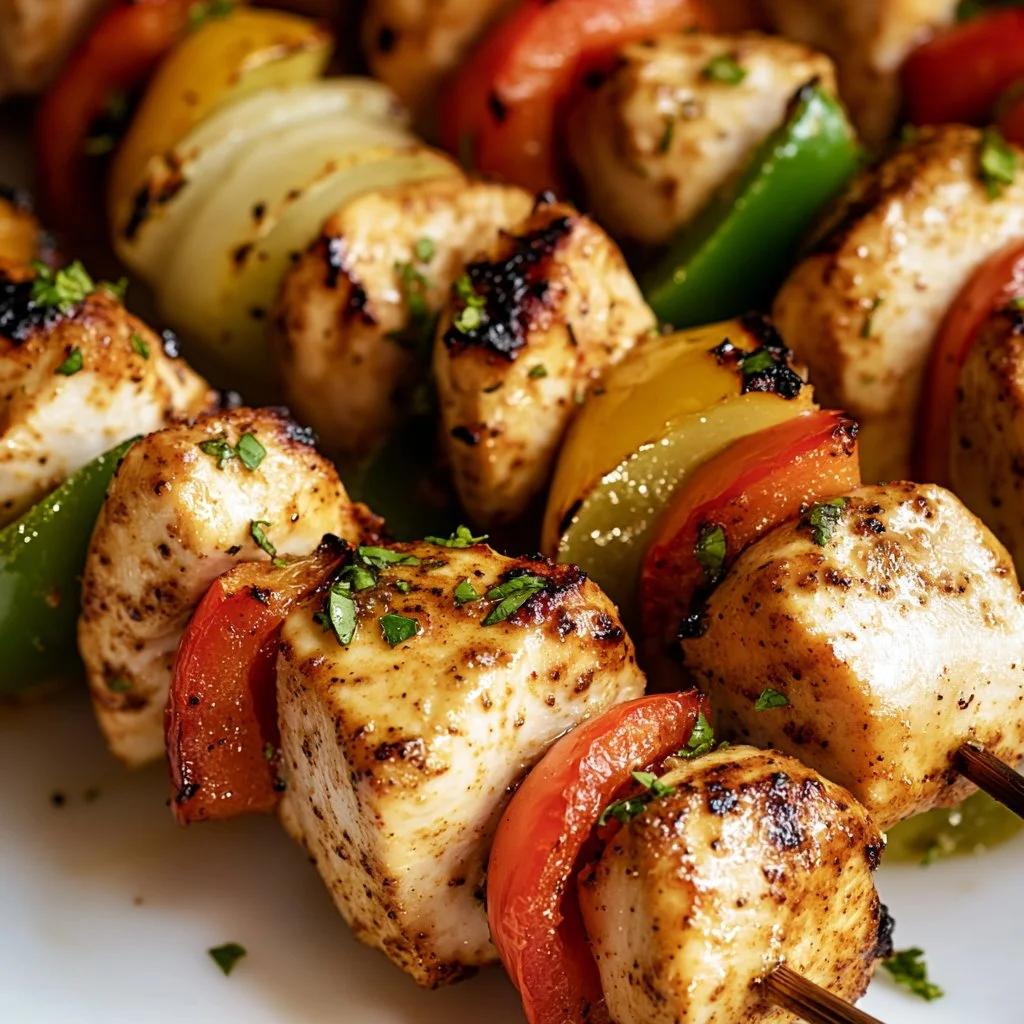
-
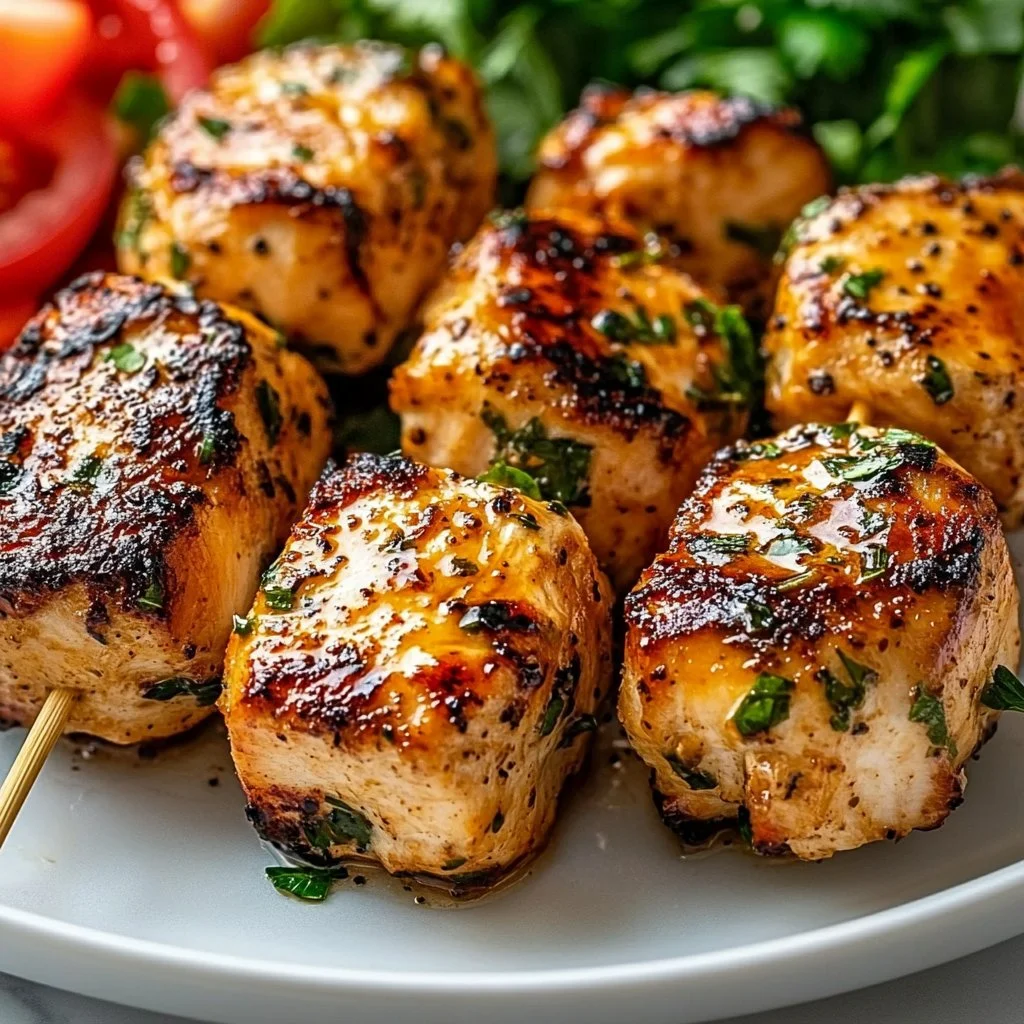
Grill the skewers for about 10-12 minutes, turning occasionally until the chicken is golden brown and cooked through (internal temperature of 165°F).
- Keep handy a meat thermometer to ensure perfect doneness and avoid overcooking!
-
Remove the skewers from the grill and let them rest for a few minutes before serving.
- Resting the chicken allows the juices to redistribute—this is essential for juicy, tender meat.
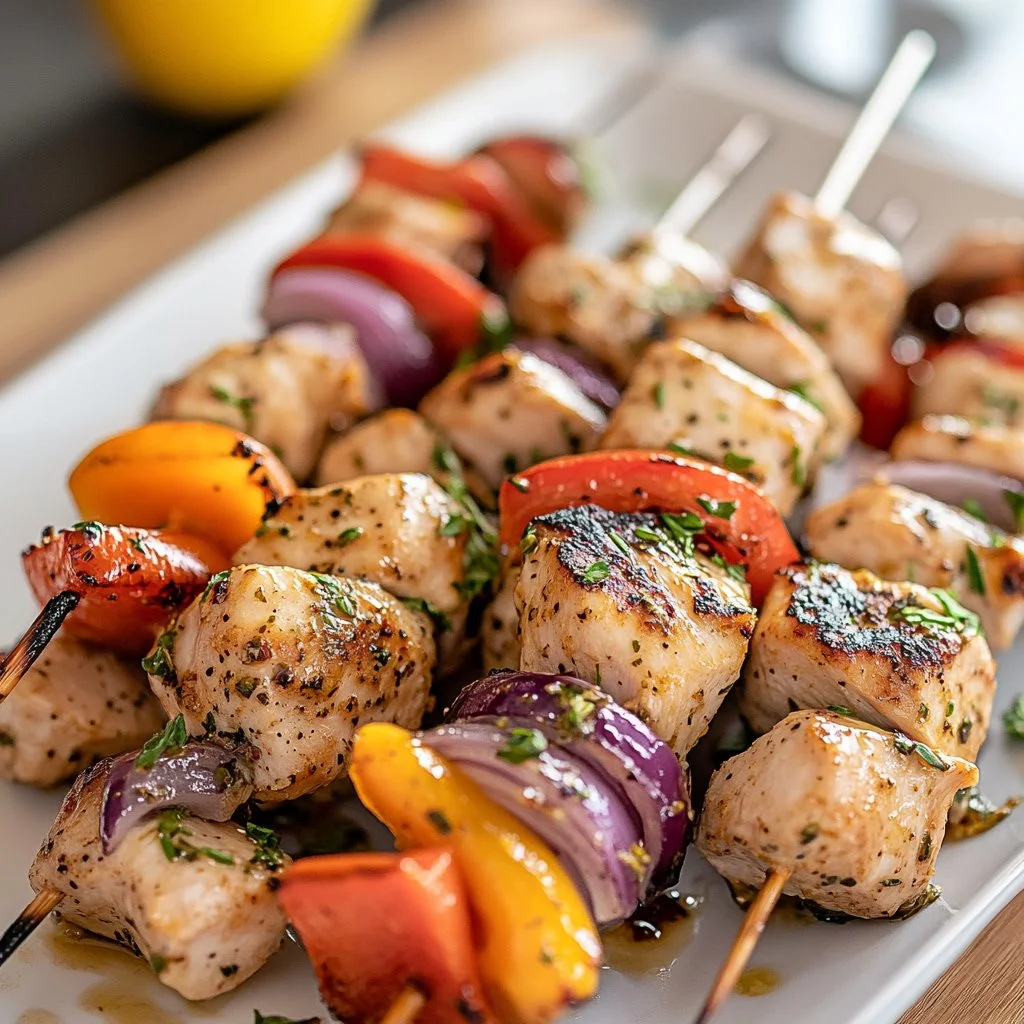
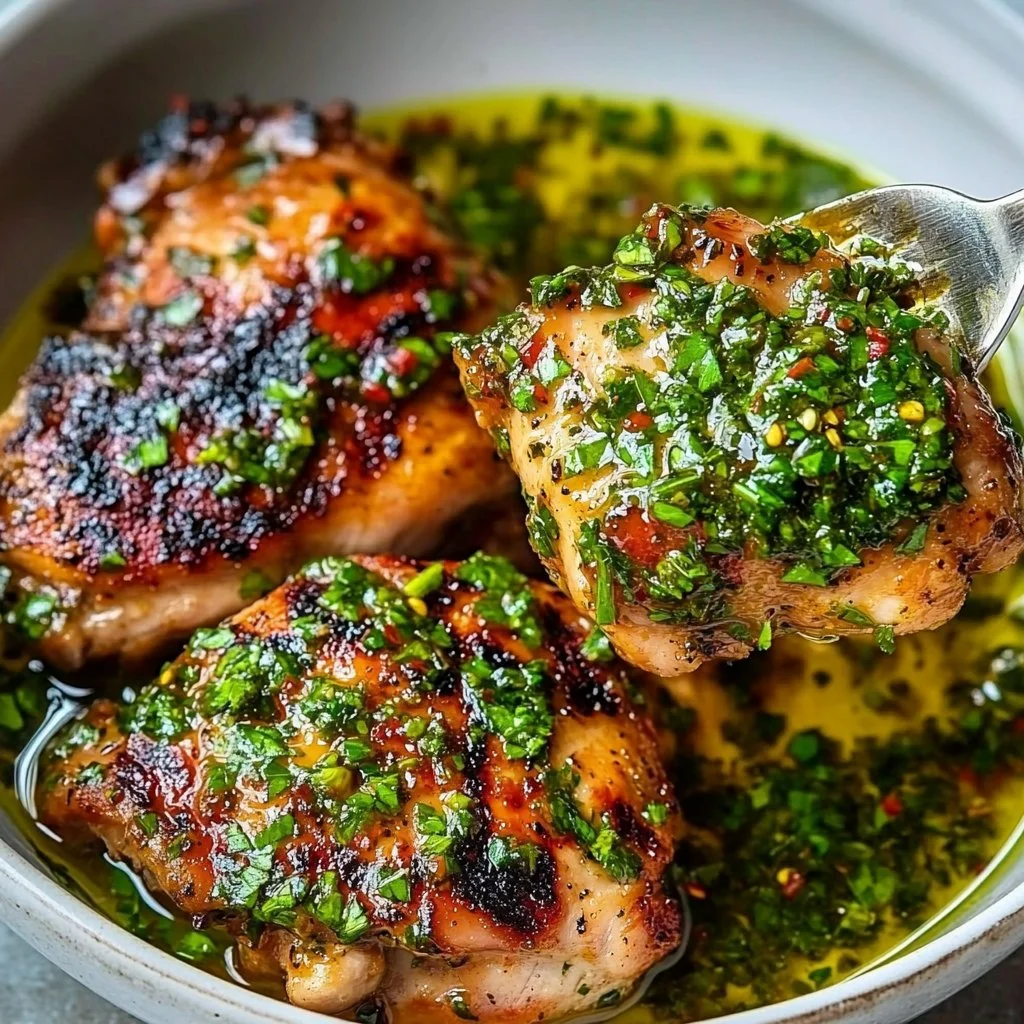
Serving

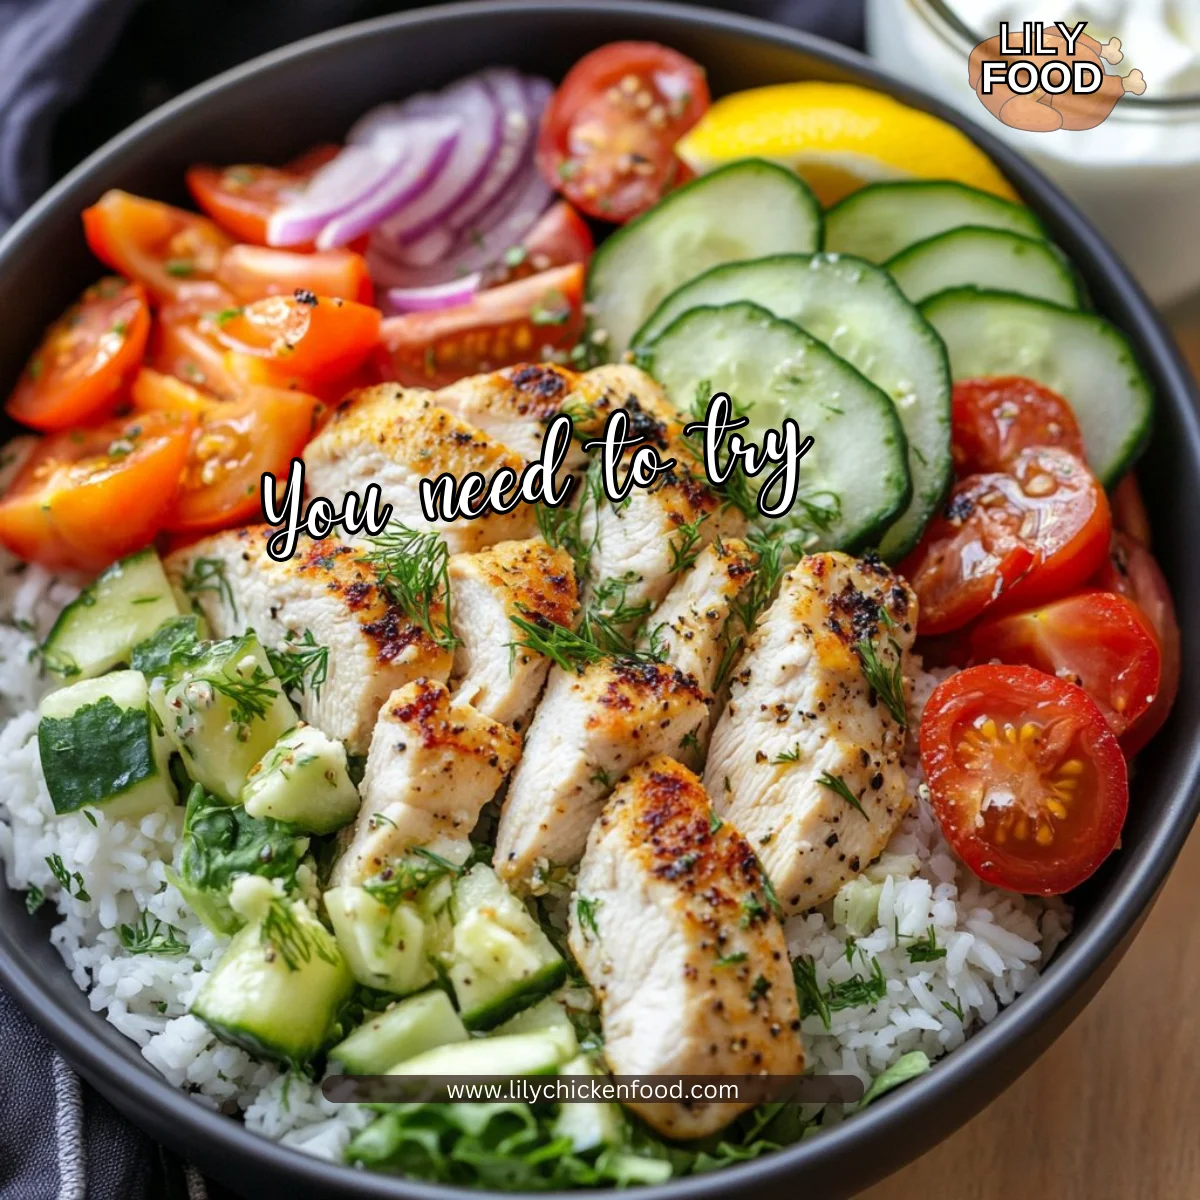
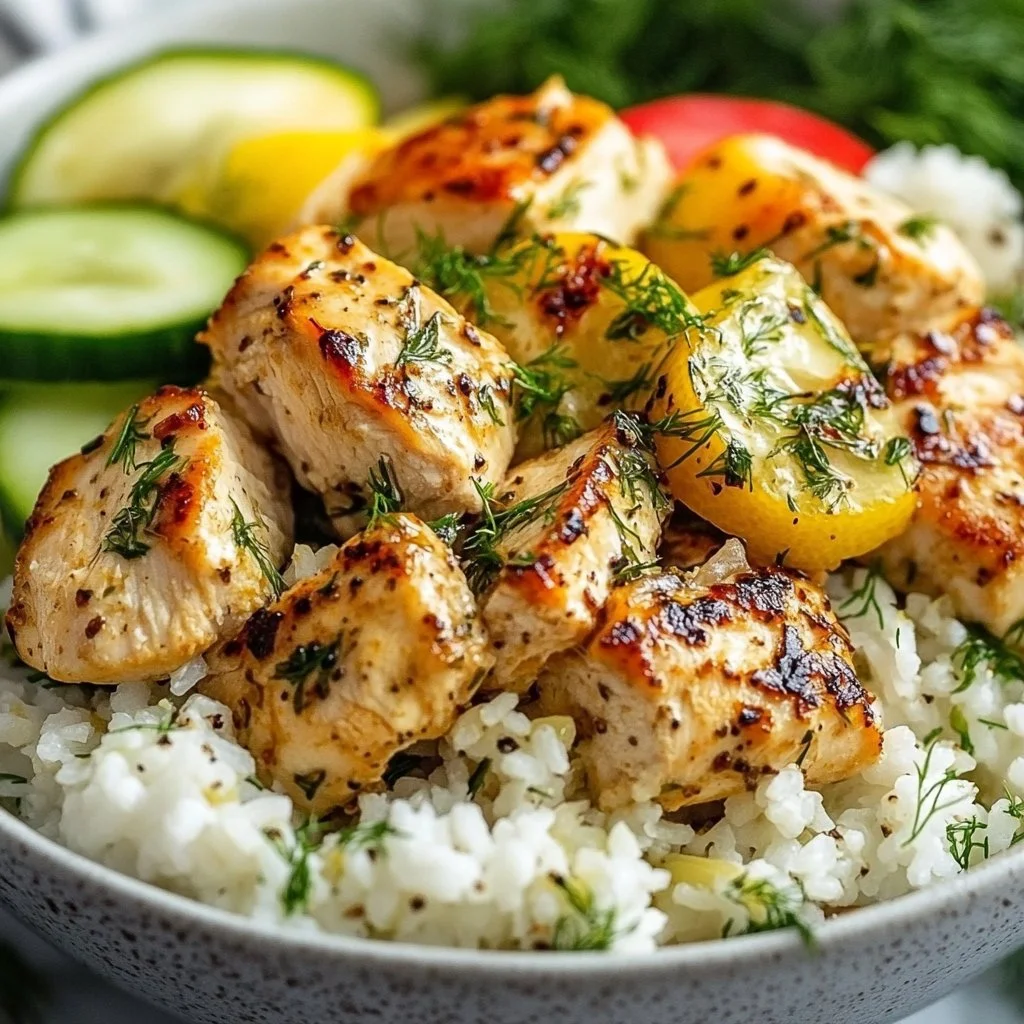
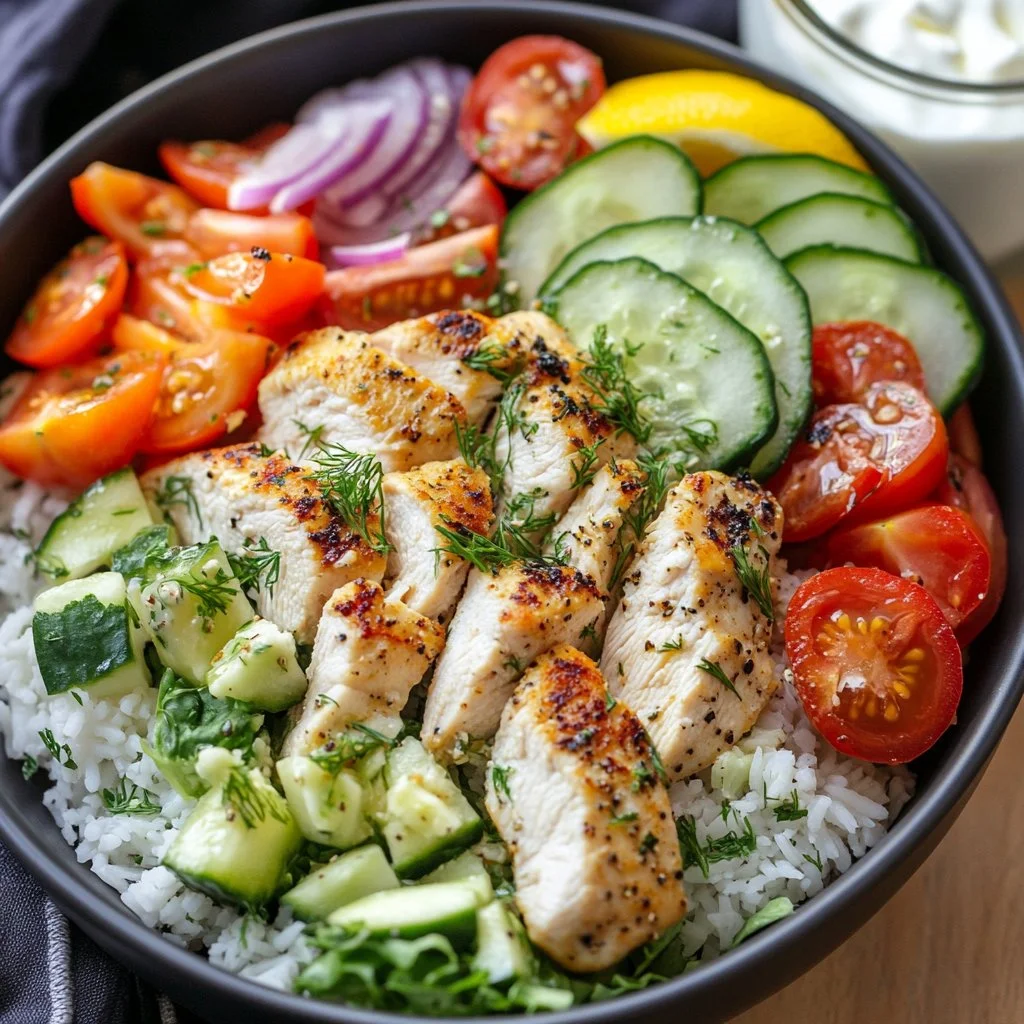
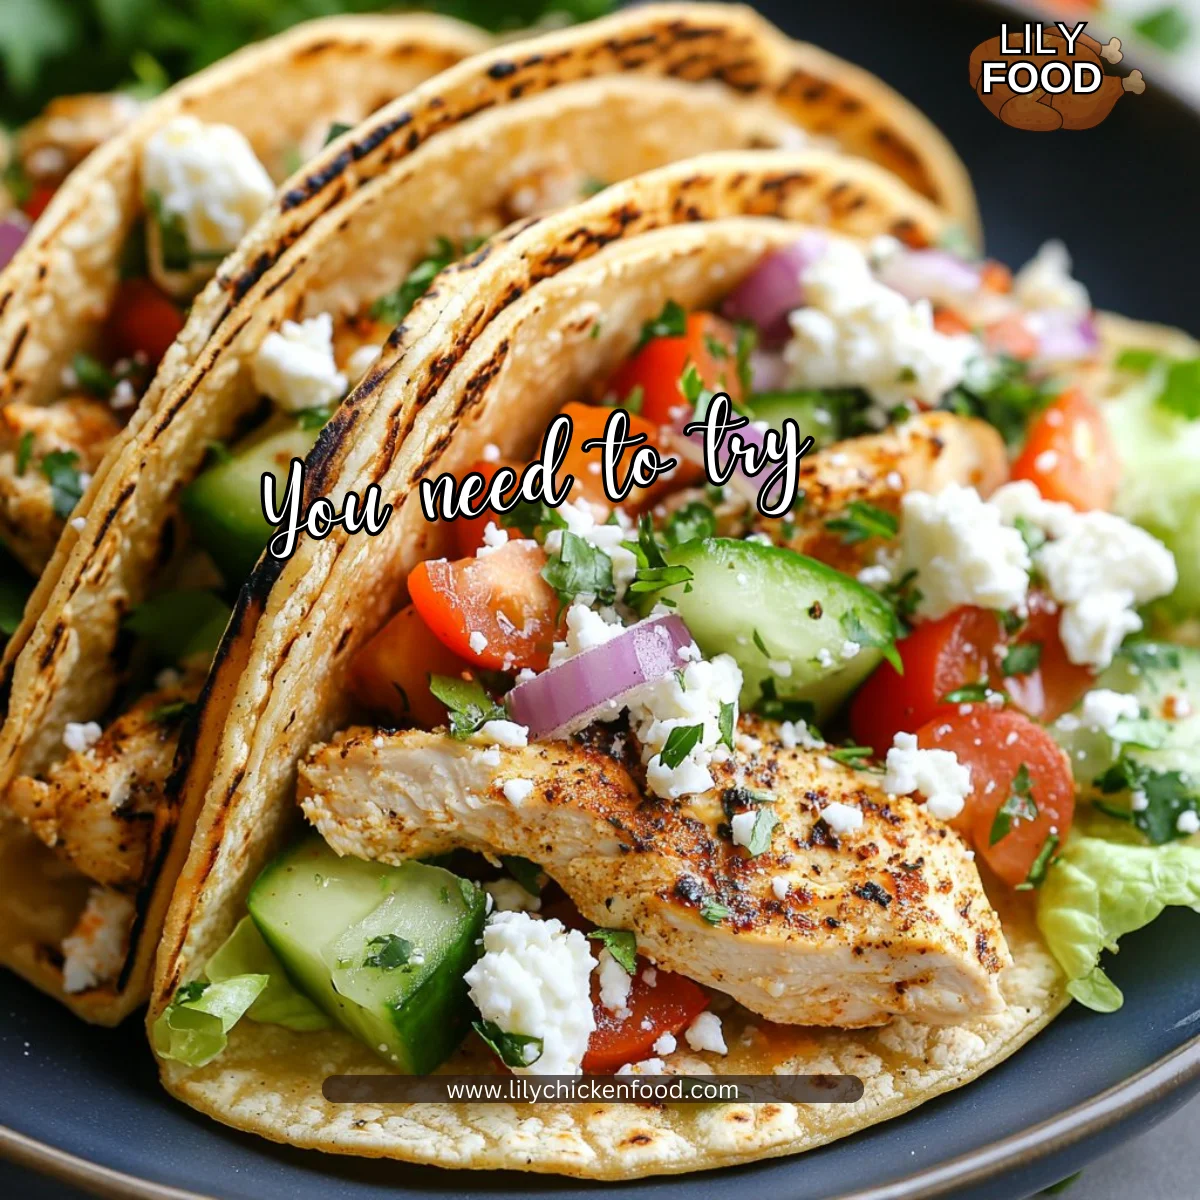
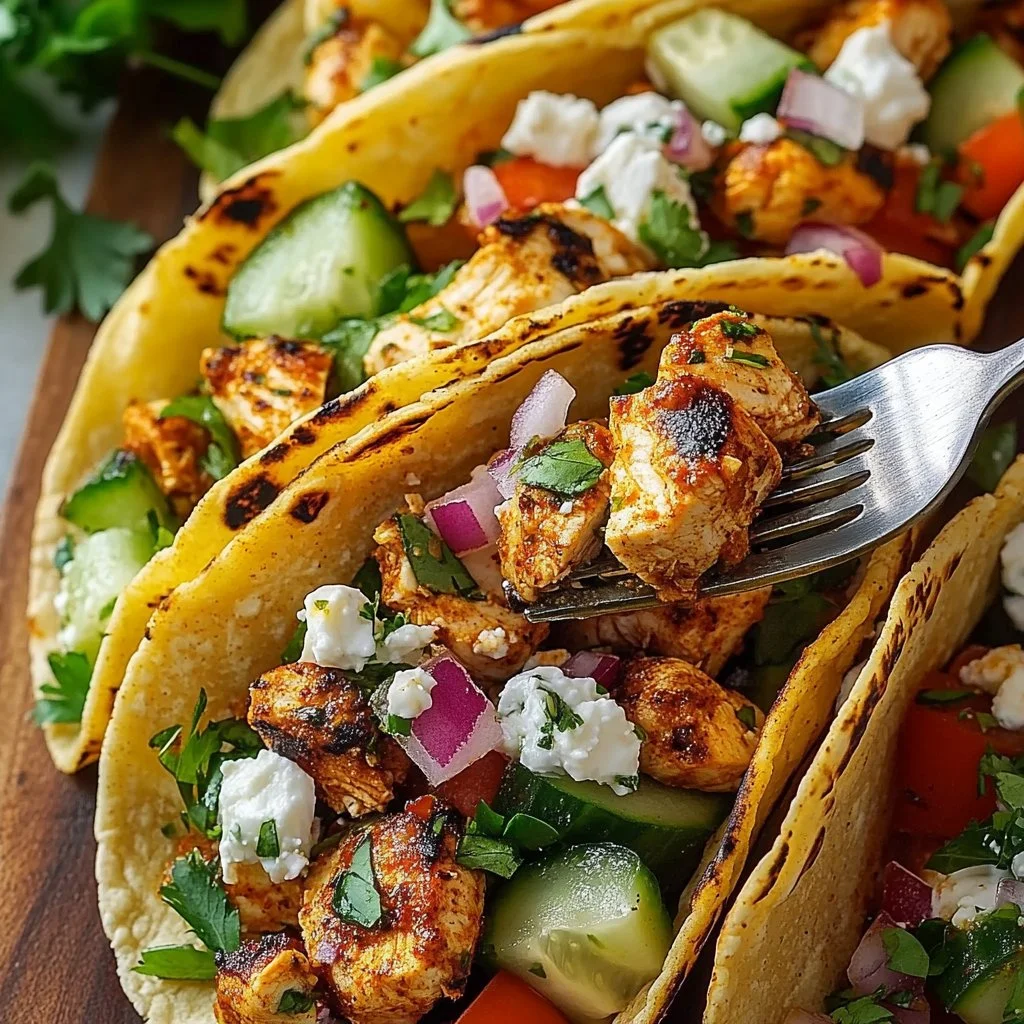
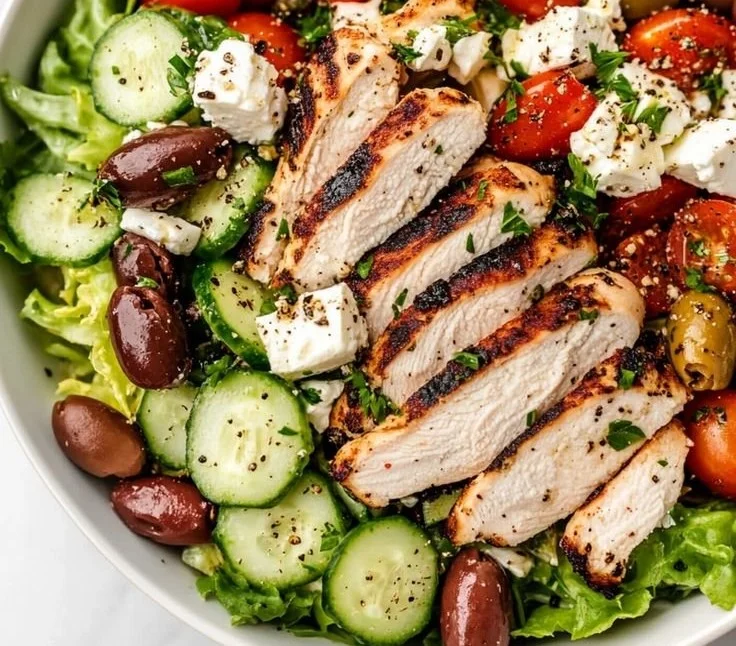
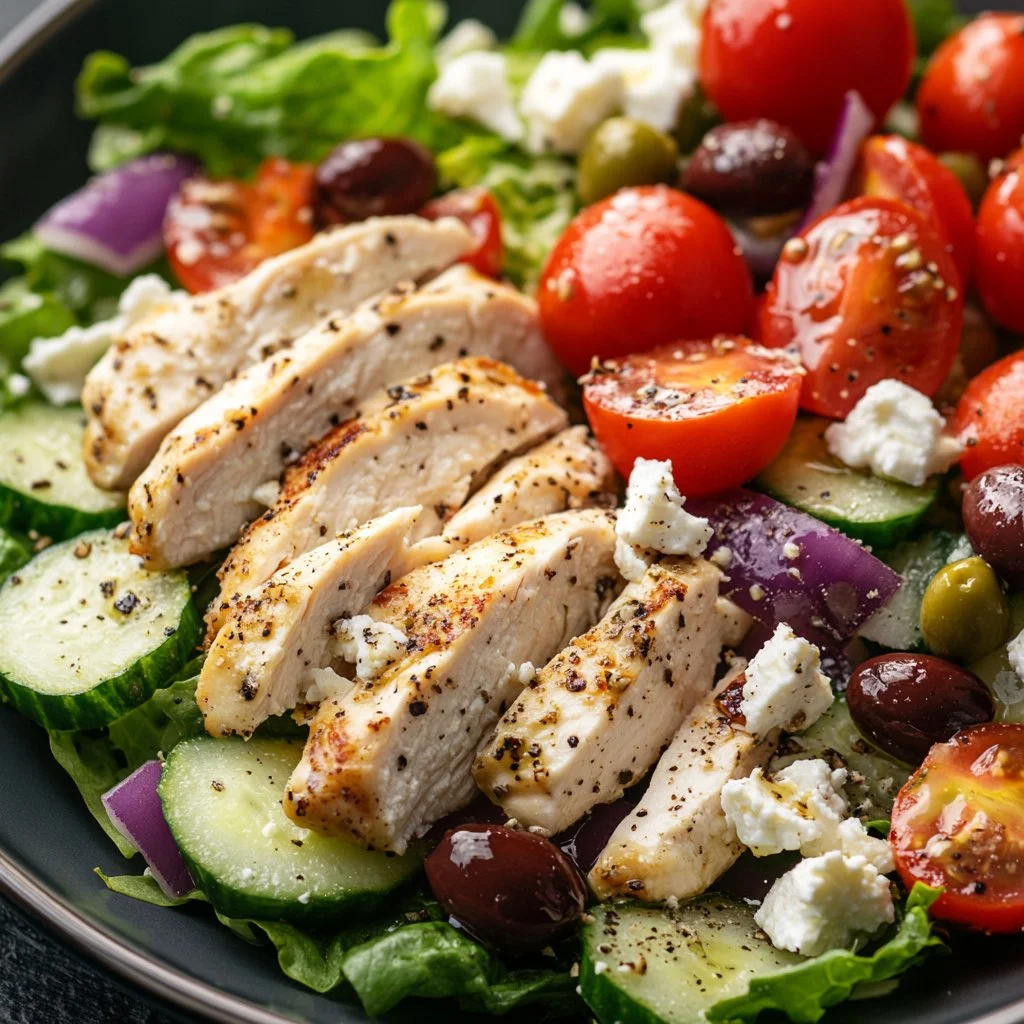
When it comes time to serve, arrange the chicken skewers on a large platter. I love to present them family-style, allowing everyone to help themselves. Pair the souvlaki with a fresh Greek salad, warm pita bread, and a side of tzatziki sauce for dipping. Your family will adore gathering around the table to share this meal.
Storage
If you have leftovers (which is rare in my household), you can store them in an airtight container in the fridge for up to three days. To reheat, simply warm them in a skillet over low heat or in the microwave until just heated through. Avoid overheating as it can dry out the chicken.
Kitchen Notes
- Shortcut ingredients: Use store-bought tzatziki to save time.
- Marinate longer: For extra flavor, let chicken marinate for up to 24 hours.
- Make ahead: Marinade in bulk and freeze half for future meals.
- Grill marks: For optimal grill marks, don’t move the chicken too much while cooking.
- Protein variation: This marinade is also excellent for shrimp or vegetables.
Variations
If you have picky eaters or dietary restrictions in your family, these tweaks can work well:
- For kids: Reduce garlic and spices for milder flavor.
- Gluten-free: Pair with gluten-free pita or cauliflower rice.
- Vegetarian: Use firm tofu or mushrooms marinated with the same ingredients.
- Spicy option: Add a pinch of cayenne pepper for heat.
- Low-carb: Serve with lettuce wraps instead of bread.
FAQ
-
Can I use any type of chicken?
Yes, both chicken breasts and thighs work well for this recipe. Thighs are juicier, but breasts are also great. -
How long can I keep the marinade?
The marinade can be stored in the fridge for up to one week. Just make sure to keep it sealed. -
Is it safe to marinate chicken at room temperature?
No, always marinate chicken in the refrigerator to prevent bacteria growth. -
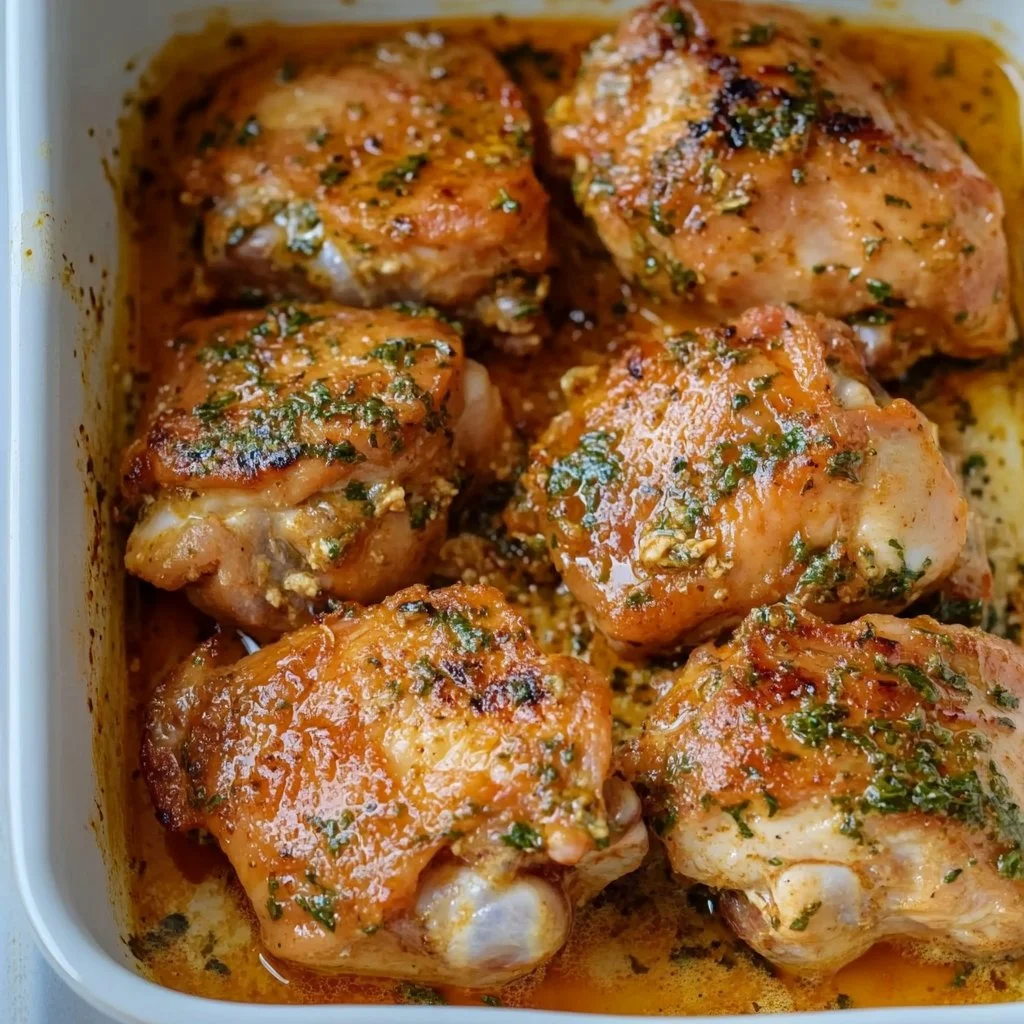
Can I bake the chicken instead of grilling?
Absolutely! Bake them at 400°F (200°C) for about 20-25 minutes, or until cooked through. -
What can I serve with chicken souvlaki?
Traditional sides include Greek salads, roasted vegetables, or rice.
As the meal comes to a close, take a moment to appreciate the flavors and the laughter shared around the table. Cooking, especially something as heartfelt as this Authentic Greek Chicken Souvlaki Marinade, fuels not just our bellies but our bonds as well. Your kitchen is more than a place for cooking; it’s a space where love is served. Enjoy every bite!

Authentic Greek Chicken Souvlaki
Ingredients
For the Marinade
- 1 cup plain Greek yogurt (Opt for full-fat yogurt for creamier texture and better flavor absorption.)
- 1/4 cup olive oil (Choose a robust olive oil for richer taste.)
- 3 tablespoons red wine vinegar (This adds a necessary tang. Use good quality vinegar, as it makes a difference.)
- 3 cloves garlic, minced (Fresh garlic gives the best flavor. Don't substitute with garlic powder here!)
- 1 tablespoon dried oregano (Try using Greek oregano for authentic flavor.)
- 1 teaspoon dried thyme (Ensure the thyme is fresh for the best taste.)
- 1 teaspoon ground cumin (Toasted cumin adds an extra depth of flavor if you have the time.)
- 1 teaspoon ground coriander (Toasted coriander will boost your marinade.)
- 1 teaspoon salt (Adjust according to your taste.)
- 1/2 teaspoon black pepper (Freshly ground is always better than pre-ground spices.)
- 1 large lemon, juiced and zested (Roll the lemon on the counter before cutting it to get more juice.)
- 2 pounds boneless, skinless chicken breast or thighs, cut into 1-inch cubes (Thighs will give you juicier results.)
Instructions
Preparation
- In a large mixing bowl, combine the Greek yogurt, olive oil, and red wine vinegar. Whisk together until smooth.
- Add the minced garlic, dried oregano, dried thyme, ground cumin, ground coriander, salt, black pepper, lemon juice, and lemon zest to the bowl. Mix well until all ingredients are fully incorporated.
- Place the cubed chicken into the marinade, ensuring each piece is evenly coated.
- Cover the bowl with plastic wrap or transfer the marinated chicken into a zip-lock bag. Refrigerate for at least 2 hours, preferably overnight.
Cooking
- When ready to cook, preheat the grill or a grill pan over medium-high heat.
- Thread the marinated chicken onto skewers, leaving a little space between each piece.
- Grill the skewers for about 10-12 minutes, turning occasionally until the chicken is golden brown and cooked through.
- Remove the skewers from the grill and let them rest for a few minutes before serving.


")