When I step into the kitchen to make Southwest Chicken Alfredo, the air fills with a whole symphony of mouthwatering aromas. The savory scent of sautéing onions meets the warmth of spices, and the bubbling cream creates a comforting melody that wraps around me like a soft blanket. As I stir the pot, I can almost hear the laughter and chatter of my family, eager to dive into a delicious meal together. Cooking is more than just following a recipe; it’s about creating lasting memories and nourishing not just our bodies, but our spirits as well.
Why This Works

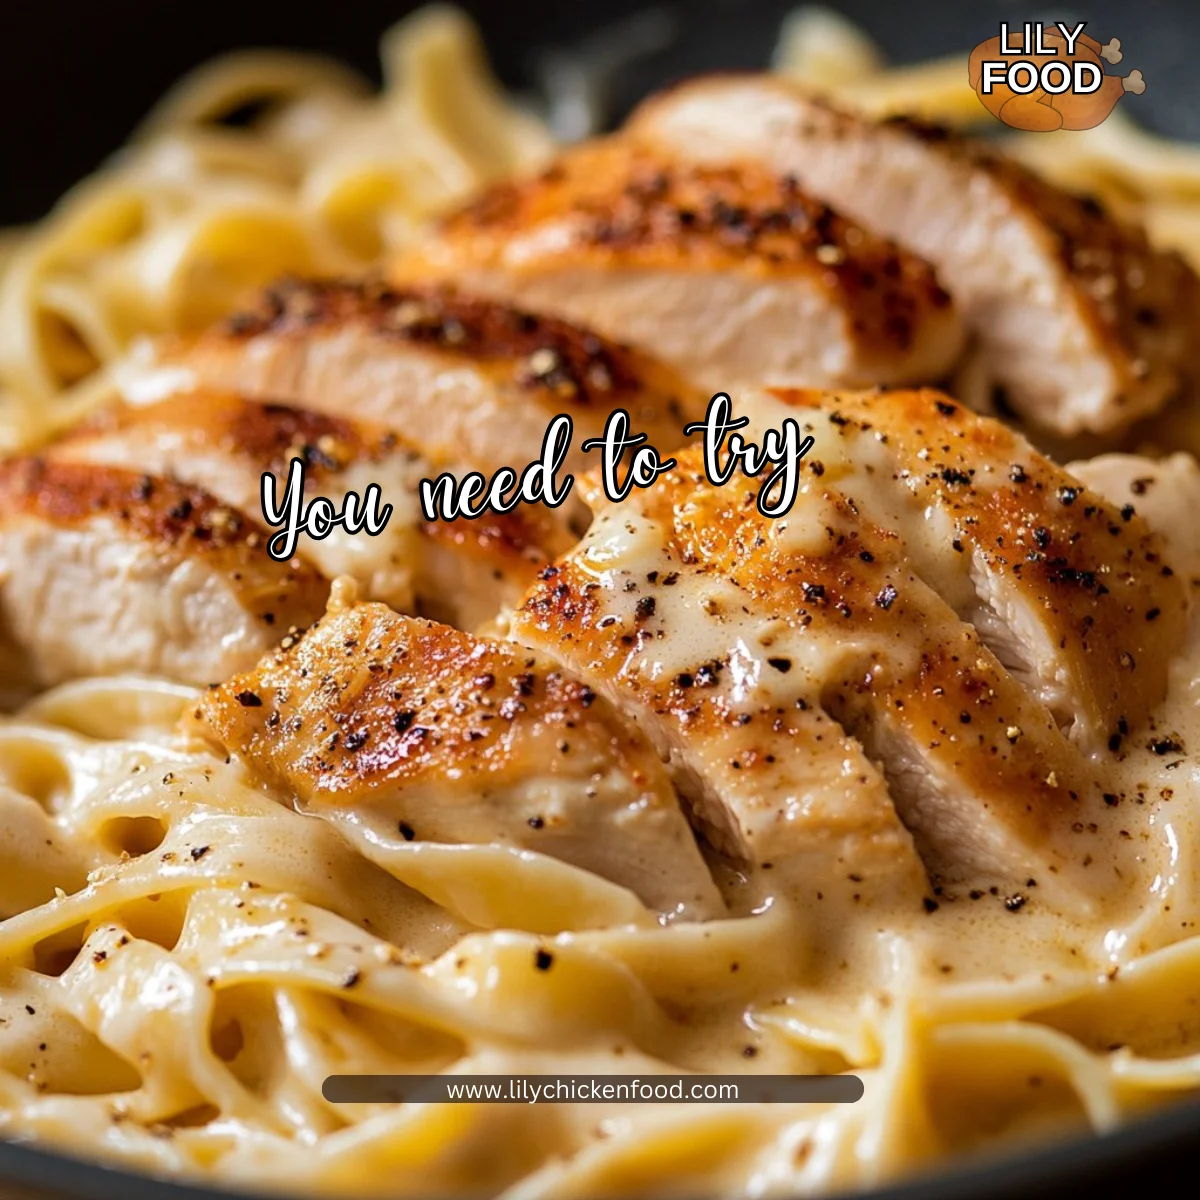
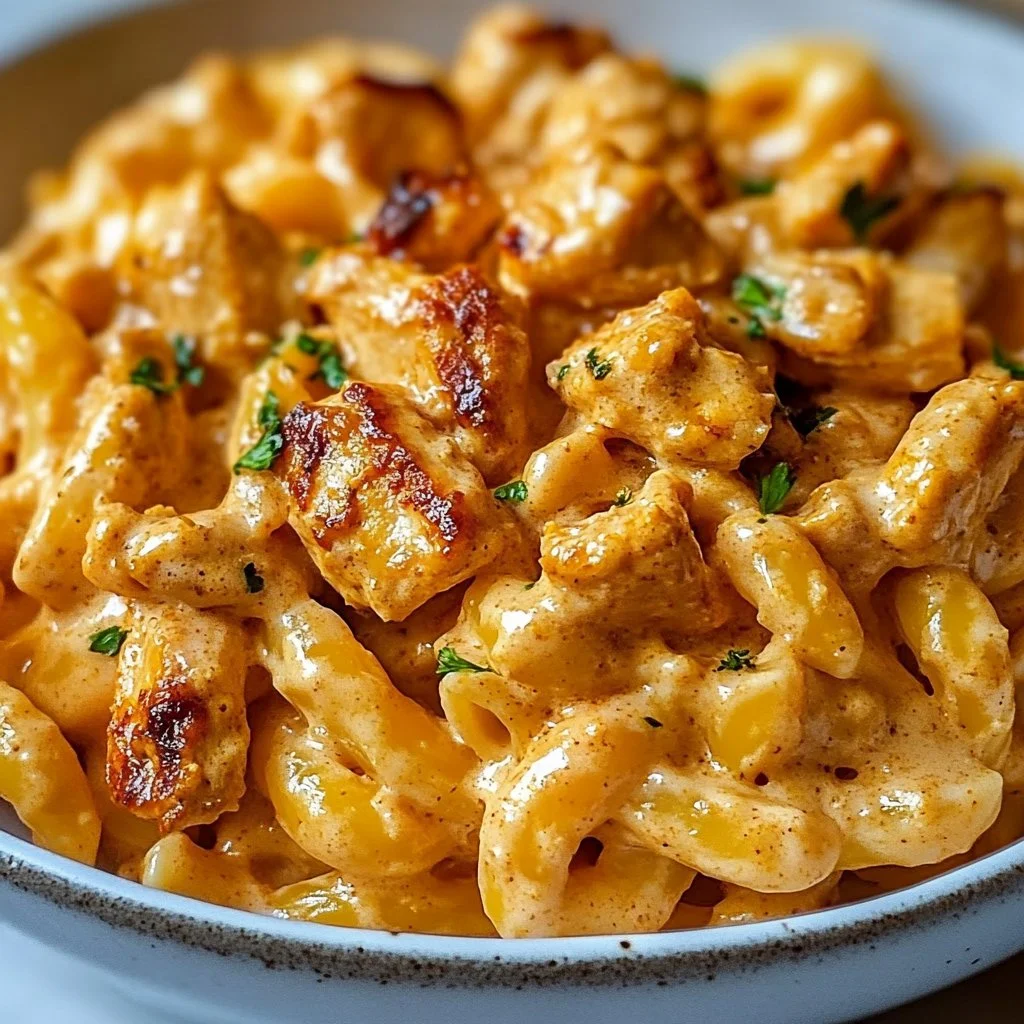
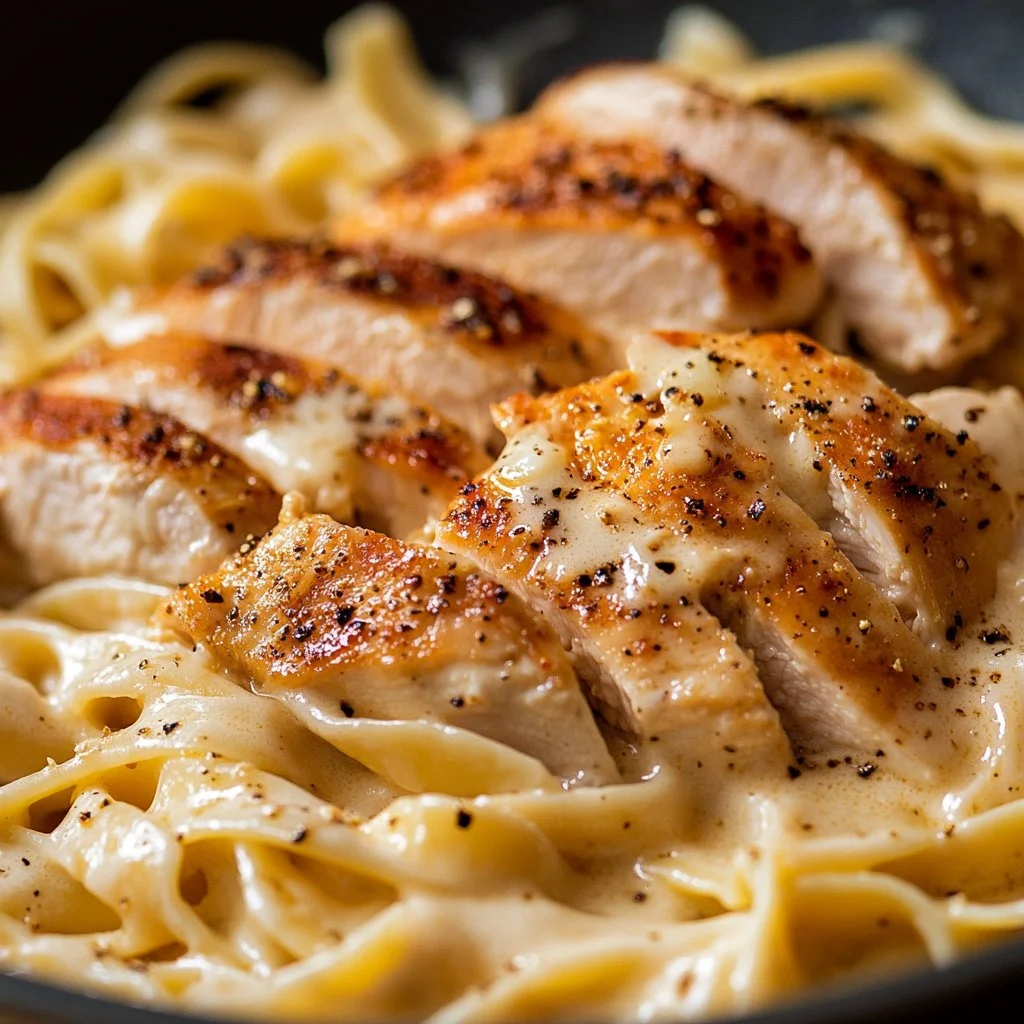
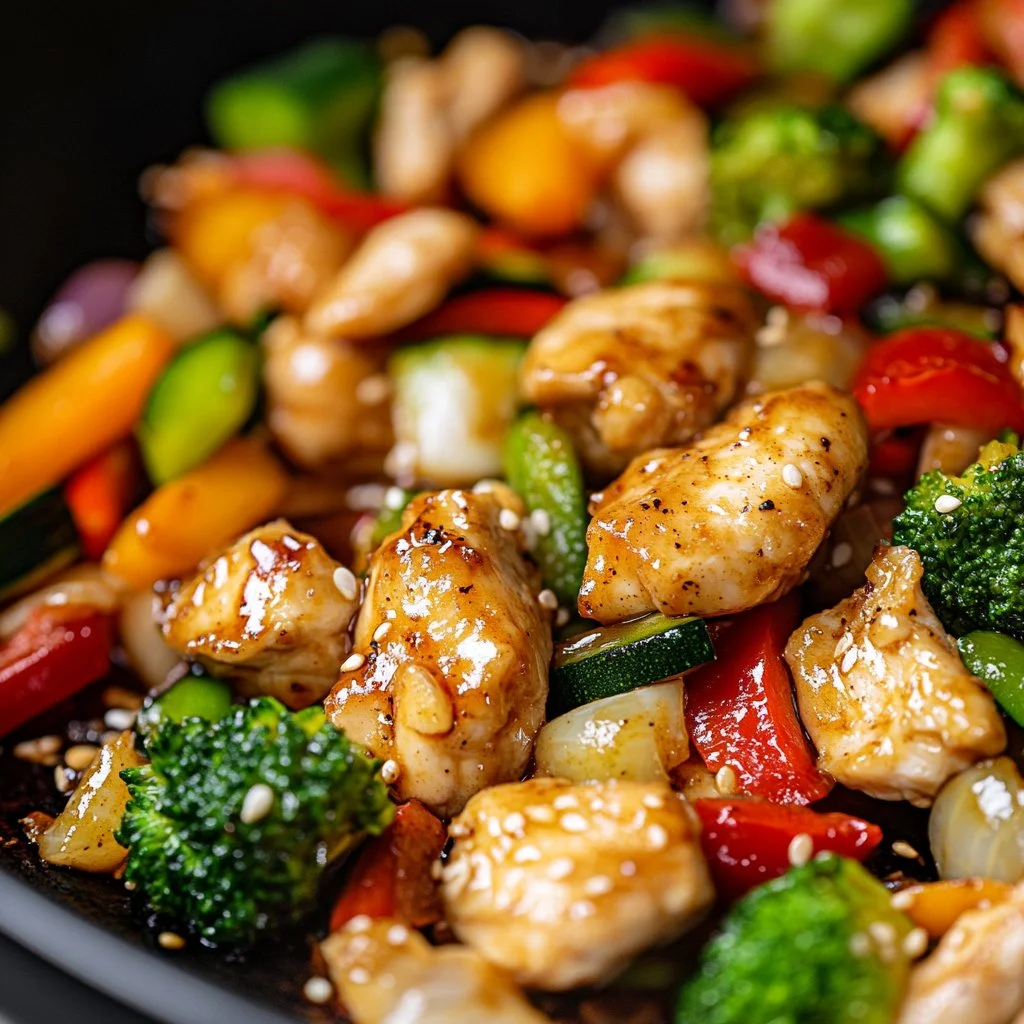
Southwest Chicken Alfredo is a family favorite, and it’s easy to see why. This dish combines the creamy goodness of Alfredo sauce with the bold flavors of the Southwest. It’s a meal that pleases everyone at the table, from the youngest to the oldest.
The best part? It’s a time-saver. Busy weeknights call for quick and satisfying dinners that don’t skimp on flavor or quality. In about 30 minutes, you can bring a wholesome, delicious meal to the table that feels special. This recipe allows you to spend less time in the kitchen and more time enjoying the company of your family.
Process Overview
“This is where the magic happens—when the aroma fills the kitchen.”
When you turn your stove on and gather your ingredients, you are setting the stage for a lovely culinary experience. Every step—from cooking the pasta to Sautéing the chicken—brings you closer to a comforting dish that will warm your hearts. Let’s dive in and see how you can create this delightful meal!
Ingredients
For this recipe, you will need:
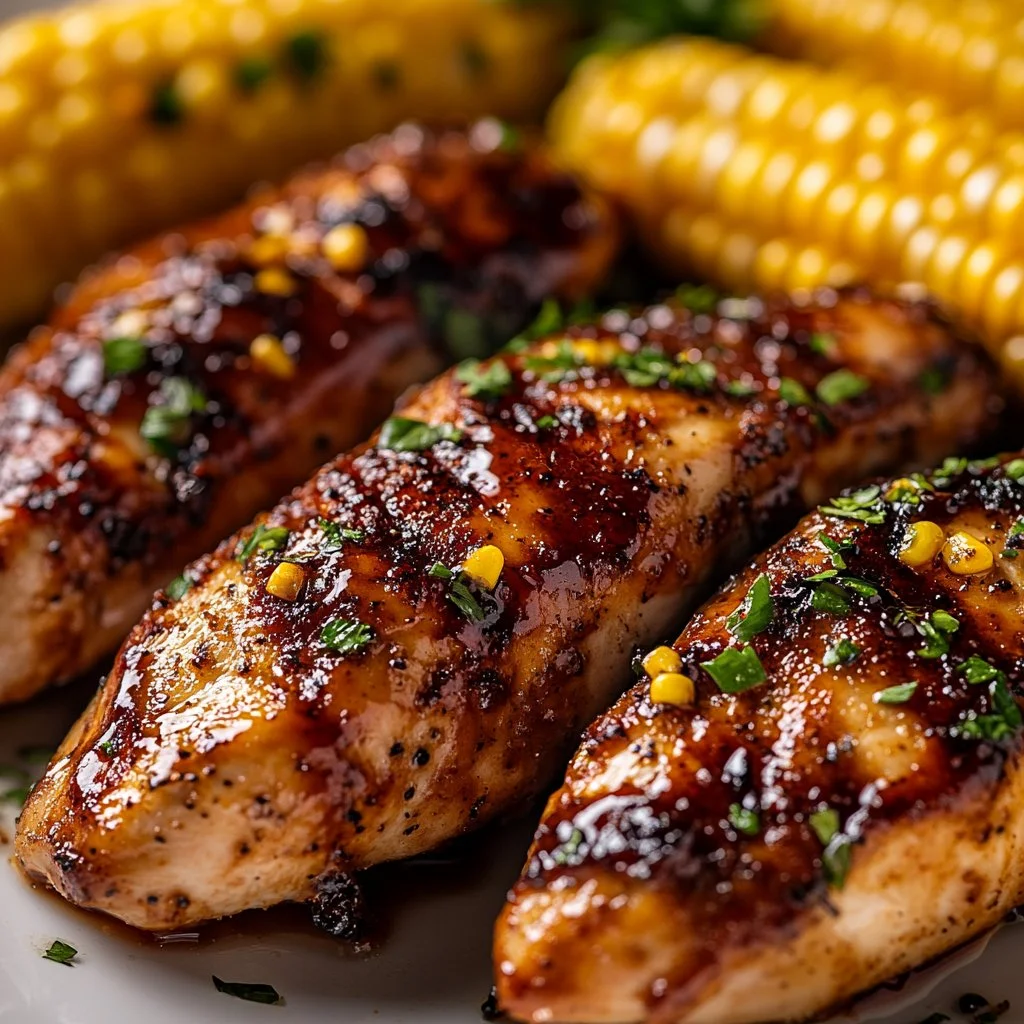
- 2 chicken breasts
- 8 ounces penne pasta
- 1 tablespoon olive oil
- 1 onion, diced
- 2 cloves garlic, minced
- 1 cup heavy cream
- 1 cup shredded cheese (cheddar or a cheese blend)
- 1 teaspoon southwest seasoning
- Salt and pepper to taste
- Chopped cilantro for garnish
Lily’s Personal Tips
- Chicken Breasts: Look for chicken that is plump and firm. Fresh is best, but frozen works too—just be sure to thaw it completely.
- Penne Pasta: You can use any pasta shape you prefer, but penne holds the sauce beautifully.
- Olive Oil: Extra virgin olive oil gives a rich flavor; it’s worth the extra cost.
- Heavy Cream: For a lighter version, you can use half-and-half, but the cream gives a lovely richness.
- Southwest Seasoning: You can find pre-made blends at the store, or make your own with chili powder, cumin, and paprika.
Directions
- Cook the penne pasta according to package instructions and set aside. This will be the foundational layer of your dish, so make sure it’s al dente—perfectly cooked but still firm.
- In a large skillet, heat olive oil over medium heat and add the diced onion and minced garlic. Sauté until translucent. The smell of sautéing onions is one of the best parts of cooking.
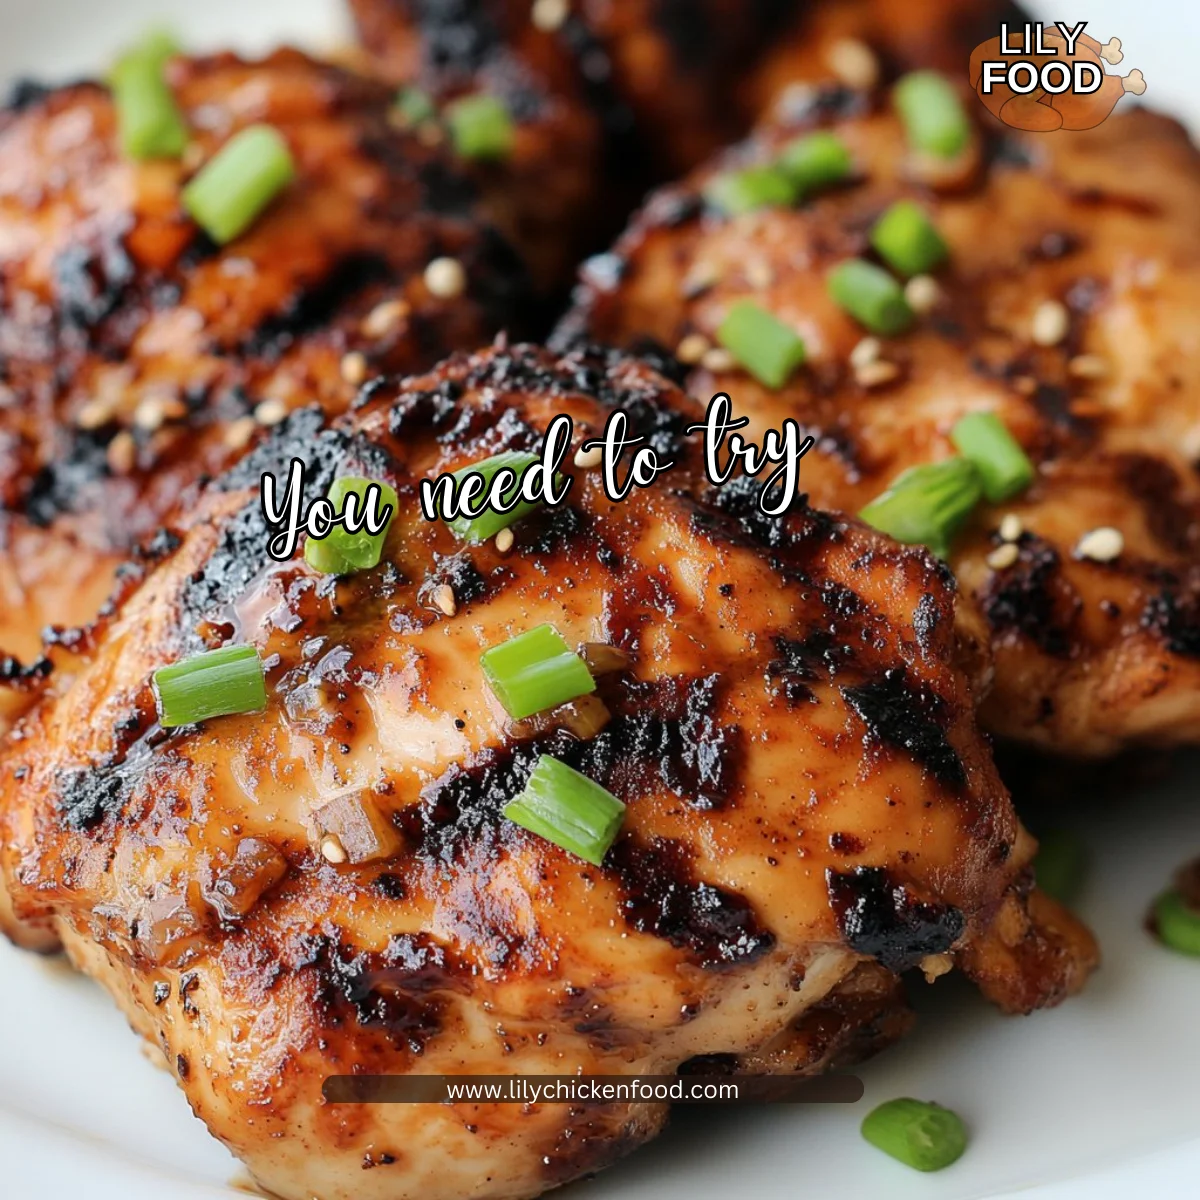
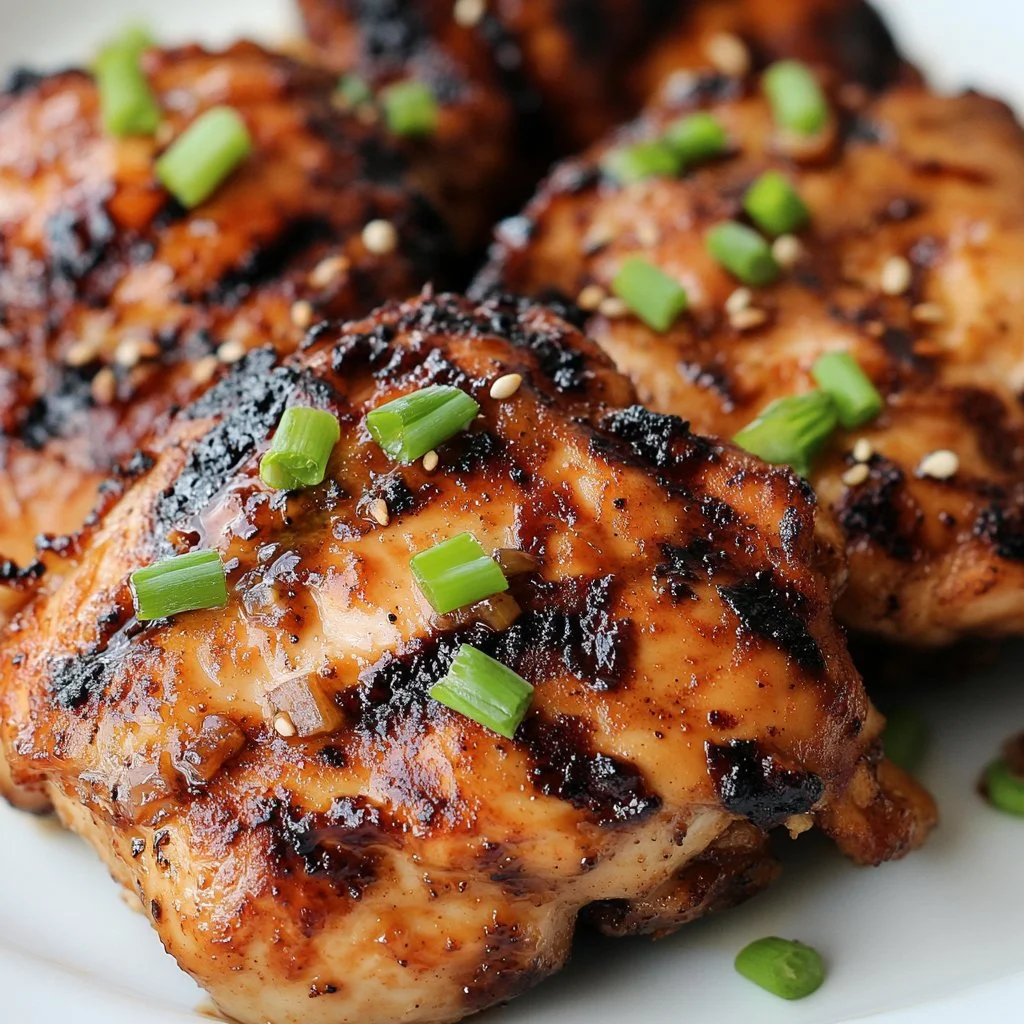
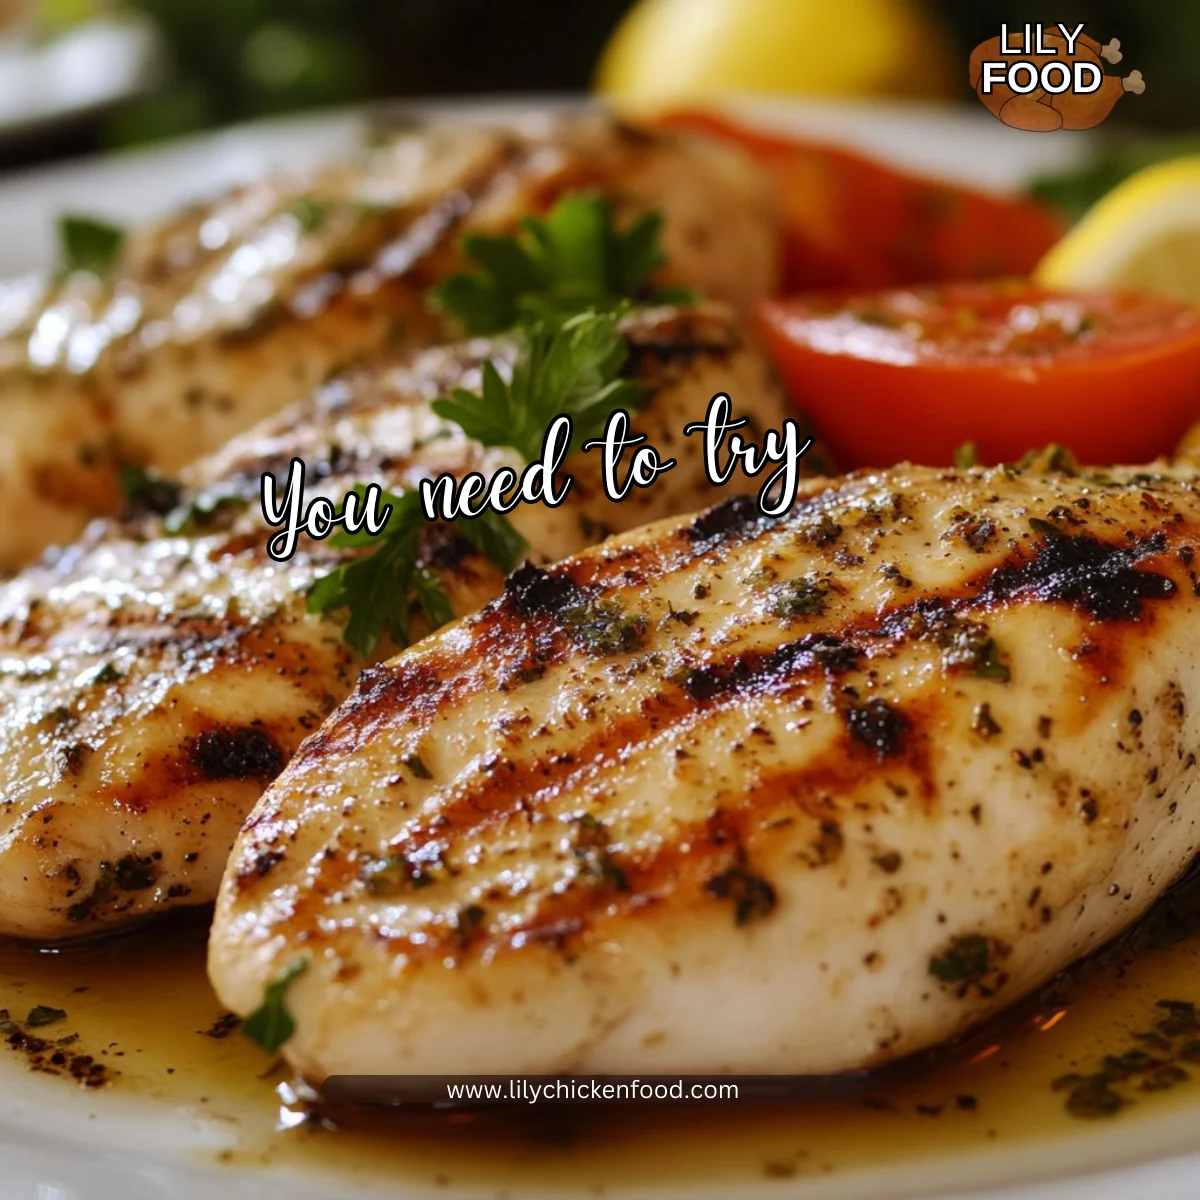
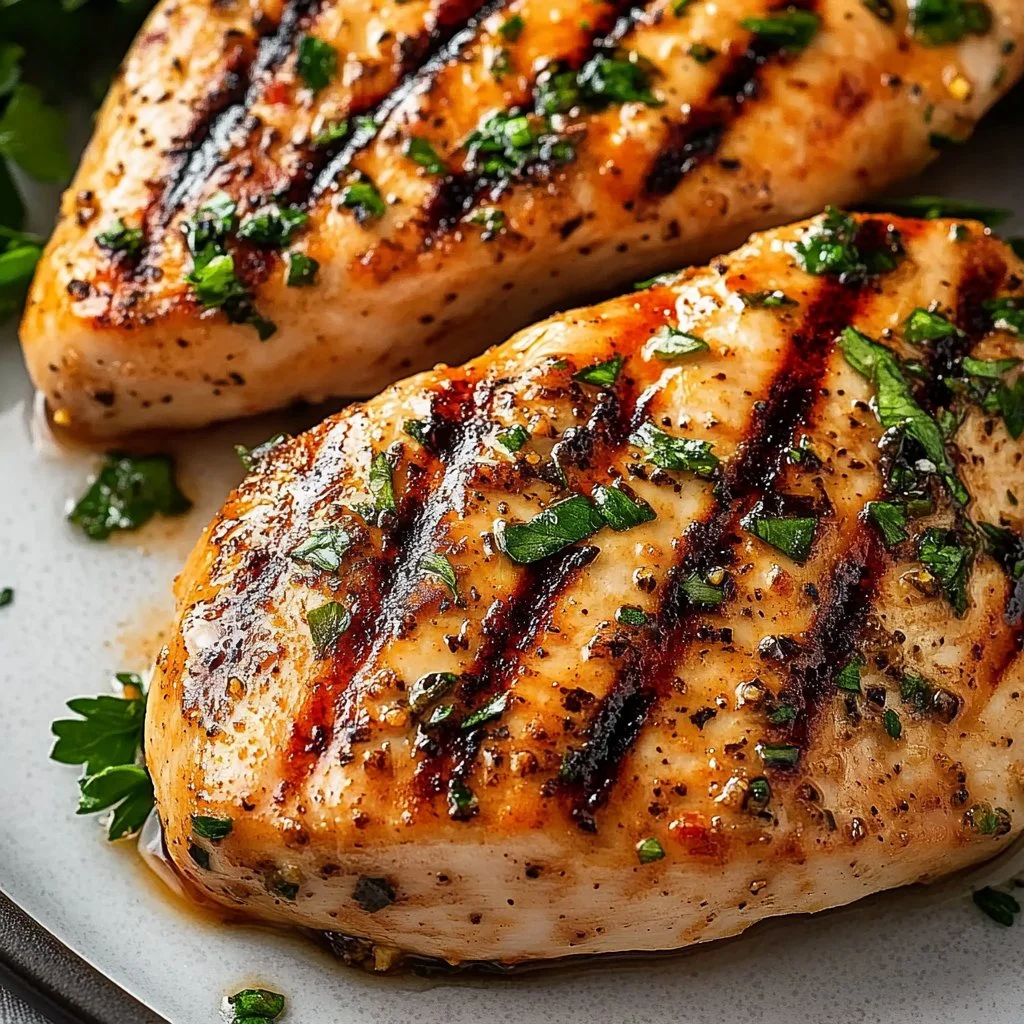
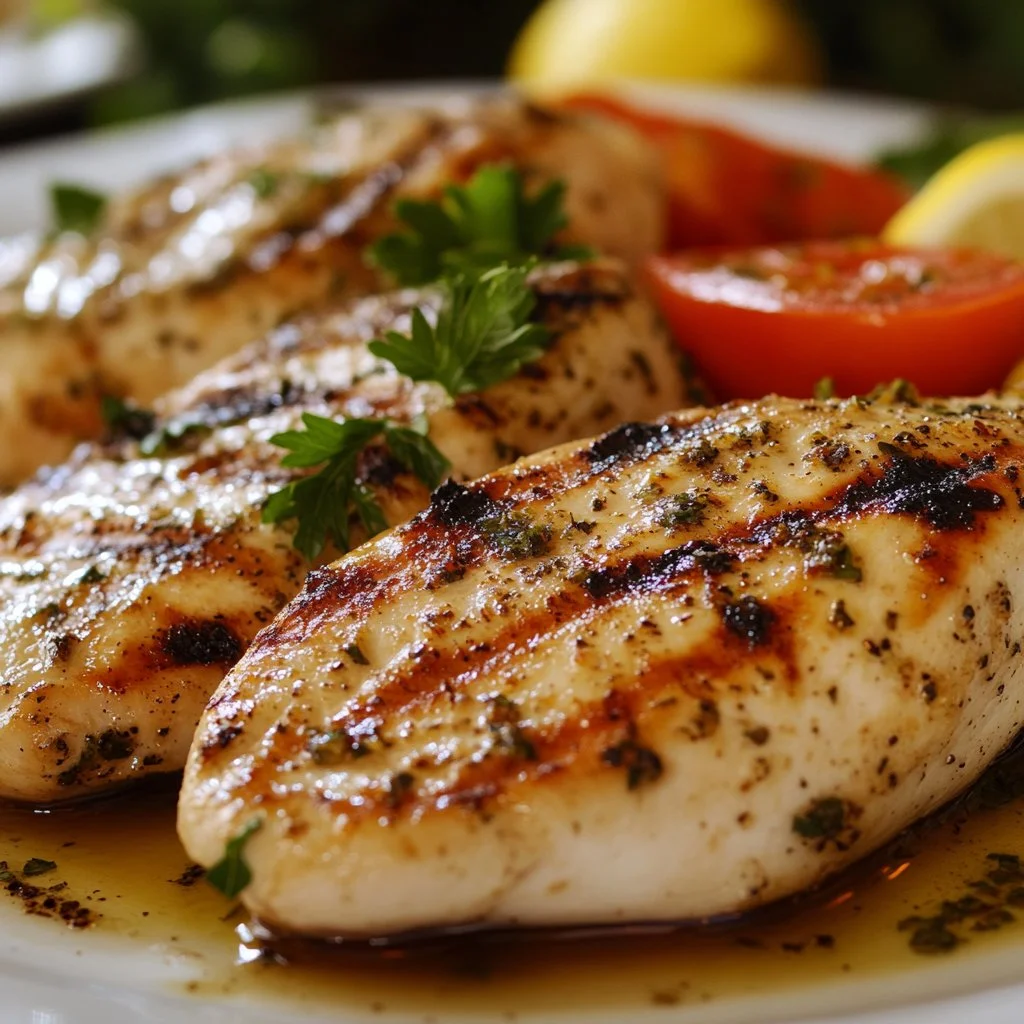
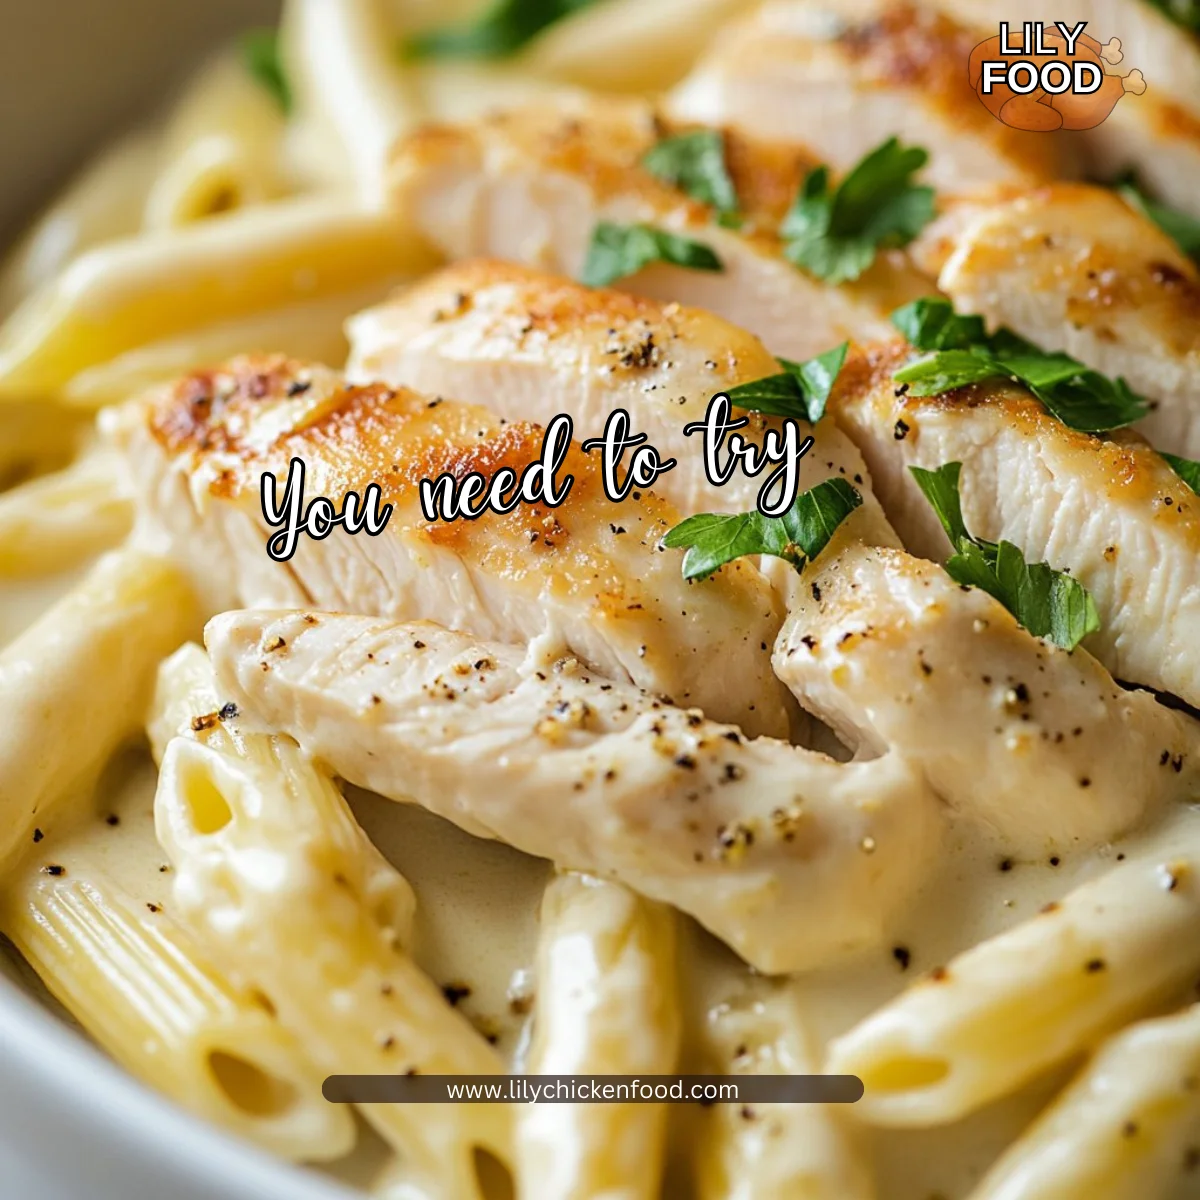
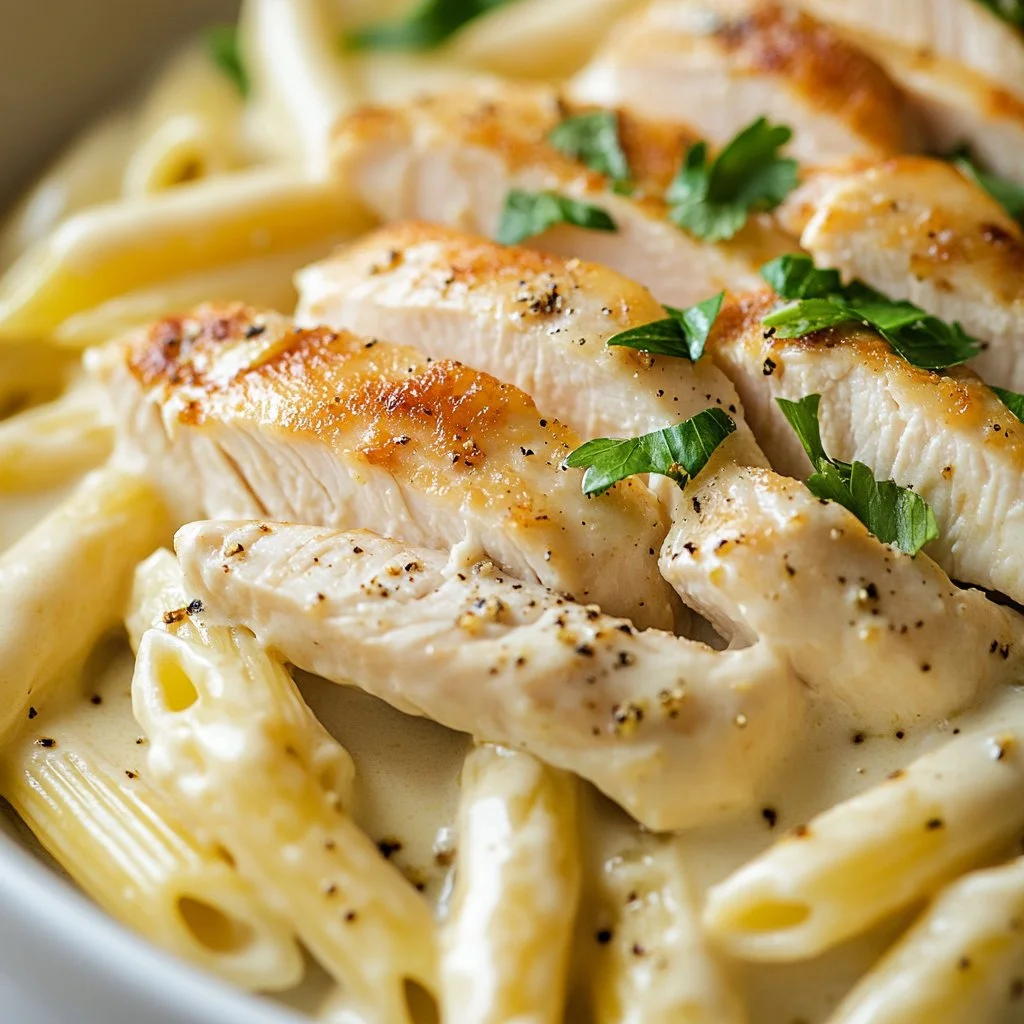
- Season chicken breasts with salt, pepper, and southwest seasoning, then add them to the skillet. Cook until browned and cooked through, about 6-7 minutes per side. You want that beautiful golden color, which indicates great flavor!
- Remove chicken and slice it into strips. Letting it rest for a bit after cooking will keep it juicy.
- In the same skillet, add the heavy cream and bring to a simmer. Stir in cheese until melted and combined. This is the part where you can start dreaming about how delicious this will be.
- Add the cooked penne pasta and sliced chicken to the sauce, tossing to coat evenly. Make sure every piece of pasta is enveloped in that creamy goodness.
- Garnish with chopped cilantro before serving. This adds a pop of freshness that brightens the entire dish.
Serving
For family-style serving, pour the creamy pasta mixture into a large bowl. Let everyone help themselves. I love placing a generous bowl of chopped cilantro and extra cheese on the table, encouraging everyone to customize their plates. You can also serve this alongside a simple green salad or warm bread for a complete meal.
Storage
If you have leftovers (which I highly doubt), store the Southwest Chicken Alfredo in an airtight container in the fridge for up to 3 days. Reheat it on the stove over low heat, adding a dash of cream or milk to loosen the sauce. This will help keep it creamy and delicious.
Kitchen Notes
- Use a rotisserie chicken to save time on busy nights. Just shred it and toss it in.
- Cook the pasta in the same water as your vegetables if you add any; it adds flavor to both.
- If you like more sauce, feel free to double the cream and cheese.
- Consider using a pasta maker to make your own pasta—it’s fun and adds an extra touch.
- Keep a stash of frozen veggies on hand to toss in for added nutrition and color.
Variations
Every family has its preferences. If you have picky eaters, consider these tweaks:
- For a Spicy Kick: Add jalapeños or red pepper flakes to the sauce for heat.
- For a Vegetarian Option: Substitute chicken with black beans or grilled vegetables.
- For Gluten-Free Needs: Use gluten-free pasta; it works just as well in this recipe.
- For Dairy-Free: Use coconut milk instead of heavy cream and nutritional yeast for a cheesy flavor.
- For a Low-Carb Version: Spiralized zucchini or spaghetti squash can replace the pasta.
FAQ
-
Can I make this dish ahead of time?
Yes, you can prep the chicken and sauce a day in advance. Just reheat it with your cooked pasta when you’re ready to serve. -
How can I make this recipe spicier?
Simply add more southwest seasoning, fresh jalapeños, or even a dash of hot sauce to the sauce. -
What sides pair well with Southwest Chicken Alfredo?
A simple green salad, garlic bread, or roasted vegetables would complement this dish nicely. -
Can I use a different type of cheese?
Absolutely! Mozzarella or pepper jack cheese can add a unique twist to the flavor profile. -
Is this recipe easily adaptable?
Yes, you can customize it based on what ingredients you have on hand or to meet dietary needs.
Conclusion
As you prepare your Southwest Chicken Alfredo, remember that the heart of cooking lies in the joy of sharing. This dish is more than just a meal; it’s a way to connect with your loved ones and create lasting memories around the dinner table. Embrace the process, savor the flavors, and enjoy each moment with your family. Happy cooking!

Southwest Chicken Alfredo
Ingredients
Main Ingredients
- 2 pieces chicken breasts (Look for chicken that is plump and firm.)
- 8 ounces penne pasta (You can use any pasta shape you prefer.)
- 1 tablespoon olive oil (Extra virgin olive oil is recommended for rich flavor.)
- 1 medium onion, diced
- 2 cloves garlic, minced
- 1 cup heavy cream (For a lighter version, use half-and-half.)
- 1 cup shredded cheese (cheddar or a cheese blend) (Mozzarella or pepper jack cheese can also work.)
- 1 teaspoon southwest seasoning (Can be store-bought or homemade.)
- to taste salt and pepper
- to taste chopped cilantro for garnish (Adds a pop of freshness.)
Instructions
Preparation
- Cook the penne pasta according to package instructions and set aside.
- In a large skillet, heat olive oil over medium heat and add the diced onion and minced garlic. Sauté until translucent.
- Season chicken breasts with salt, pepper, and southwest seasoning, then add them to the skillet. Cook until browned and cooked through, about 6-7 minutes per side.
- Remove chicken and slice it into strips. Let it rest for a bit after cooking.
- In the same skillet, add the heavy cream and bring to a simmer. Stir in cheese until melted and combined.
- Add cooked penne pasta and sliced chicken to the sauce, tossing to coat evenly.
- Garnish with chopped cilantro before serving.