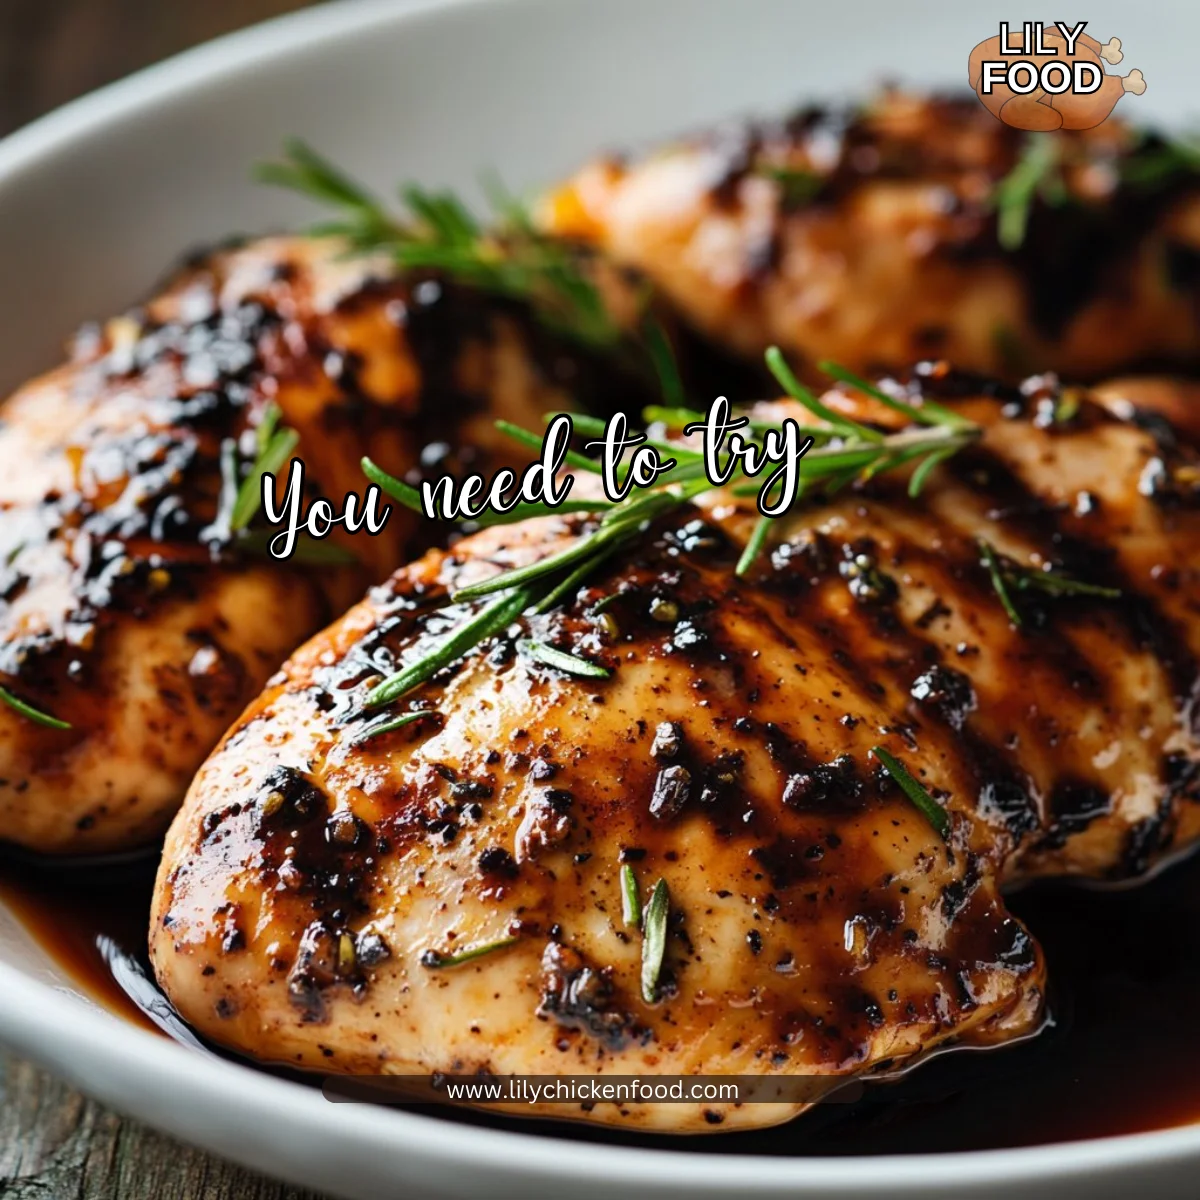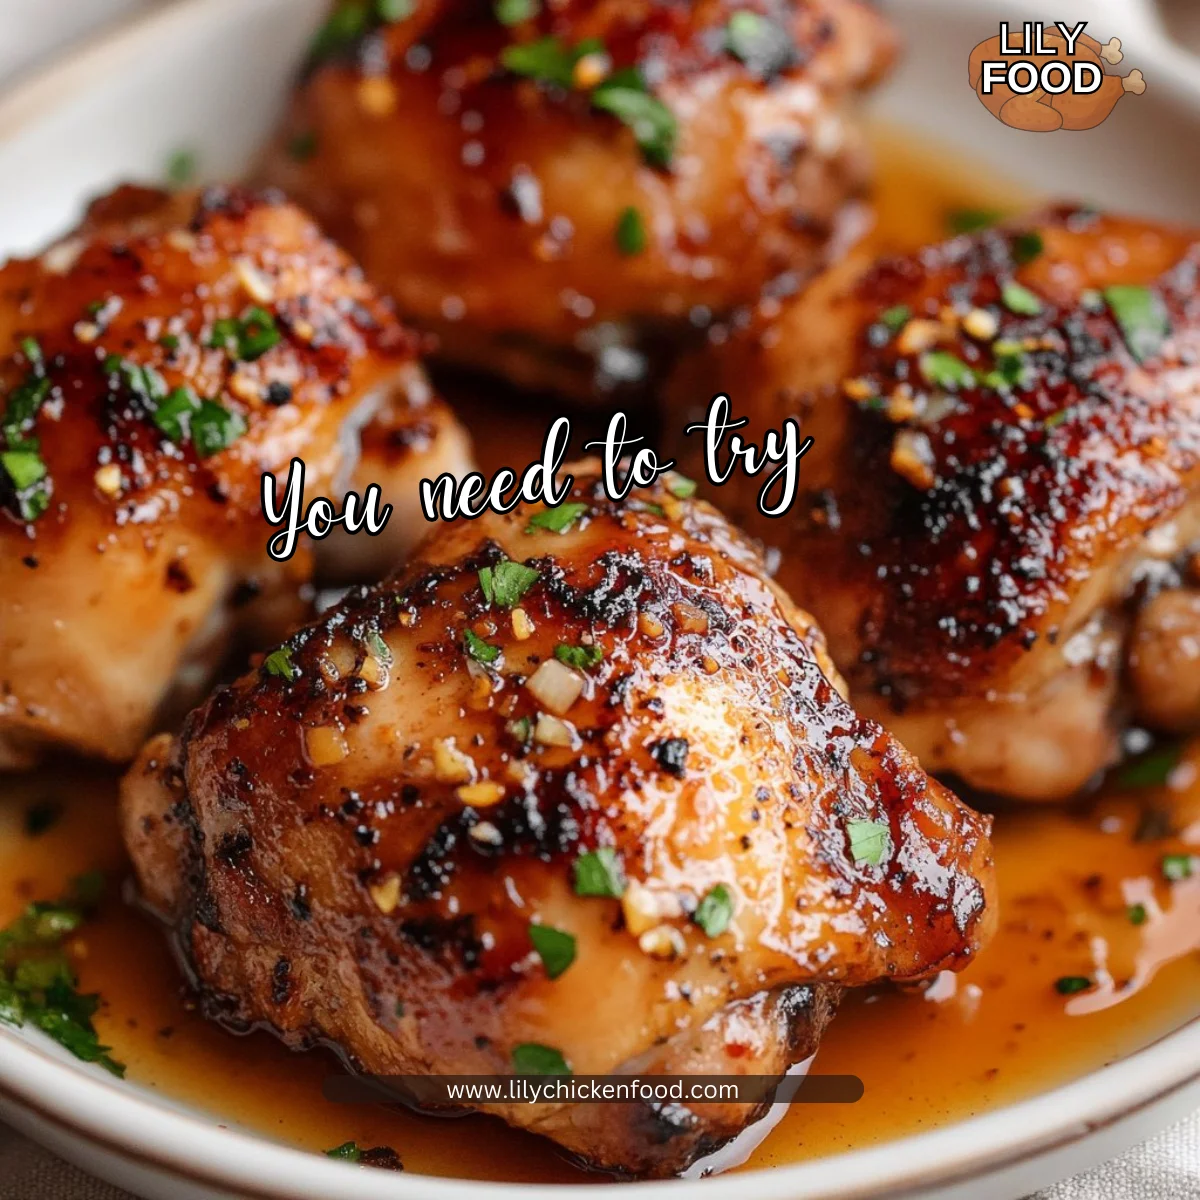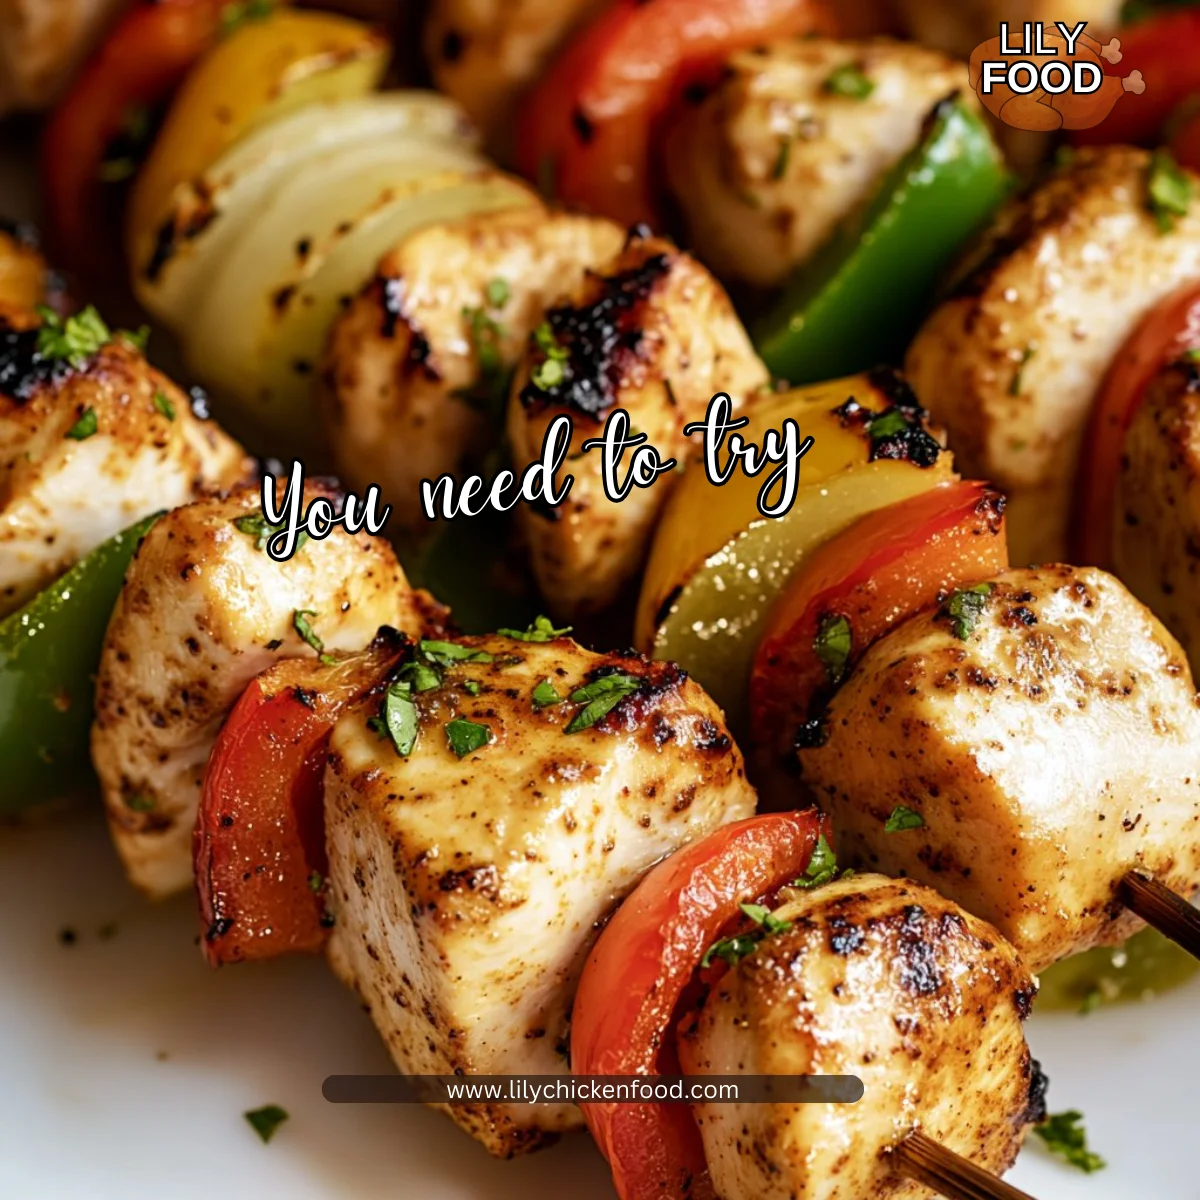
The kitchen hums with the sound of a sizzling pan and the warm smell of garlic and honey. You know that moment when everyone pauses and asks, "What smells so good?" That little pause is gold to me. It means the house will fill with happy voices and hungry hands soon.
This Perfect Chicken Marinade is one of those recipes that makes weeknights feel special and busy Sundays feel effortless. If you enjoy bold, approachable flavors, you might also like my twist on a Mexican version that saves time and keeps kids smiling: easy Mexican chicken marinade.
Why this works
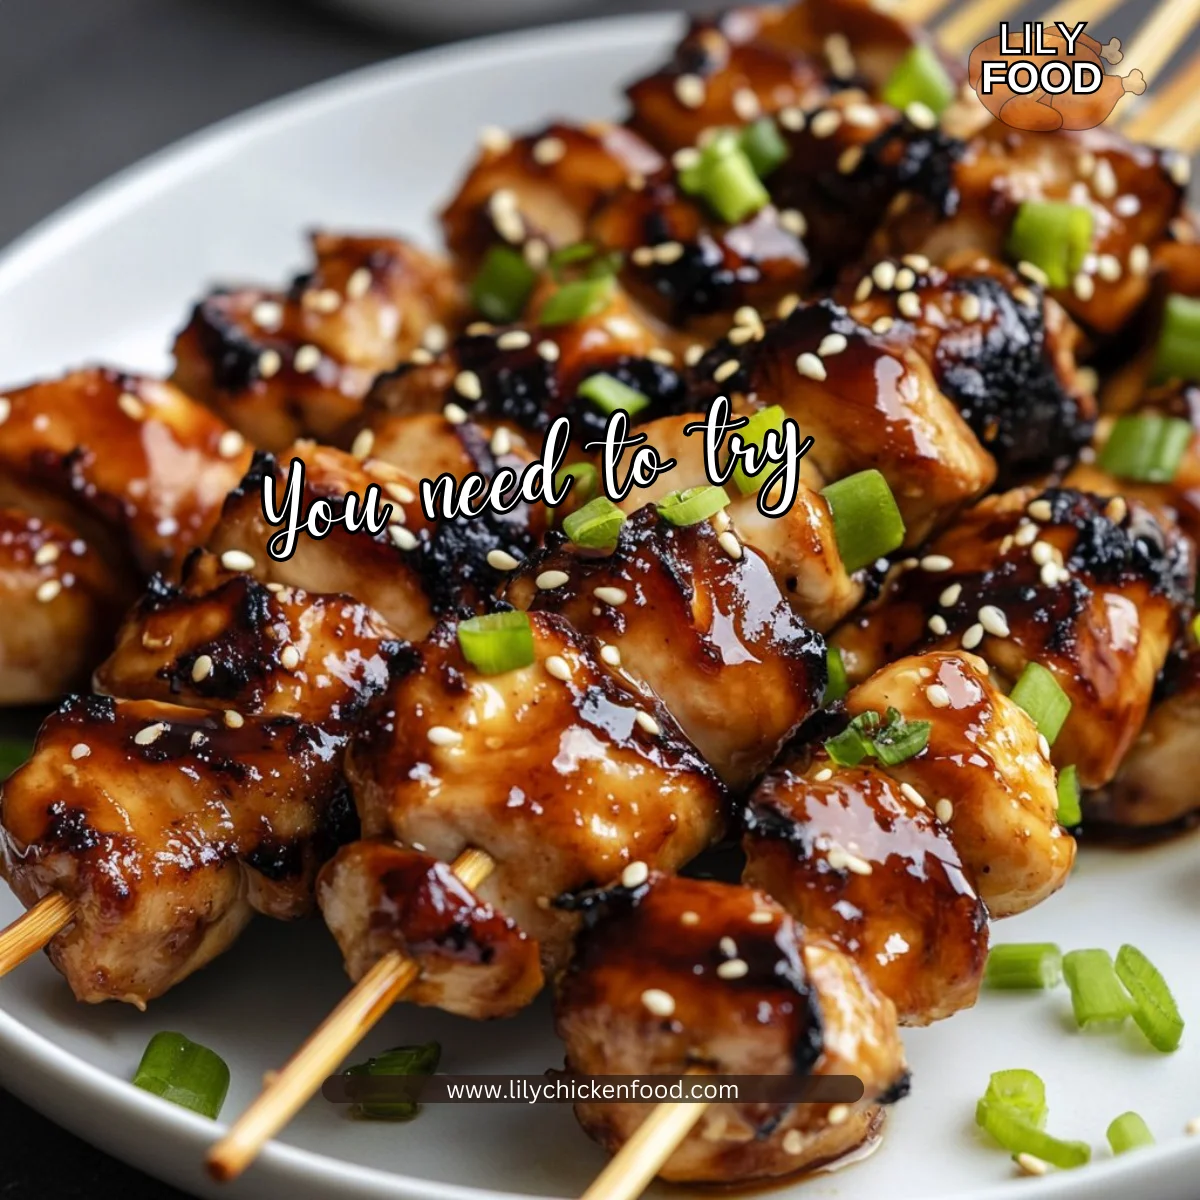
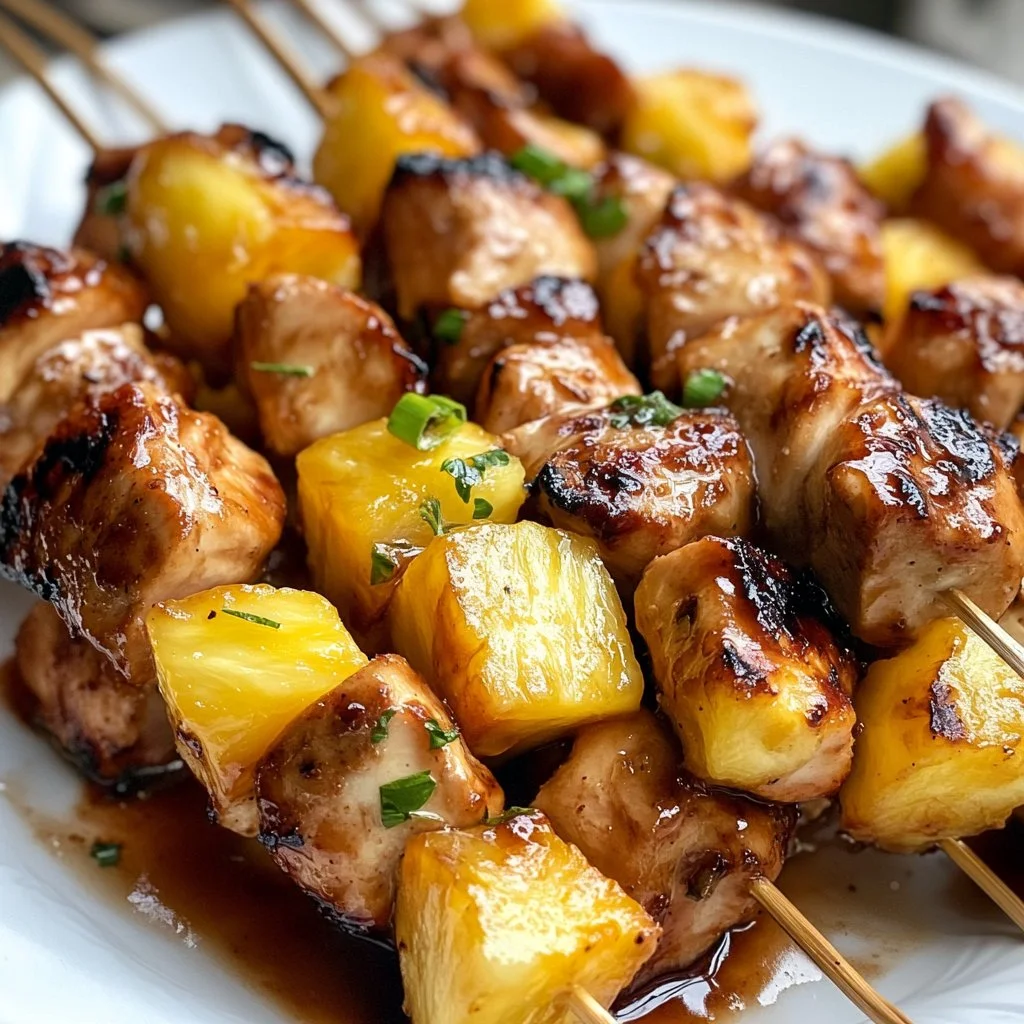
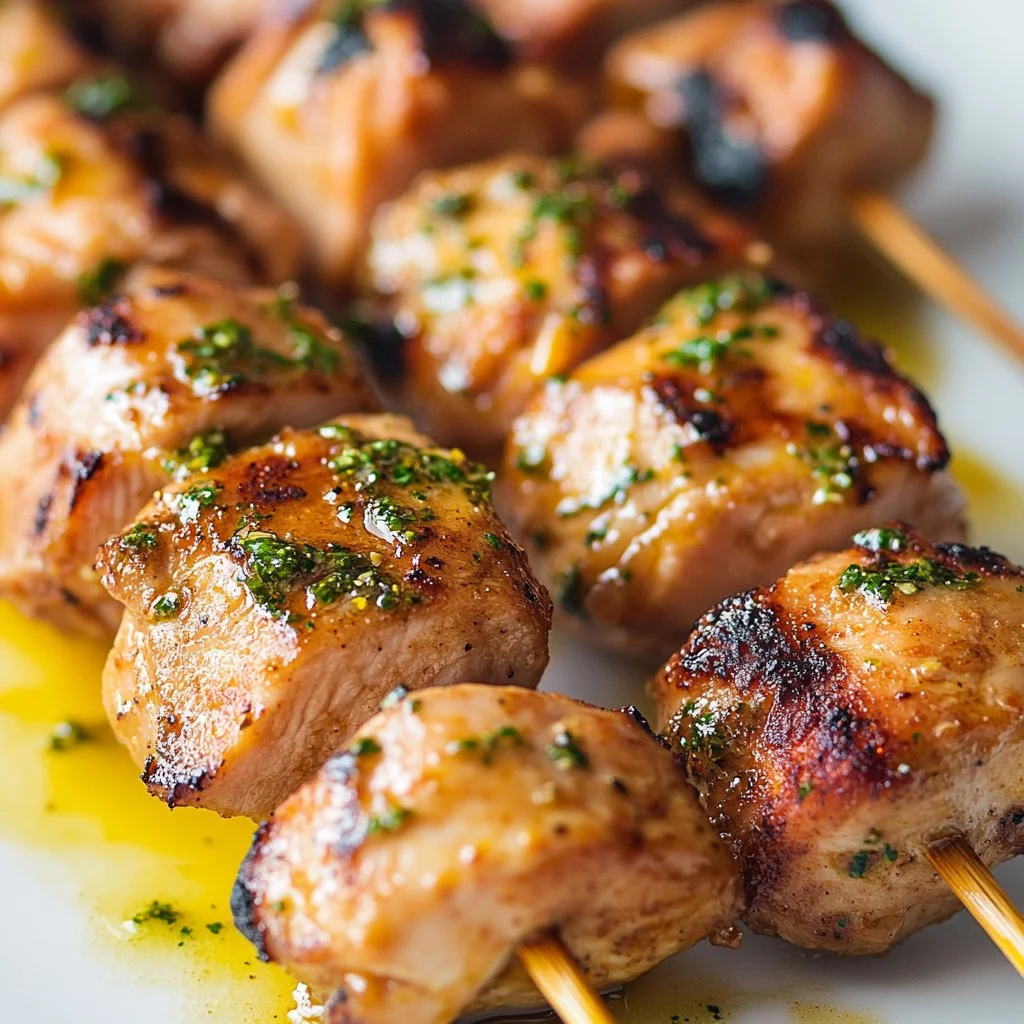
This marinade balances five key things: acid, oil, salt, sweet, and aromatics. The apple cider vinegar and soy sauce gently tenderize the chicken. Olive oil carries flavor into the meat. Honey adds caramel and browning on the grill or in the pan. Garlic and oregano give a familiar family-friendly aroma.
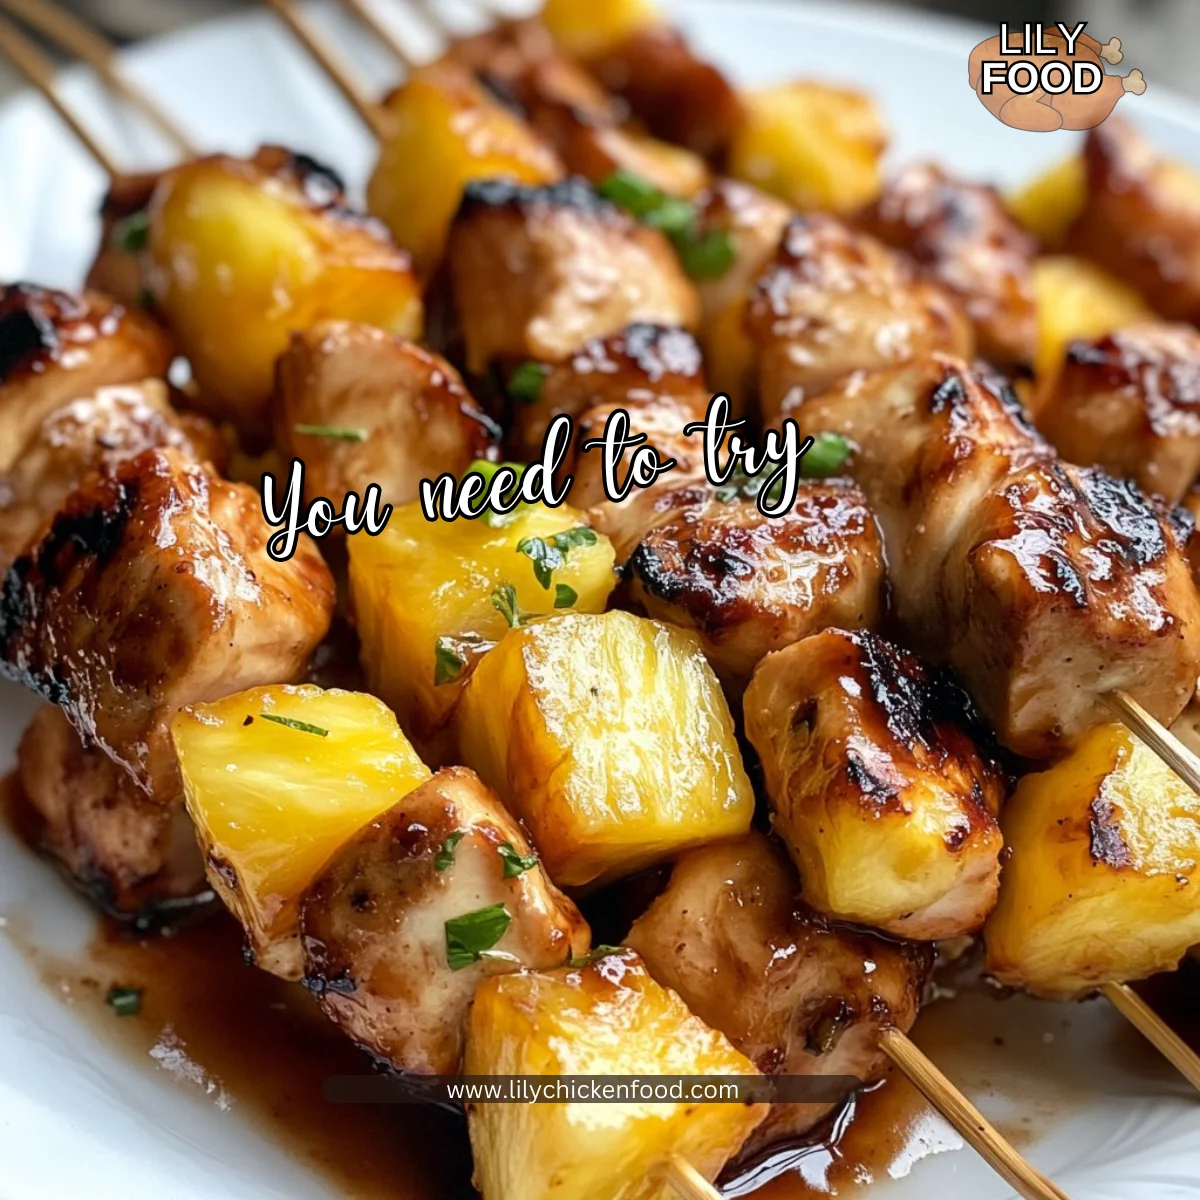
It works fast, too. Even an hour in the fridge makes a noticeable difference. That saves time when you are juggling homework, activities, and bedtime routines. If your favorite dinner night is the grill night, this mix plays perfectly with a quick sear or a long-low cook for tender results. For more ideas that work on the grill, check out my guide to grilled chicken marinade.
This recipe is forgiving. You can adjust salt, swap honey for maple, or add a squeeze of lemon. It keeps family meals stress-free and full of flavor.
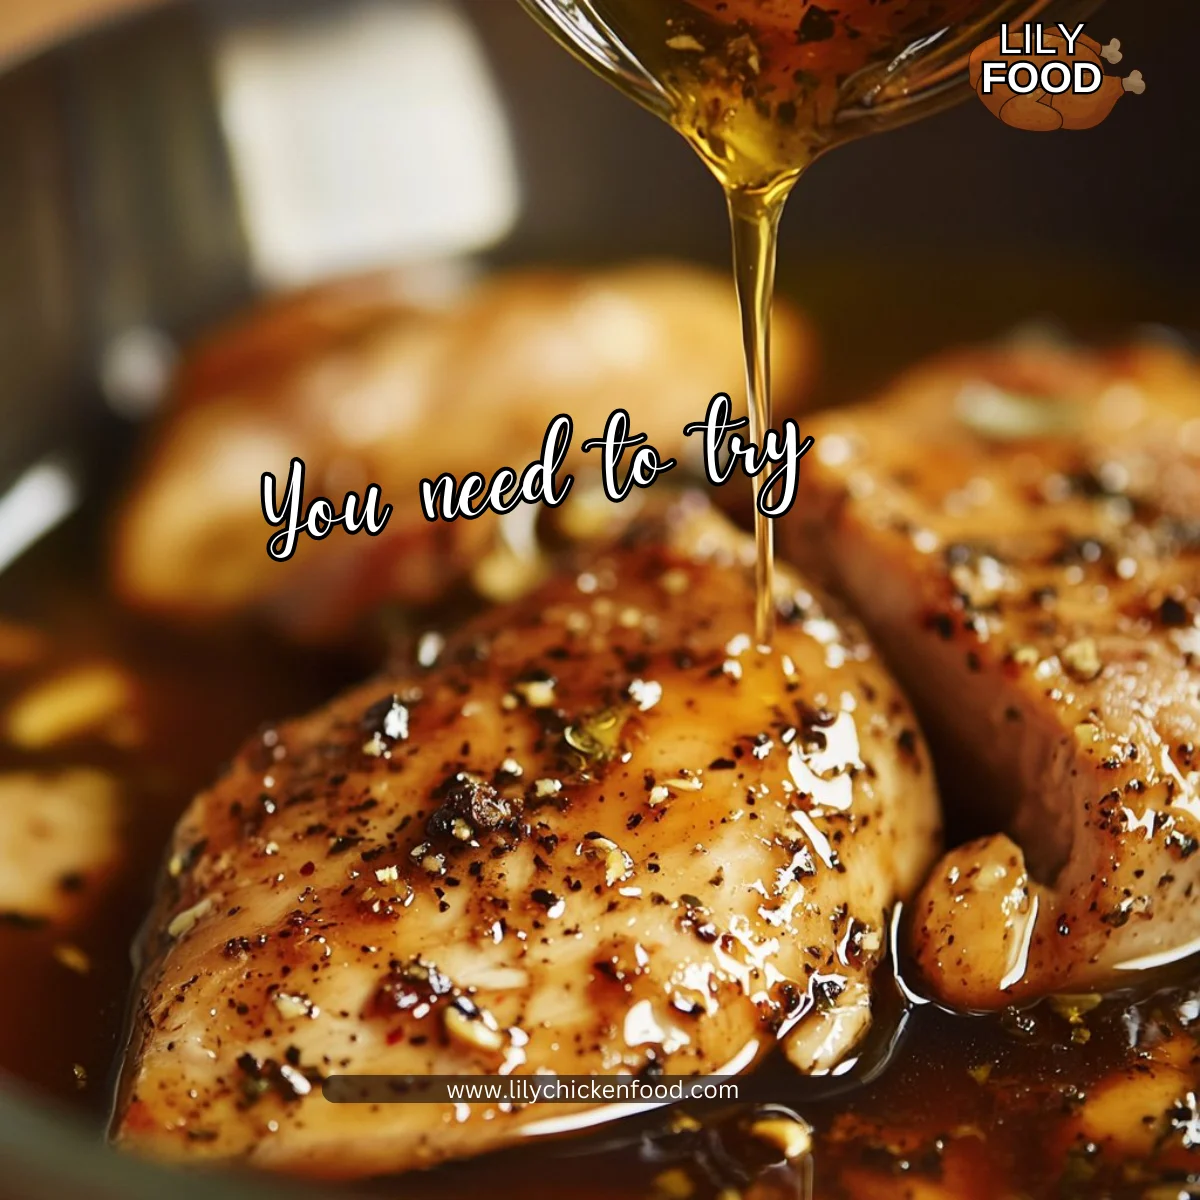
Process Overview
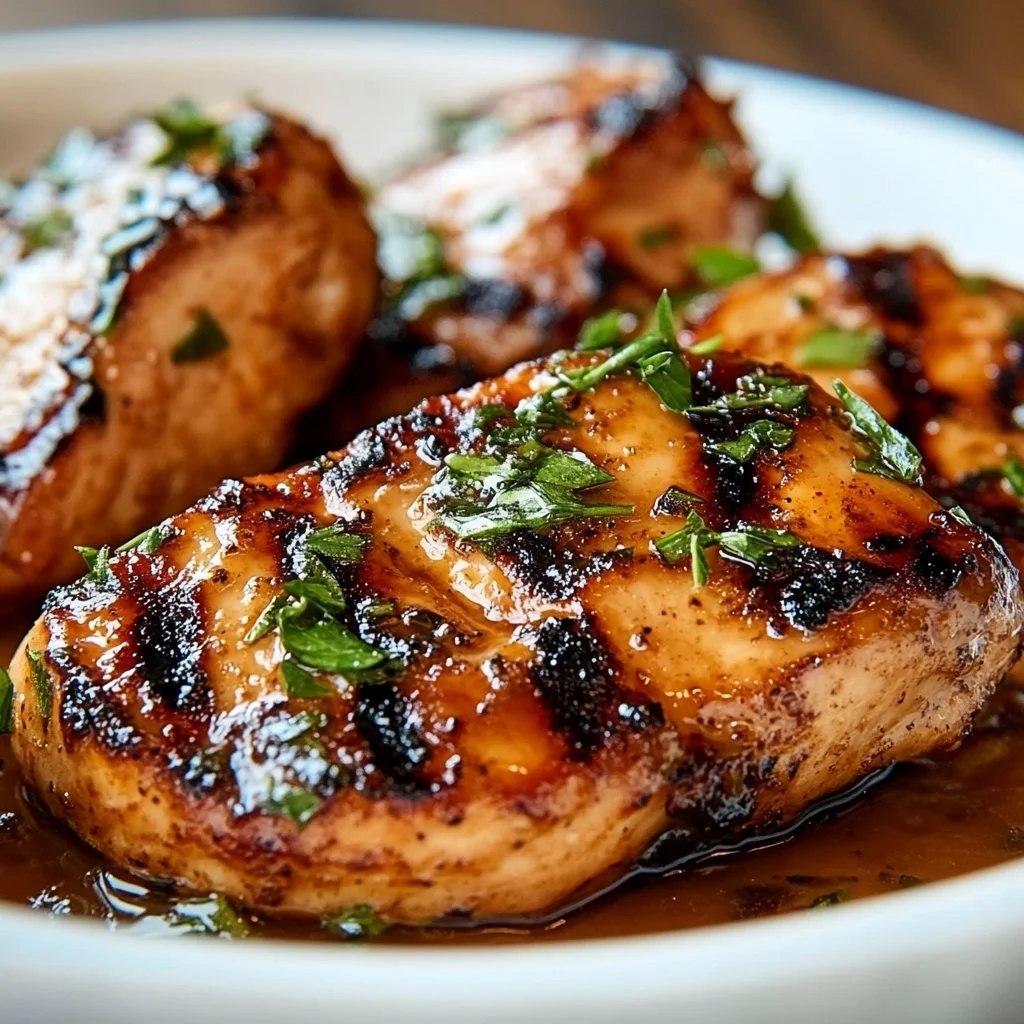
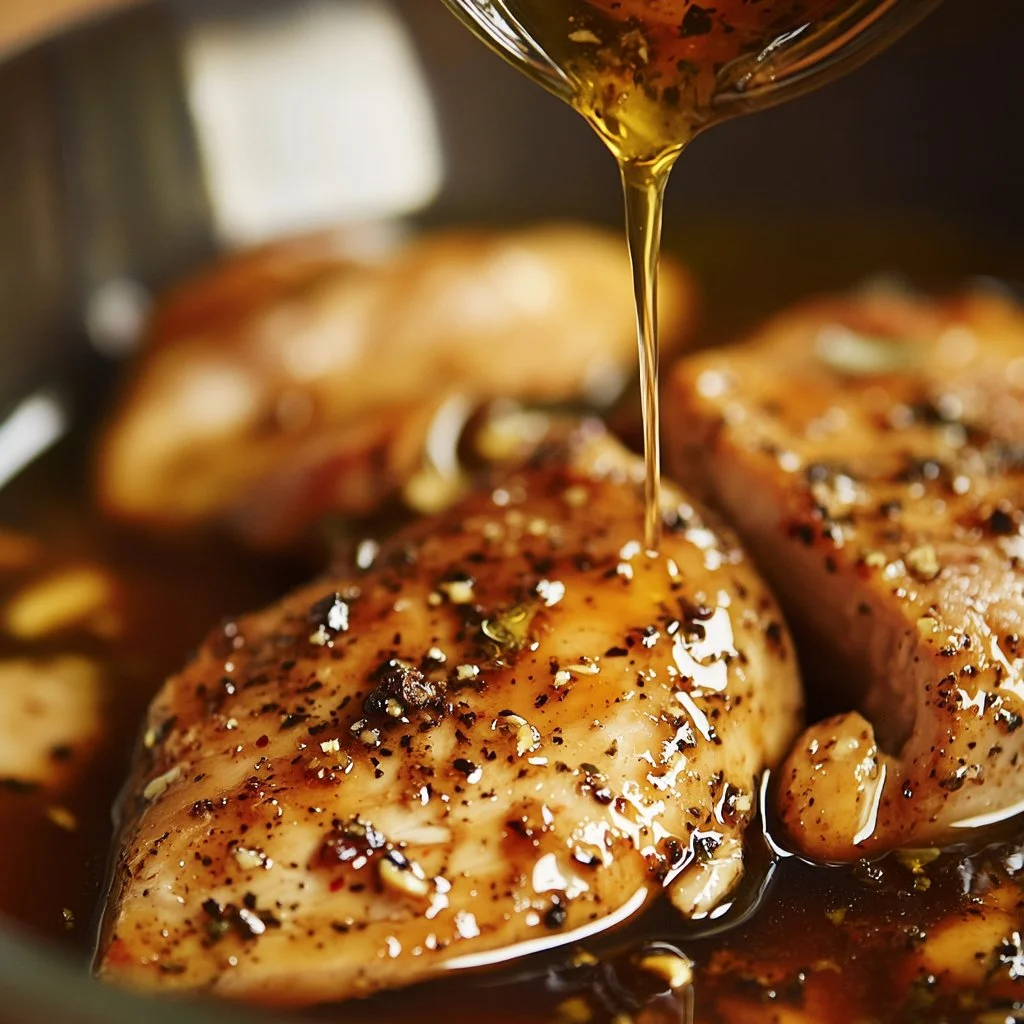
“This is where the magic happens—when the aroma fills the kitchen.”
In short, you whisk, you coat, you chill, and you cook. The longer the chicken marinates, the deeper the flavor and the more tender the meat. You can also use this marinade to speed up a busy weeknight by prepping the night before and cooking the next day.
If you like oven-baked dinners on a time crunch, this marinade pairs beautifully with a quick bake. See my oven-baked thigh method for a fast, hands-off meal that the whole family will reach for: 30-minute oven-baked boneless skinless chicken thighs.
Ingredients
-
1/4 cup olive oil
Lily’s tip: Use a good extra-virgin olive oil for flavor. If you need a neutral oil, avocado oil also works well. -
3 tablespoons soy sauce
Lily’s tip: Low-sodium soy sauce helps control salt. For gluten-free, use tamari. -
2 tablespoons apple cider vinegar
Lily’s tip: This adds a gentle tang that helps tenderize. White wine vinegar is a mild substitute. -
2 tablespoons honey
Lily’s tip: Honey gives a lovely glaze when grilled. For a vegan switch, use maple syrup. -
3 cloves garlic, minced
Lily’s tip: Fresh garlic beats jarred garlic for the brightest flavor. Mince finely so it disperses into the marinade. -
1 teaspoon dried oregano
Lily’s tip: Oregano brings a homey, herby note. If you have fresh oregano, double the amount. -
1 teaspoon black pepper
Lily’s tip: Freshly cracked black pepper adds more lift than pre-ground. -
1 teaspoon salt
Lily’s tip: If you use low-sodium soy sauce, keep this amount. Taste the marinade before adding more.
H3 Lily’s personal guide to measurements
These amounts work for 1.5 to 2 pounds of chicken. I often scale up the recipe for a large family or a weekend meal prep. If you plan to marinate larger bone-in pieces, allow more time for the flavors to penetrate.
If you want a sweeter glaze, add an extra teaspoon of honey. If you prefer more tang, add another 1/2 teaspoon of apple cider vinegar. The recipe is flexible and forgiving.
Directions
H3 Step-by-step with encouragement
-
In a bowl, whisk together olive oil, soy sauce, apple cider vinegar, honey, garlic, oregano, black pepper, and salt.
Encouraging note: Take a moment to smell the mixture. You will already taste the promise of dinner. Whisk until honey blends in and the oil looks smooth. -
Place chicken in a resealable bag or a dish, and pour the marinade over it.
Encouraging note: Make sure each piece gets a nice coating. If you have little helpers, this is a fun step for kids to gently massage the bag. -
Seal the bag or cover the dish and refrigerate for at least 1 hour, or up to overnight for best results.
Encouraging note: Even a short rest of 1 hour improves flavor. Overnight is ideal when you plan meals ahead. Label the bag if you prep in advance. -
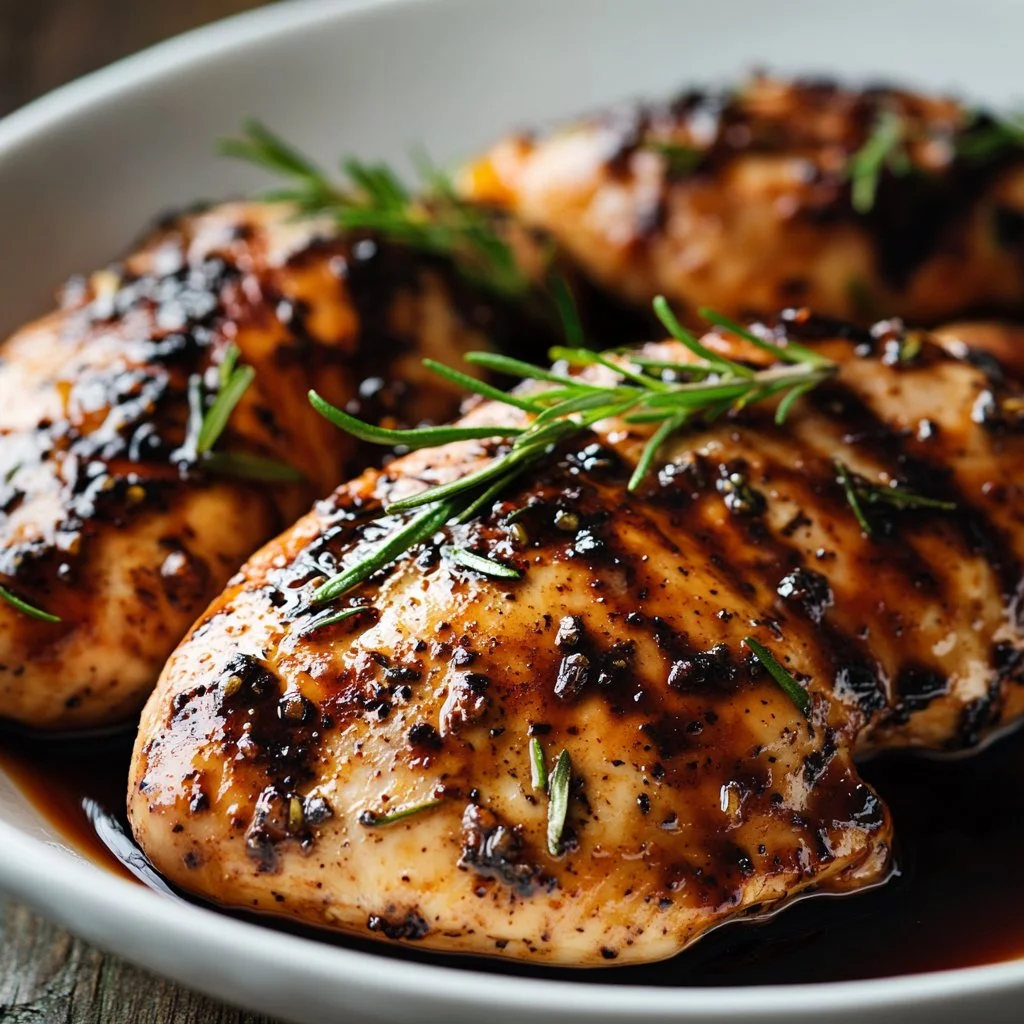
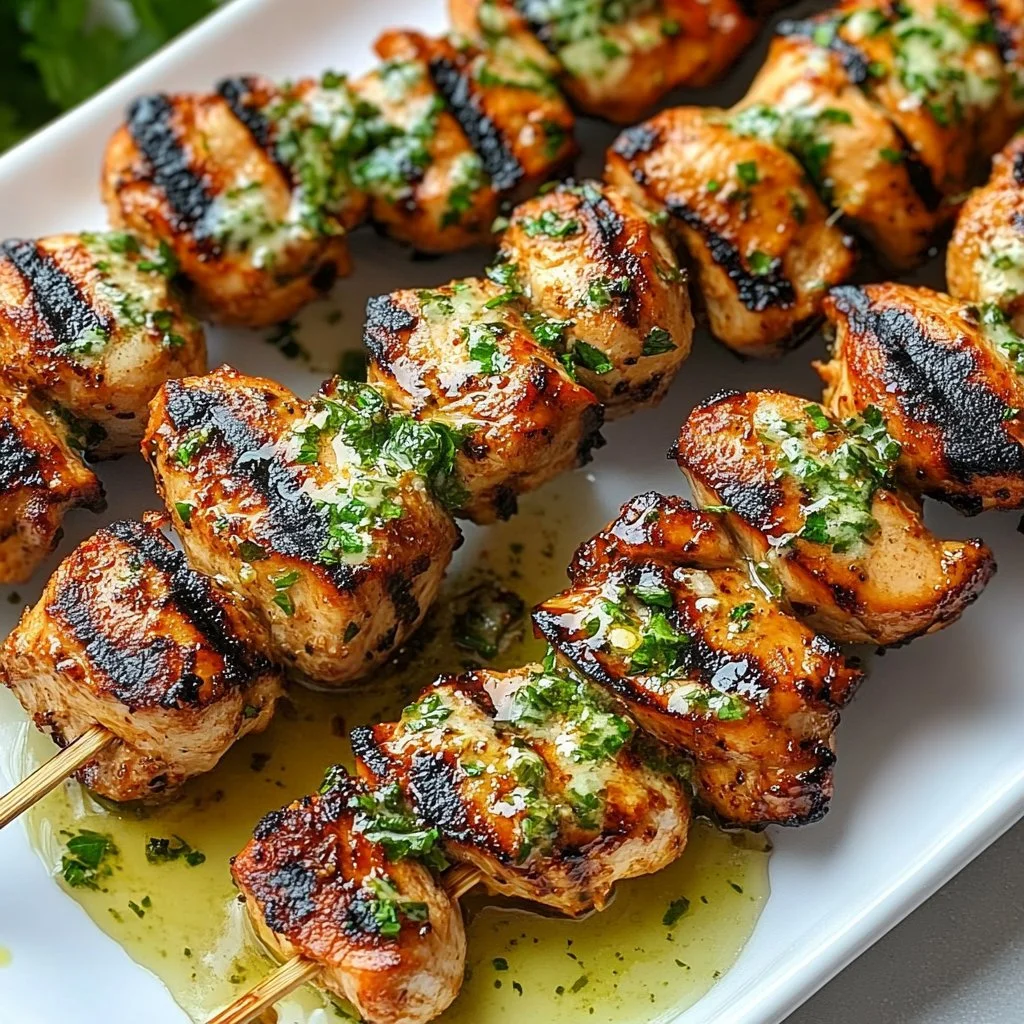
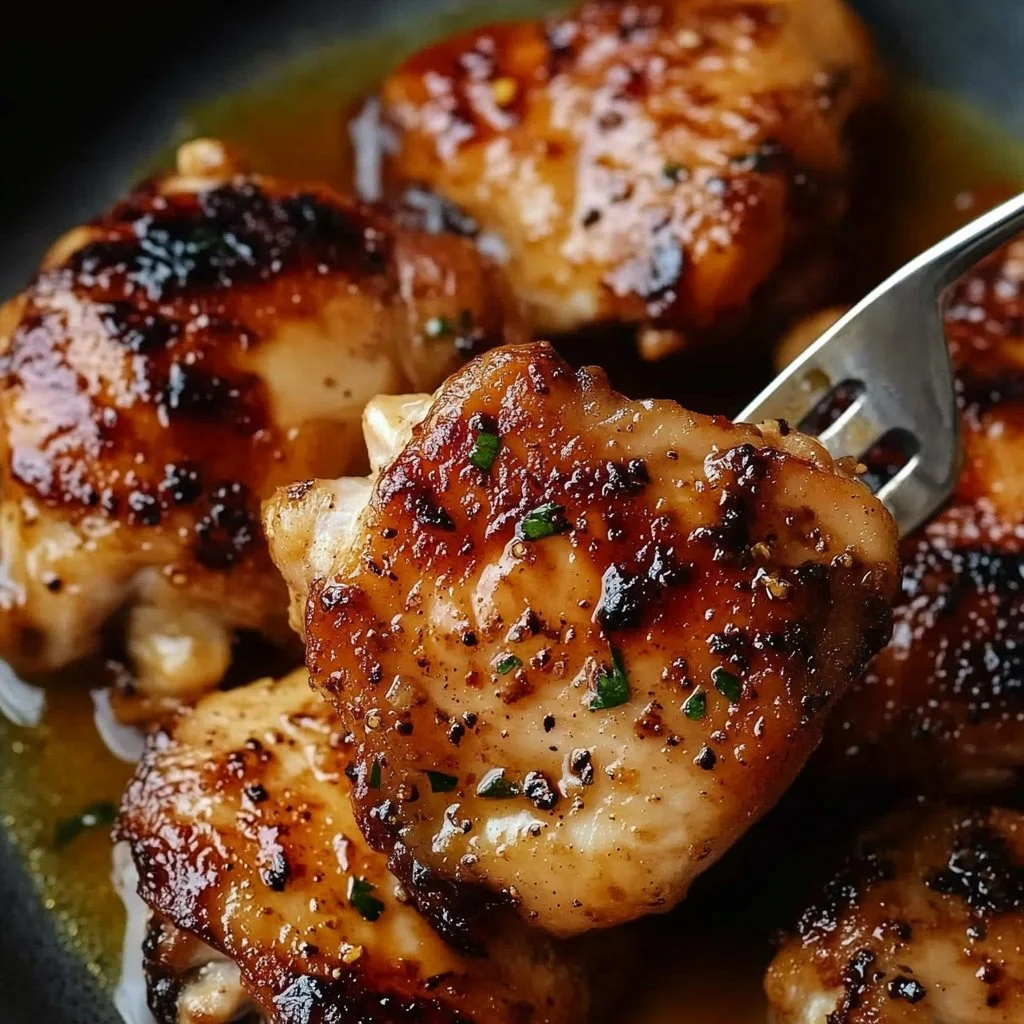
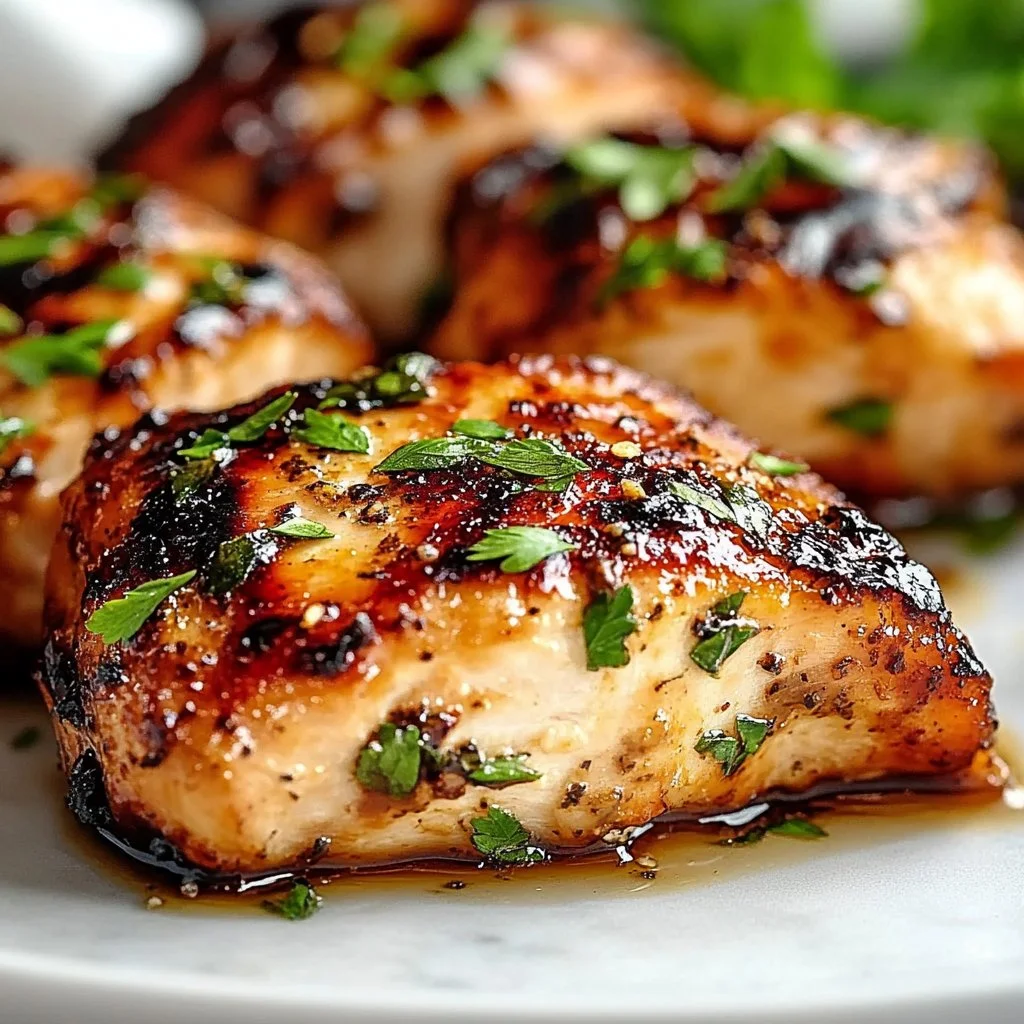
Grill or cook chicken as desired.
Encouraging note: Cook to an internal temperature of 165°F. Sear on medium-high heat for a nice crust, then lower the heat to finish through. Serve with confidence and a smile.
H3 Cooking tips
If you pan-sear, wipe off excess marinade to avoid burning. If grilling, let the chicken come close to room temperature for 15 minutes before placing it on the grates. For a faster weeknight, sear both sides and finish in a 400°F oven for even cooking.
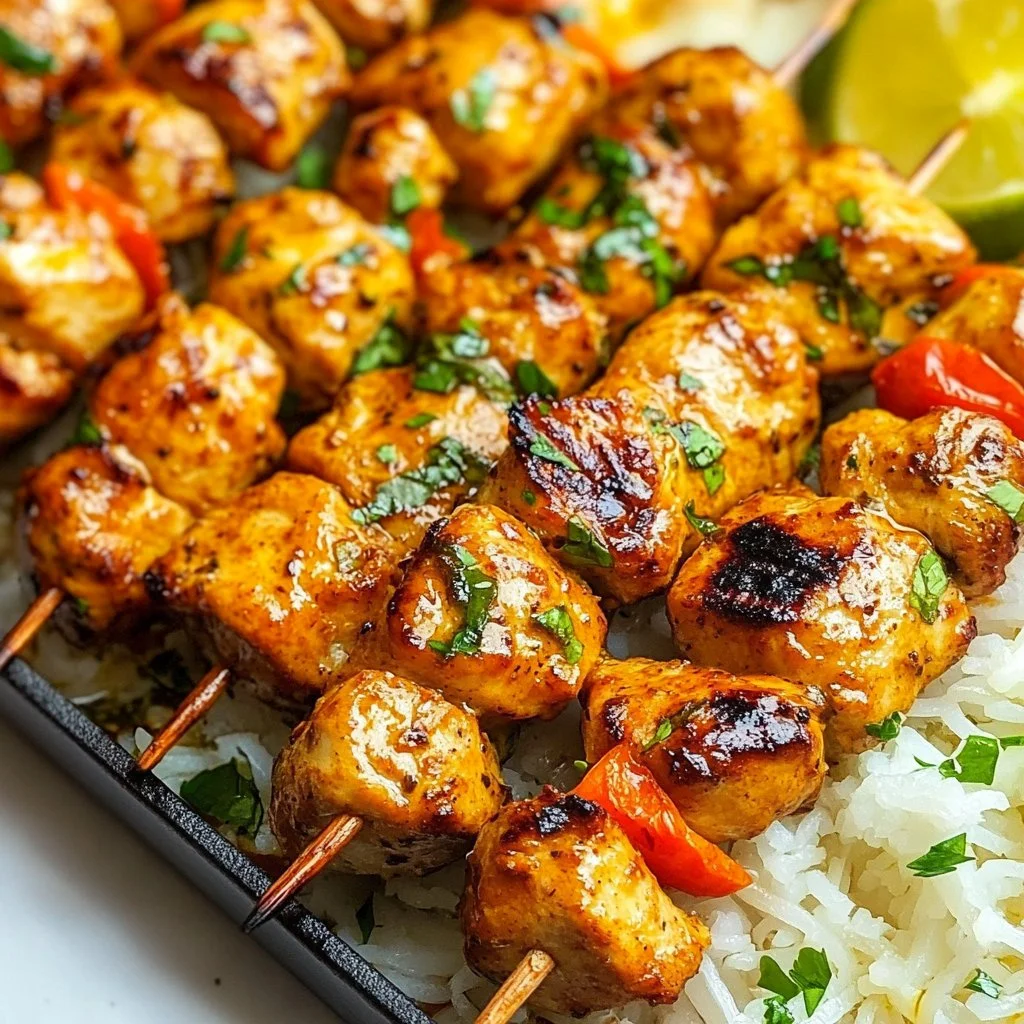
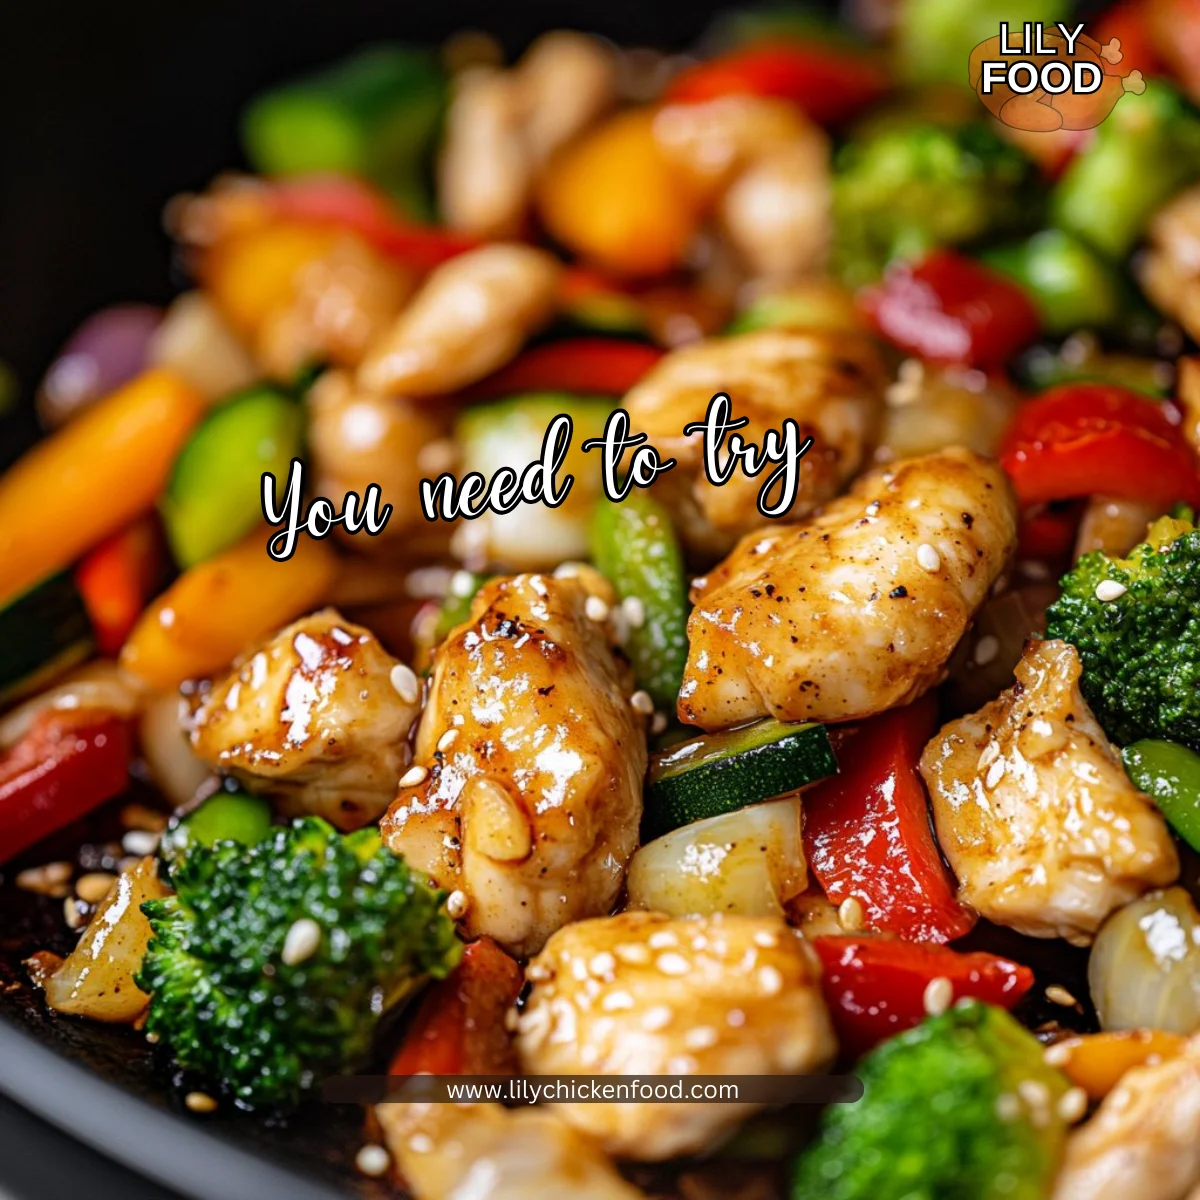
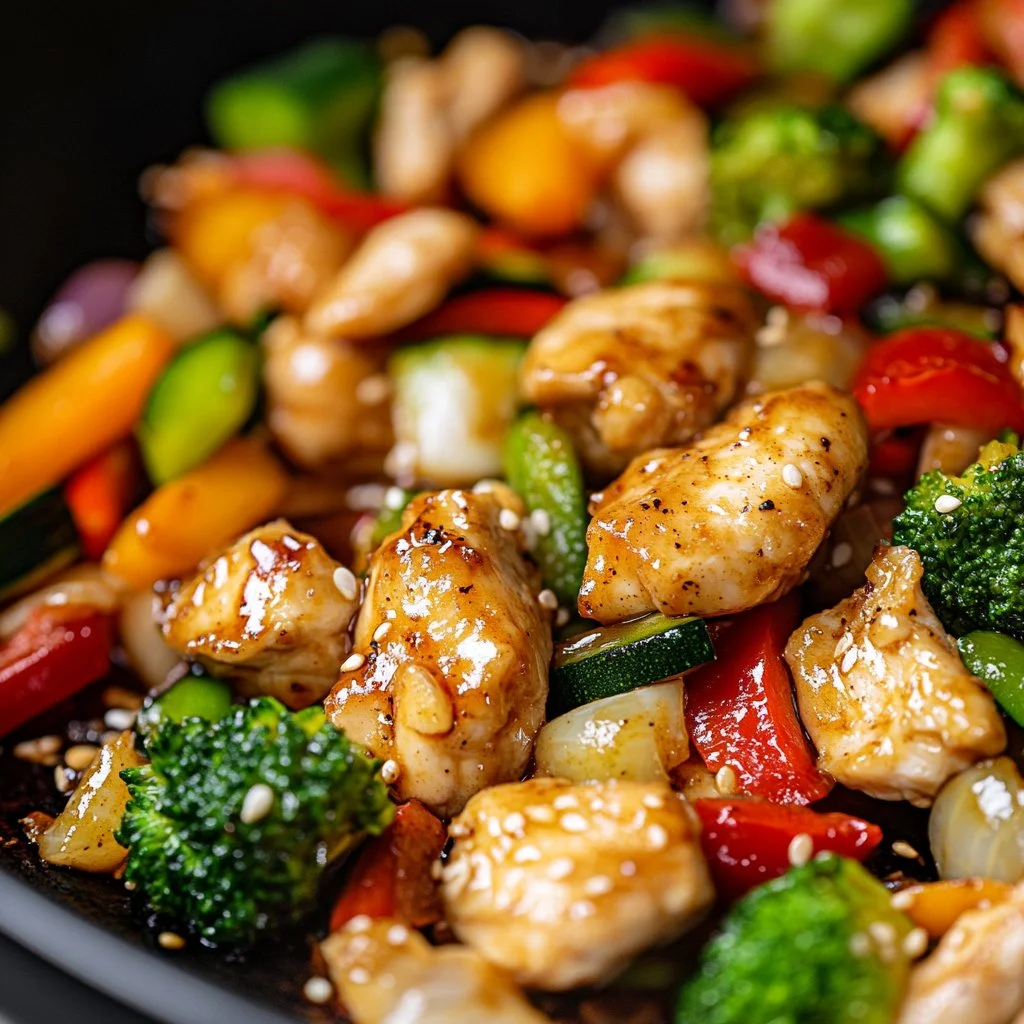
For a different meal, slice the cooked chicken and use it in bowls with rice and veggies. If you want an Asian-leaning bowl with honey and soy notes, try my teriyaki-style recipe for inspiration: 30-minute teriyaki chicken bowl.
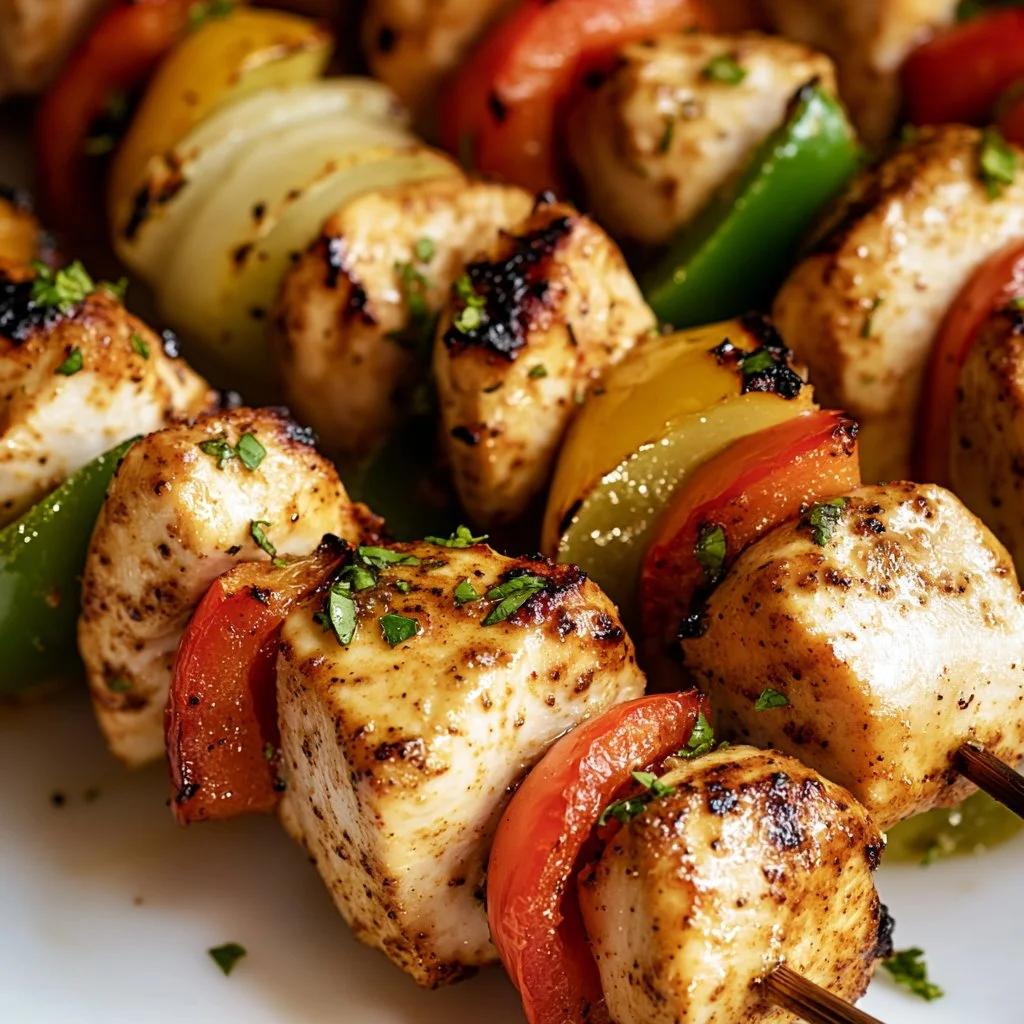
Serving

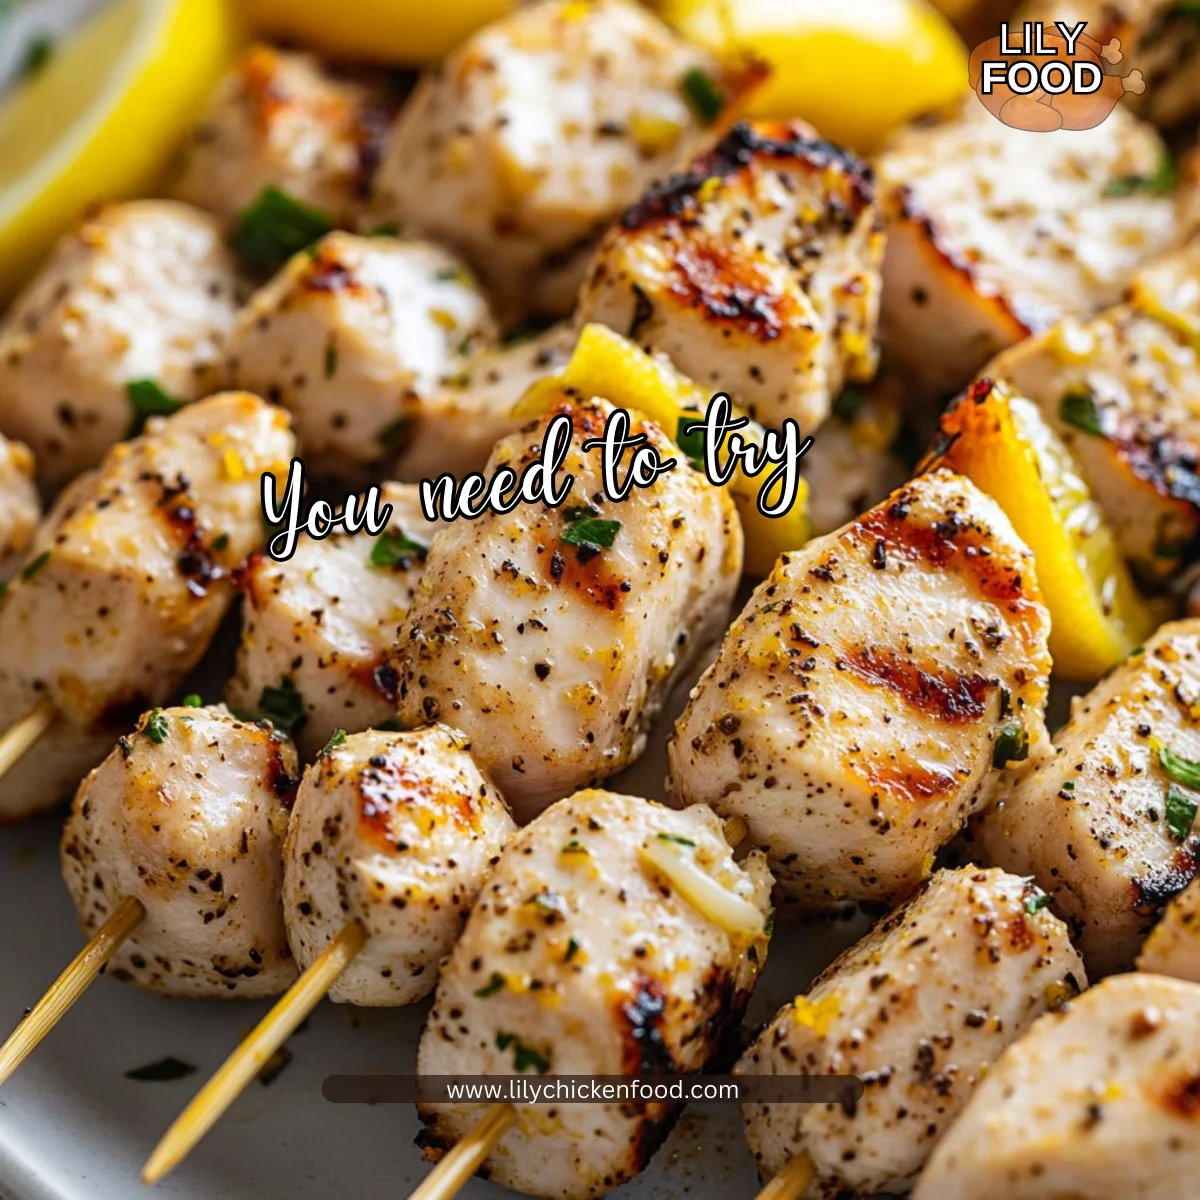
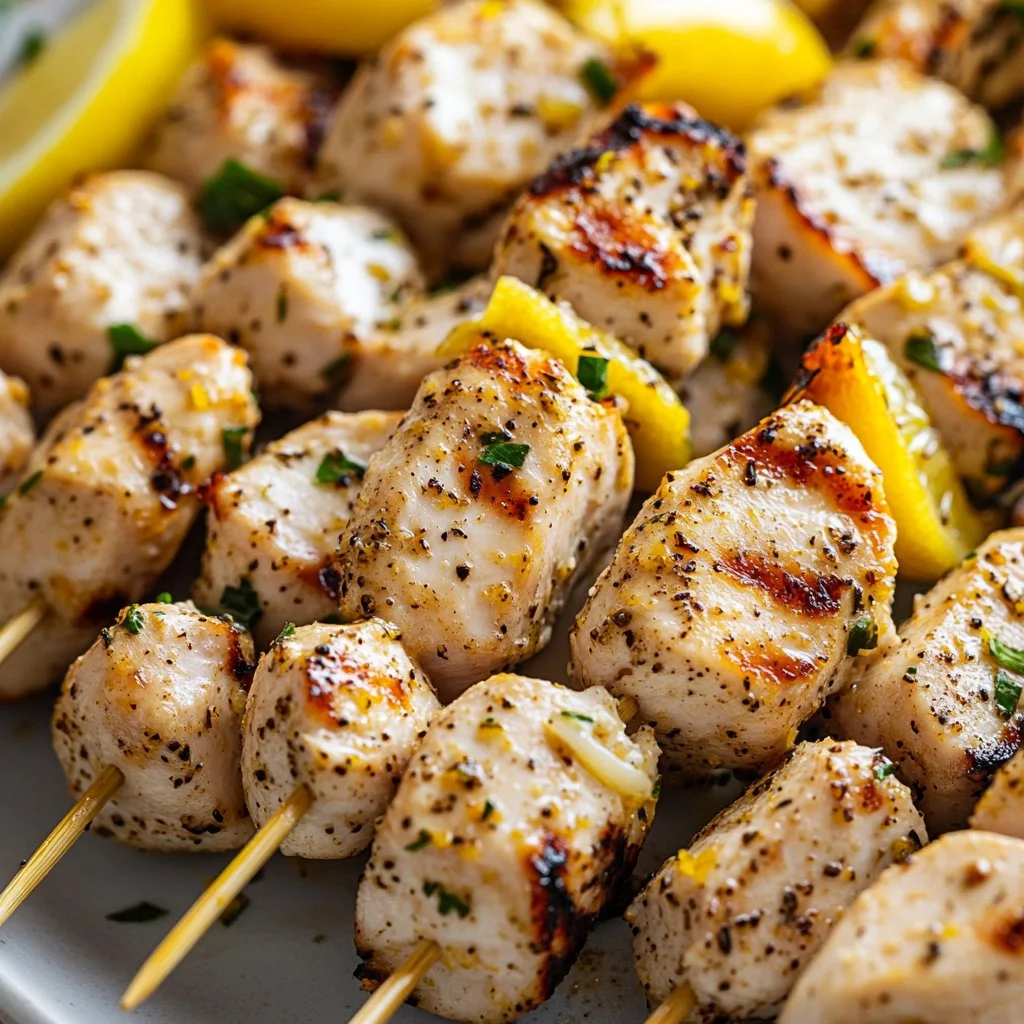
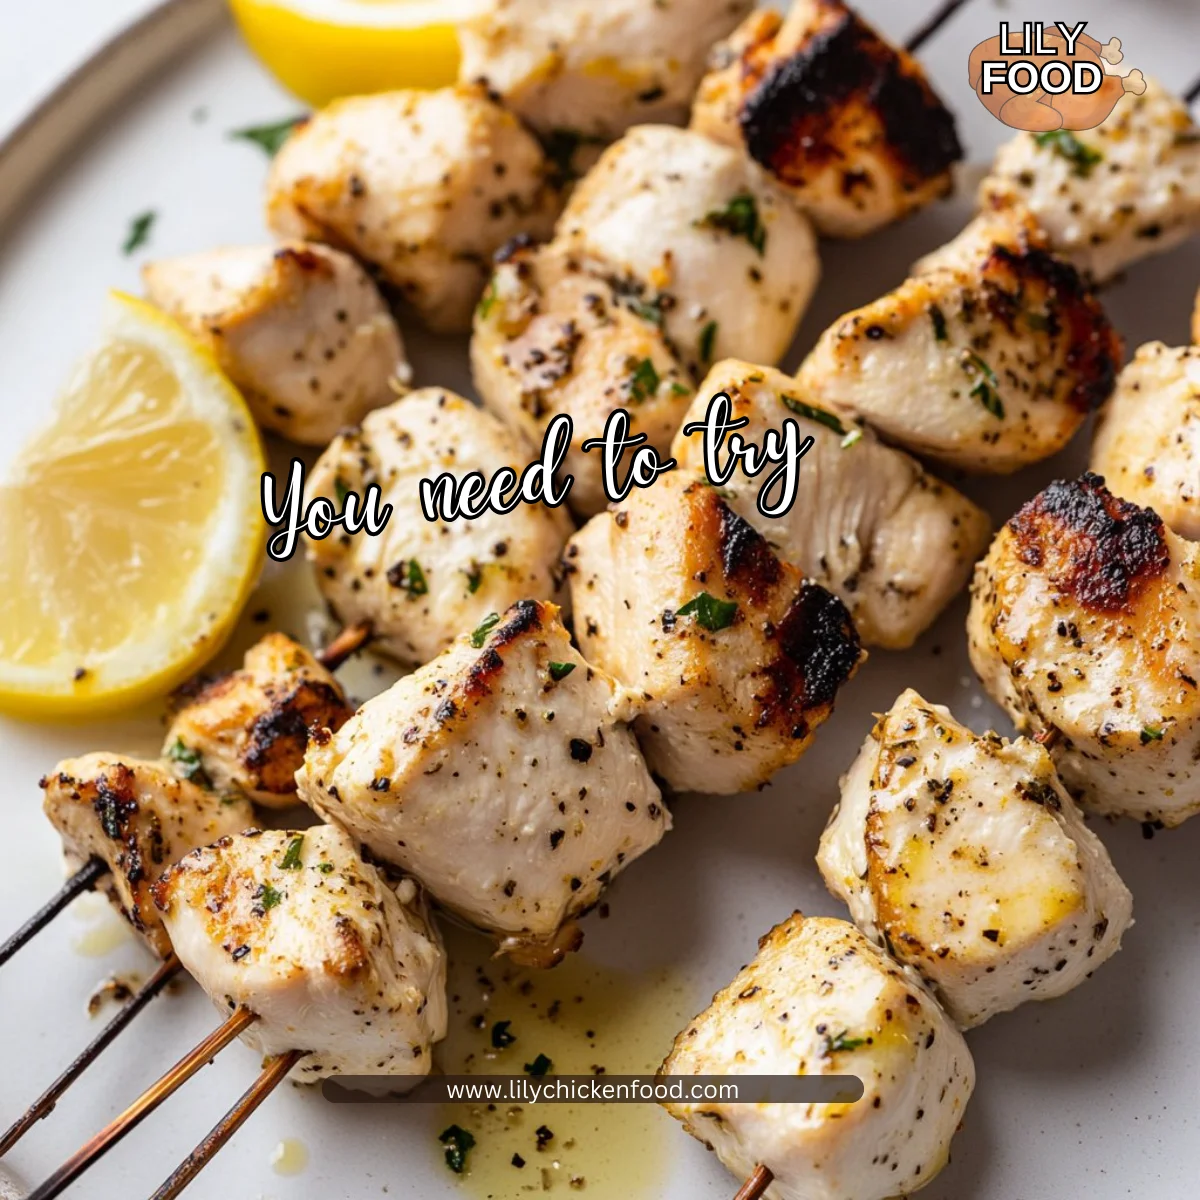
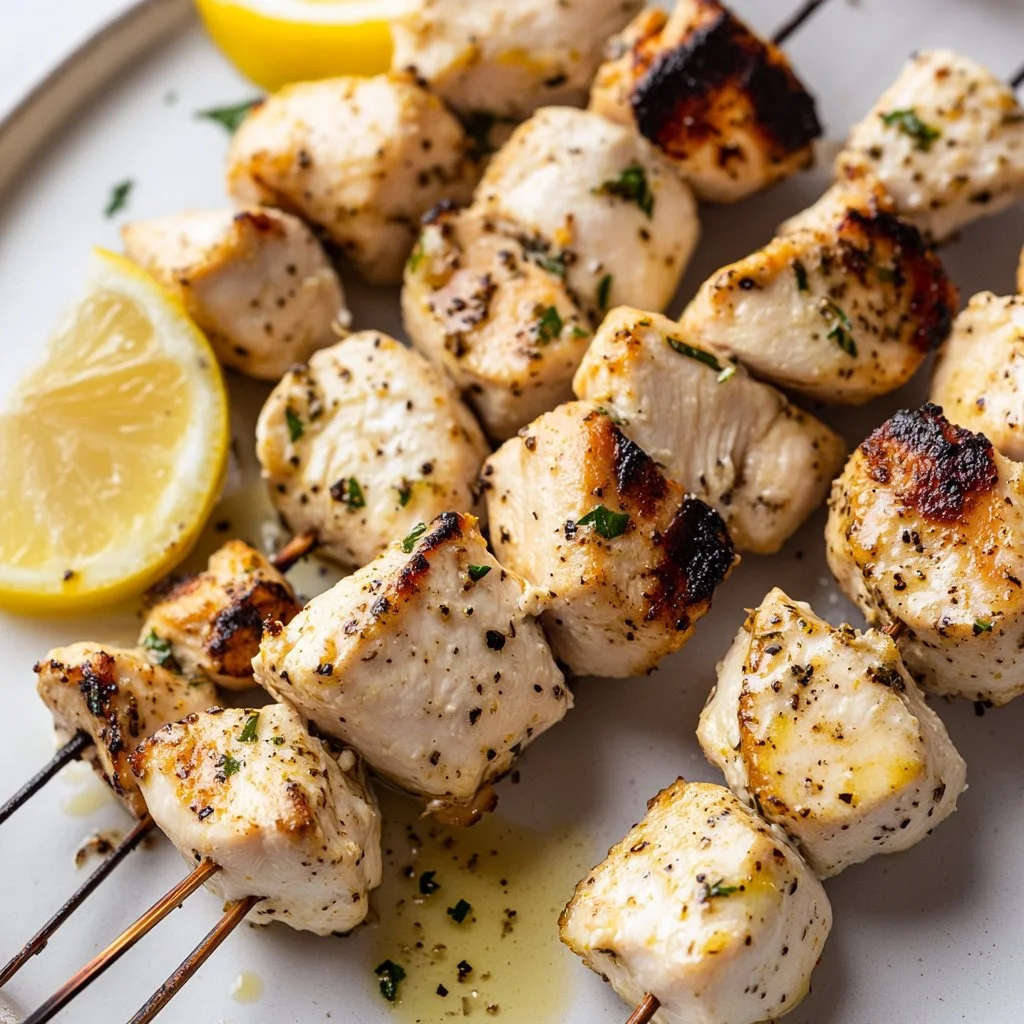
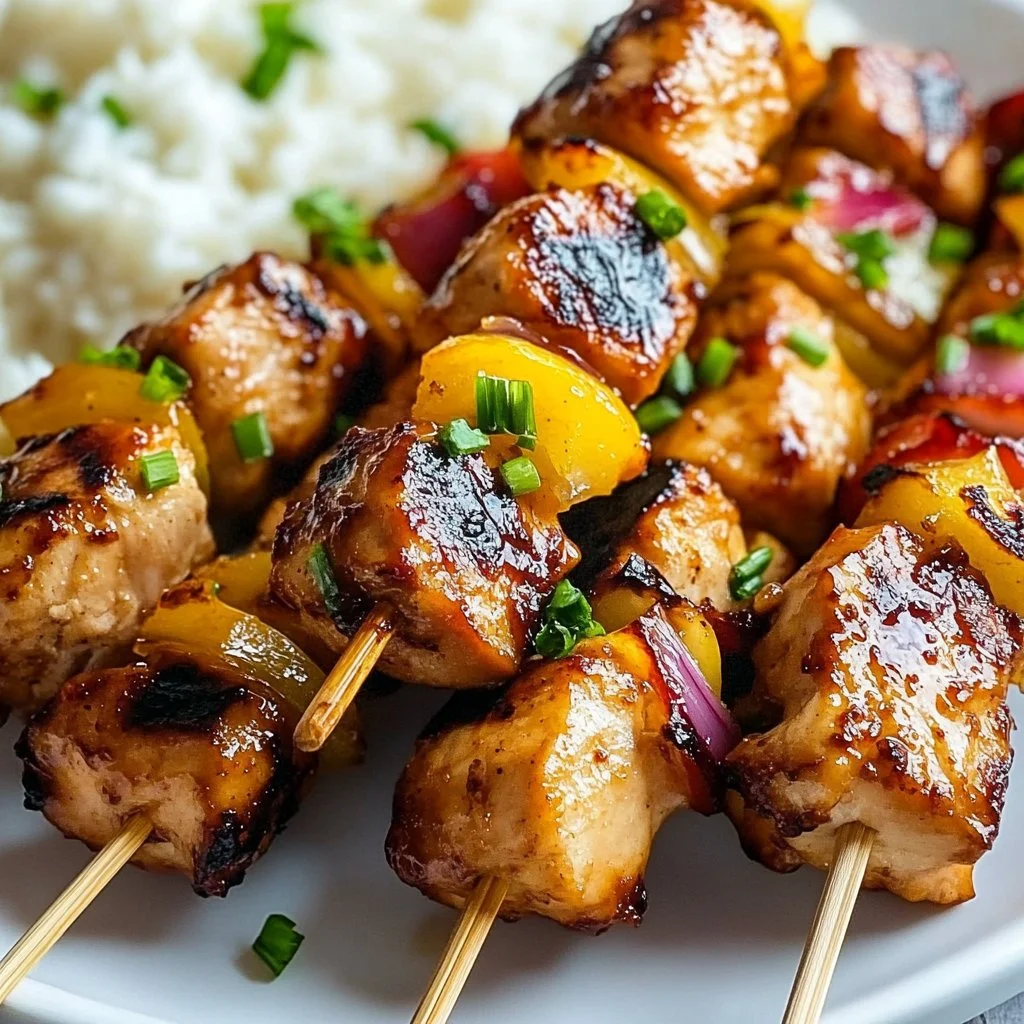
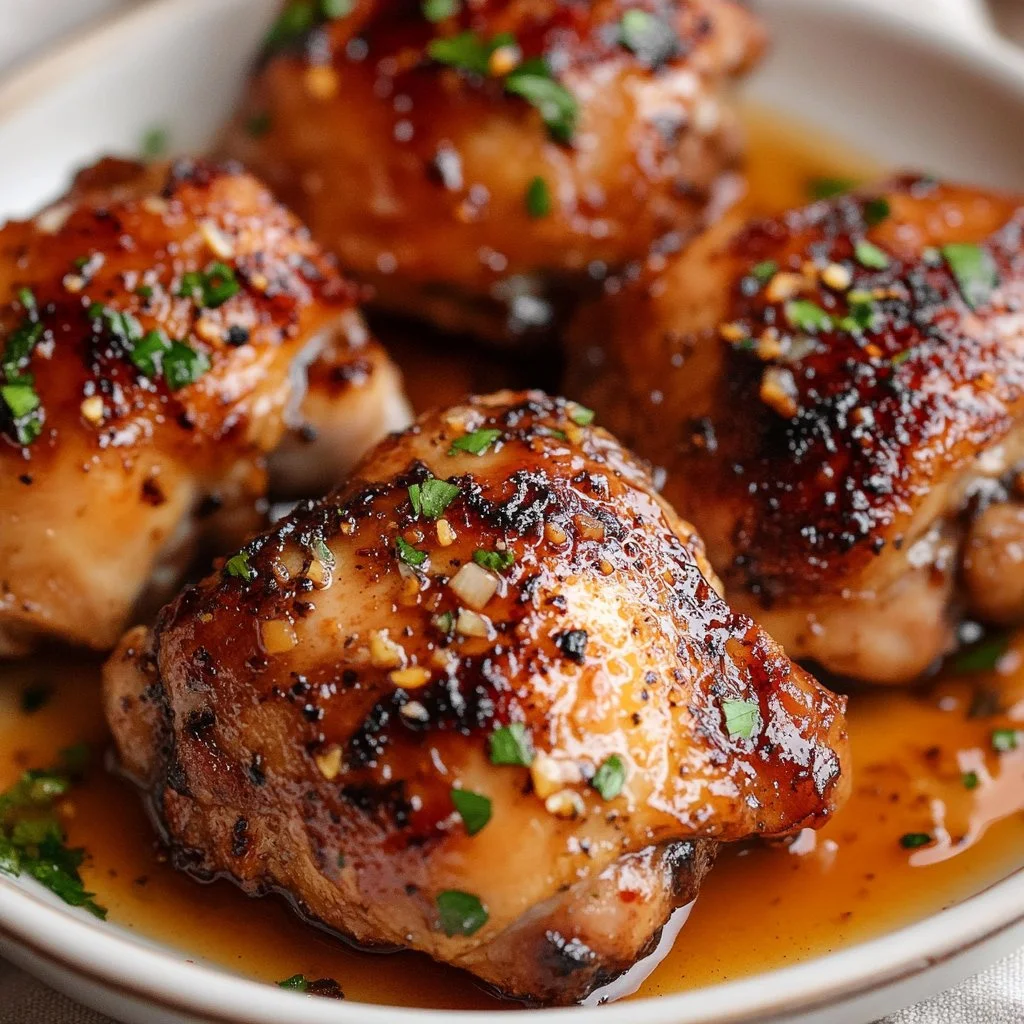
Serve this chicken family-style on a large platter so everyone can help themselves. Slice thicker breasts across the grain for tenderness. Arrange lemon wedges and fresh parsley or cilantro for color and brightness.
Pair it with simple sides like roasted vegetables, a crisp green salad, or fluffy rice. For a quick family favorite, toss the sliced chicken on top of a big bowl of greens and grain for a one-pan dinner.
If you want to get dinner on the table even faster, try serving the chicken with air-fried vegetables for a crispy contrast: air fryer chicken breasts shows how well this style works with quick sides.
Storage
Store leftover cooked chicken in an airtight container in the refrigerator for up to 3 to 4 days. Keep cooled chicken out of warm conditions before refrigerating. If you plan to keep raw marinated chicken, store it in the fridge for no more than 2 days.
To reheat, slice the chicken and warm gently in a skillet with a splash of chicken broth or water. This keeps the meat moist. You can also reheat in a 325°F oven covered with foil for 10 to 15 minutes. Avoid high heat to prevent drying.
If you want to freeze cooked chicken, wrap tightly and freeze for up to 3 months. Thaw overnight in the fridge and reheat gently.
Kitchen Notes
- Use a resealable bag to marinate. It saves space and helps the marinade coat evenly.
- Double the recipe for family dinners and freeze extras for quick meals.
- If you forget to marinate, make a quick 20-minute version by scoring the chicken and using warm marinade. Flavor will be decent.
- For bone-in chicken, add 30 minutes to the marinating time and plan for a longer cook time.
- Keep a small bowl of the leftover marinade aside before adding raw chicken if you want to use it as a sauce. Do not use raw marinade that touched raw chicken without boiling it first.
Variations
- Picky eaters: Reduce the garlic to 1 clove and cut honey to 1 tablespoon for a milder profile. Serve with favorite dipping sauces on the side.
- Keto-friendly: Swap honey for 1 teaspoon of a keto-approved sweetener or omit it and add a squeeze of lemon for brightness.
- Gluten-free: Use tamari instead of soy sauce. The rest of the recipe stays the same.
- Spicy twist: Add 1/2 teaspoon red pepper flakes or 1 teaspoon smoked paprika to the marinade for warmth without overwhelming kids.
- Herb-forward: Add 1 tablespoon chopped fresh parsley and 1 teaspoon thyme for a fresher, garden-style marinade.
FAQ
H3 1. How long should I marinate chicken for best results?
Marinate for at least 1 hour. For deeper flavor and tenderness, aim for 4 to 12 hours. Avoid marinating more than 24 hours, which can make the texture mushy.
H3 2. Can I use this marinade on bone-in chicken?
Yes. Bone-in chicken benefits from longer marinating. Plan for 4 to 12 hours and longer cooking time to reach 165°F internally.
H3 3. Is this marinade safe for kids?
Yes. It uses familiar ingredients and mild seasonings. Reduce garlic or honey if needed for picky palates. Keep spices low and serve sauces on the side.
H3 4. Can I make this ahead and freeze raw marinated chicken?
Yes. Place the marinated chicken in a freezer-safe bag and freeze for up to 3 months. Thaw overnight in the fridge before cooking.
H3 5. What is the best way to check doneness?
Use an instant-read thermometer. Insert into the thickest part; 165°F is safe for poultry. Let the chicken rest 5 minutes after cooking to redistribute juices.
Conclusion
I hope this Perfect Chicken Marinade becomes one of your go-to recipes for family dinners. It is simple, flexible, and full of the kind of flavor that gets people to the table faster. For another take on an all-purpose marinade that works for grilling or baking, I often consult reliable guides like The BEST Chicken Marinade (For Grilling or Baking) for inspiration.
If you want ideas for different flavor profiles and tricks to keep chicken juicy, I also recommend checking out The Best Chicken Marinade Recipe – Modern Honey. Happy cooking, and may your kitchen always smell like something wonderful.
Perfect Chicken Marinade
Ingredients
Marinade Ingredients
- 1/4 cup olive oil (Use a good extra-virgin olive oil for flavor.)
- 3 tablespoons soy sauce (Low-sodium soy sauce helps control salt. For gluten-free, use tamari.)
- 2 tablespoons apple cider vinegar (This adds a gentle tang that helps tenderize.)
- 2 tablespoons honey (Honey gives a lovely glaze when grilled. For a vegan switch, use maple syrup.)
- 3 cloves garlic, minced (Fresh garlic beats jarred garlic for the brightest flavor.)
- 1 teaspoon dried oregano (Oregano brings a homey, herby note.)
- 1 teaspoon black pepper (Freshly cracked black pepper adds more lift than pre-ground.)
- 1 teaspoon salt (Taste the marinade before adding more if using low-sodium soy sauce.)
Instructions
Marinade Preparation
- In a bowl, whisk together olive oil, soy sauce, apple cider vinegar, honey, garlic, oregano, black pepper, and salt.
- Make sure to blend until honey is incorporated and the oil looks smooth.
Marinating Chicken
- Place chicken in a resealable bag or a dish, and pour the marinade over it.
- Seal the bag or cover the dish and refrigerate for at least 1 hour, or up to overnight for best results.
Cooking
- Grill or cook chicken as desired, ensuring it reaches an internal temperature of 165°F.