The kitchen smells like toasted mayo and sweet chili the minute I start. I hear the gentle clatter of skewers and the soft sizzle when they hit the air fryer basket. My kids press their noses to the counter and ask when dinner is ready.
This recipe feels like home. It is quick enough for a weeknight and tasty enough for a weekend get-together. If you want the full recipe page with step photos and more tips, check my Bang Bang Chicken Skewers recipe page for extra guidance.
Why this works

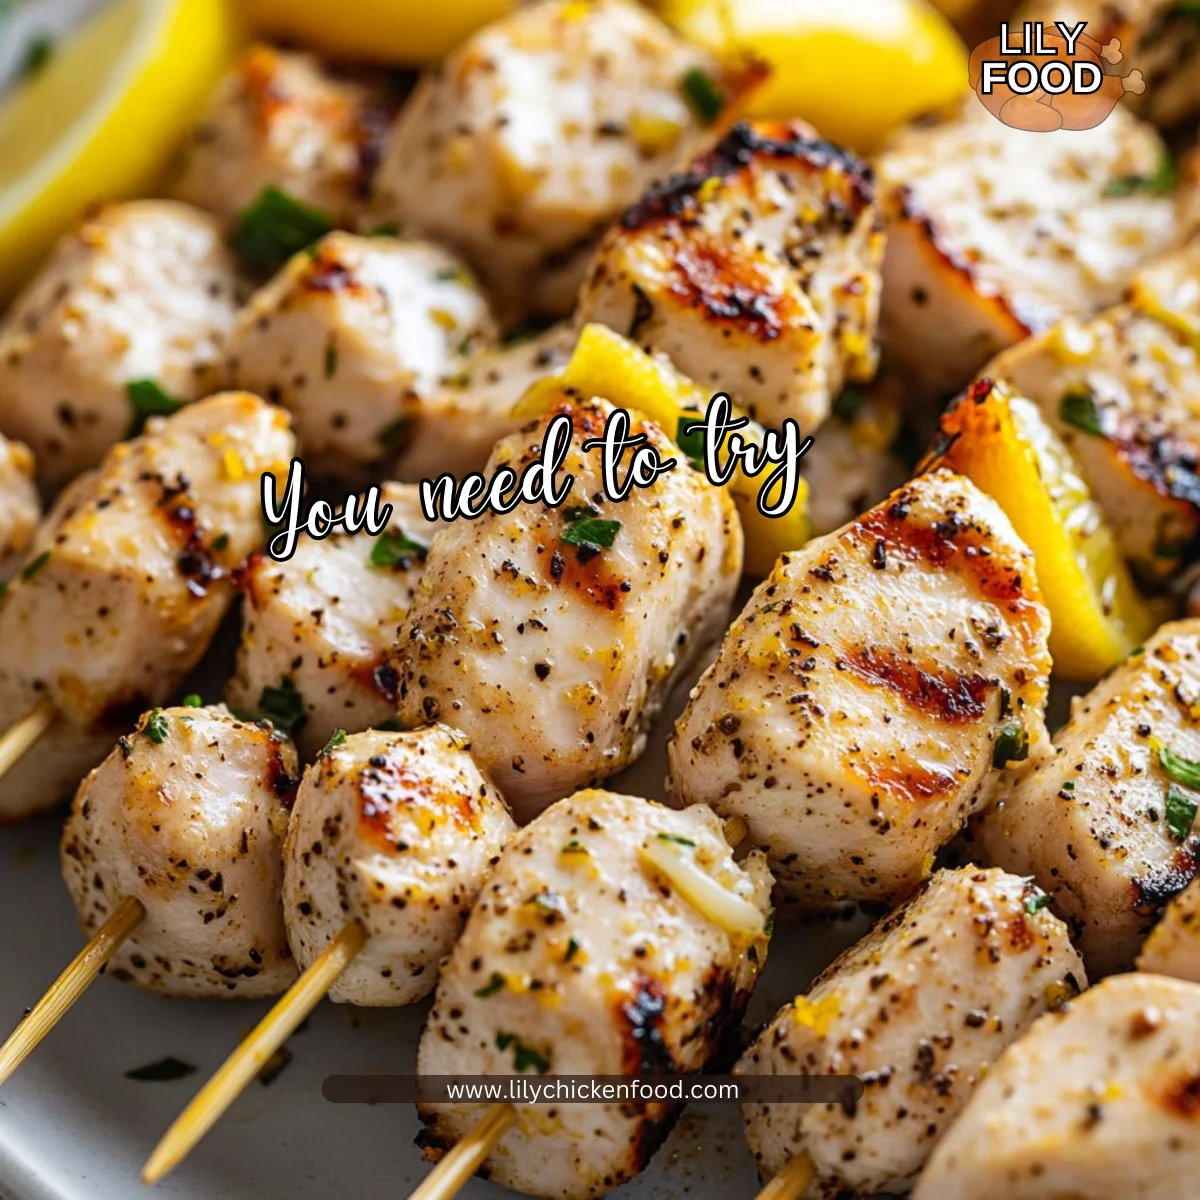
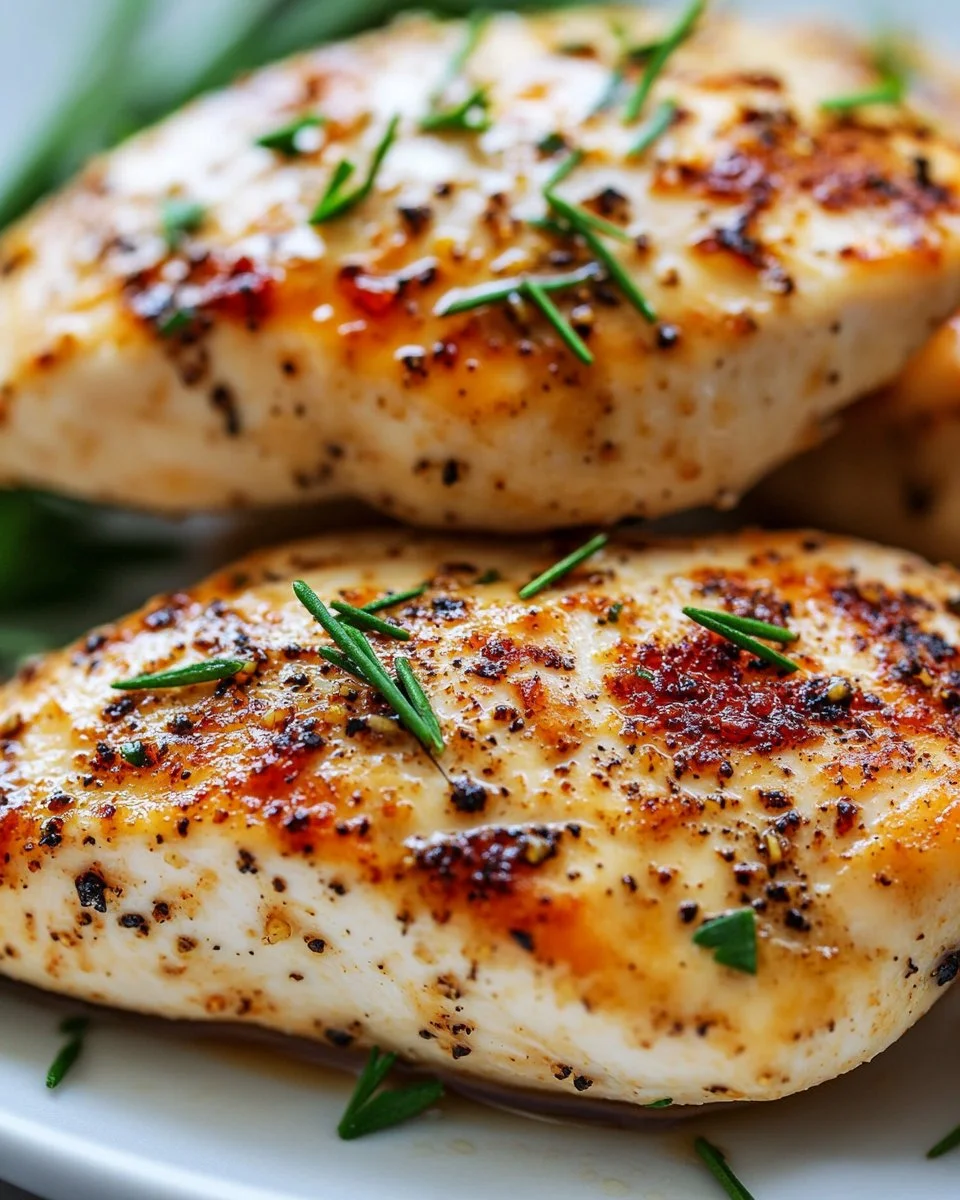
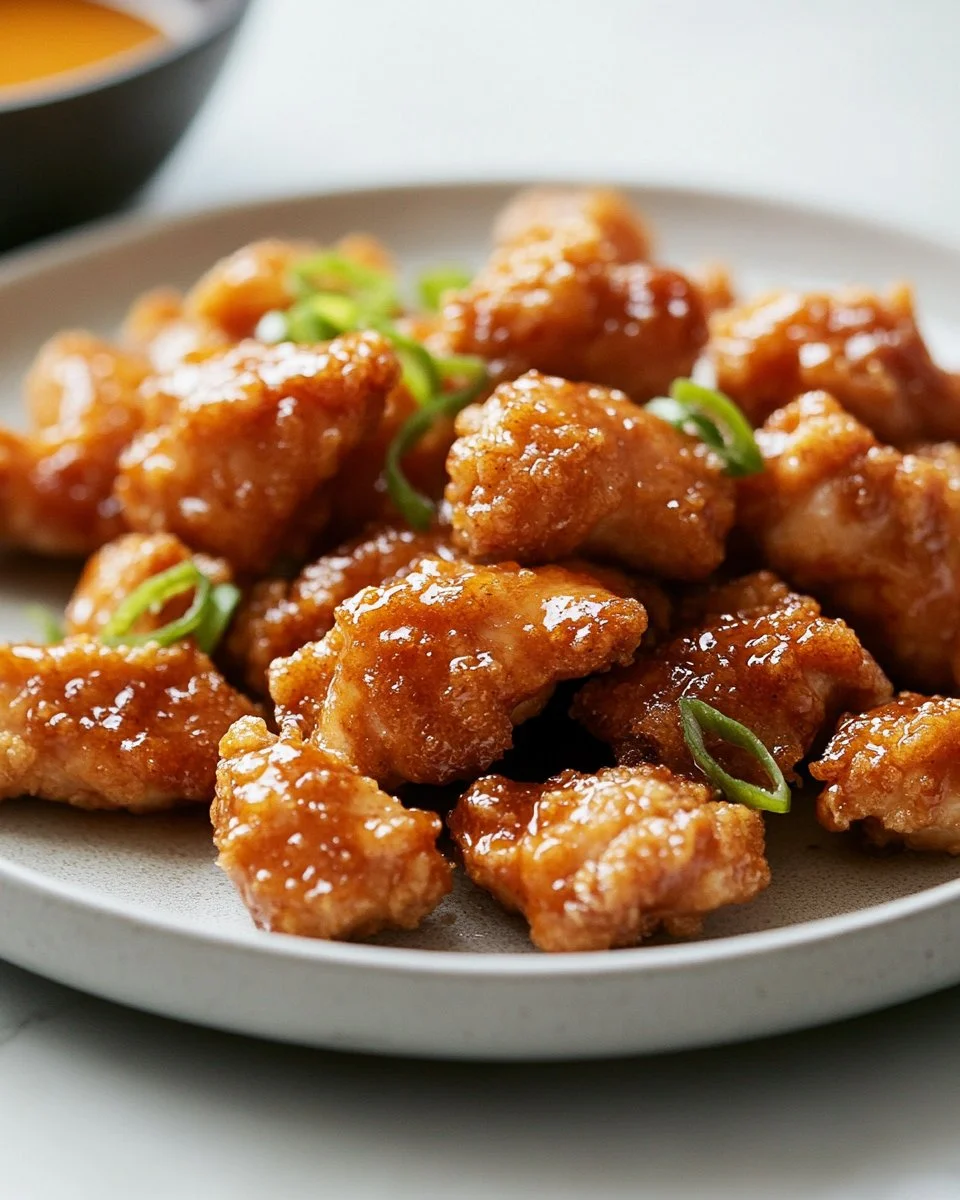
Bang Bang Chicken Skewers hit three family-friendly marks. They are fast to prepare, forgiving to cook, and bold in flavor. The mayo and chili sauce make a creamy, tangy coating that keeps chicken moist even when kids are impatient.
Using an air fryer saves time and keeps the kitchen cooler. It also means less cleanup and more minutes to sit at the table together. If you want tips for getting the best results from your appliance, I’ve written a guide about air fryer chicken skewers that will help.
From an experience perspective, I have served these to neighborhood potlucks and quiet weeknight dinners. They disappear every time. The balance of heat and sweetness usually pleases picky eaters while still satisfying adults who like a little kick.
Process Overview
“This is where the magic happens—when the aroma fills the kitchen.”
This recipe has three simple phases: make the sauce, coat and skewer the chicken, and air fry. Each phase is quick and suited to involve the whole family. Kids can stir sauce or thread chicken with supervision. The small steps keep everything manageable and joyful.
Ingredients
- 1 lb cubed chicken breast
- 1/2 cup mayonnaise
- 3 tablespoons sweet chili sauce
- 1 tablespoon sriracha (adjust to taste)
- 1 teaspoon garlic powder
- Salt and pepper to taste
- Skewers (wooden or metal)
H3 Lily’s tips for skewers
- Wooden skewers: Soak wooden skewers in water for at least 20 minutes before threading. This prevents burning in the air fryer and makes them last longer.
- Metal skewers: Metal heats through and helps the chicken cook evenly. Use metal if you want a little extra browning.
- Size tip: Choose skewers about 8 inches long for 1 lb chicken. They fit well in most air fryers and are easy to handle.
- Safety tip: When threading, leave a small gap between pieces so hot air circulates and the chicken cooks evenly.
- Kid-friendly tip: Let older kids help thread the chicken while you handle the knife work and cooking.
If you like this flavor profile in other dishes, I also show how to turn the same sauce into a bowl meal on my Bang Bang Chicken Bowl page.
Directions
-
In a bowl, mix together mayonnaise, sweet chili sauce, sriracha, garlic powder, salt, and pepper to create the bang bang sauce.
Encouraging note: Taste and adjust the sriracha a little at a time. It is easy to tame the heat and still keep the flavor bright. -
Toss the cubed chicken in half of the bang bang sauce until well-coated.
Encouraging note: Let the chicken sit for 10 minutes if you can. A short rest helps the sauce cling and makes the flavor deeper. -
Thread the chicken onto skewers.
Encouraging note: Leave a little space between pieces and let kids help with safe tasks like pushing the chicken onto the skewer. -
Preheat the air fryer to 400°F (200°C).
Encouraging note: Preheating gives you a nice sear and prevents the chicken from sticking. While it heats, clean up the bowls and get dipping plates ready. -
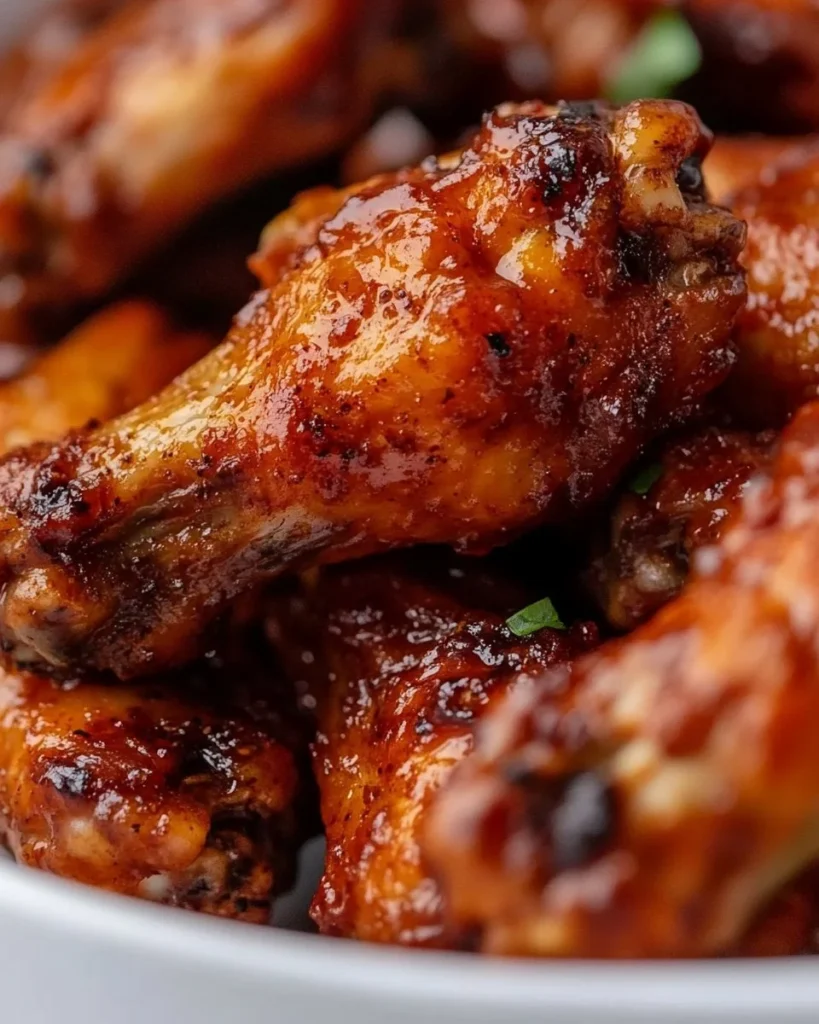
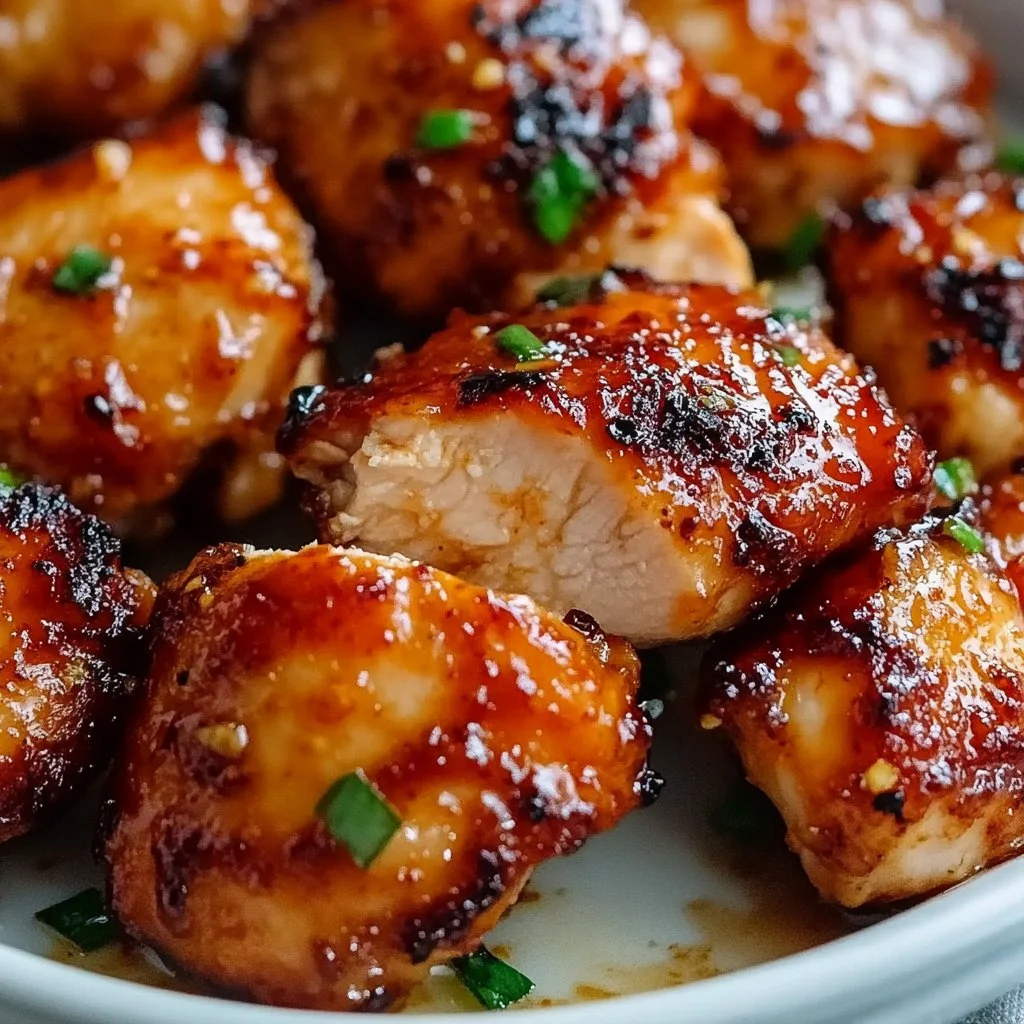
Place the skewers in the air fryer basket and cook for about 10-12 minutes, turning halfway, until the chicken is cooked through and golden brown.
Encouraging note: Check one piece for doneness. Chicken should reach an internal temperature of 165°F. Turning halfway gives even color and keeps the outsides crisp. -
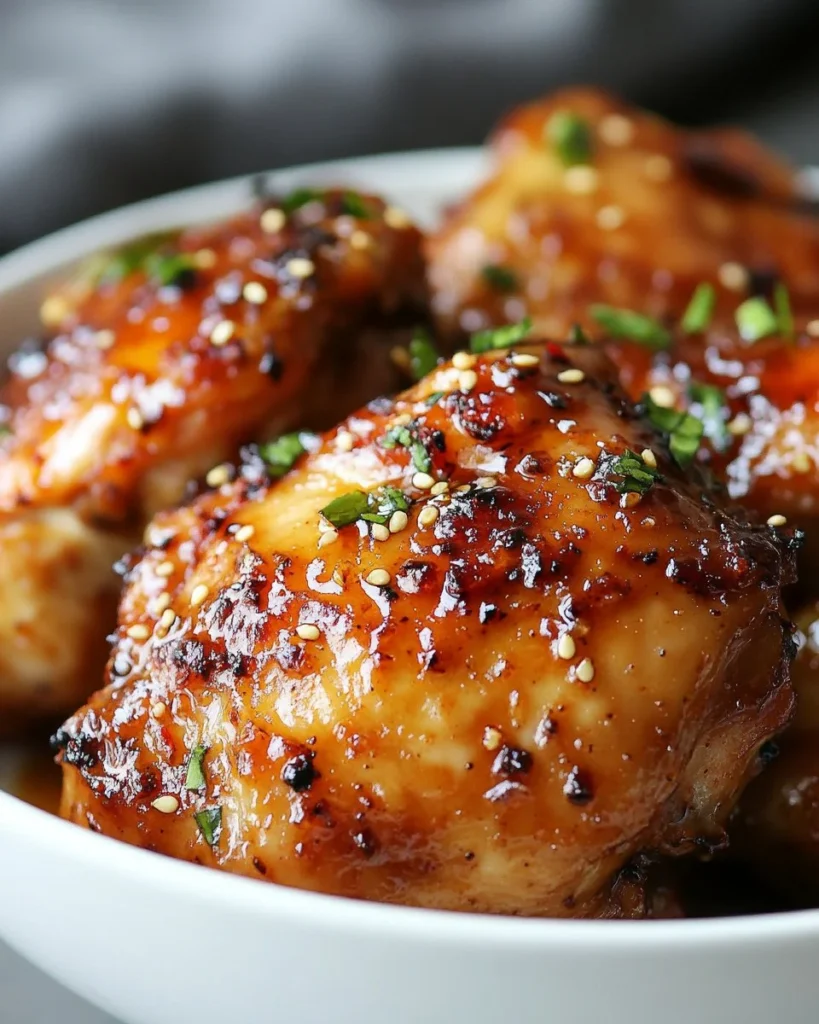
Serve with the remaining bang bang sauce for dipping.
Encouraging note: Add extra sauce on the side for dipping. Kids love dipping, and adults enjoy the extra glaze on their skewers.
If you prefer a crispy rice element as an accompaniment, try pairing these skewers with my bang bang chicken crispy rice salad for a complete meal.
Serving

Serve these skewers family-style on a large platter. Arrange the skewers in a single layer so everyone can reach them. Add small bowls of extra bang bang sauce, sliced cucumbers, and steamed rice on the side.
For a casual dinner, set out napkins and small plates and let everyone pick their own toppings. My kids love sprinkling chopped green onions and a squeeze of lime over the skewers. For a party, offer toothpicks for easy grabbing.
If you want slider versions for little hands, the same skewered chicken can be chopped and tucked into slider buns. See my recipe for Bang Bang Chicken Sliders for a crowd-pleasing twist.
Storage
Leftovers keep well and reheat nicely. Place cooled skewers in an airtight container and store in the fridge for up to 3 days.
To reheat, preheat the oven to 350°F and arrange skewers on a baking sheet. Heat for about 8-10 minutes until warmed through. You can also reheat in the air fryer at 350°F for 4-6 minutes for a fresher texture.
Do not leave cooked chicken out at room temperature for more than 2 hours. Reheat to at least 165°F for safety. If you want to save the sauce separately, keep it in a small sealed container for up to 4 days.
Kitchen Notes
- Use boneless, skinless chicken breast for fast, even cooking. Cubes of about 1 inch cook reliably in the air fryer.
- If you are short on time, buy pre-cut chicken or ask the butcher to cut pieces ahead of time.
- For a slightly lighter version, swap half the mayonnaise for plain Greek yogurt. It keeps creaminess and reduces calories.
- If you do not have sweet chili sauce, mix 2 tablespoons honey with 1 tablespoon rice vinegar and a pinch of red pepper flakes.
- Keep a thermometer handy to check that chicken reaches 165°F internally for safe and juicy results.
Variations
- Milder for kids: Reduce sriracha to 1 teaspoon or omit entirely and increase sweet chili sauce for sweetness.
- Heat lovers: Add a touch of chili garlic sauce or extra sriracha to the sauce for a bolder kick.
- Gluten-free: Ensure your sweet chili sauce is gluten-free and use gluten-free buns or rice for serving.
- Low-carb: Serve the skewers over a bed of greens or cauliflower rice instead of regular rice.
- Vegetarian option: Swap cubed firm tofu or cauliflower florets and follow the same cooking steps, adjusting time to 8-10 minutes for cauliflower and 6-8 minutes for tofu.
FAQ
Q: Can I make the sauce ahead of time?
A: Yes. The bang bang sauce stores well in the fridge for up to 4 days. Give it a quick stir before using because ingredients can separate.
Q: Can I use chicken thighs instead of breast?
A: Absolutely. Thighs are more forgiving and stay moist. Trim excess fat and cut to similar size pieces for even cooking.
Q: How do I know the chicken is done without a thermometer?
A: Cut into the thickest piece. The juices should run clear and the meat should be white with no pink. A thermometer is the most reliable method.
Q: Can I bake these instead of air frying?
A: Yes. Bake on a lined baking sheet at 425°F for about 12-15 minutes, flipping halfway, until golden and cooked through.
Q: Are skewers safe for kids to eat from?
A: For young children, remove the chicken from the skewers and serve on small plates. For older kids, wooden skewers that have been soaked are safe and easy to hold.
Conclusion
I hope these Bang Bang Chicken Skewers become a go-to for your family. They are quick, flavorful, and friendly for little helpers. For more ideas and inspiration, I recommend the version on I Am Homesteader and a slightly different take on the method at Cooked & Loved. Enjoy the warm kitchen smells and the happy faces around your table.

Bang Bang Chicken Skewers
Ingredients
For the Bang Bang Sauce
- 1/2 cup mayonnaise
- 3 tablespoons sweet chili sauce
- 1 tablespoon sriracha (adjust to taste)
- 1 teaspoon garlic powder
- Salt and pepper (to taste)
For the Chicken Skewers
- 1 lb cubed chicken breast (use boneless, skinless for quick cooking)
- Skewers (wooden or metal) (Soak wooden skewers in water for at least 20 minutes)
Instructions
Prepare the Sauce
- In a bowl, mix together mayonnaise, sweet chili sauce, sriracha, garlic powder, salt, and pepper to create the bang bang sauce.
- Taste and adjust the sriracha a little at a time. It is easy to tame the heat and still keep the flavor bright.
Coat the Chicken
- Toss the cubed chicken in half of the bang bang sauce until well-coated.
- Let the chicken sit for 10 minutes if you can. A short rest helps the sauce cling and makes the flavor deeper.
Skewer the Chicken
- Thread the chicken onto skewers, leaving a little space between pieces.
- Let kids help with safe tasks like pushing the chicken onto the skewer.
Cooking
- Preheat the air fryer to 400°F (200°C).
- Place the skewers in the air fryer basket and cook for about 10-12 minutes, turning halfway, until the chicken is cooked through and golden brown.
- Check one piece for doneness. Chicken should reach an internal temperature of 165°F.
Serve
- Serve with the remaining bang bang sauce for dipping.
- Arrange on a large platter with small bowls of extra sauce, sliced cucumbers, and steamed rice on the side.