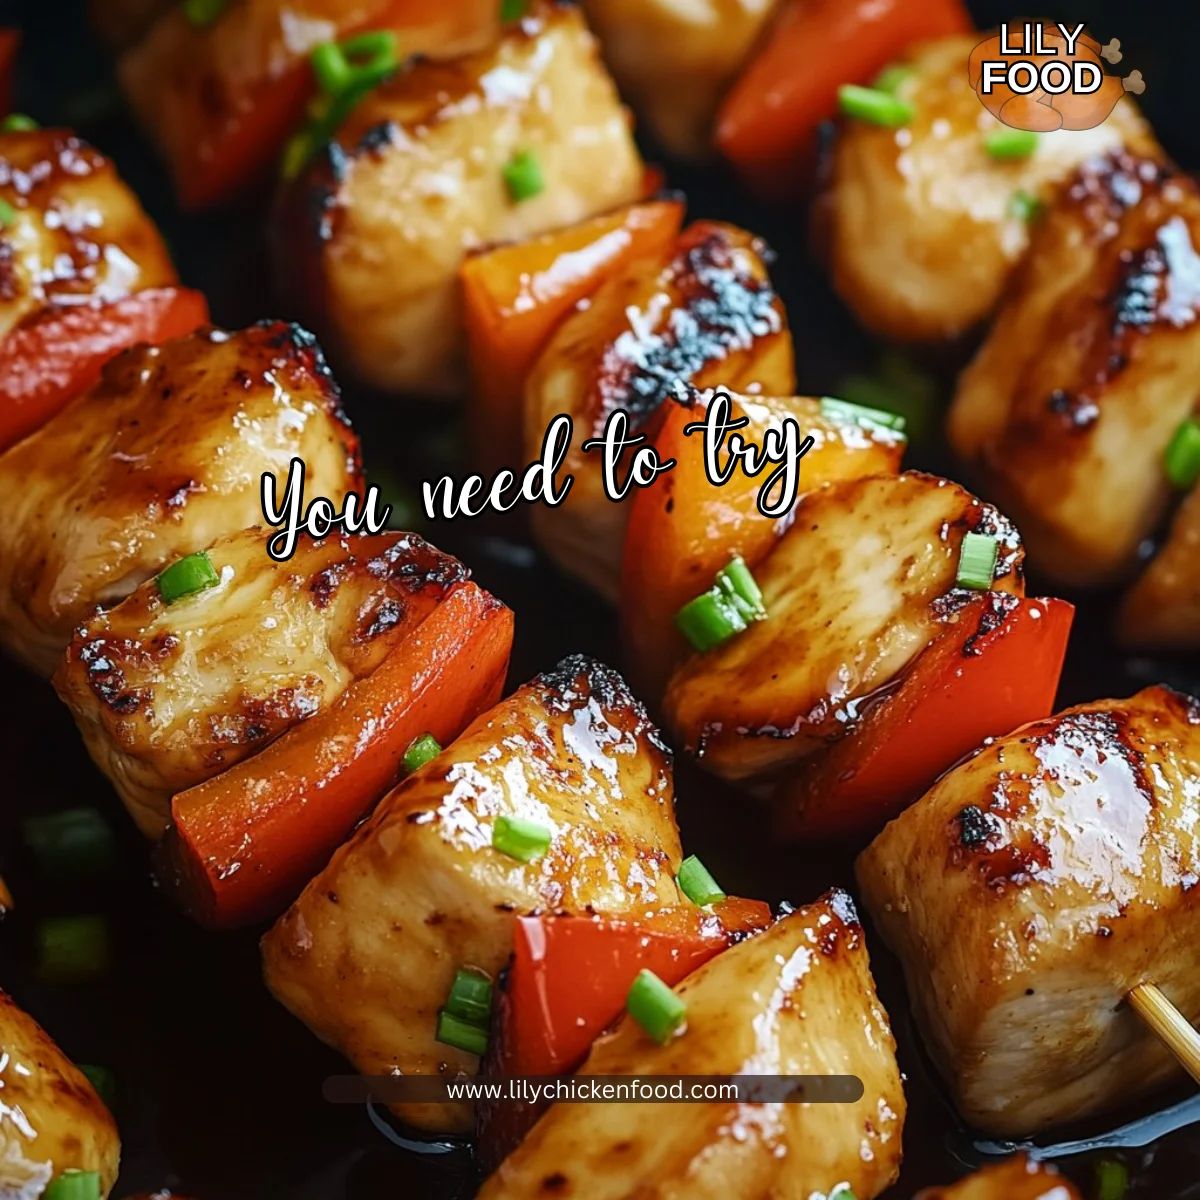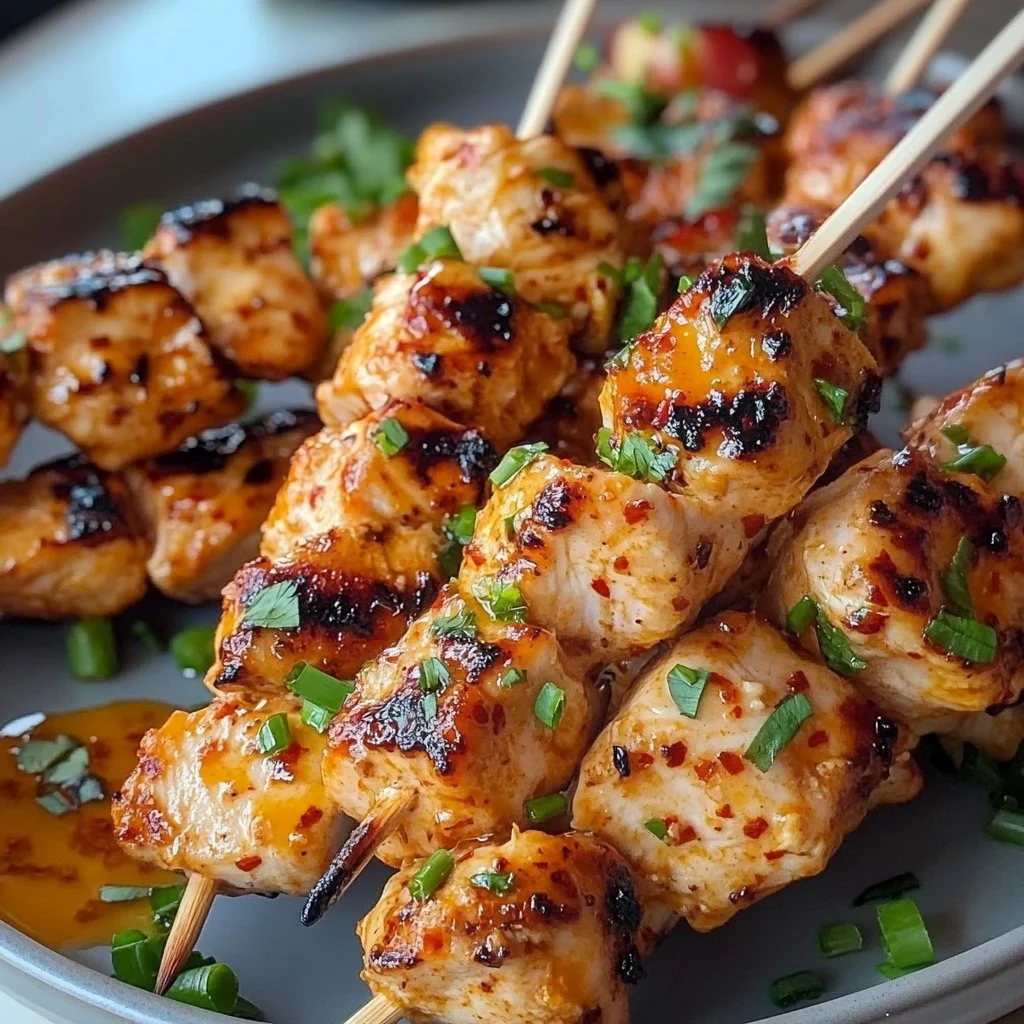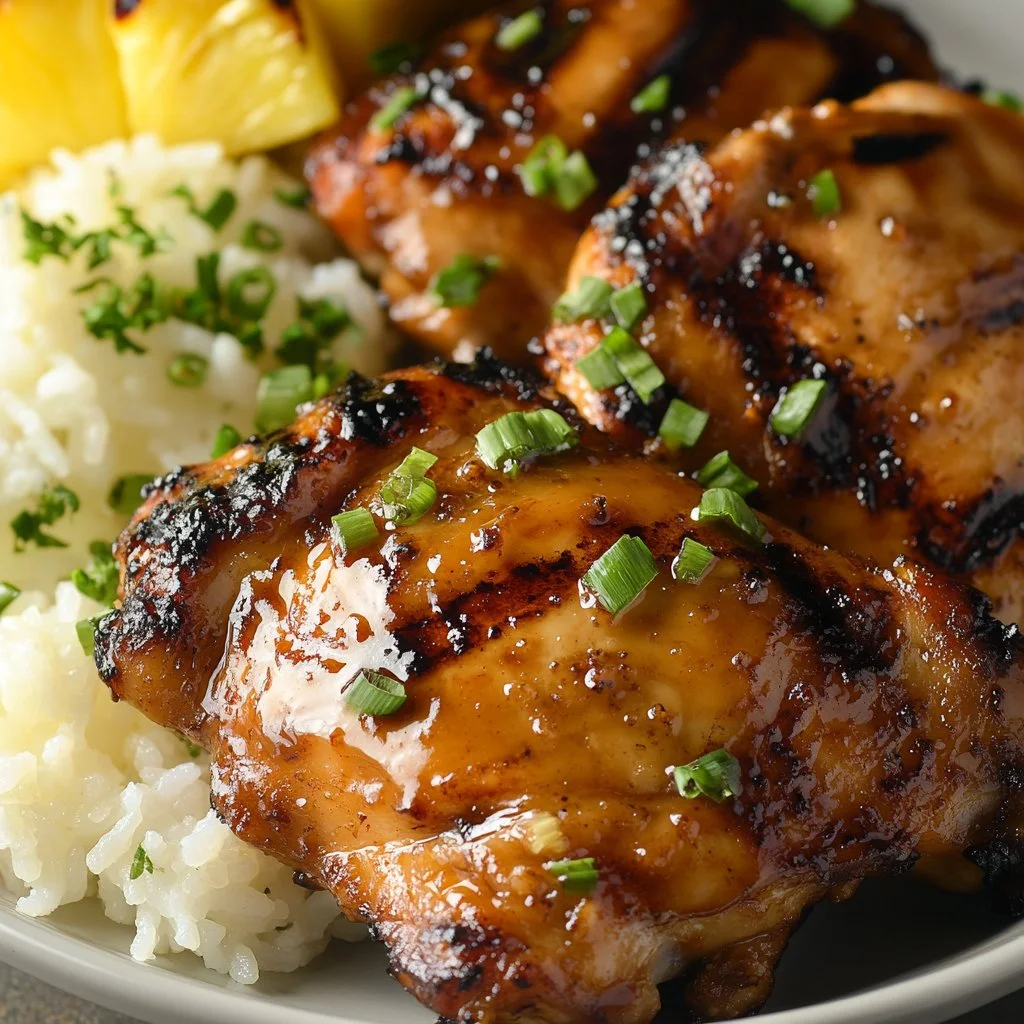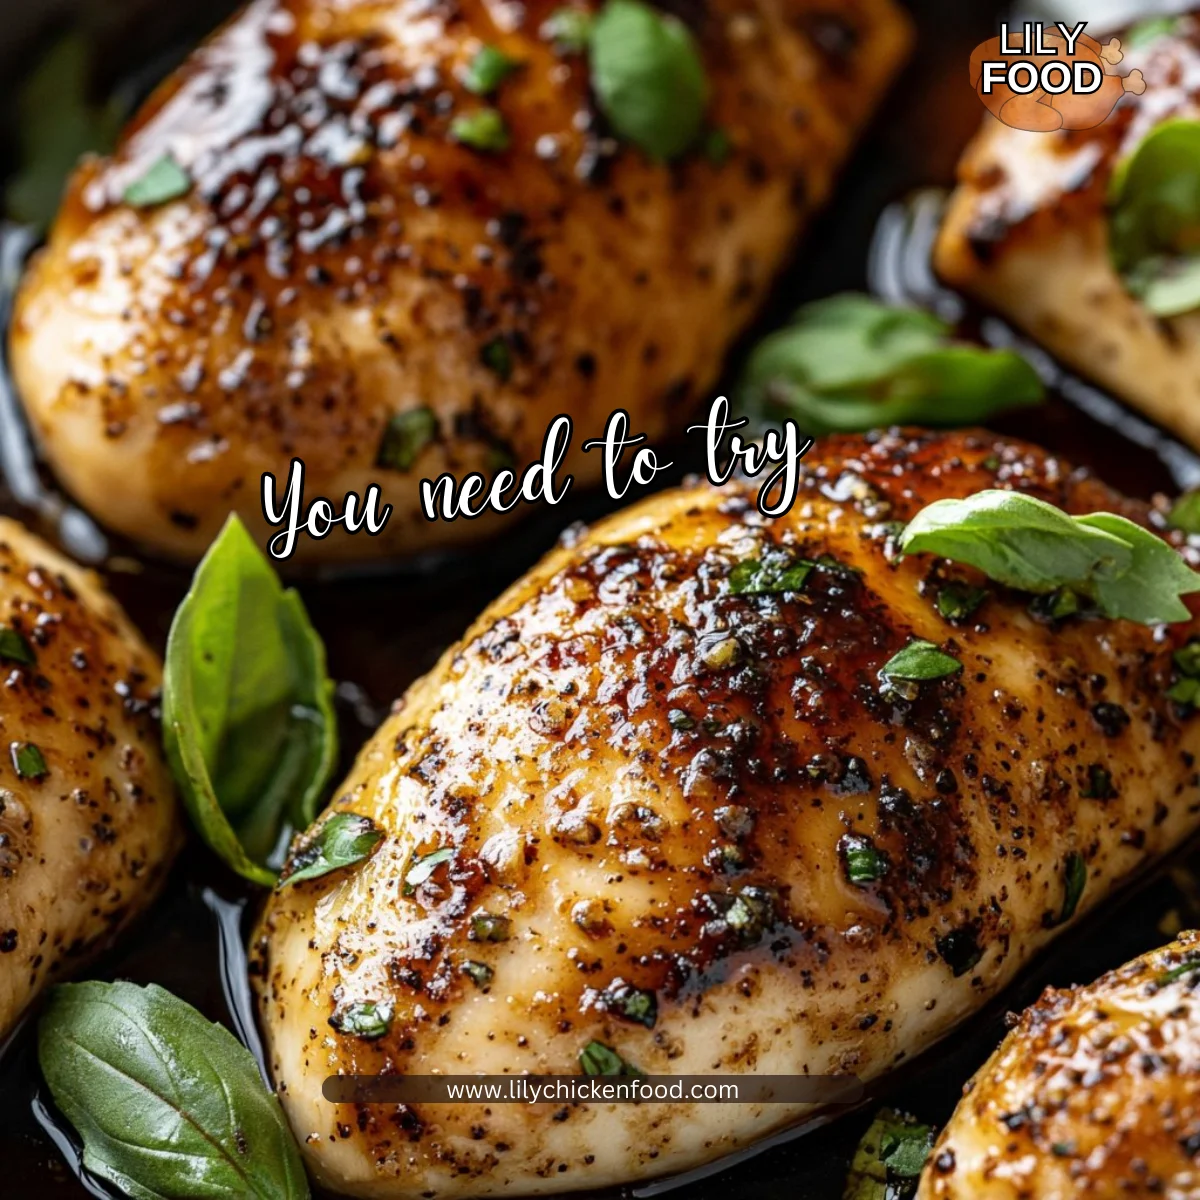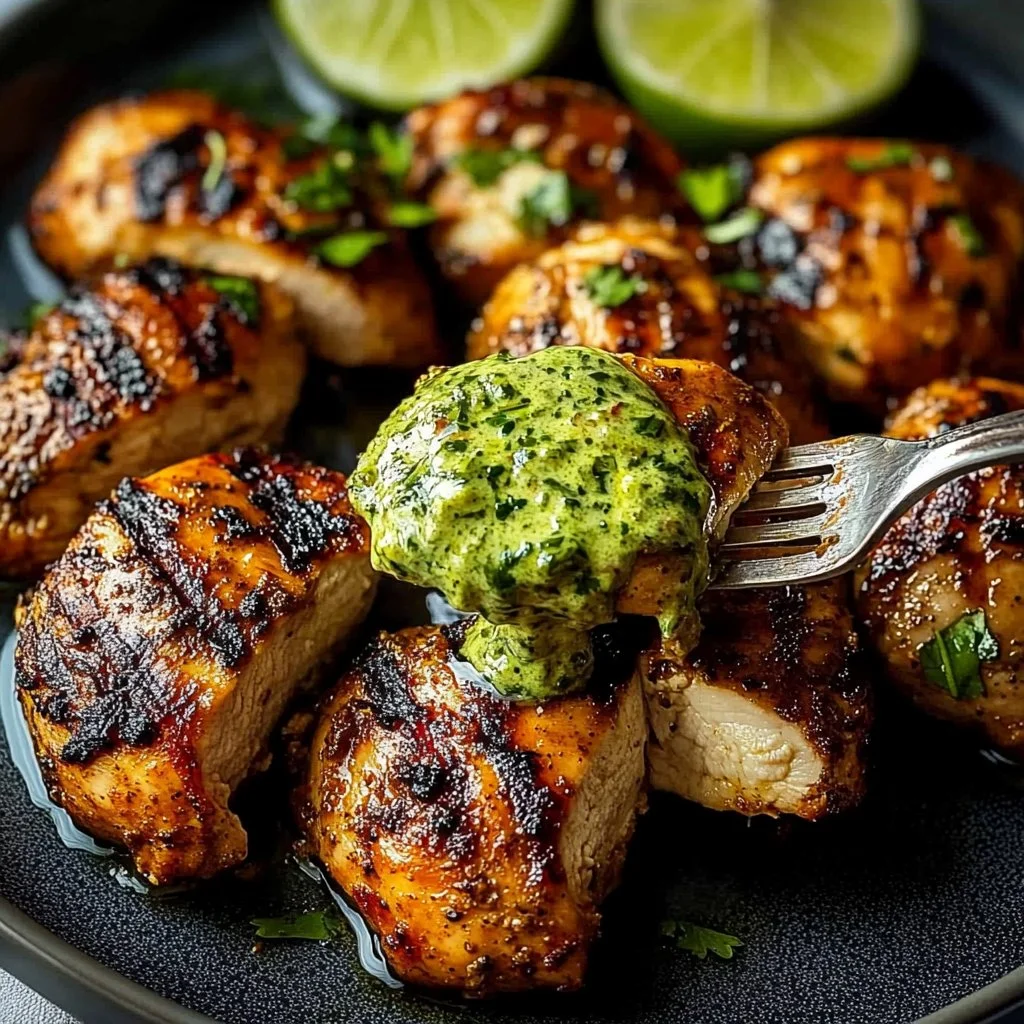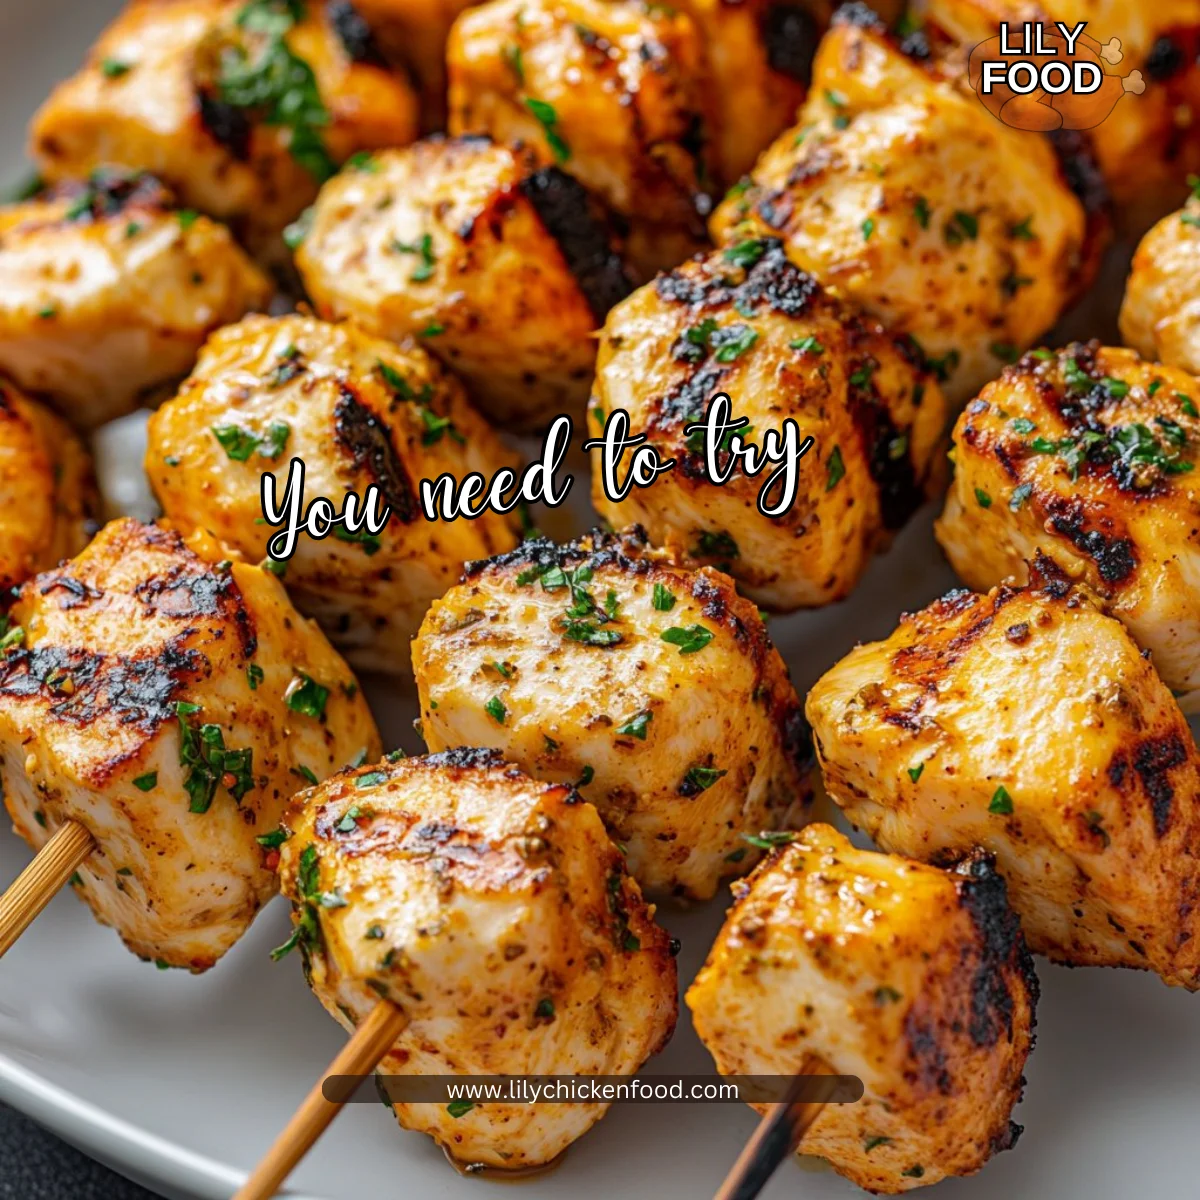
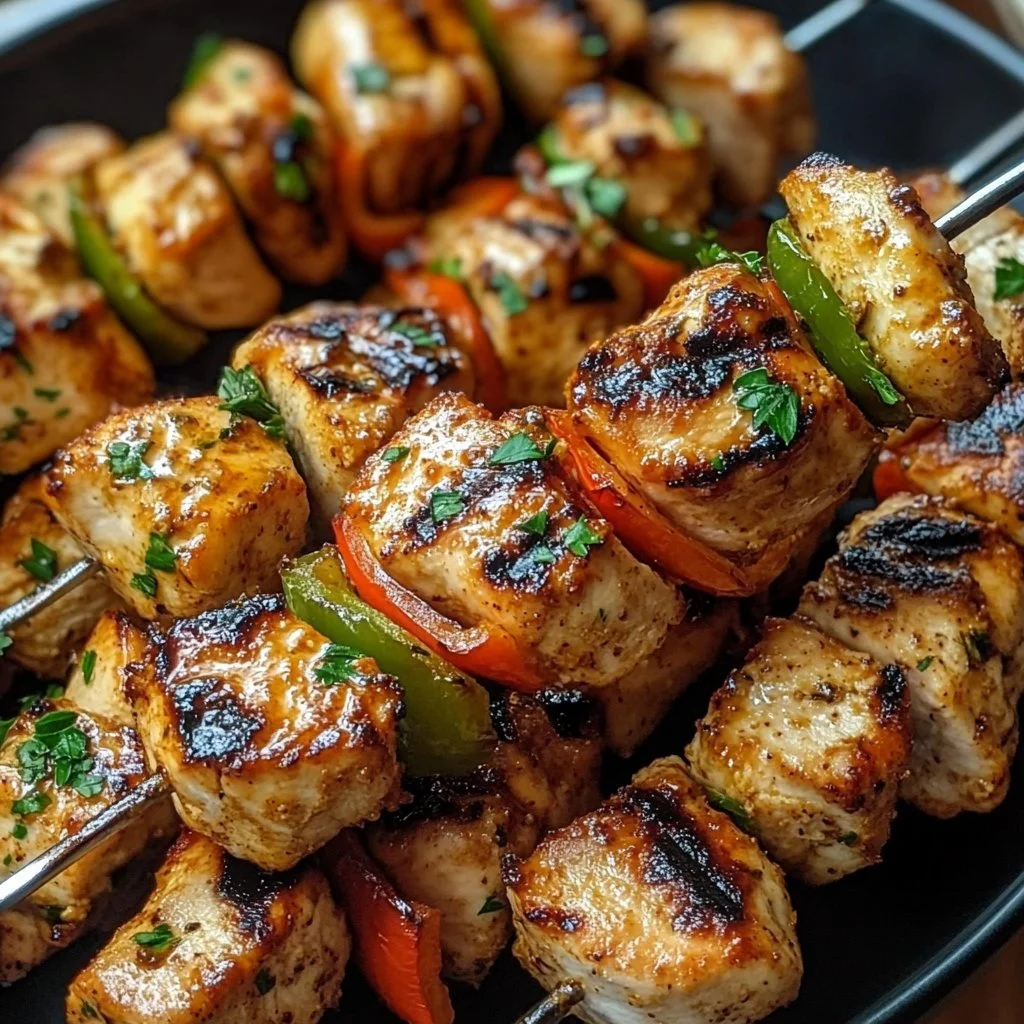
There’s something special about the smell of grilled chicken wafting through your kitchen. The sizzle as the chicken hits the grill is music to the ears, building excitement for a home-cooked meal everyone can enjoy. Today, I want to share a simple yet delightful recipe for Grilled Chicken Skewers with Cowboy Butter that’s bound to become a family favorite.
This dish combines tender chicken with a buttery, flavorful sauce that makes the meal pop. It’s perfect for casual dinners, family barbecues, or even game days. Let’s dive in and learn how to make it!
Why This Works
Grilled Chicken Skewers with Cowboy Butter work wonders for busy families. The prep time is minimal, which means you can quickly whip this up even on a hectic weeknight. Marinating the chicken infuses it with flavor while you take care of other things.
The beauty of skewers is that they’re not only delicious but also easy to serve and eat. Kids love holding their own sticks of chicken, and you can customize each skewer with different vegetables too. Whether you’re hosting friends or enjoying a quiet meal at home, this recipe brings joy to the table.
Process Overview
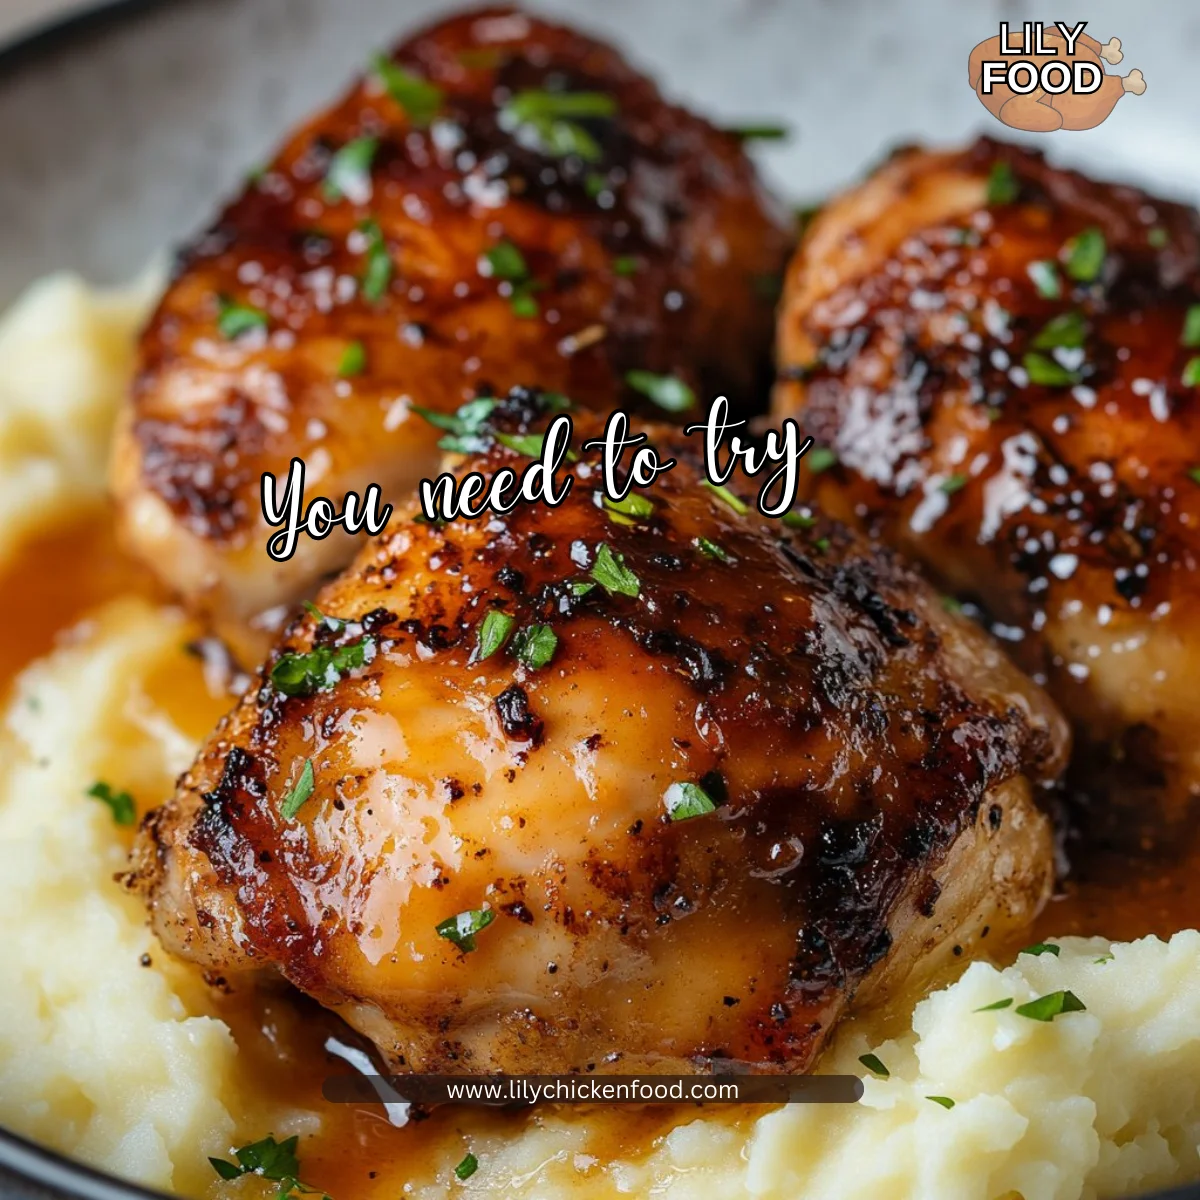
“This is where the magic happens—when the aroma fills the kitchen.”
The process is straightforward. With only a few steps, you will have delightful chicken skewers ready for the grill and bursting with flavor. Marinating, skewering, and grilling will transform simple ingredients into a delightful dish that your family will savor.
Ingredients
- 1 lb chicken breasts, cubed
- 1/2 cup cowboy butter (melted)
- 1 tbsp garlic powder
- 1 tbsp onion powder
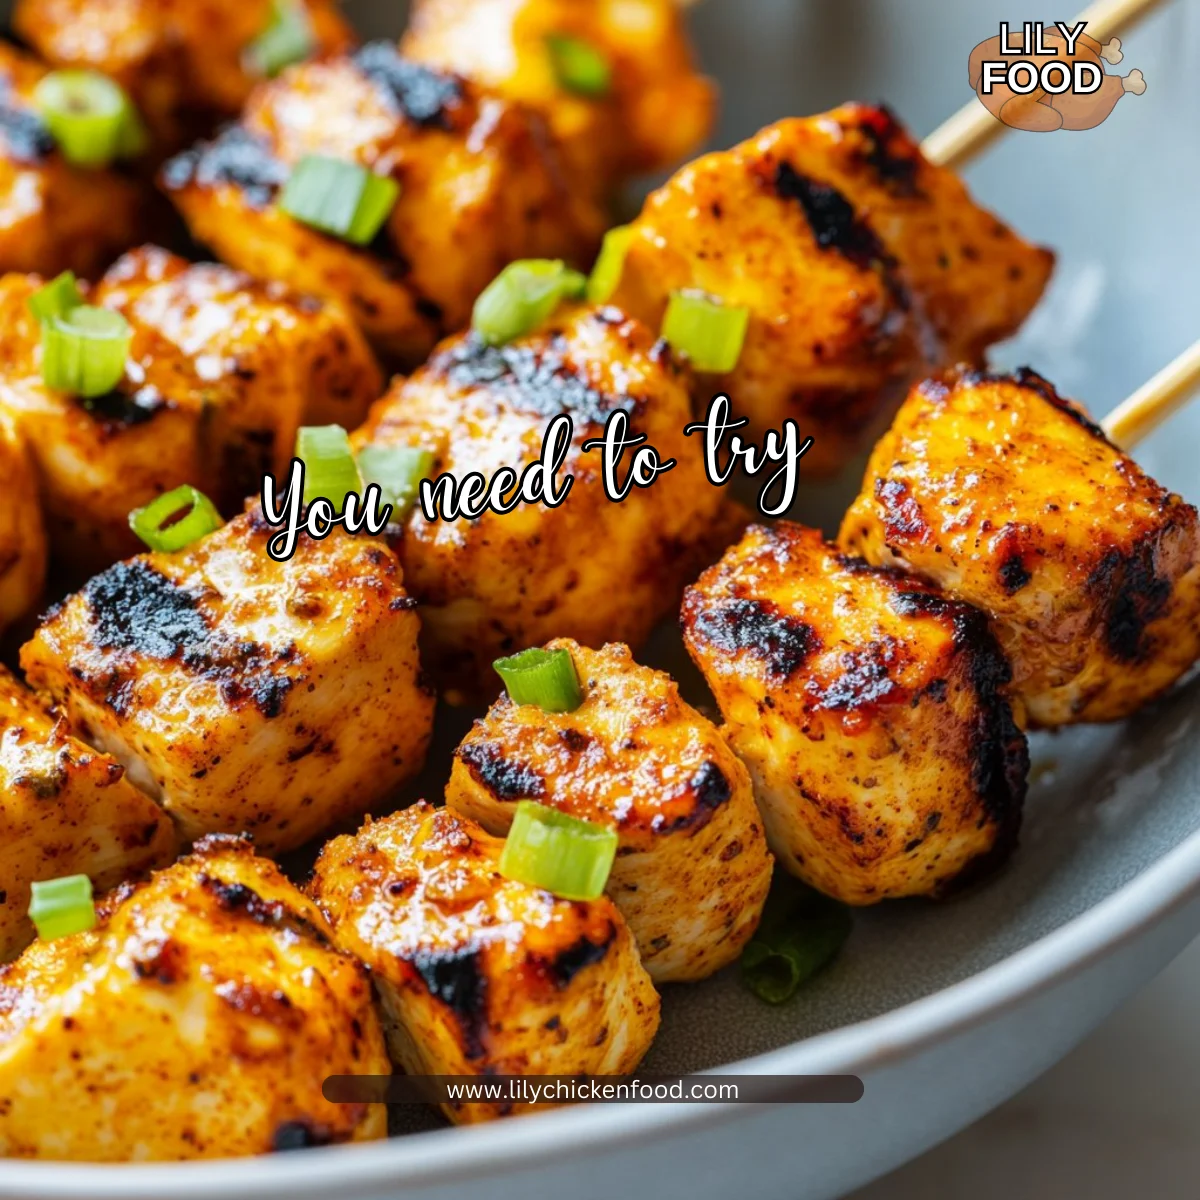
- 1 tsp smoked paprika
- Salt and pepper to taste
- Skewers (wooden or metal)
Lily’s Personal Tips:
- Wooden skewers: Soak them in water for 30 minutes before grilling. This prevents burning and ensures your chicken cooks evenly.
- Metal skewers: These are reusable and conduct heat well, which helps cook the chicken uniformly.
Directions
-
In a large bowl, combine the cubed chicken, melted cowboy butter, garlic powder, onion powder, smoked paprika, salt, and pepper. Mix well to coat the chicken evenly. Take a moment here to appreciate how the seasonings cling to the chicken.
-
Cover and marinate in the refrigerator for at least 30 minutes or up to 2 hours. The longer, the better! This step lets the chicken soak up all the wonderful flavors.
-
Preheat the grill to medium-high heat. If using wooden skewers, don’t forget to soak them in water for 30 minutes to prevent burning.
-
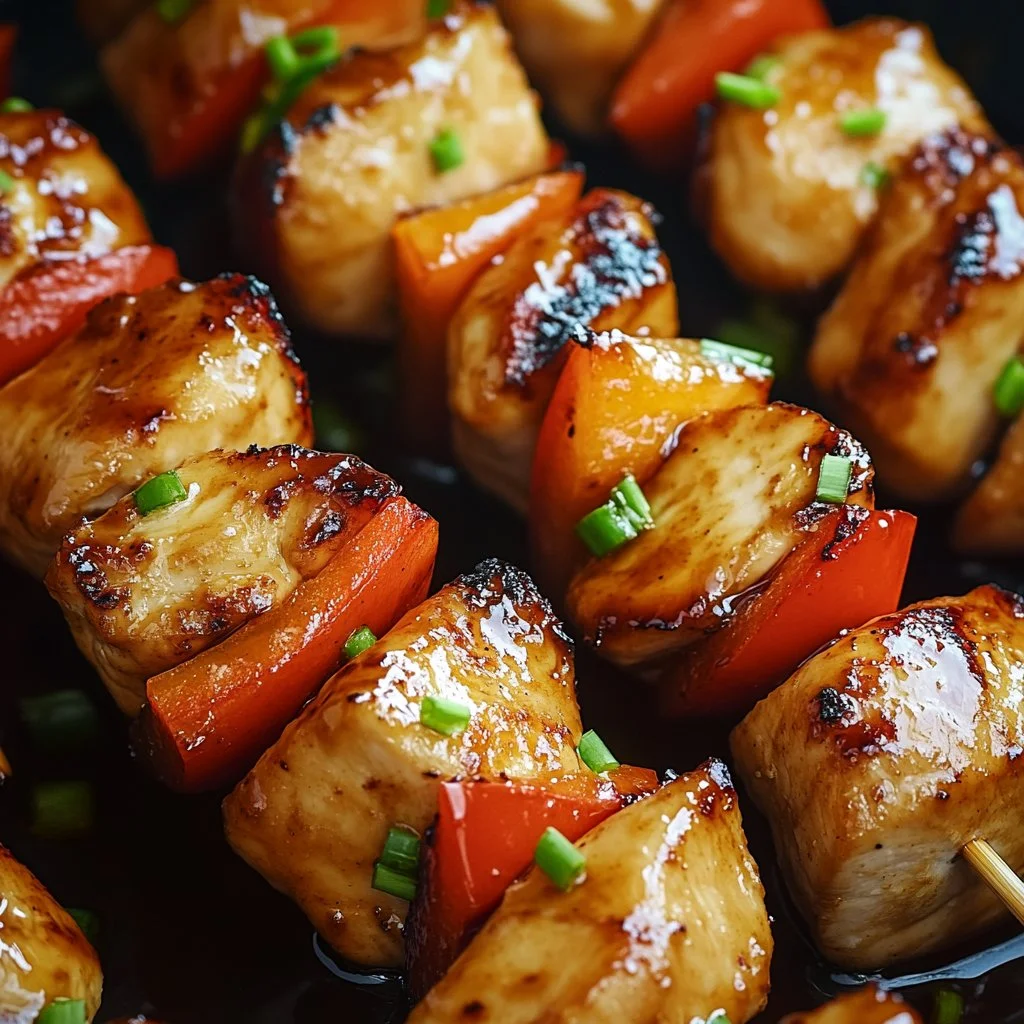
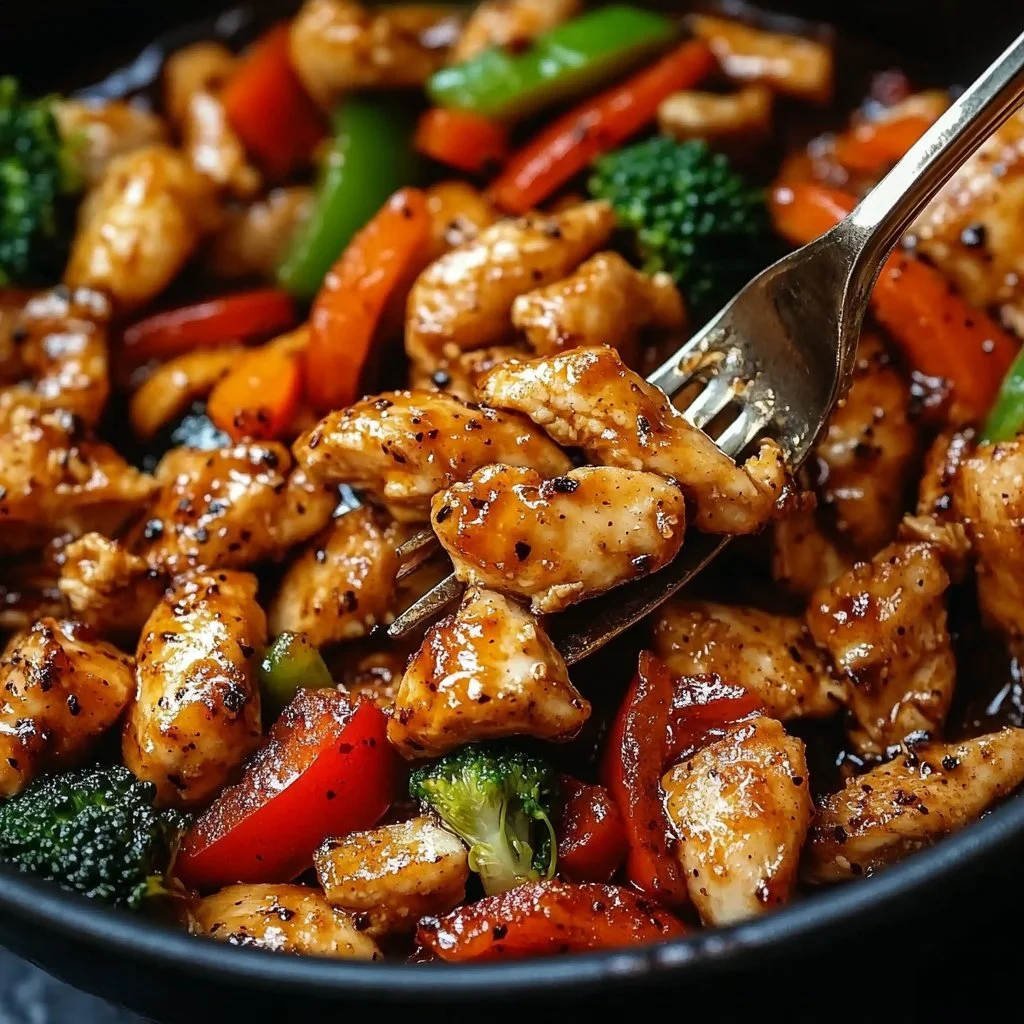
Thread the marinated chicken onto the skewers. Get creative with the order – you could alternate with bell peppers or onions for added flavor and color.
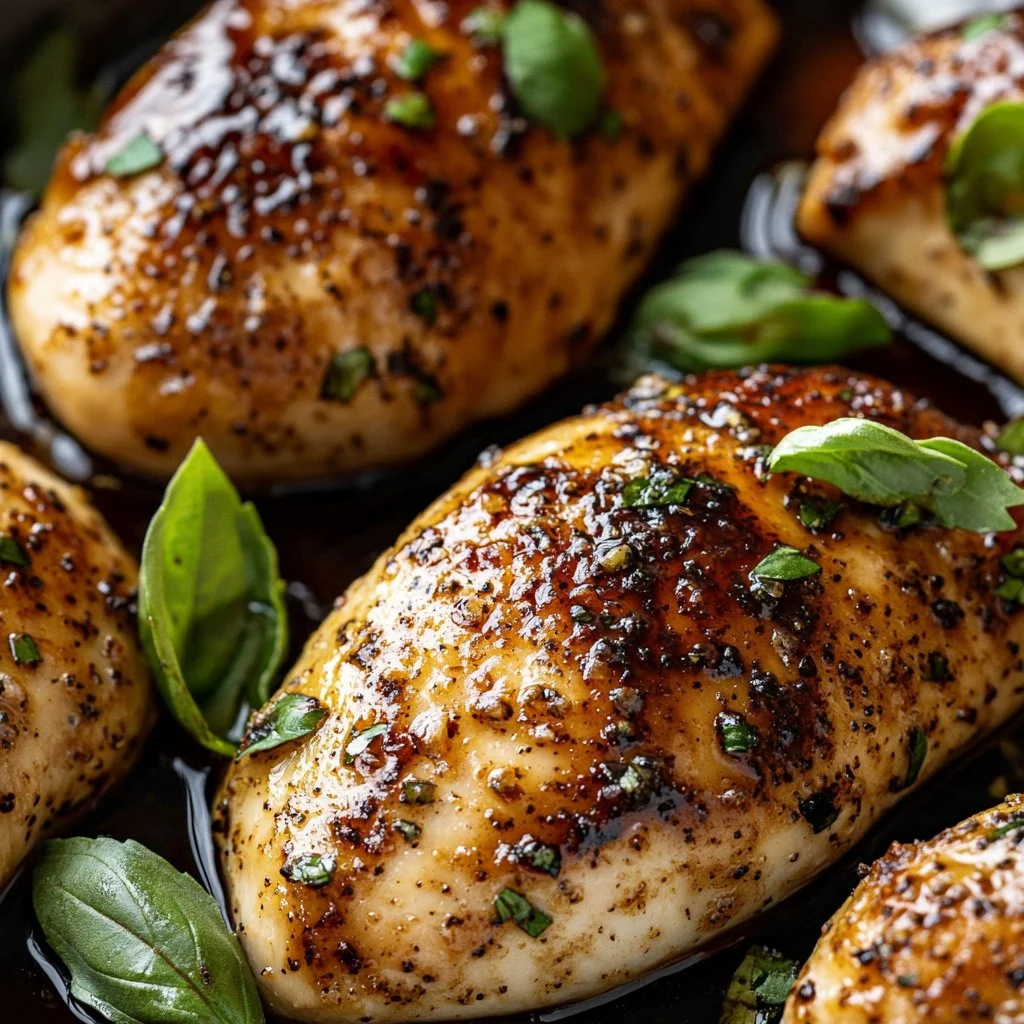
-
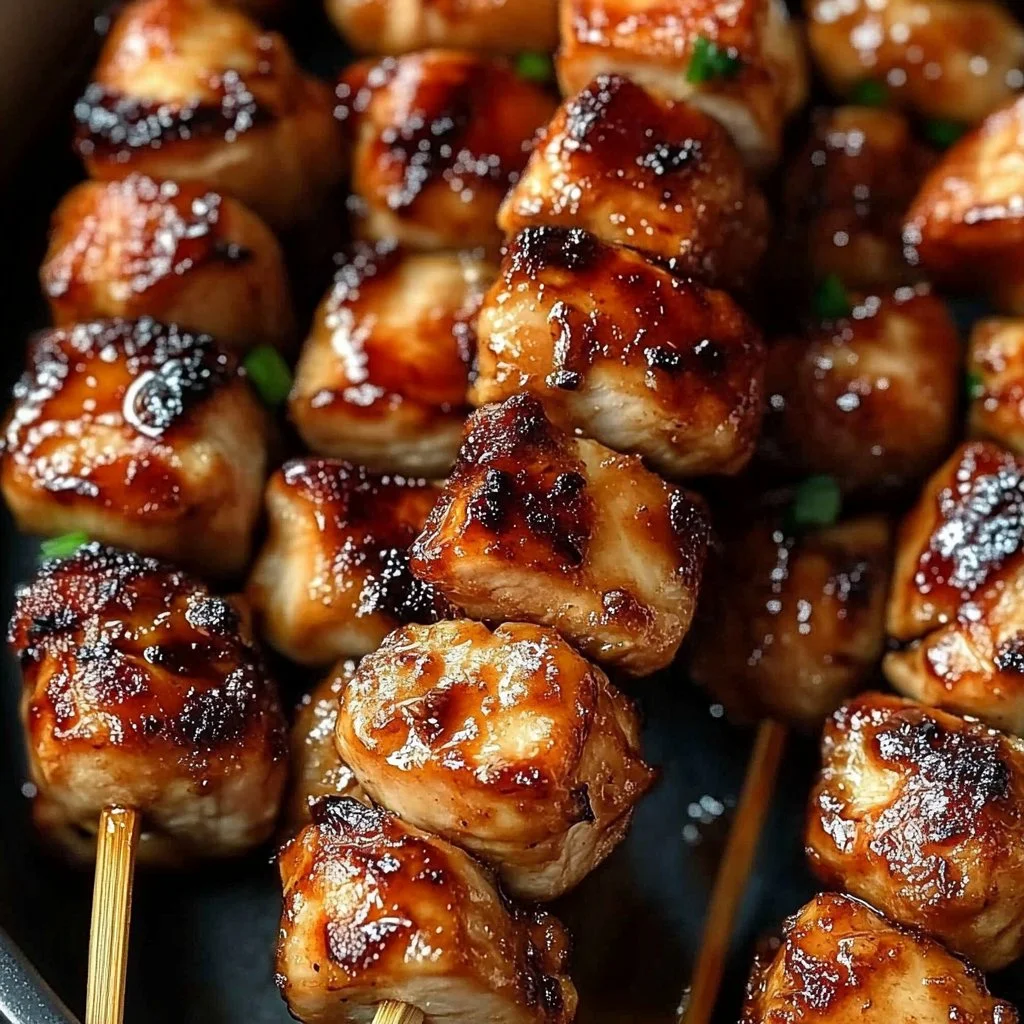
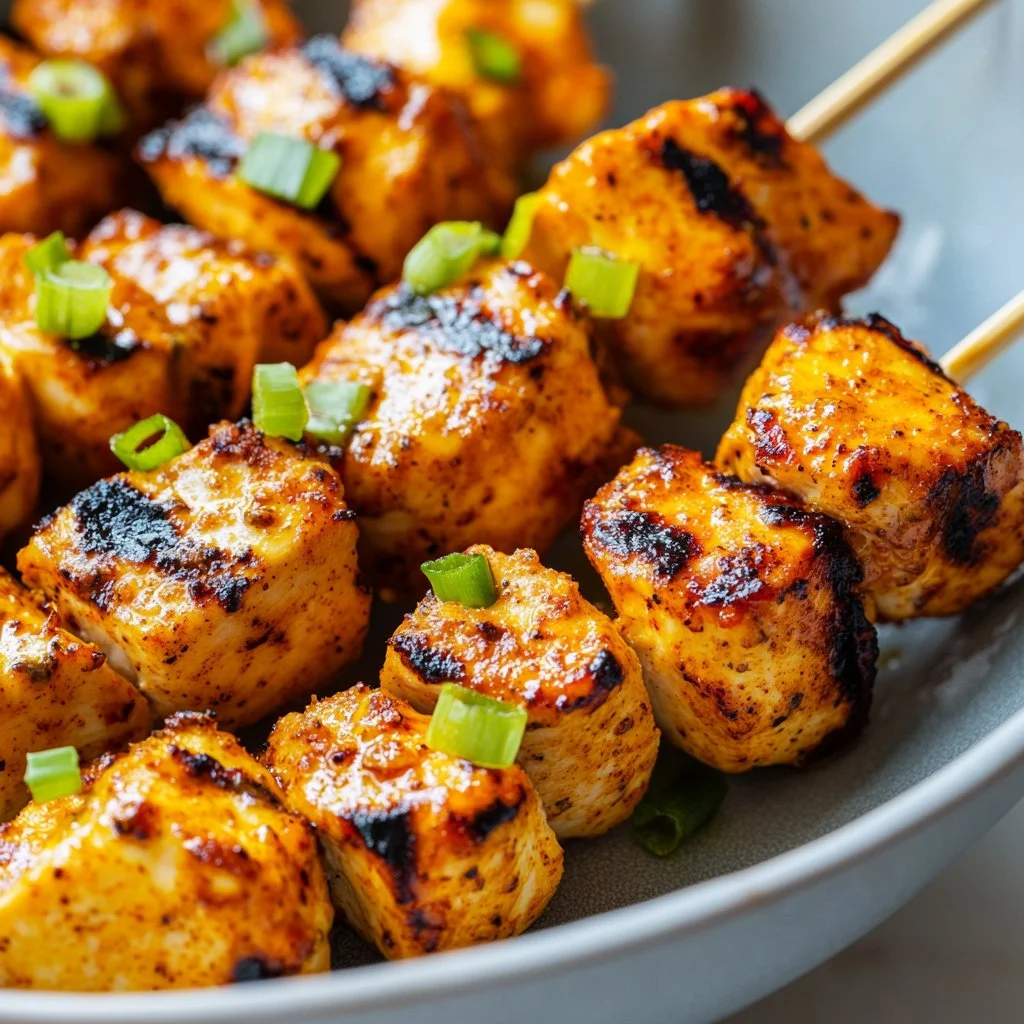
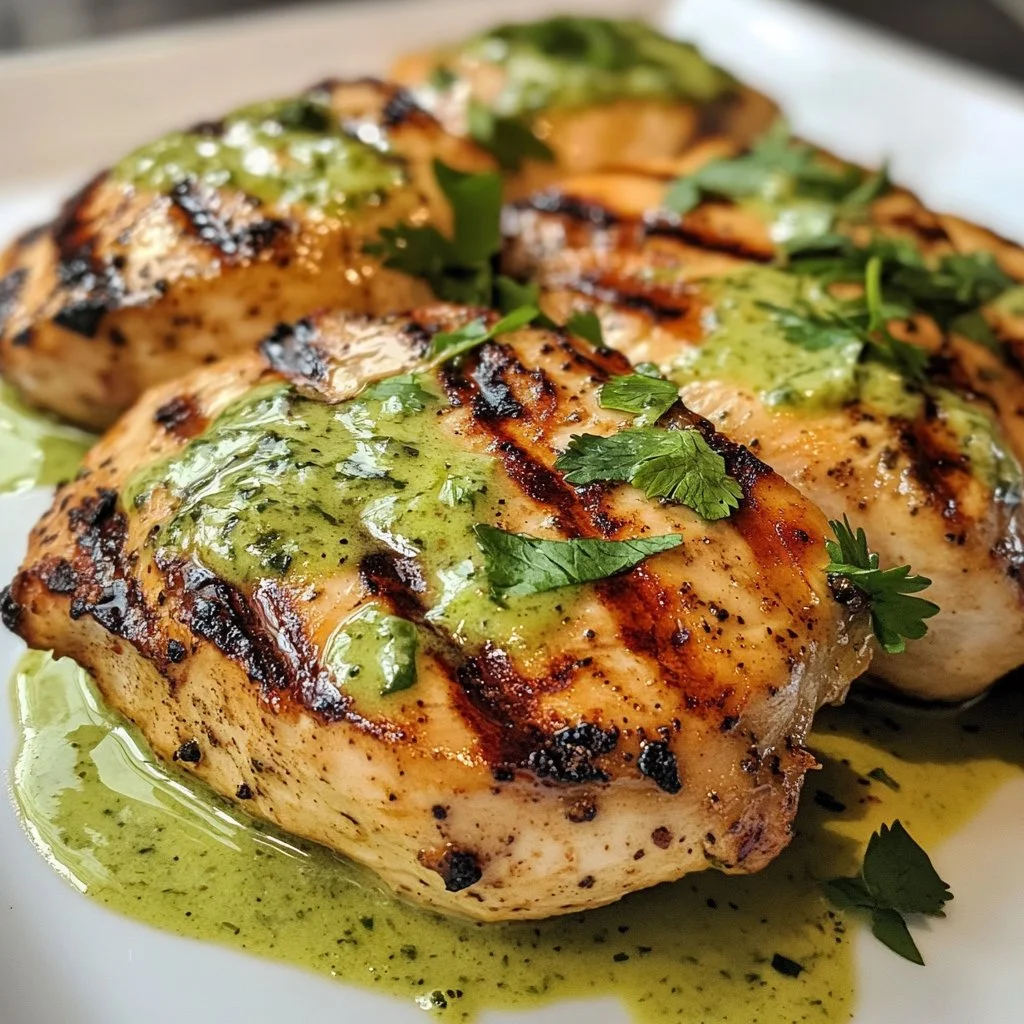
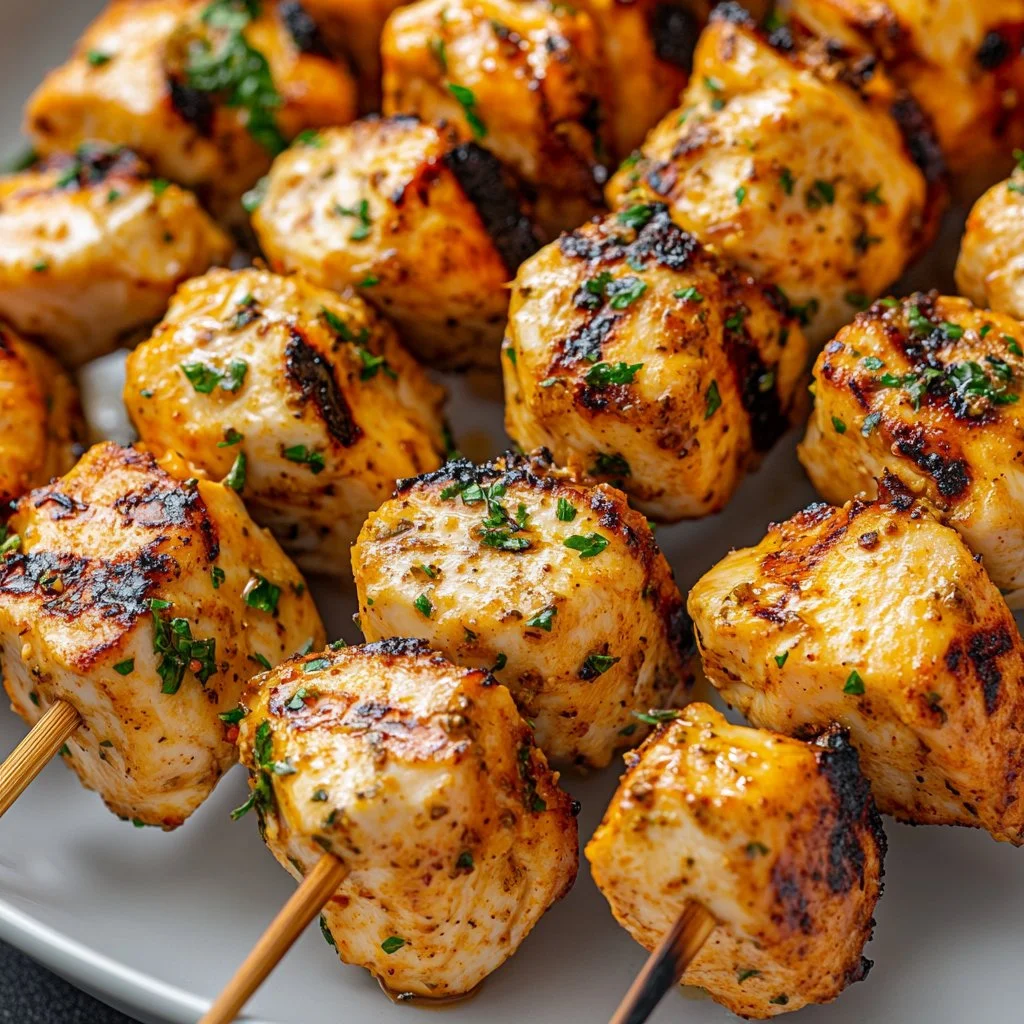
Grill the skewers for 10-12 minutes, turning occasionally. Keep an eye on them as they cook; you want that delicious char without overcooking the chicken. The smell will be irresistible!
-
Serve hot. These skewers make a great centerpiece for any meal, especially at game day or outdoor gatherings.
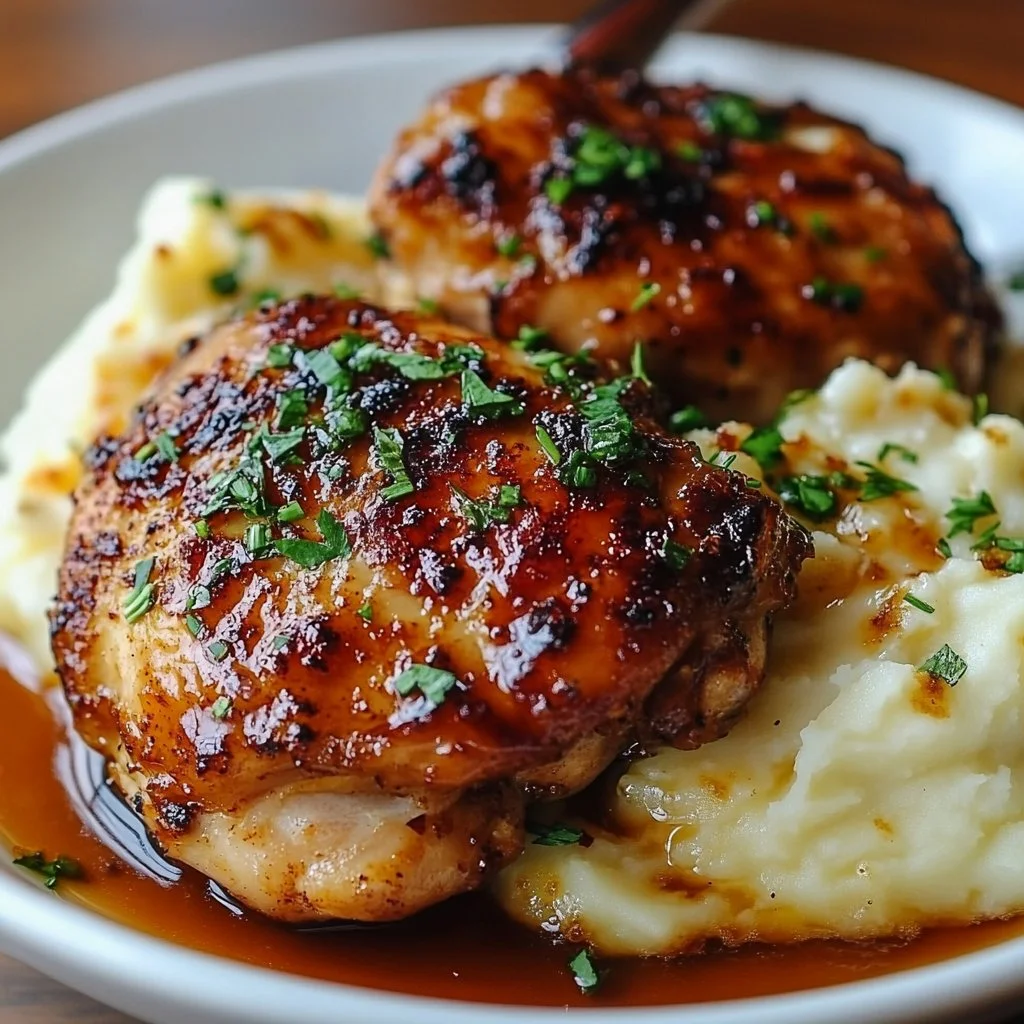
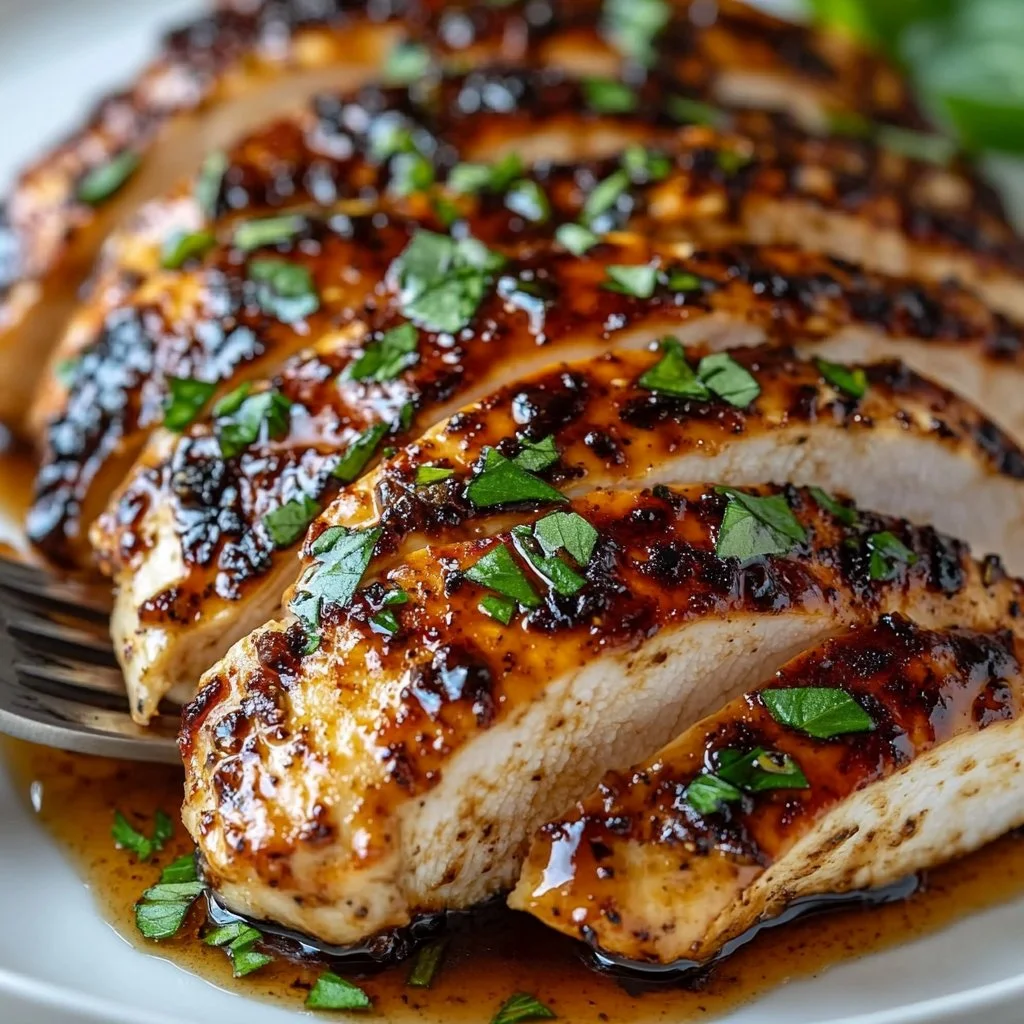
Serving
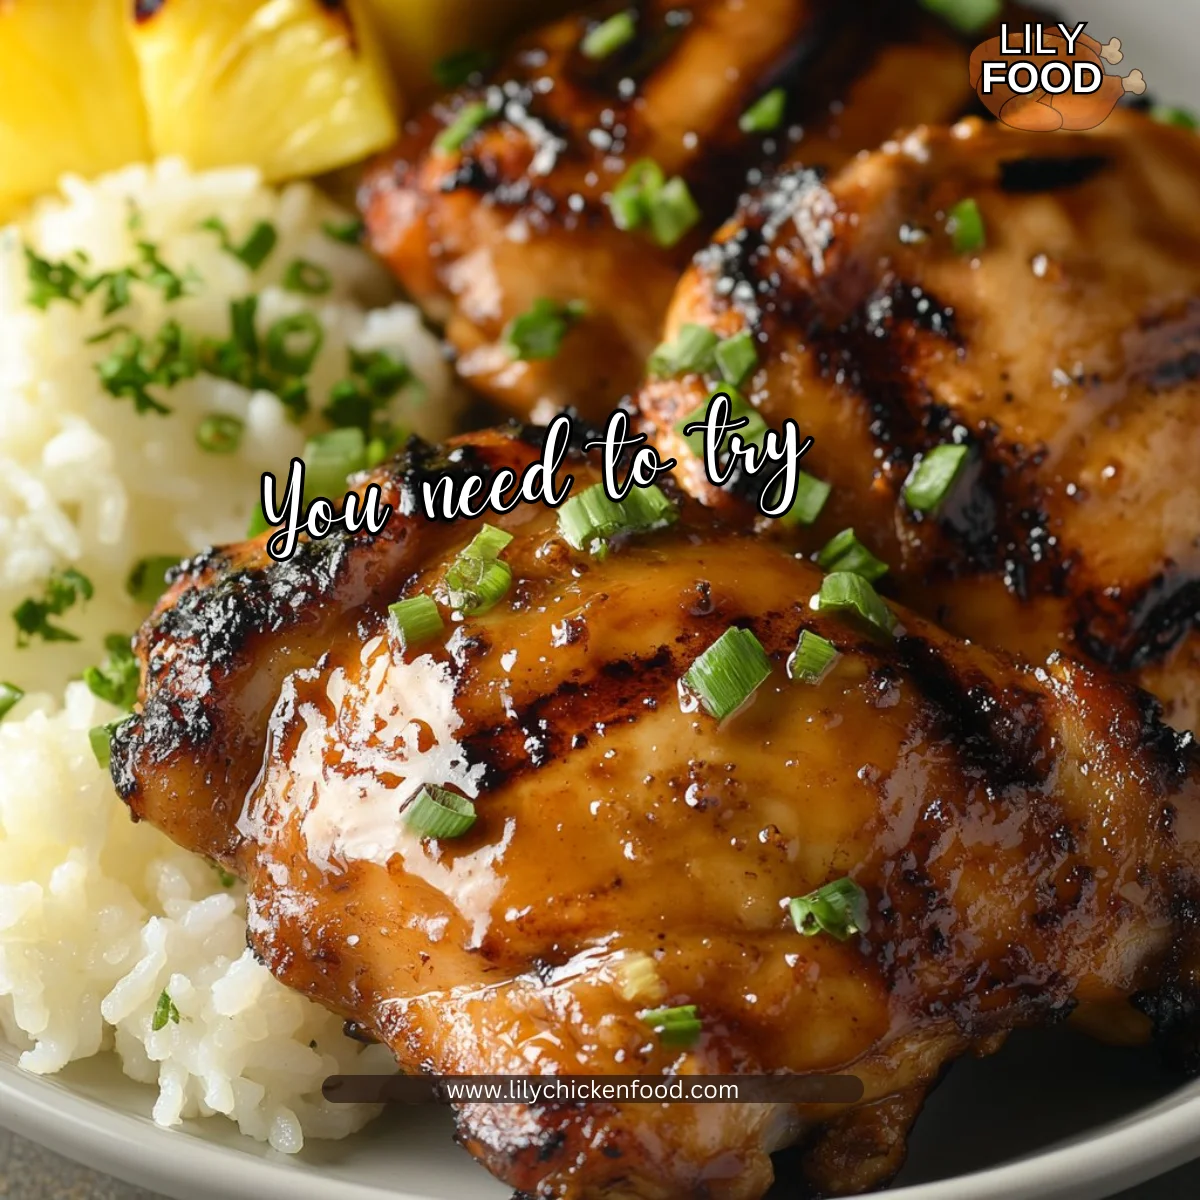
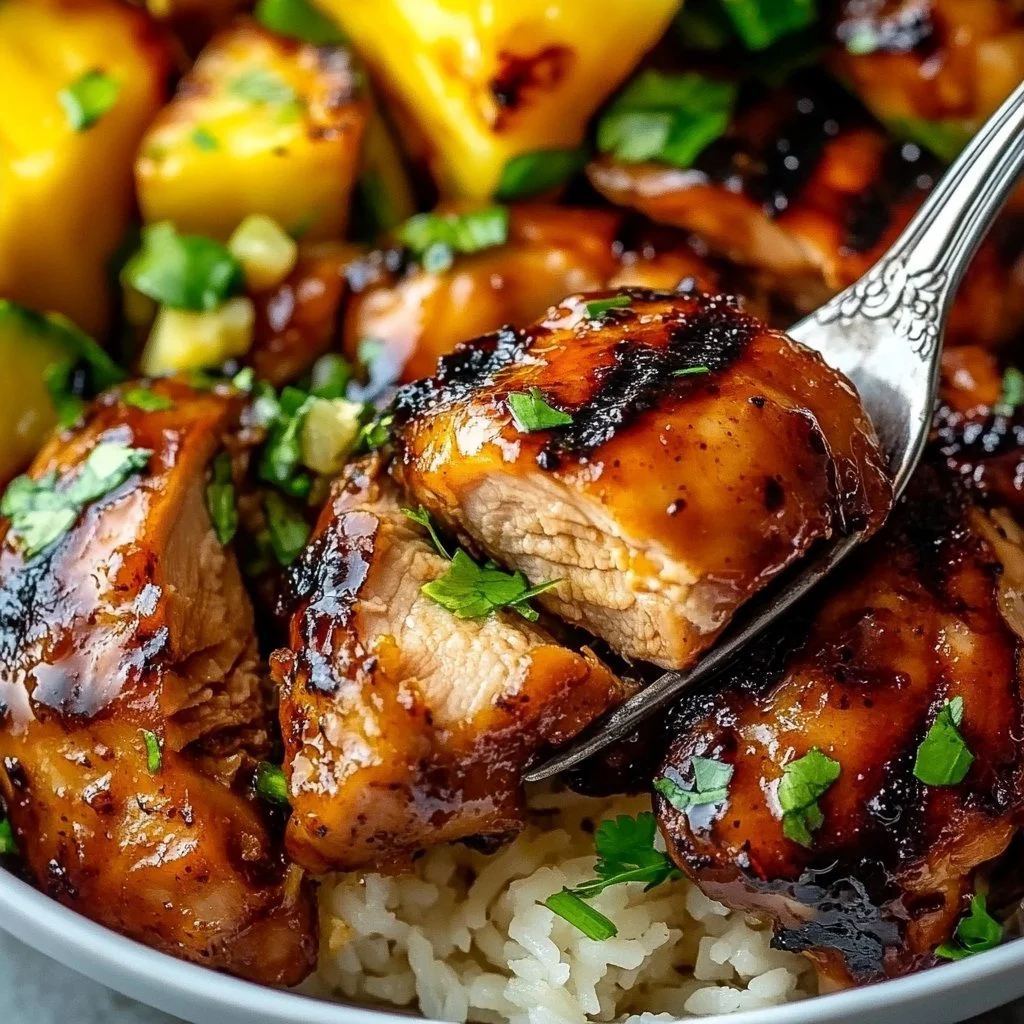
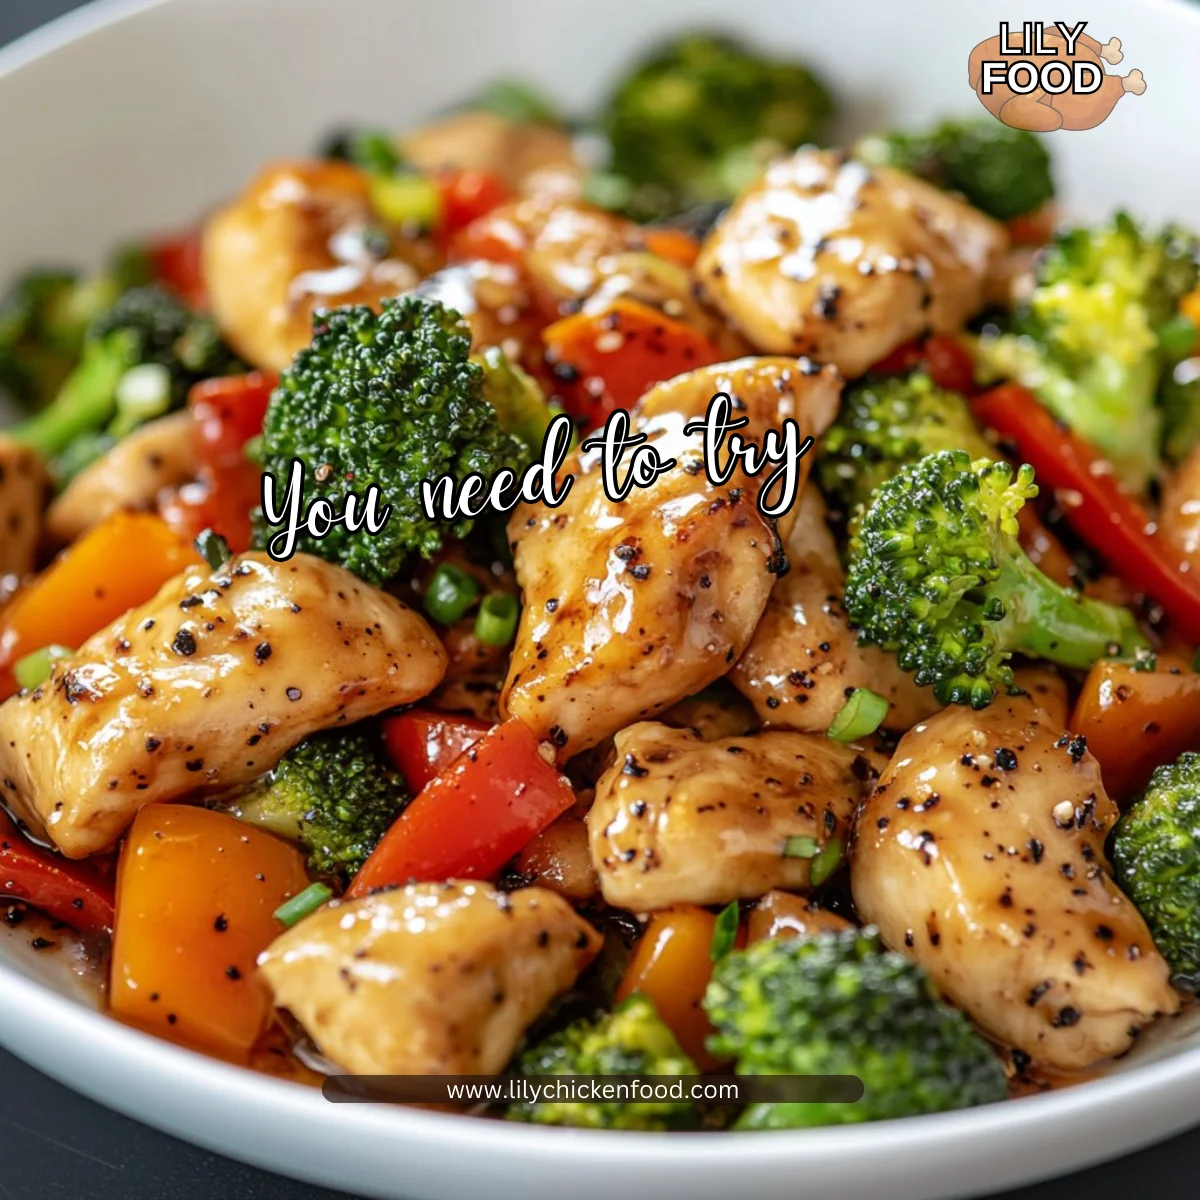
Serving these chicken skewers family-style is a great way to enjoy them. Lay them out on a platter and let everyone dig in. You can pair them with a side of fresh salad, grilled corn, or your favorite dipping sauce. The best part is everyone can take as much or as little as they want, creating a relaxed and inviting atmosphere around the dinner table.
Storage
If you happen to have leftovers (which is rare!), you can store grilled chicken skewers in an airtight container in the fridge. They’ll keep well for 3 to 4 days. When you’re ready to eat, simply reheat them in the microwave or on the grill to get that sizzling sensation back.
Kitchen Notes
- Shortcut for busy nights: Use pre-cubed chicken from the grocery store.
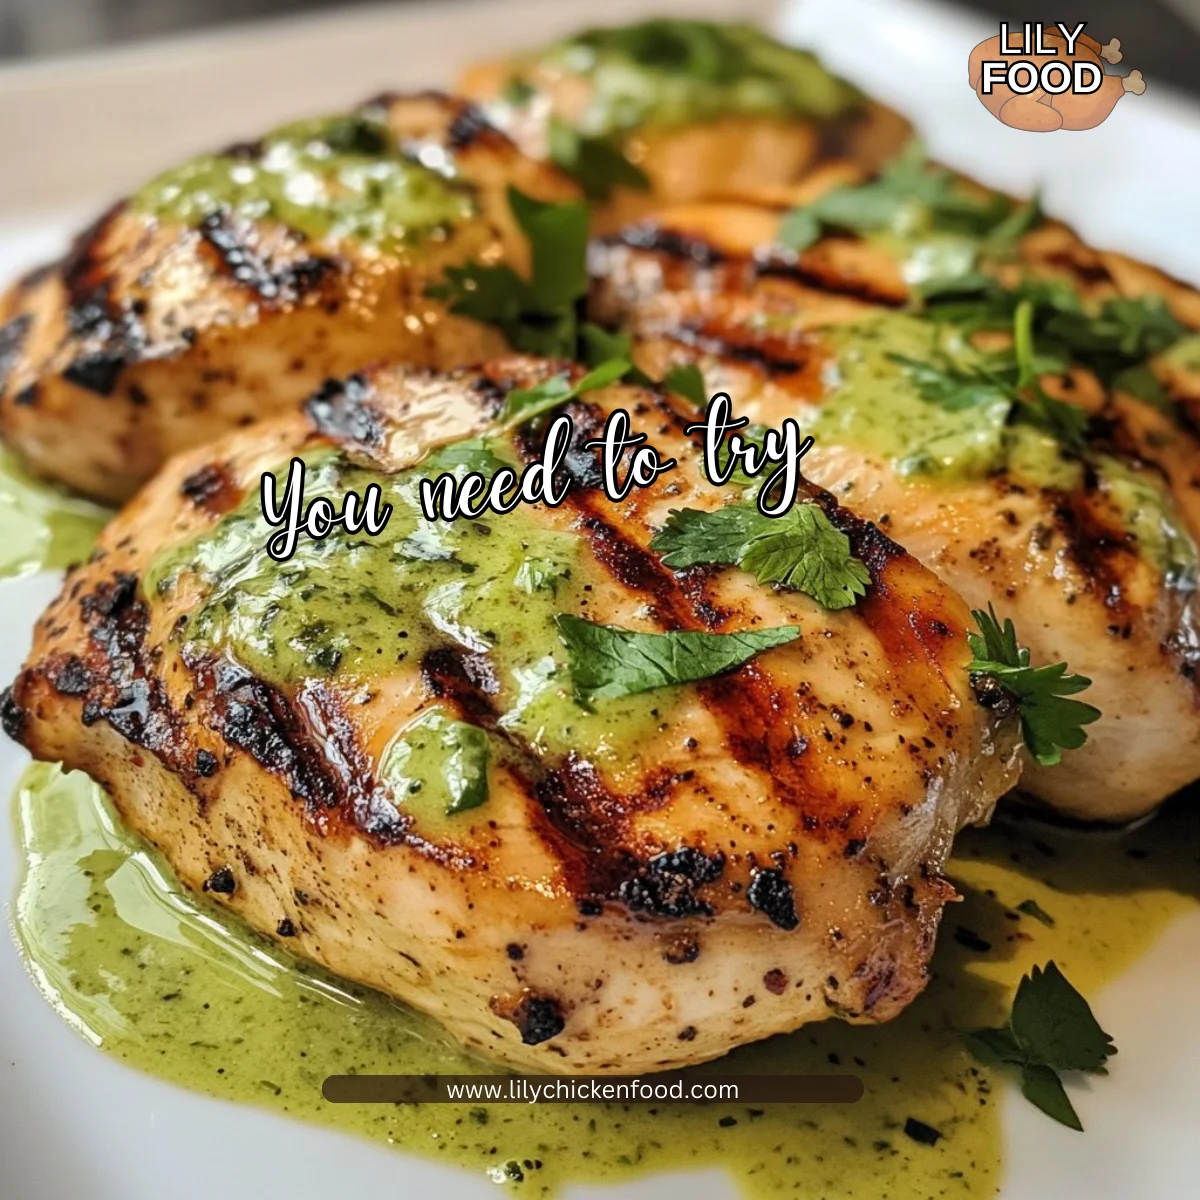
- Quick cleanup: Line your grill with aluminum foil before cooking.
- Extra flavor: Add chopped herbs like parsley or cilantro to the marinade.
- Make it a meal: Serve with rice or a grain salad for a complete dinner.
- Clean as you go: Rinse mixing bowls and utensils right after use.
Variations
Picky eaters or special diets? No problem! Here are some tweaks:
- Vegetarian option: Substitute chicken with tofu or larger cubes of vegetables like zucchini or mushrooms.
- Spicy kick: Unleash some heat by adding red pepper flakes to the marinade.
- Low-carb: Serve with a side salad instead of rice or bread.
- Kid-friendly: Skewer chicken with their favorite vegetables or fruits for a fun twist.
FAQ
-
Can I marinate the chicken overnight?
Yes, marinating overnight infuses even more flavor. Just be careful not to exceed 24 hours, as the chicken can become mushy. -
Can I use frozen chicken?
It’s best to use fresh or thawed chicken for the best texture and flavor. -
What’s cowboy butter?
Cowboy butter is a flavorful compound butter often made with herbs, garlic, and spices. You can make it at home or buy it pre-made. -
How do I know when the chicken is done?
The internal temperature should reach 165°F. Use a meat thermometer for accurate readings. -
Can I bake these skewers instead of grilling?
Absolutely! Preheat your oven to 400°F and bake for about 15-20 minutes. Broil for the last few minutes for that golden color.
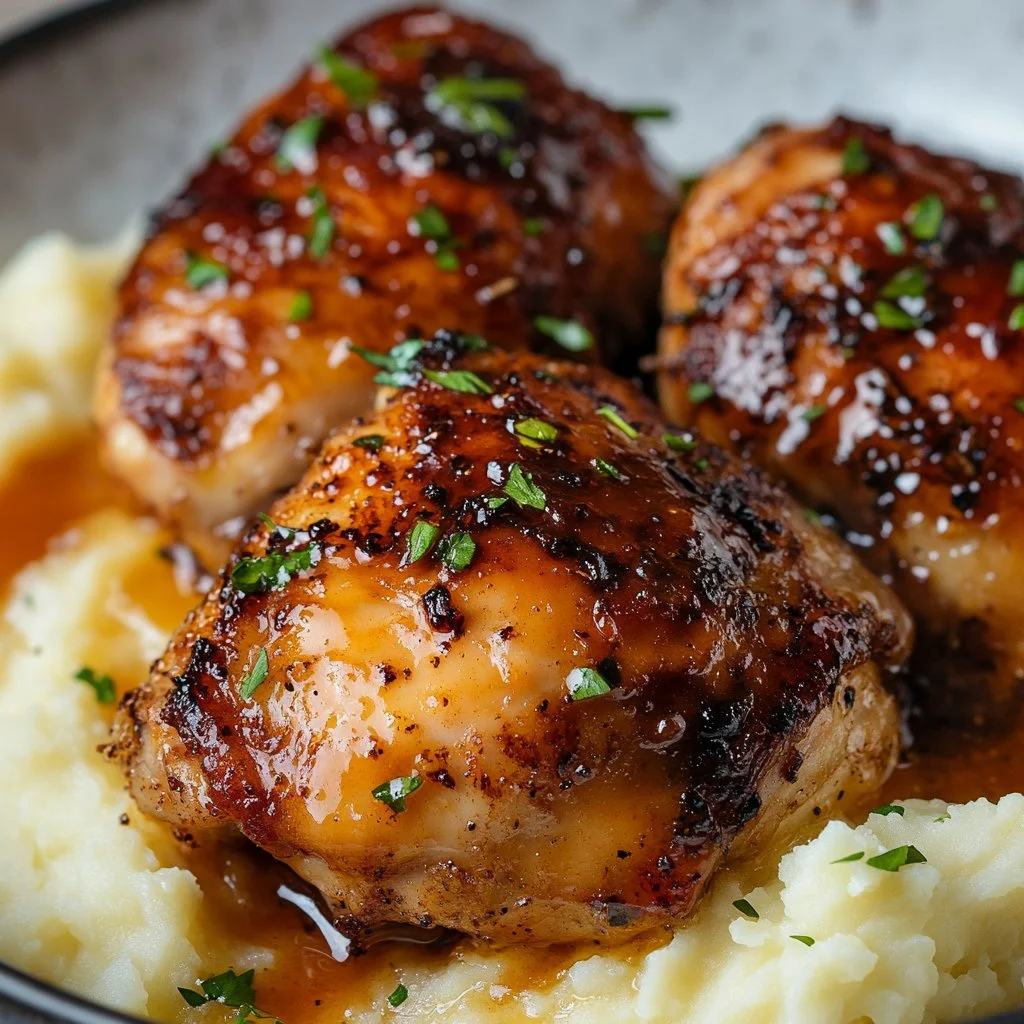
Conclusion
Grilled Chicken Skewers with Cowboy Butter are so much more than just a meal. They bring family and friends together, transforming ordinary days into delightful gatherings. With simple steps and accessible ingredients, you can create something beautiful and delicious. Whether for a casual dinner or a festive occasion, these skewers are sure to please!
I hope you give this recipe a try and enjoy it as much as my family does. Happy cooking!

Grilled Chicken Skewers with Cowboy Butter
Ingredients
Chicken and Marinade
- 1 lb chicken breasts, cubed
- 1/2 cup cowboy butter, melted
- 1 tbsp garlic powder
- 1 tbsp onion powder
- 1 tsp smoked paprika
- Salt and pepper to taste
Skewers
- Skewers (wooden or metal) (Soak wooden skewers in water for 30 minutes before grilling.)
Instructions
Preparation
- In a large bowl, combine the cubed chicken, melted cowboy butter, garlic powder, onion powder, smoked paprika, salt, and pepper. Mix well to coat the chicken evenly.
- Cover and marinate in the refrigerator for at least 30 minutes or up to 2 hours.
- Preheat the grill to medium-high heat.
Skewering
- Thread the marinated chicken onto the skewers, alternating with vegetables like bell peppers or onions if desired.
Grilling
- Grill the skewers for 10-12 minutes, turning occasionally, until the chicken is cooked through and charred.
- Serve hot.