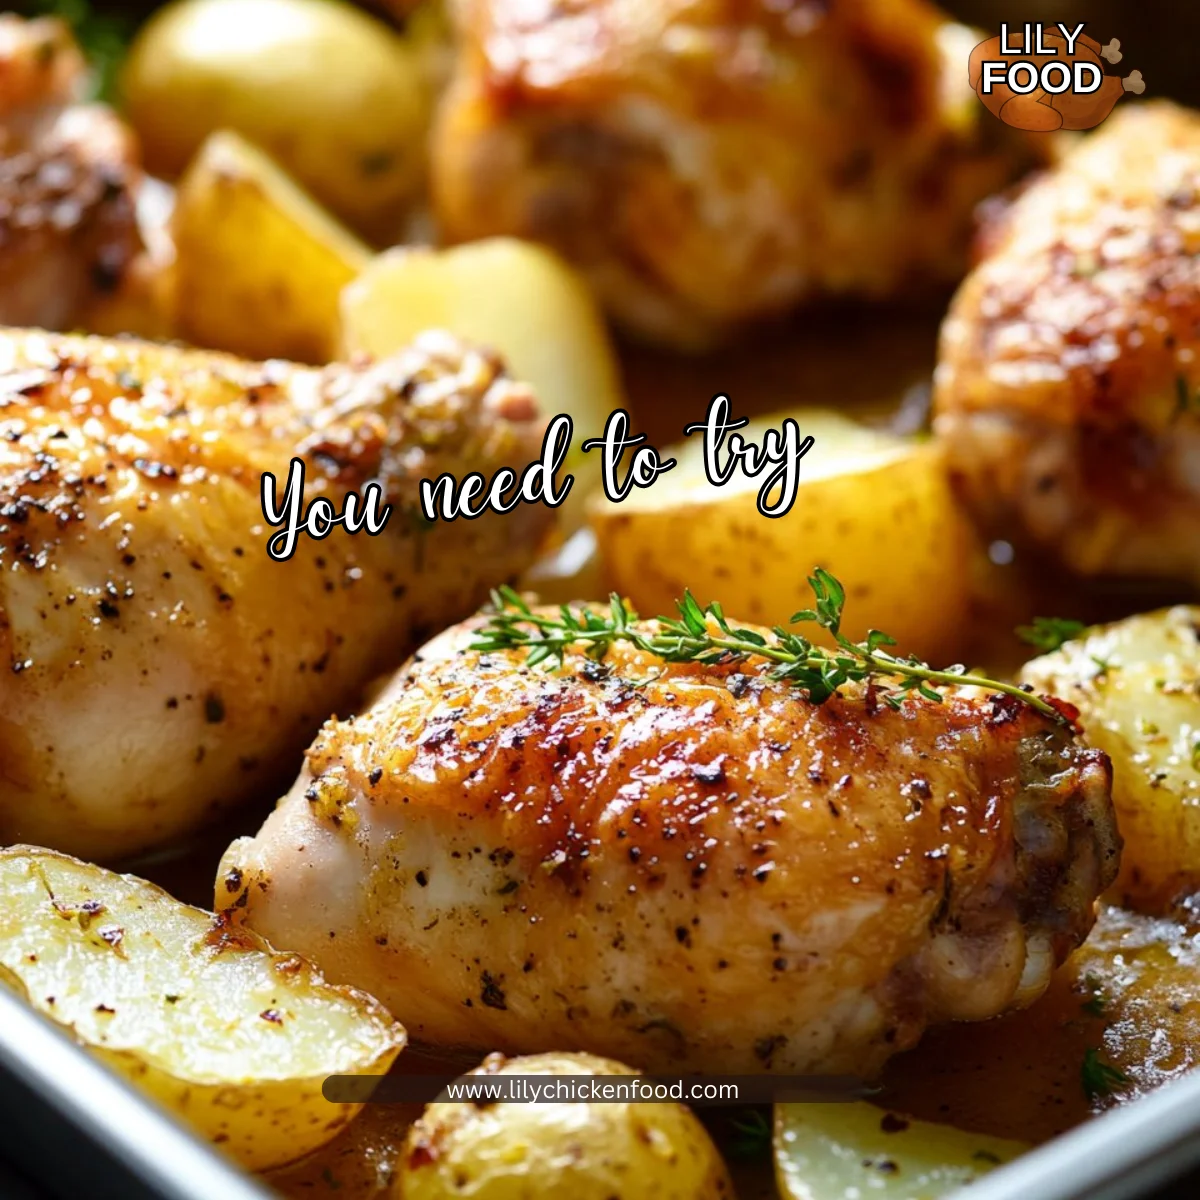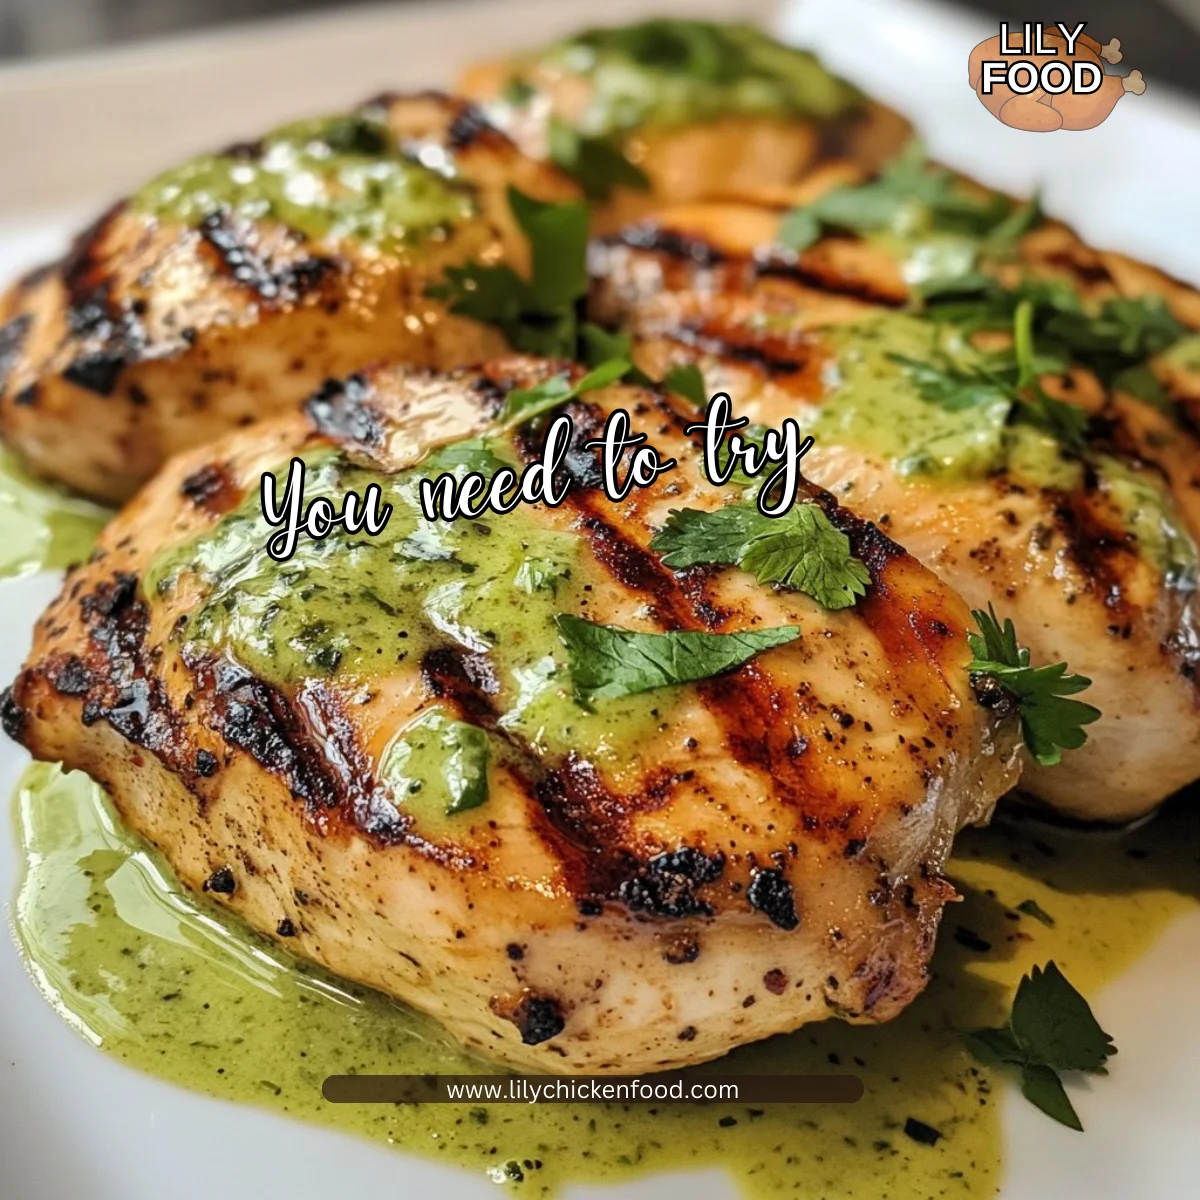
There’s something magical about the scent of grilled chicken filling the kitchen. The crackling sound as the chicken sizzles on the grill creates an inviting atmosphere, drawing everyone in. This Peruvian Grilled Chicken recipe is not just about delicious food; it’s a culinary experience that brings families closer together. The combination of warm spices and zesty green sauce will have your loved ones begging for seconds.
Why This Works
This recipe is perfect for busy families. Marinating the chicken takes minimal time, and grilling is quick and easy. You can have a flavorful meal on the table in about 30 minutes. Plus, the creamy green sauce is a game changer. It adds a punch of flavor that elevates simple grilled chicken to something extraordinary.
Family meal times are precious. This dish fosters conversation and connection while everyone enjoys food that is both healthy and satisfying. You can feel good about serving it to your family.
Process Overview
“This is where the magic happens—when the aroma fills the kitchen.”
Cooking this dish is straightforward. You’ll marinate the chicken, let it soak up those delicious spices, and then grill it to juicy perfection. The creamy green sauce comes together in a snap. Honestly, this is an easy recipe you’ll want to make again and again.
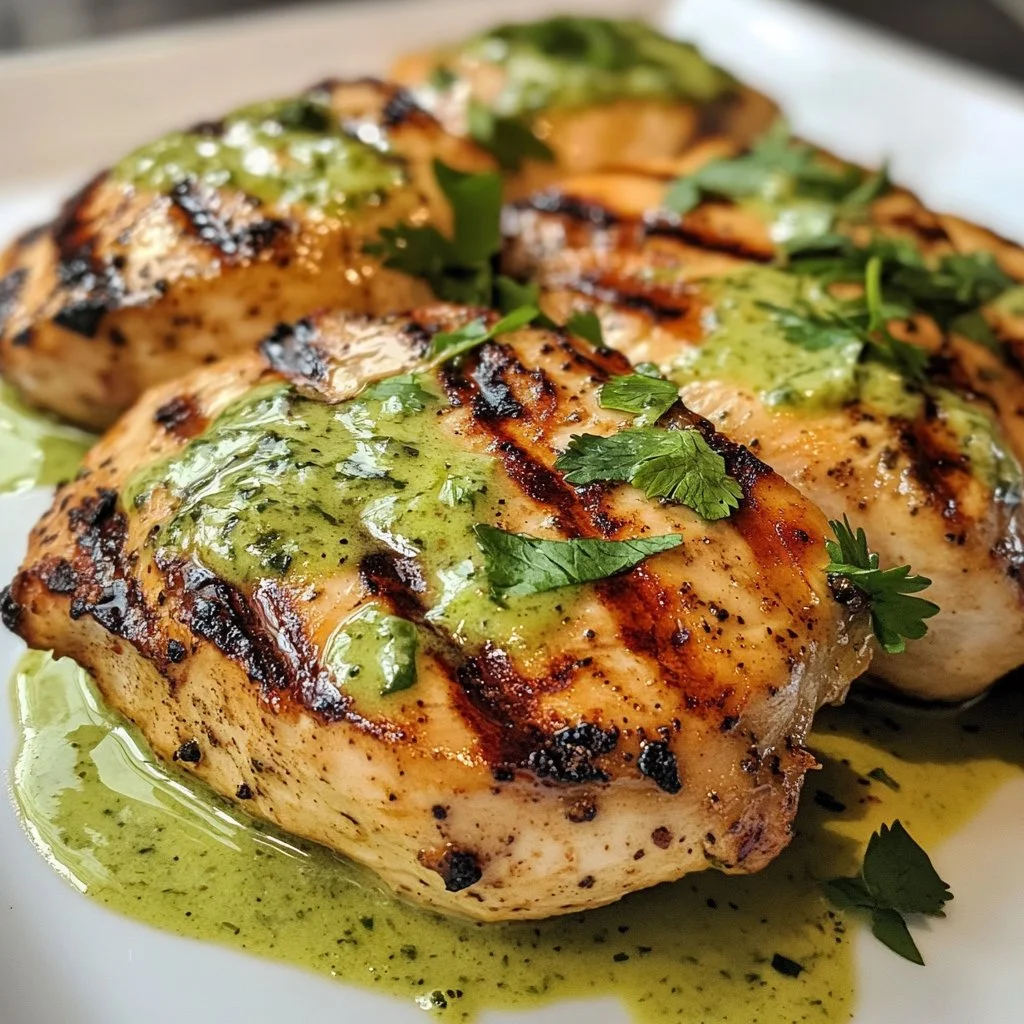
Ingredients
Here’s what you’ll need:
- 4 chicken breasts (Choose boneless and skinless for easy grilling)
- 2 tablespoons olive oil (Extra virgin olive oil adds a richer flavor)
- 1 teaspoon cumin (This spice provides a warm, earthy taste)
- 1 teaspoon paprika (Adds a subtle smokiness)
- Salt and pepper to taste (Don’t skip the seasoning!)
- 1 cup fresh cilantro (For a fresh, vibrant flavor)
- 1/2 cup mayonnaise (Substitute Greek yogurt for a lighter option)
- 1 tablespoon lime juice (Fresh lime juice brings a zesty kick)
- 1 jalapeño, seeded and chopped (Adjust the amount for desired spice level)
- 2 cloves garlic (Add fresh garlic for depth of flavor)
Directions
-
Preheat the grill to medium-high heat.
This heat is key to achieving those perfect grill marks! -
In a bowl, mix olive oil, cumin, paprika, salt, and pepper.
Feel free to adjust the seasonings. Taste as you go! -
Coat the chicken breasts in the spice mixture.
Make sure each piece is well covered. This flavor will really penetrate the chicken! -
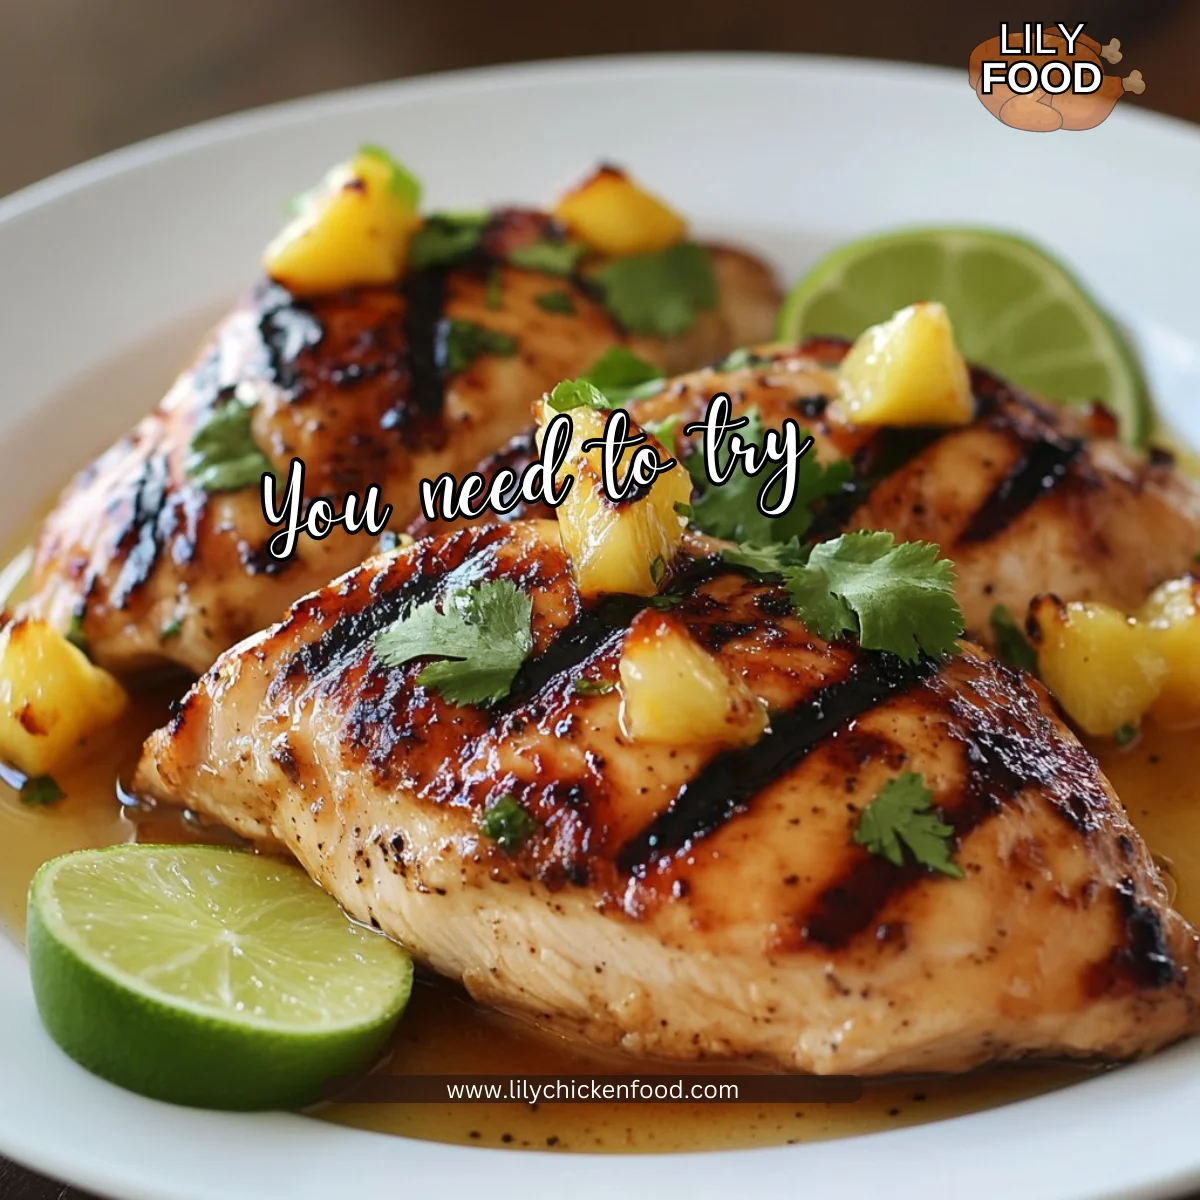
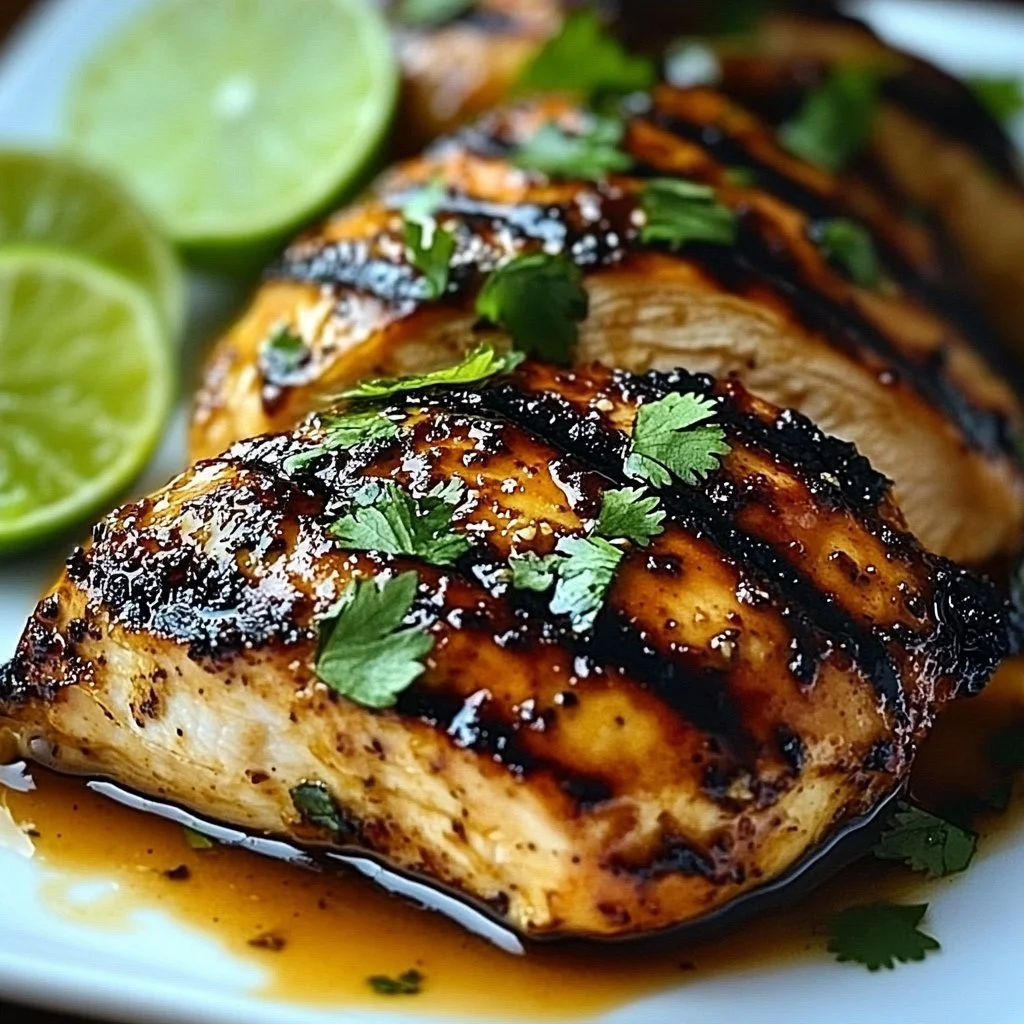
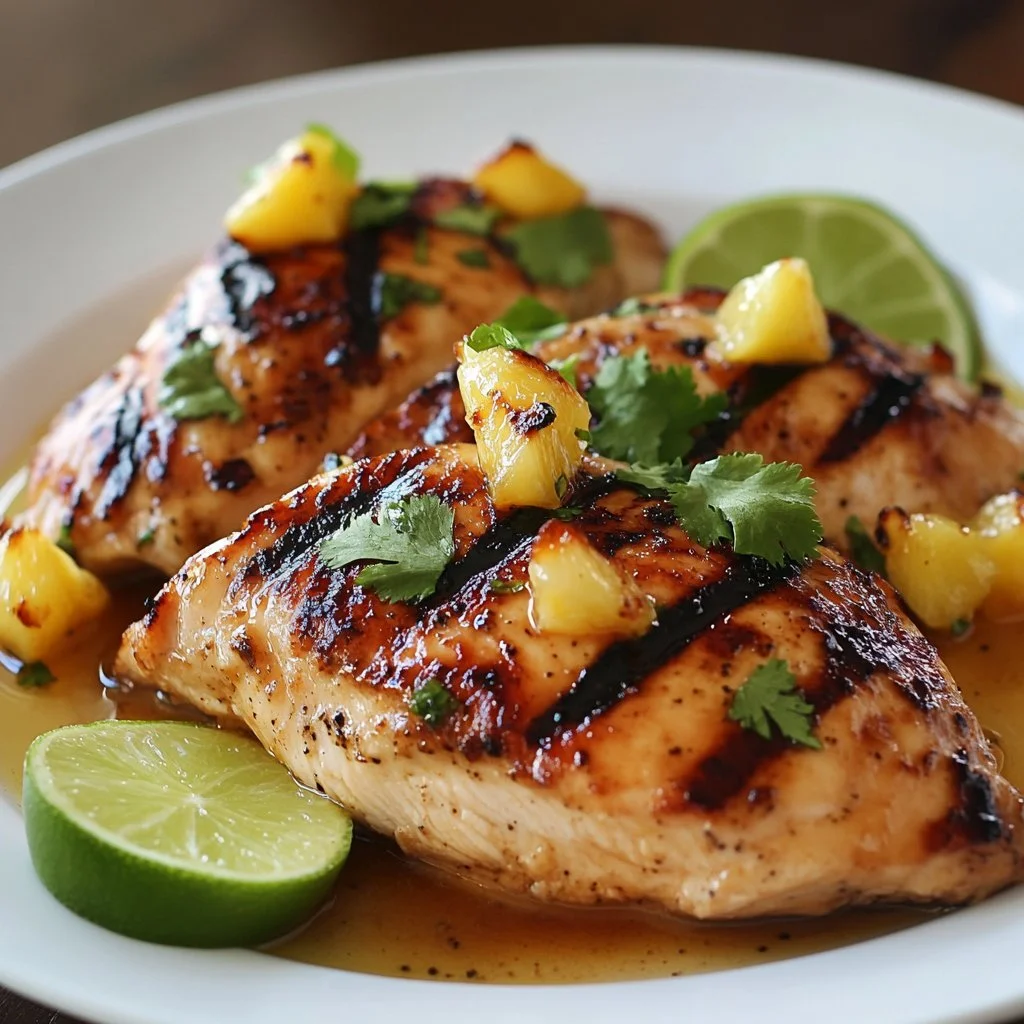
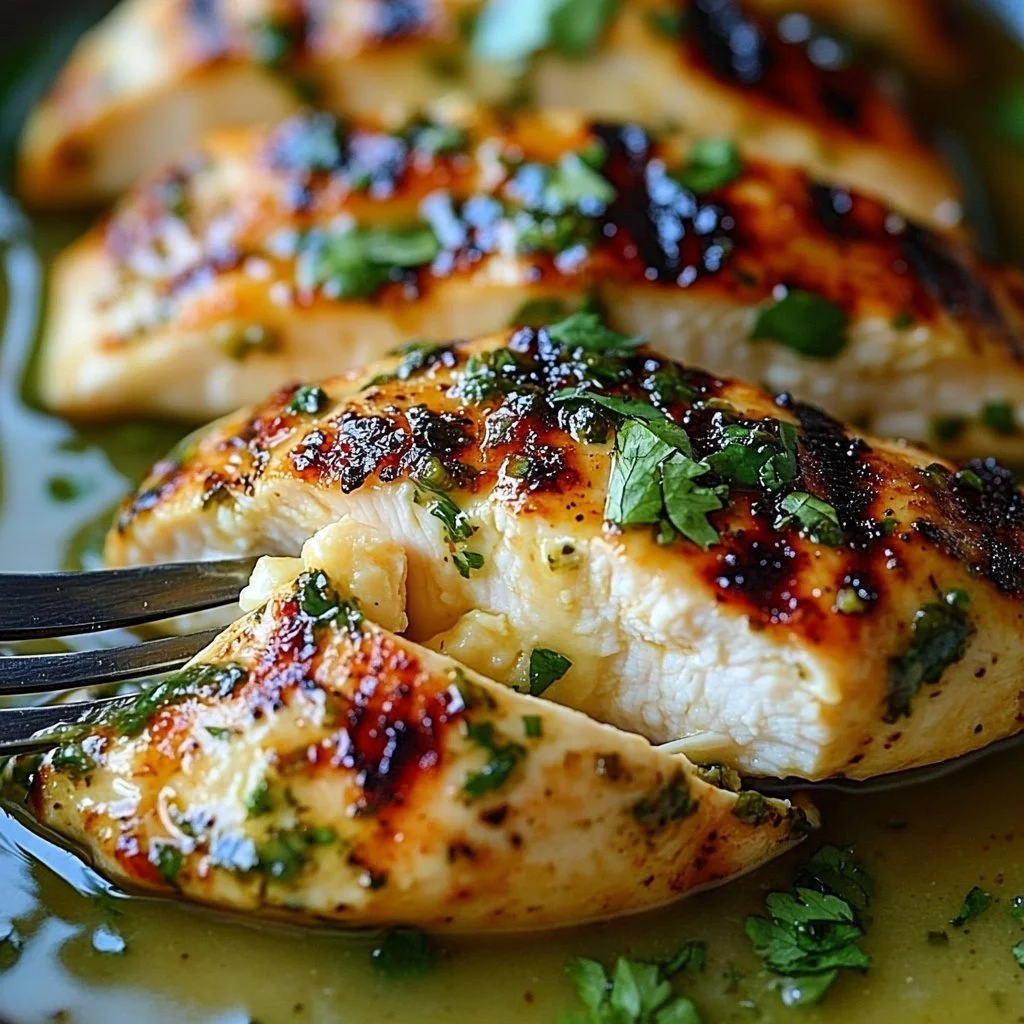
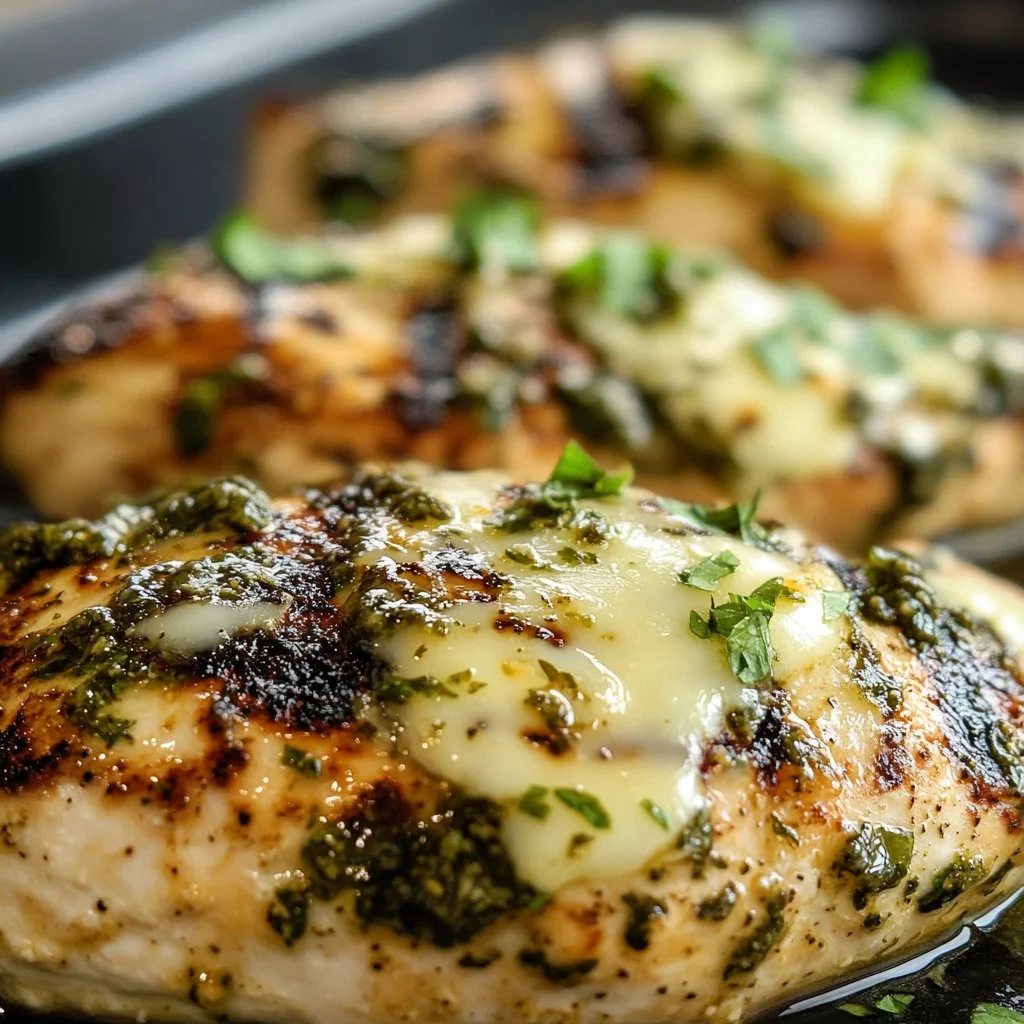
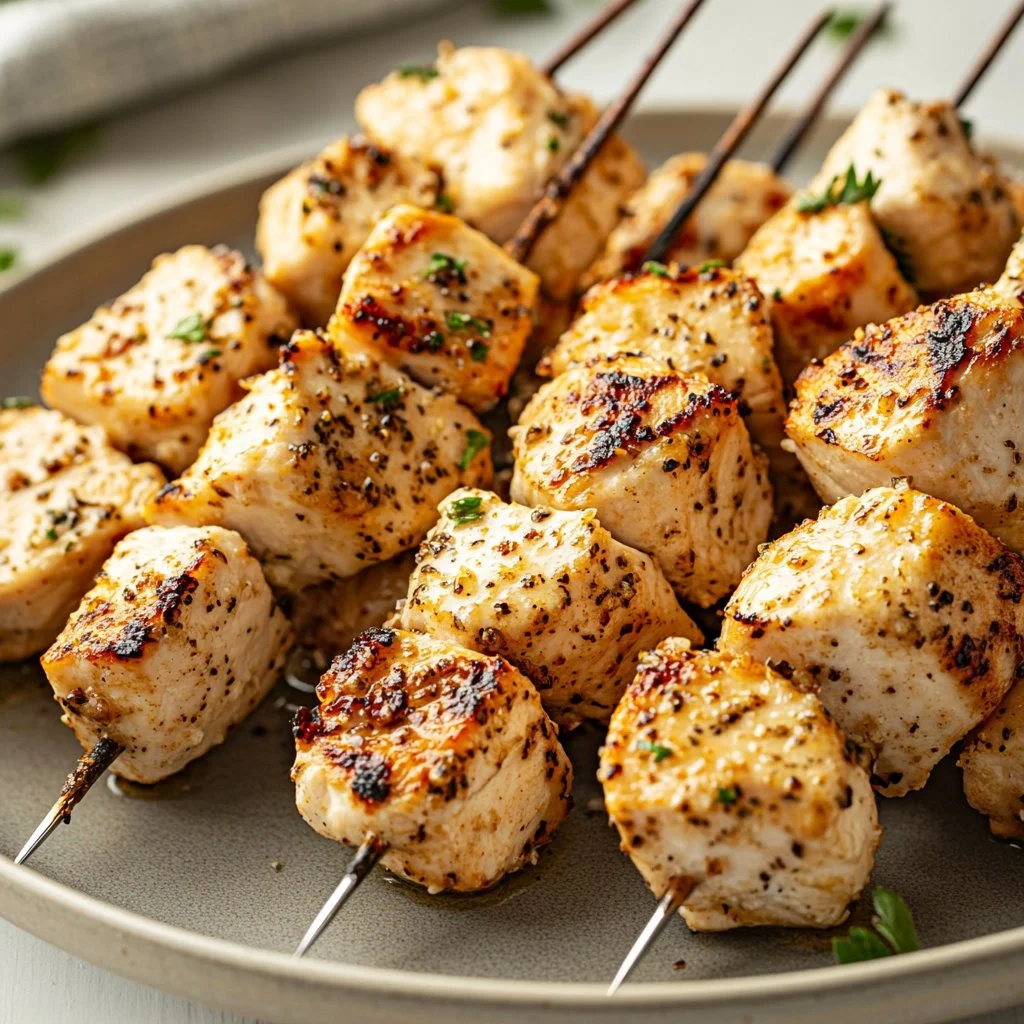
Grill the chicken for 6-8 minutes per side, or until fully cooked.
You’ll know it’s done when the juices run clear. Use a meat thermometer to check for 165°F. -
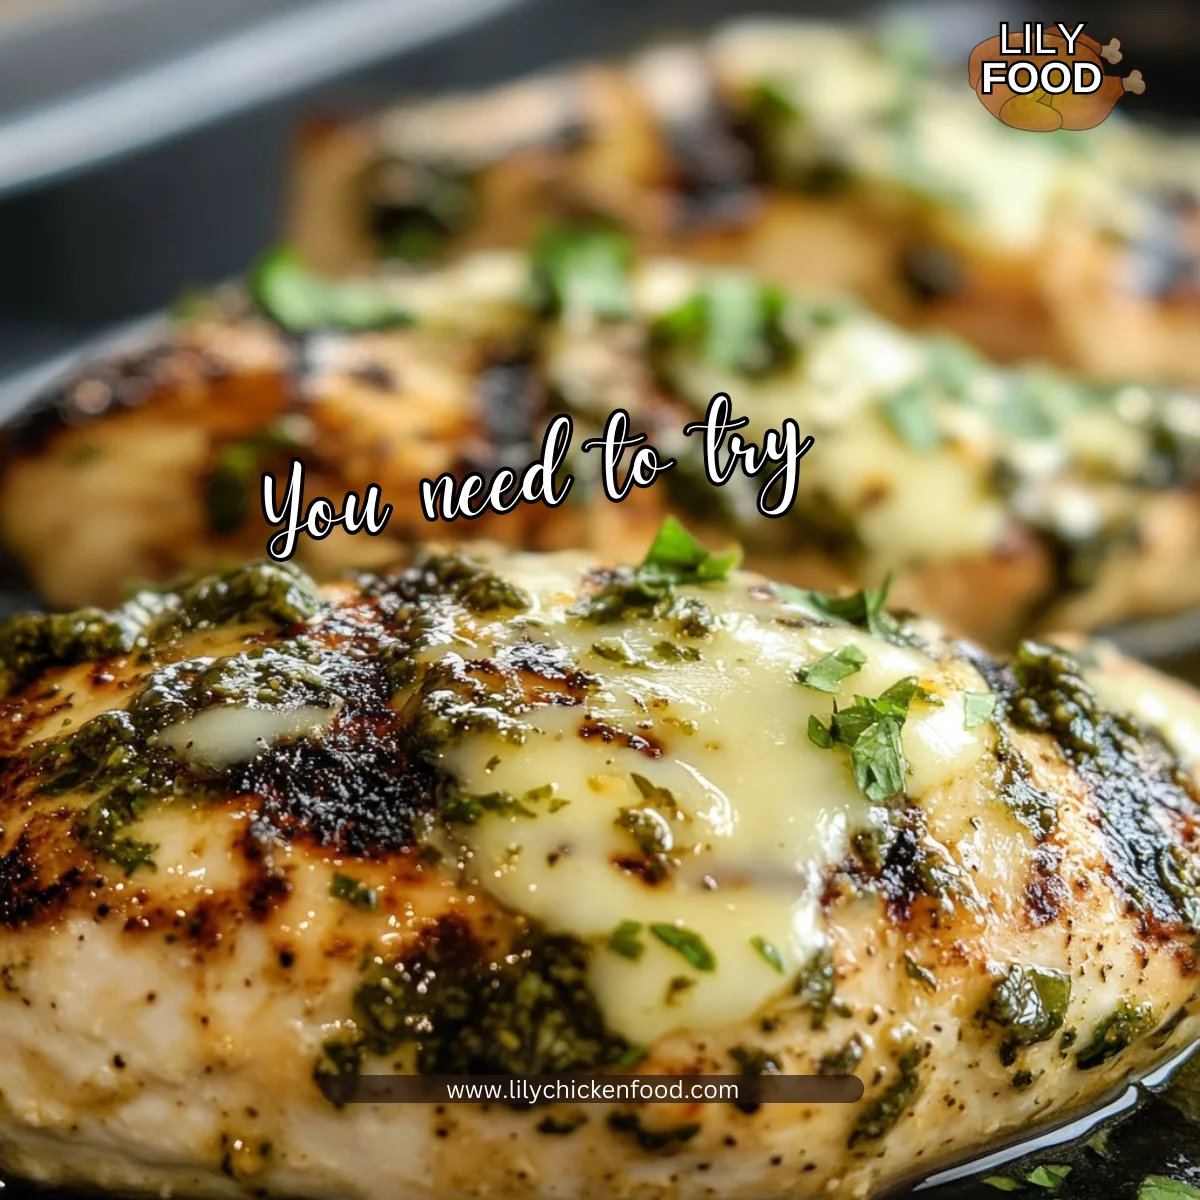
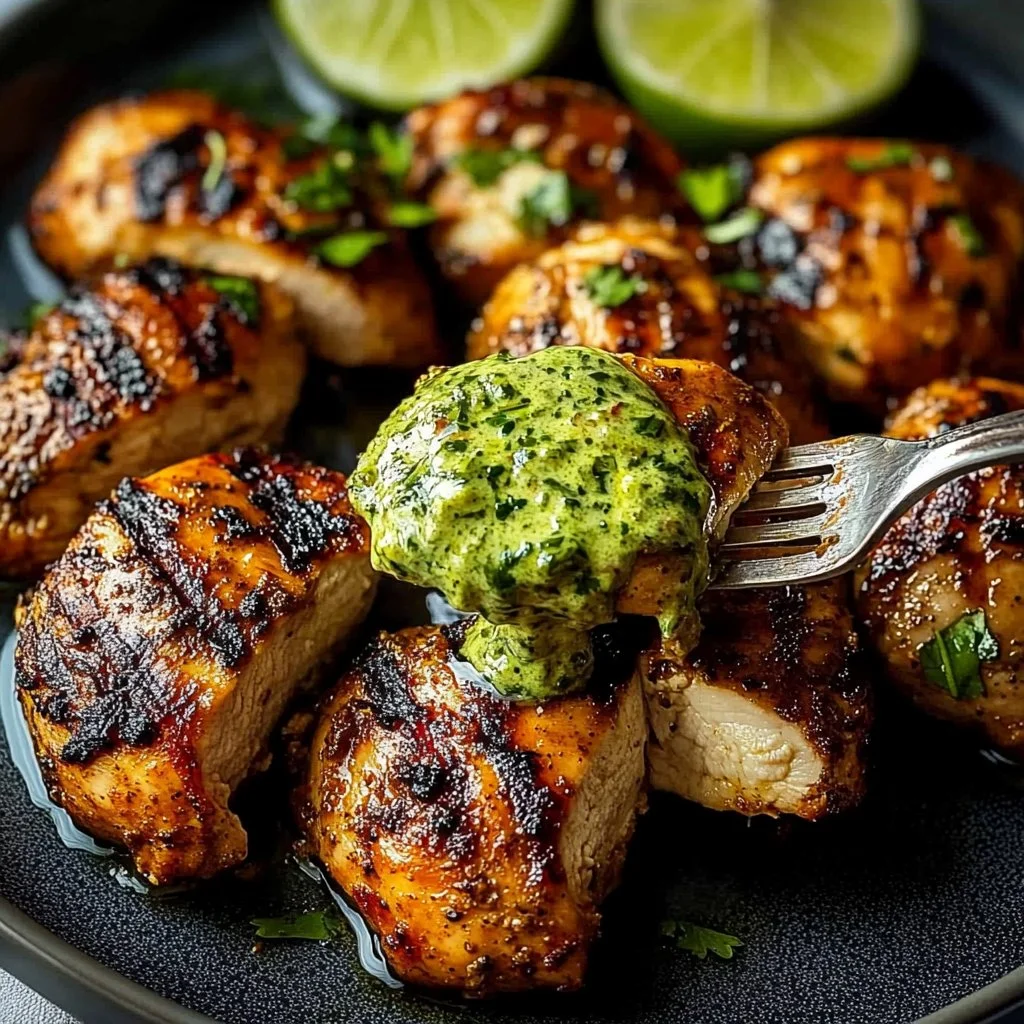
In a blender, combine cilantro, mayonnaise, lime juice, jalapeño, and garlic to make the creamy green sauce.
Blend until smooth. Taste and adjust seasoning as needed. -
Serve the grilled chicken with the sauce on the side.
Let everyone spoon on their desired amount for a fun, interactive meal!
Serving
When it comes to serving this dish, think family-style. Place the grilled chicken in the center of the table and the creamy green sauce in a bowl next to it. This inviting setup encourages everyone to dig in and serve themselves. You can pair it with rice, salad, or grilled vegetables for a well-rounded meal.
Storage
Leftovers can be stored in an airtight container in the fridge for up to 3 days. If you want to reheat, place the chicken in a preheated oven at 350°F for about 20 minutes, or until warmed through. Just don’t forget to enjoy the green sauce within the first few days for the best flavor!
Kitchen Notes
- Marinate the chicken overnight for even more flavor.
- Use leftover chicken in salads or sandwiches.
- If fresh cilantro isn’t your thing, parsley works as a substitute.
- Add Greek yogurt to the creamy green sauce for extra tang.
- Make extra sauce to use as a dip for veggies or chips.
Variations
For picky eaters, make simple tweaks. You can leave off the spicy jalapeño from the sauce, or serve the sauce on the side to allow family members to add as much or as little as they like. For those on a low-carb or gluten-free diet, use lettuce wraps instead of tortillas to enjoy the grilled chicken.
If someone is vegan, consider marinating and grilling firm tofu instead. Adjust the spices and sauce ingredients accordingly to make it delicious for everyone!
FAQ
-
Can I use bone-in chicken?
Yes, but cooking times will vary. Make sure to reach an internal temperature of 165°F. -
Is there a substitute for mayonnaise?
Absolutely! Greek yogurt or avocado can also work well for a healthier alternative. -
What if I don’t have a grill?
You can bake the chicken in the oven at 400°F for 20-25 minutes or until fully cooked. -
How can I make this recipe Keto-friendly?
Just ensure to serve it with low-carb veggies and avoid high-carb sides like rice and bread. -
Can I freeze this?
Yes, you can freeze the grilled chicken! Just store it in an airtight container for up to 3 months.
Conclusion
Cooking is love made visible. This Peruvian Grilled Chicken with Creamy Green Sauce recipe embodies that spirit. From the moments spent preparing the meal to the enjoying it with family, every step is a chance to create lasting memories. I hope this dish becomes a favorite at your dinner table, just like it has at mine. Enjoy every bite and the laughter that comes with it!

Peruvian Grilled Chicken
Ingredients
For the Chicken
- 4 pieces boneless skinless chicken breasts (Choose for easy grilling)
- 2 tablespoons olive oil (Extra virgin olive oil adds a richer flavor)
- 1 teaspoon cumin (Provides a warm, earthy taste)
- 1 teaspoon paprika (Adds a subtle smokiness)
- to taste salt (Don’t skip the seasoning!)
- to taste pepper (Don’t skip the seasoning!)
For the Creamy Green Sauce
- 1 cup fresh cilantro (For a fresh, vibrant flavor)
- 1/2 cup mayonnaise (Substitute Greek yogurt for a lighter option)
- 1 tablespoon lime juice (Fresh lime juice brings a zesty kick)
- 1 piece jalapeño (Seeded and chopped, adjust for desired spice level)
- 2 cloves garlic (Add fresh garlic for depth of flavor)
Instructions
Preparation
- Preheat the grill to medium-high heat.
- In a bowl, mix olive oil, cumin, paprika, salt, and pepper.
- Coat the chicken breasts in the spice mixture, ensuring each piece is well covered.
Cooking
- Grill the chicken for 6-8 minutes per side, or until fully cooked. The internal temperature should reach 165°F.
- In a blender, combine cilantro, mayonnaise, lime juice, jalapeño, and garlic to make the creamy green sauce. Blend until smooth.
- Serve the grilled chicken with the sauce on the side for everyone to spoon on their desired amount.