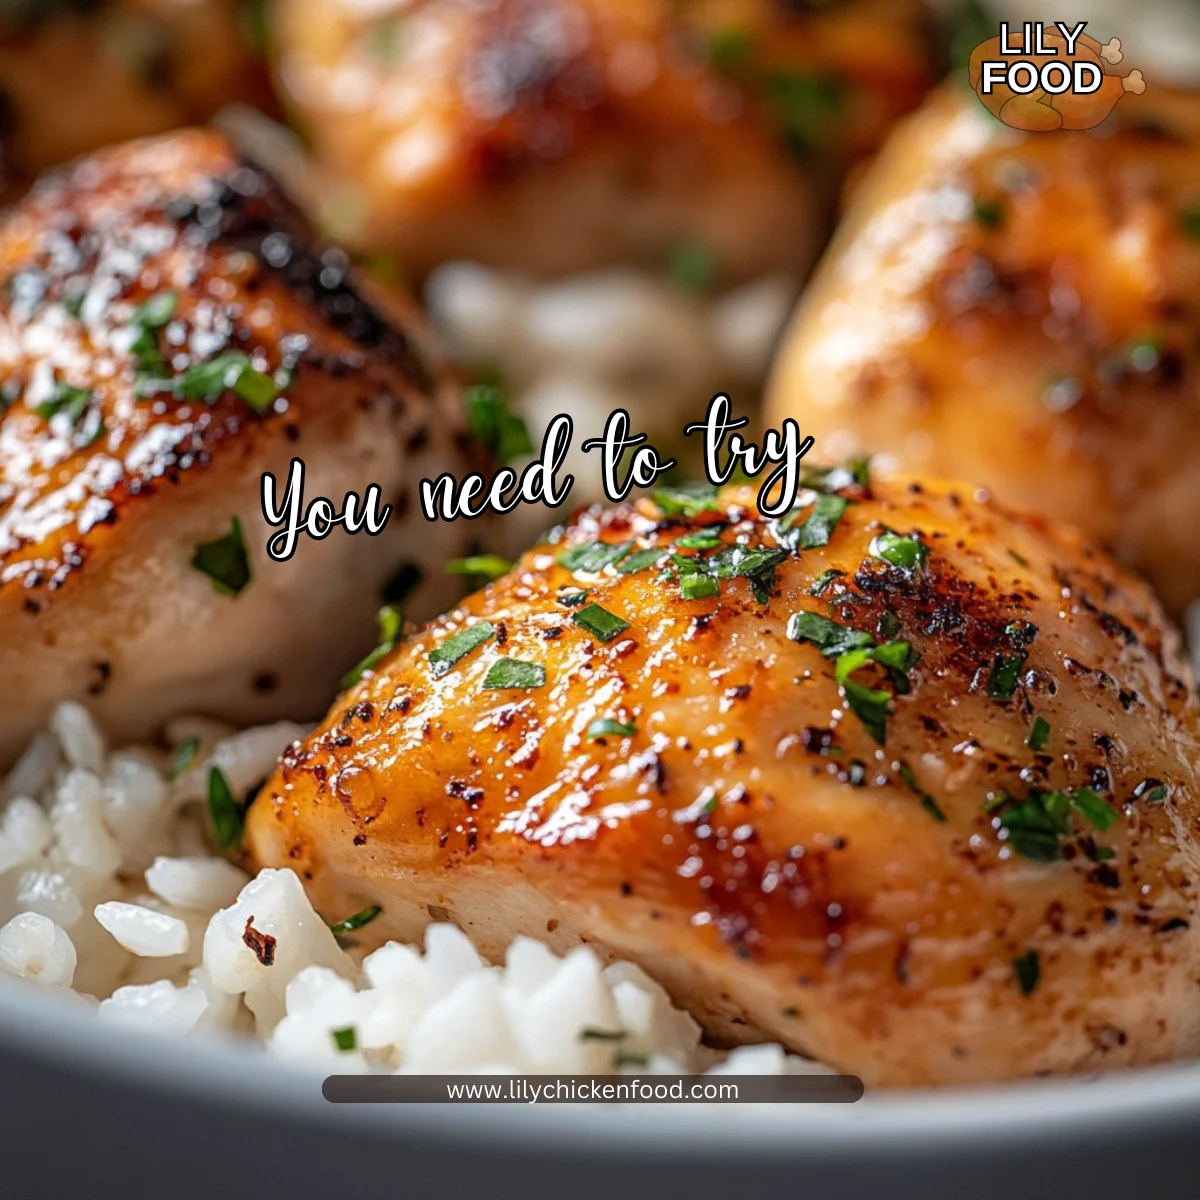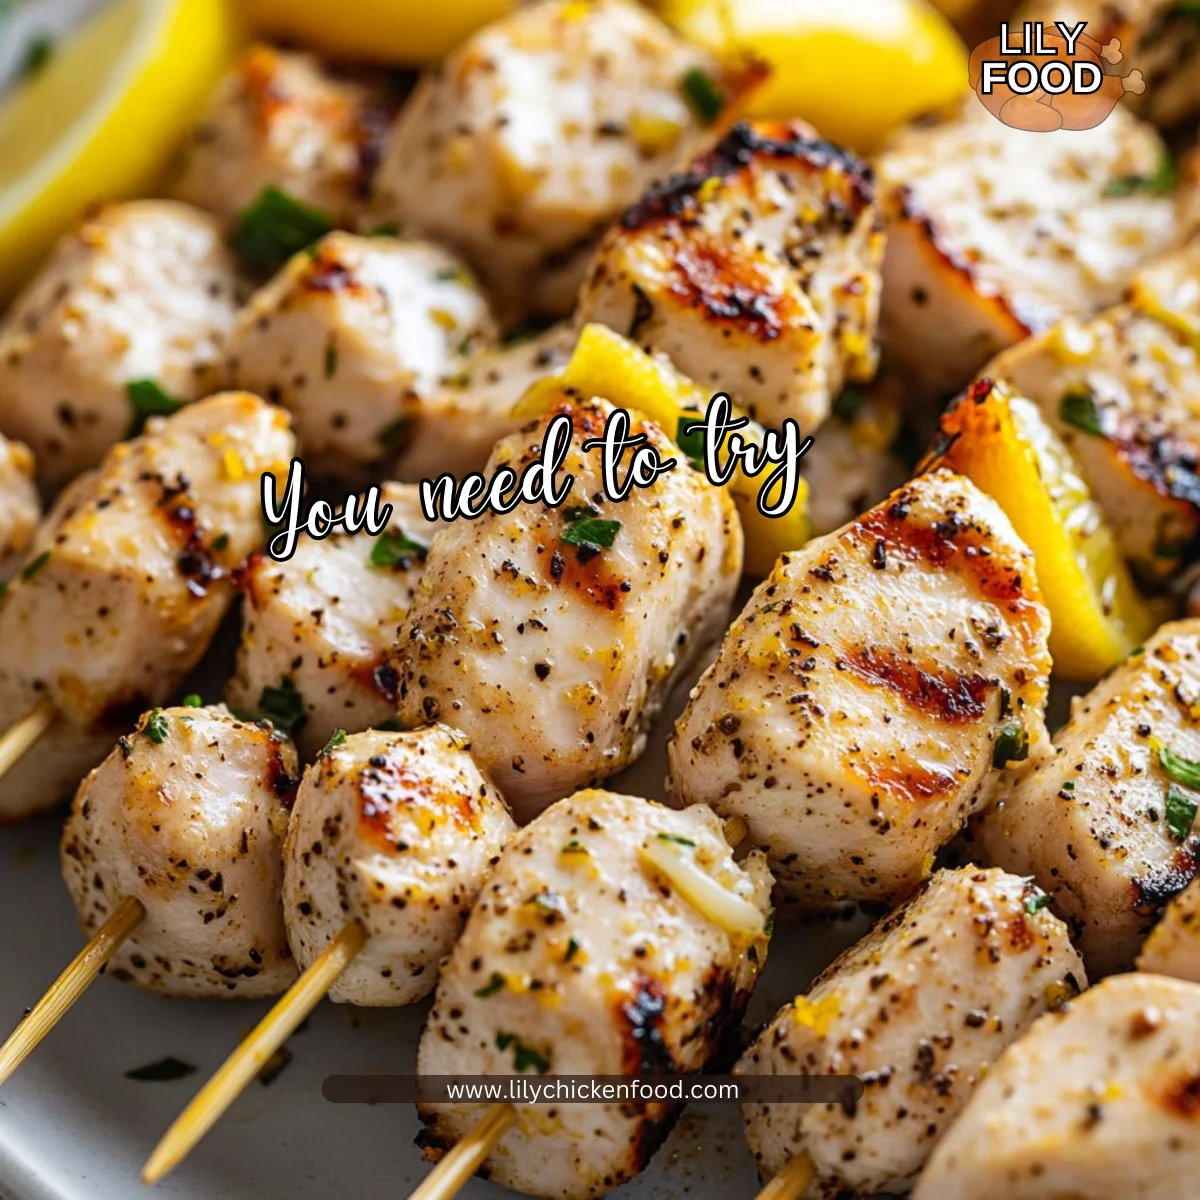
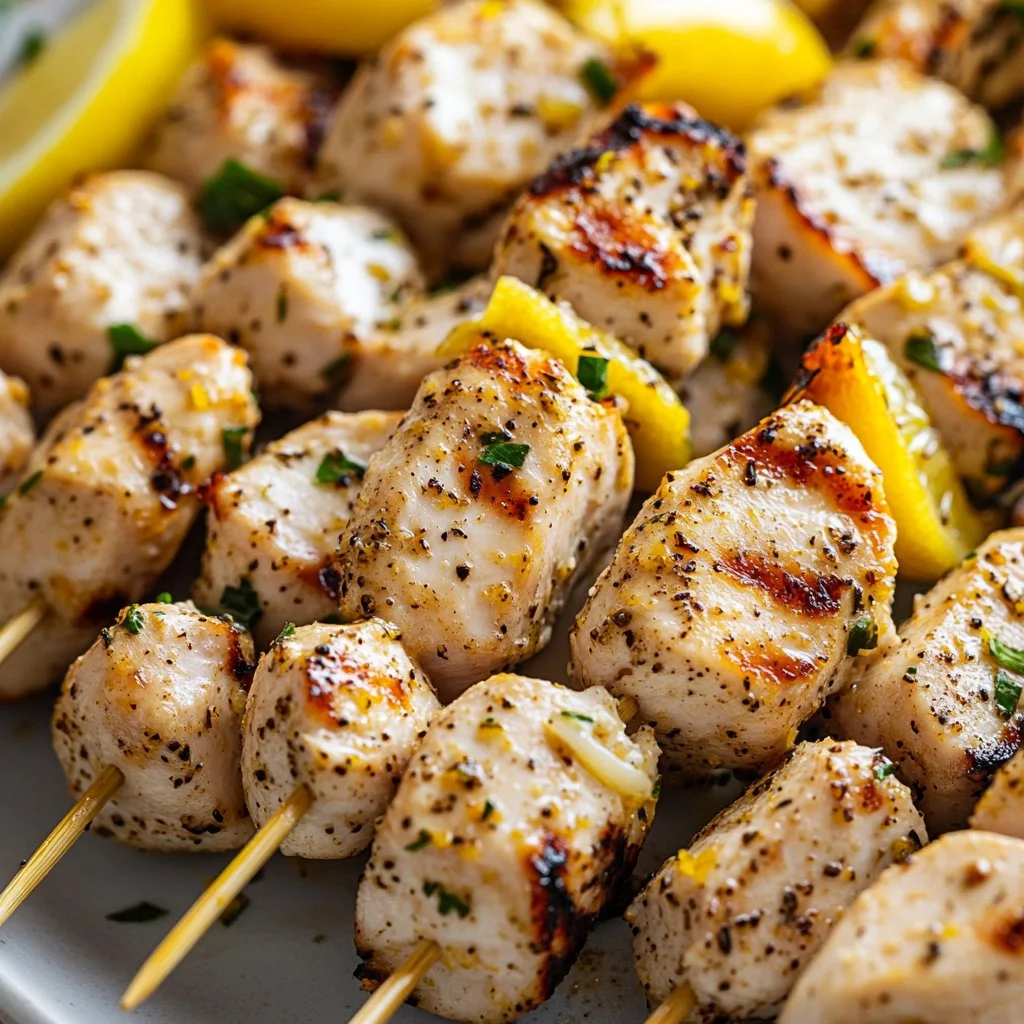
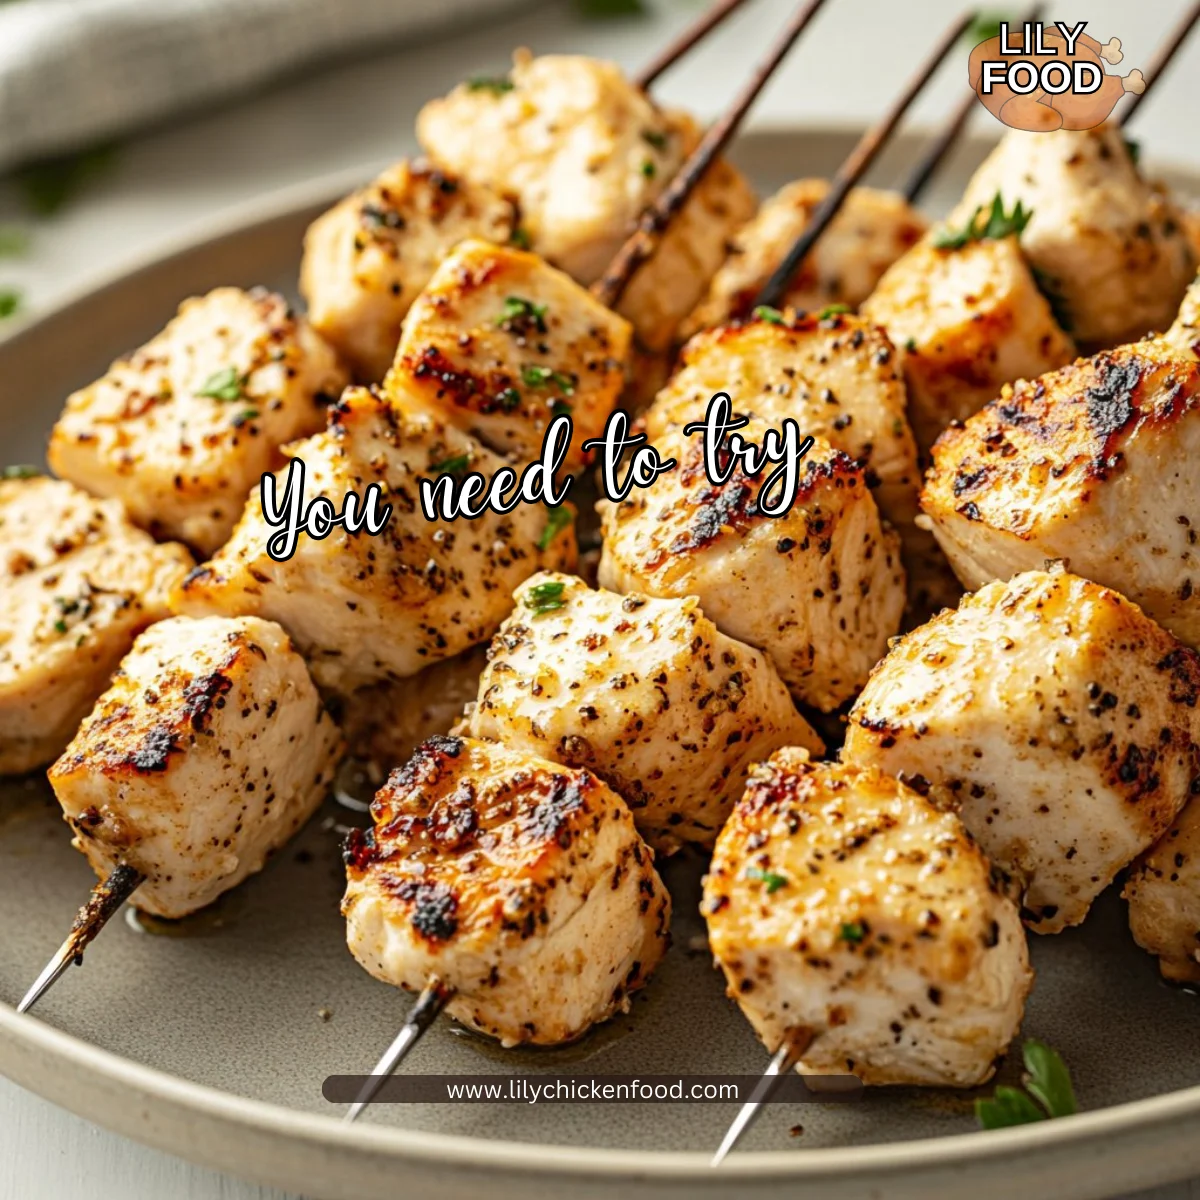
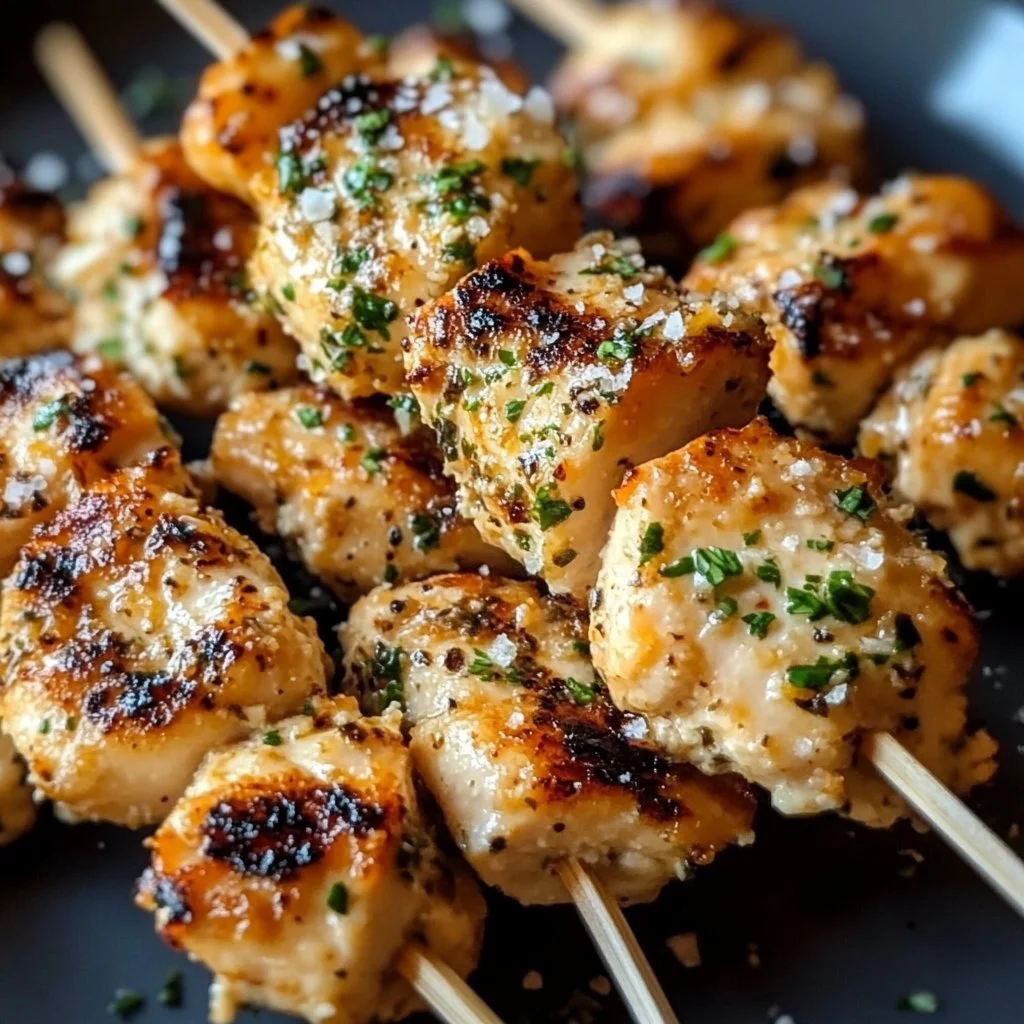
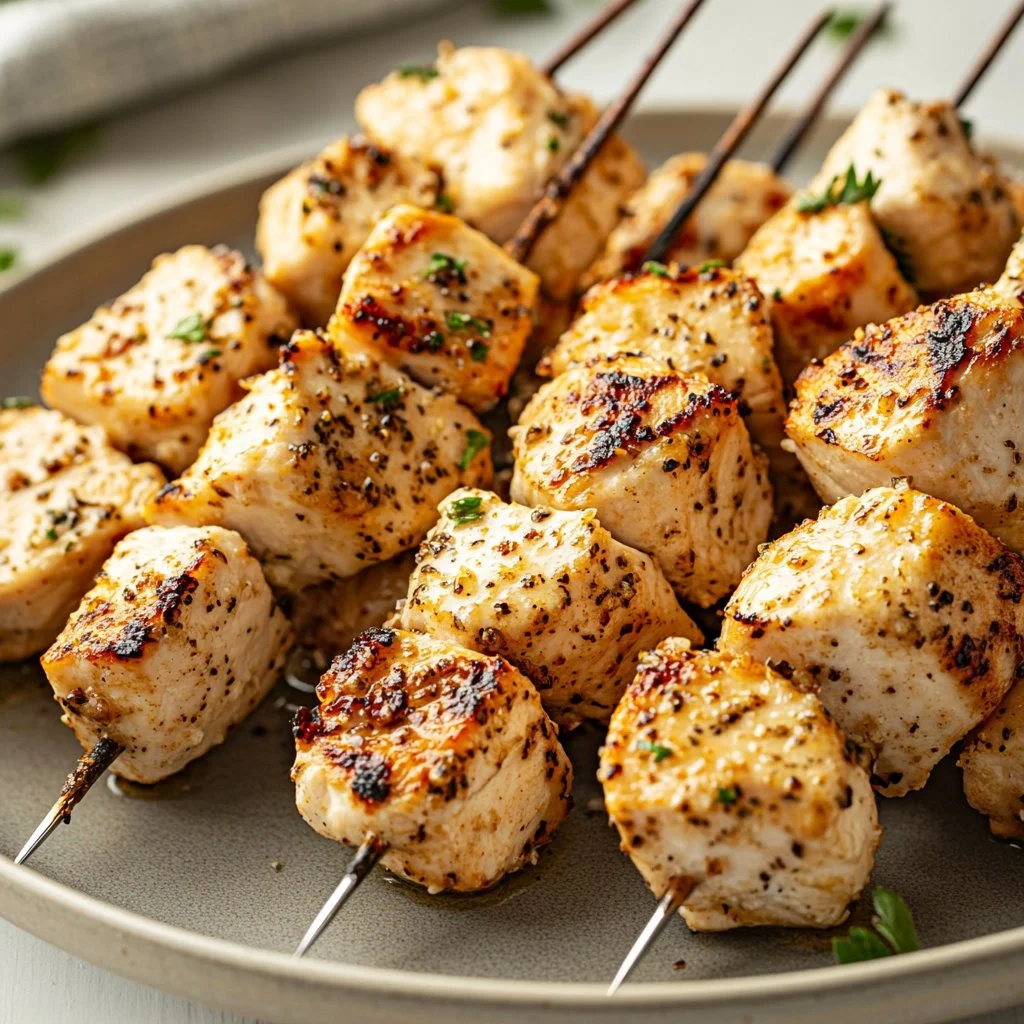
Lemon Pepper Chicken Skewers
I can still smell the lemon when I walk into my kitchen. The sizzle when the chicken hits a hot pan sounds like a welcome song. This recipe fills the room with bright, fresh citrus and warm garlic. It is exactly the kind of dinner my family asks for again and again.
If you want a quicker weeknight approach, I often pair this recipe with an air fryer option I developed earlier for crispy results and less mess. See my detailed air fryer notes for timing and tips: air fryer method.
Why this works

H2: Why this works
H3: Bright, simple flavors that travel well
Lemon zest lifts the whole dish, and fresh garlic gives it a savory backbone. The simplicity means every ingredient has a job. Kids and adults both find this easy to enjoy.
H3: Family-friendly and time-saving
This recipe trims prep time with basic pantry staples and quick-cooking chicken. You can marinate in the morning and grill or cook after school. It holds well for leftovers and makes weeknight dinners feel special.
H3: Proven in my kitchen
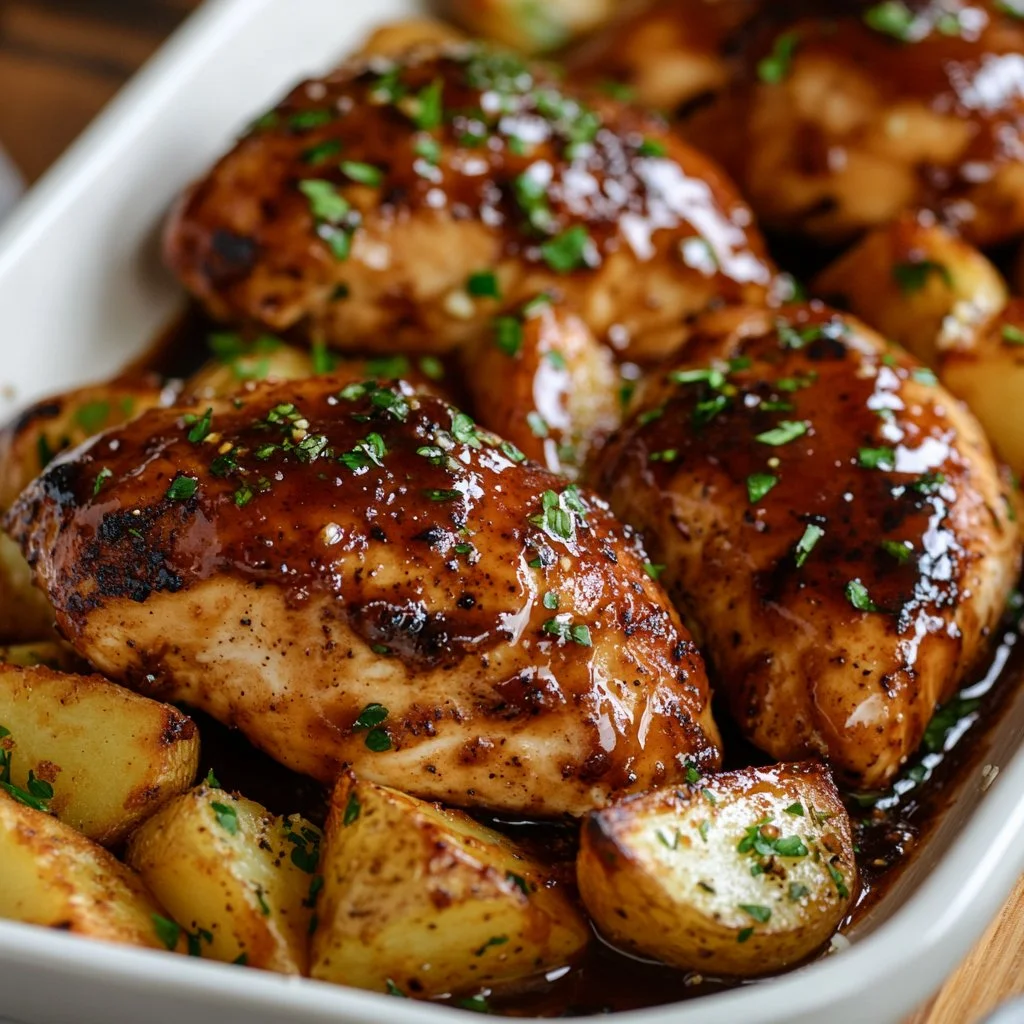
I make this when I want something fast but homemade. It pairs well with a buttery side or a crisp salad, so I often serve it with a tried and true pepper-forward dish from my collection for a peppery contrast: black pepper chicken.
Process Overview
H2: Process Overview
“This is where the magic happens—when the aroma fills the kitchen.”
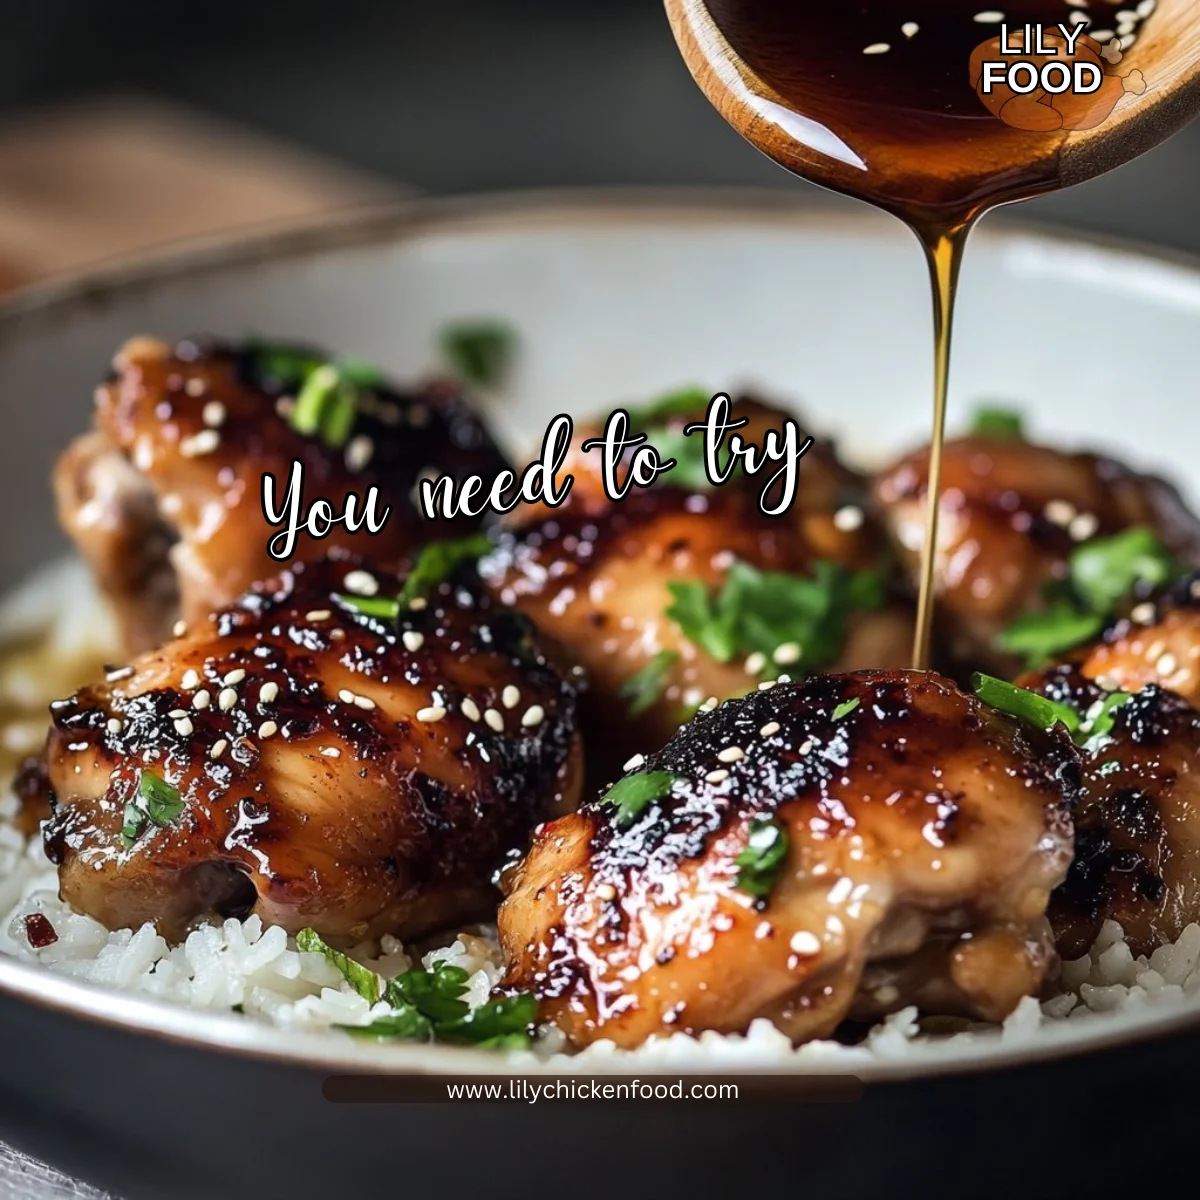
We start by zesting lemons and mincing garlic. Then we toss cubes of chicken in olive oil, lemon zest, garlic, salt, and lots of cracked black pepper. The chicken soaks up flavor in minutes, then cooks quickly on skewers.
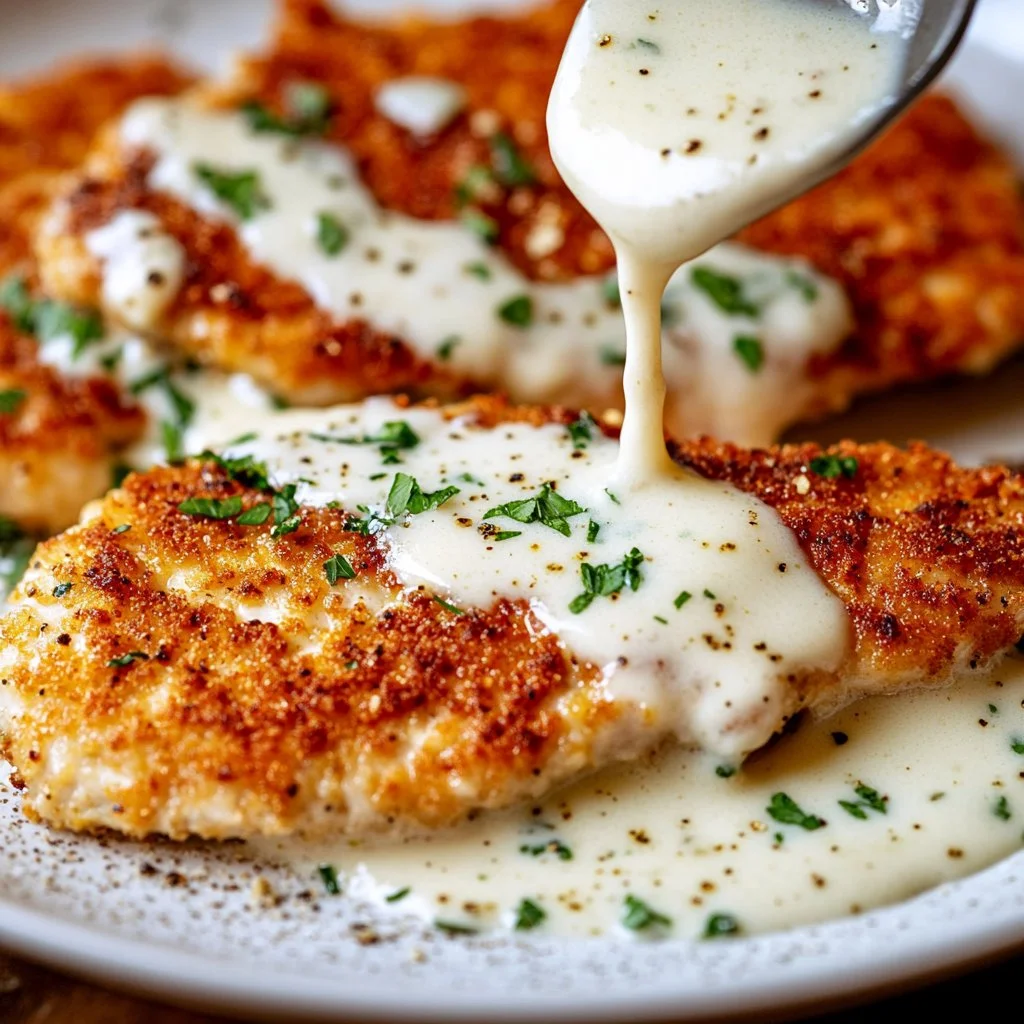
For a touch of richness, I finish with a garlic butter glaze. If you like a deeper lemon-butter finish, I sometimes borrow techniques from my baked lemon butter recipe to finish flavors and add shine: baked lemon butter notes.
Ingredients
H2: Ingredients
H3: Chicken breasts
Use boneless, skinless chicken breasts for even cubes. Choose fresh or fully thawed chicken. Tip: Trim any excess fat so the cubes cook evenly and look neat on skewers.
H3: Lemon zest
Zest one to two lemons depending on size. The zest gives bright, natural lemon flavor without extra acid. Tip: Use a microplane for fine zest that mixes into the marinade.
H3: Garlic
Fresh garlic adds aroma and depth. I like two to three cloves minced. Tip: Let the garlic sit briefly in the oil to mellow before mixing with the chicken.
H3: Olive oil
Olive oil helps carry flavors and prevents sticking. Tip: Use a light olive oil for a neutral taste if you prefer a subtler olive note.
H3: Butter
Butter melts into a glossy glaze that kids love. I use unsalted butter so I can control the seasoning. Tip: Finish the skewers with melted butter mixed with minced garlic for extra comfort.
H3: Salt
Salt brings everything forward. Use kosher or sea salt for even coverage. Tip: Season in layers, and taste a cooked cube to adjust if you need more.
H3: Pepper
Freshly cracked black pepper gives a warm heat. Use coarse-cracked black pepper for texture. Tip: If your family is sensitive to pepper, start with less and offer extra at the table.
Directions
H2: Directions
-
Cut chicken breasts into cubes and place in a bowl.
- Encouragement: Take your time to cut uniform cubes so they cook at the same rate. Small kids can help rinse the cutting board afterward.
-
Add lemon zest, minced garlic, olive oil, salt, and pepper.
- Encouragement: Smell the bowl once everything is added. That bright lemon scent tells you it is coming together.
-
Mix well to coat the chicken.
- Encouragement: Use your hands or a spoon to make sure every piece is covered. A little massage makes a big flavor difference.
-
Thread the chicken onto skewers.
- Encouragement: Leave a little space between pieces so heat moves freely. Wooden skewers work well after soaking; metal skewers are perfect for repeat dinners.
-
Preheat grill, air fryer, or stovetop pan.
- Encouragement: A hot surface seals the juices. If using an air fryer, follow the timing from my air fryer guide to avoid overcooking: air fryer method.
-
Cook skewers for 10-15 minutes, turning occasionally, until cooked through.
- Encouragement: Use a meat thermometer for peace of mind. Chicken is done at 165° F. Keep an eye on color to avoid drying.
-
Melt butter and mix with minced garlic for glaze.
- Encouragement: Warm the butter gently so the garlic softens but does not burn. This glaze makes the skewers glossy and irresistible.
-
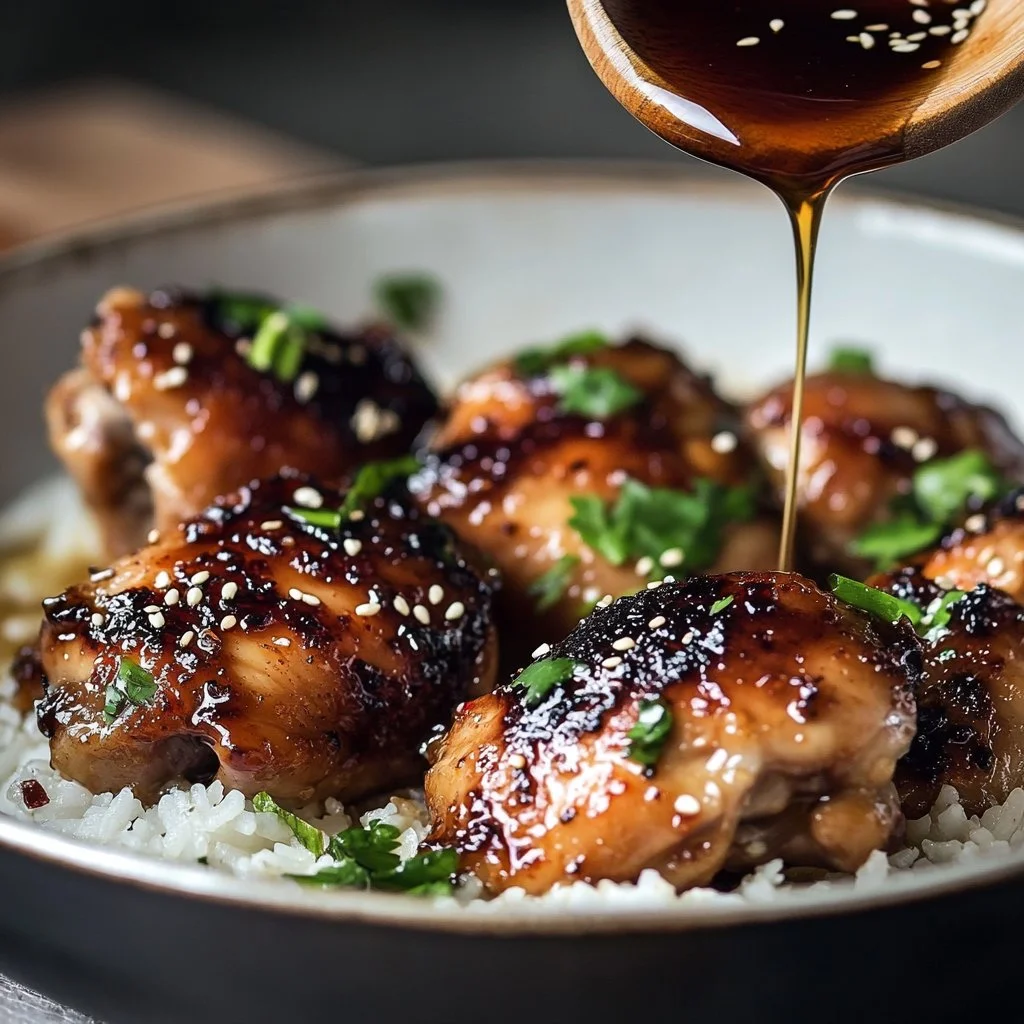
Brush the garlic butter glaze over skewers before serving.
- Encouragement: Do this right off the heat so the butter melts into the warm chicken. Let the family help brush for a fun finishing touch.
-
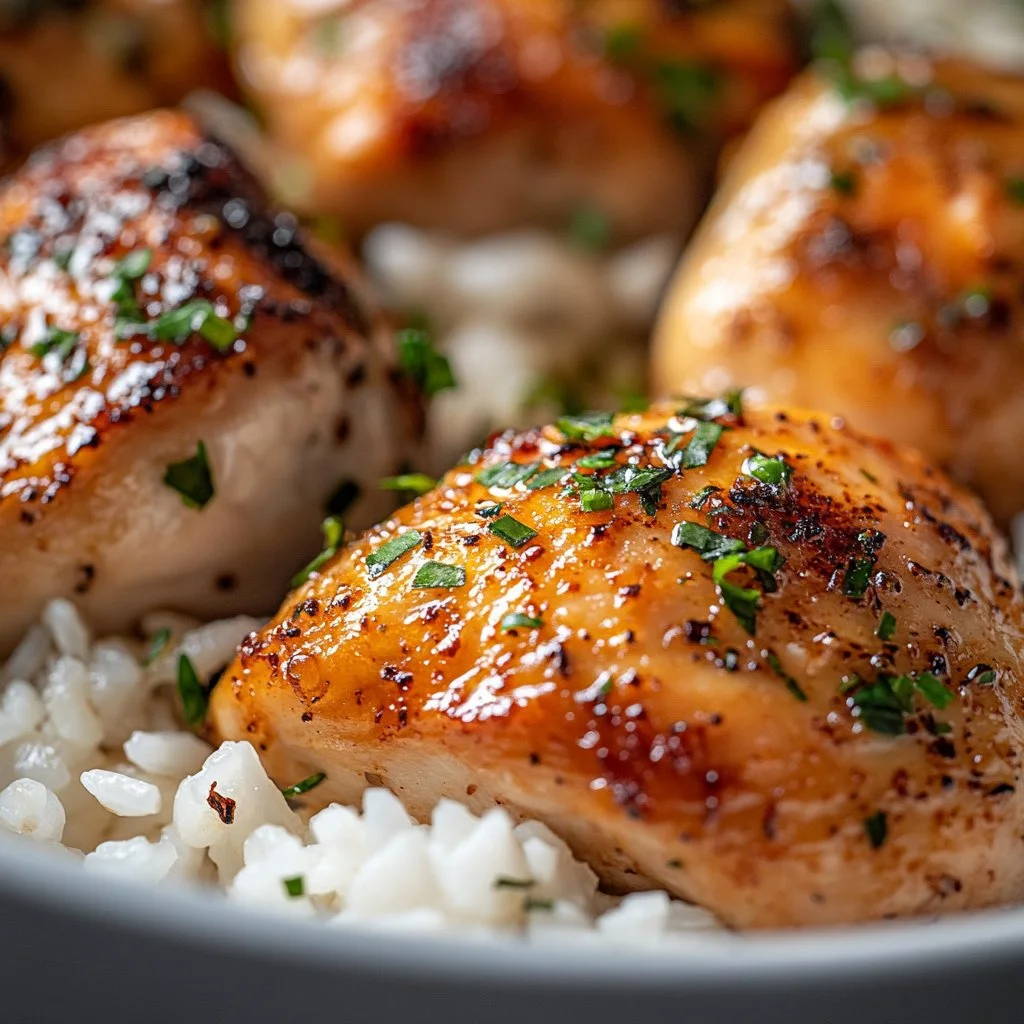
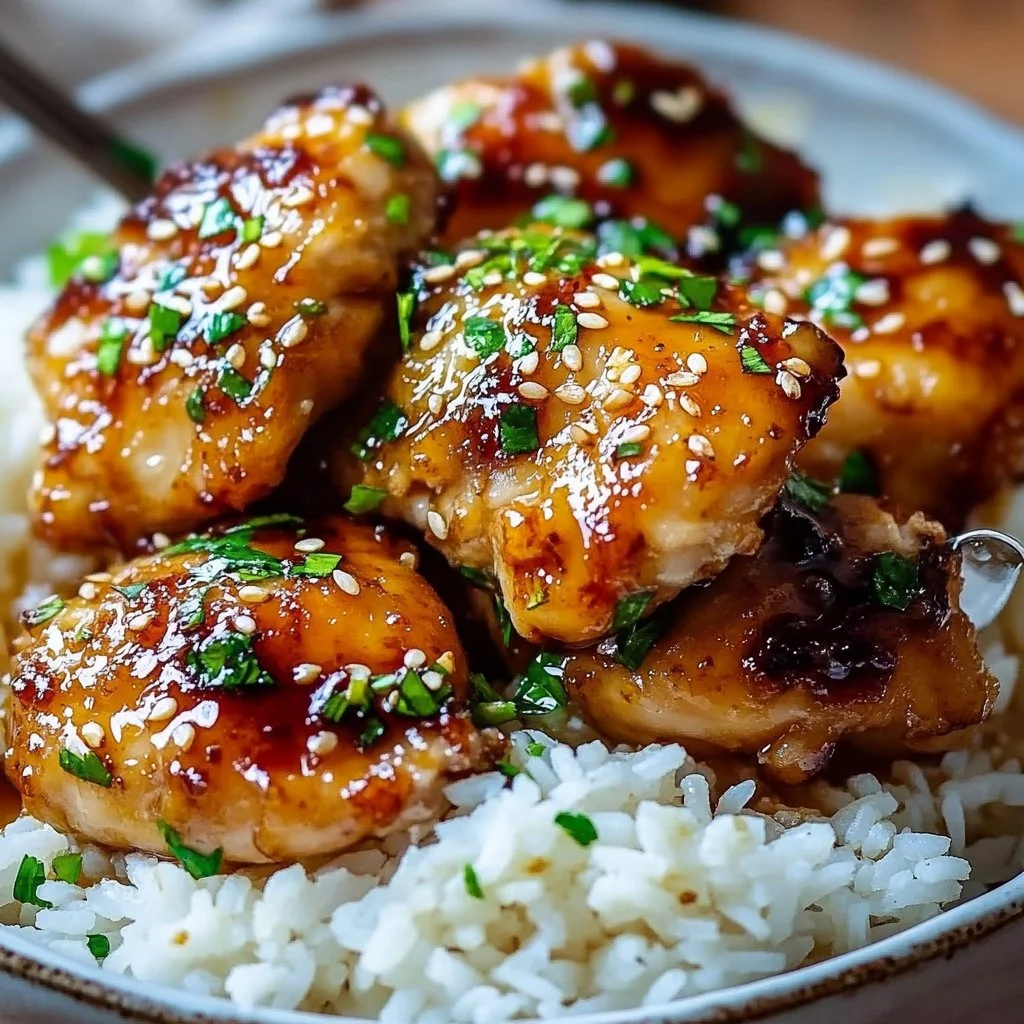
Serve with rice, salad, or grilled veggies.
- Encouragement: Arrange the skewers family-style for hands-on dinner time. Add a squeeze of lemon if you like it brighter.
Serving
H2: Serving
H3: How to serve family-style
Place the skewers on a wide platter with bowls of lemon wedges, extra cracked pepper, and a small dish of the garlic butter glaze. Kids can pick their favorite sides and build their own plates.
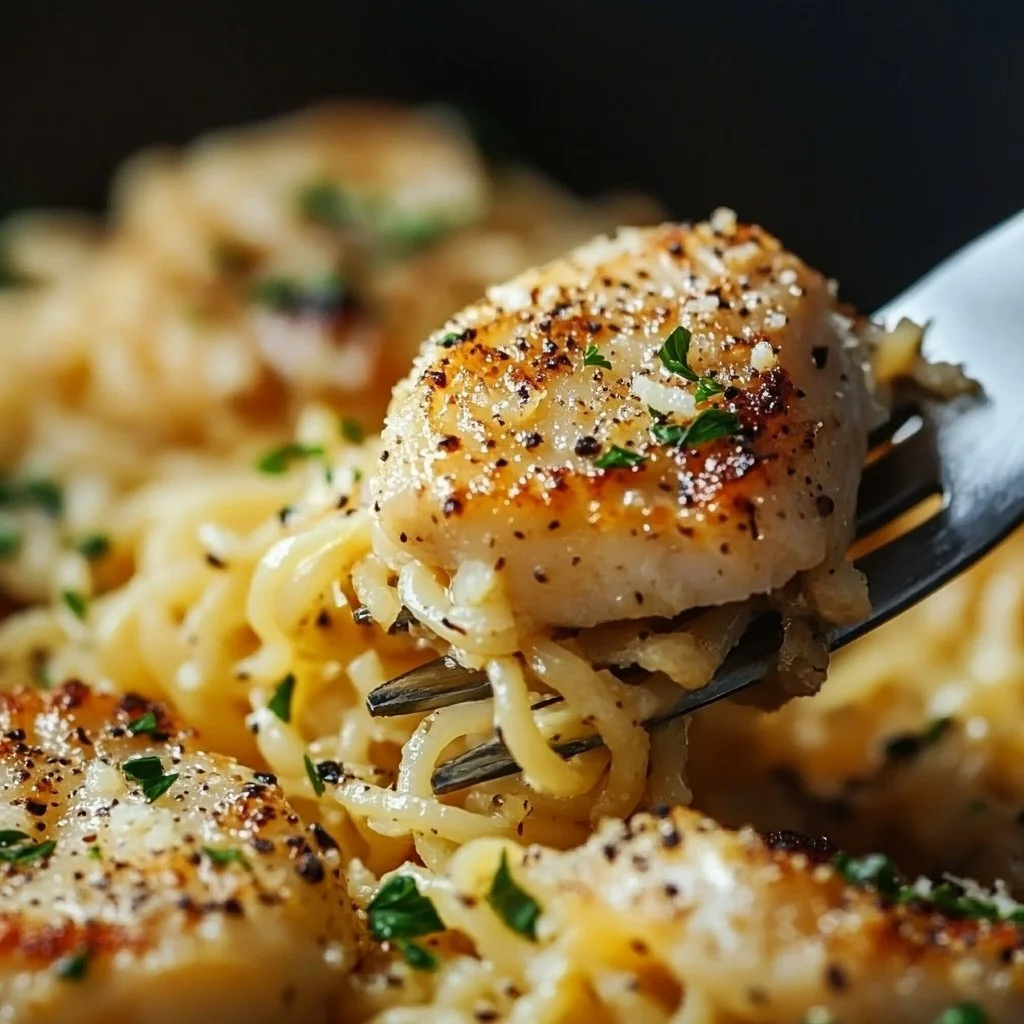
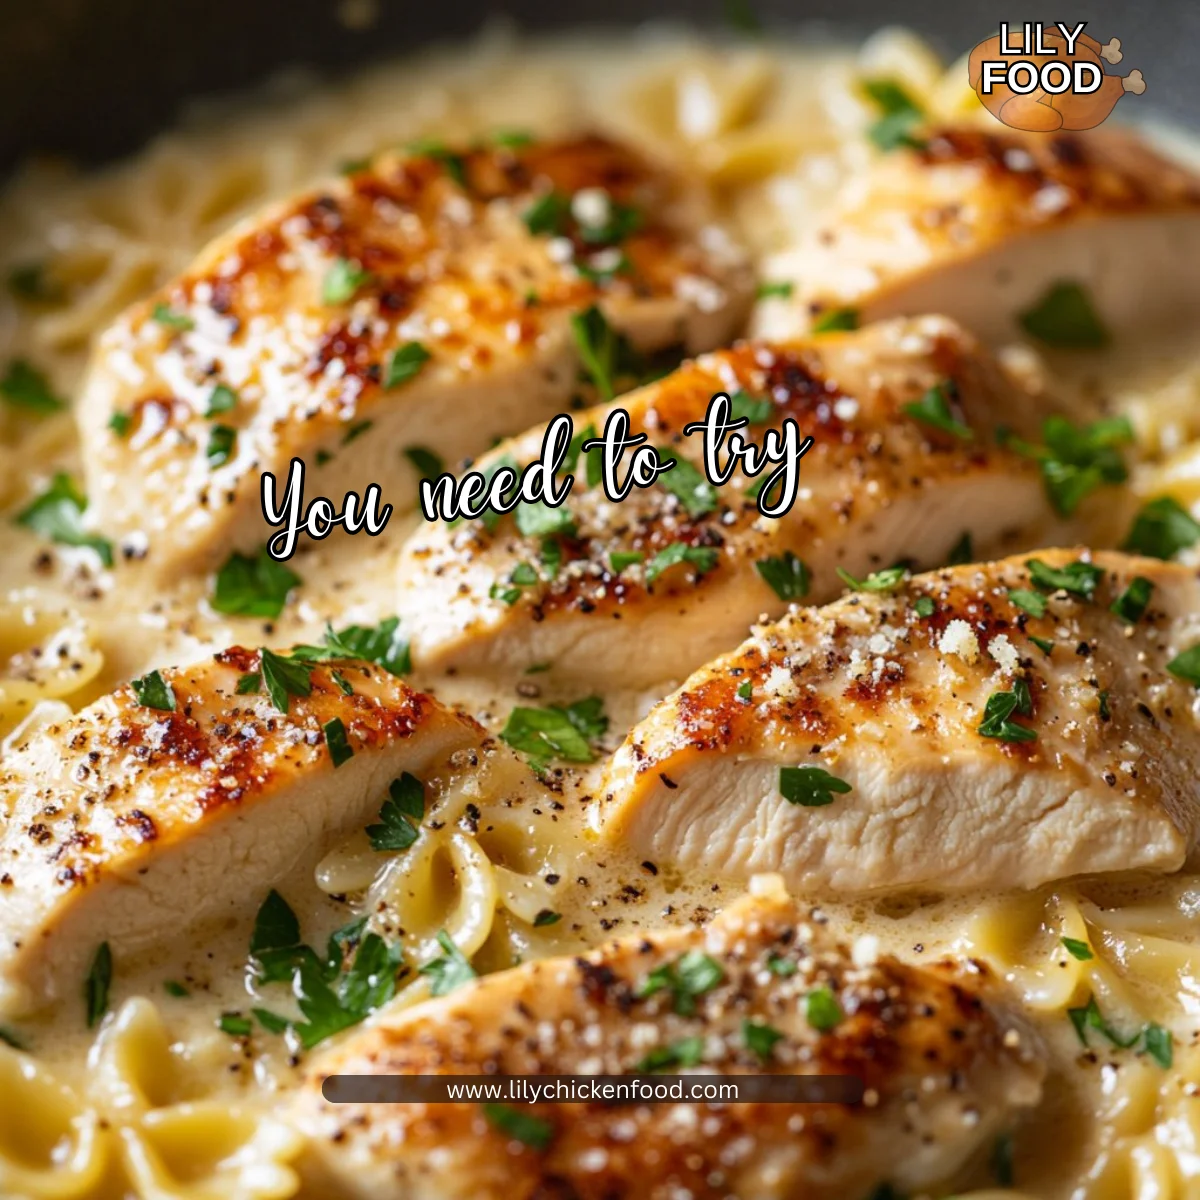
Nearby, offer fluffy rice or a simple green salad. For a homely combo, I sometimes serve with a buttery pasta and broccoli dish that the whole family loves: buttery pasta and broccoli pairing.
H3: Presentation tips
Keep the skewers resting five minutes after cooking so the juices settle. Garnish with finely chopped parsley or extra lemon zest for a bright finish. Serve warm and watch the room fill with happy bellies.
Storage
H2: Storage
H3: Fridge
Store leftover skewers in an airtight container for up to 3 days. I like to remove chicken from skewers before storing to save space and make reheating easier.
H3: Reheat
Warm gently in a 325° F oven for about 8 to 12 minutes. You can also reheat in an air fryer at 350° F for 3 to 5 minutes for a quick crisp. If using a microwave, cover lightly and reheat in short bursts to avoid drying.
H3: Freezing
Freeze cooked, cooled chicken in a single layer on a tray, then transfer to a sealed freezer bag for up to 2 months. Thaw overnight in the refrigerator before reheating.
Kitchen Notes
H2: Kitchen Notes
- Soak wooden skewers for 20 minutes before grilling to prevent charring and make handling safer.
- If you are short on time, marinate for just 20 minutes and still get good flavor.
- Use a meat thermometer to ensure a safe 165° F internal temperature every time.
- Swap lemon zest for lemon juice in the marinade if you have no zest, but reduce overall liquid to prevent soggy chicken.
- For easy cleanup, line your baking sheet with foil or use a grill pan to catch drips.
Variations
H2: Variations
H3: For picky eaters
Skip the pepper or use a small sprinkle. You can also swap lemon zest for a pinch of lemon pepper seasoning if your family prefers a milder, familiar taste.
H3: Spicy twist
Add red pepper flakes or a dash of cayenne to the marinade. For a recipe that turns up the heat in a family-friendly way, try a bang-bang inspired version from my pantry files: spicy bang-bang variation.
H3: Low-carb or keto
Serve over cauliflower rice or alongside roasted zucchini. The butter glaze keeps the flavor rich without adding carbs.
H3: Gluten-free
This recipe is naturally gluten-free if you use pure spices and check labels on any store-bought seasonings.
FAQ
H2: FAQ
H3: Can I use chicken thighs instead of breasts?
Yes. Thighs stay juicier and add richness. Cut them into similar size cubes so they cook evenly.
H3: How long can I marinate the chicken?
You can marinate for 20 minutes up to 24 hours. Longer marination increases flavor but can change texture slightly if you use a lot of citrus.
H3: Can I make this without skewers?
Absolutely. Cook the cubes in a skillet or on a sheet pan. If you skip skewers, keep the pieces spaced to allow even browning.
H3: Is there a vegetarian version?
Yes. Use cubed extra-firm tofu or large mushrooms as a swap. Press tofu to remove extra water, then marinate and cook as directed.
H3: How do I prevent the chicken from drying out?
Do not overcook. Pull from heat at 165° F and let rest. The butter glaze also helps keep the surface moist and flavorful.
Conclusion
I hope this Lemon Pepper Chicken Skewers recipe brings a little extra sunshine to your family table. When you try different cooking methods, you might enjoy other takes on lemon pepper skewers shared online, like this flavorful version with step-by-step photos from a homesteading kitchen or a home cook’s easy kabob guide. For more inspiration, check out this cozy recipe that matches our flavors: I Am Homesteader’s lemon pepper skewers and this approachable guide that shows another simple twist on kabobs: Tornadough Alli’s lemon pepper kabobs.
Thanks for cooking with me. Come back any time for more simple, comforting meals your family will love.

Lemon Pepper Chicken Skewers
Ingredients
Main Ingredients
- 1 lb Boneless skinless chicken breasts (Trim any excess fat for even cooking.)
- 1 tablespoon Lemon zest (Zest one to two lemons depending on size.)
- 2-3 cloves Fresh garlic, minced (Let garlic sit in oil briefly to mellow.)
- 2 tablespoons Olive oil (Use light olive oil for a neutral taste.)
- 2 tablespoons Unsalted butter (Melted, for glaze.)
- 1 teaspoon Salt (Kosher or sea salt preferred.)
- 1 teaspoon Freshly cracked black pepper (Coarse-cracked for texture.)
Instructions
Preparation
- Cut chicken breasts into cubes and place in a bowl.
- Add lemon zest, minced garlic, olive oil, salt, and pepper.
- Mix well to coat the chicken.
- Thread the chicken onto skewers, leaving space between pieces.
- Preheat grill, air fryer, or stovetop pan.
Cooking
- Cook skewers for 10-15 minutes, turning occasionally, until cooked through.
- Melt butter and mix with minced garlic for glaze.
- Brush the garlic butter glaze over skewers before serving.
- Serve with rice, salad, or grilled veggies.


")