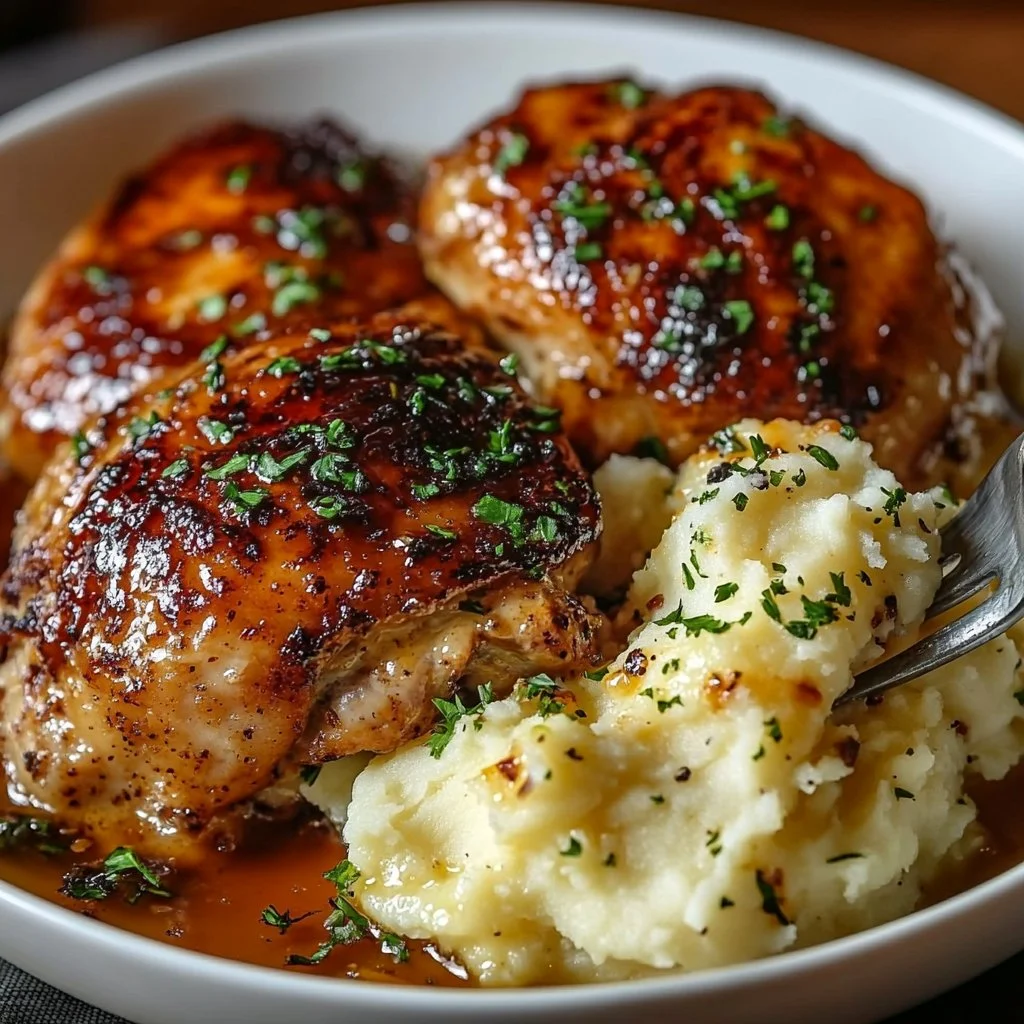
The kitchen smells like butter and warm pastry. Pots clink softly on the stovetop. The oven clock ticks as the house waits for something comforting. That first breath of hot, savory steam is why I make chicken pot pie when I want the family gathered around the table.
This recipe is for busy weeknights and slow Sundays. You will hear small voices ask when it is ready and the soft scrape of a fork on a plate. If you love cozy dinner ideas, try my chicken pot pie soup for a quick spin on the same flavors: chicken pot pie soup.
Why this works
This version uses a rotisserie chicken and a few pantry staples. That saves time without losing the home-style taste. Rotisserie chicken brings deep, roasted flavor. The cream of chicken soup creates a rich, velvety filling with almost no fuss.
Family life needs meals that feel special and are easy to pull together. This pot pie checks both boxes. It reheats well for school lunches and leftovers disappear fast at dinner. If you want a fuller breakdown or a larger batch, check my full chicken pot pie recipe for more tips and measurements: my full chicken pot pie recipe.
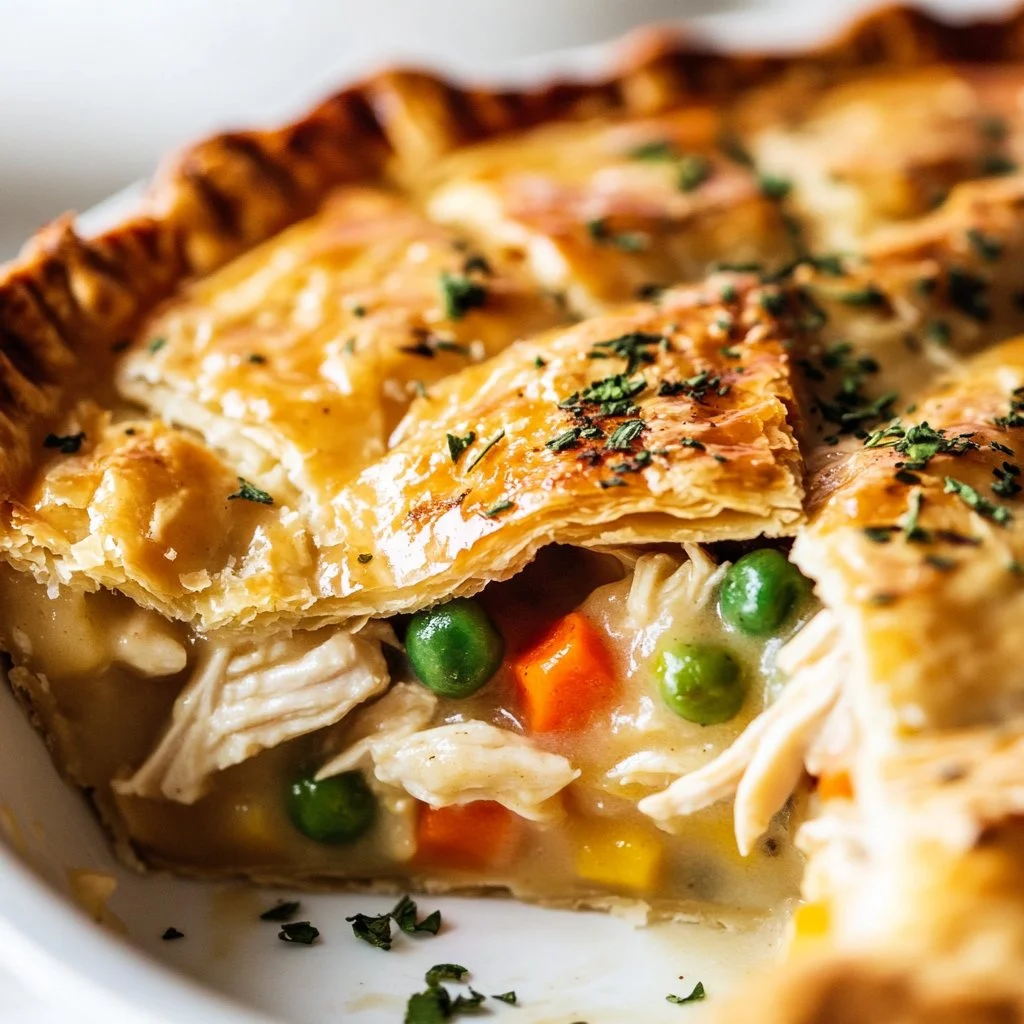
Process Overview
“This is where the magic happens—when the aroma fills the kitchen.”
Think of this as a friendly, step-by-step process you can count on. You will mix the filling, nestle it in a crust, and let the oven do the work. The crust browns while the filling bubbles and the house fills with the scent of comfort.
If you want smaller portions for picky eaters, you can make mini versions that are perfect for little hands and lunchboxes. I walk through those ideas in my mini chicken pot pies post: mini chicken pot pies.
Ingredients
- 1 rotisserie chicken, shredded
- Lily’s tip: Use the meat from the breast and thighs for the best texture. Save the carcass for stock.
- 1 cup frozen mixed vegetables
- Lily’s tip: Peas, carrots, and corn work well. No need to thaw first unless you prefer.
- 1 can (10.5 oz) cream of chicken soup
- Lily’s tip: For a lighter flavor, mix half soup and half low-sodium chicken broth.
- 1/2 cup milk
- Lily’s tip: Whole milk makes the filling richer. Use 2% if you want it lighter.
- 1/2 teaspoon garlic powder
- Lily’s tip: Garlic powder blends better than fresh garlic in quick casseroles.
- 1/2 teaspoon onion powder
- Lily’s tip: It boosts depth without chopping onion.
- Salt and pepper to taste
- Lily’s tip: Start with 1/4 teaspoon salt and a few grinds of pepper. Adjust after mixing.
- 1 store-bought pie crust (or 2 crusts for top and bottom)
- Lily’s tips:
- One crust version: Use a single crust in a shallow dish and top with biscuits or puff pastry for a quicker finish.
- Two crust version: Use both crusts for a classic double-crust pie that seals the filling and gives a beautiful top.
- Lily’s tips:
If you want a biscuit-style top like a well-loved restaurant favorite, I often mix it with a biscuit twist inspired by my Red Lobster biscuit-topped pot pie post: biscuit-topped pot pie ideas.
Directions
-
Preheat the oven to 425°F (220°C).
- Encouraging note: Get the oven ready first so it is hot and waiting when you finish assembling. A hot oven gives a flakier crust.
-
In a large bowl, combine shredded chicken, frozen vegetables, cream of chicken soup, milk, garlic powder, onion powder, salt, and pepper. Mix well.
- Encouraging note: Be gentle but sure when mixing. Taste a spoonful and adjust the seasoning. You are building the heart of the meal.
-
Place one pie crust in a pie dish and pour the chicken mixture into it.
- Encouraging note: Press the crust gently to fit the dish. If the crust tears, patch with a small piece from the second crust or press the edges to secure it.
-
Cover with the second pie crust, sealing the edges. Cut slits in the top crust to allow steam to escape.
- Encouraging note: Seal the edges with a fork or your fingers. The slits let the filling bubble without making a mess in the oven.
-
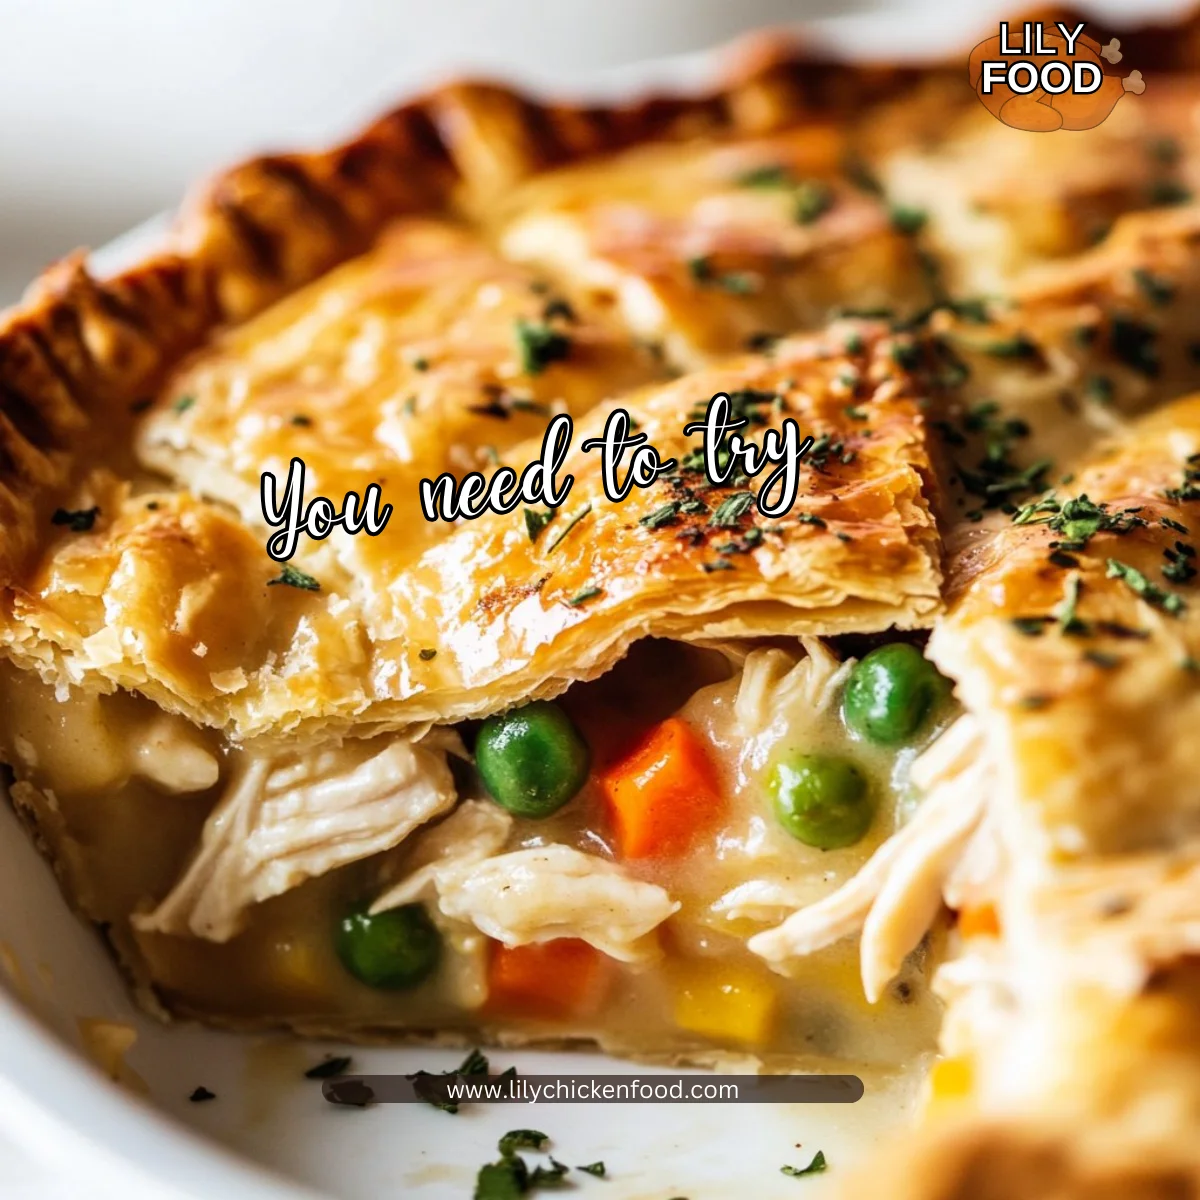
Bake in the preheated oven for about 30-35 minutes or until the crust is golden brown.
- Encouraging note: Keep an eye on the color. If the edges brown too fast, tent foil lightly over the top. The house will fill with a warm, savory smell that draws everyone in.
-
Let it cool for a few minutes before serving.
- Encouraging note: The filling needs a short rest to set. Use this time to plate sides, pour drinks, and call the family to the table. If you need another weeknight idea after leftovers, try my BBQ chicken sweet potato bowl for a fresh contrast: BBQ chicken sweet potato bowl.
Serving
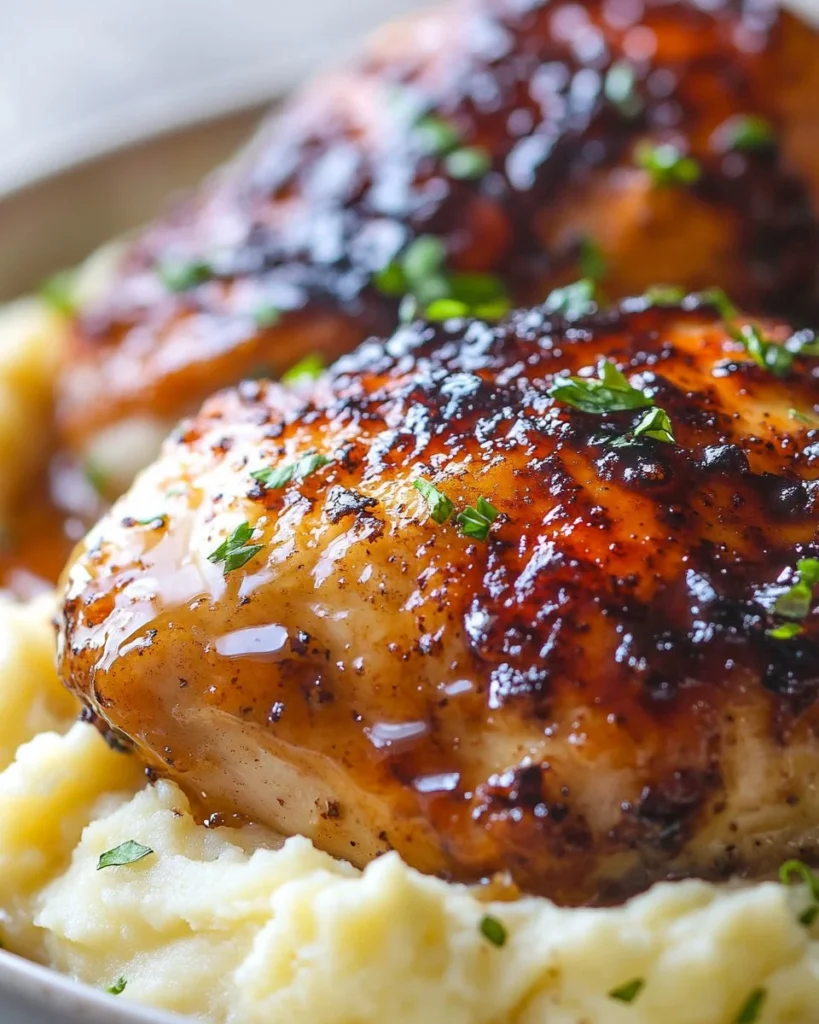
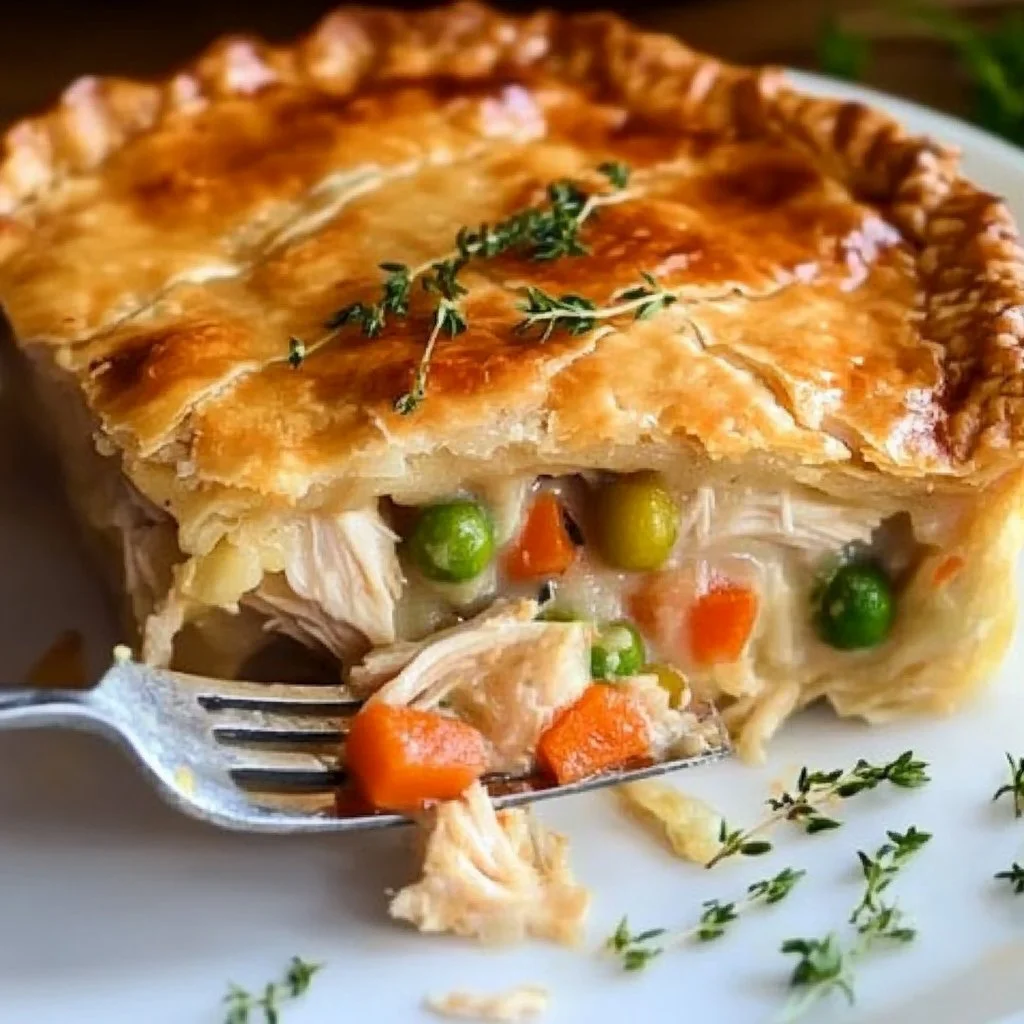
Serve this chicken pot pie family-style for the best feel. Place the pie in the center of the table on a simple trivet. Let everyone help themselves to a generous slice. Add steamed greens or a bright salad to cut the richness and bring color to the plate.
For children, a small scoop on their plate is often met with wide eyes and happy noises. For adults, a crisp green salad and a tangy vinaigrette balance the creamy filling. If you want to make it extra special, set out a bowl of crushed red pepper or a small dish of chopped fresh parsley for garnish.
Family-Style Tips
- Use a shallow pie dish to get more golden crust and less spillover.
- Serve with warm dinner rolls if you did a single crust version.
- Save a wedge for the next day. Leftovers often improve overnight.
Storage
Refrigerator
- Store leftovers in an airtight container for up to 3 days.
- You can also cover the whole pie with foil and refrigerate for up to 2 days.
Freezer
- For longer storage, freeze unbaked assembled pies for up to 1 month. Wrap tightly in plastic wrap and foil.
- Thaw overnight in the fridge before baking. You may need to add a few extra minutes to the bake time.
Reheating
- To reheat a slice, place it on a baking sheet and warm at 350°F for 15-20 minutes until heated through and the crust is crisp.
- Microwave works in a pinch but the crust will soften. For a crisper top, give it a few minutes under the oven broiler, watching closely.
Kitchen Notes
- Shortcut: Use rotisserie chicken to cut the prep time in half.
- Shortcut: Frozen mixed vegetables are a simple, no-chop option.
- Shortcut: Lightly brush the top crust with milk or egg wash for a shiny, golden finish.
- Shortcut: If the filling feels thin, stir in 1 tablespoon of flour or cornstarch mixed with a little water to thicken.
- Shortcut: Make extra filling and freeze it in a freezer-safe container. Thaw and pour into a crust for a fast dinner later.
Variations
- Gluten-free: Use a store-bought gluten-free crust. Ensure your cream of chicken soup is gluten-free or make a homemade white sauce.
- Vegetarian: Replace chicken with cubed potatoes and extra mushrooms. Use a vegetarian cream soup or a roux-based sauce with vegetable broth.
- Low-carb: Skip the bottom crust and bake in a deep dish with only a thin top crust or a mashed cauliflower topping.
- Picky eaters: Keep the vegetables on the side and serve them separately. Let each person add what they like to their slice.
- Fancy touch: Add a splash of white wine and 1 teaspoon Dijon mustard to the filling for added depth.
FAQ
Q: Can I use cooked chicken that is not rotisserie?
A: Yes. Any leftover roasted or baked chicken works. Just shred or chop it into bite-size pieces and use the same quantity.
Q: Do I have to use cream of chicken soup?
A: No. You can replace it with a homemade white sauce made from butter, flour, and chicken broth for a fresher flavor. The canned soup saves time.
Q: How do I prevent a soggy bottom crust?
A: Use a hot oven and a shallow dish. Prebaking the bottom crust for 5 minutes helps. Also, make sure the filling is not too watery.
Q: Can I make this ahead of time?
A: Yes. Assemble the pie and keep it covered in the fridge for up to 24 hours. Bring it to room temperature before baking for even cooking.
Q: How do I know when it is done?
A: The crust should be a deep golden brown and the filling should bubble through the vents. If the top browns too quickly, cover with foil until the filling bubbles.
Conclusion
I hope this chicken pot pie becomes one of your go-to family favorites. The scent as it bakes, the shared spoons at the table, and the satisfied quiet after the meal are small joys that make cooking so worthwhile.
For a homemade approach with a few extra tips, I like the way this version is explained in the Homemade Chicken Pot Pie guide: Homemade Chicken Pot Pie – Tastes Better From Scratch. If you want to try a classic double-crust technique, this double-crust recipe gives clear, helpful steps: Chicken Pot Pie Recipe – Sally’s Baking Addiction.
Thank you for letting me share this simple, cozy recipe. Gather the family, enjoy the warmth, and make room for seconds.

Chicken Pot Pie
Ingredients
Filling Ingredients
- 1 whole rotisserie chicken, shredded (Use the meat from the breast and thighs for the best texture. Save the carcass for stock.)
- 1 cup frozen mixed vegetables (Peas, carrots, and corn work well. No need to thaw first unless you prefer.)
- 1 can cream of chicken soup (10.5 oz) (For a lighter flavor, mix half soup and half low-sodium chicken broth.)
- 1/2 cup milk (Whole milk makes the filling richer. Use 2% if you want it lighter.)
- 1/2 teaspoon garlic powder (Garlic powder blends better than fresh garlic in quick casseroles.)
- 1/2 teaspoon onion powder (It boosts depth without chopping onion.)
- to taste salt (Start with 1/4 teaspoon salt and a few grinds of pepper. Adjust after mixing.)
- to taste pepper
Crust Ingredients
Instructions
Preparation
- Preheat the oven to 425°F (220°C).
- In a large bowl, combine shredded chicken, frozen vegetables, cream of chicken soup, milk, garlic powder, onion powder, salt, and pepper. Mix well.
- Place one pie crust in a pie dish and pour the chicken mixture into it.
- Cover with the second pie crust, sealing the edges. Cut slits in the top crust to allow steam to escape.
Baking
- Bake in the preheated oven for about 30-35 minutes or until the crust is golden brown.
- Let it cool for a few minutes before serving.