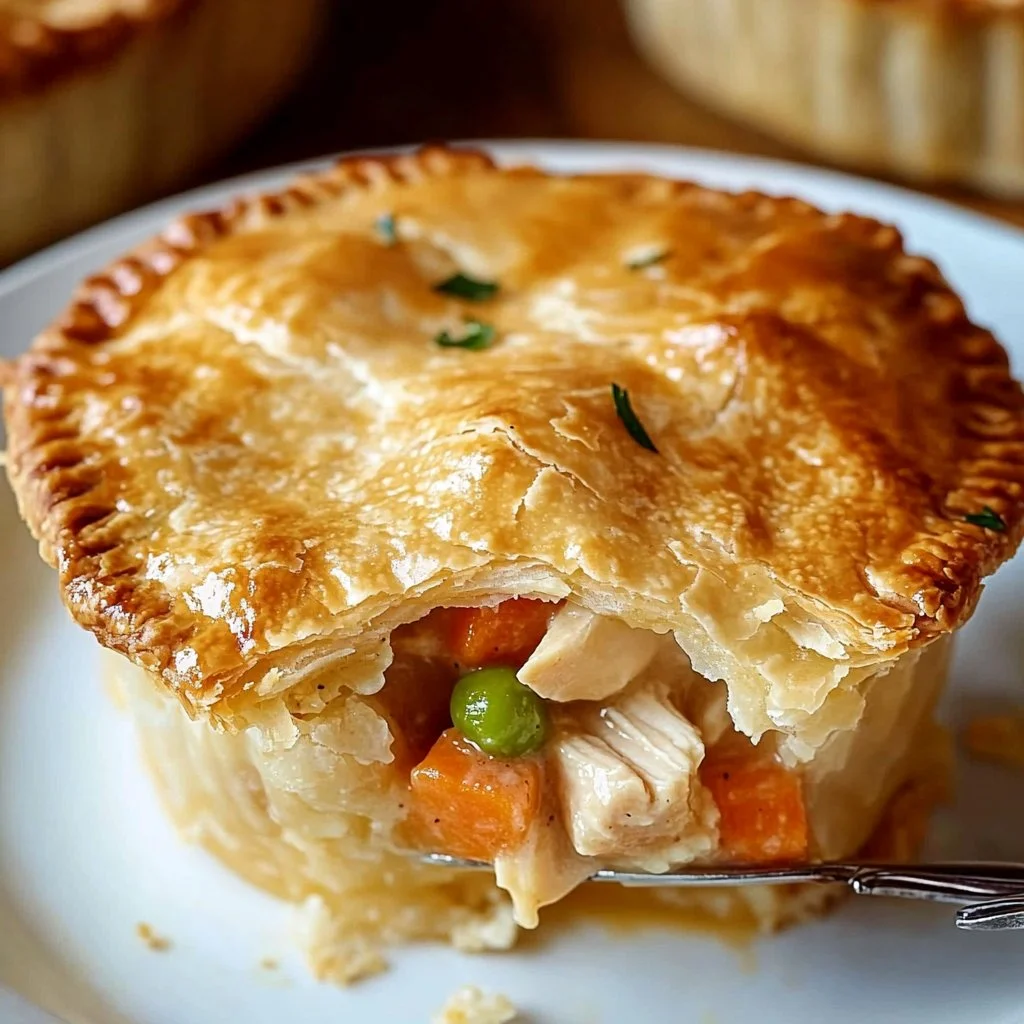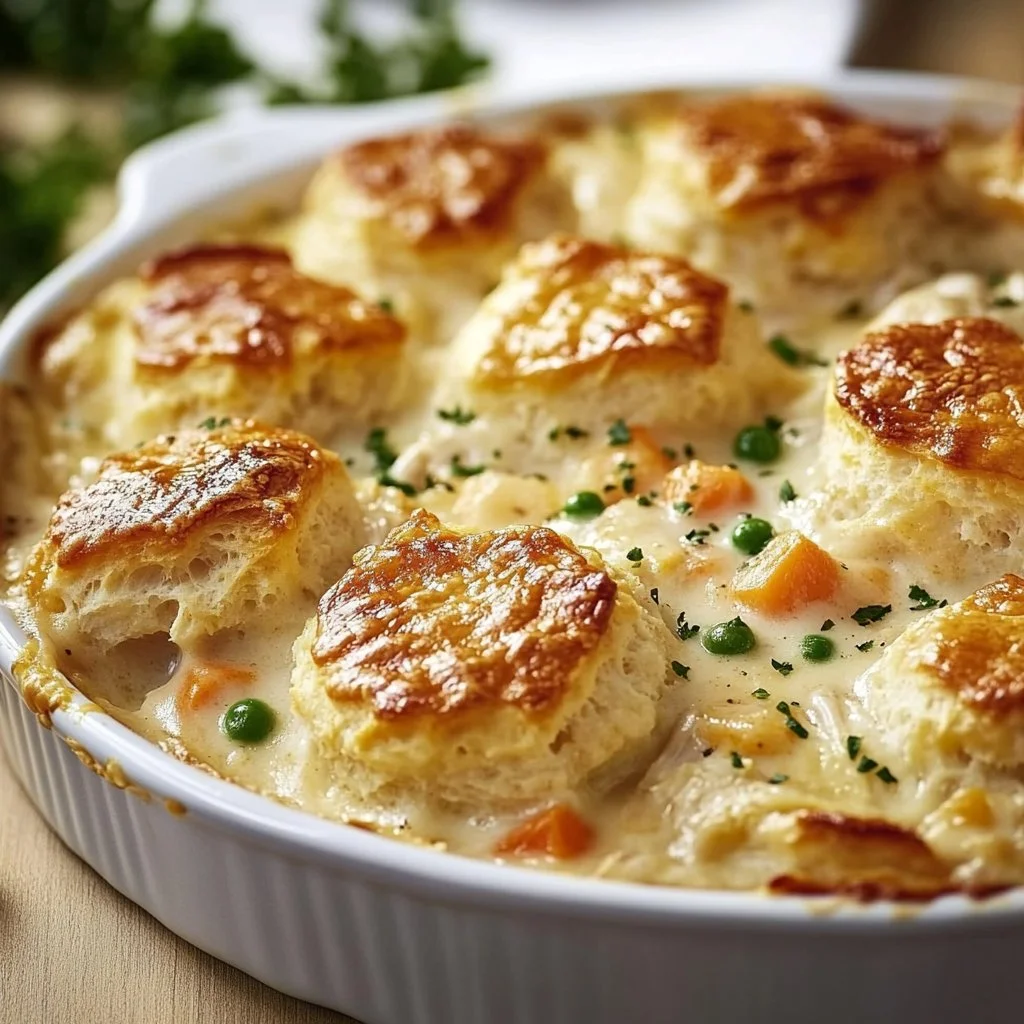
I can still smell the butter and hear the little pops as biscuit edges brown while I pull these out of the oven. The kitchen fills with a warm, savory scent that makes everyone wander in. Little hands press into the muffin pan as we decide who gets the biggest one.
If you love family dinners that feel cozy but come together fast, this recipe is a keeper. If you have a minute, you can peek at my take on similar comfort food in my mini chicken pot pies post for more ideas.
Why this works
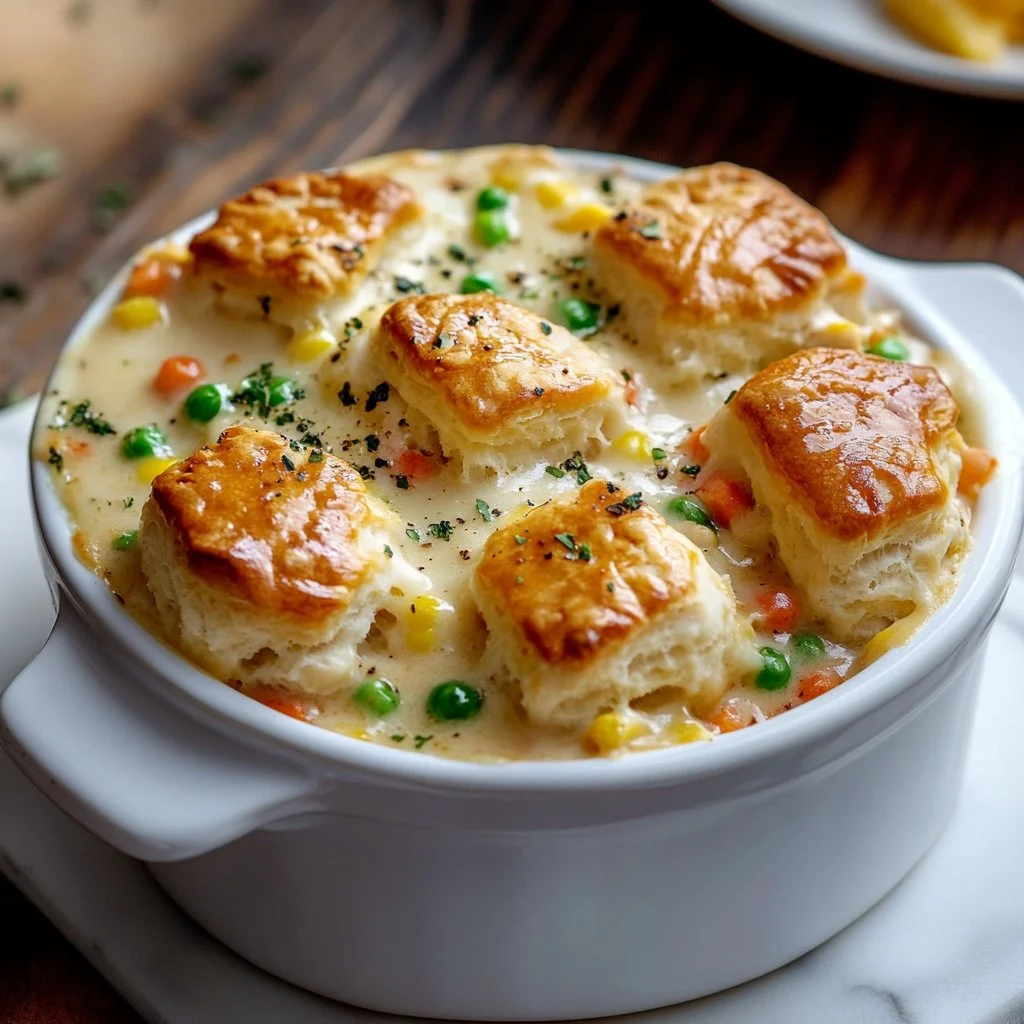
This recipe pairs pantry staples with a simple assembly to create a homemade feeling without hours of work. Flaky biscuit dough forms a quick crust, while canned soup and frozen vegetables give reliable flavor and texture. It is a true weeknight hero.
It saves time when you need a hearty meal fast, and it stretches well for feeding a family. I often set the table while these bake, and we have dinner ready as soon as the timer dings. If you are curious about different crust ideas, you might enjoy my experiment with biscuit crusts in the Red Lobster biscuit chicken pot pie post.
Process Overview
“This is where the magic happens—when the aroma fills the kitchen.”
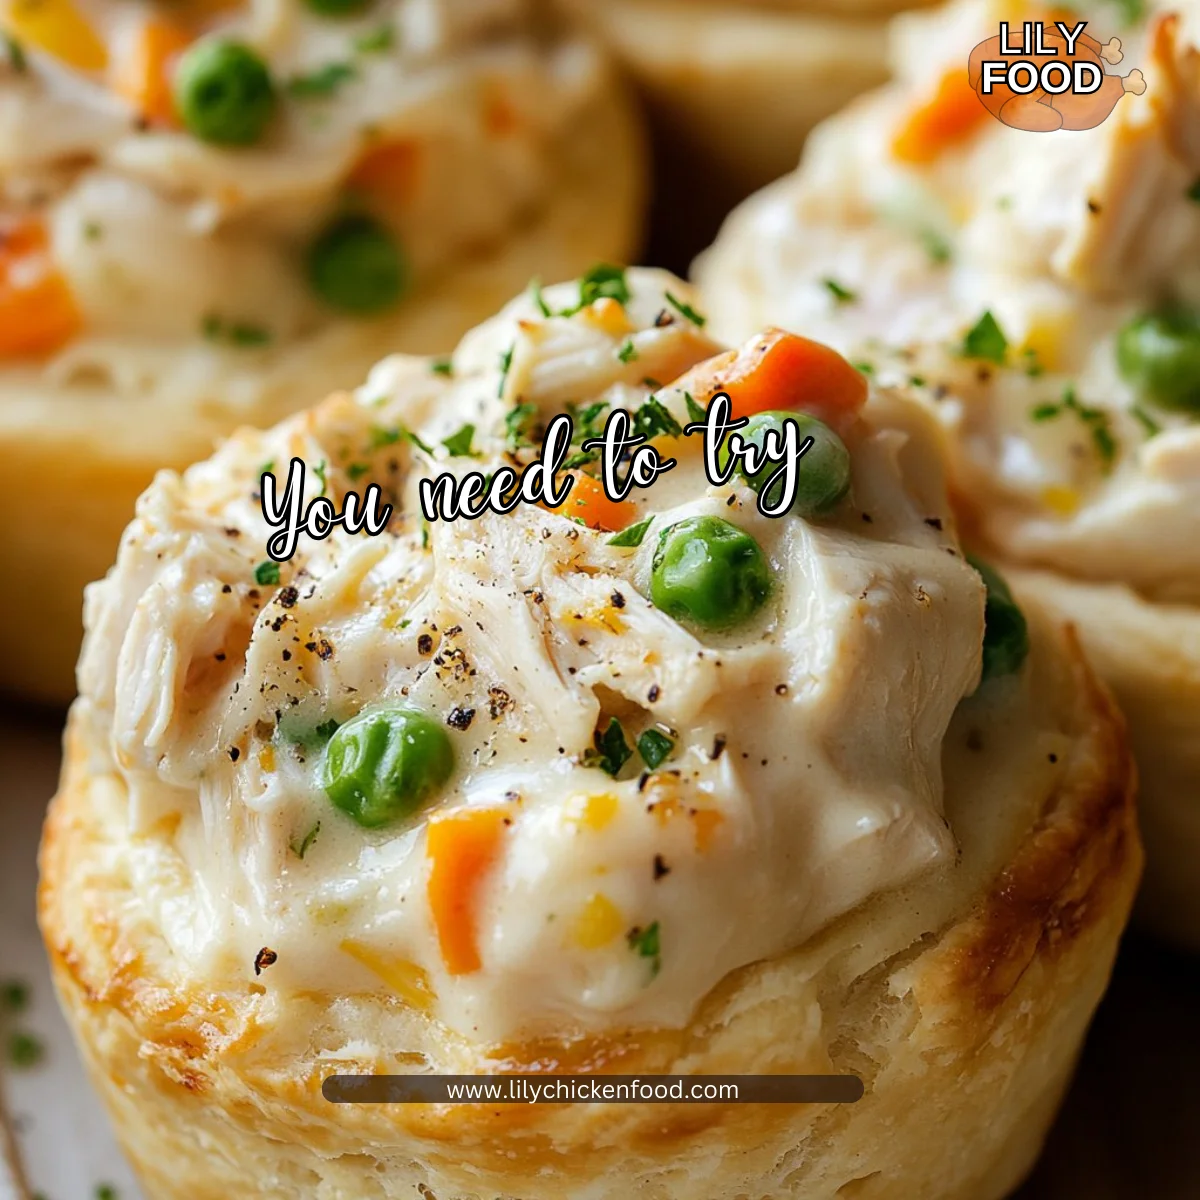
We use a muffin pan to make individual servings that are easy for kids and adults to hold. The process is mostly mixing, filling, and baking. You can prep the filling ahead and assemble right before baking. This makes it great for busy evenings or if you have company coming over at the last minute.
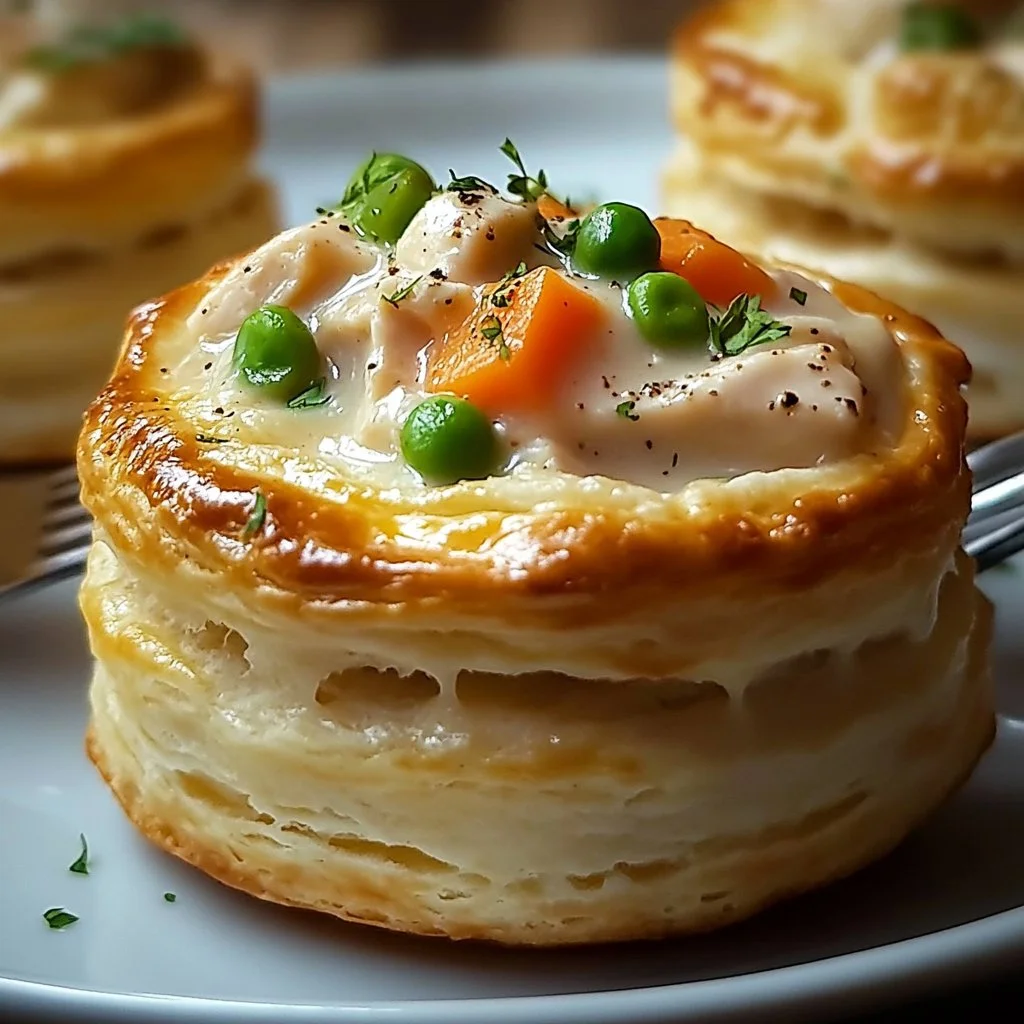
I like that each cup bakes evenly and the biscuit edges turn golden and slightly crisp. That contrast between soft filling and flaky crust is the comfort that keeps people coming back for seconds. These also travel well for potlucks and make great lunchbox treats.
Ingredients
- 2 cans flaky layers biscuits
- Tip: Use the flaky layers type for the best rise and texture. If your biscuits look a little stuck together, gently separate them with a butter knife along the seams.
- 2 cans cream of chicken soup
- Tip: For richer flavor, you can stir in a splash of milk or a tablespoon of sour cream. If you prefer less sodium, look for low-sodium soup and adjust seasoning.
- 2 cans cooked chicken, or 2 cups fresh cooked chicken, shredded or chopped
- Tip: Rotisserie chicken works great for speed and flavor. If using canned chicken, drain well to avoid watery filling.
- 1 bag frozen mixed vegetables (about 10-12 oz)
- Tip: No need to thaw. The vegetables cook through while the biscuit bakes. If you like peas and carrots only, that works too.
- Salt and pepper, to taste
- Tip: Start light. The canned soup can be salty. Taste the filling before seasoning if you are using fresh chicken and homemade soup.
I include these tips because small adjustments can make a big difference in family meals. I usually double-check seasoning with a spoon before filling the cups.
Directions
-
Preheat your oven to 400°F (200°C) and lightly grease a 12-cup muffin pan with cooking spray or butter.
- Encouraging note: While the oven warms, take a deep breath. You are already on your way to a warm, filling dinner that smells like home.
-
In a large mixing bowl, combine the cream of chicken soup, cooked chicken, and frozen mixed vegetables. Stir until well mixed. Season the mixture with salt and pepper to taste.
- Encouraging note: This is where you get to adjust the flavors. Taste a small spoonful and add a pinch more pepper if you like a little kick. It is okay to tweak as you go.
-
Open the cans of flaky biscuits and separate the dough. Flatten each biscuit with your hands or a rolling pin. Press each flattened biscuit into the muffin pan cups, making sure to push the dough up the sides to form a cup.
- Encouraging note: Don’t worry about perfection. The rustic look is charming, and pressing gently will help avoid tearing.
-
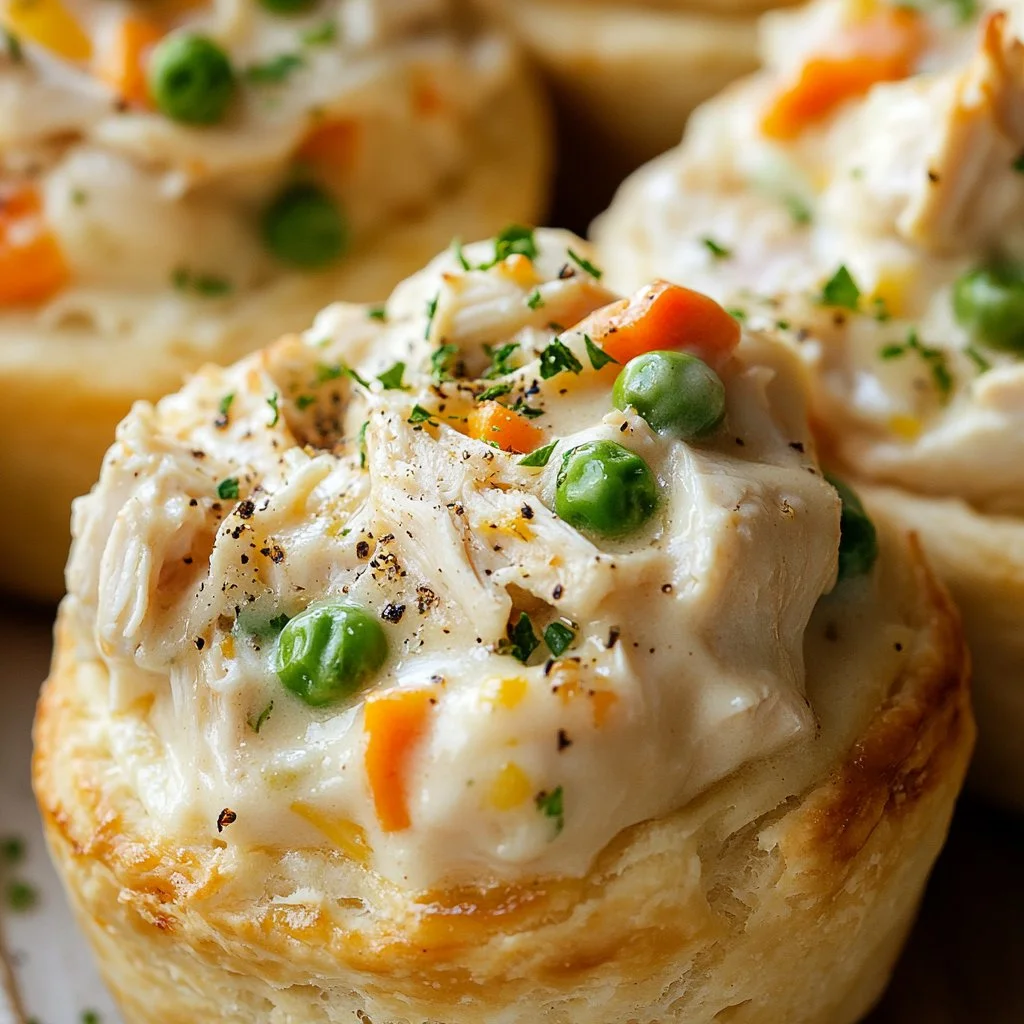
Spoon the chicken and vegetable mixture into each biscuit cup, filling them generously.
- Encouraging note: Be generous, but leave a little room at the top so the filling does not overflow as it heats. This is the comforting heart of the bite.
-
Place the muffin pan in the preheated oven and bake for 18-20 minutes, or until the biscuit edges are golden brown and the filling is heated through.
- Encouraging note: The countdown is always the best part. Set a timer and sneak a quick tidy of the kitchen while they bake.
-
Once baked, allow the biscuit cups to cool for a few minutes in the pan before carefully removing them. Serve warm and enjoy!
- Encouraging note: Let them rest so the filling sets a little. Then pass them around warm and watch the smiles grow.
Each step is designed to be approachable so cooks of all levels can pull this off. If you are making this with kids, give them safe tasks like spooning the filling or arranging biscuits.
Serving

Serve these biscuit cups family-style on a big platter so everyone can pick their favorite one. They pair wonderfully with a simple green salad, roasted sweet potatoes, or a bowl of applesauce for a kid-friendly side. For a cozy night in, add steamed green beans and a warm drink.
If you want to make it a potluck favorite, set up a small toppings bar with shredded cheddar, chopped parsley, and hot sauce. Let guests customize their cups for more fun at the table. For more family-friendly pot pie ideas, you may enjoy my full chicken pot pie guide at my chicken pot pie post.
Storage
Make ahead: Assemble the cups in the muffin pan, cover tightly with plastic wrap, and refrigerate for up to 24 hours. Bake from chilled and add a few minutes to the bake time.
Refrigerator: Store leftover biscuit cups in an airtight container for up to 3 days. Place a paper towel under them to reduce steam buildup and sogginess.
Freezer: For longer storage, freeze cooled cups on a baking sheet until solid, then transfer to a freezer bag for up to 2 months. Reheat from frozen in a 350°F oven until heated through, about 20-25 minutes.
Reheating: Microwave for 1 to 2 minutes per cup on medium power for a quick meal. For the best texture, reheat in a 350°F oven for 8 to 12 minutes so the biscuit regains crispness.
Food safety note: If you used fresh chicken, refrigerate within two hours of cooking and reheat leftover portions to an internal temperature of 165°F.
Kitchen Notes
- Use rotisserie chicken to save time and add flavor without extra work.
- Swap cream of chicken with cream of mushroom for a milder flavor profile.
- Lightly grease the muffin pan and consider using silicone liners for easy removal.
- If biscuits brown too fast, tent the pan with foil for the final minutes.
- Double the filling to bake in two pans when feeding a larger group.
These shortcuts come from years of adapting family recipes to real life. Little tricks like lining pans and using rotisserie chicken keep weeknights manageable.
Variations
- For picky eaters: Use peas and carrots only, and mix in a little shredded cheddar for a familiar flavor. Many kids like the cheesy note.
- Gluten-free: Use your favorite gluten-free biscuit dough and confirm the cream soup is gluten-free. Adjust baking time as needed.
- Lower-sodium: Choose low-sodium soup and canned chicken, then add herbs and lemon zest to boost flavor naturally.
- Veggie-forward: Replace chicken with extra beans or lentils and add a sprinkle of smoked paprika for depth.
- Creamier Filling: Stir in 1/4 cup sour cream or cream cheese to the filling for extra richness.
If you want more hearty bowl ideas that family members enjoy, try my BBQ chicken sweet potato bowl for another easy weeknight option at my BBQ chicken sweet potato bowl recipe.
FAQ
Q: Can I use homemade biscuit dough?
A: Yes. Homemade biscuit dough works beautifully and may yield a flakier crust. Roll to similar thickness so baking time stays close.
Q: Do I have to thaw the frozen vegetables first?
A: No. You can use frozen vegetables straight from the bag. They will cook through in the oven. If you prefer, you can thaw and drain excess water to avoid a looser filling.
Q: Can I freeze assembled cups before baking?
A: Yes. Freeze assembled cups on a tray until solid, then move to a freezer bag. Bake from frozen, adding extra time until the filling is hot and the biscuit is golden.
Q: How do I prevent the biscuits from getting soggy?
A: Use slightly thicker biscuit dough and do not overfill. Let cups rest a few minutes after baking so the filling sets. Reheat in the oven to help restore crispness.
Q: Is this recipe kid-friendly?
A: Very much so. The portions are small and fun to handle. Offer mild seasonings for little ones and let older kids add toppings like cheese or crumbled bacon.
Conclusion
I hope this recipe brings the same warm kitchen feeling to your home as it does to mine. These Chicken Pot Pie Biscuit Cups are practical, comforting, and perfect for busy family nights. If you want a similar bite-size idea, take a peek at Mini Chicken Pot Pies from Julie’s Eats and Treats for another easy spin. For a version with a professional chef twist, check out Kardea Brown’s Chicken Pot Pie Stuffed Biscuit Cups on Food Network for inspiration.
Happy baking. Invite the family, pass the platter, and enjoy those cozy, buttery bites.
Chicken Pot Pie Biscuit Cups
Ingredients
Biscuit Cups
- 2 cans flaky layers biscuits (Use the flaky layers type for the best rise and texture.)
Filling
- 2 cans cream of chicken soup (For richer flavor, stir in a splash of milk or sour cream.)
- 2 cans cooked chicken, or 2 cups fresh cooked chicken, shredded or chopped (Rotisserie chicken works great for speed and flavor.)
- 1 bag frozen mixed vegetables (about 10-12 oz) (No need to thaw; they cook through while the biscuit bakes.)
- to taste salt and pepper (Start light, especially if using canned soup.)
Instructions
Preparation
- Preheat your oven to 400°F (200°C) and lightly grease a 12-cup muffin pan with cooking spray or butter.
- In a large mixing bowl, combine the cream of chicken soup, cooked chicken, and frozen mixed vegetables. Stir until well mixed. Season the mixture with salt and pepper to taste.
- Open the cans of flaky biscuits and separate the dough. Flatten each biscuit with your hands or a rolling pin. Press each flattened biscuit into the muffin pan cups, pushing the dough up the sides to form a cup.
- Spoon the chicken and vegetable mixture into each biscuit cup, filling them generously.
Baking
- Place the muffin pan in the preheated oven and bake for 18-20 minutes, or until the biscuit edges are golden brown and the filling is heated through.
- Once baked, allow the biscuit cups to cool for a few minutes in the pan before carefully removing them.