I love the first moment the kitchen fills with warm, toasty aromas. You can hear the soft sizzling of leftover chicken hitting the skillet. The scent of melted cheese wakes everyone up and pulls family members toward the table.
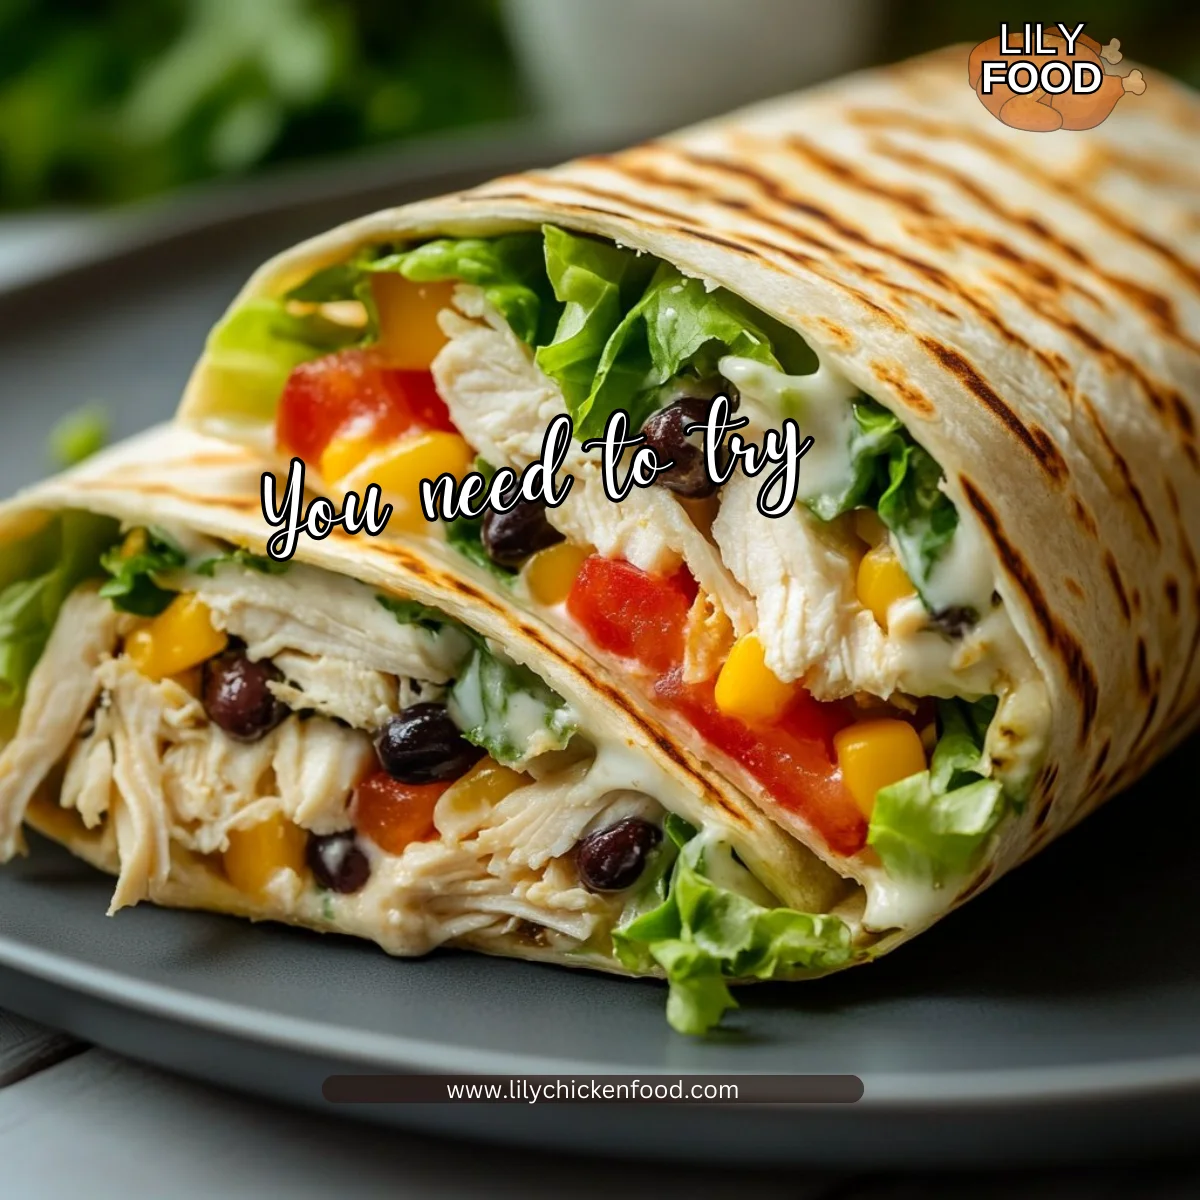
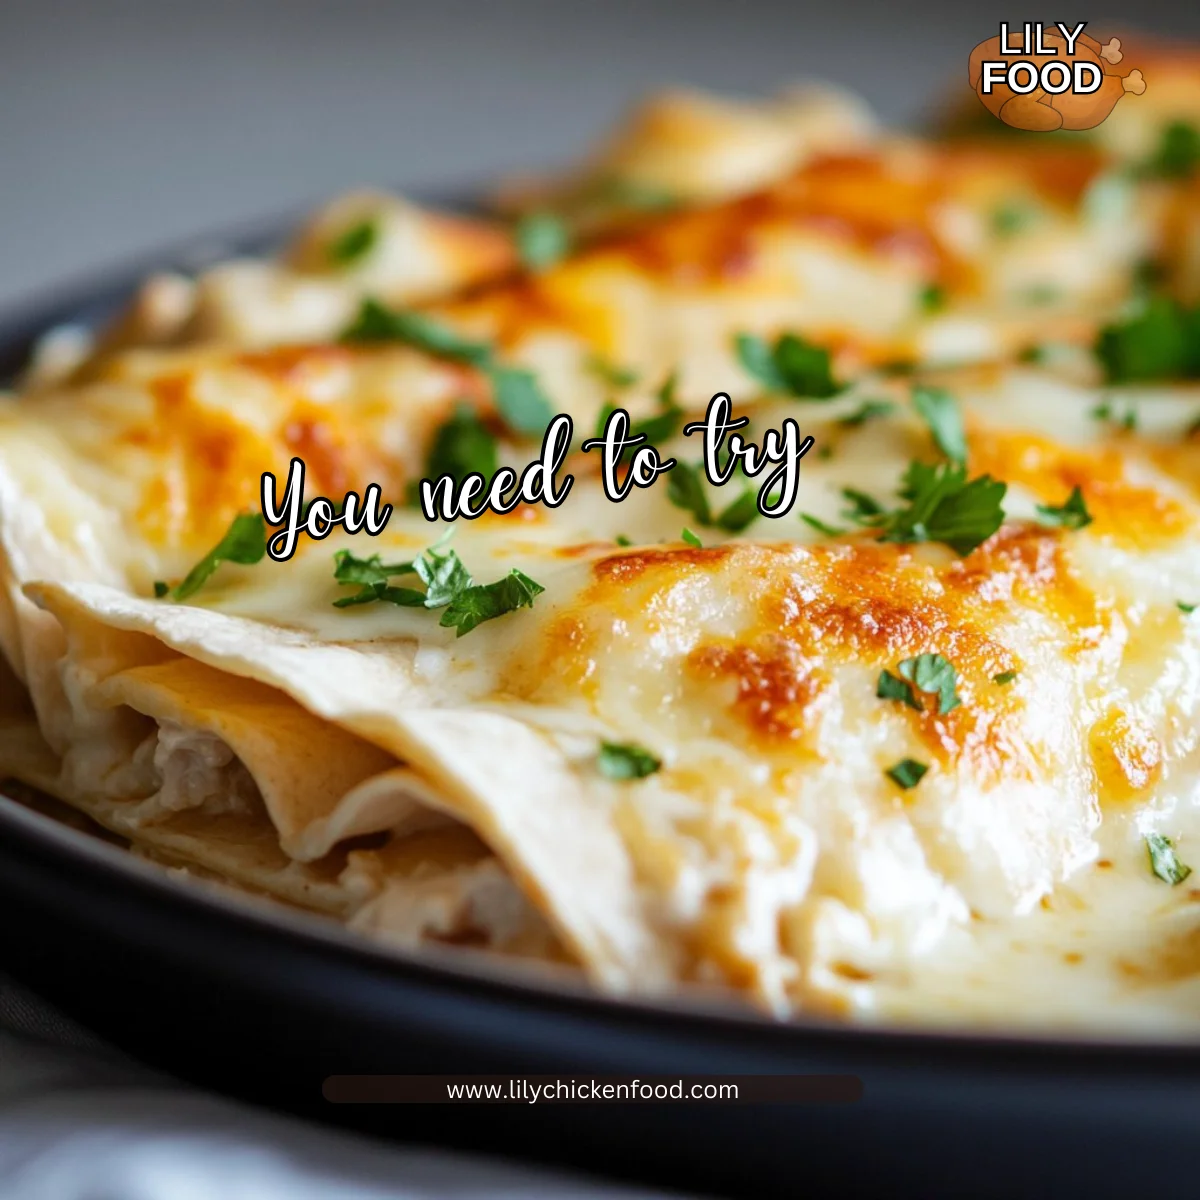
This High Protein Chicken Enchiladas recipe is one I reach for when I want comfort food that keeps us full and satisfied. It is simple, hearty, and friendly to busy weeknights. If you like bold flavors with less fuss, you will love this version.
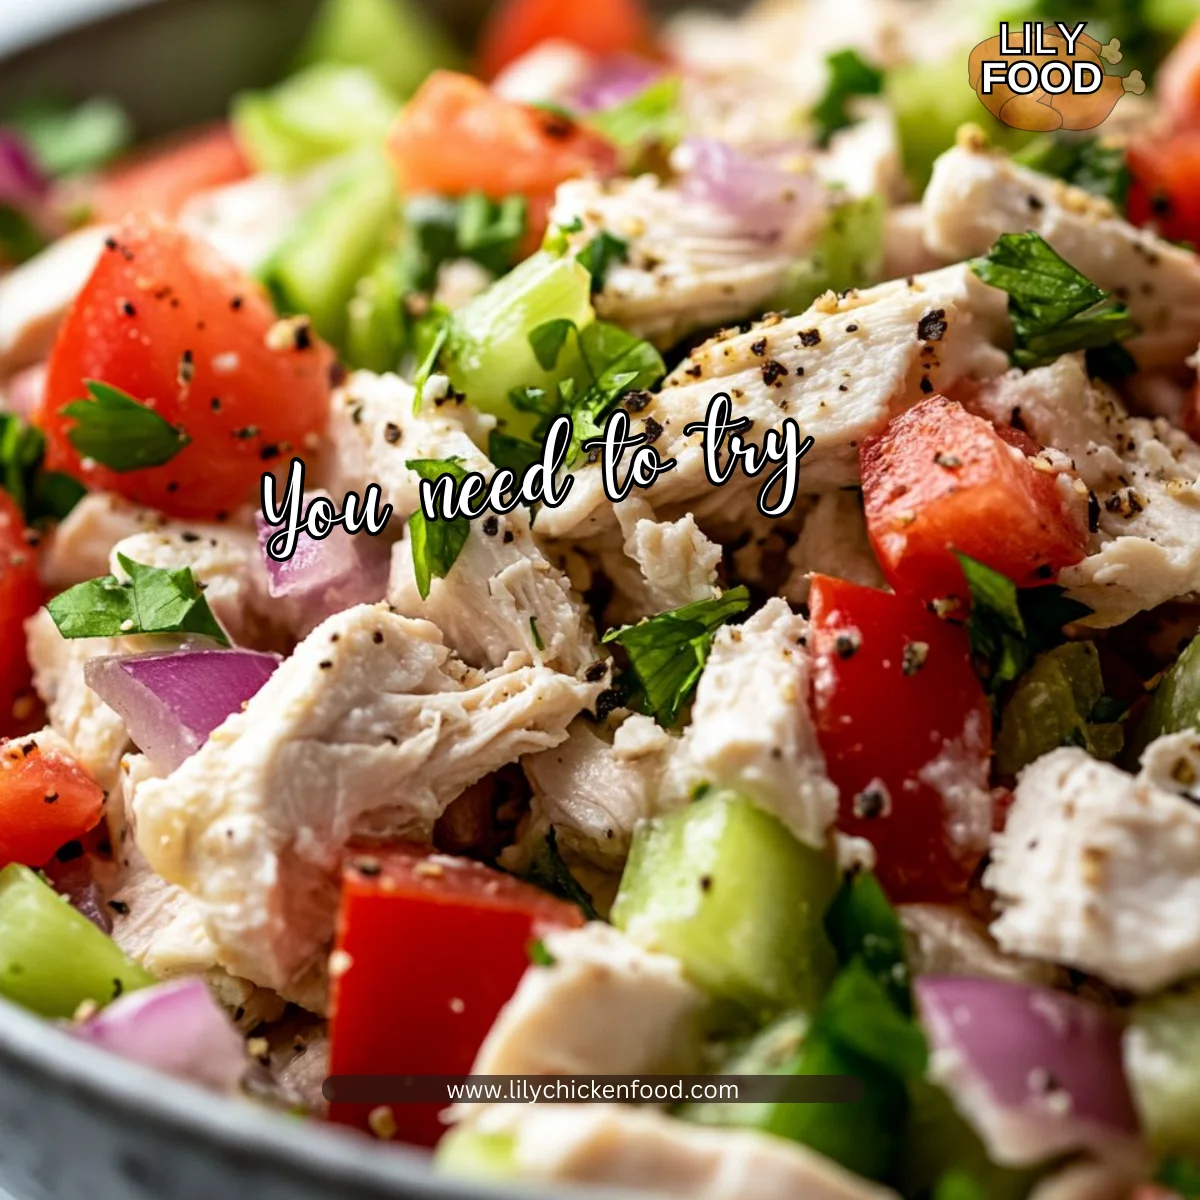
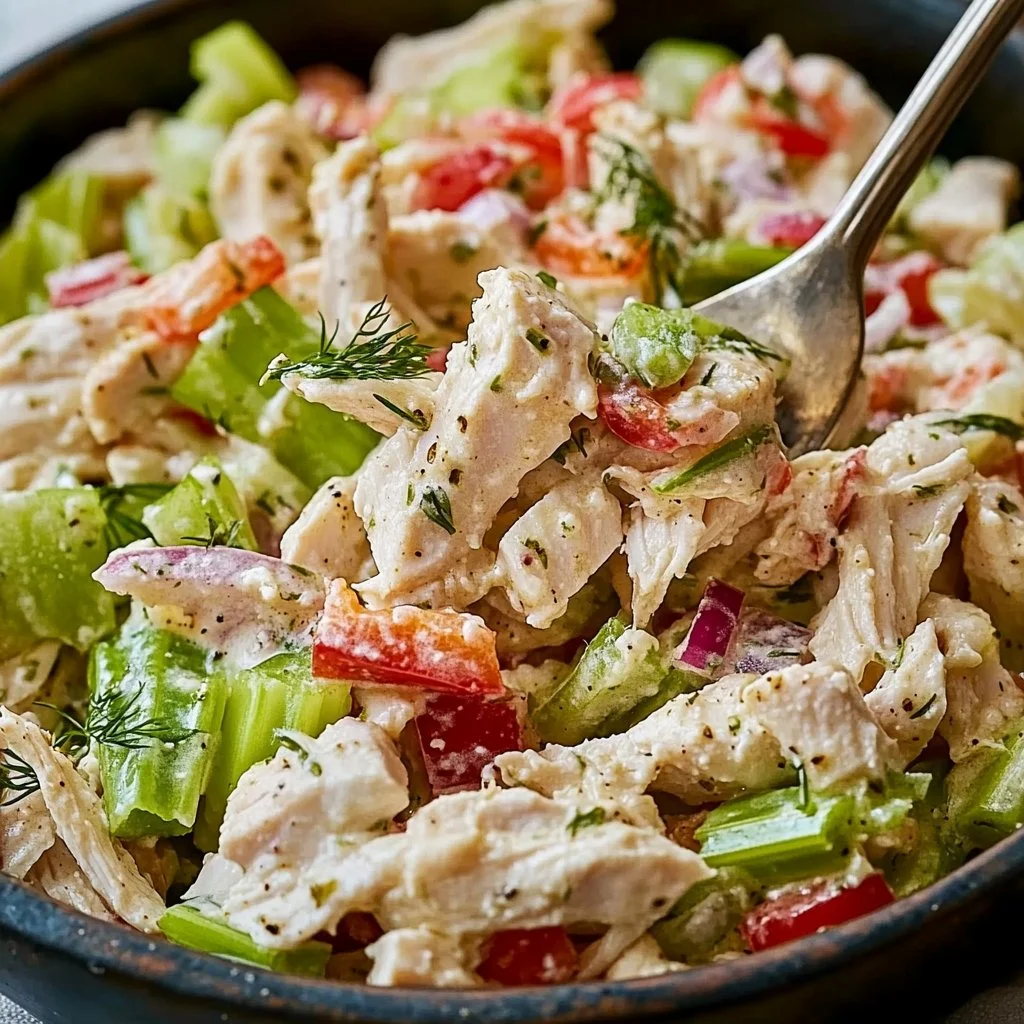
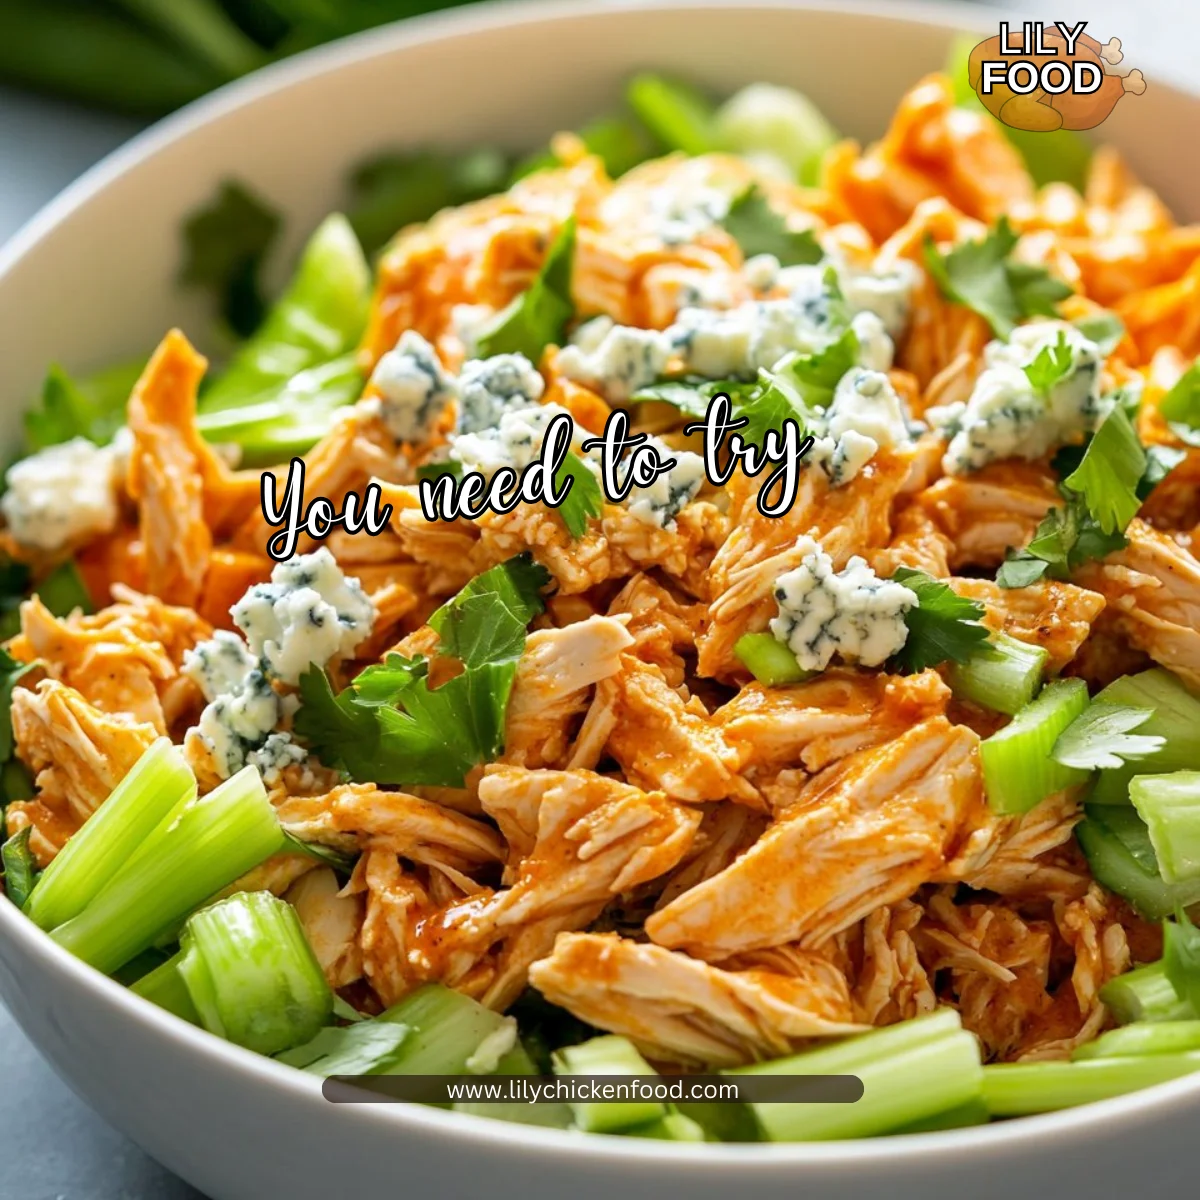
When our kids storm in from school, these enchiladas are the kind of meal that calms the room. They work well for leftovers and also for feeding a crowd. For other quick, protein-forward meals you might try my take on a buffalo chicken salad that kids adore: buffalo chicken salad.
Why this works
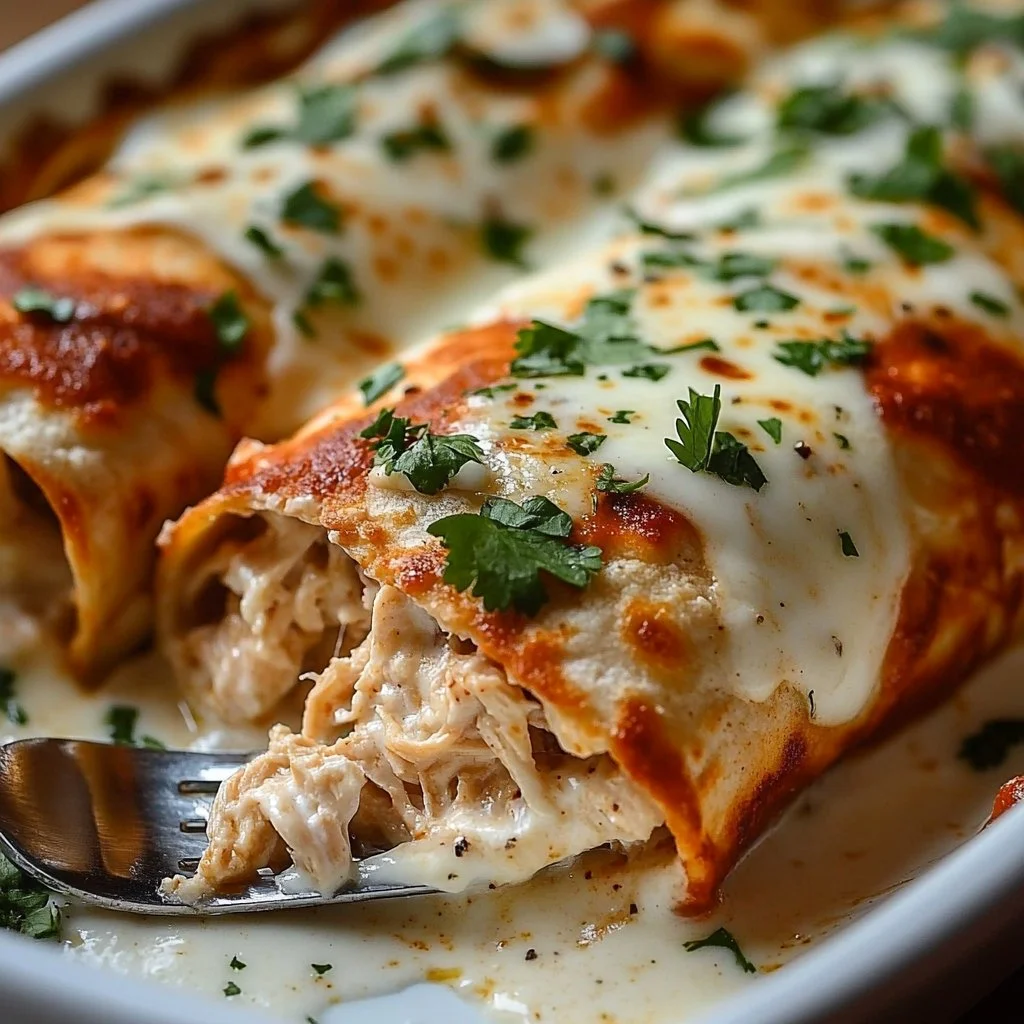
This recipe balances protein, creamy textures, and a comforting sauce. The mix of ricotta and shredded chicken keeps the filling moist. White sauce adds a smooth, mild finish that goes well with families who prefer less heat.
It saves time by using cooked chicken. You can use rotisserie chicken or shredded leftovers. This step cuts the hands-on time and gives you more space for other tasks.
I tested proportions for generous family servings. The combination of cheeses melts into a bubbly top that kids and adults both enjoy. If you are short on time, check my easy guide for cooking thighs quickly at home: 30 minute oven baked boneless skinless chicken thighs.
Process Overview
“This is where the magic happens—when the aroma fills the kitchen.”
The basic flow is simple. Mix the filling. Roll the tortillas. Cover with white sauce and cheese. Bake until bubbly.
I like to assemble with a calm routine. Set out all ingredients, preheat the oven, then assemble without hurry. If you enjoy creamy fillings, try alternating cheeses or adding a mild green chile. For a slightly tangy twist, stir a small spoon of lime into the ricotta.
If you want a fresher twist to the filling, I often borrow ideas from other salads I love, like a feta chicken salad that adds brightness to cheeses: easy high protein feta chicken salad.
Ingredients
2 cups shredded cooked chicken
8 tortillas
1 cup ricotta cheese
1 cup shredded mozzarella cheese
1/2 cup grated Parmesan cheese
1 cup white sauce (bechamel sauce)
1 teaspoon garlic powder
1 teaspoon onion powder
Salt and pepper to taste
Chopped cilantro for garnish
Here are my personal tips for each ingredient.
-
2 cups shredded cooked chicken
- Tip: Rotisserie chicken works great. It saves time and adds flavor. If you prefer a lean option, use poached breast and shred it while warm.
-
8 tortillas
- Tip: Use medium flour tortillas for pliability. Warm them briefly to prevent cracking when you roll.
-
1 cup ricotta cheese
- Tip: Full fat ricotta gives the creamiest filling. If you want lower fat, use part-skim and stir in a splash of milk to loosen.
-
1 cup shredded mozzarella cheese
- Tip: Freshly shredded melts better than pre-shredded. I use a low-moisture mozzarella for a nicely browned top.
-
1/2 cup grated Parmesan cheese
- Tip: Grate your own for best flavor. It adds a salty, savory lift.
-
1 cup white sauce (bechamel sauce)
- Tip: You can make a quick version with butter, flour, and milk. Warm it slightly so it pours easily over the enchiladas.
-
1 teaspoon garlic powder
- Tip: Garlic powder spreads flavor evenly in the filling. If you prefer fresh garlic, sauté a clove with the chicken first.
-
1 teaspoon onion powder
- Tip: Onion powder keeps the texture smooth. A small amount of finely minced green onion folded in at the end is a nice fresh touch.
-
Salt and pepper to taste
- Tip: Taste the filling before filling the tortillas. Season conservatively at first and adjust as needed.
-
Chopped cilantro for garnish
- Tip: Add cilantro right before serving for a fresh aroma and bright color.
I also like to add a light squeeze of lime to my portion at the table for a pop of acid. For a protein boost you can mix in a couple of tablespoons of cottage cheese or Greek yogurt, but I usually reserve that for other dishes like my cottage cheese chicken salad: high protein cottage cheese chicken salad.
Directions
-
Preheat the oven to 375°F (190°C).
- Encouraging note: Let the oven warm while you assemble. A preheated oven makes for even baking and a nicer top.
-
In a bowl, mix shredded chicken, ricotta cheese, garlic powder, onion powder, salt, and pepper until well combined.
- Encouraging note: Be gentle when mixing. Taste a tiny bit to check seasoning. Adjust salt and pepper as needed.
-
Take a tortilla, fill it with the chicken mixture, and roll it up. Place the rolled tortillas seam-side down in a baking dish.
- Encouraging note: Roll snugly but not too tight. If a tortilla splits, place it seam-side down to hide any tears.
-
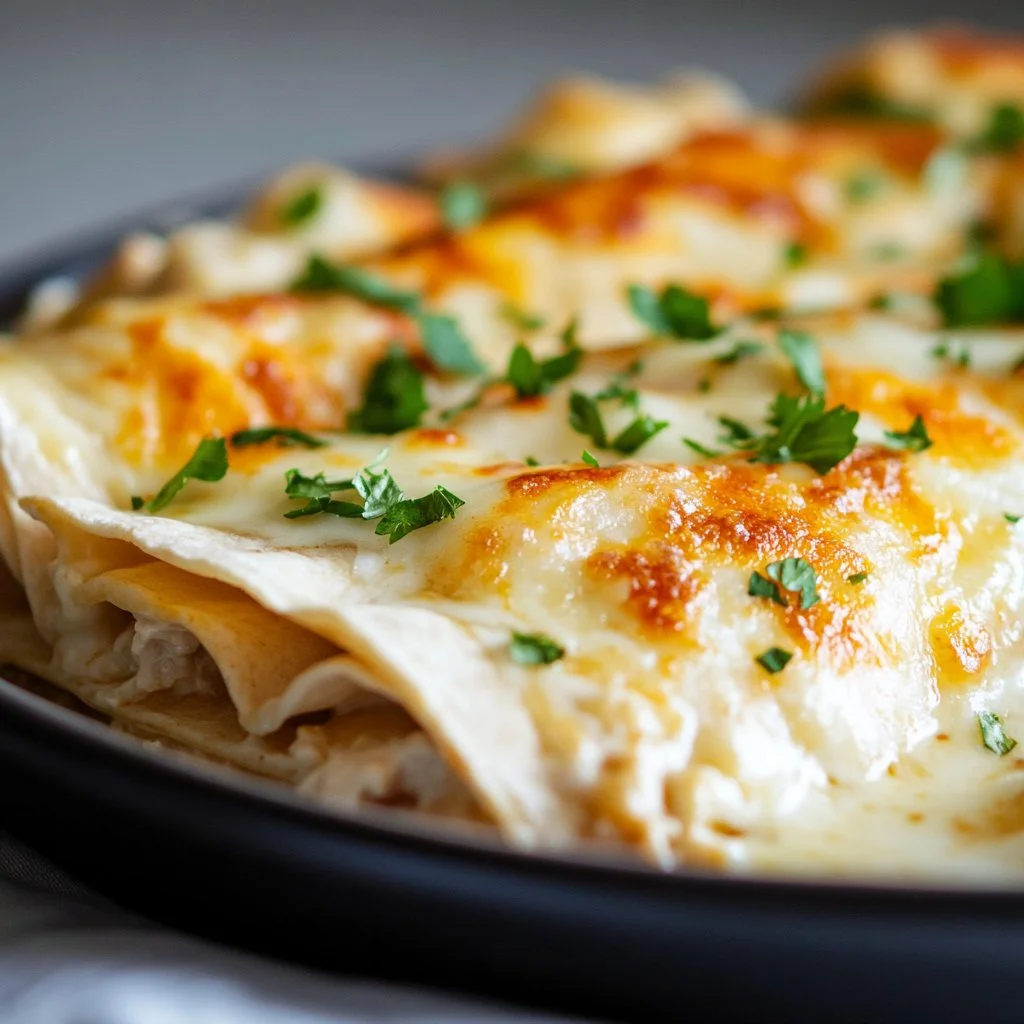
Pour the white sauce over the enchiladas, then sprinkle with mozzarella and Parmesan cheese.
- Encouraging note: Pour evenly so each enchilada gets sauce. A generous cheese layer makes the top golden and irresistible.
-
Bake for 20-25 minutes or until the cheese is bubbly and golden.
- Encouraging note: Keep an eye on color in the last five minutes. If it browns too fast, tent with foil and continue baking.
-
Garnish with chopped cilantro before serving.
- Encouraging note: Add cilantro and a small squeeze of lime right before serving for brightness.
If you want to make this assembly even more kid-friendly, let them add their own cheese sprinkle at step 4. For a southwestern twist in the filling, blend in some mild taco-seasoned salsa or reference my southwest chicken salad for flavor ideas: high protein southwest chicken salad.
Serving

Serve these enchiladas family-style straight from the baking dish. Place the dish in the center of the table and let everyone help themselves.
Offer fresh sides like a green salad, steamed veggies, or simple black beans. I like to add a small bowl of chopped avocado or salsa for guests to customize their portions.
Cut into portions right in the dish so the layers stay intact. A spatula with a thin edge helps lift the enchiladas cleanly. For a festive touch, add extra chopped cilantro and a few lime wedges on the side.
If you prefer plates, arrange one or two enchiladas per person and add a scoop of rice or a crisp cabbage slaw for balance. For busy nights, everything can be placed on the table buffet style. If you want more ideas for protein-forward salads to pair with this meal, try my feta chicken salad that brightens the plate: easy high protein feta chicken salad.
Storage
Store cooled enchiladas in an airtight container in the refrigerator for up to 3 days. Reheat single portions in the microwave for about 1.5 to 2 minutes on high, or in a 350°F oven for 12 to 15 minutes covered with foil to prevent drying.
To freeze, place cooled enchiladas in a freezer-safe dish and cover tightly. They will keep for up to 2 months. Thaw overnight in the fridge before reheating. If you want to freeze individual servings, wrap each portion in foil and label with the date.
For best texture when reheating from frozen, thaw in the refrigerator overnight then reheat in the oven. Add a splash of milk or a spoonful of extra white sauce before reheating to help restore creaminess.
Kitchen Notes
- Use a shallow baking dish to get more surface browning and a crisper edge. It also helps the sauce spread evenly.
- Warm tortillas on a dry skillet or damp paper towel to make rolling easier and prevent splits.
- Make white sauce ahead and refrigerate. Warm it slightly before pouring to keep it smooth.
- Double the recipe for meal prep. These freeze and reheat well for quick lunches or a potluck.
- Swap cheeses if needed. A blend of cheddar and mozzarella works fine when you want a sharper taste.
Variations
- Low carb option: Use low carb tortillas or large lettuce leaves for a lighter roll. Skip the flour tortillas and layer filling in a baking dish topped with sauce.
- Spicy lovers: Add chopped green chiles or a mild hot sauce to the filling and sprinkle jalapeno slices on top before baking.
- Vegetarian swap: Replace chicken with cooked beans, mushrooms, and roasted peppers. Increase the ricotta to keep texture.
- Dairy-free: Use a dairy-free white sauce and plant-based cheeses. Make sure the ricotta substitute is thick enough to bind the filling.
- Extra protein: Add two tablespoons of cottage cheese or Greek yogurt to the ricotta for an added protein boost without changing flavor much.
FAQ
Q: Can I use corn tortillas instead of flour?
A: Yes. Warm corn tortillas so they do not crack. They give a more authentic flavor but can be a bit more fragile.
Q: How do I make a quick white sauce?
A: Melt 2 tablespoons butter, whisk in 2 tablespoons flour, and slowly whisk in 1 cup warm milk. Cook until slightly thickened. Season with salt and a pinch of nutmeg if you like.
Q: Can I assemble enchiladas ahead of time?
A: Yes. Assemble them in the baking dish, cover, and refrigerate for up to 24 hours. Bring to room temperature for 20 minutes before baking.
Q: Is there a way to make this less messy for kids?
A: Serve the filling as a dip with cut tortillas or tortilla chips. Kids often like building their own mini enchilada bites.
Q: How many servings does this make?
A: This recipe typically serves 4 to 6, depending on appetite and side dishes. It works well for family dinners and leftovers.
Conclusion
Thank you for letting me share this cozy, high protein enchilada recipe with your family. I hope it becomes one of your go-to dinners when you want something comforting and filling without too much fuss.
If you want another quick, high protein enchilada idea with slightly different ingredients, check out this High Protein Chicken Enchiladas (30 minutes, 7 ingredients) for inspiration. For a version that uses rotisserie chicken and a few different swaps, see High Protein Rotisserie Chicken Enchiladas – Mason Woodruff.
Happy cooking, and may your kitchen always smell like melted cheese and warm memories.
High Protein Chicken Enchiladas
Ingredients
Filling ingredients
- 2 cups shredded cooked chicken (Rotisserie chicken works great for flavor and time saving.)
- 1 cup ricotta cheese (Full fat for creaminess; part-skim with a splash of milk works too.)
- 1 teaspoon garlic powder (Use fresh garlic if preferred.)
- 1 teaspoon onion powder (Finely minced green onion can be added for freshness.)
Assembly ingredients
- 8 pieces tortillas (Medium flour tortillas are best; warm them to prevent cracking.)
- 1 cup white sauce (bechamel sauce) (Can be made quickly with butter, flour, and milk.)
- 1 cup shredded mozzarella cheese (Freshly shredded melts better than pre-shredded.)
- 1/2 cup grated Parmesan cheese (Grate your own for the best flavor.)
Instructions
Preparation
- Preheat the oven to 375°F (190°C).
- In a bowl, mix shredded chicken, ricotta cheese, garlic powder, onion powder, salt, and pepper until well combined.
Assembly
- Take a tortilla, fill it with the chicken mixture, and roll it up. Place the rolled tortillas seam-side down in a baking dish.
- Pour the white sauce over the enchiladas, then sprinkle with mozzarella and Parmesan cheese.
Baking
- Bake for 20-25 minutes or until the cheese is bubbly and golden.
- Garnish with chopped cilantro before serving.