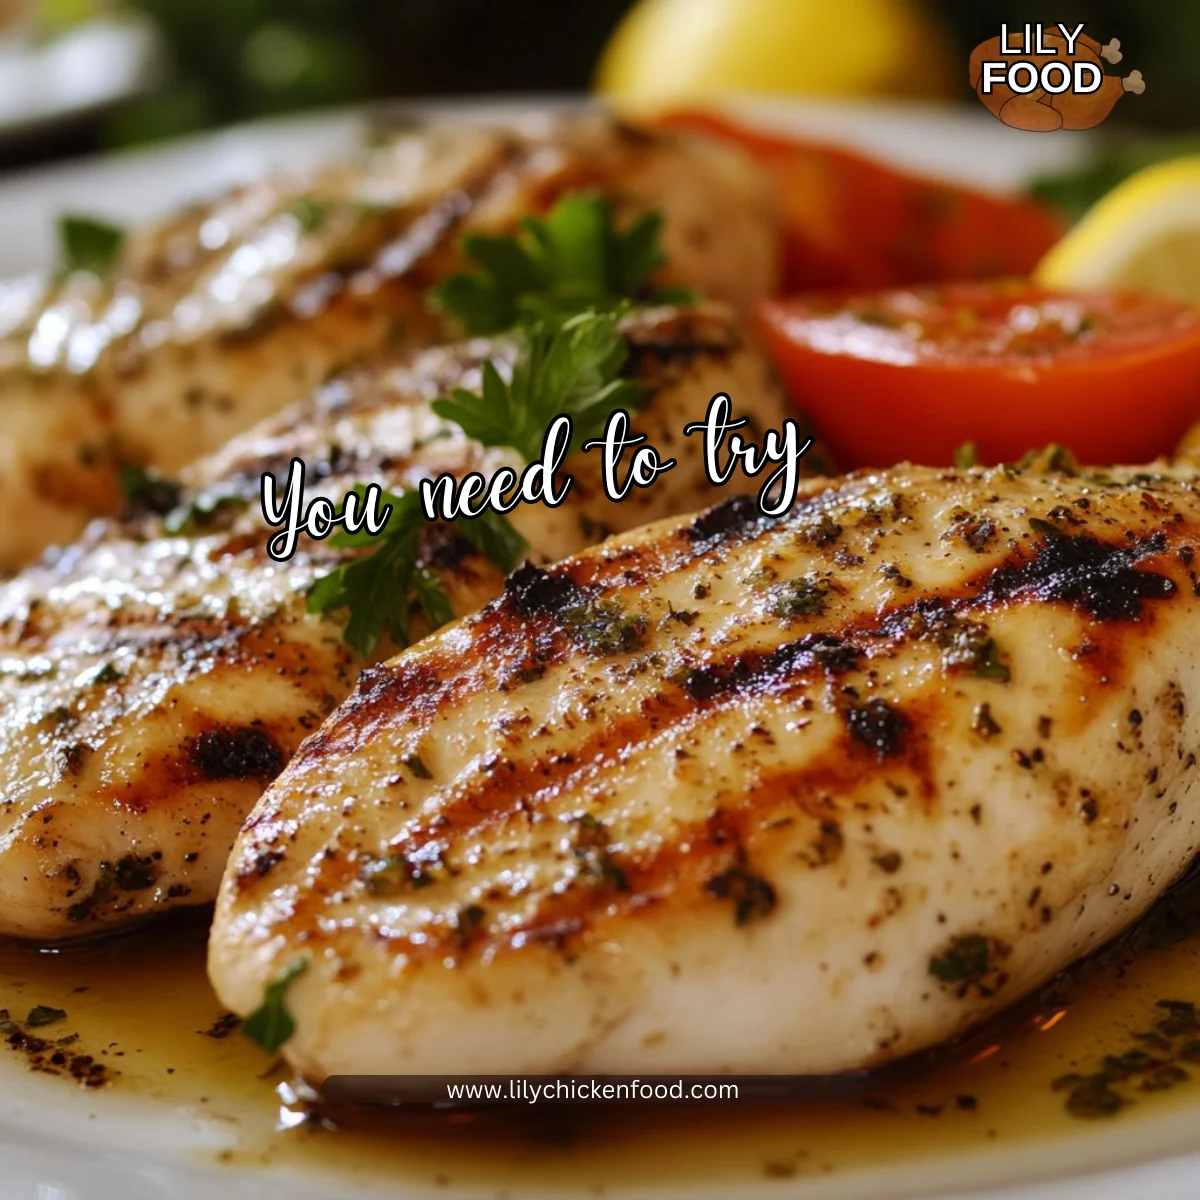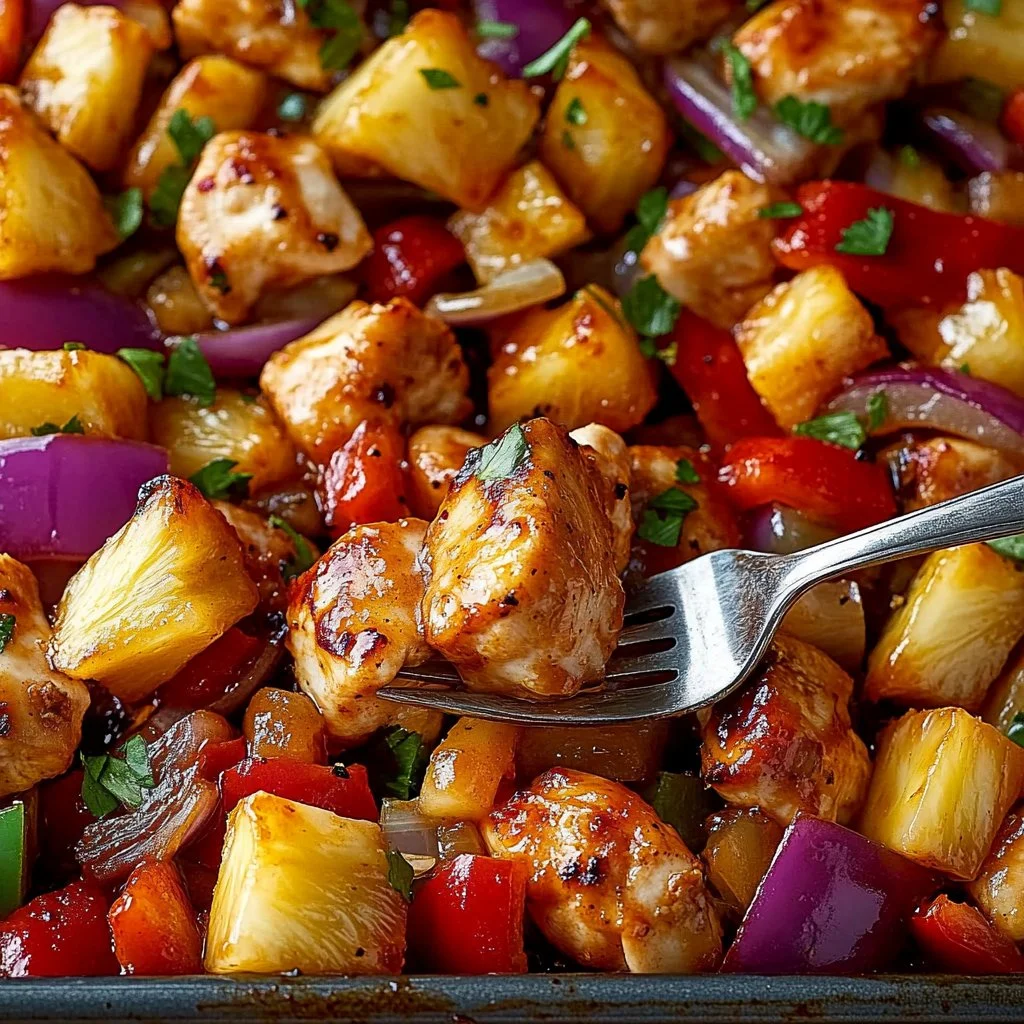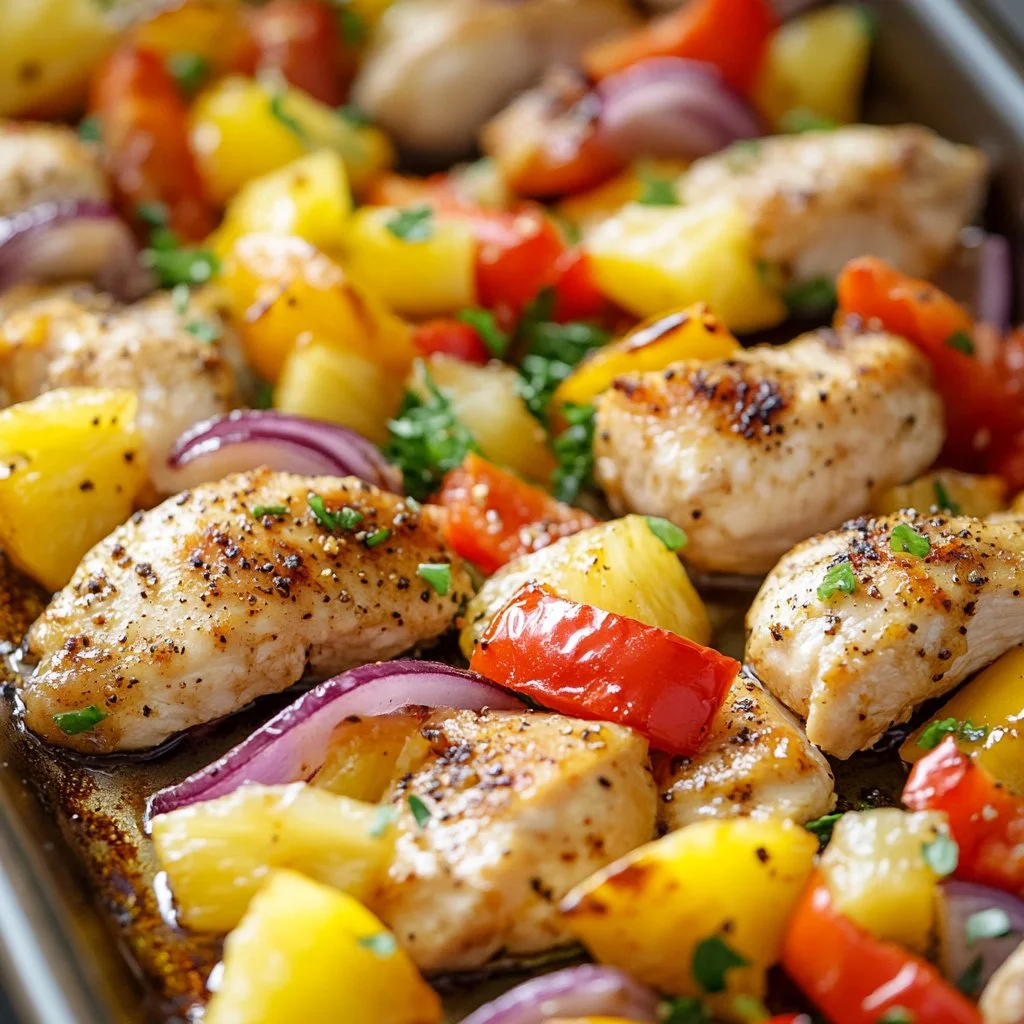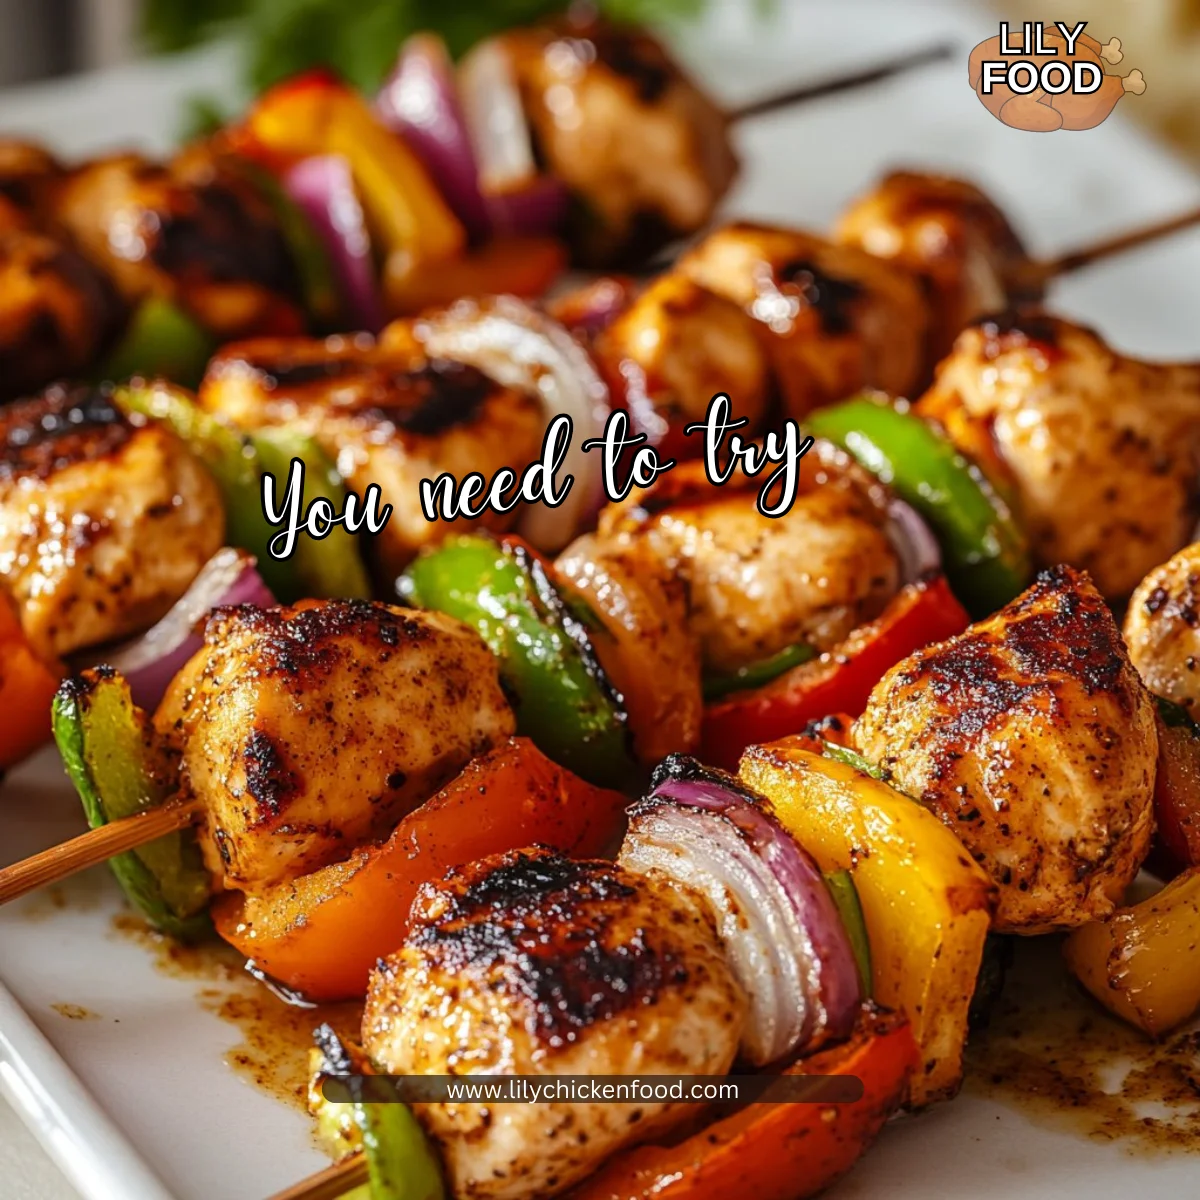
I can still smell it now. The warm, sweet steam of honey and garlic rising from the oven. The little clink of skewers as I arrange them on the baking sheet. That sound means dinner is on the table and the family is coming together.
This Easy Oven-Baked Chicken Kabobs recipe has become a staple in our house. It is fast, forgiving, and full of flavor. I love how it fills the kitchen and makes everyone slow down for a few minutes. If you are pressed for time, this dish will feel like a small weekday miracle. For more weeknight inspiration, I often pair it with my list of the best 5 easy chicken recipes for weeknight dinners.
Why this works
This recipe is built for real life. It saves time and brings family to the table without fuss. Marinating the chicken gives a big flavor boost in a short window. Baking the skewers in the oven keeps things tidy and lets you multitask.
You do not need a grill or special equipment. Wooden or metal skewers work fine. You can prep the marinade in the morning or right before dinner. The method suits busy evenings, backyard gatherings, and even lunches for leftovers the next day. For more ideas that keep meals simple and quick, check this collection of quick and easy chicken recipes.
Process Overview
“This is where the magic happens—when the aroma fills the kitchen.”
In short, you marinate, skewer, and bake. The oven gives the chicken even heat so the meat stays juicy. Turning the skewers once makes sure everything browns evenly. The whole process keeps your hands free for setting a salad, warming rice, or helping kids with homework.
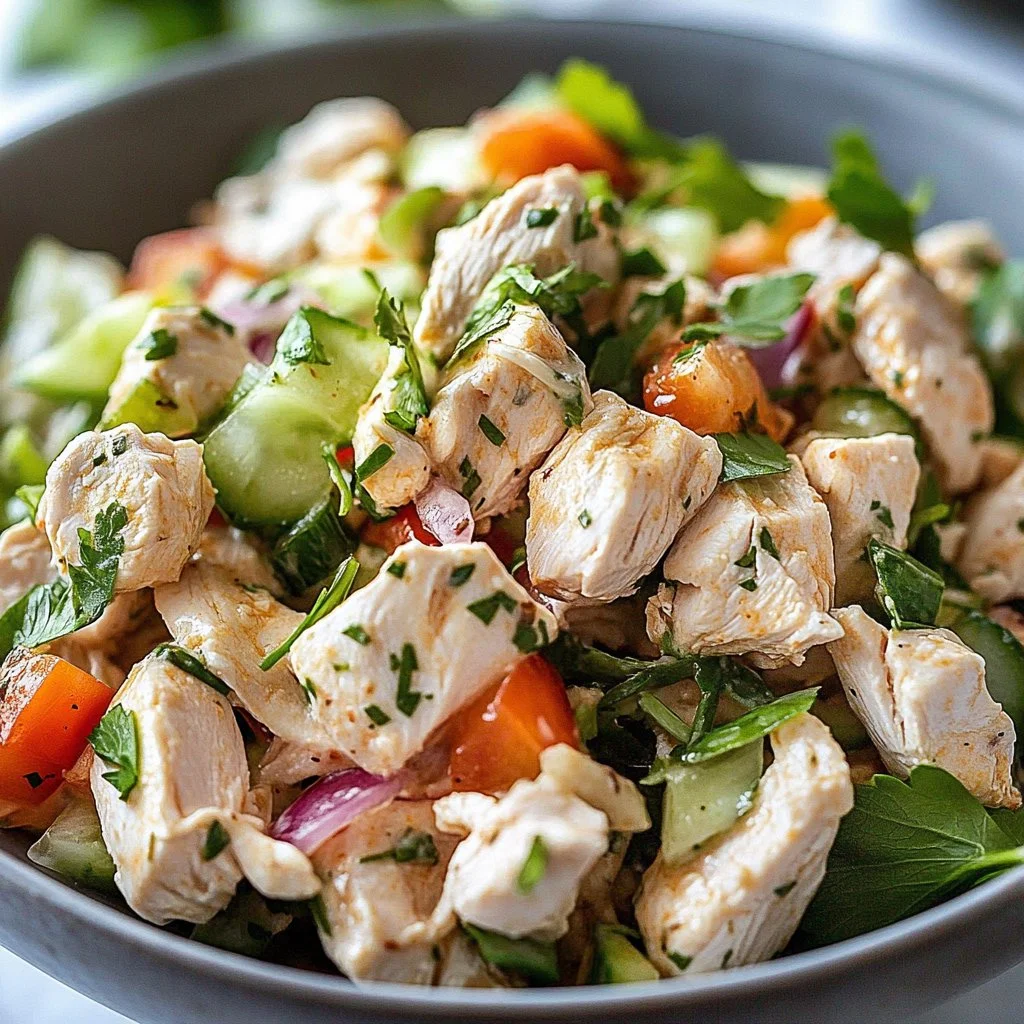
Ingredients
I list exact measurements below. Use what you have and adjust to taste. My family likes a little extra honey for a caramelized edge.
Protein
- 1.5 lb chicken breast, cut into 1 to 1.5 inch chunks
- Tip: Trim fat and slice against the grain for tender bites. If you prefer darker meat, chicken thighs work well too.
Marinade
- 1/2 cup soy sauce
- 1/4 cup honey
- 3 cloves garlic, minced
- 1 tsp paprika
- 1/2 tsp ground cumin
- 1/2 tsp black pepper
- 2 tbsp olive oil
- Tip: Mix the wet and dry ingredients in a bowl. Taste a small spoonful of the marinade before adding chicken to check seasoning.
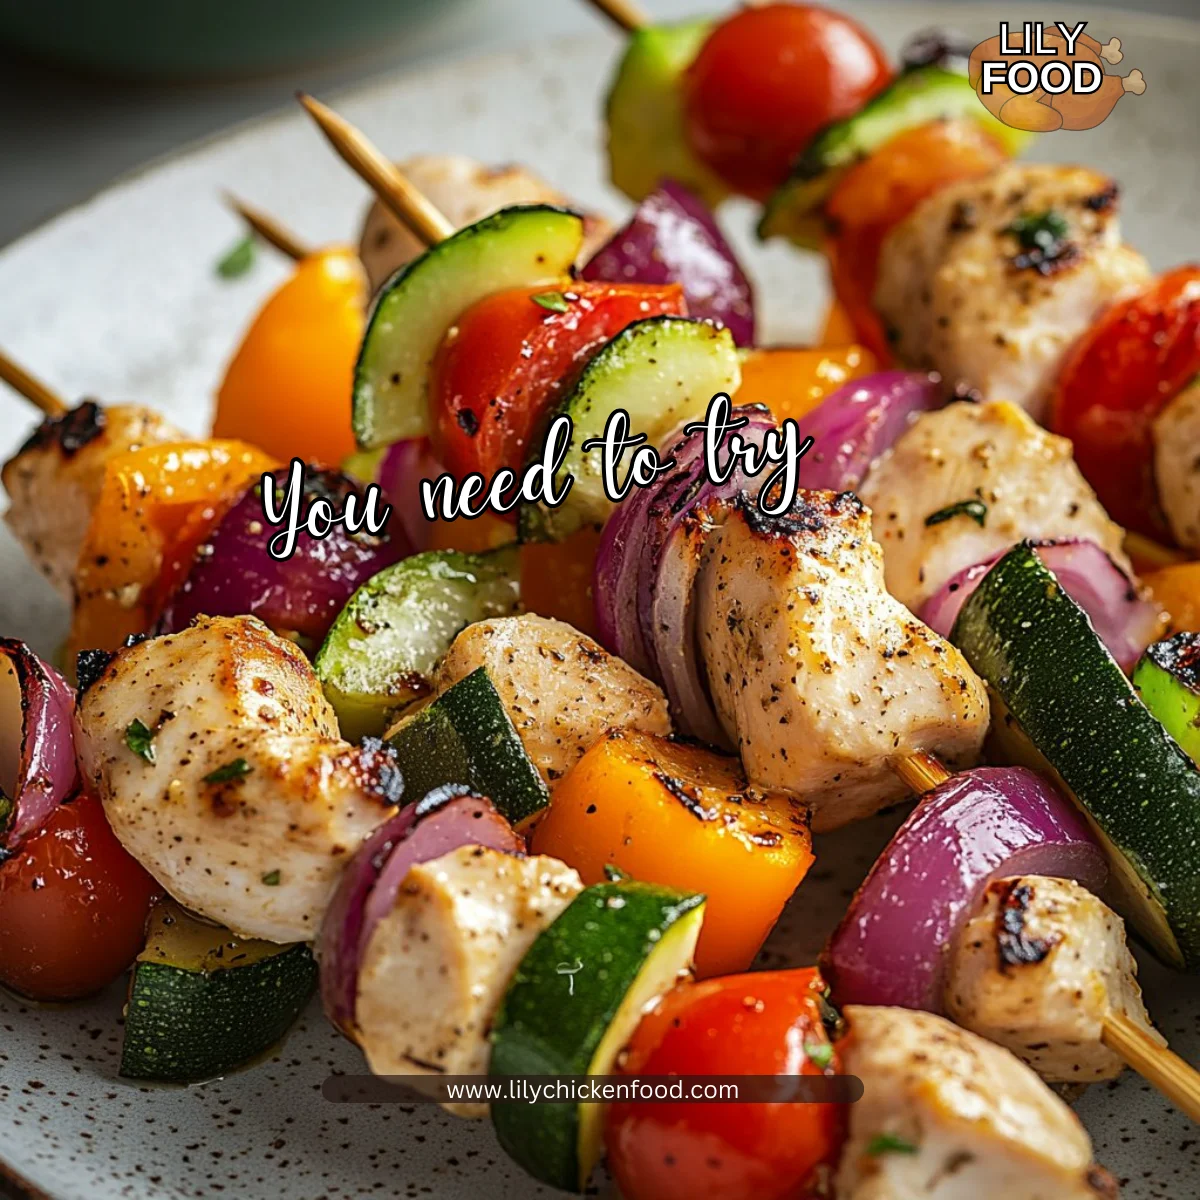
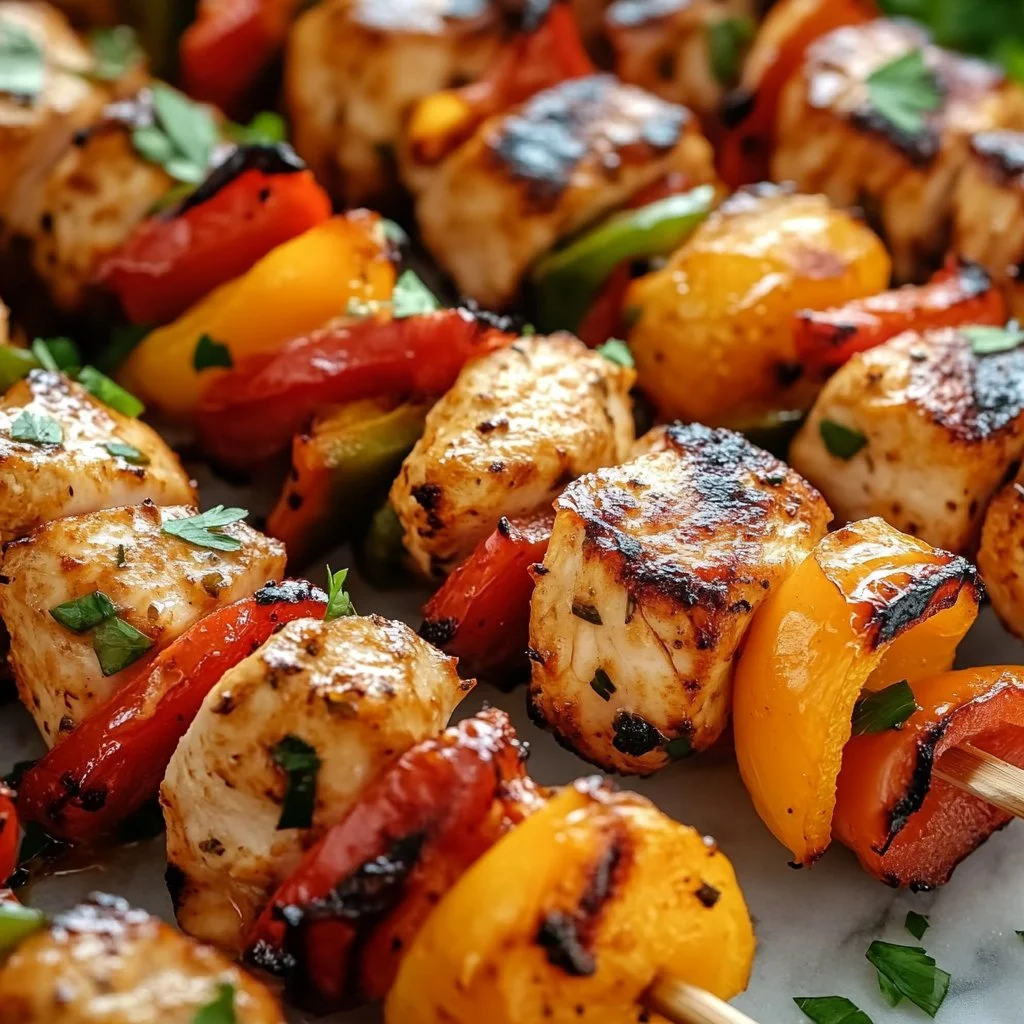
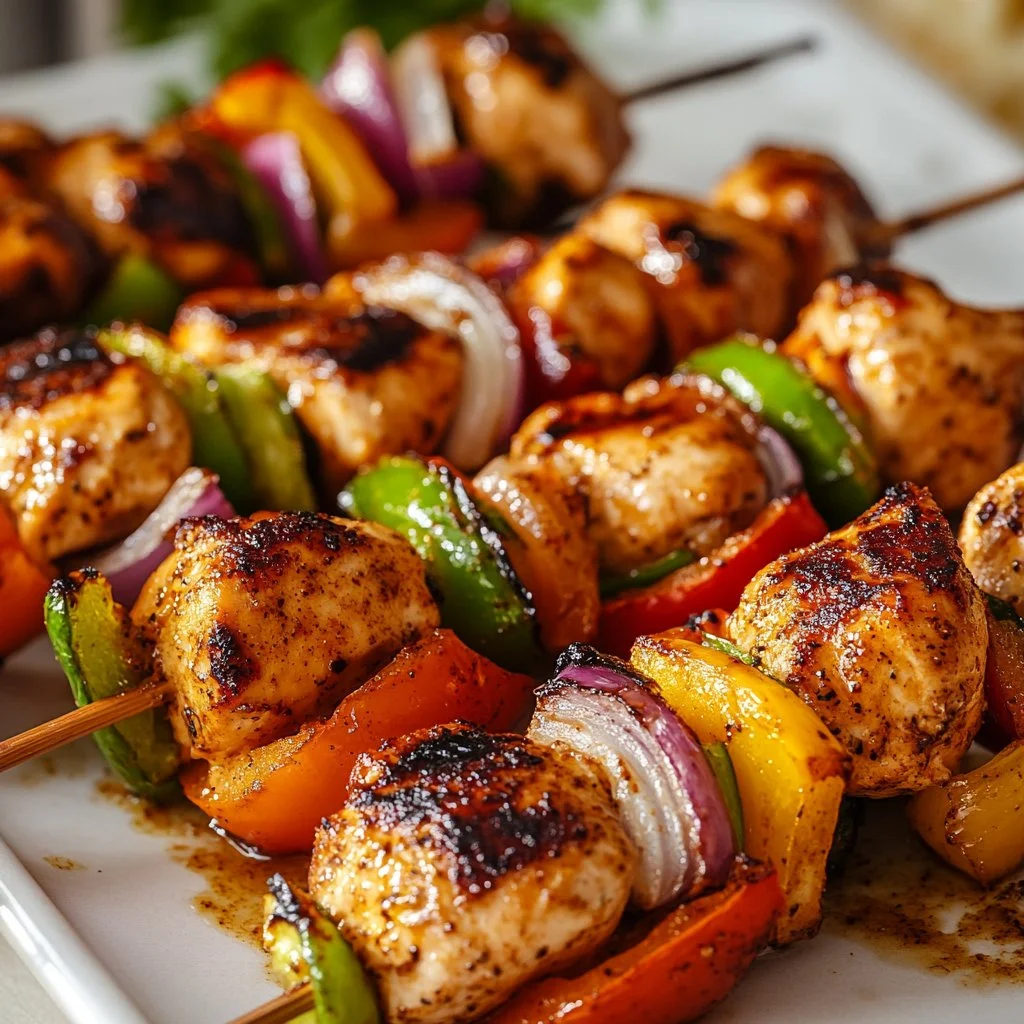
Vegetables for skewering
- 1 large red bell pepper, cut into 1 to 1.5 inch pieces
- 1 medium yellow onion, cut into wedges
- 1 medium zucchini, sliced into 1/2 inch rounds
- Tip: Use firmer vegetables so they hold together while baking. Cut pieces similar in size to the chicken for even cooking.
Skewers and extras
- 8 to 10 wooden skewers or 8 metal skewers
- Tip: If using wooden skewers, soak them in water for 20 minutes to prevent burning. Metal skewers get hot so use tongs or oven mitts.
- Parchment paper for the baking sheet
- Lemon wedges and chopped parsley for garnish
- Tip: A light squeeze of lemon at the end brightens the flavors and makes the dish sing.
For other chicken breast ideas, you might like my roundup of deliciously easy chicken breast recipes to try tonight.
Directions
-
In a bowl, mix soy sauce, honey, minced garlic, and your choice of spices to create the marinade.
- Encouraging note: Whisk until the honey blends in and the kitchen smells sweet. You are building the flavor base and it is worth a little attention.
-
Add the chicken chunks to the marinade and let it sit for at least 30 minutes.
- Encouraging note: If you have more time, marinate for up to 4 hours in the fridge. Even half an hour helps the chicken soak up flavor.
-
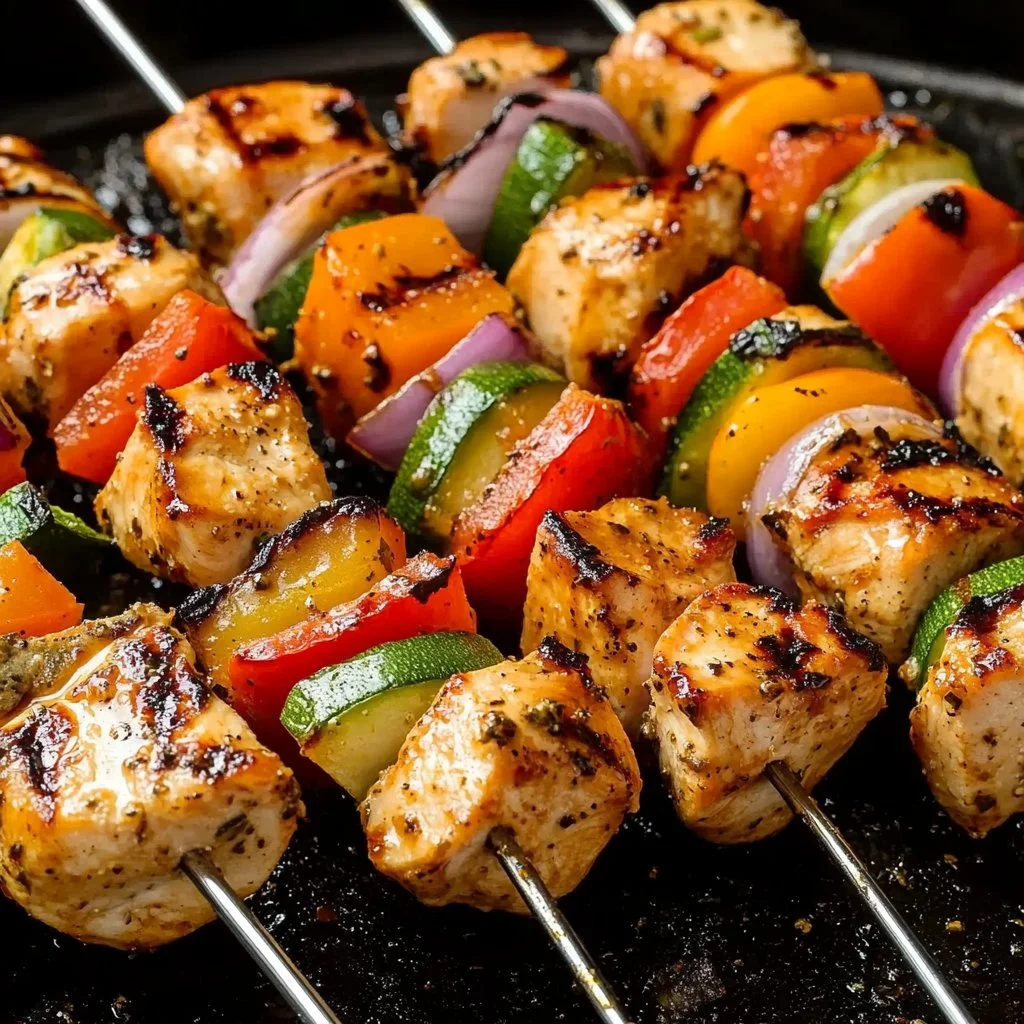
Preheat the oven to 400°F (200°C).
- Encouraging note: A hot oven gives you quick cooking and nice browning. This step gets you ready while you thread the skewers.
-
Thread the marinated chicken and vegetables onto the skewers.
- Encouraging note: Alternate chicken and veggies for color and balance. If kids are helping, let them choose the order for a fun family task.
-
Place the skewers on a baking sheet lined with parchment paper.
- Encouraging note: Leave a little space between skewers so heat circulates. Lining the pan makes cleanup a breeze and keeps dinner relaxed.
-
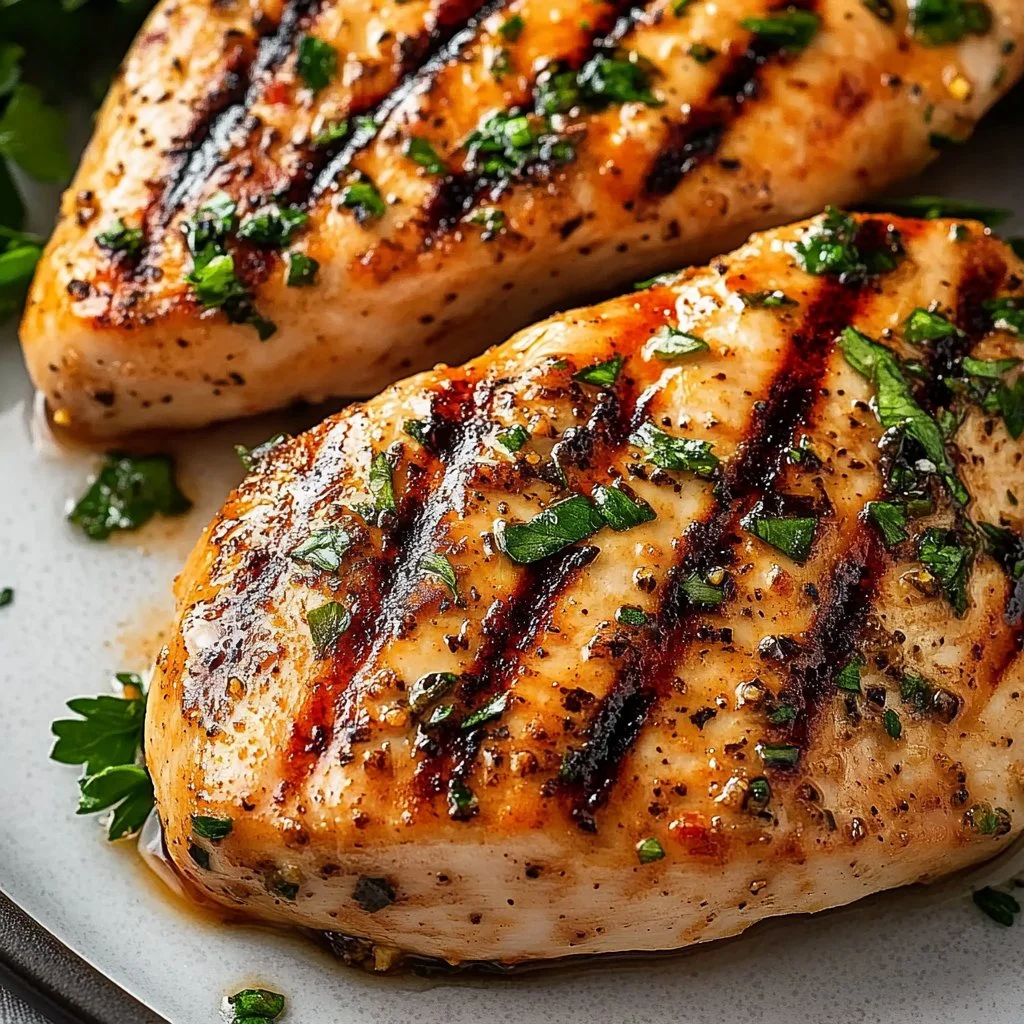
Bake in the preheated oven for 20-25 minutes or until the chicken is cooked through, turning halfway for even cooking.
- Encouraging note: Turn the skewers gently at the halfway mark. The outside should be golden and the inside should reach 165°F if you check with a thermometer.
-
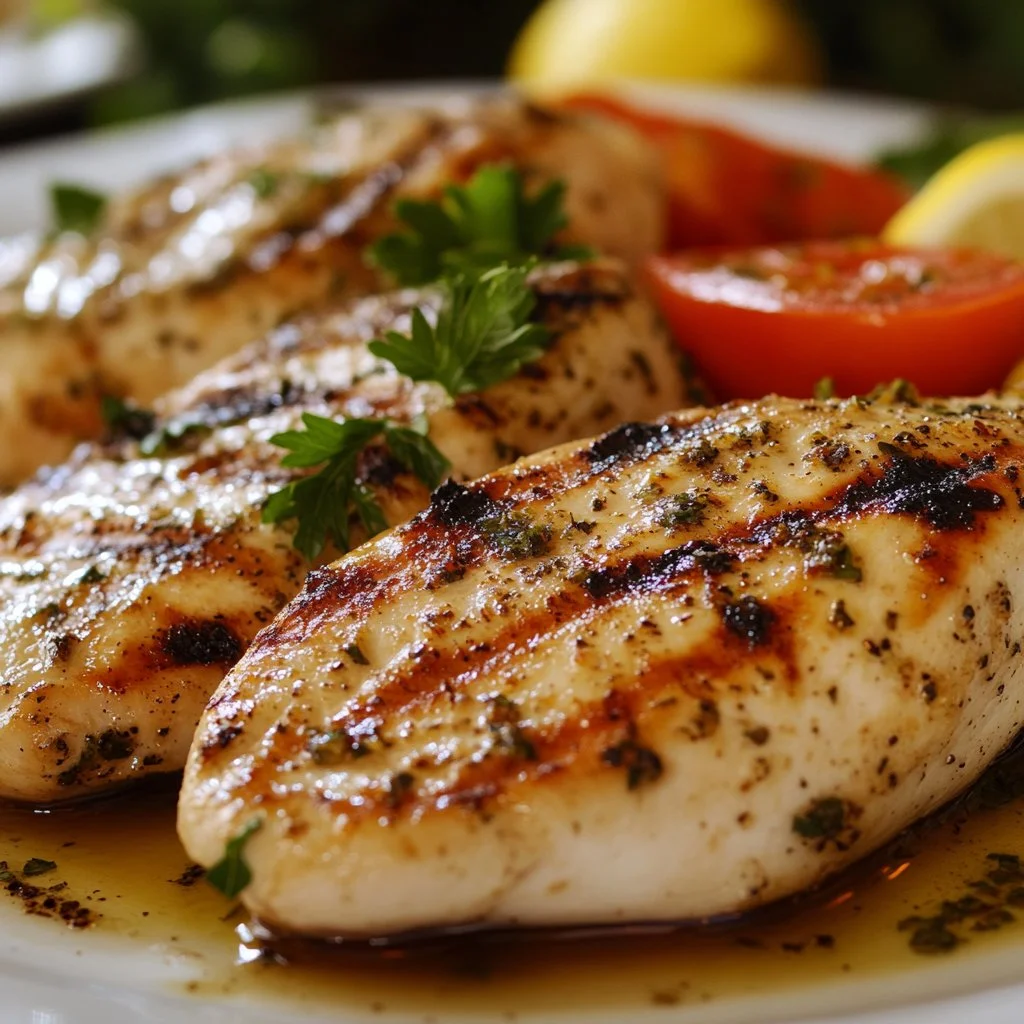
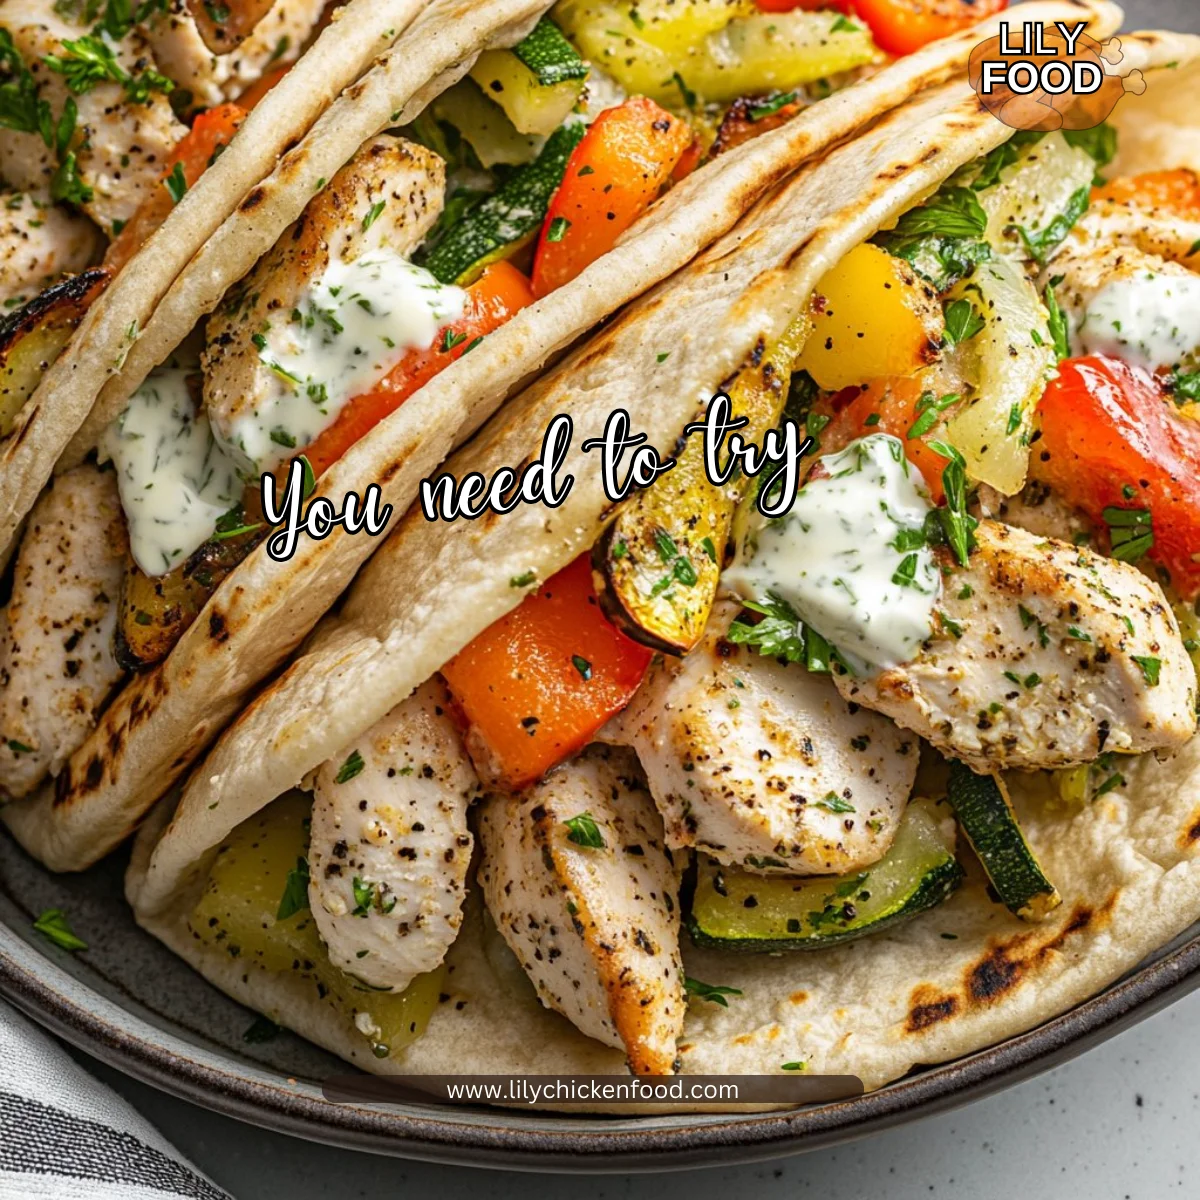
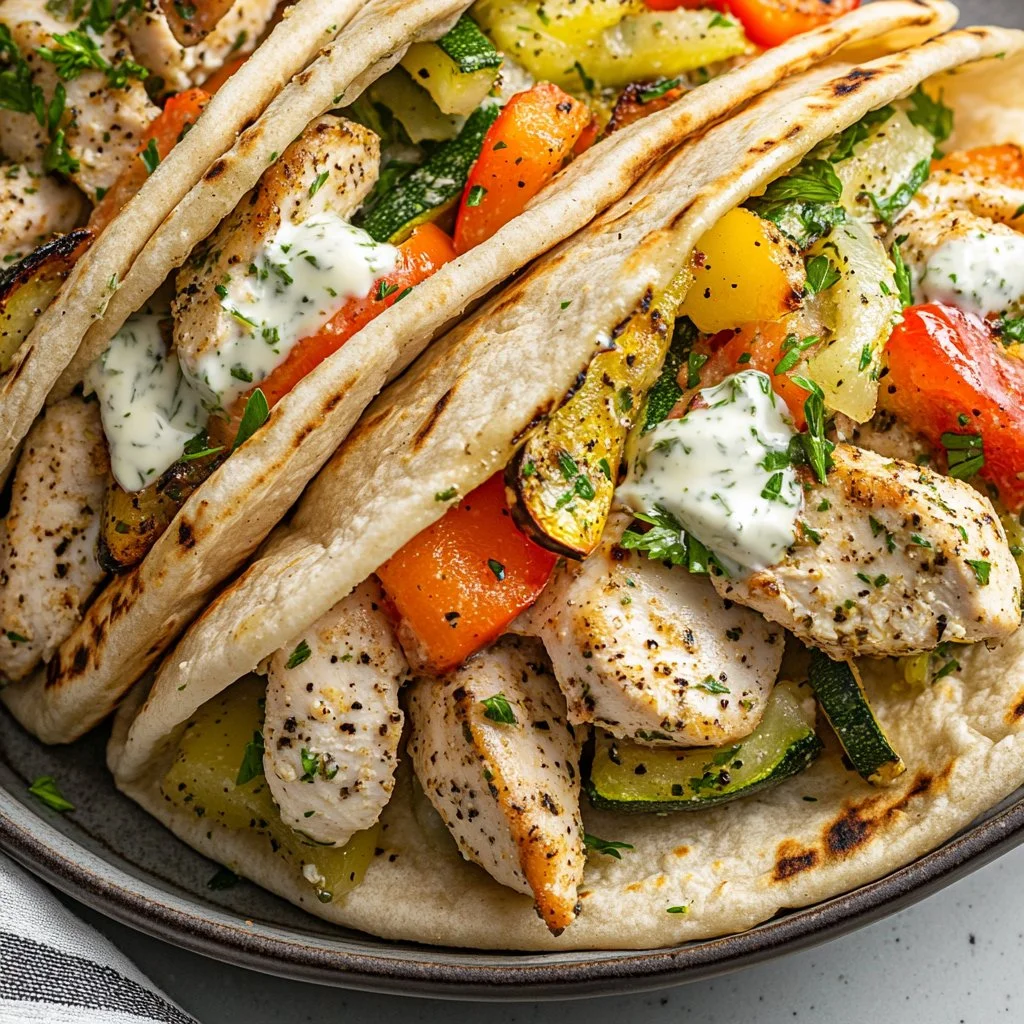
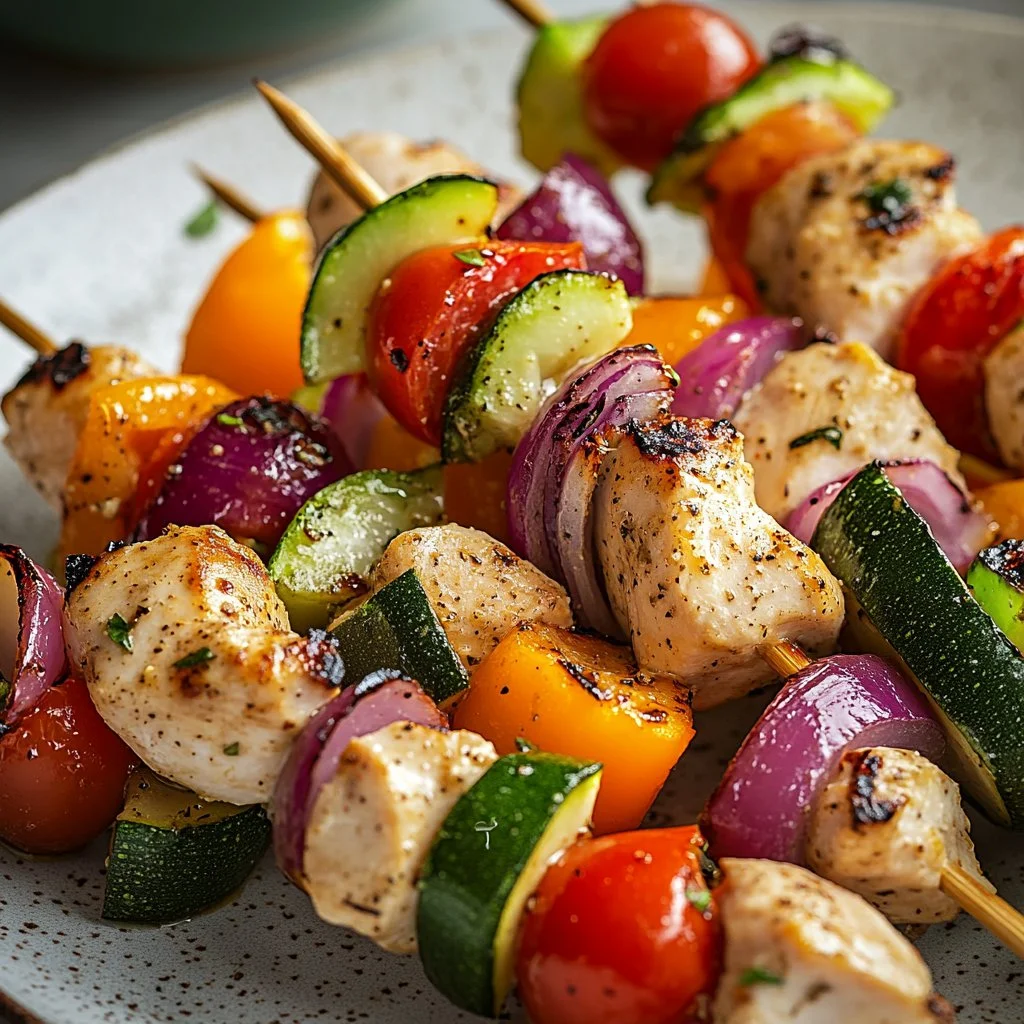
Serve with rice, pita, or a fresh salad.
- Encouraging note: Let the skewers rest for a couple of minutes before serving. This gives the juices time to settle and keeps every bite moist. If you like, offer lemon wedges and extra sauce on the side.
If you prefer thighs or want a faster roast for busy nights, try my quick oven-baked thighs recipe as an alternative: 30-minute oven baked boneless skinless chicken thighs.
Serving
Serving family-style makes this meal feel cozy. Arrange skewers on a large platter so everyone can reach. Add a big bowl of steamed rice, warm pita bread, and a simple cucumber tomato salad. Little bowls of yogurt or tzatziki make a great dipping option for kids.
For a picnic or casual night, let everyone build their own plates. Some family members might prefer extra veggies while others go straight for more chicken. Encourage sharing and let kids pick small sides to make the meal feel special.
Storage
Leftovers store well in the fridge for up to 3 days. Remove the chicken from the skewers before storing. Place in an airtight container and keep the sauce separate if possible.
To reheat, warm gently in a 350°F oven for 8 to 10 minutes or until heated through. You can also reheat in a microwave on medium power for 1 to 2 minutes, stirring halfway. If the chicken seems dry, splash a teaspoon of water or chicken broth before reheating.
For longer storage, freeze cooked pieces in a freezer-safe container for up to 2 months. Thaw overnight in the fridge and reheat as above.
Kitchen Notes
- Use a thermometer. Cook chicken to 165°F to ensure safety and juiciness.
- Soak wooden skewers in water for 20 minutes before using to prevent burning.
- Marinate at room temperature for up to 30 minutes or in the refrigerator up to 4 hours.
- Cut pieces evenly for predictable cooking times and a tidy presentation.
- Line the baking sheet with parchment to catch drips and make cleanup quick and easy. Also check my creamy thighs tip for a rich texture idea at creamy oven baked chicken thighs.
Variations
Make it kid-friendly
- Use fewer spices and a touch more honey. Keep vegetables simple like bell pepper and onion.
- Cut chicken into slightly smaller pieces to create bite-sized chunks kids love.
Make it low-carb
- Skip rice and serve over a bed of mixed greens or cauliflower rice. Add a dollop of plain yogurt instead of sweet sauce.
Make it Mediterranean
- Add chopped fresh oregano or a sprinkle of feta after baking. Serve with olives and lemon wedges.
Make it spicy
- Add 1/2 tsp crushed red pepper flakes or a dash of hot sauce to the marinade. Adjust to your family’s spice tolerance.
Make it gluten-free
- Use gluten-free tamari instead of soy sauce to keep the flavor while avoiding gluten.
For more flexible family meal ideas, browse my category of quick chicken dishes at quick and easy chicken recipes.
FAQ
How long should I marinate the chicken?
You can marinate for at least 30 minutes. For best results, marinate 1 to 4 hours in the refrigerator. Avoid leaving chicken in a strong salty marinade all day.
Can I make this on the grill instead of the oven?
Yes. Grill on medium-high heat for 10 to 12 minutes, turning every few minutes. Soak wooden skewers first to prevent burning.
What sides go best with these kabobs?
Rice, pita, a simple salad, or roasted potatoes are all great. For a lighter option, serve with a chopped cucumber tomato salad and plain yogurt.
Can I use frozen chicken?
Thaw frozen chicken completely before marinating and cooking. Frozen or partially frozen chicken will not absorb the marinade well and may cook unevenly.
How do I prevent vegetables from overcooking?
Choose firmer vegetables and slice them larger. Zucchini and onions can cook faster, so consider parboiling them for 1 minute if you prefer very soft chicken with firmer veggies.
Conclusion
I hope this Easy Oven-Baked Chicken Kabobs recipe becomes one of your weeknight heroes. It is forgiving, quick, and a great way to bring family together around the table. For another take on oven-baked kabobs, you might enjoy this classic version from Baked Chicken Kabobs in the Oven – The Dizzy Cook. If you are craving a Greek style twist, this recipe from Easy Oven Chicken Kabobs (Greek style!) – Scrummy Lane is full of bright, fresh flavors.
Thanks for cooking with me. Come back and tell me how your family liked the kabobs, and which variation you tried.

Easy Oven-Baked Chicken Kabobs
Ingredients
Protein
- 1.5 lb chicken breast, cut into 1 to 1.5 inch chunks (Trim fat and slice against the grain for tender bites.)
Marinade
- 1/2 cup soy sauce (Mix the wet and dry ingredients in a bowl.)
- 1/4 cup honey (Taste a small spoonful of the marinade before adding chicken to check seasoning.)
- 3 cloves garlic, minced
- 1 tsp paprika
- 1/2 tsp ground cumin
- 1/2 tsp black pepper
- 2 tbsp olive oil
Vegetables for skewering
- 1 large red bell pepper, cut into 1 to 1.5 inch pieces (Use firmer vegetables so they hold together while baking.)
- 1 medium yellow onion, cut into wedges
- 1 medium zucchini, sliced into 1/2 inch rounds
Skewers and extras
- 8 to 10 skewers wooden or metal skewers (If using wooden skewers, soak them in water for 20 minutes to prevent burning.)
- Parchment paper for the baking sheet (Use for easy cleanup.)
- Lemon wedges and chopped parsley for garnish (A light squeeze of lemon brightens the flavors.)
Instructions
Preparation
- In a bowl, mix soy sauce, honey, minced garlic, and your choice of spices to create the marinade.
- Add the chicken chunks to the marinade and let it sit for at least 30 minutes.
- Preheat the oven to 400°F (200°C).
- Thread the marinated chicken and vegetables onto the skewers.
- Place the skewers on a baking sheet lined with parchment paper.
Cooking
- Bake in the preheated oven for 20-25 minutes or until the chicken is cooked through, turning halfway for even cooking.
- Serve with rice, pita, or a fresh salad.