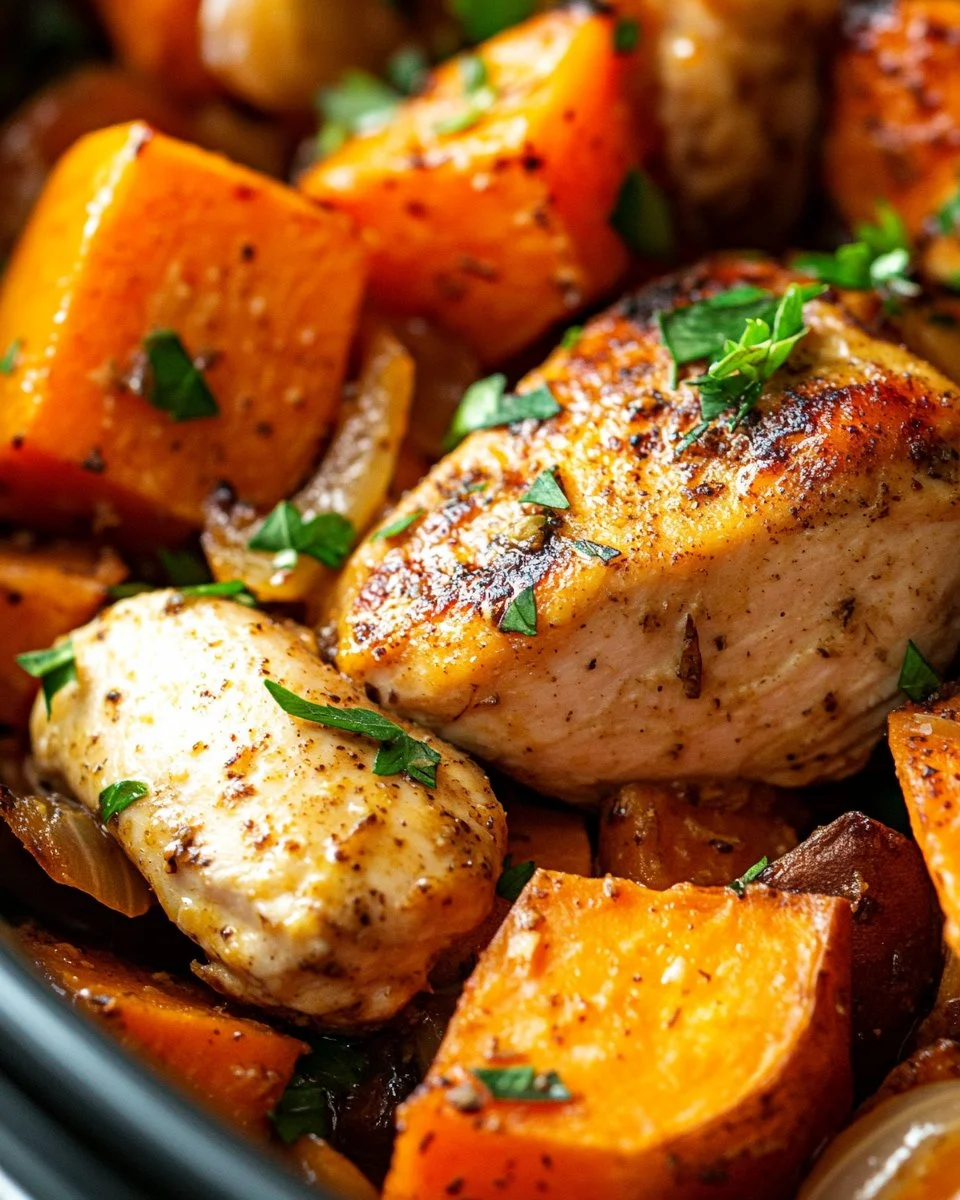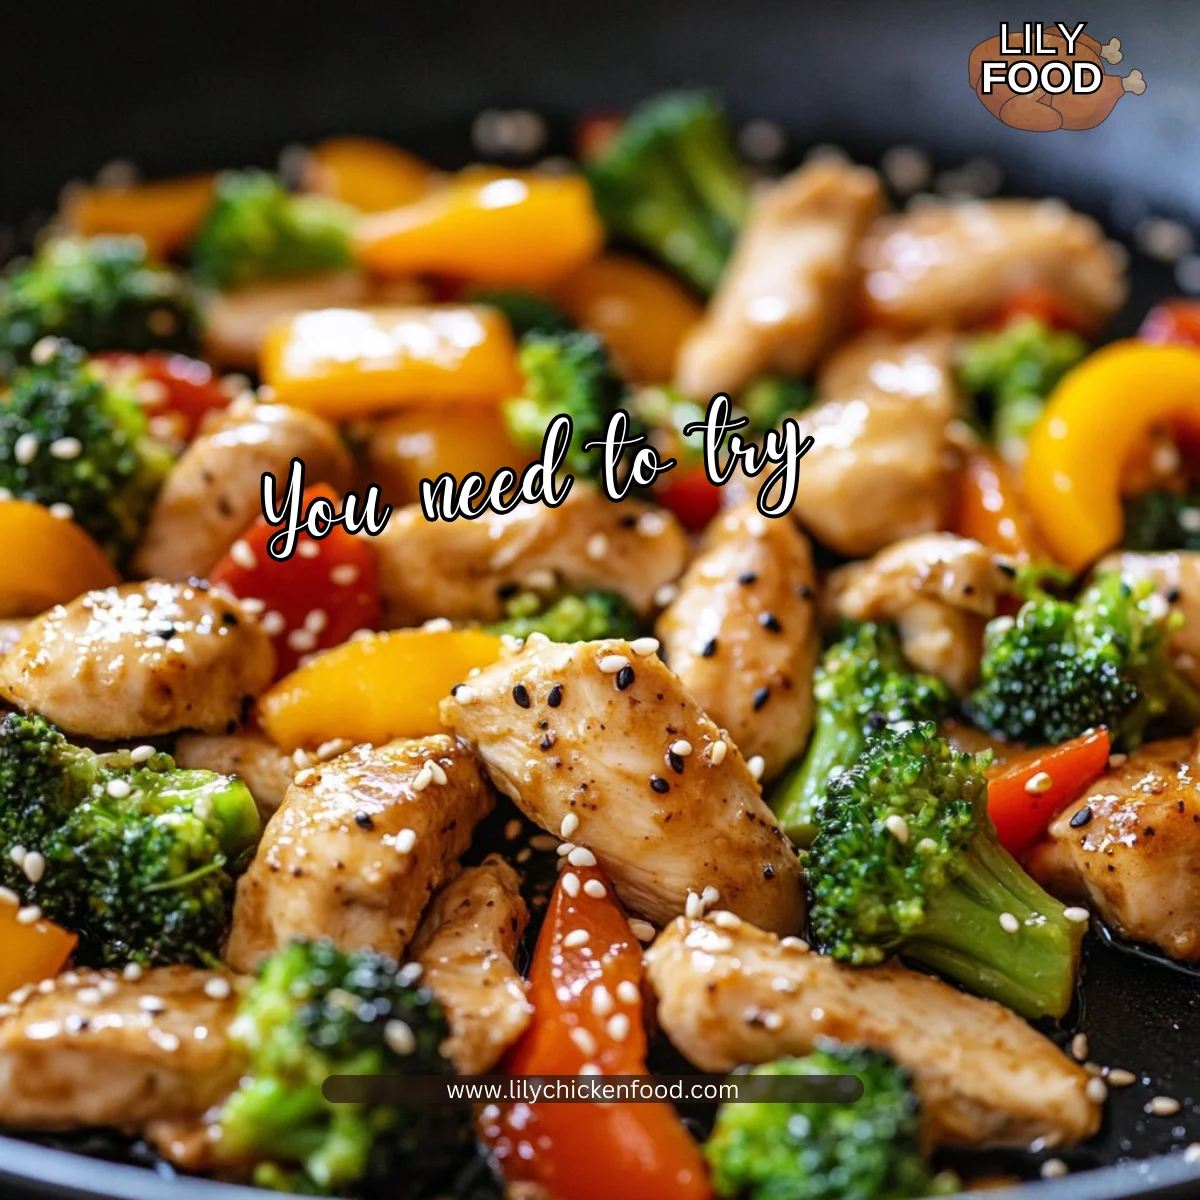
I can smell the garlic and honey hitting the hot griddle. The sound of a soft sizzle fills the kitchen as veggies start to brown and chicken pieces turn golden. My family gathers around the counter, tiny forks at the ready, and I feel that warm, quiet satisfaction that comes from feeding the people I love.
This chicken stir fry on the Blackstone griddle is one of those dinners that feels special but comes together fast. If you like simple weeknight meals, you might also enjoy my queso chicken enchiladas, another family favorite that saves time without losing flavor.
Why this works
This recipe balances speed, flavor, and nutrition in a way that really helps busy families. Vegetables get caramelized on the griddle while the chicken cooks separately, so nothing steams into mush. The sauce is light but bold, clinging to every bite.
I test these kinds of dinners often and keep a list of reliable weeknight ideas. If you want more family-tested ideas, check my collection of best 30 chicken dinner recipes. This stir fry fits right into a busy evening because it uses one large cooking surface, little cleanup, and ingredients you can mix and match.
Process Overview
“This is where the magic happens—when the aroma fills the kitchen.”
In short, you prep, heat the griddle, cook vegetables in one zone, sear the chicken in the other, toss in peppers and aromatics, and finish with a glossy sauce. The griddle gives you quick, even heat and that lovely char that keeps kids asking for more.
For quick weeknight wins, I often pull from my list of best 5 easy chicken recipes for weeknight dinners and adapt flavors for what’s in the fridge. The method in this recipe is flexible and forgiving.
Ingredients
Pantry and produce with my tips
-
3 boneless chicken breasts, diced into 1-inch pieces
Tip: Pat the chicken dry with paper towels before dicing so it browns faster on the griddle. If you like bite-sized pieces for kids, cut slightly smaller. -
2 cups broccoli florets
Tip: Use fresh if you can; frozen florets work too. If using frozen, give them a minute to thaw on the griddle so they don’t release too much water. -
1 yellow bell pepper, cut into 1-inch pieces
Tip: Yellow peppers are sweet and kid-friendly. Cut uniform pieces so everything cooks at the same rate. -
1 red bell pepper, cut into 1-inch pieces
Tip: Red peppers add color and sweetness. If your family prefers milder taste, remove the seeds and ribs. -
1/2 cup shredded carrots
Tip: Pre-shredded carrots save time. They also add a touch of natural sweetness and vibrant color. -
2 teaspoons minced garlic
Tip: Fresh minced garlic gives the best flavor. Add it near the end of cooking to keep it from burning. -
1/2 teaspoon ground ginger
Tip: Ground ginger is convenient and consistent. If you have fresh ginger, use 1 teaspoon grated for a brighter note. -
2 tablespoons avocado oil
Tip: Avocado oil tolerates the griddle’s high heat and gives a neutral flavor. Olive oil can work but may smoke more. -
2 tablespoons sesame seeds
Tip: Toast them lightly in a small pan for extra aroma, or sprinkle them raw for quick finish. -
1/2 cup chicken broth
Tip: Low-sodium broth keeps the sauce from getting too salty. You can substitute water in a pinch. -
1/4 cup soy sauce
Tip: Use reduced-sodium soy sauce if you are watching salt, or try a gluten-free tamari for sensitivity. -
2 tablespoons honey
Tip: Honey balances the soy. For a vegan swap, use maple syrup; flavor will be slightly different. -
1 tablespoon cornstarch
Tip: Mix cornstarch with the broth to avoid lumps. This gives the sauce a shiny, slightly thickened finish.
If you want more ideas for weeknight chicken dinners, I keep a list of best 9 chicken recipes for weeknight dinners that you can adapt for family tastes.
Directions
-
Preheat the Blackstone griddle to medium-high heat, about 400°F.
Encouraging note: A hot griddle is the secret to quick searing. While it warms up, take a minute to breathe and gather your ingredients. -
Whisk together chicken broth, soy sauce, honey, and cornstarch in a bowl to make the stir-fry sauce and set aside.
Encouraging note: Whisk until smooth. This little step saves time during cooking and makes the sauce lump-free. -
Spread avocado oil across the griddle surface and create two cooking zones.
Encouraging note: One side will be for veggies and the other for chicken. Setting zones keeps textures right and speeds cleanup. -
Add broccoli and shredded carrots to one side of the griddle and cook for 2–3 minutes, stirring occasionally.
Encouraging note: Let the broccoli get a little color. Kids often like the slight crunch when vegetables are not overcooked. -
Place diced chicken on the other side, season with salt and pepper, and cook for 3–5 minutes while flipping regularly until browned and cooked through.
Encouraging note: Give the chicken space so it browns instead of steams. If you have a meat thermometer, aim for 165°F for safety and juiciness. For a milder flavor, remove pan juices as the chicken finishes. -
Add the bell peppers to the vegetables and cook for 1–2 minutes until slightly tender.
Encouraging note: Peppers cook quickly and still hold color. This keeps the dish lively and appealing for kids. -
Combine the chicken and vegetables on the griddle and add the minced garlic and ground ginger, cooking for about 1 minute until fragrant.
Encouraging note: Garlic and ginger bloom fast. Watch closely so they deepen flavor without burning. -
Pour the prepared sauce over the mixture and toss everything together.
Encouraging note: Stir thoroughly so every piece gets coated. The cornstarch will begin to thicken the sauce. -
Cook for another 1–2 minutes until the sauce thickens and coats the chicken and vegetables.
Encouraging note: The sauce should be glossy and cling to the food. If it gets too thick, add a tablespoon of water to loosen. -
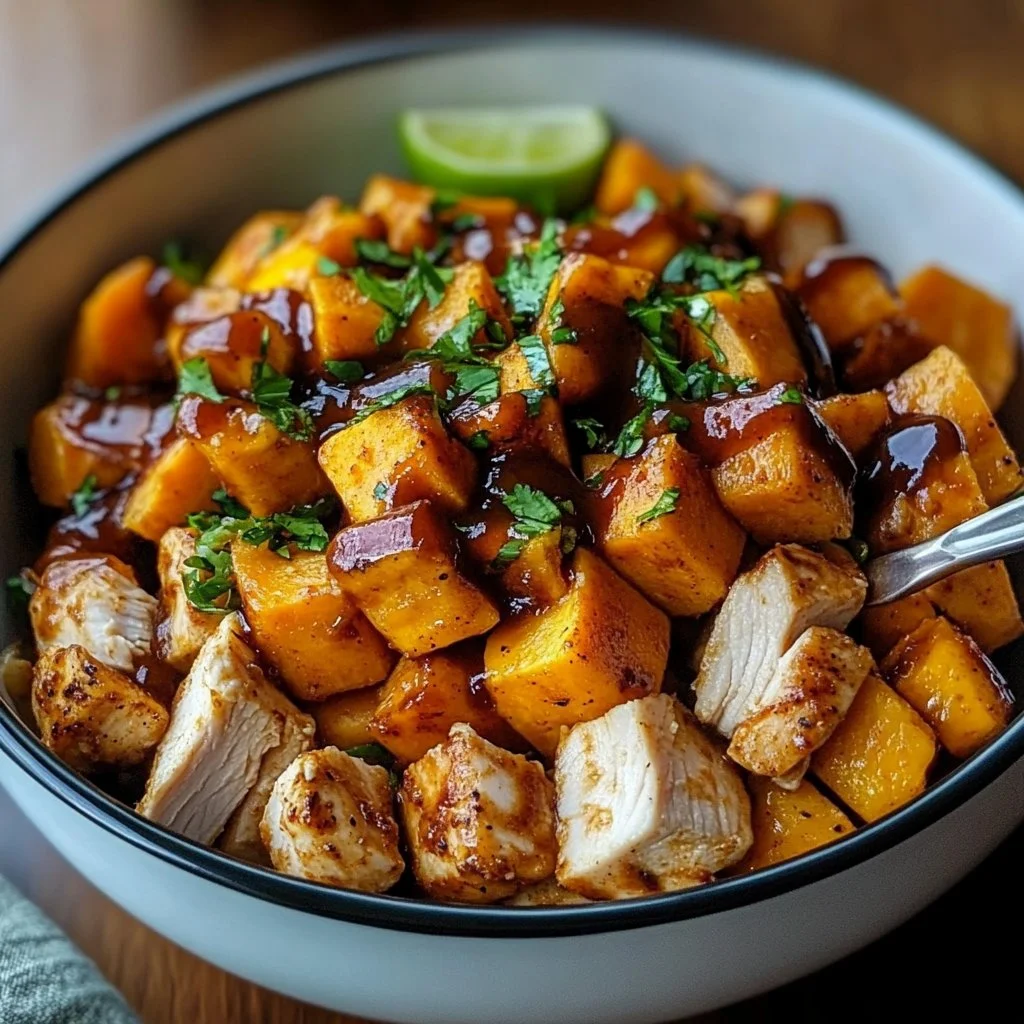
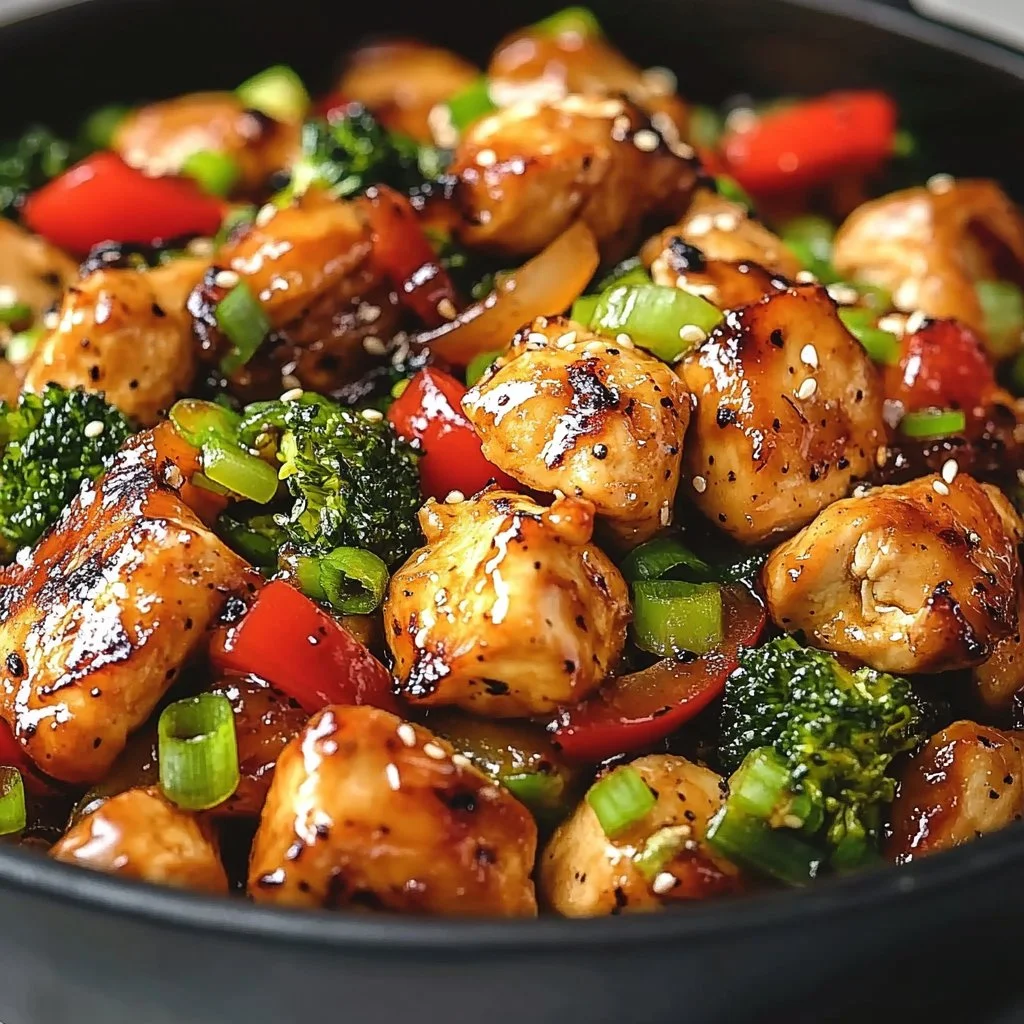
Serve hot over rice and finish with sesame seeds.
Encouraging note: Serve family-style so everyone can help themselves. Sprinkle sesame seeds last for a little crunch and visual appeal. For a hands-off dinner option, remember my collection of best crock pot chicken recipes when you need an even easier night.
Serving

H3 How I serve this to my family
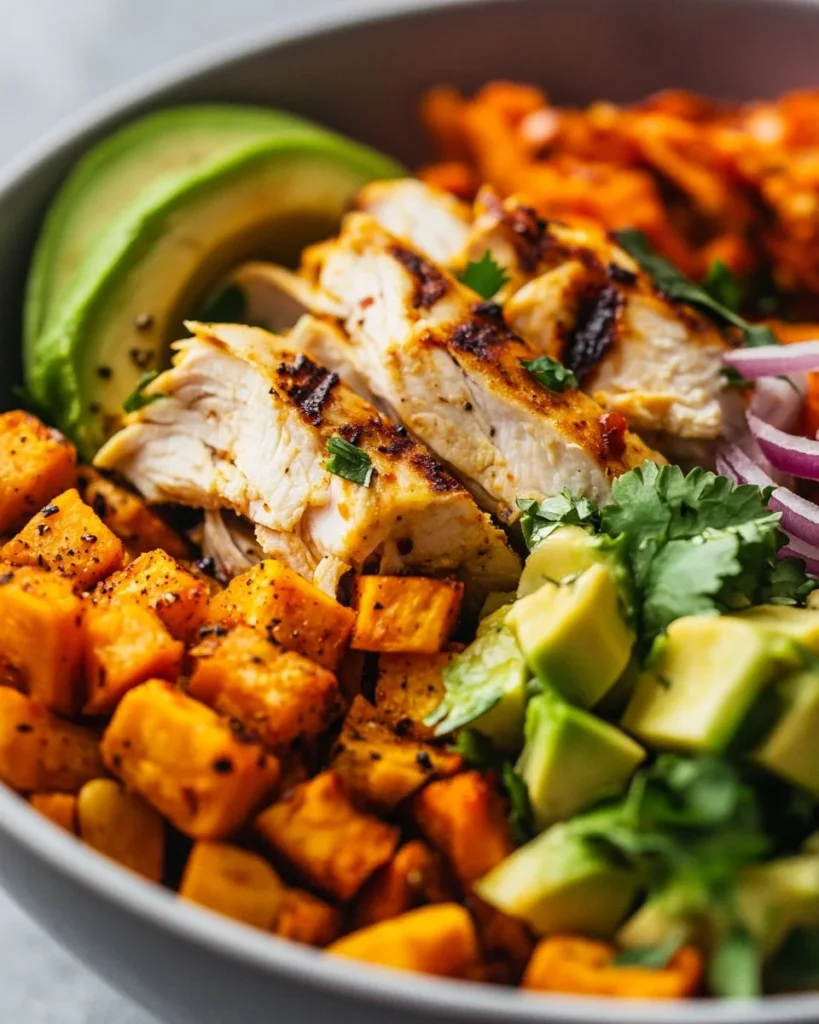
I usually spread out a big bowl of steamed white or brown rice and a platter with the stir fry right on the griddle if the table is safe from heat. Let everyone scoop what they want. Little ones like to mix veggies and rice into a small bowl, while older kids often want extra sauce.
H3 Simple sides to round it out
A quick cucumber salad or a simple green salad with vinaigrette pairs well. If you have leftover rice, crisp up small fried rice bowls with a bit of scrambled egg for a second night.
Storage
Store leftovers in an airtight container in the refrigerator for up to 3 days. The sauce can tighten as it cools. To reheat, warm gently in a skillet over medium heat with a splash of water or broth to loosen the sauce. You can also reheat in the microwave in 30 second bursts, stirring in between.
If you want to freeze portions, cool completely and place in a freezer-safe container for up to 2 months. Thaw overnight in the refrigerator before reheating. Note that fresh veggies may be softer after freezing, so this method works best when you plan to reheat for meal-prep bowls.
Kitchen Notes
- Use two cooking zones on the griddle. One side for veggies, one for protein, for perfect texture.
- Prep everything before heating the griddle. Stir fry waits for no one.
- If you do not have cornstarch, arrowroot or potato starch can work in the same amount.
- Taste the sauce before pouring and adjust salt or honey to your family’s preference.
- Keep a small bottle of sesame oil nearby. A tiny drizzle after plating adds a lovely nutty finish.
Variations
- For picky eaters: Swap broccoli for snap peas or thinly sliced zucchini. Mild flavors help transition kids to new veggies.
- Lower sodium: Use low-sodium soy sauce and low-sodium chicken broth. Increase a little honey for balance if needed.
- Gluten-free: Use tamari instead of soy sauce and confirm your broth is gluten-free. Cornstarch is gluten-free and works as the thickener.
- Spicy version: Add 1 teaspoon of Sriracha or a pinch of red pepper flakes when you add the sauce. Let older family members add heat at the table.
- Vegetarian swap: Replace chicken with firm tofu, pressed and cubed. Brown the tofu the same way you would the chicken and proceed with the sauce.
FAQ
Q: Can I use boneless skinless thighs instead of breasts?
A: Yes. Thighs stay juicier and take slightly longer to cook. Cut into 1-inch pieces and adjust cooking time until they reach 165°F.
Q: What if my children do not like strong flavors?
A: Cut the garlic to 1 teaspoon and omit the ground ginger. Serve sauce on the side for dipping so they can control flavor level.
Q: Can I make the sauce ahead of time?
A: Absolutely. Whisk the sauce and store in the fridge up to 24 hours. Give it a quick stir before using since cornstarch can settle.
Q: Is this safe for toddlers?
A: Yes, if you cut ingredients into small pieces and cool to a safe temperature. Reduce sodium by using low-sodium soy sauce and smaller portions of sauce.
Q: What rice do you recommend?
A: Jasmine or long-grain white rice is classic, but brown rice adds fiber and satiety. Quinoa is a good gluten-free alternative that pairs nicely.
Conclusion
I hope this Flavor-Packed Blackstone Griddle Chicken Stir Fry becomes one of your go-to family dinners. It is fast, healthy, and perfect for busy nights when you want something satisfying without hours in the kitchen. For a version with noodles and a similar griddle technique, you might like the detailed guide for Easy Chicken Stir Fry with Noodles on the Blackstone. If you enjoy teriyaki-style flavors, this recipe pairs well with the ideas in Teriyaki Chicken Stir Fry – Eat Yourself Skinny for inspiration.
Thanks for cooking with me. Come back soon for more family-friendly meals that keep dinner time joyful and stress-free.

Blackstone Griddle Chicken Stir Fry
Ingredients
For the Stir Fry
- 3 pieces boneless chicken breasts, diced into 1-inch pieces (Pat the chicken dry with paper towels for better browning.)
- 2 cups broccoli florets (Fresh is best; frozen works too.)
- 1 piece yellow bell pepper, cut into 1-inch pieces (Uniform pieces ensure even cooking.)
- 1 piece red bell pepper, cut into 1-inch pieces (Remove seeds for milder flavor, if preferred.)
- 1/2 cup shredded carrots (Pre-shredded options save time.)
- 2 teaspoons minced garlic (Add near the end to prevent burning.)
- 1/2 teaspoon ground ginger (Fresh grated ginger can be used for brighter flavor.)
- 2 tablespoons avocado oil (Good for high heat.)
- 2 tablespoons sesame seeds (Toast for extra aroma, optional.)
For the Sauce
- 1/2 cup chicken broth (Low-sodium recommended.)
- 1/4 cup soy sauce (Use gluten-free tamari if needed.)
- 2 tablespoons honey (Maple syrup can be a vegan substitute.)
- 1 tablespoon cornstarch (Mix with broth to avoid lumps.)
Instructions
Preparation
- Preheat the Blackstone griddle to medium-high heat, about 400°F.
- In a bowl, whisk together chicken broth, soy sauce, honey, and cornstarch to make the stir-fry sauce and set aside.
- Spread avocado oil on the griddle and create two cooking zones: one for veggies and one for chicken.
Cooking
- Add broccoli and shredded carrots to one side of the griddle and cook for 2–3 minutes, stirring occasionally.
- Place diced chicken on the other side, season with salt and pepper, and cook for 3–5 minutes until browned.
- Add bell peppers to the vegetables and cook for 1–2 minutes until slightly tender.
- Combine chicken and vegetables, adding minced garlic and ground ginger, cooking for about 1 minute until fragrant.
- Pour the prepared sauce over the mixture and toss everything together.
- Cook for another 1–2 minutes until sauce thickens and coats the chicken and vegetables.
Serving
- Serve hot over rice and finish with sesame seeds.