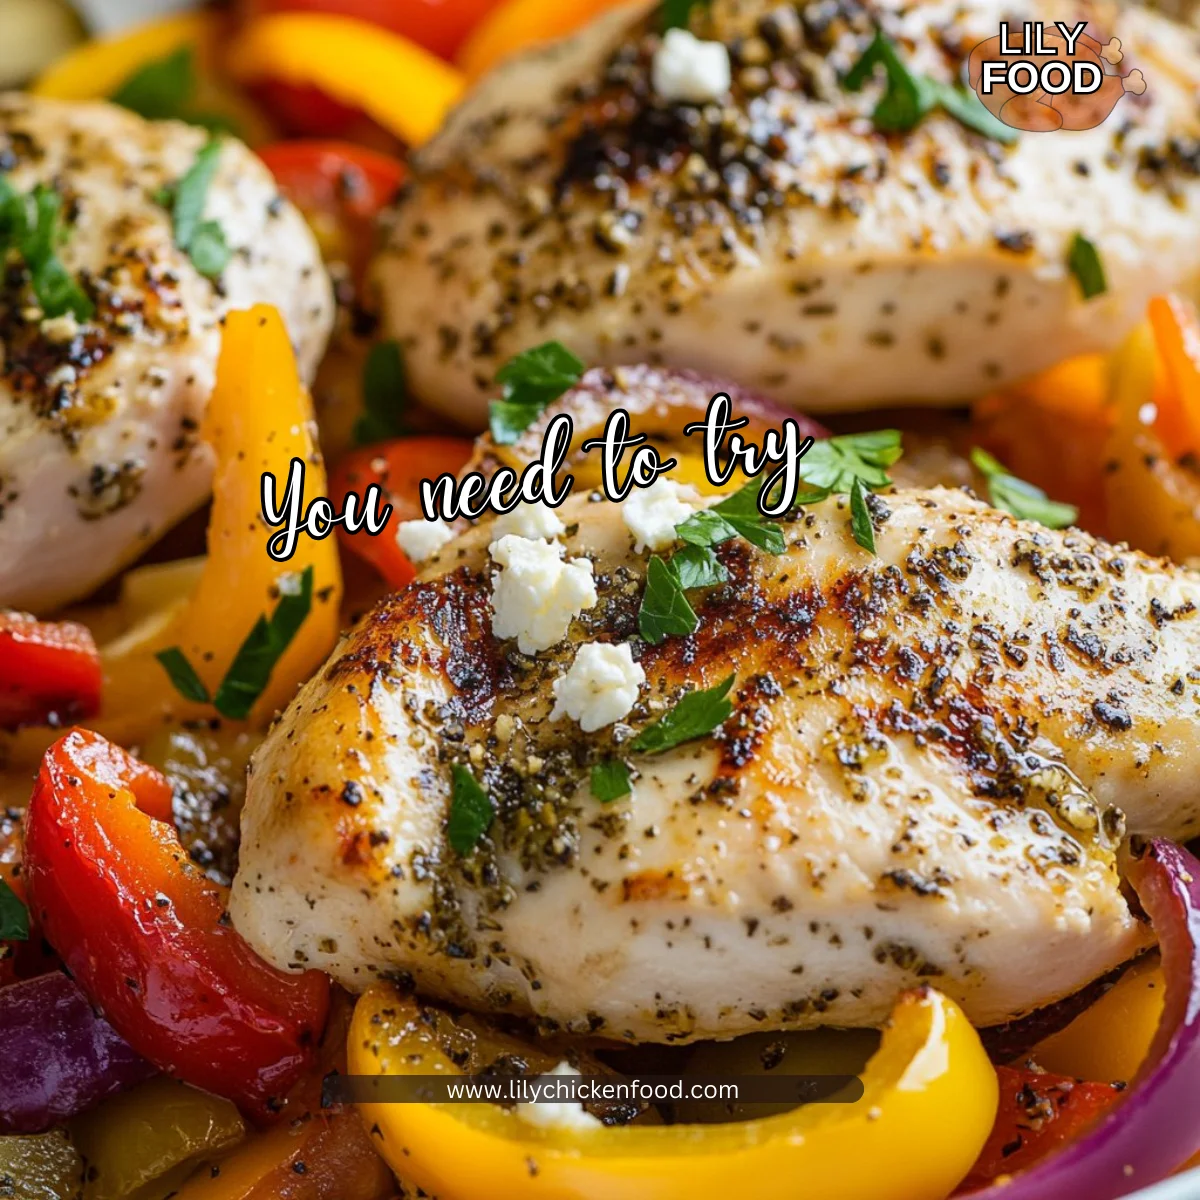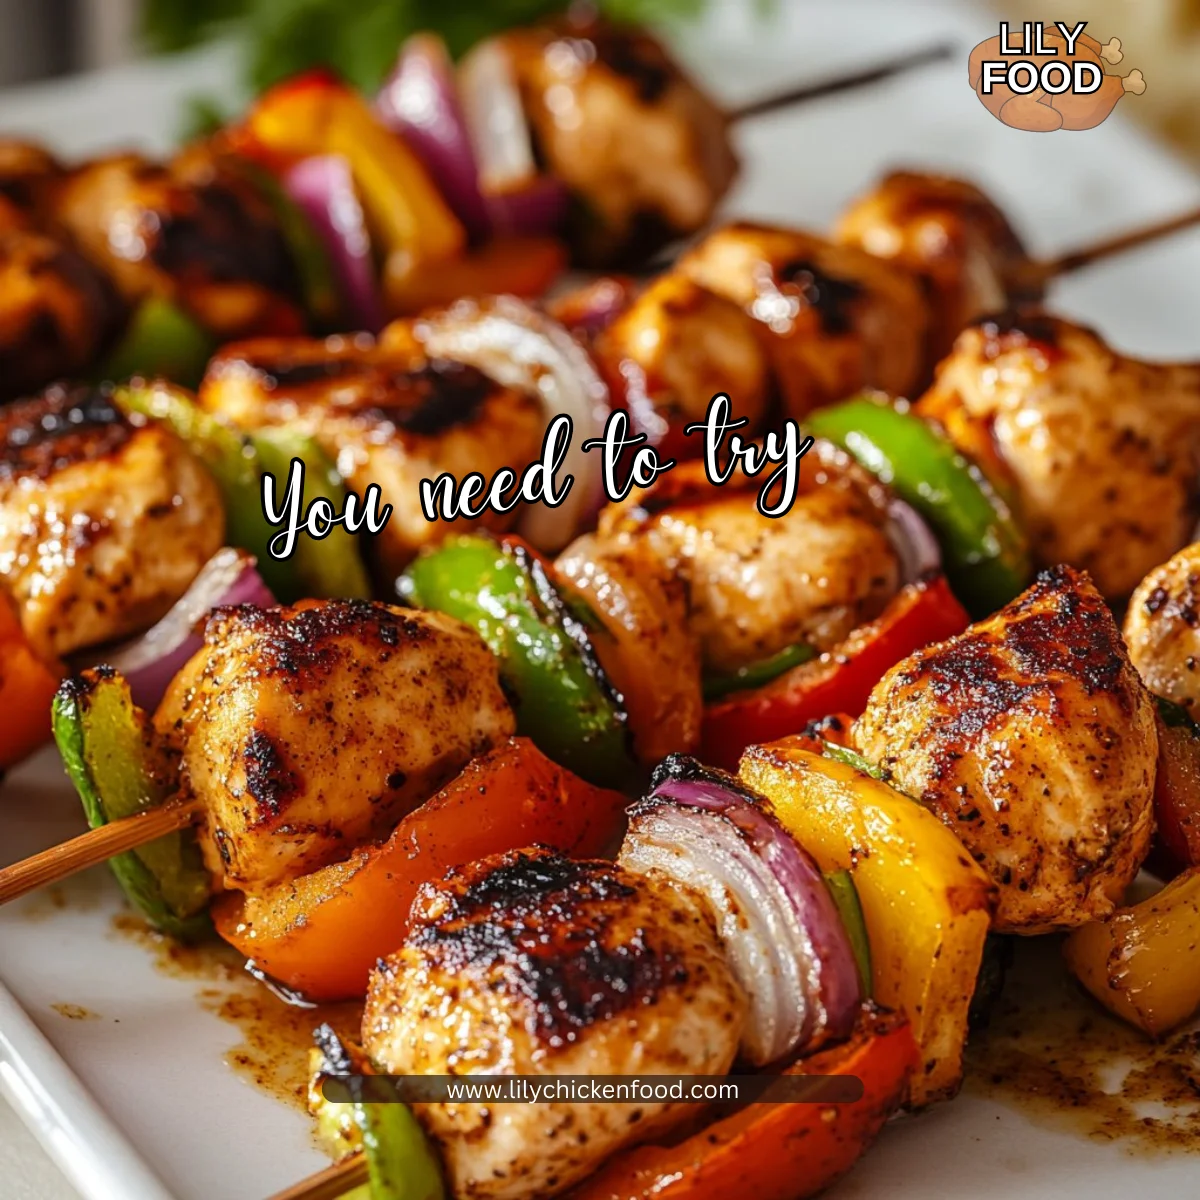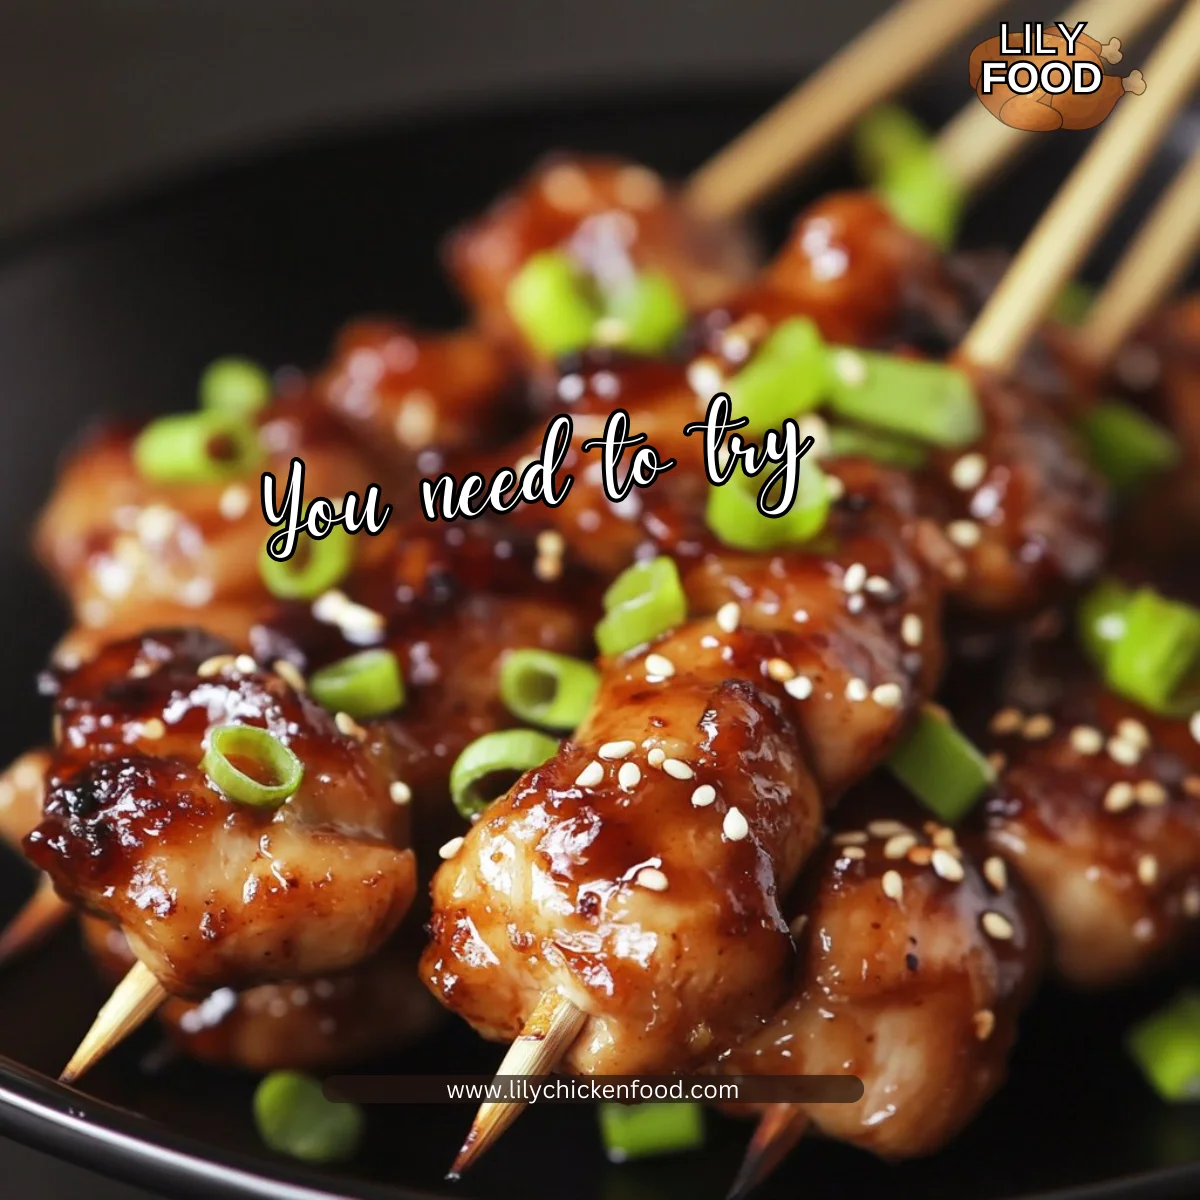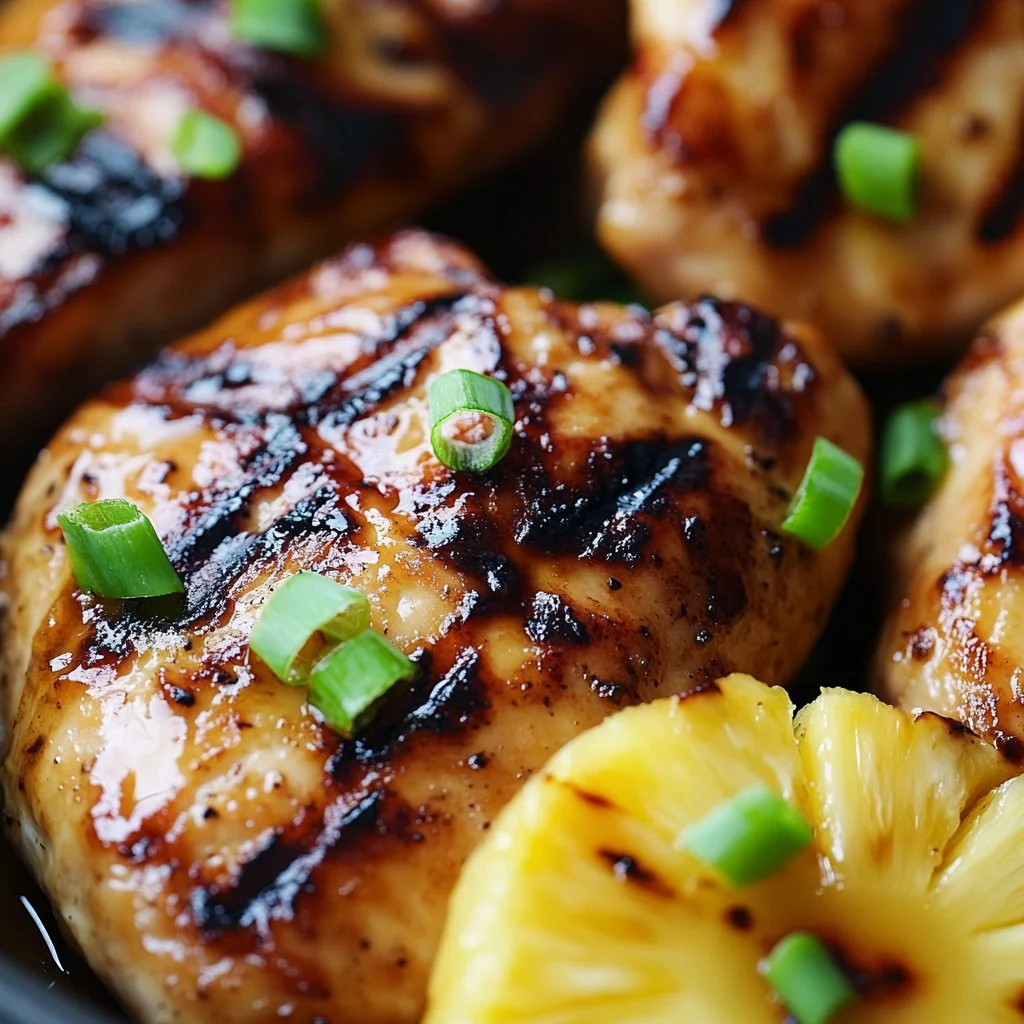
I can still smell the citrus and oregano when I close my eyes. The sizzle of chicken hitting a hot grill, the little pops from zucchini and peppers, the laughter from around the kitchen table. Those sounds and smells tell me dinner is going to be a good one.
This recipe for Greek Chicken Kabobs is an everyday favorite in my house. It is bright, flexible, and easy to pull together even on a busy weeknight. If you like a lemony rice to go with your kabobs, try my simple pairing for lemon rice that the kids love: Greek chicken and lemon rice.
Why this works
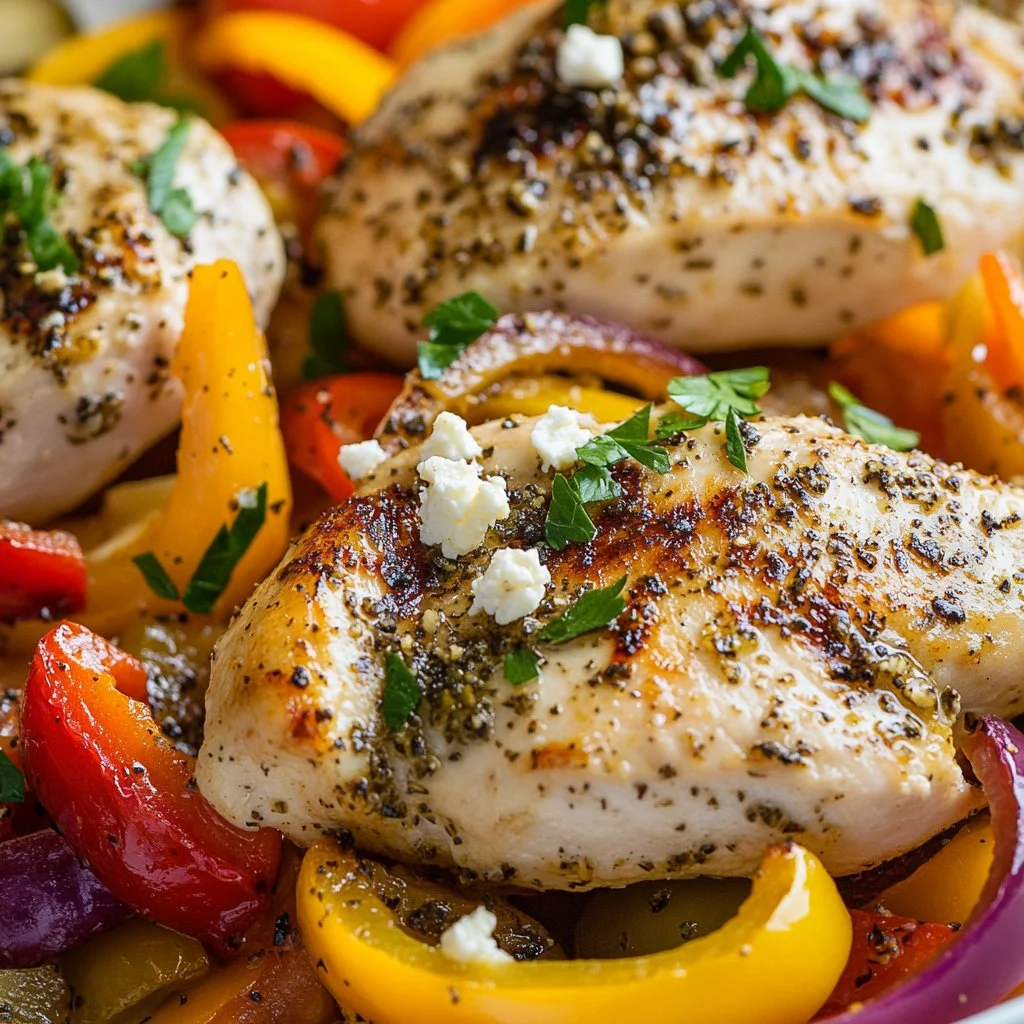
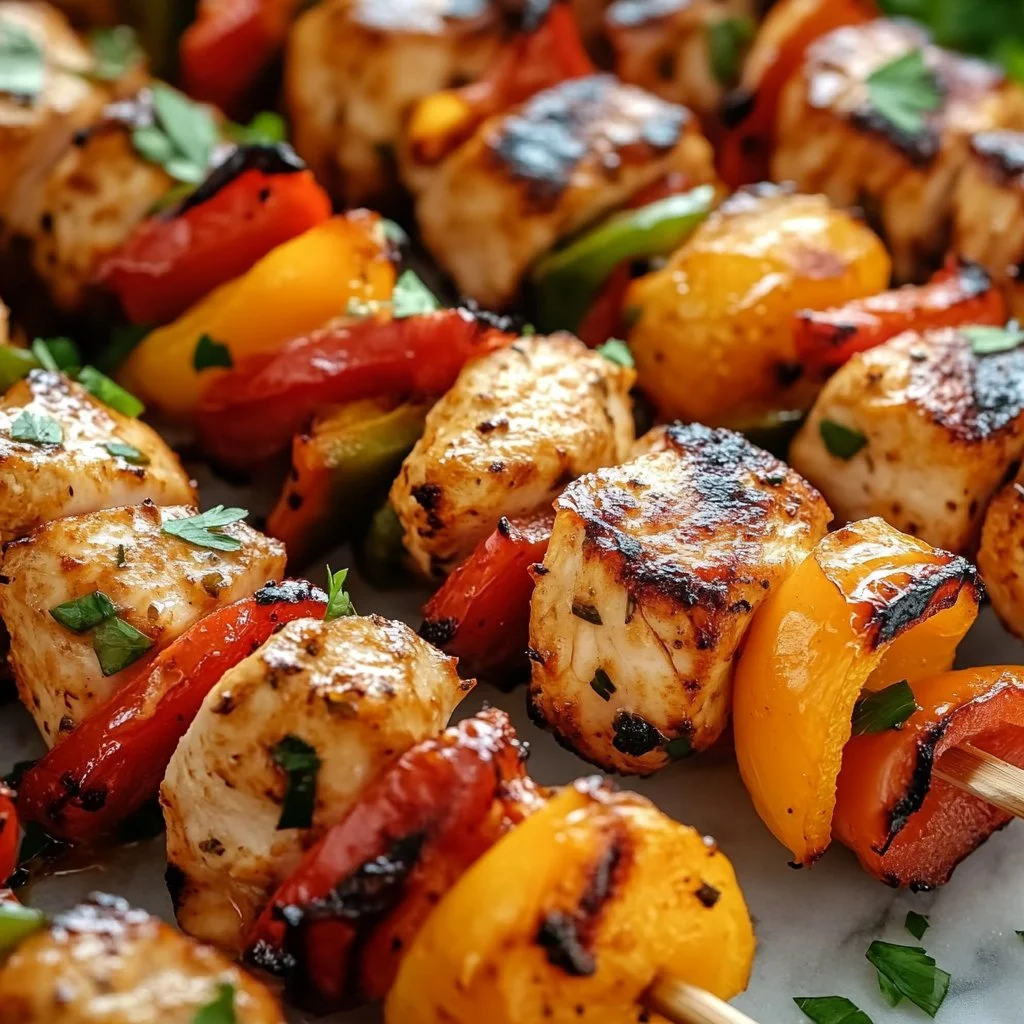
There are a few reasons this hits the mark for family dinners. The flavors are familiar but fresh. Garlic, lemon, and oregano give the chicken a bright, Mediterranean profile that people of all ages enjoy. The vegetables cook quickly and add color and texture to every bite.
This method saves time. You can marinate the chicken in the morning or an hour before dinner. While the meat soaks up flavor, the kids can help thread vegetables. For a bowl-style dinner that keeps things even simpler, try this filling option I make when I need a hands-off meal: Greek chicken bowls.
These kabobs also play well with leftovers. Make extra and use slices for salads, wraps, or a quick lunch the next day. The family-friendly nature of the dish makes it a reliable dinner when you want something both healthy and crowd-pleasing.
Process Overview
“This is where the magic happens—when the aroma fills the kitchen.”
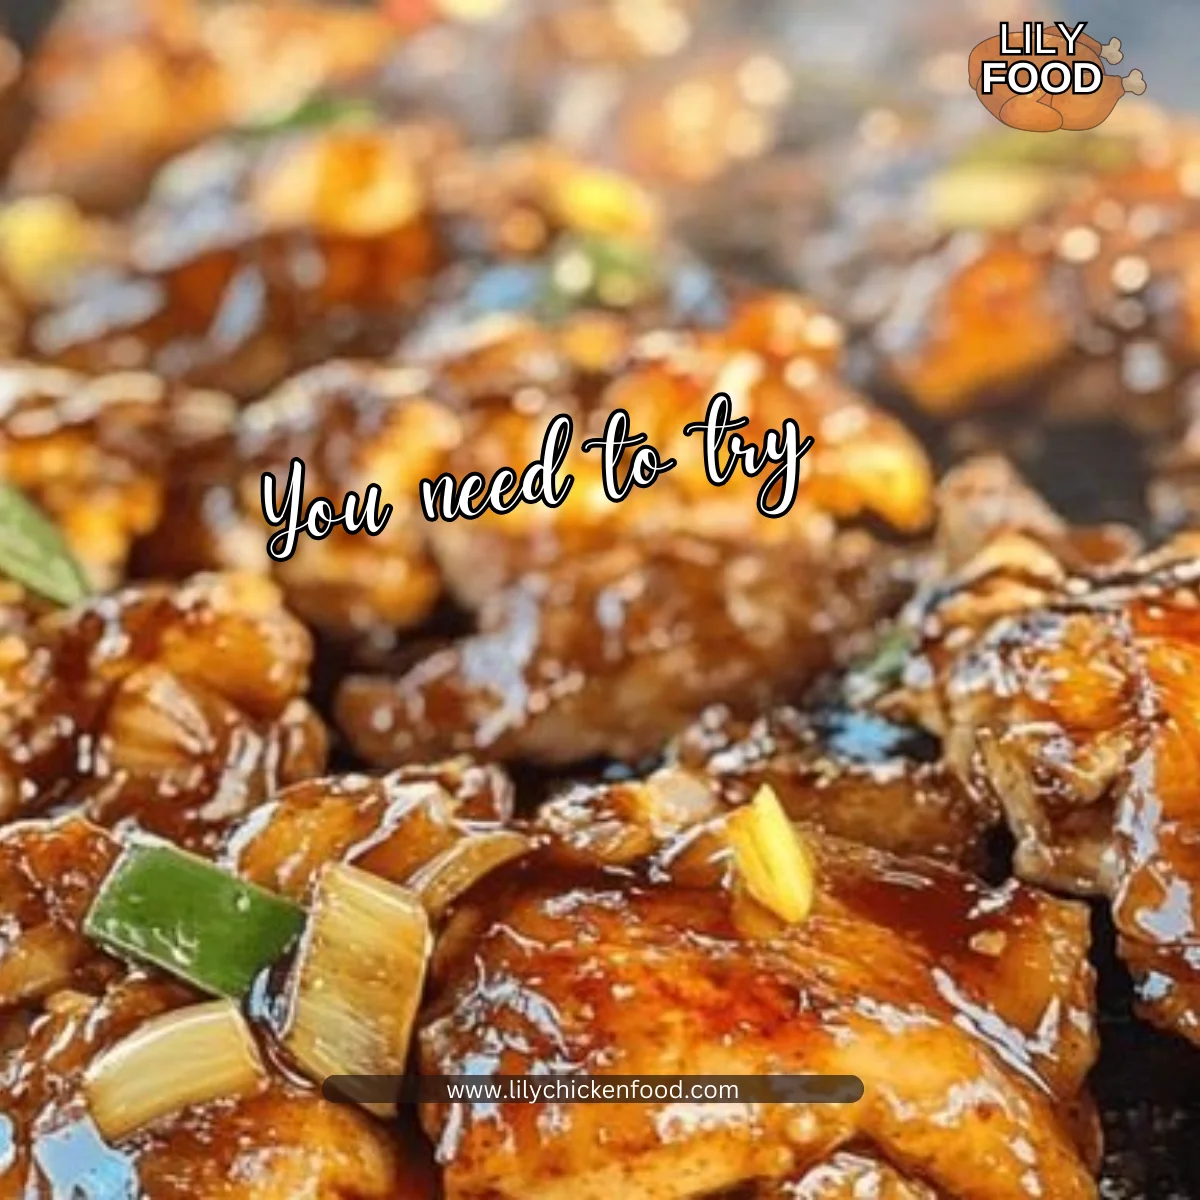
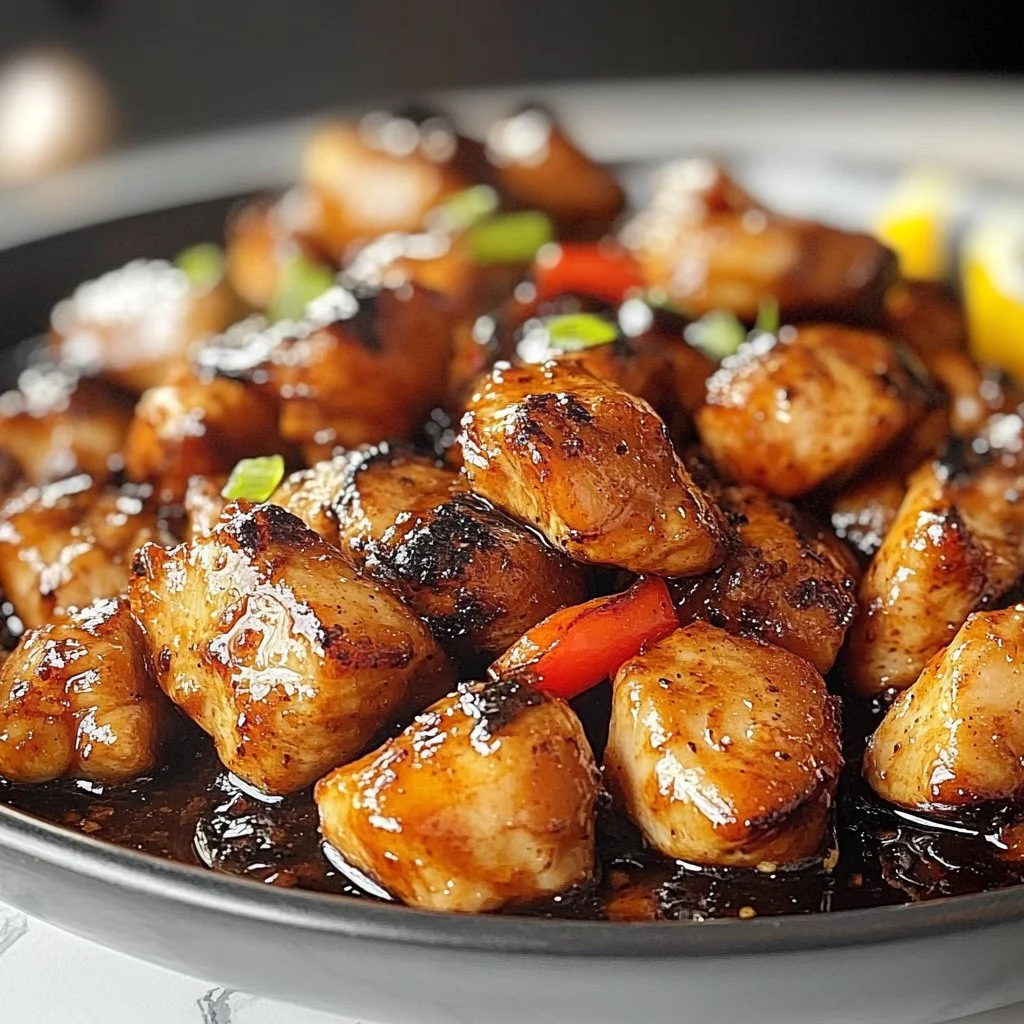
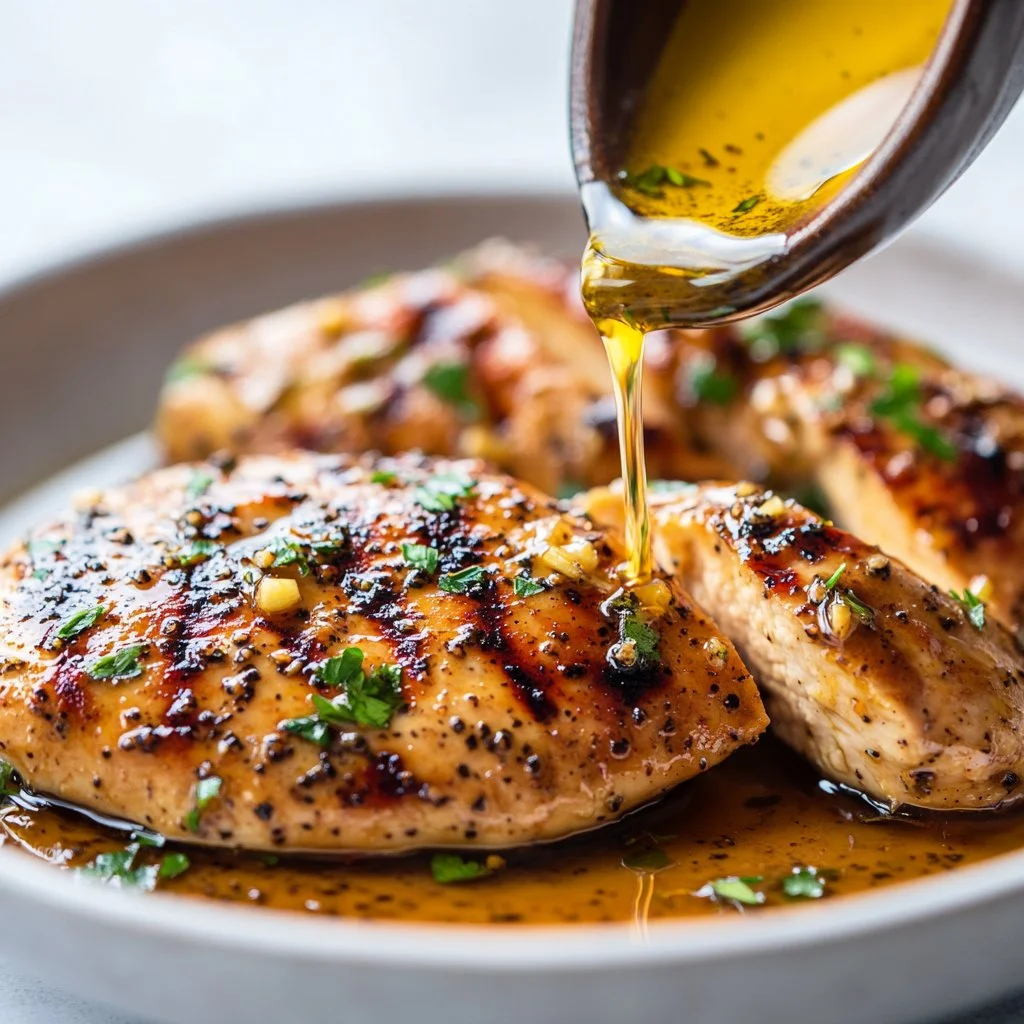
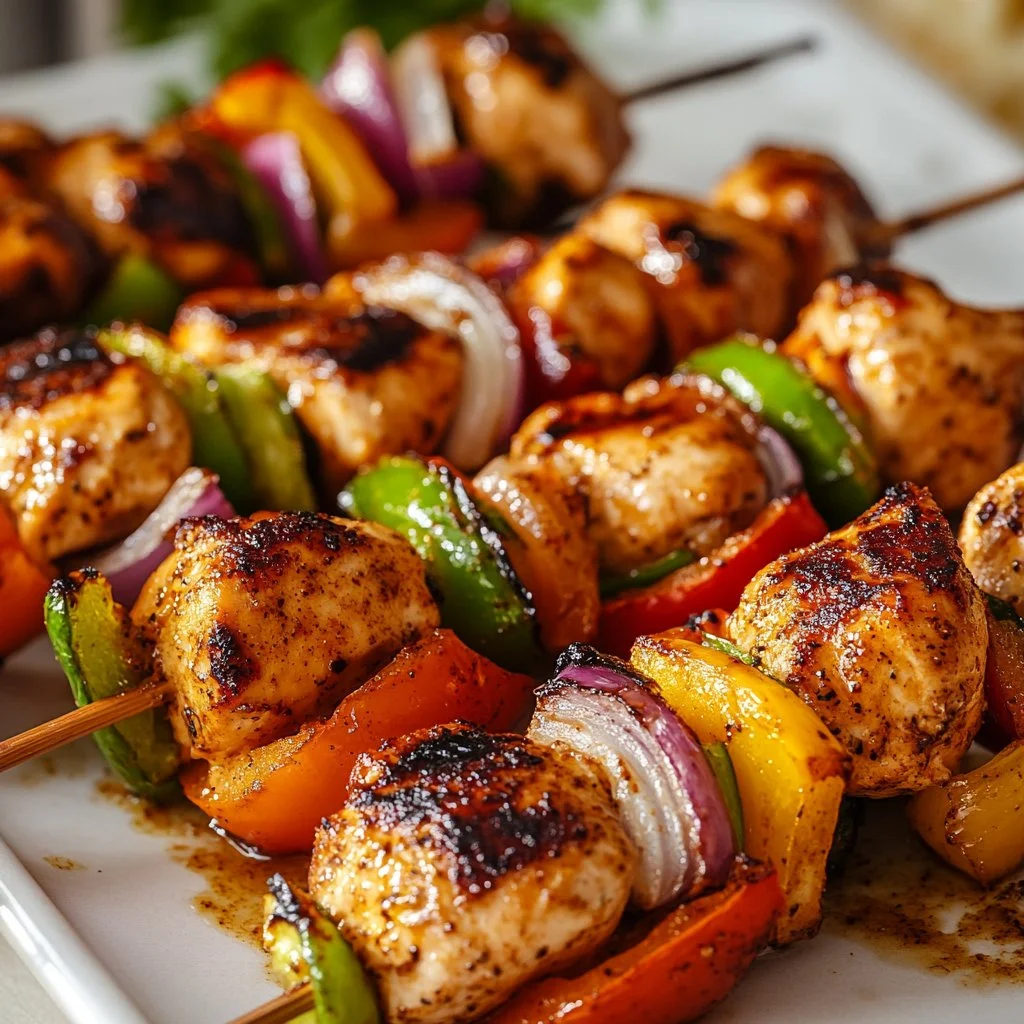
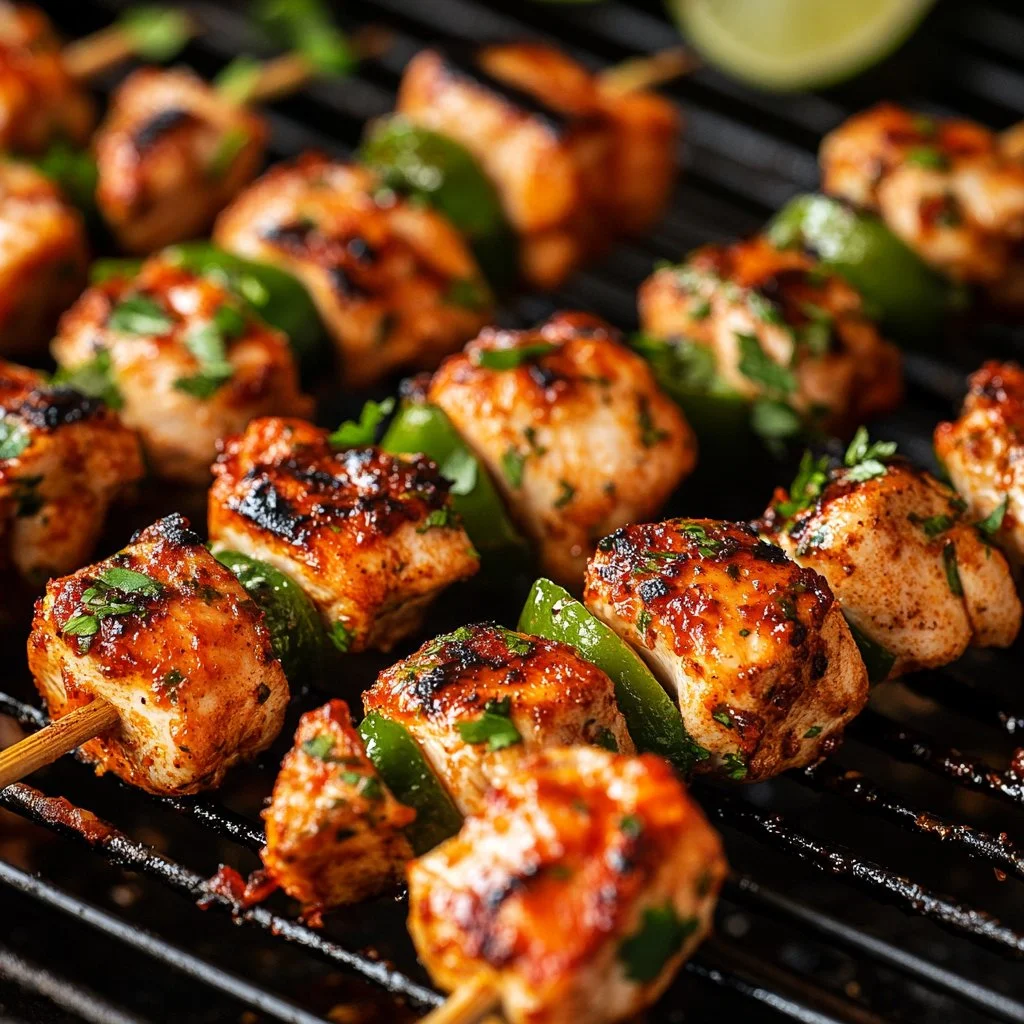
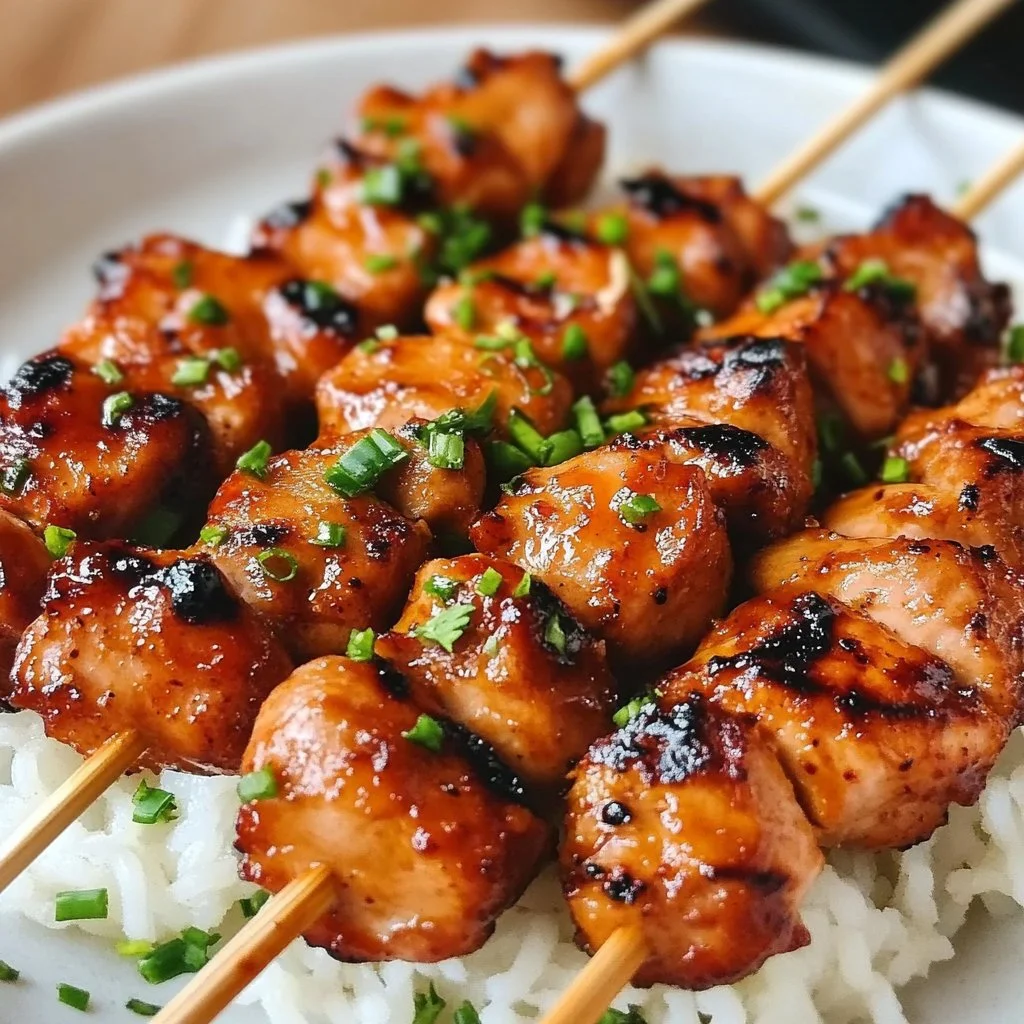
The process is straightforward. Make a simple lemon and oregano marinade, cut the chicken into chunks, and marinate. Chop colorful vegetables and thread everything onto skewers. Then grill until the chicken is cooked but still juicy. It is satisfying to see the grill marks appear and to know a warm, comforting meal is moments away.
If you need a stove-to-oven alternative, I sometimes use a sheet pan method to keep things easy during busy weeks. You can find a reliable sheet pan option here: Greek sheet pan chicken.
Ingredients
I list the essentials below and add a short tip for each. These notes are from years of cooking for my family and small tweaks that help the flavors shine.
-
Chicken breast, boneless and skinless, about 1.5 to 2 pounds.
Tip: Trim fat and cut into even, bite-size chunks so everything cooks evenly. If you prefer dark meat, thighs stay juicier.
For a deeper yogurt-based marinate, I sometimes borrow the method from my marinated yogurt thighs post: marinated Greek yogurt chicken thighs. -
Garlic, 3 to 4 cloves, minced.
Tip: Fresh garlic gives the best punch. If you need a gentler flavor for kids, use 1 to 2 cloves. -
Lemon juice, from 1 to 2 lemons, about 1/4 to 1/3 cup.
Tip: Fresh-squeezed is bright and floral. Save the zest and add a little for extra aroma. -
Dried oregano, 2 teaspoons.
Tip: Use Greek oregano if you can find it. If only fresh oregano is available, double the amount since fresh herbs are milder. -
Olive oil, 1/3 cup.
Tip: A good extra virgin olive oil rounds out the marinade. It also helps the chicken brown on the grill. -
Red onion, 1 medium.
Tip: Peel and cut into wedges. Red onion becomes sweet when grilled and looks beautiful on the skewers. -
Bell peppers, mixed colors, 2 to 3 total.
Tip: Use a mix of red, yellow, and green for a family-friendly, colorful plate. Cut into chunks similar in size to the chicken. -
Zucchini, 1 medium.
Tip: Slice into half-moons or rounds about 1/2 inch thick so they do not slip through the skewers. -
Rice, 3 cups cooked for serving.
Tip: Long-grain or basmati works well. I like to cook rice with a little extra salt and a squeeze of lemon to echo the kabob flavors. -
Yogurt, 1 cup plain Greek yogurt.
Tip: If your family likes tang, use full-fat yogurt for richness. For a lighter bowl, choose low-fat. -
Tzatziki sauce, store-bought or homemade, about 1 cup.
Tip: Make simple tzatziki with grated cucumber, garlic, dill, lemon, and yogurt. It cools the palate and keeps kids happy.
Directions
-
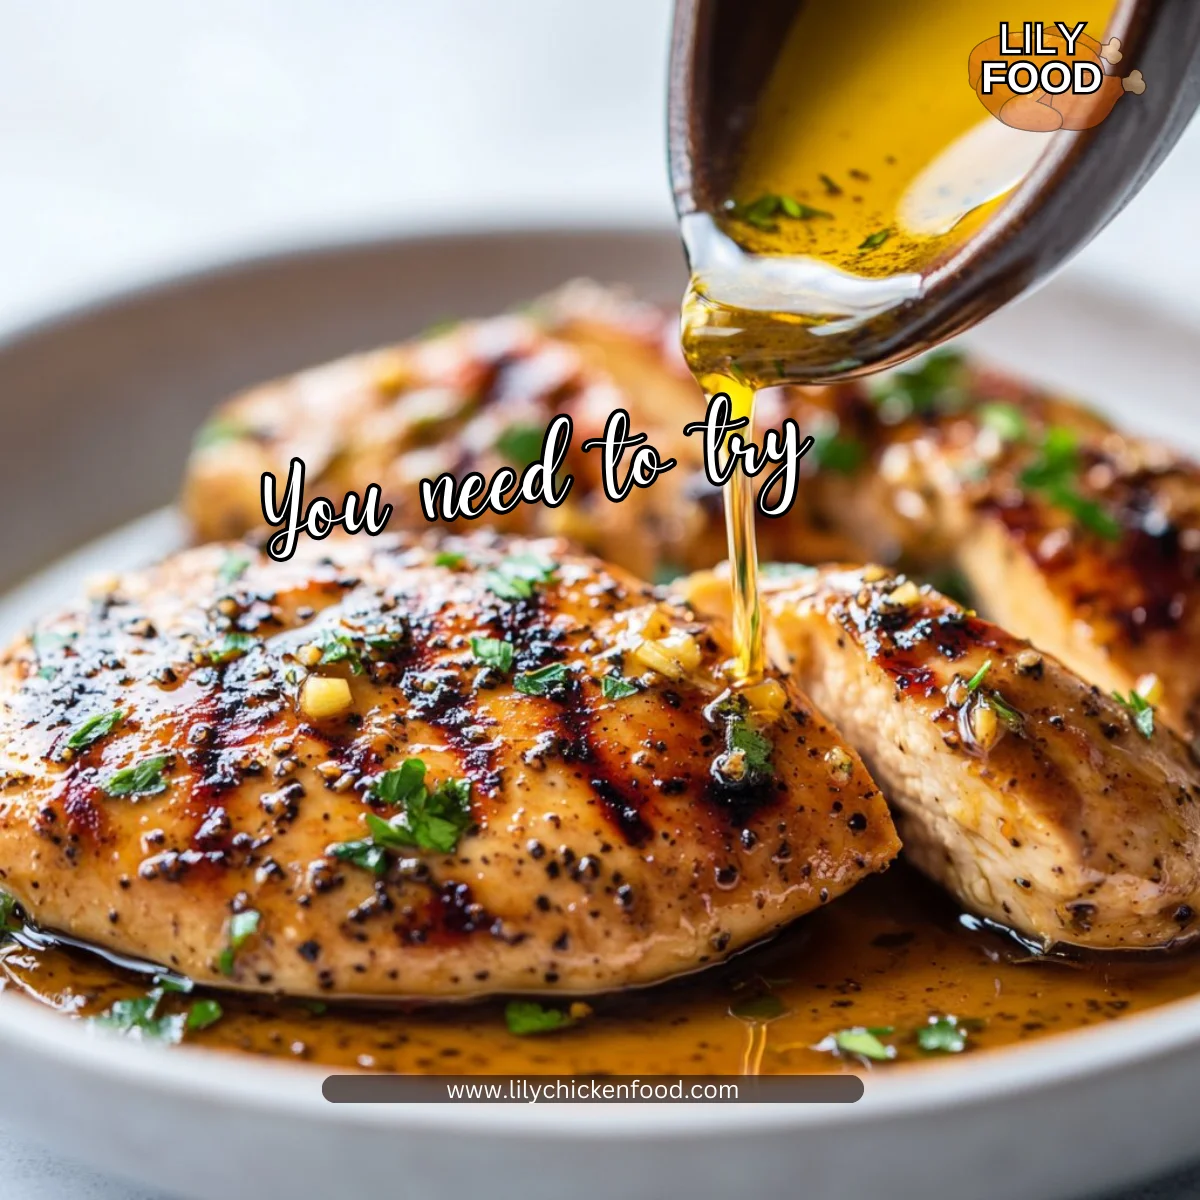
In a bowl, combine garlic, lemon juice, oregano, and olive oil to make the marinade.
Note: Whisk until the ingredients are well blended. Taste a small bit of the marinade to adjust lemon or salt. This first step fills the kitchen with a bright, citrus scent that tells you dinner is on track. -
Cut chicken into chunks and marinate for at least 30 minutes.
Note: If you have time, marinate 2 to 4 hours for more flavor. Cover the bowl and refrigerate. The family will notice the deeper flavor the next time you make this. -
While chicken is marinating, chop the red onion, bell peppers, and zucchini into bite-size pieces.
Note: Keep the pieces uniform so they cook evenly. Let the kids help with threading later. It becomes part of the dinner ritual. -
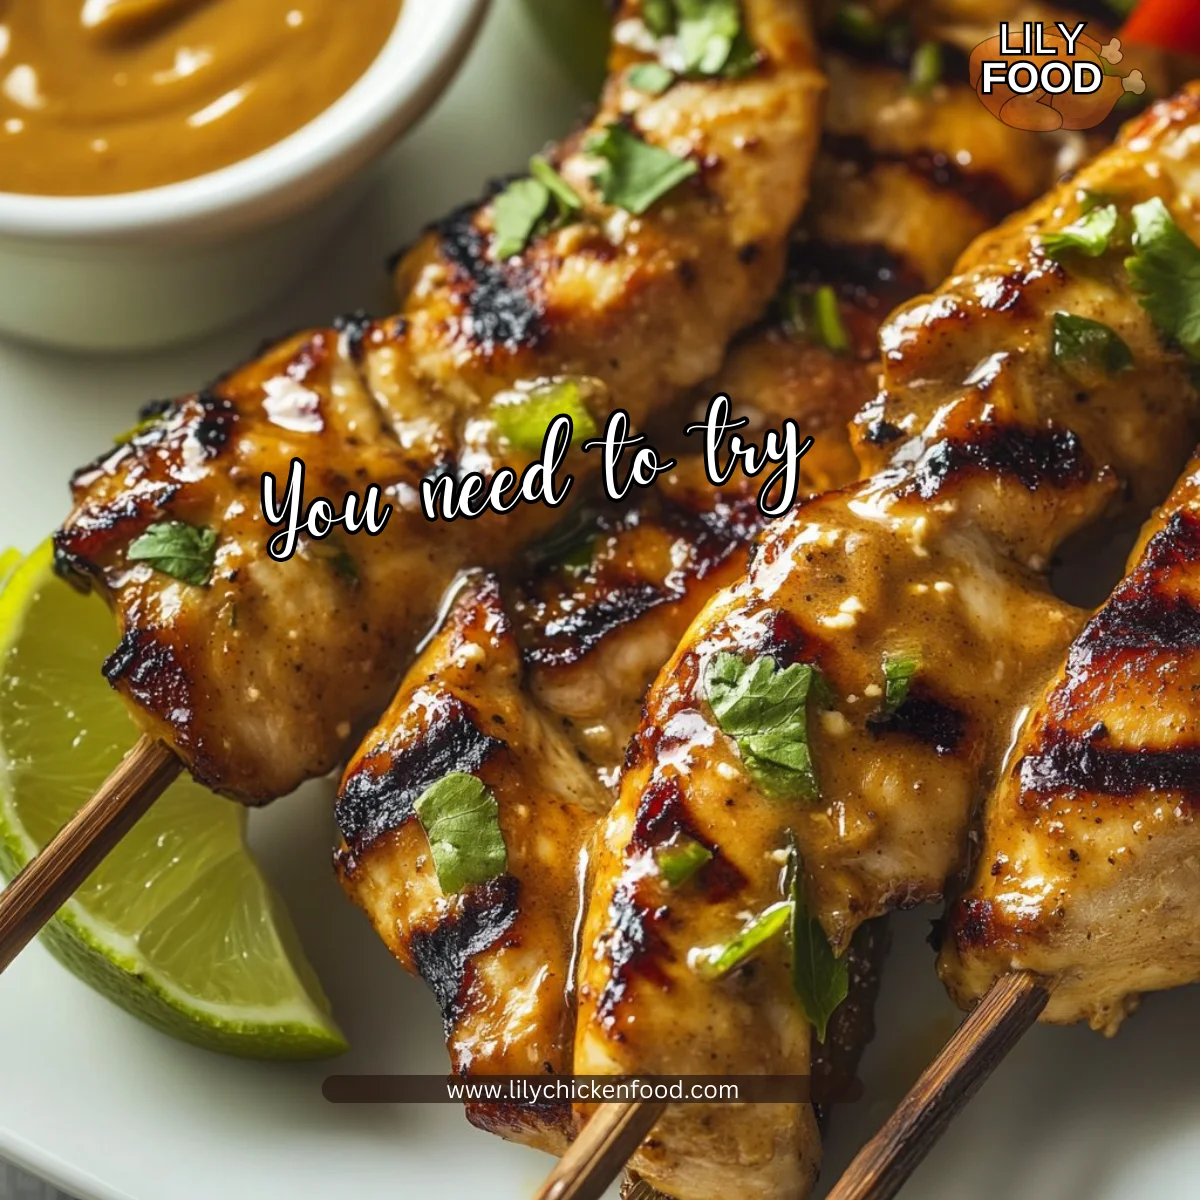
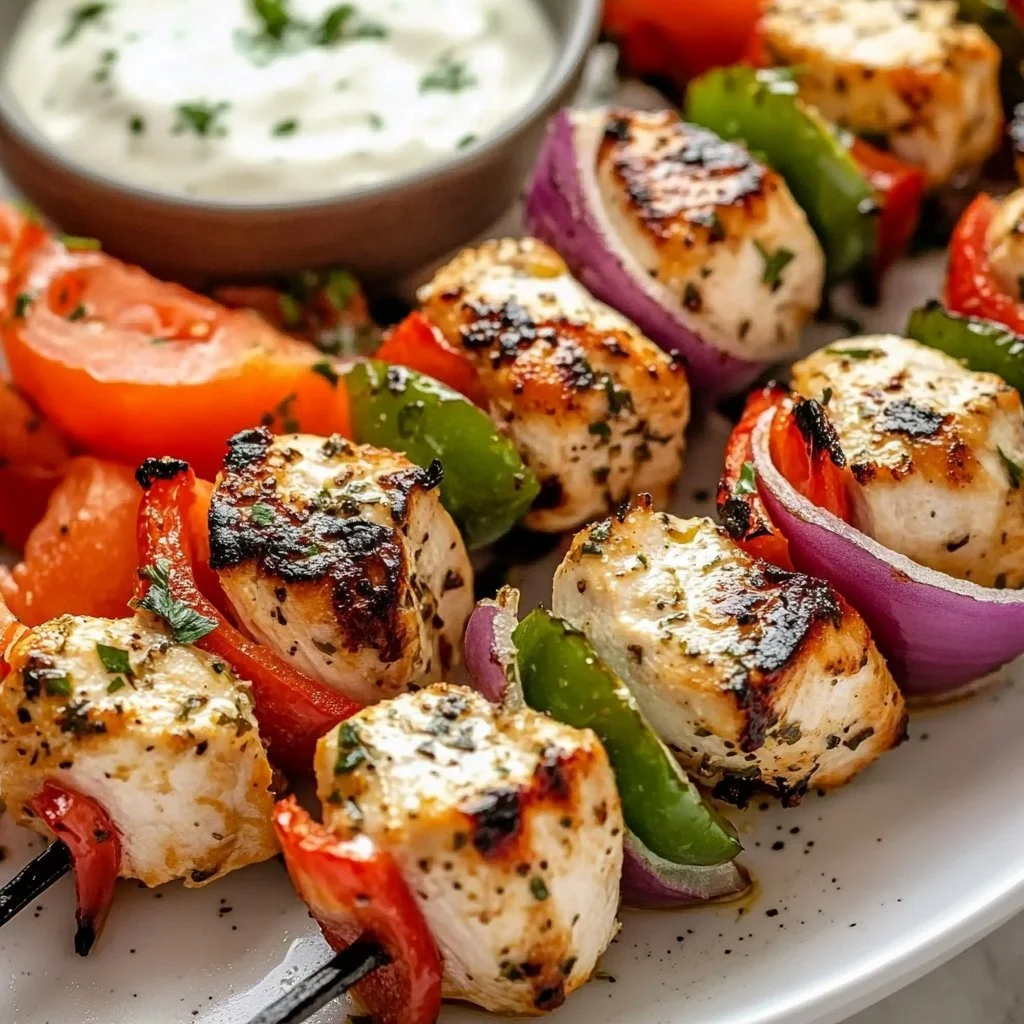
Thread the marinated chicken and vegetables onto skewers, alternating between them.
Note: Leave a little space between pieces so heat circulates. If you use wooden skewers, soak them for 20 minutes before threading to prevent burning. -
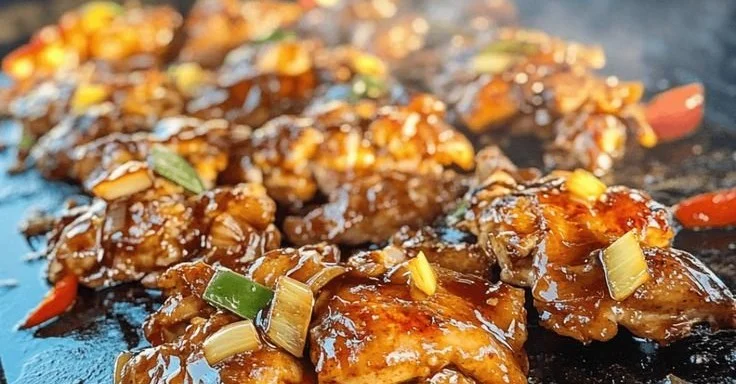
Grill the skewers over medium-high heat for about 10-15 minutes, turning occasionally, until the chicken is cooked through and has nice grill marks.
Note: Use a thermometer to check for 165°F in the thickest part of the chicken. Turn the skewers so they get even color and a slight char. The sound of sizzle and the smell of charred vegetables is part of the experience. -
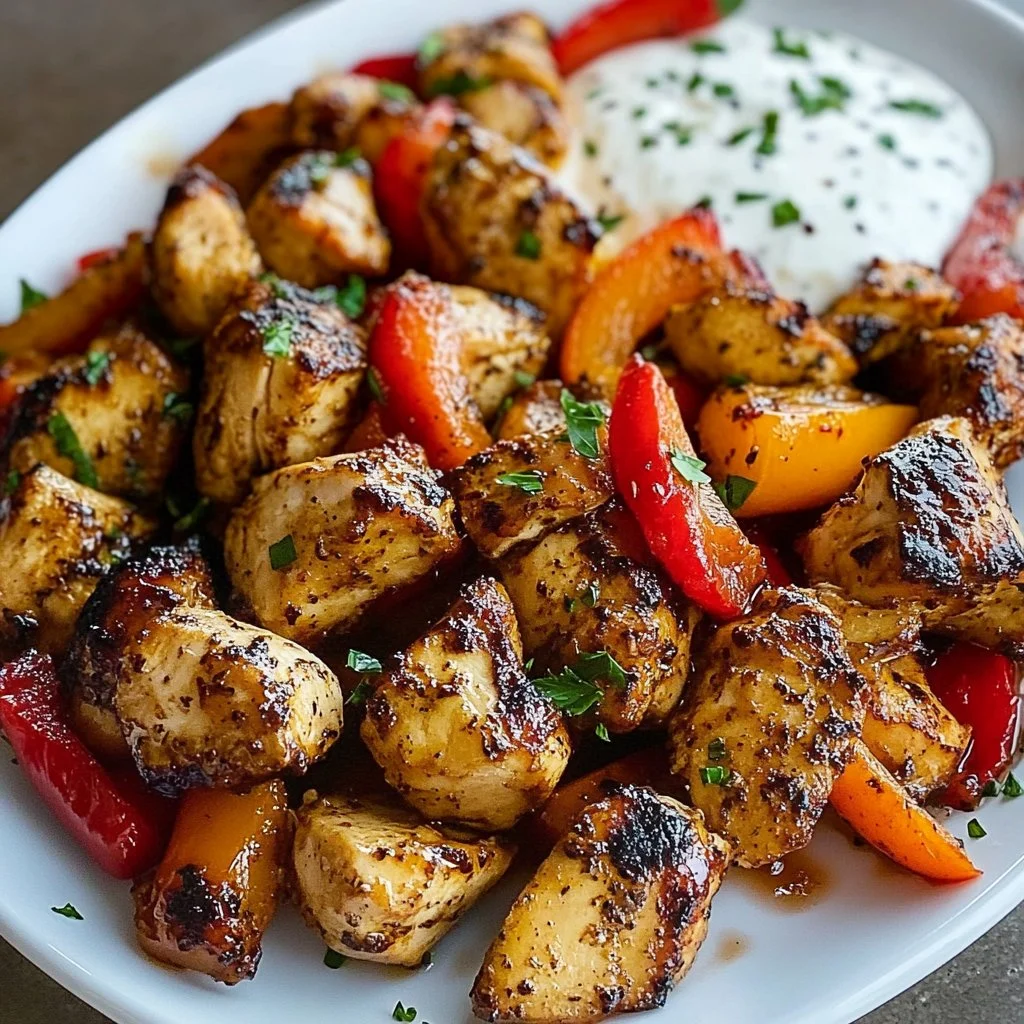
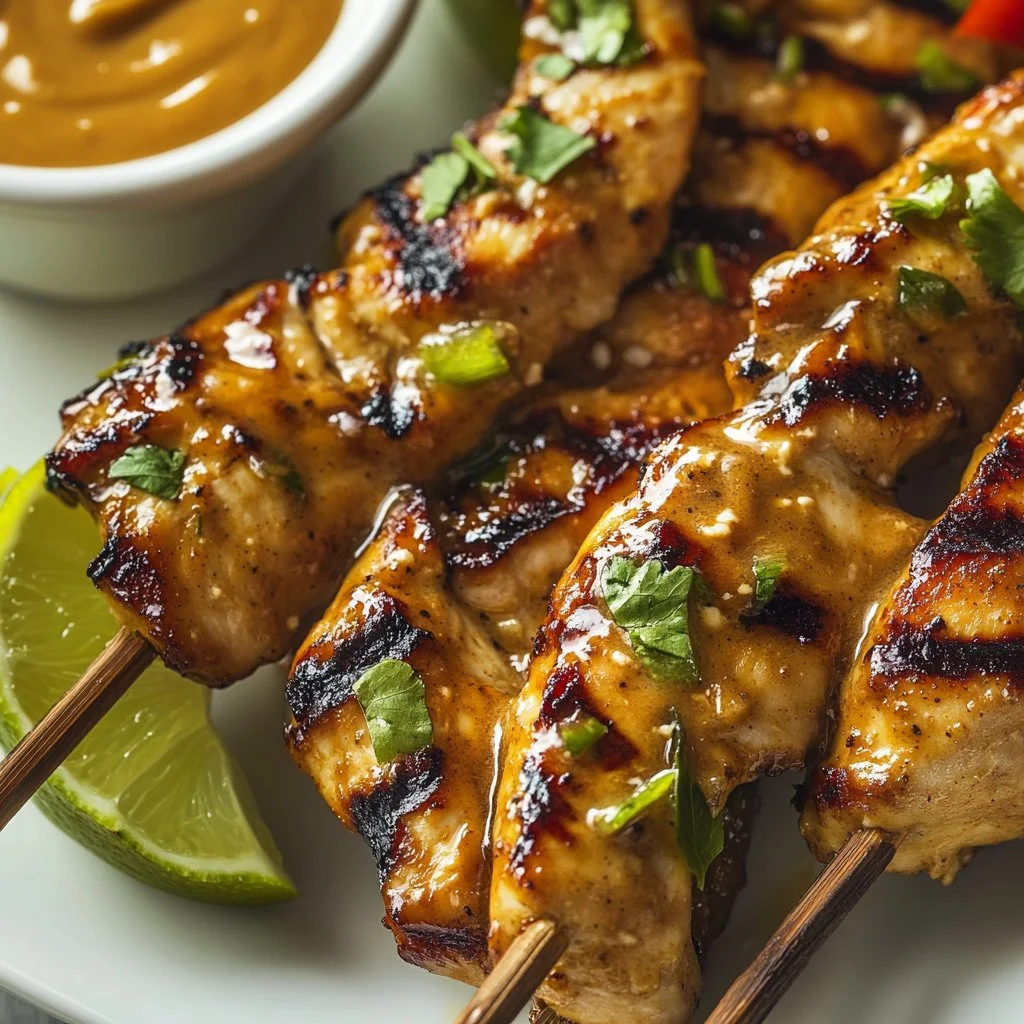
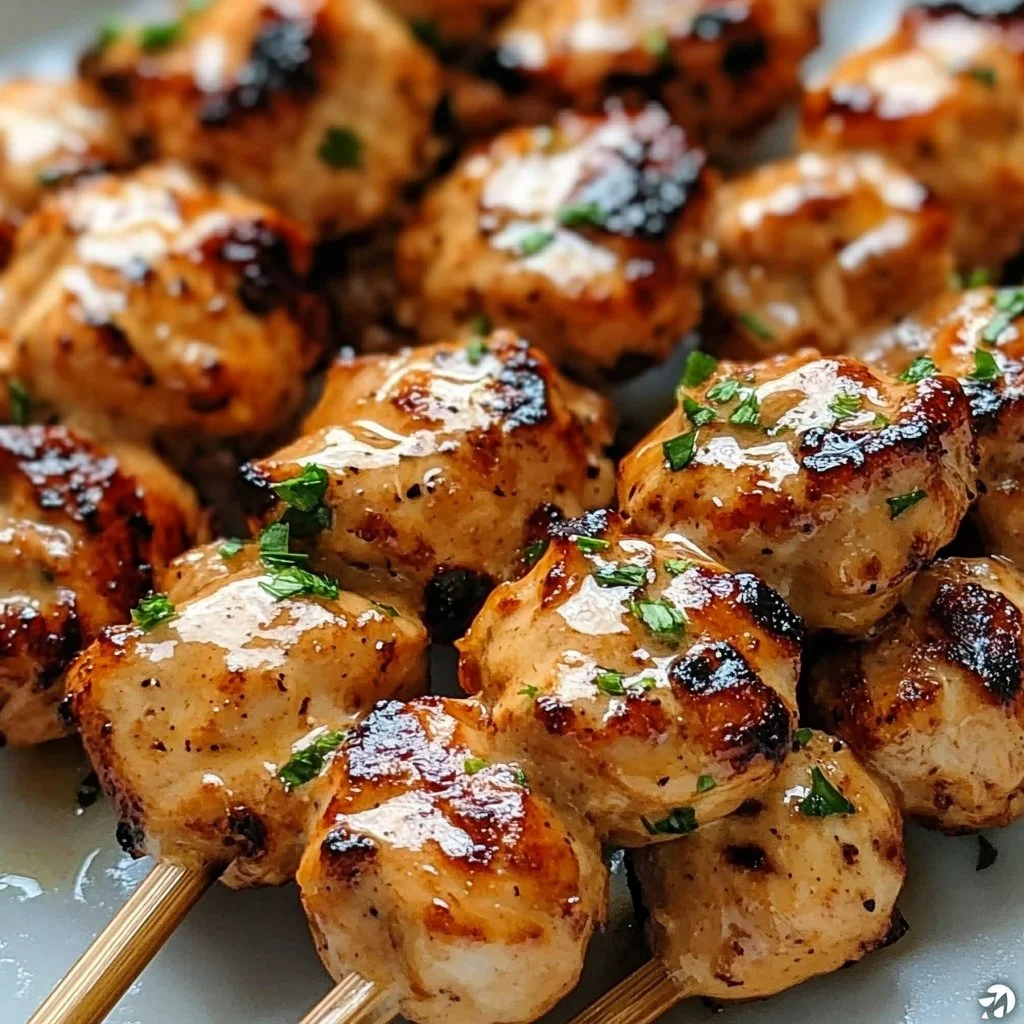
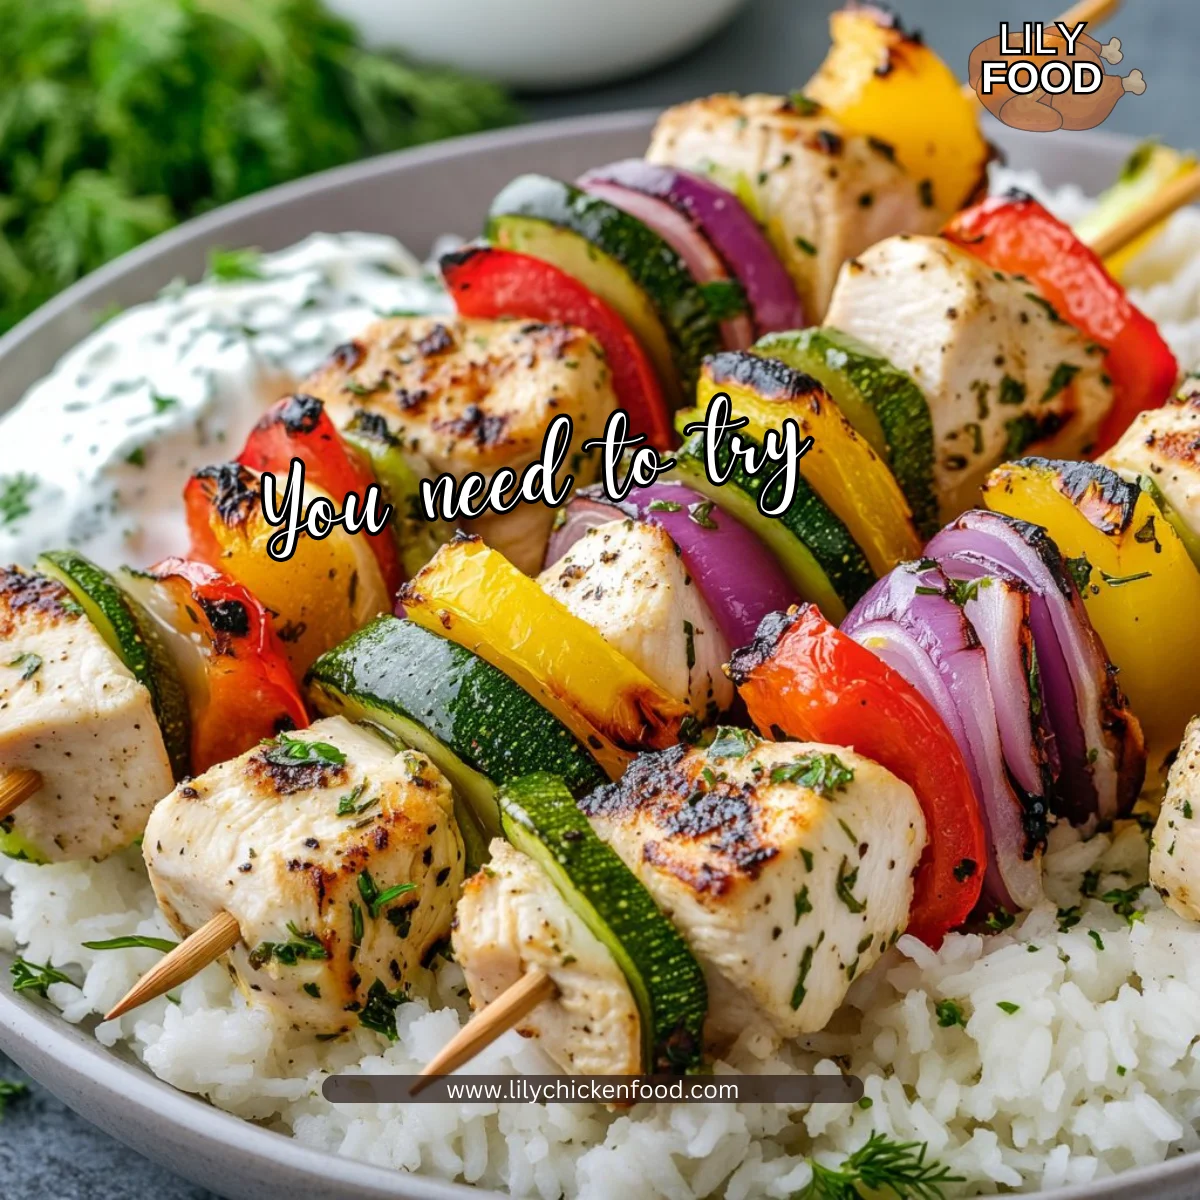
Serve the kabobs over a bed of rice with a side of yogurt tzatziki.
Note: Let the kabobs rest for a few minutes before serving. The juices redistribute and the chicken stays moist. For a complete family-style meal try pairing with a simple salad like this one I make often: healthy Greek salad with chicken.
Each step encourages easy involvement from family members. Kids can rinse vegetables, thread peppers, or mix tzatziki. Little helpers make the process feel like a shared project, and dinner becomes something everyone looks forward to.
Serving
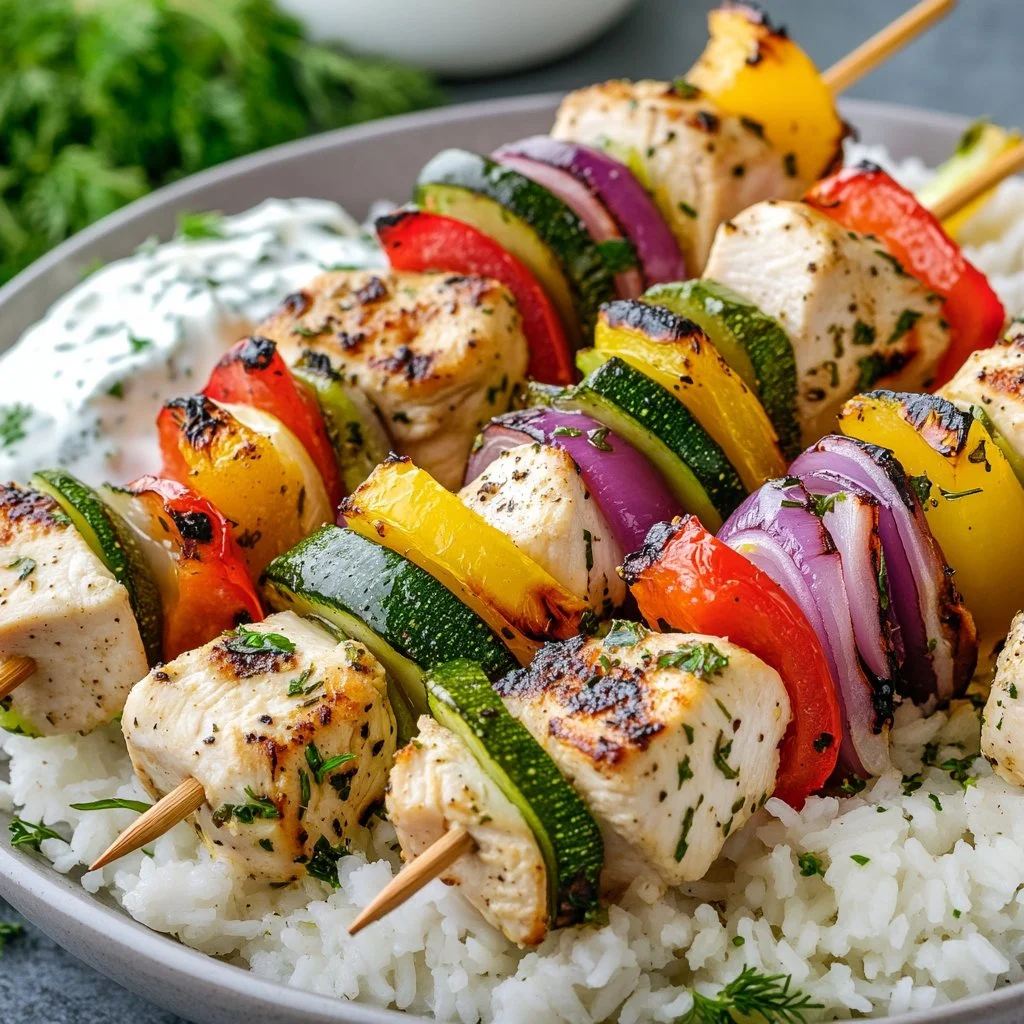
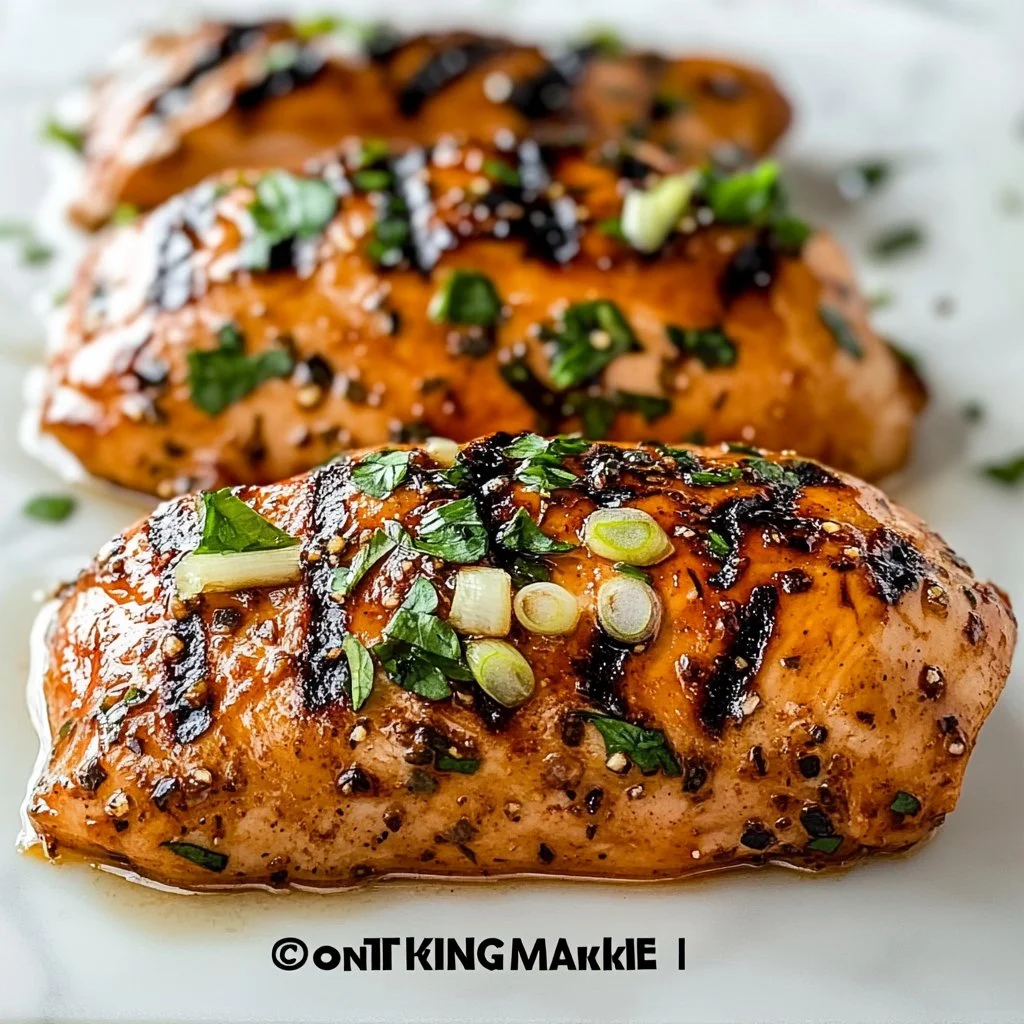
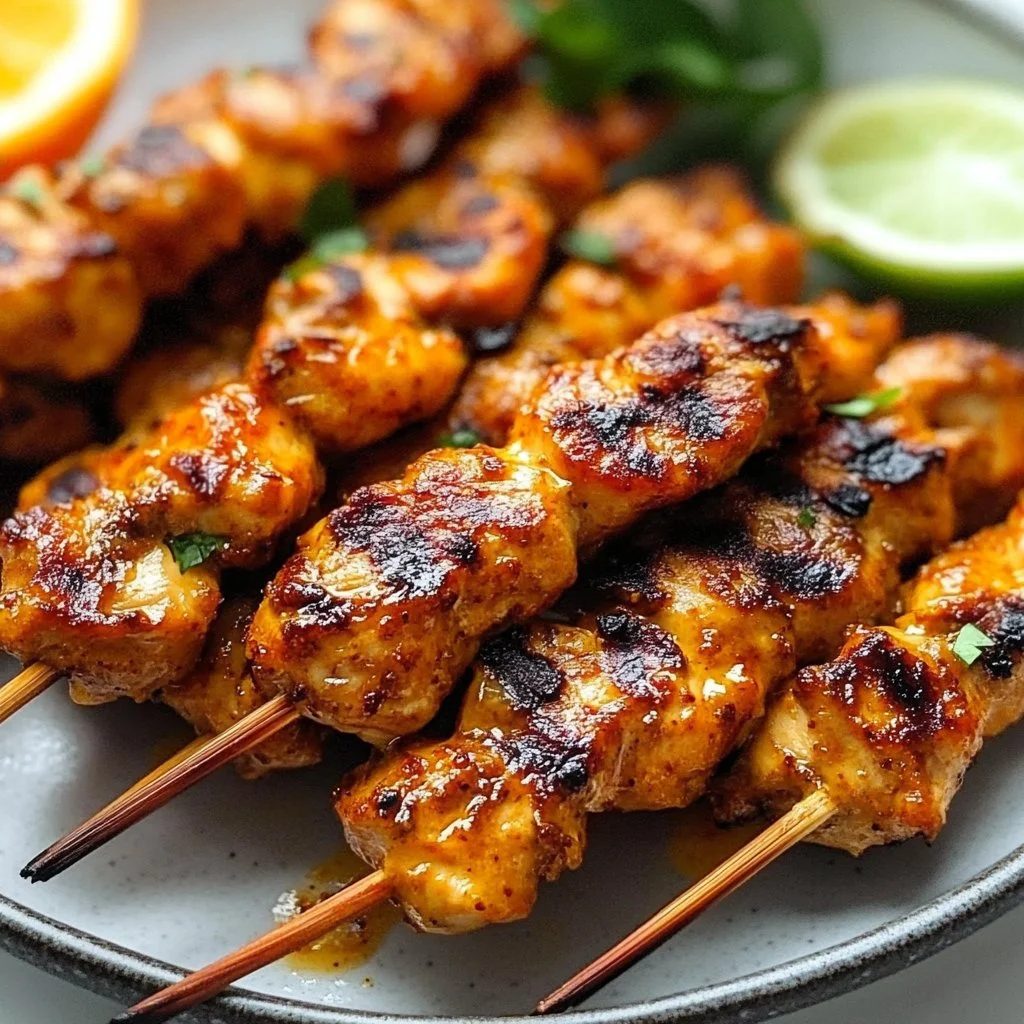
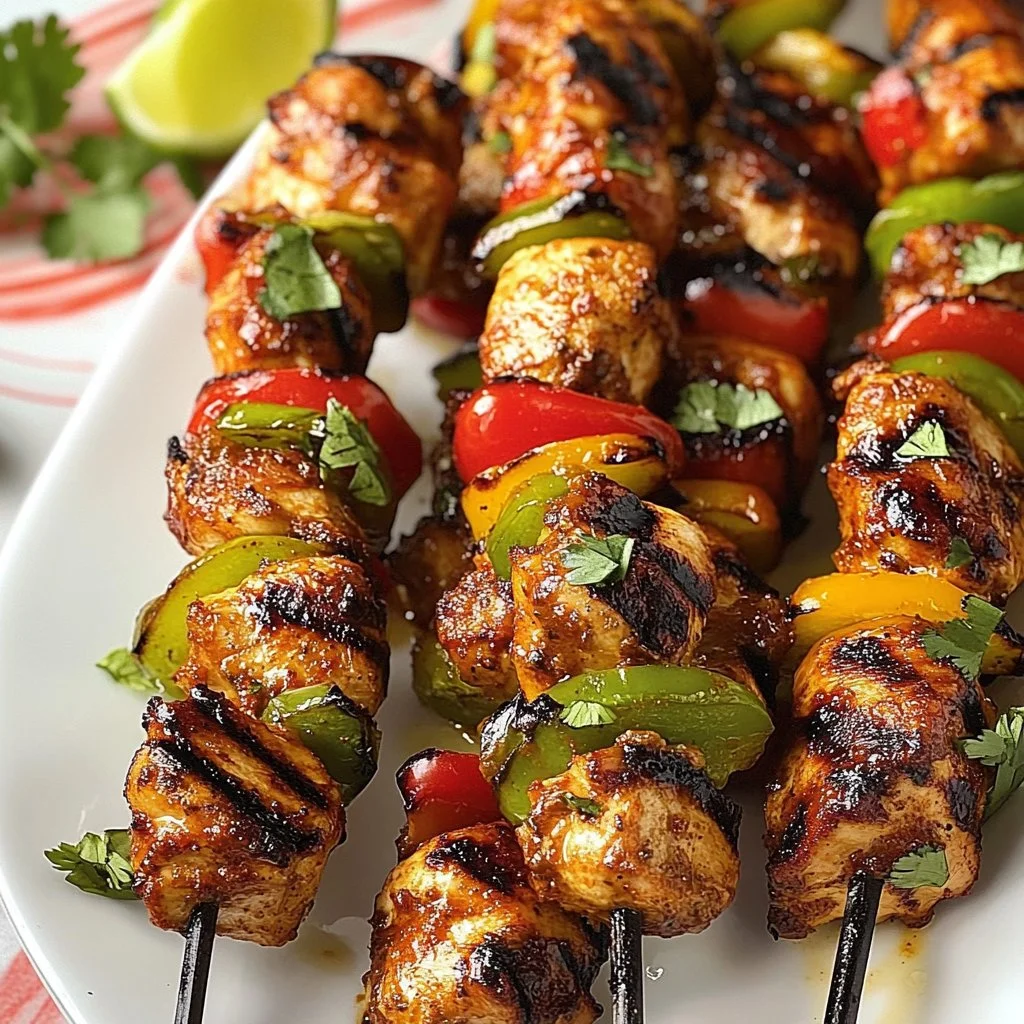
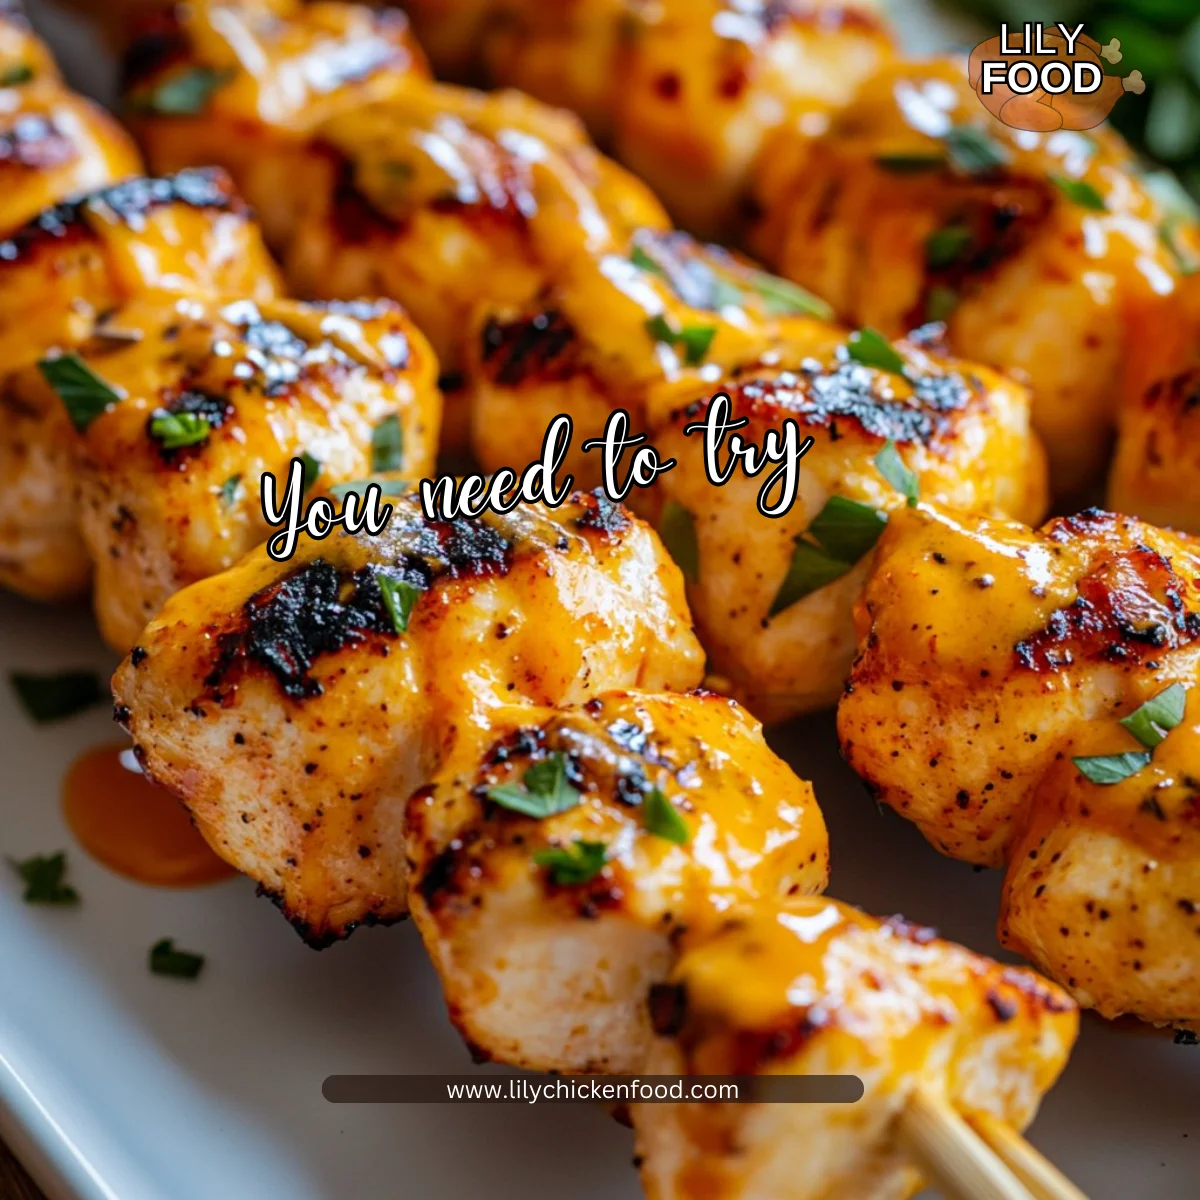
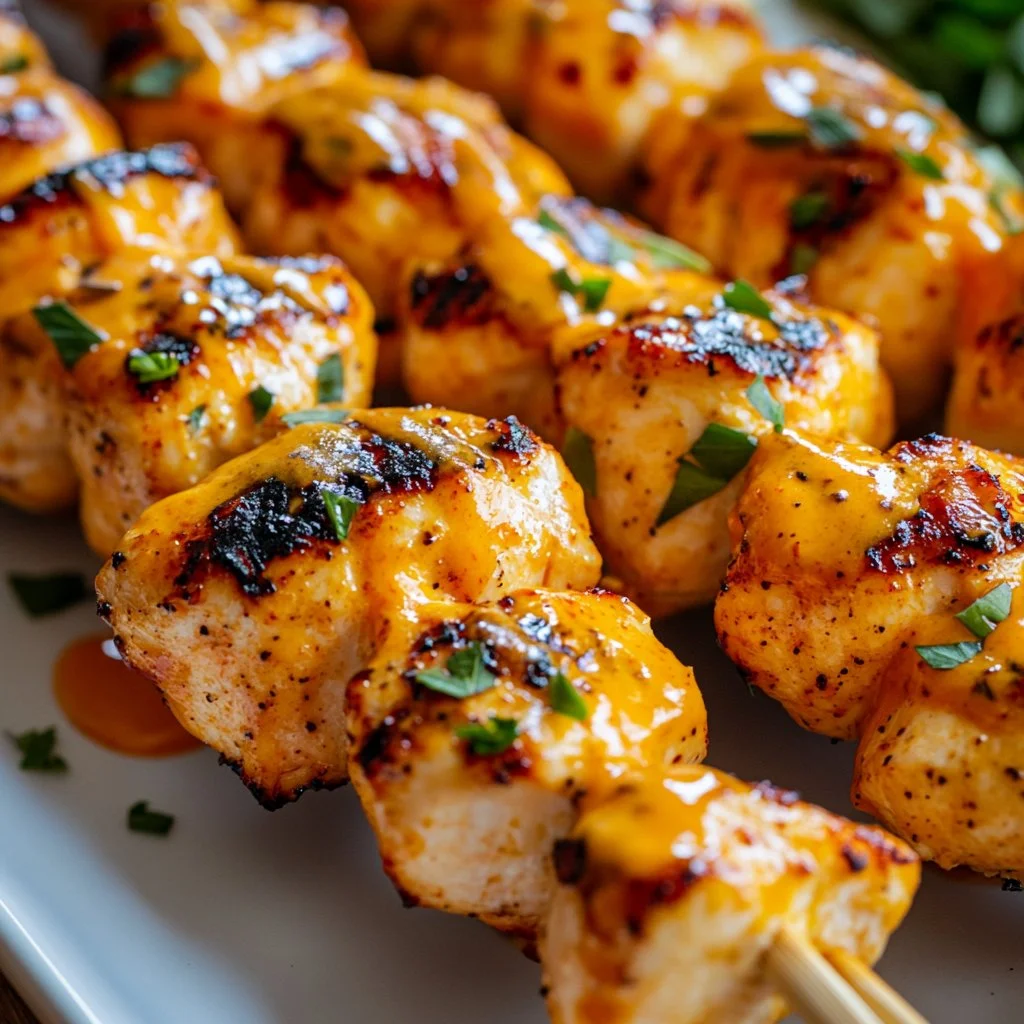
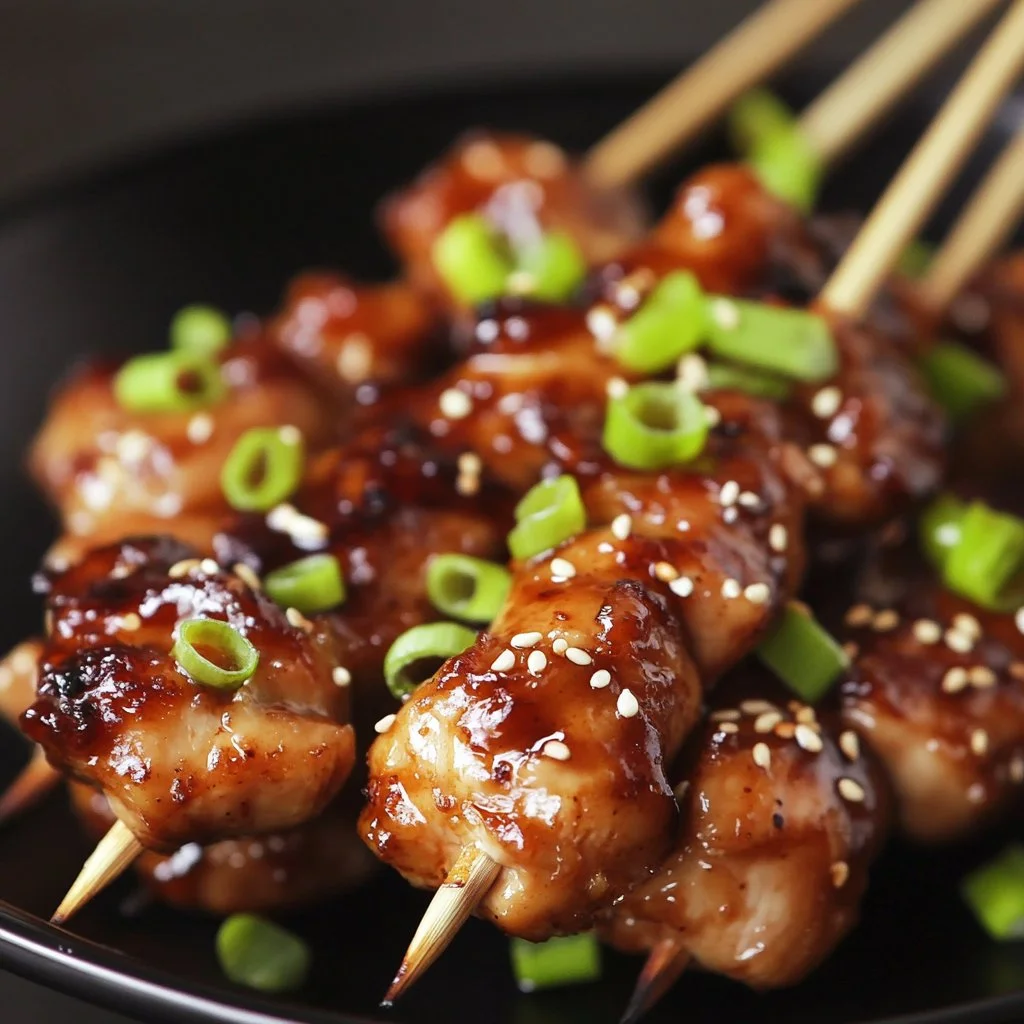
Serve these kabobs family-style on a large platter. Lay the skewers across a bed of steaming rice and sprinkle chopped parsley or a bit of lemon zest on top. Place a bowl of tzatziki in the center and set out extra lemon wedges.
A big platter brings everyone to the table. Let each person pick their skewer and add sides as they like. This keeps the meal relaxed, and the casual presentation means less cleanup and more time together.
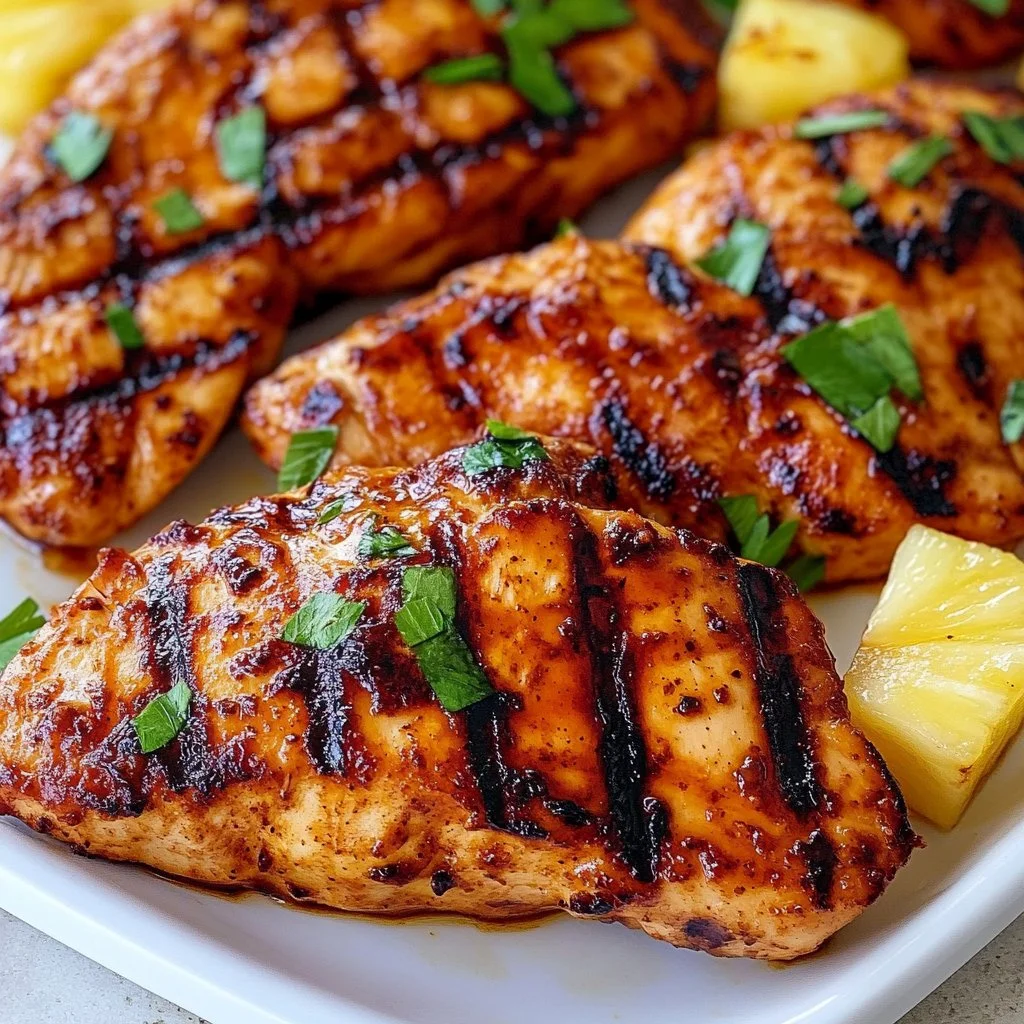
If you want to change things up, remove the chicken from the skewers and serve as slices over a salad or in pita pockets for a sandwich bar that kids can customize.
Storage
Store leftover kabobs in an airtight container in the refrigerator for up to 3 days. If you have leftover rice, keep it in a separate container so it reheats more evenly.
To reheat:
- Oven: Place kabobs on a baking sheet at 350°F for 10 to 12 minutes until warmed through.
- Stovetop: Remove chicken and vegetables from skewers and warm in a nonstick skillet over medium heat for 4 to 6 minutes. Turn often so chicken does not dry out.
- Microwave: Use a microwave-safe plate and heat in 30-second intervals, checking for even warmth.
Tzatziki stays best when kept cold. Keep it in its own container and add fresh cucumber or dill if it looks slightly watery after a day or two.
Kitchen Notes
- Use metal skewers if you grill often. They last and give a more even heat than wooden skewers.
- For quick prep, buy pre-cut bell peppers and pre-chopped onion at the store. They save time and keep you cooking on a busy night.
- If you need to make this gluten-free, check sauces and seasonings for hidden gluten. The recipe itself is naturally gluten-free.
- To clean the grill quickly, heat it up after cooking and brush with a grill brush. A little oil on a paper towel works well to remove remaining bits.
- If you do not have fresh lemon, use 3 tablespoons bottled lemon juice and a teaspoon of lemon zest for brightness.
Variations
- For picky eaters: Keep some plain grilled chicken pieces without vegetables and serve with simple sides like plain rice and steamed veggies.
- For low-carb diners: Skip the rice and serve the kabobs over a big salad or cauliflower rice.
- For extra spice: Add 1/2 teaspoon crushed red pepper flakes to the marinade or brush skewers with a spicy yogurt glaze before serving.
- For a vegetarian option: Replace chicken with cubed halloumi or firm tofu. Marinate and grill the same way for a satisfying meatless version.
- For meal prep: Double the recipe and store in separate containers for lunches. Serve cold over salad or reheat briefly when ready to eat.
FAQ
Q: Can I use chicken thighs instead of breasts?
A: Yes. Thighs stay juicier and are forgiving if you slightly overcook them. Cut into even chunks so everything cooks at the same rate.
Q: How long can I marinate the chicken?
A: At least 30 minutes for good flavor. Up to 4 hours is ideal. Avoid marinating much longer than 8 hours when using citrus, as it can start to break down the meat texture.
Q: Do I need to soak wooden skewers?
A: Yes. Soak them in water for at least 20 minutes before threading to prevent burning on the grill.
Q: Can I bake the kabobs instead of grilling?
A: Absolutely. Arrange skewers on a baking sheet and roast at 425°F for 12 to 18 minutes, turning once until the chicken reaches 165°F.
Q: How do I make tzatziki at home quickly?
A: Mix 1 cup plain Greek yogurt, 1/2 cup grated cucumber (squeeze dry), 1 minced garlic clove, 1 tablespoon lemon juice, 1 tablespoon chopped dill, and salt to taste. Chill for 30 minutes to let flavors meld.
Conclusion
I hope this recipe makes your weeknights feel lighter and your dinners taste brighter. These Greek Chicken Kabobs are a simple way to bring the family together, whether you are grilling on a warm evening or broiling indoors on a cool night. If you want to compare another popular take on Greek-style kabobs, I often read reliable recipes like this one from Damn Delicious Greek Chicken Kabobs for inspiration. For another tender and juicy version, I also like the approach shown by Two Peas & Their Pod’s Greek Chicken Kabobs.
Thank you for cooking with me. I hope your kitchen fills with those bright smells, that happy sizzle, and lots of shared smiles around the table.

Greek Chicken Kabobs
Ingredients
For the Marinade
- 1.5 to 2 pounds Chicken breast, boneless and skinless (Trim fat and cut into even, bite-size chunks.)
- 3 to 4 cloves Garlic, minced (Fresh garlic gives the best punch.)
- 1/4 to 1/3 cup Lemon juice, from 1 to 2 lemons (Fresh-squeezed is bright and floral, save the zest for extra aroma.)
- 2 teaspoons Dried oregano (Use Greek oregano if possible, otherwise double the amount of fresh oregano.)
- 1/3 cup Olive oil (A good extra virgin olive oil rounds out the marinade.)
For the Kabobs
- 1 medium Red onion (Peel and cut into wedges.)
- 2 to 3 total Bell peppers, mixed colors (Use a mix of red, yellow, and green.)
- 1 medium Zucchini (Slice into half-moons or rounds about 1/2 inch thick.)
For Serving
- 3 cups Rice, cooked (Long-grain or basmati works well.)
- 1 cup Plain Greek yogurt (Full-fat for richness or low-fat for a lighter bowl.)
- 1 cup Tzatziki sauce (Store-bought or homemade.)
Instructions
Preparation
- In a bowl, combine garlic, lemon juice, oregano, and olive oil to make the marinade. Whisk until well blended.
- Cut chicken into chunks and marinate for at least 30 minutes, or up to 4 hours for more flavor.
- Chop the red onion, bell peppers, and zucchini into bite-size pieces, keeping them uniform for even cooking.
Assembly and Cooking
- Thread the marinated chicken and vegetables onto skewers, alternating between them, leaving space between pieces.
- Grill the skewers over medium-high heat for about 10-15 minutes, turning occasionally, until the chicken is cooked through.
- Serve the kabobs over a bed of rice with a side of yogurt tzatziki.