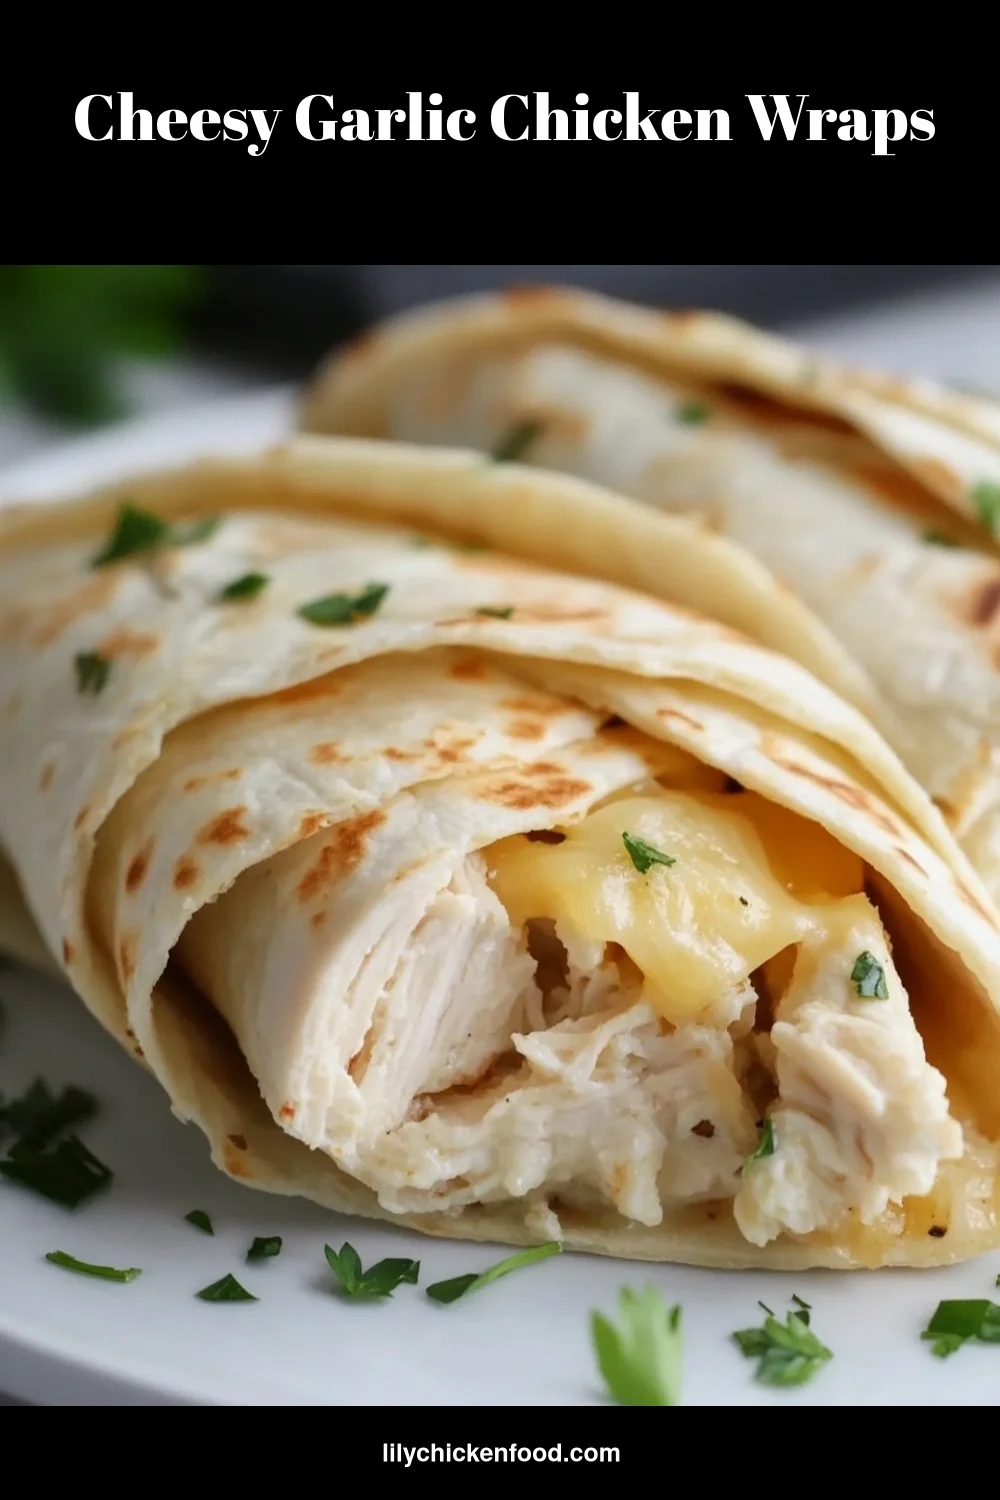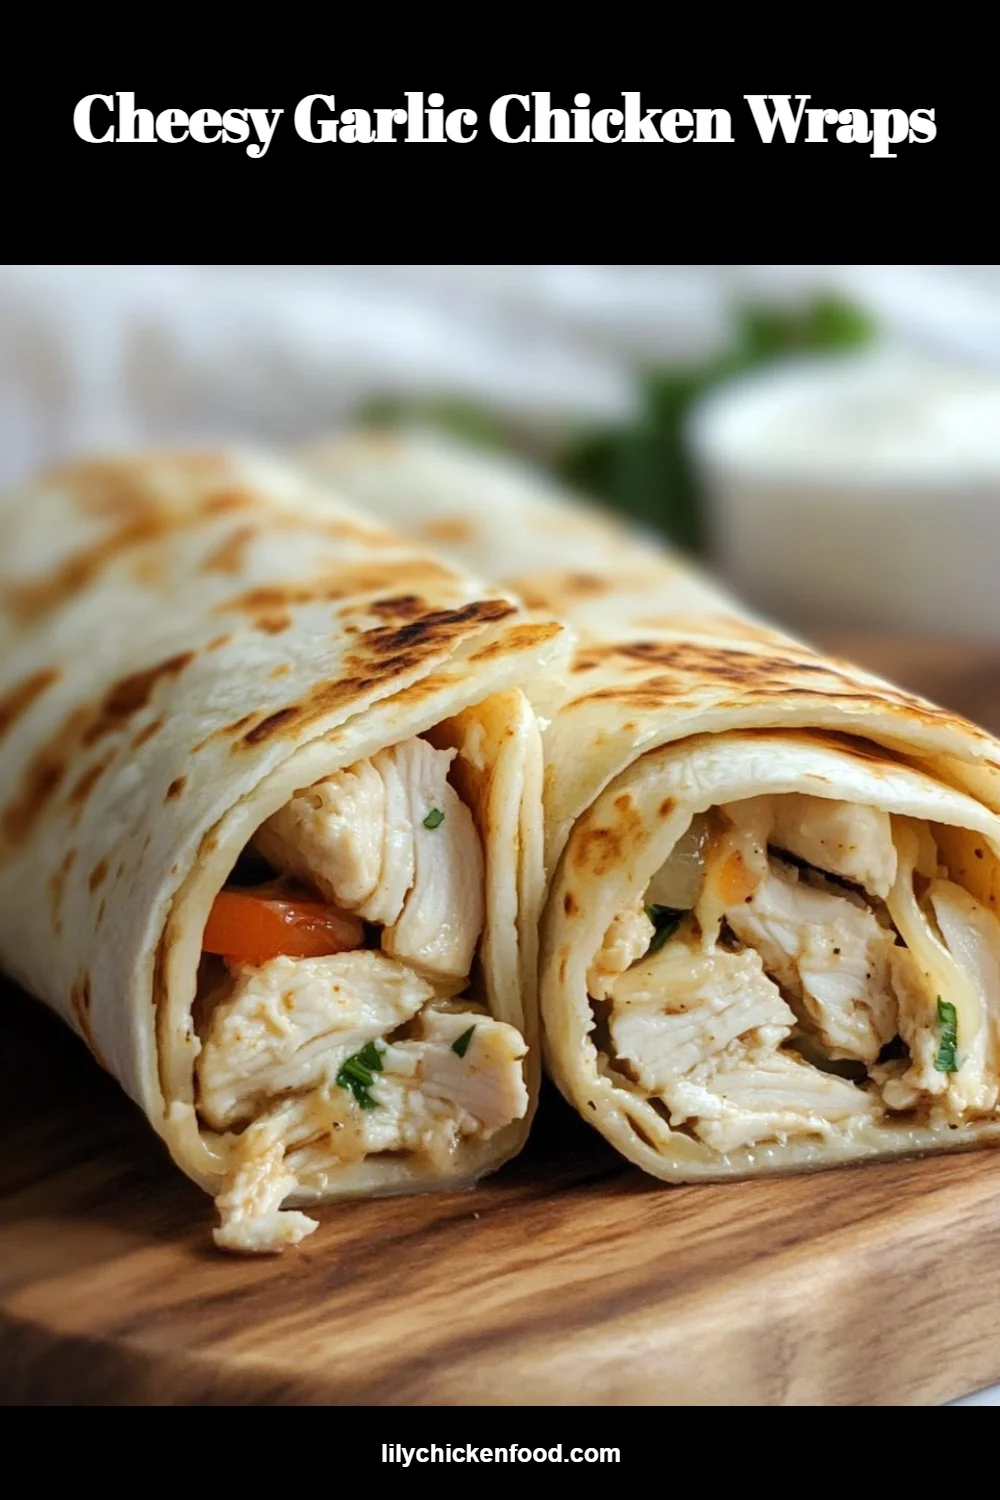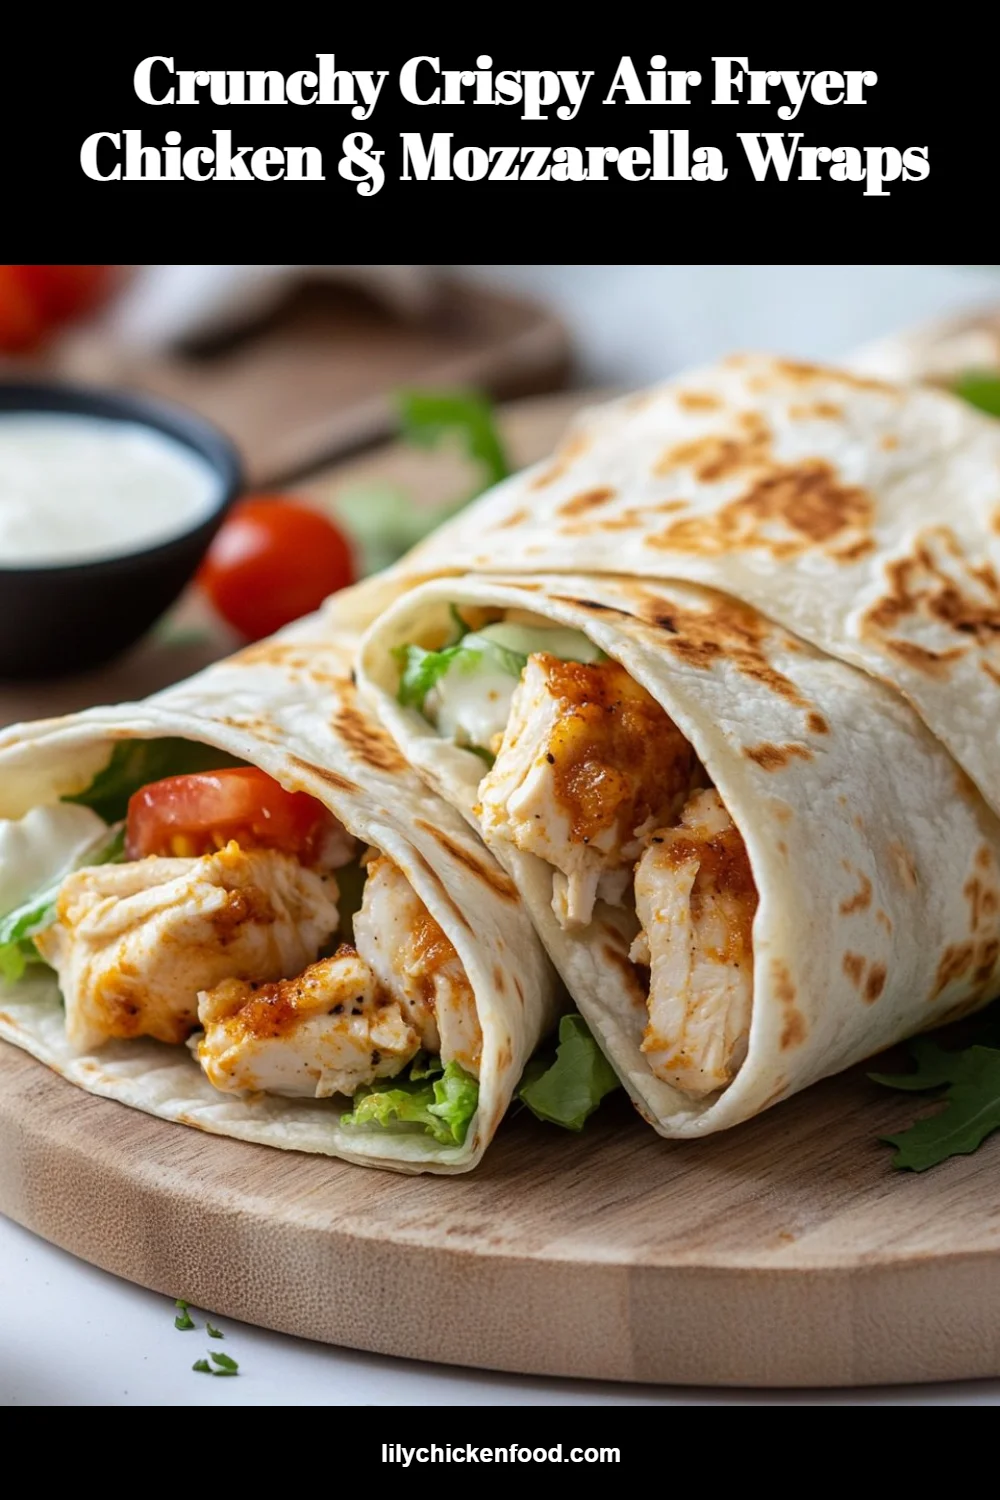
There’s something magical about the smell of a warm kitchen filled with the aroma of delicious food. The sound of chopping, simmering, and sizzling fills the air, creating a cozy atmosphere that beckons families to come together. Today, I want to share with you a wonderful recipe that captures that essence beautifully: Cranberry Chicken Wraps. These wraps are not only flavorful and satisfying but also quick to prepare, making them perfect for busy weeknights.
Why This Works
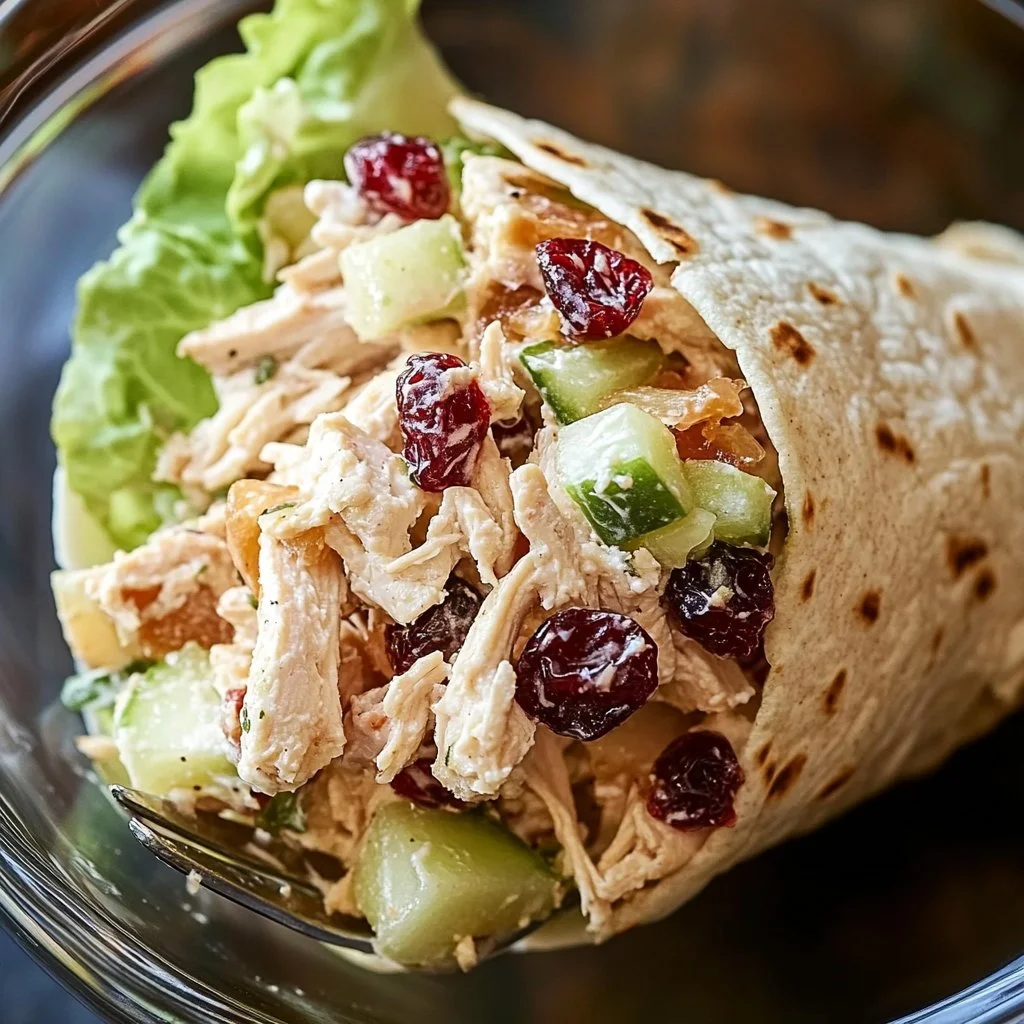
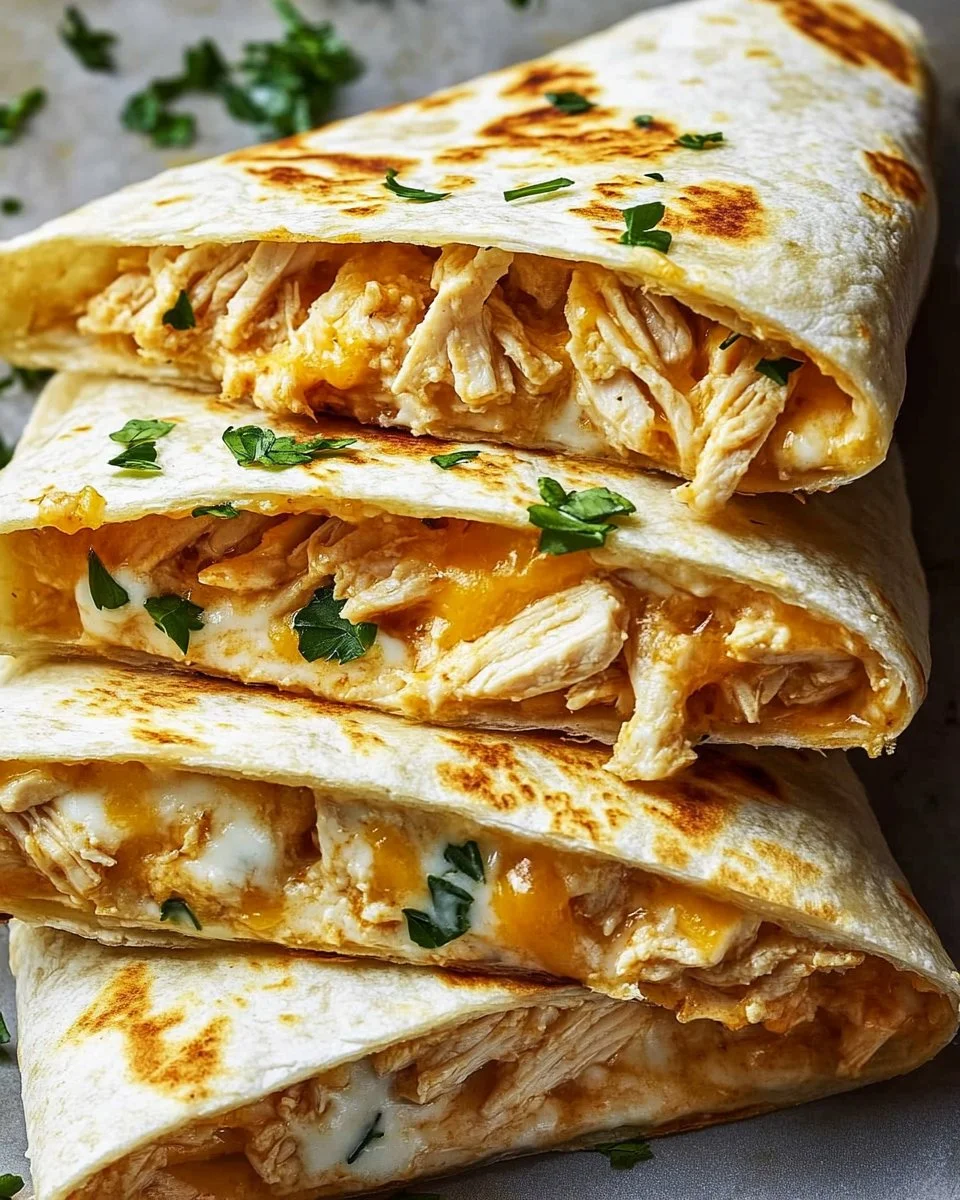
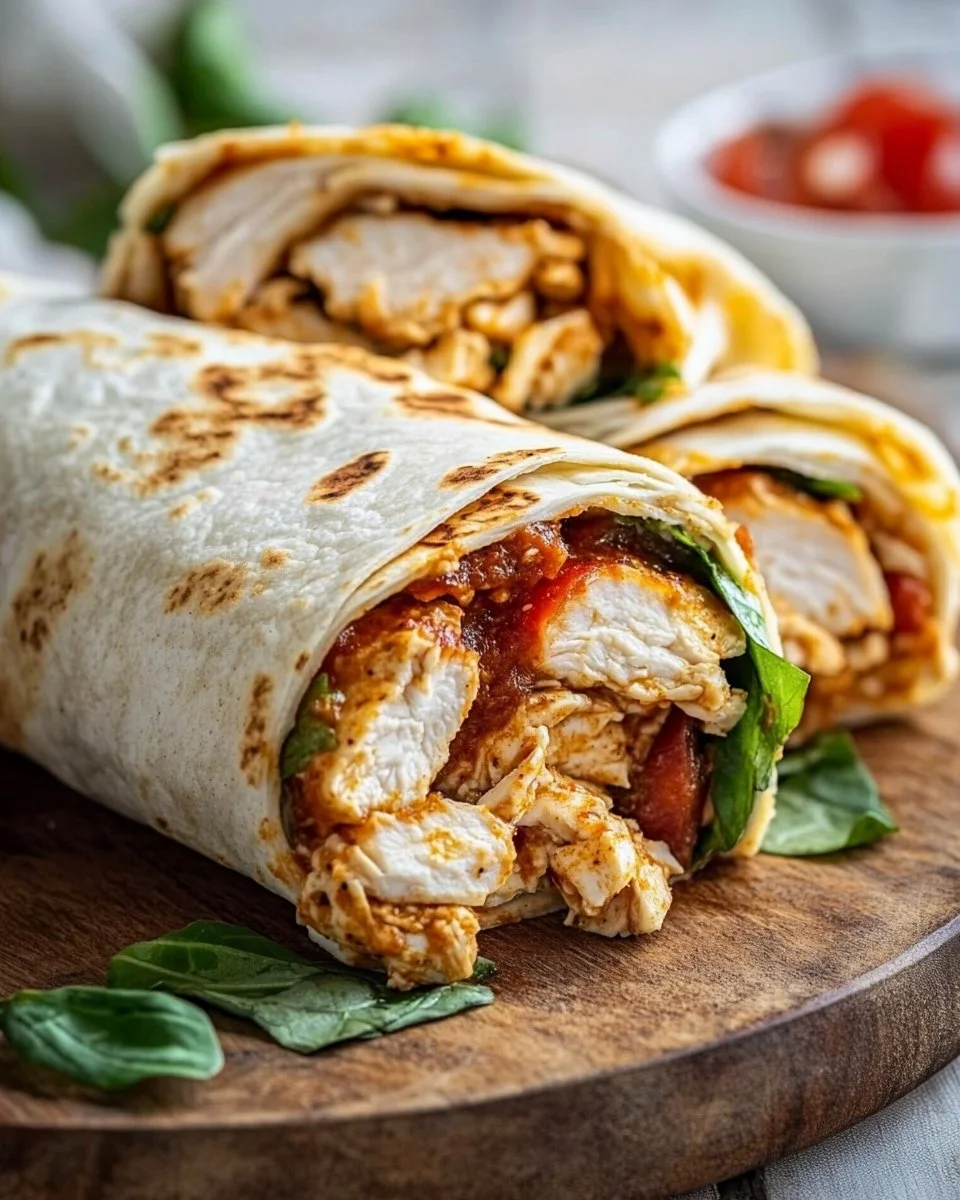
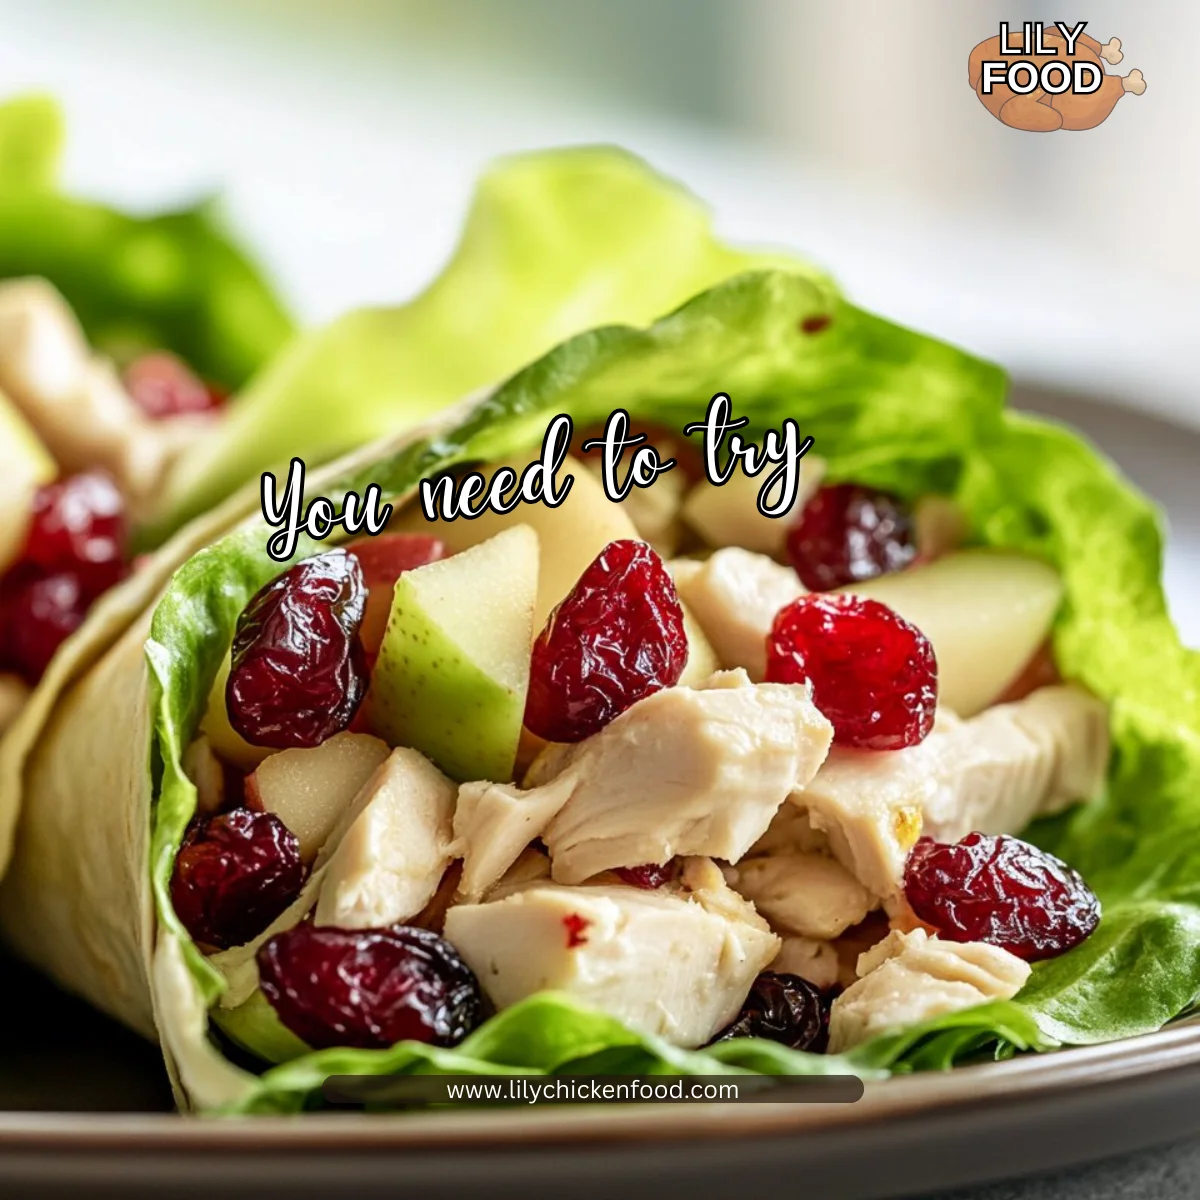
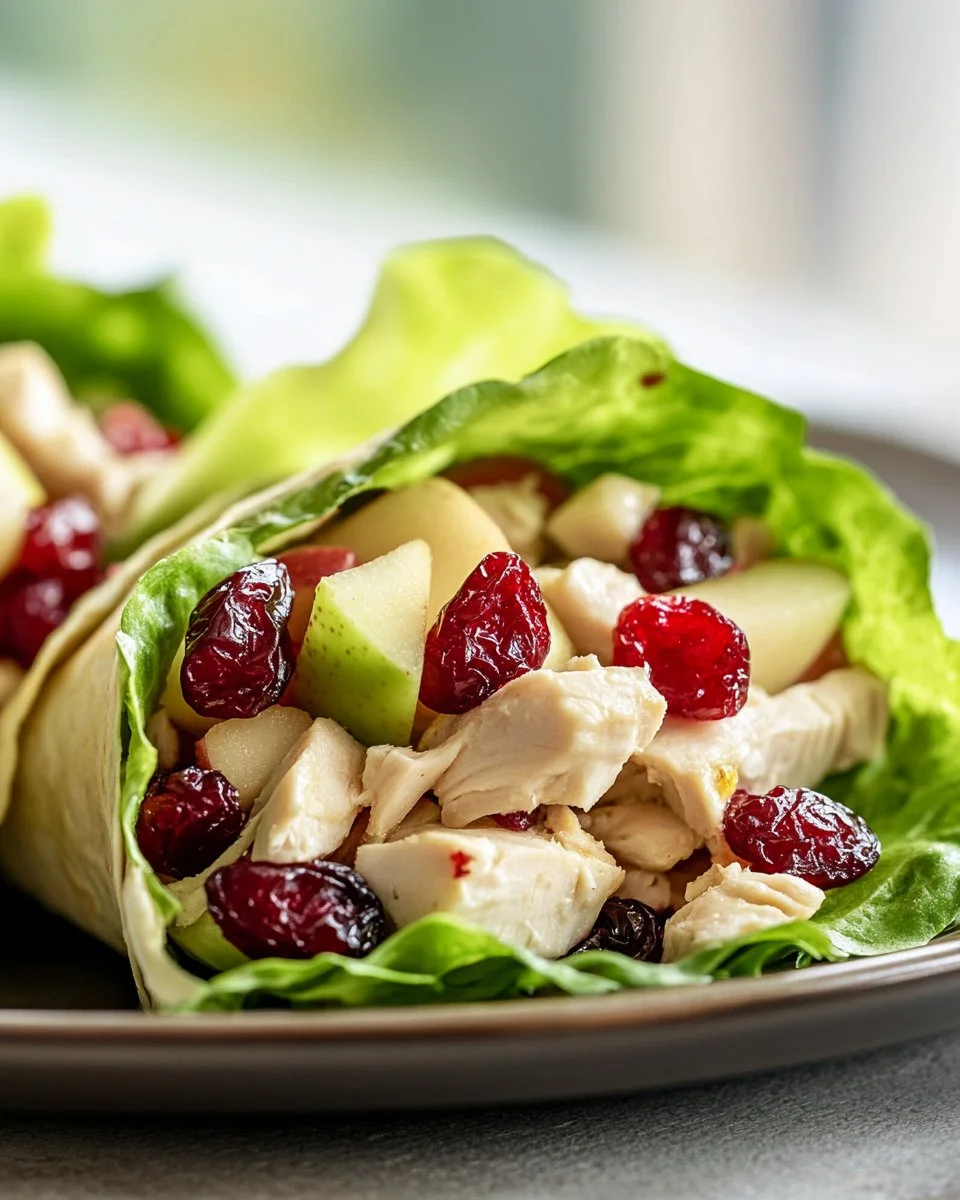
Cranberry Chicken Wraps are an ideal family meal for many reasons. First, they offer a delightful combination of flavors and textures. The sweet tang of cranberries pairs with tender chicken, crunchy apple, and crispy celery, all wrapped up in a fresh lettuce leaf or a soft tortilla.
Plus, the best part is how quick they are to put together. You can whip up these wraps in under 30 minutes. This means more time spent with your loved ones rather than in the kitchen. Everybody can pitch in and help, making it a fun, collaborative meal prep experience.
Process Overview
“This is where the magic happens—when the aroma fills the kitchen.”
As you gather the ingredients, imagine the excitement of your family as they anticipate a delicious dinner. The process is straightforward: mix, wrap, and serve. Let’s dive into those mouthwatering ingredients that make these wraps sing.
Ingredients
- 2 cups cooked chicken, shredded
- 1/2 cup dried cranberries
- 1 apple, diced
- 1/2 cup celery, chopped
- 1/4 cup mayonnaise
- 1 teaspoon Dijon mustard
- Salt and pepper to taste
- 4 large lettuce leaves or tortillas (Lily’s Tip: If using lettuce, try romaine for a sturdy wrap. If tortillas, consider whole grain for added fiber.)
These ingredients not only offer a fabulous taste but also provide a healthy balance of protein, fruit, and vegetables.
Directions
-
In a bowl, combine the shredded chicken, cranberries, diced apple, and chopped celery. Mix well.
- Encouragement: This step is a great opportunity for kids to practice their mixing skills!
-
In another bowl, mix together the mayonnaise, Dijon mustard, salt, and pepper.
- Encouragement: Don’t worry if a little mustard stains the bowl. That just means you’re getting creative!
-
Pour the dressing over the chicken mixture and toss to combine.
- Encouragement: Give it a good toss! You want every piece to be coated with that creamy goodness.
-
Place a portion of the mixture in the center of each lettuce leaf or tortilla.
- Encouragement: Think of it like building a nest for the filling. Keeping it in the center helps with rolling.
-
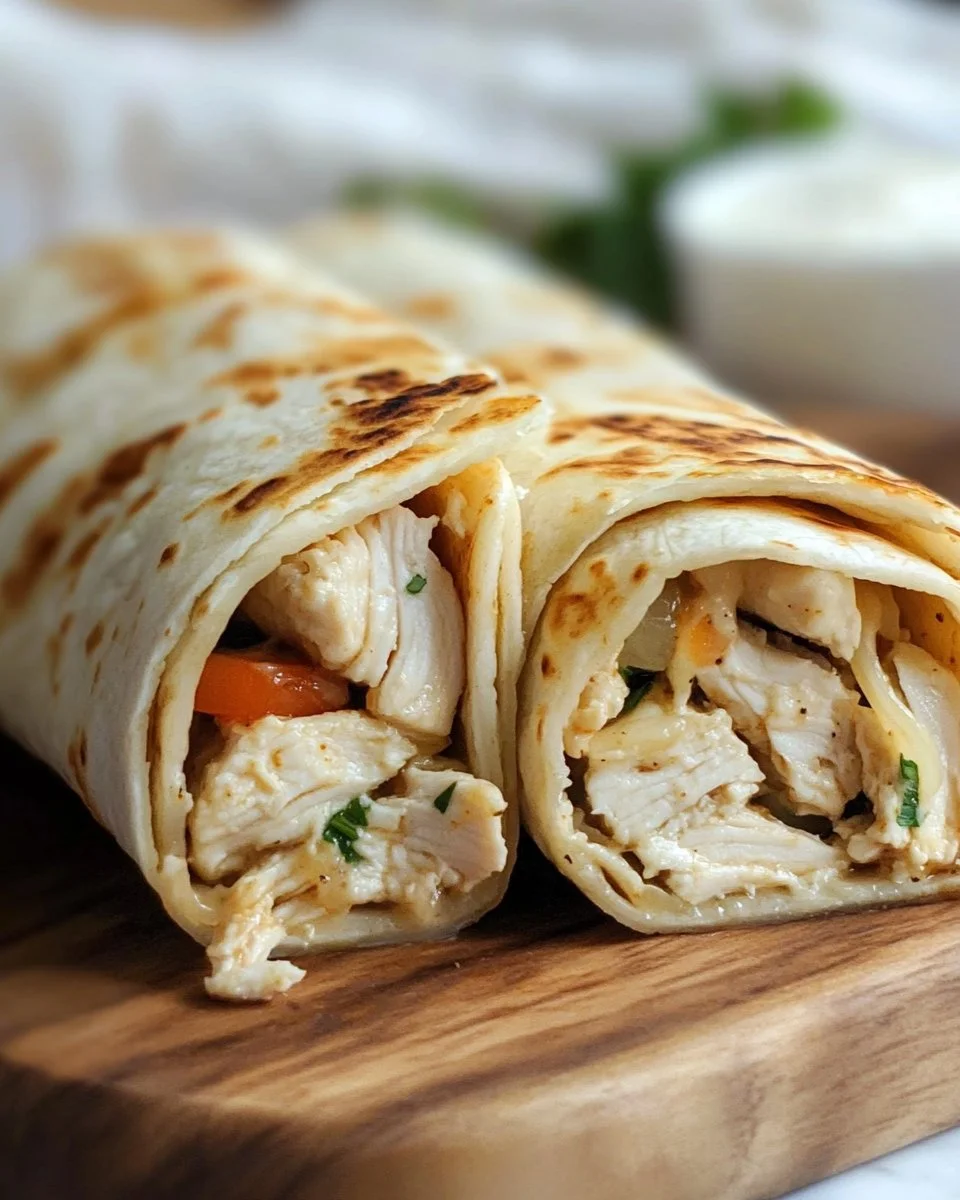
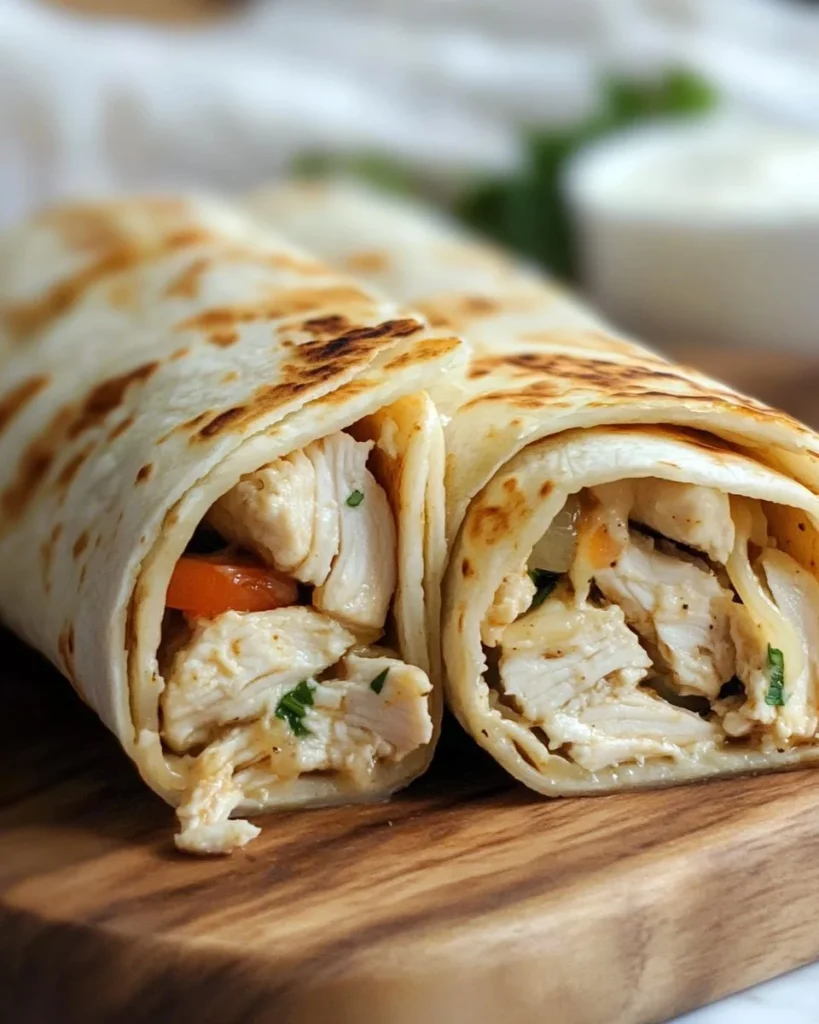
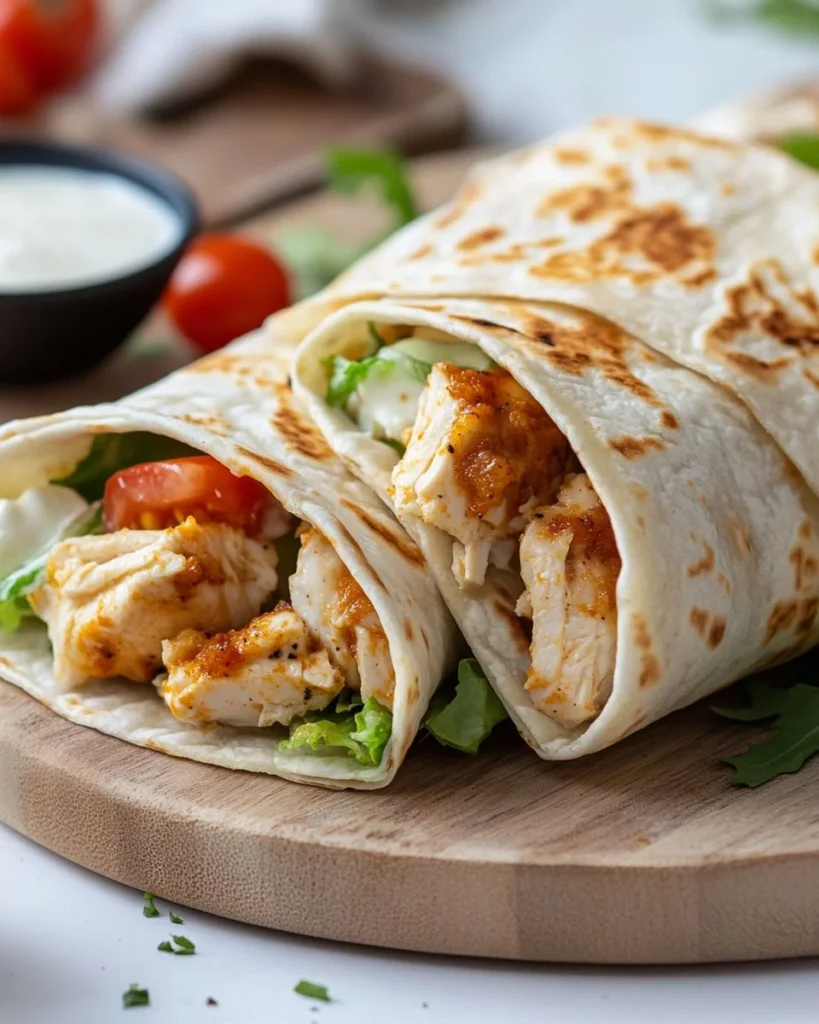
Roll up tightly, then slice in half and serve.
- Encouragement: You can do this! The wraps will hold together beautifully and look impressive on your dinner table.
Serving
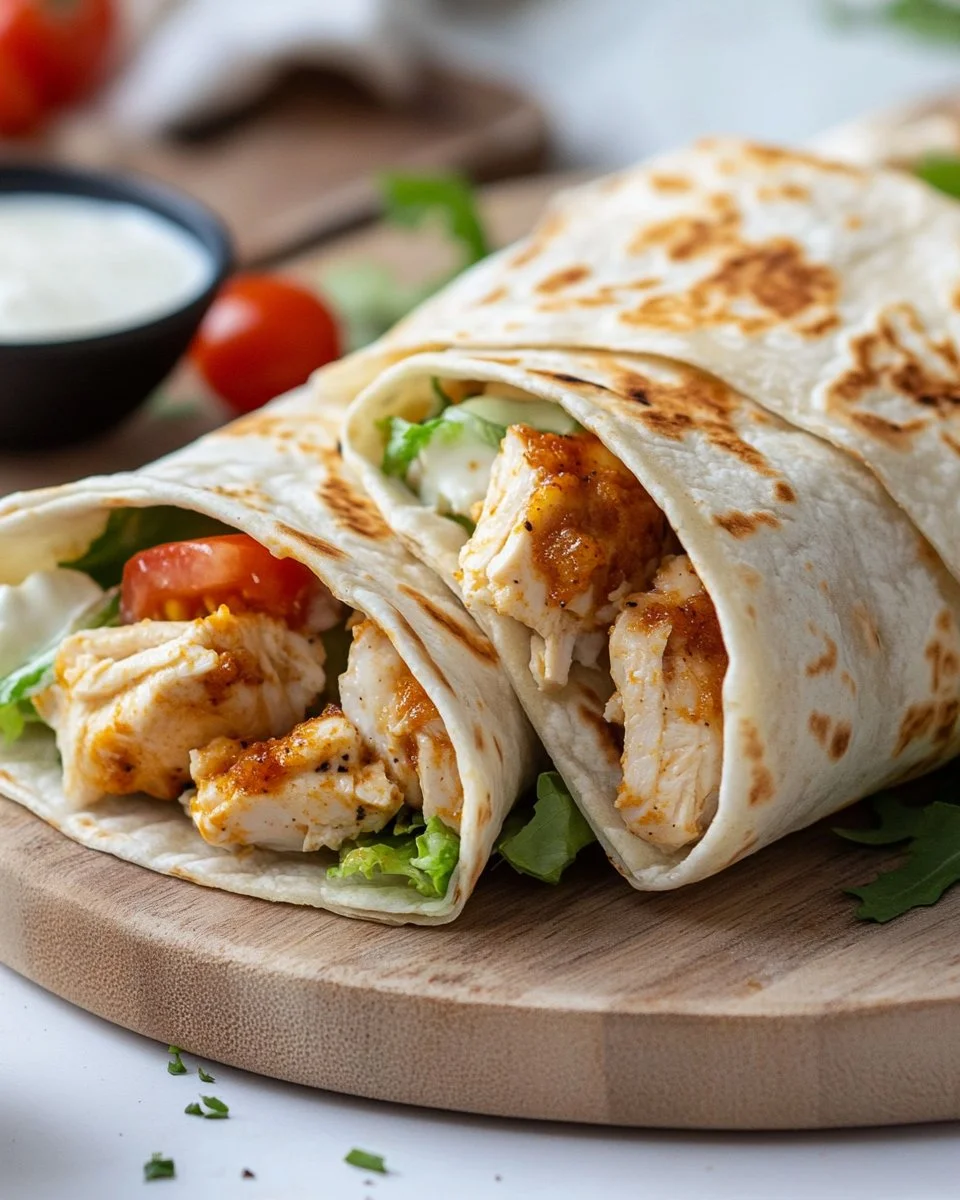
For a family-style presentation, arrange the wraps on a large platter. You can serve them alongside a fresh green salad for a complete meal.
Consider placing a few extra toppings in small bowls on the side, like sliced almonds or extra cranberries. This way, everyone can customize their wraps to their liking. Family meals should be all about togetherness and personal touch.
Storage
If you happen to have any leftovers (which is rare but can happen), store them in an airtight container in the refrigerator. They can typically last for about 2-3 days.
Reheating is quite simple. While the chicken wrap filling can be enjoyed cold, if you prefer it warm, place it in the microwave for about 30 seconds to a minute. Just watch that you don’t heat it too long; you want it warm but not overcooked!
Kitchen Notes
- Use leftover chicken for a time-saver.
- Add a splash of lemon juice to the chicken mixture for extra freshness.
- Swap out the mayonnaise for Greek yogurt for a lighter option.
- Make it gluten-free by using lettuce wraps instead of tortillas.
- Get creative with your add-ins, using whatever veggies you have on hand!
Variations
If you have picky eaters, there are plenty of ways to customize the recipe. For a creamier wrap, you can add avocado slices inside. If someone prefers a spicier twist, try adding some salsa or diced jalapeños.
For those following a specific diet, consider using a protein like tofu instead of chicken or substituting the apples with diced pears for a different flavor twist.
FAQ
-
Can I use rotisserie chicken?
- Absolutely! It’s a great shortcut and adds delicious flavor.
-
How do I make this recipe vegan?
- Substitute chicken with chickpeas or tofu and use vegan mayonnaise.
-
What kind of tortillas work best?
- Whole wheat or spinach tortillas add added flavor and nutrition.
-
Can I freeze these wraps?
- While the filling freezes well, it’s best to wrap them fresh as the textures will change once frozen.
-
How do I add more veggies?
- Chopped bell peppers or shredded carrots work beautifully in this recipe!
Conclusion
As you gather around the table to enjoy these Cranberry Chicken Wraps, remember that food is more than just a meal; it’s a way to connect with one another. These wraps are simple yet full of flavor, making them a perfect choice for any family dinner.
I hope you enjoy making and sharing these wraps with your loved ones. Happy cooking!

Cranberry Chicken Wraps
Ingredients
Main Ingredients
- 2 cups cooked chicken, shredded (Use leftover chicken for a time-saver.)
- 1/2 cup dried cranberries
- 1 unit apple, diced (Consider dicing pears for a variation.)
- 1/2 cup celery, chopped (Chopped bell peppers or shredded carrots work beautifully.)
- 1/4 cup mayonnaise (Greek yogurt can be used for a lighter option.)
- 1 teaspoon Dijon mustard
- to taste Salt and pepper
- 4 large lettuce leaves or tortillas (If using lettuce, romaine works well; for tortillas, consider whole grain.)
Instructions
Preparation
- In a bowl, combine the shredded chicken, cranberries, diced apple, and chopped celery. Mix well.
- In another bowl, mix together the mayonnaise, Dijon mustard, salt, and pepper.
- Pour the dressing over the chicken mixture and toss to combine.
- Place a portion of the mixture in the center of each lettuce leaf or tortilla.
- Roll up tightly, then slice in half and serve.