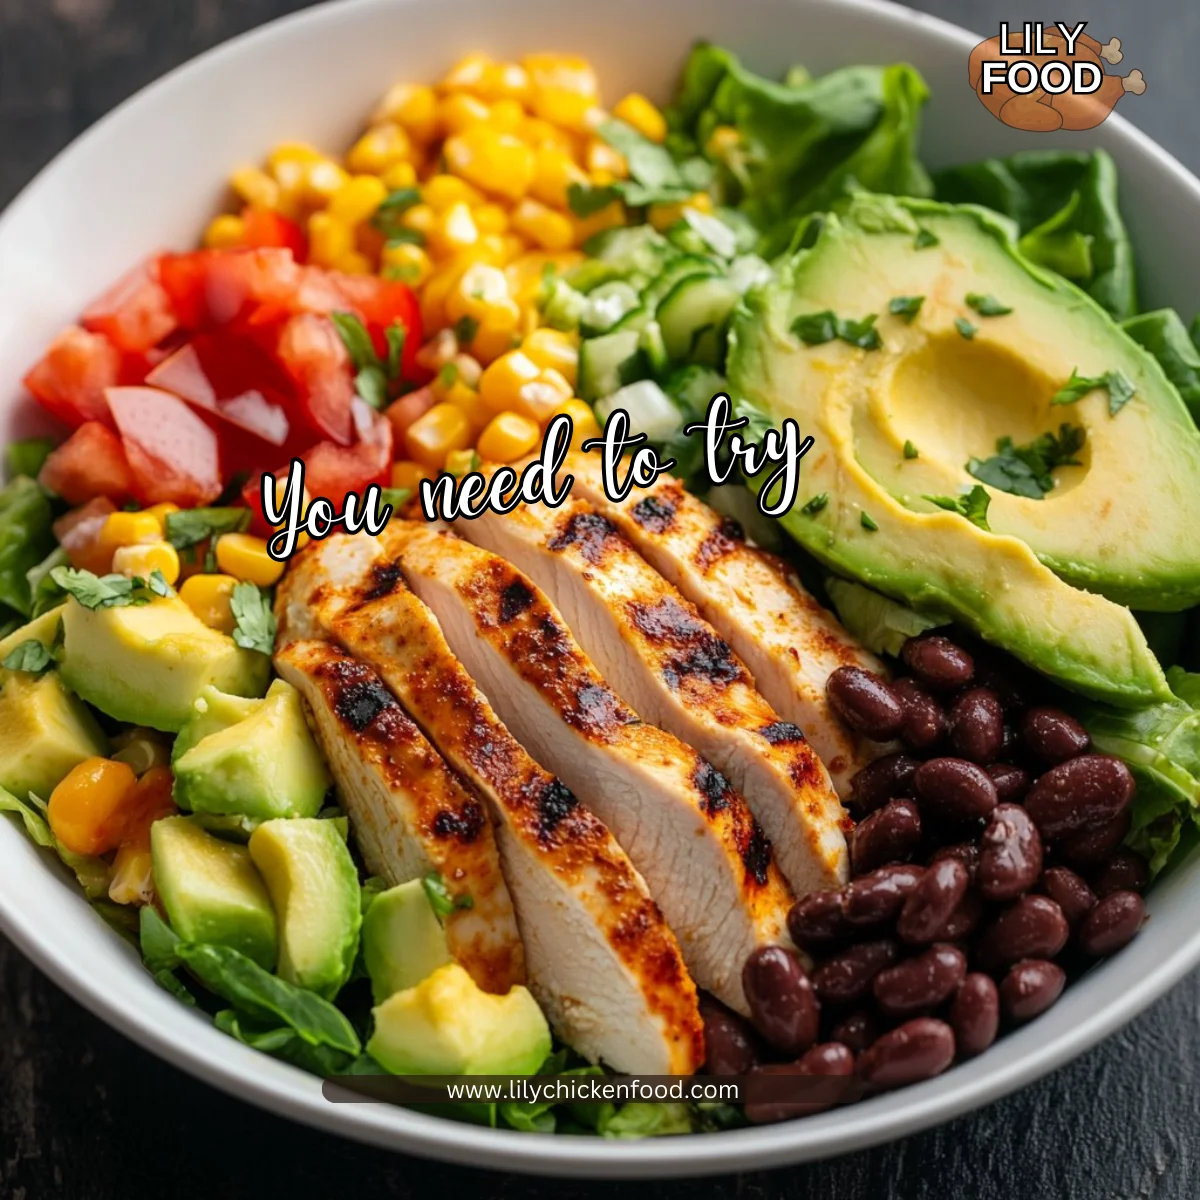
There’s something magical about the familiar sounds of a family kitchen. Picture this: the happy chatter of children setting the table, the sizzle of chicken searing in a pan, and the mouthwatering aroma of cumin and corn filling the air. These moments have a way of bringing us together, drawing us from our busy routines and inviting us to share a meal that is not just food, but a connection to each other. Today, I want to share a recipe that captures that essence beautifully—the Street Corn Chicken Rice Bowl.
Why This Street Corn Chicken Rice Bowl Feels Like Home
Every family has that one dish that feels like home. For ours, that dish is undoubtedly the Street Corn Chicken Rice Bowl. It’s not just a meal; it’s a reminder of sun-filled days spent at the farmer’s market, where we would pick out the freshest corn and chat with the vendors about all the different ways to cook it. This dish carries with it the nostalgia of those lazy afternoons and the joy of family dinners where everyone helps prepare the meal.
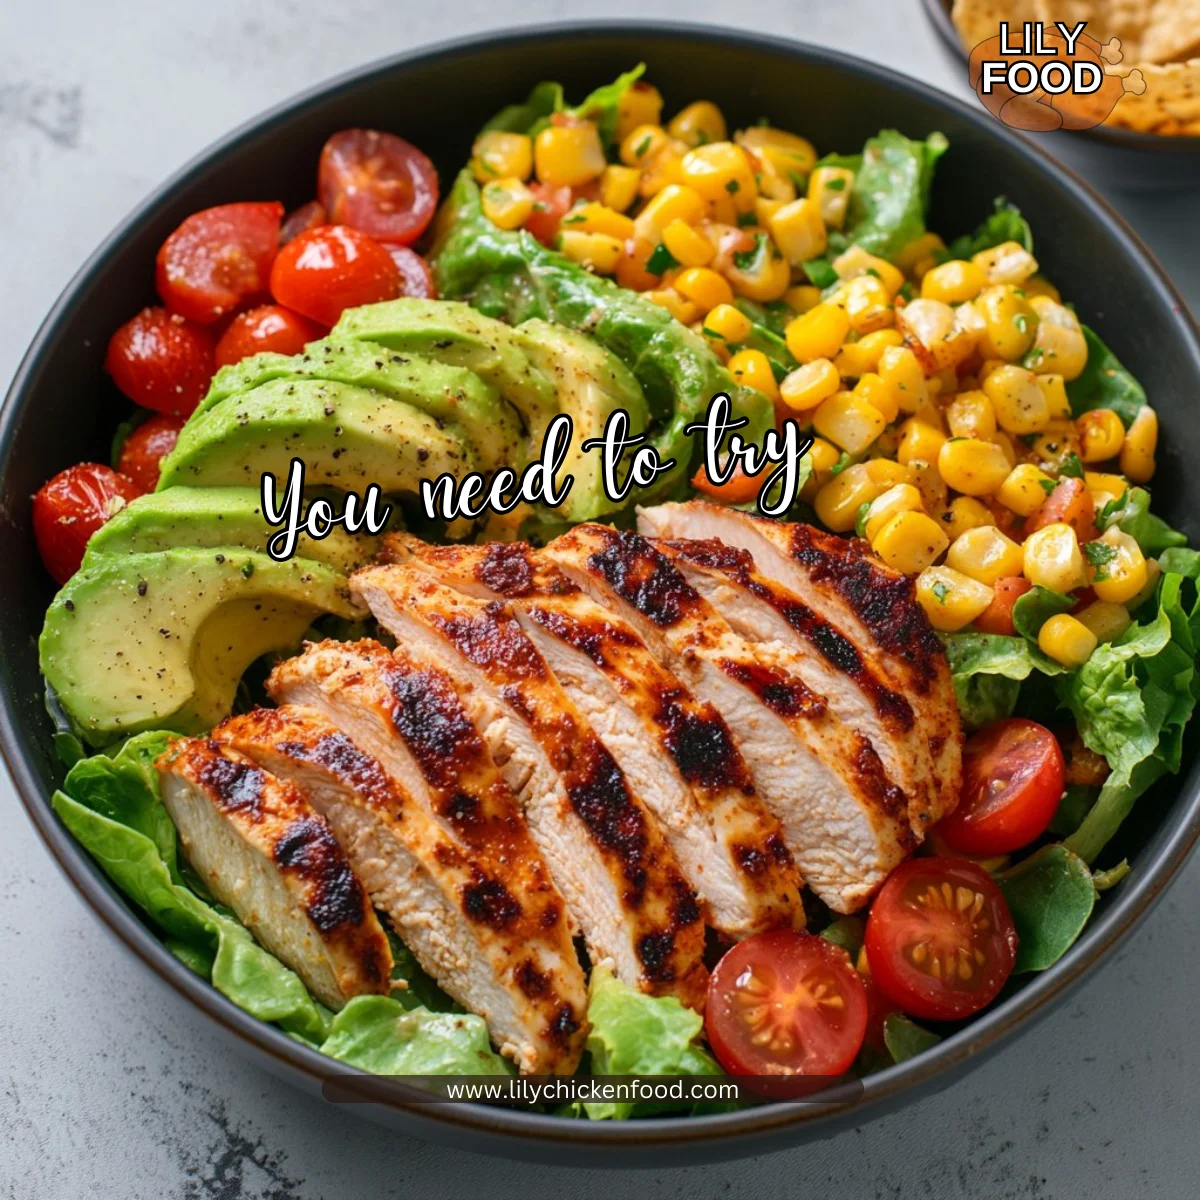
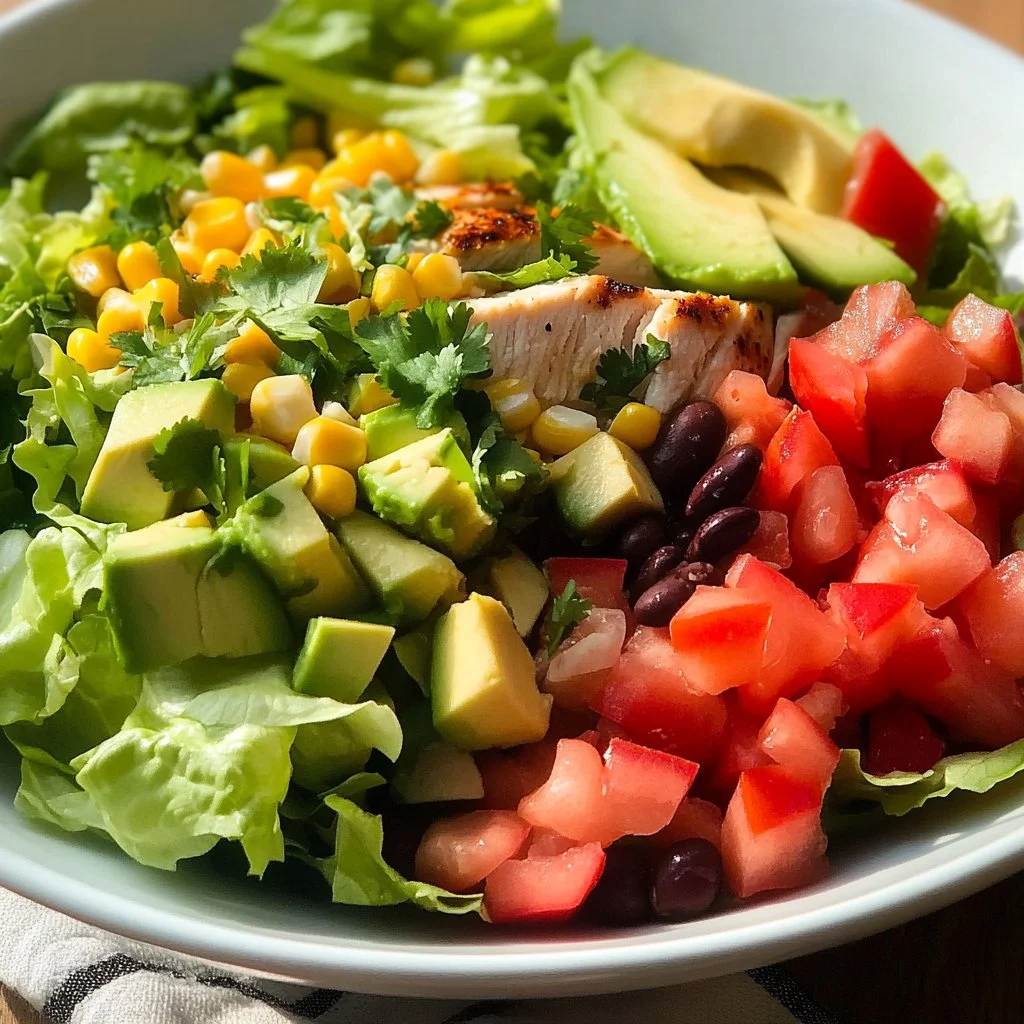
Sharing a table filled with this bowl of vibrant flavors makes every bite special. The smoky chicken paired with sweet, charred corn drizzled with creamy sauce brings comfort and excitement to our dining table. It’s a recipe that feels both effortless and elegant, making it an excellent choice for those busy weeknights while still becoming a new family favorite.
Why Street Corn Chicken Rice Bowl is Our New Family Favorite
The simplicity of the Street Corn Chicken Rice Bowl is what makes it shine. With just a handful of ingredients, you can create a meal that sings with flavor while bringing everyone together. It’s a recipe that checks all the boxes: it tastes amazing, can be prepped in no time, and allows for endless variation, which keeps things interesting.
In our household, each member has their little preference. Whether it’s adding a sprinkle of extra lime juice or a touch of spicy sauce, this dish allows everyone to customize their bowls without adding stress to meal prep. It’s less about perfection and more about connection, and I think that is why it resonates so much with our family.
The Simple Magic Behind Street Corn Chicken Rice Bowl
At the heart of the Street Corn Chicken Rice Bowl is the idea of bringing joy to the cooking process. The meal comes together quickly, ensuring that quality time spent in the kitchen doesn’t turn into a marathon. You could cook this for dinner even on the busiest of evenings, yet it feels special enough to be served for guests.
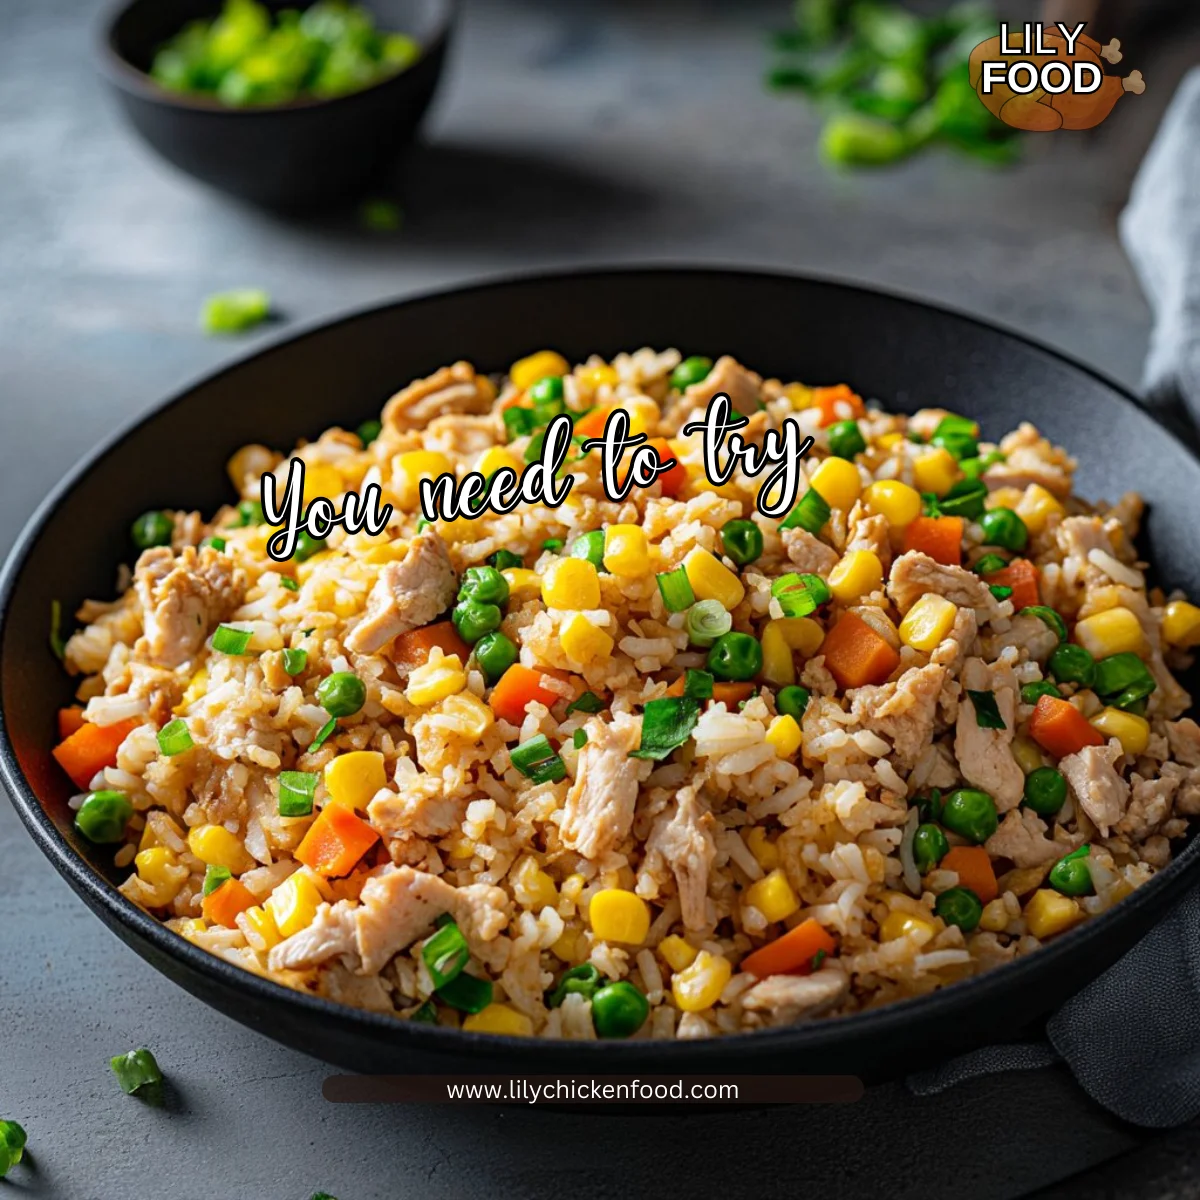
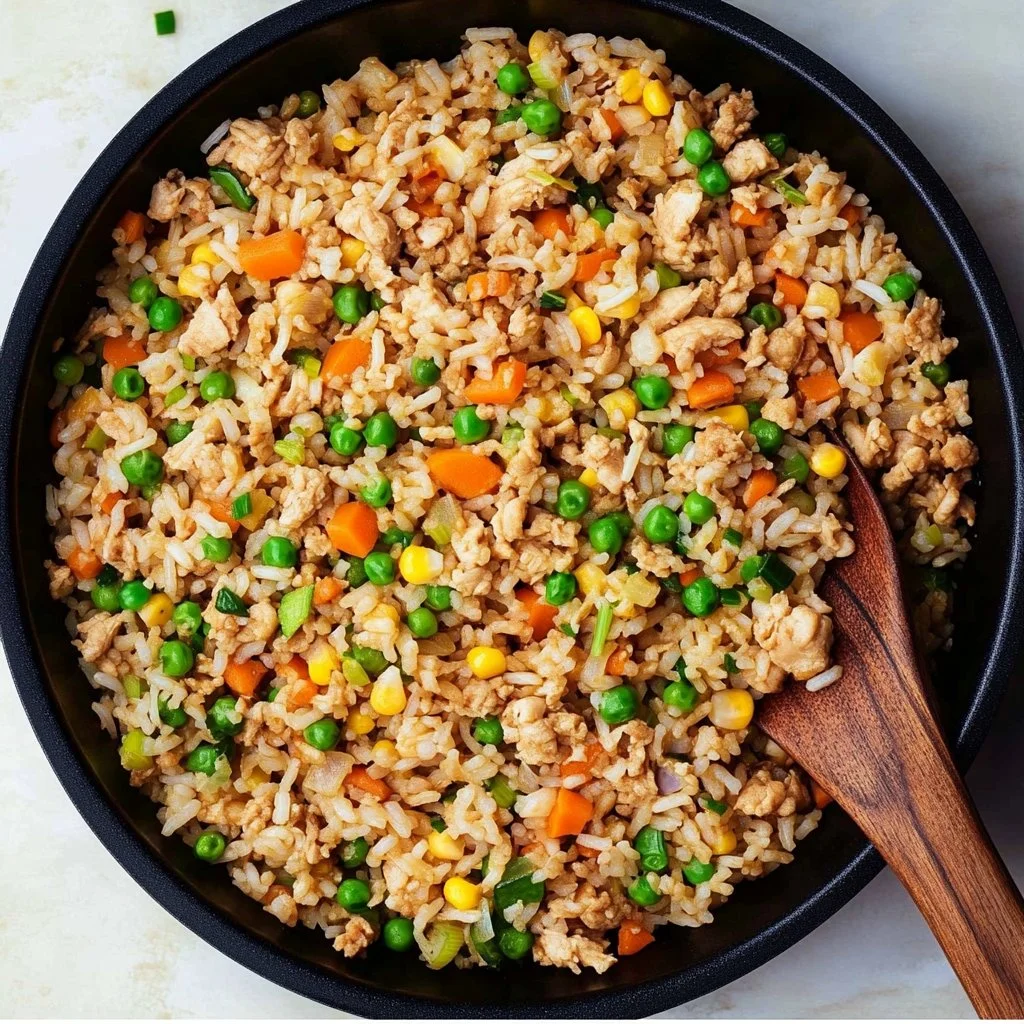
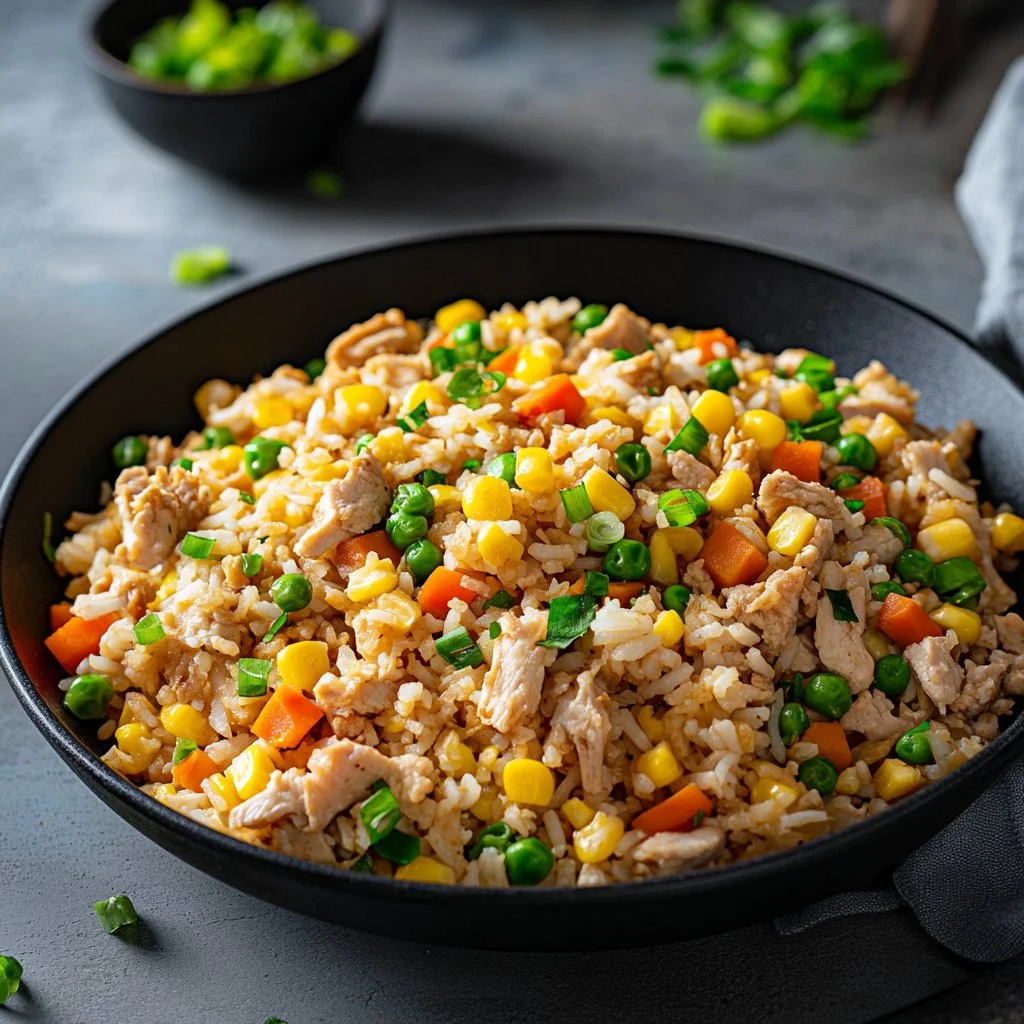
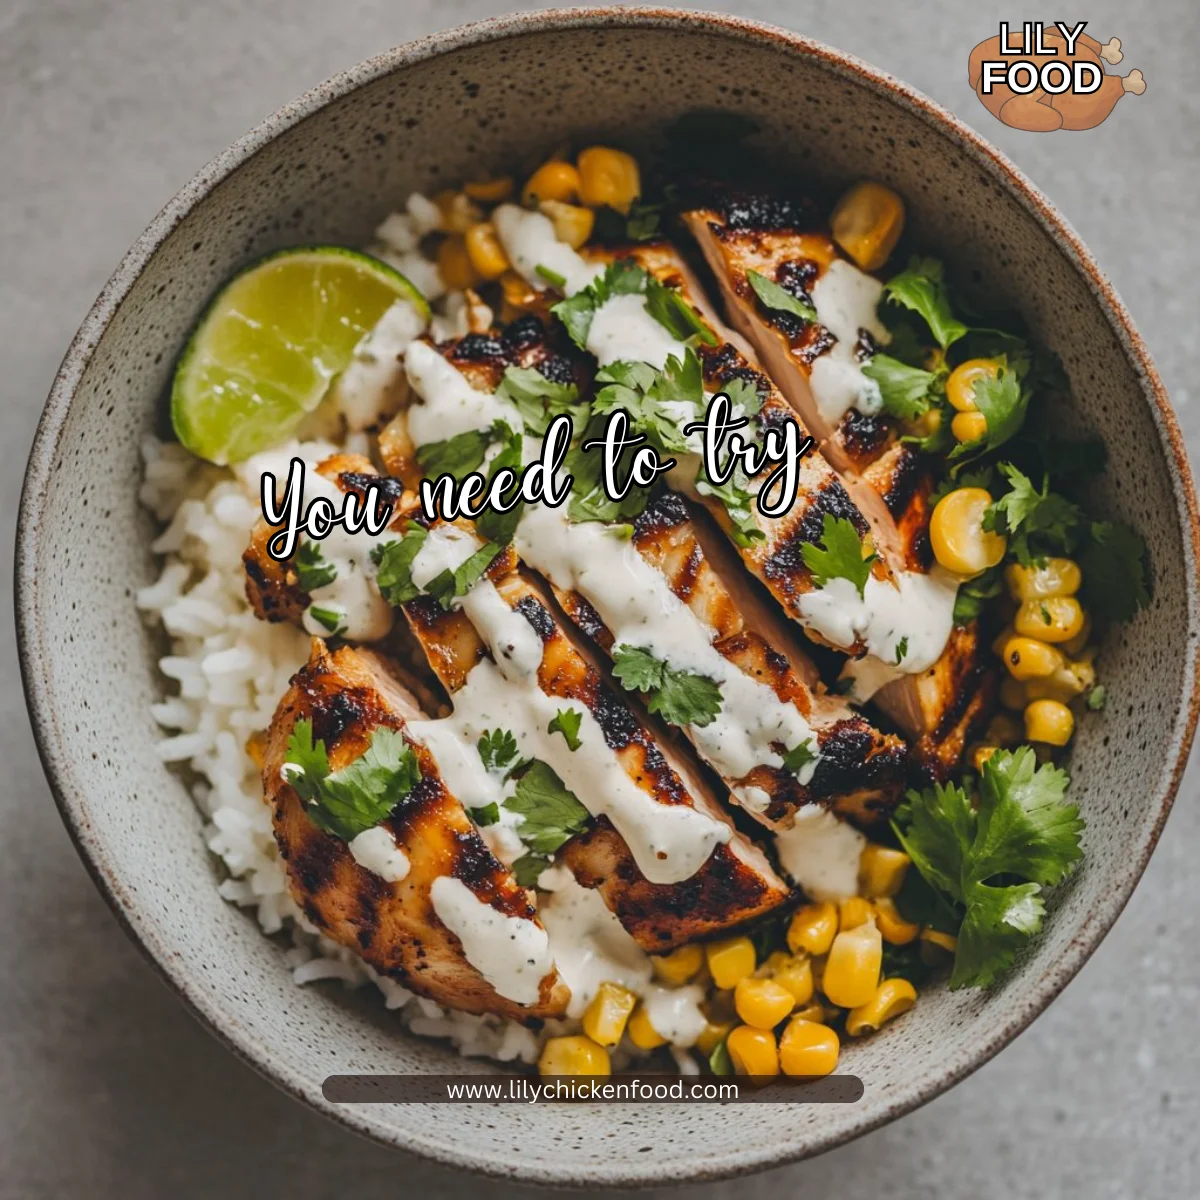
What’s particularly charming about this recipe is its ability to feel celebratory while still being home-cooked. Think flavorful chicken and sweet corn layered on fluffy rice, all brought together with zesty lime and creamy goodness. It’s more than a meal; it’s a delightful experience you can share with loved ones.
Why This Recipe Works for Our Busy, Joyful Nights
When the clock starts ticking on weeknights, I want my cooking to be as stress-free as possible. The Street Corn Chicken Rice Bowl checks that box efficiently. With just a few steps and minimal cleanup, we can enjoy a hearty meal while spending time together.
The beauty of this recipe lies in its adaptability. If you’ve got leftover chicken or rice, toss them in, and there you go! You have a unique twist on a dish that feels familiar yet different every time. It’s the kind of cooking that transforms a busy night into one filled with laughter, shared stories, and of course, delicious food.
How to Make Street Corn Chicken Rice Bowl, The Heartwarming Way
Cooking shouldn’t feel tedious or lethargic. Think of it as a joyful gathering where everyone plays a part. The process for the Street Corn Chicken Rice Bowl is a lovely dance in the kitchen: sizzle, slice, layer, and enjoy. Here’s a quick overview of what to expect as you create this delightful dish.
Cooking chicken until it’s golden brown brings a wonderful depth of flavor. The charred corn adds a bit of sweetness, while the creamy toppings lend a rich texture. Each step invites you to embrace the scents and sights of your kitchen, turning it into a warm atmosphere filled with culinary possibilities.
“This is where the magic happens—when the aroma fills the kitchen and my kids come running in, asking ‘Is it ready yet?’”
Ingredients You’ll Need
Let’s gather our ingredients. One of the best parts of this dish is how simple the shopping list is. Here’s what you’ll need:
- 2 chicken thighs, boneless and skinless
- 1 cup corn, charred or grilled
- 2 cups cooked rice
- 1 tablespoon smoky paprika
- 1 tablespoon lime juice
- 1/2 cup crema or sour cream
- Salt and pepper to taste
- Fresh cilantro for garnish
As you shop, let your creativity flow. You can use leftover grilled chicken, frozen corn, or whatever rice you have on hand. Just remember, don’t skip the fresh herbs; they are the soul of this dish!
Step-by-Step Directions
Now, let’s dive into the step-by-step directions to put this beautiful bowl together:
-
Season the chicken thighs with smoky paprika, salt, and pepper. Let those spices embrace the chicken. It’s all about flavor here!
-
Sear the chicken in a pan over medium heat until cooked through, about 5-7 minutes per side. You’ll know it’s ready when the chicken browns nicely, just like grandma used to show me.
-
In the same pan, add charred corn and cook for another 2-3 minutes. This step adds a lovely flavor that brings everything together.
-
Prepare the rice according to package instructions. It’s all about following those little instructions to get it pillowy soft.
-
Once the chicken is cooked, slice it into strips. It doesn’t need to be perfectly uniform—this is home cooking, after all!
-
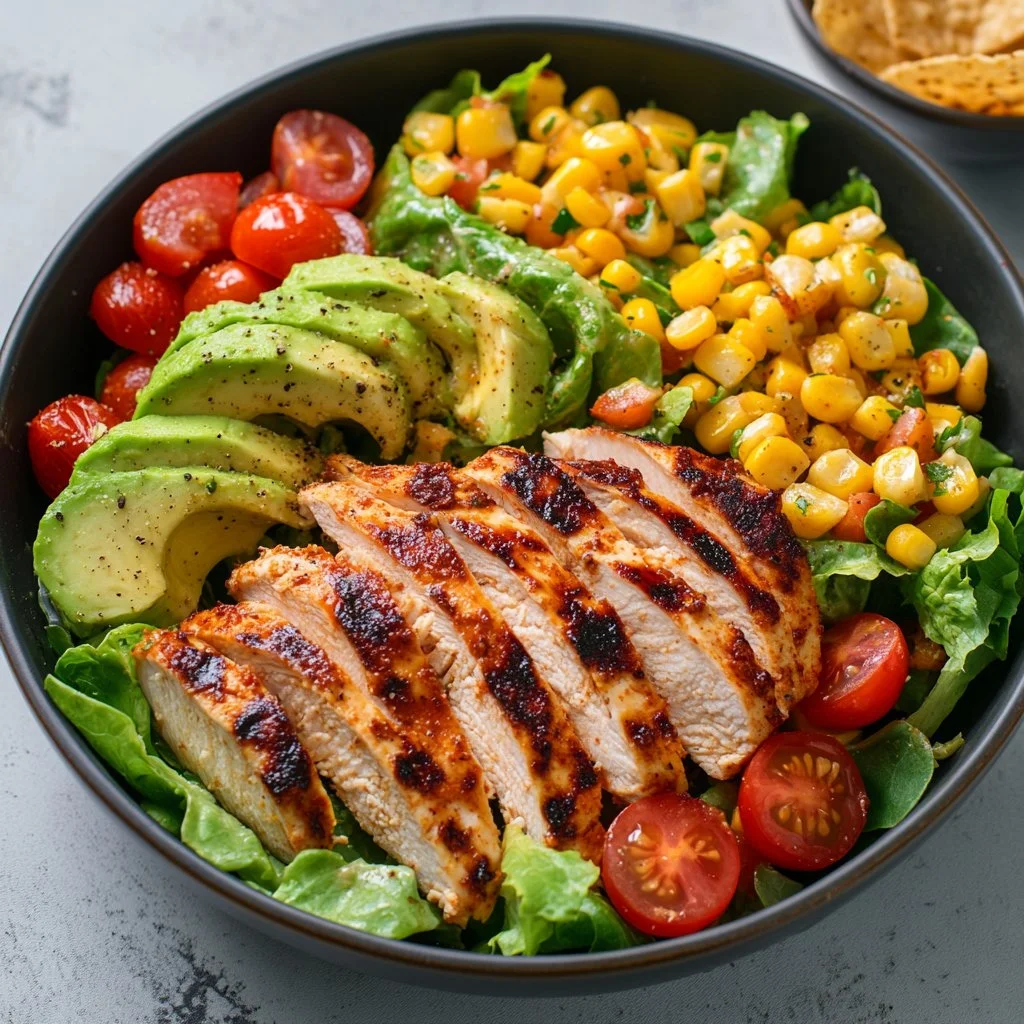
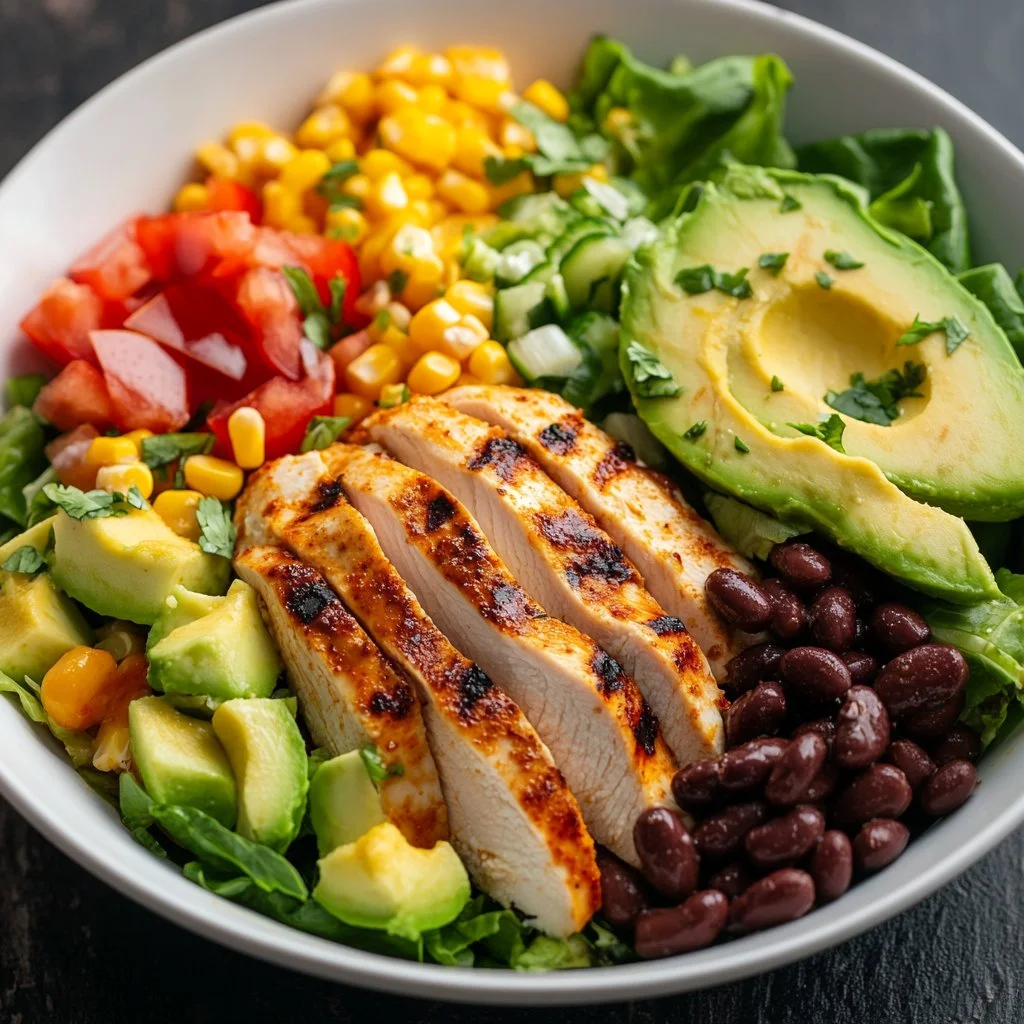
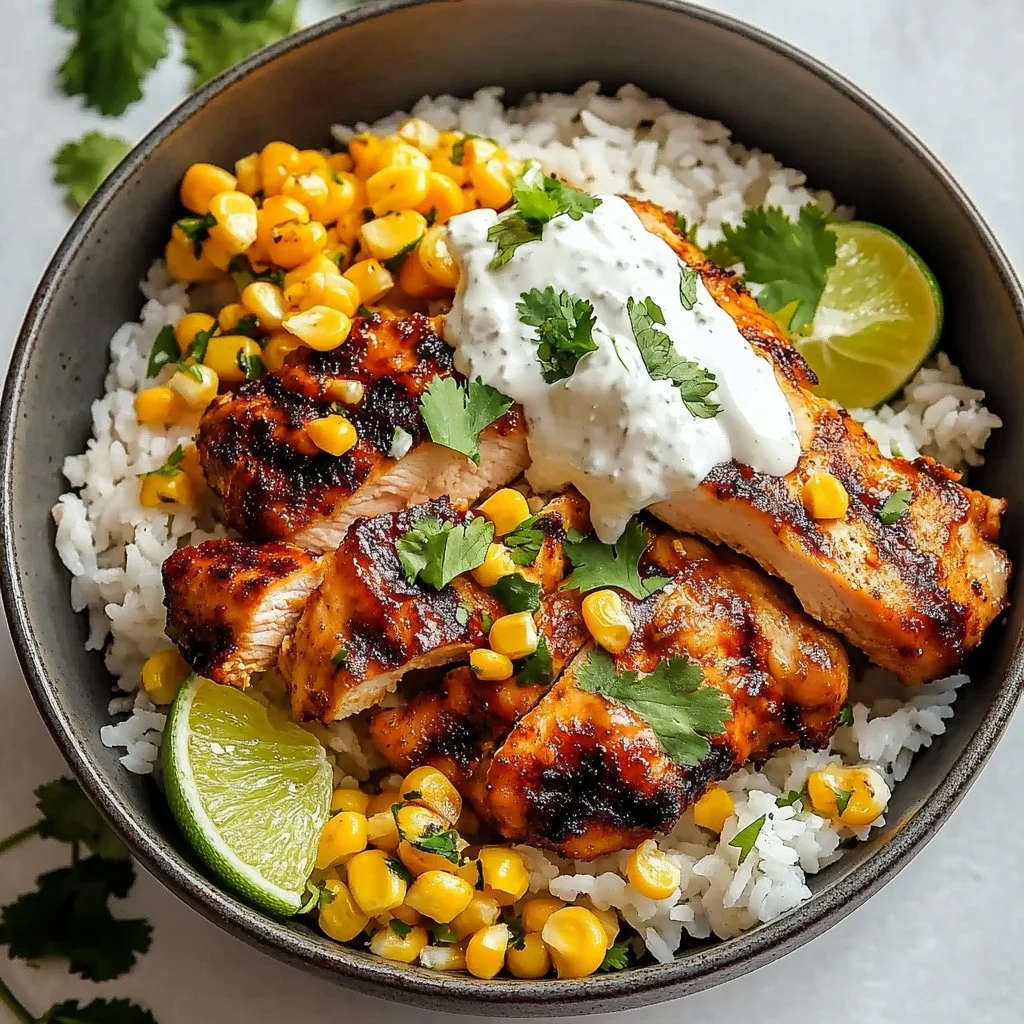
Assemble the bowl by layering the cooked rice, sliced chicken, and charred corn. Each layer adds a pop of color.
-
Drizzle with lime juice and crema, and garnish with fresh cilantro. Serve warm and watch those smiles bloom.
Remember, cooking can be a family activity. Let the kids help; they’ll be thrilled to stir the ingredients.
Serving Street Corn Chicken Rice Bowl with Love
When it’s time to serve the Street Corn Chicken Rice Bowl, we gather around the table family-style. There’s something about placing a big dish in the middle that invites everyone to dig in. In our house, we chat about our days while dishing out portions, adding extra crema or lime juice as each person likes.
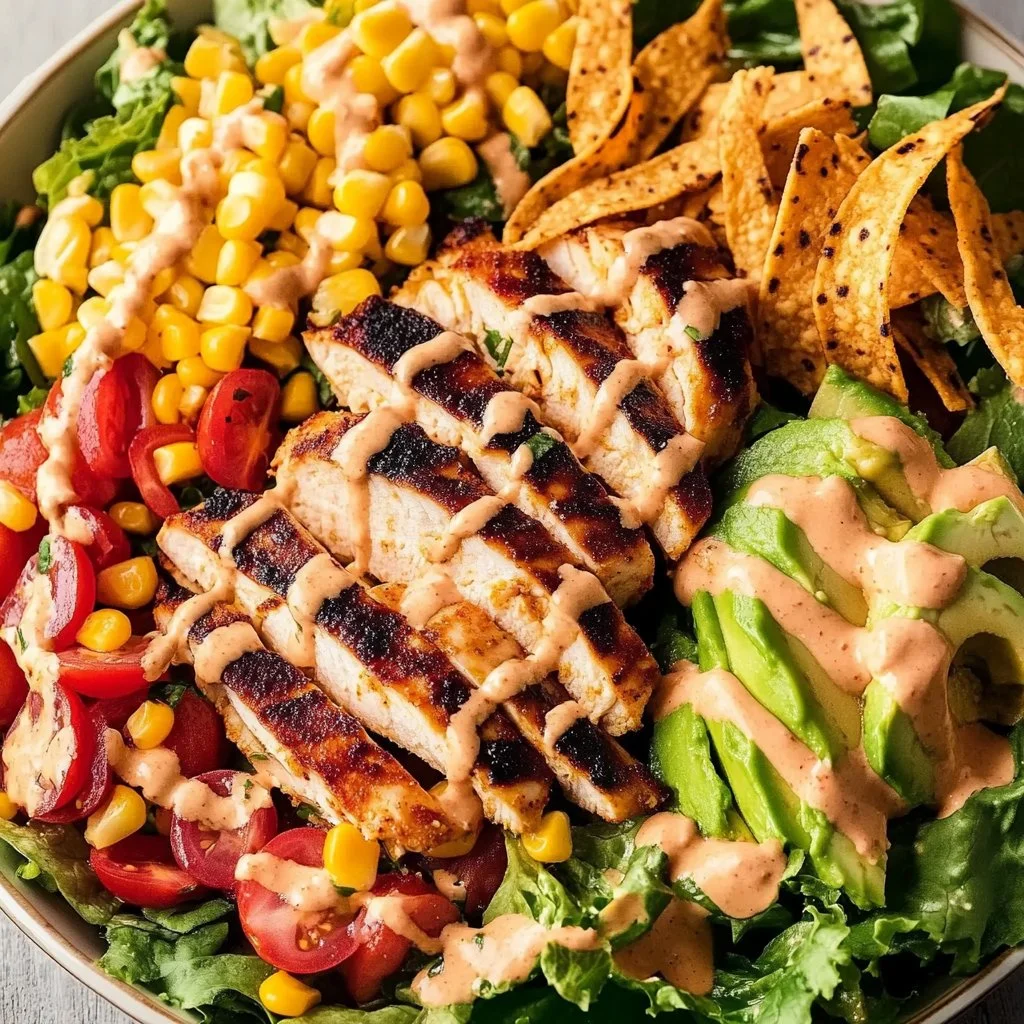
Sometimes I’ll add homemade tortilla chips or a simple green salad on the side for a refreshing crunch. My kids love to personalize their bowls, adding more corn or cilantro. It’s a delightful scene filled with laughter and chatter—a joyful gathering that feels all the more special with every bite.
Storage & Reheat Tips
Let’s be honest: sometimes we cook more than we can eat. Good news! The Street Corn Chicken Rice Bowl keeps well, making it perfect for leftovers. Store any extras in an airtight container in the fridge.
When reheating, the microwave is often the go-to for a quick lunch, but if you have a couple of extra minutes, pop it in the oven. This way, the dish can regain that beautiful texture and warmth, making it taste just as good as the first time.
My Kitchen Notes & Shortcuts
Over the years, I’ve learned a few simple tricks while making this dish that I’d love to share with you:
-
Prep Ahead: Cook the rice earlier in the week and store it in the fridge. This saves time and makes assembling your bowl a breeze.
-
Leftover Love: If you have leftover grilled veggies or beans, throw those into the mix for extra flavor and nutrition.
-
Involve the Kids: Let them help with measuring and sprinkling spices. Getting them involved makes the cooking process more fun.
-
Easy Substitutions: If you don’t have crema, don’t worry! Sour cream works just fine.
Reflecting back, each time I prepare this meal, I notice how it brings a little joy into our lives. Cooking should be fun, not burdensome, so take these tips and make this recipe your own!
Family-Friendly Variations
One of the wonderful aspects of the Street Corn Chicken Rice Bowl is its adaptability. Want to try something new? Here are some ideas:
-
Use Different Proteins: Swap chicken for shrimp, tofu, or turkey. Each option brings its own unique flavor.
-
Try Various Rice Types: Go wild with brown rice, quinoa, or cauliflower rice for a lighter variation.
-
Add Spice: If your family enjoys a bit of heat, drizzle on some hot sauce or sprinkle some chili powder!
Remember, this dish is a canvas. Let it reflect your family’s taste and creativity.
FAQs About Street Corn Chicken Rice Bowl
Can I make this ahead for a busy week?
Absolutely! In fact, letting it sit for an hour allows the flavors to get to know each other, much like an old family recipe.
What if I can’t find fresh corn?
No worries! Frozen corn works excellent and saves time without sacrificing flavor.
Can I use leftover chicken?
Yes, using leftover rotisserie chicken is a fantastic time-saver and can speed up the cooking process even further.
Is this dish easily customizable?
Absolutely! The beauty of this bowl is its versatility. Make it your own by adding your favorite ingredients.
One Final Thought from My Kitchen
I hope this Street Corn Chicken Rice Bowl finds a place at your table—the smiles, laughter, and comforting aromas are truly what cooking is all about. Each dinner is a chance to create memories that linger long after the last bites. Until next time, happy cooking!

Street Corn Chicken Rice Bowl
Ingredients
Main Ingredients
- 2 pieces boneless and skinless chicken thighs
- 1 cup corn, charred or grilled (Fresh, frozen, or leftover corn can be used.)
- 2 cups cooked rice (White, brown, or any preferred type.)
- 1 tablespoon smoky paprika
- 1 tablespoon lime juice (Freshly squeezed for better flavor.)
- 1/2 cup crema or sour cream (Can substitute with yogurt.)
- to taste Salt and pepper (Adjust according to preference.)
- for garnish Fresh cilantro
Instructions
Preparation
- Season the chicken thighs with smoky paprika, salt, and pepper.
- Sear the chicken in a pan over medium heat until cooked through, about 5-7 minutes per side.
- In the same pan, add charred corn and cook for another 2-3 minutes.
- Prepare the rice according to package instructions.
- Once the chicken is cooked, slice it into strips.
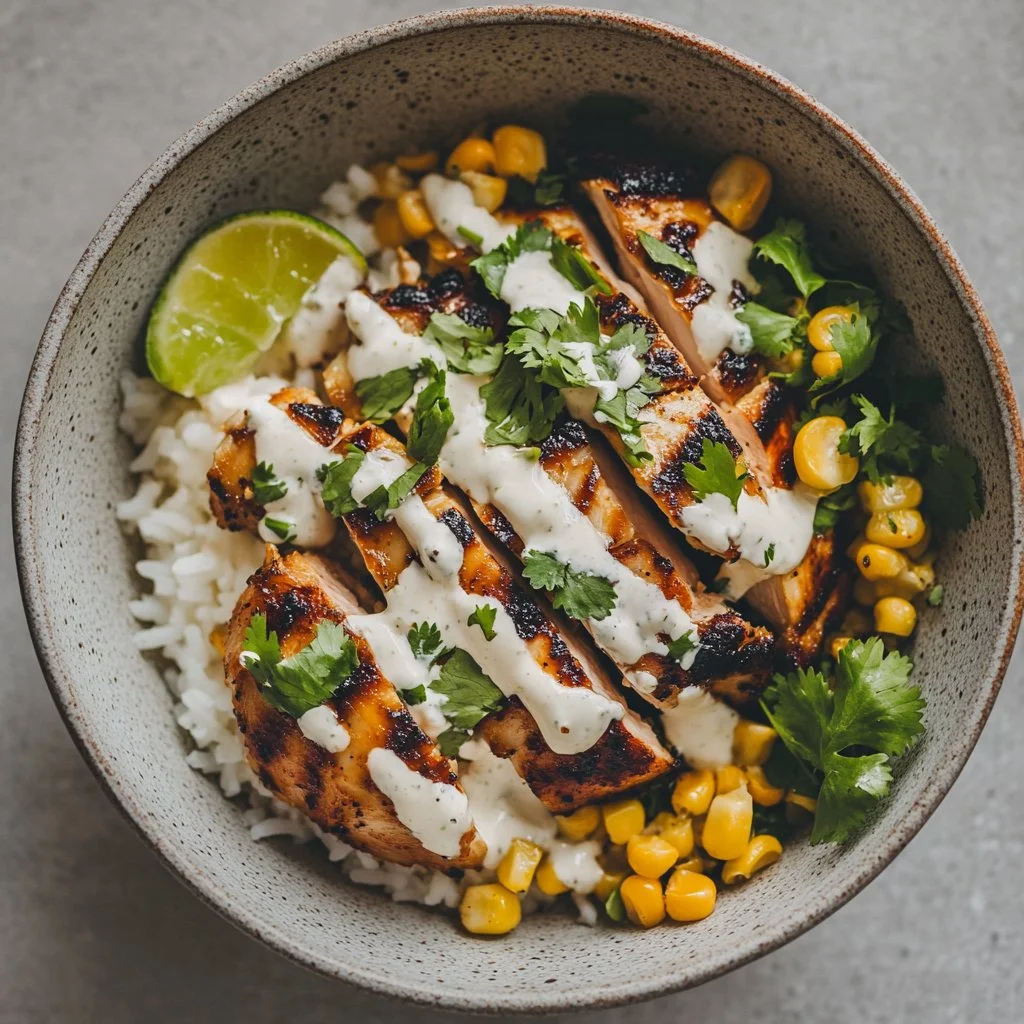
- Assemble the bowl by layering the cooked rice, sliced chicken, and charred corn.
- Drizzle with lime juice and crema, and garnish with fresh cilantro. Serve warm.