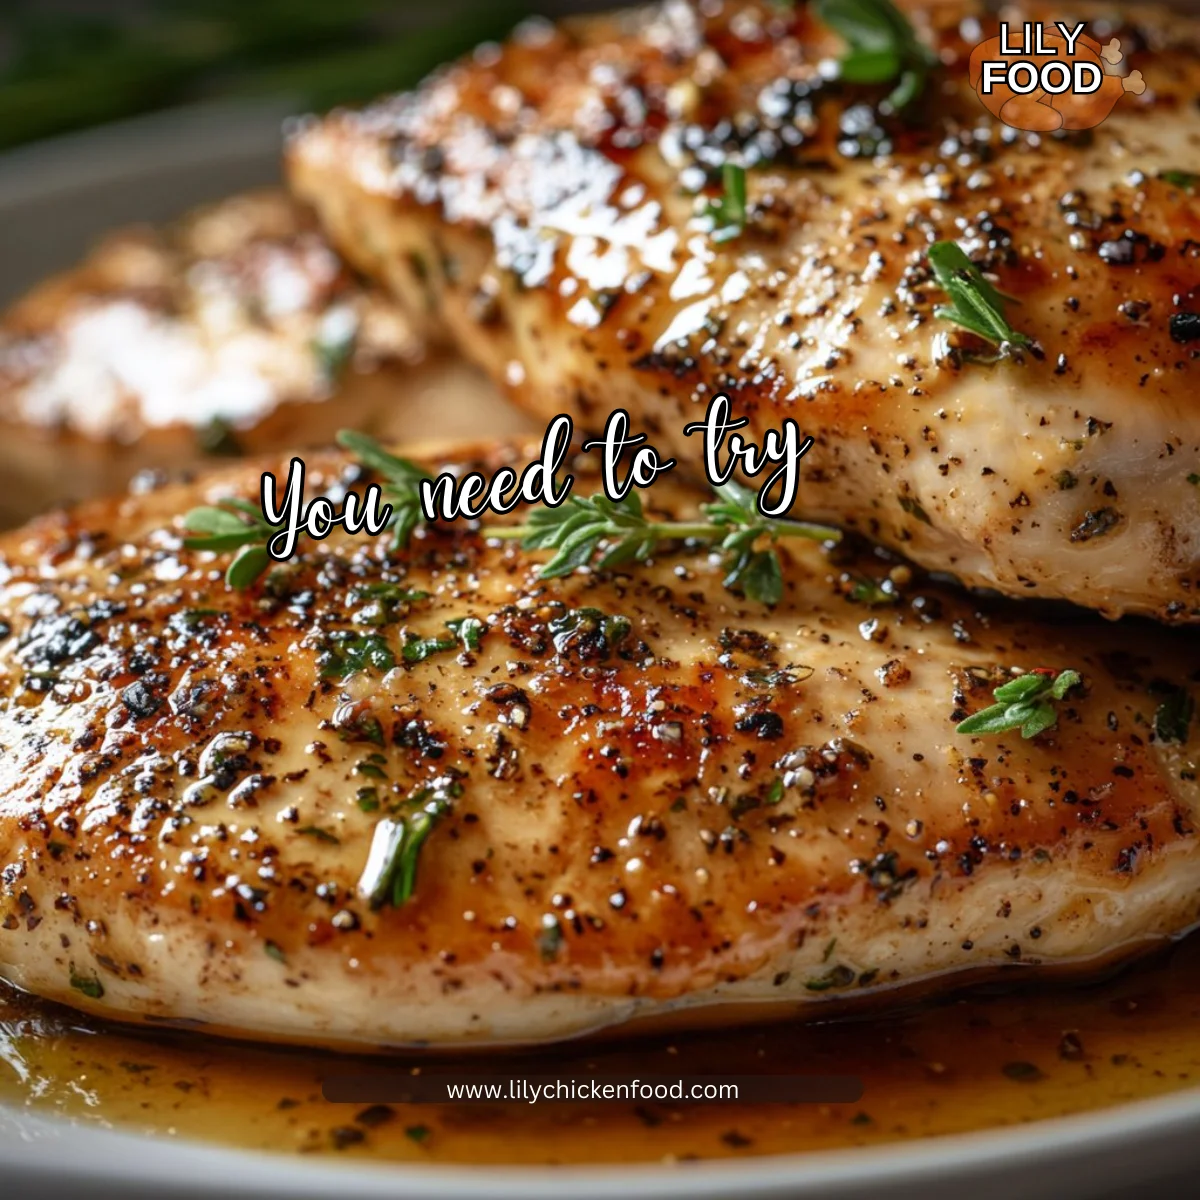
I can almost smell the garlic and paprika as I walk into the kitchen. The sizzle of chicken hitting a hot Blackstone grill is one of those sounds that makes everyone pause and smile. It is the kind of simple, confident cooking that feeds a family and sparks good conversation.
I am Lily, a home cook who loves quick meals that still feel special. This Quick Blackstone Chicken Breast recipe is my go-to when I need dinner on the table fast. If you like fast weeknight meals, you might also enjoy my guide to air fryer chicken breasts for another easy option.
Why this works
This recipe works because it combines heat, timing, and simple seasoning. The Blackstone gives a fast, even sear. The seasoning is straightforward, so the chicken stays tender and juicy. You get flavor without fuss.
If you are scanning for quick family dinners, this fits right into a weeknight rotation. It plays well with simple sides like steamed vegetables, a salad, or quick rice. For more ideas in the same family-friendly lane, check out these quick and easy chicken recipes to mix into your meal plan.
This dish saves time in two ways. First, the high heat cooks chicken fast. Second, the minimal seasoning means no long marinating wait. Busy evenings still deserve good food. This one delivers every time.
Process Overview
“This is where the magic happens—when the aroma fills the kitchen.”
The process is simple. Heat the grill, oil and season the breasts, sear both sides, and rest. The hard part is waiting for the resting time so juices settle. The rest brings the best texture and keeps each bite juicy.
This method is forgiving. If your chicken is a touch thicker, give it a minute or two more per side. If it is thinner, watch carefully and remove early. You will learn how your Blackstone behaves, and that makes every future cook easier.
Ingredients
- 4 boneless, skinless chicken breasts
- Lily’s tip: Choose breasts that are similar in size for even cooking. If one breast is much larger, pound it to match the others.
- 2 tablespoons olive oil
- Lily’s tip: Use extra virgin olive oil for flavor, but regular olive oil works fine and is more budget friendly.
- 1 teaspoon garlic powder
- Lily’s tip: Garlic powder gives even flavor quickly. If you prefer fresh garlic, mince one clove and rub it on the breasts before oiling.
- 1 teaspoon paprika
- Lily’s tip: Smoked paprika adds a subtle smoky note. Use sweet paprika if you want a milder taste.
- Salt and pepper to taste
- Lily’s tip: Season both sides. I like kosher salt because it clings well to the meat.
- Fresh herbs for garnish (optional)
- Lily’s tip: Parsley or cilantro brightens the dish. Add them at the end to keep the flavor fresh.
These pantry staples keep the prep fast. I often double the recipe because leftovers reheat well and stretch into salads, tacos, or sandwiches the next day. If you want a saucier finish, try pairing this chicken with a quick pan sauce or a spoonful of pesto.
Directions
-
Preheat the Blackstone grill to medium-high heat.
- Encouraging note: Let the griddle heat fully so you get that instant sear. It only takes a few minutes and it is worth the wait.
-
In a bowl, toss the chicken breasts with olive oil, garlic powder, paprika, salt, and pepper until evenly coated.
- Encouraging note: Make sure each breast is well coated. The oil helps the spices stick and promotes a beautiful crust.
-
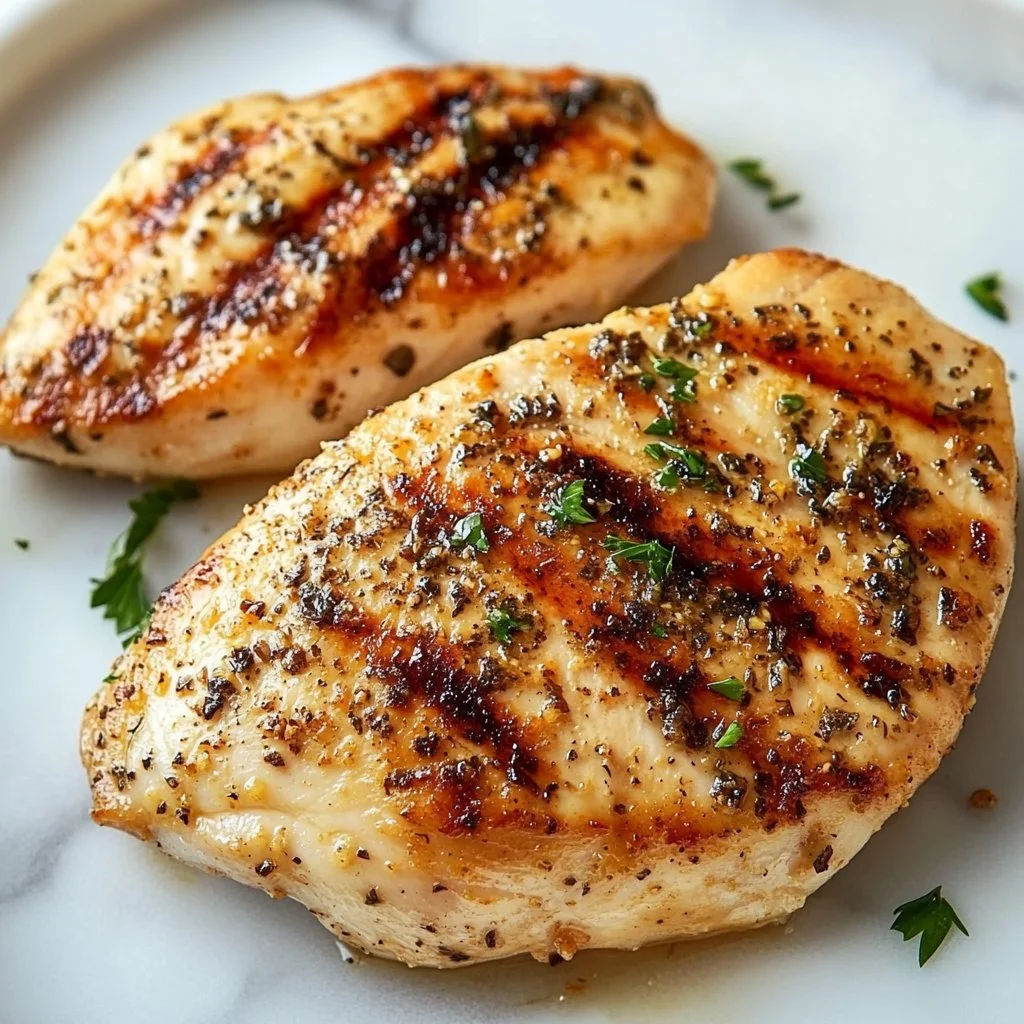
Place the chicken breasts on the grill and cook for about 5-7 minutes on each side, or until the internal temperature reaches 165°F (75°C).
- Encouraging note: Use an instant read thermometer to check the thickest part. If the breasts are very thick, add a minute or two per side.
-
Remove from the grill and let rest for a few minutes.
- Encouraging note: Resting is not optional. It lets juices redistribute so every bite is moist and tender.
-
Garnish with fresh herbs if desired and serve immediately.
- Encouraging note: A quick sprinkle of chopped herbs brightens the plate. Call everyone to the table while the chicken is still warm.
If you like, slice the chicken against the grain for neat, family-style serving. Sliced chicken also helps it cool to a safe temperature faster for younger children. For other cooking styles that still make weeknight life easy, try my balsamic baked chicken breast for a hands-off alternative.
Serving
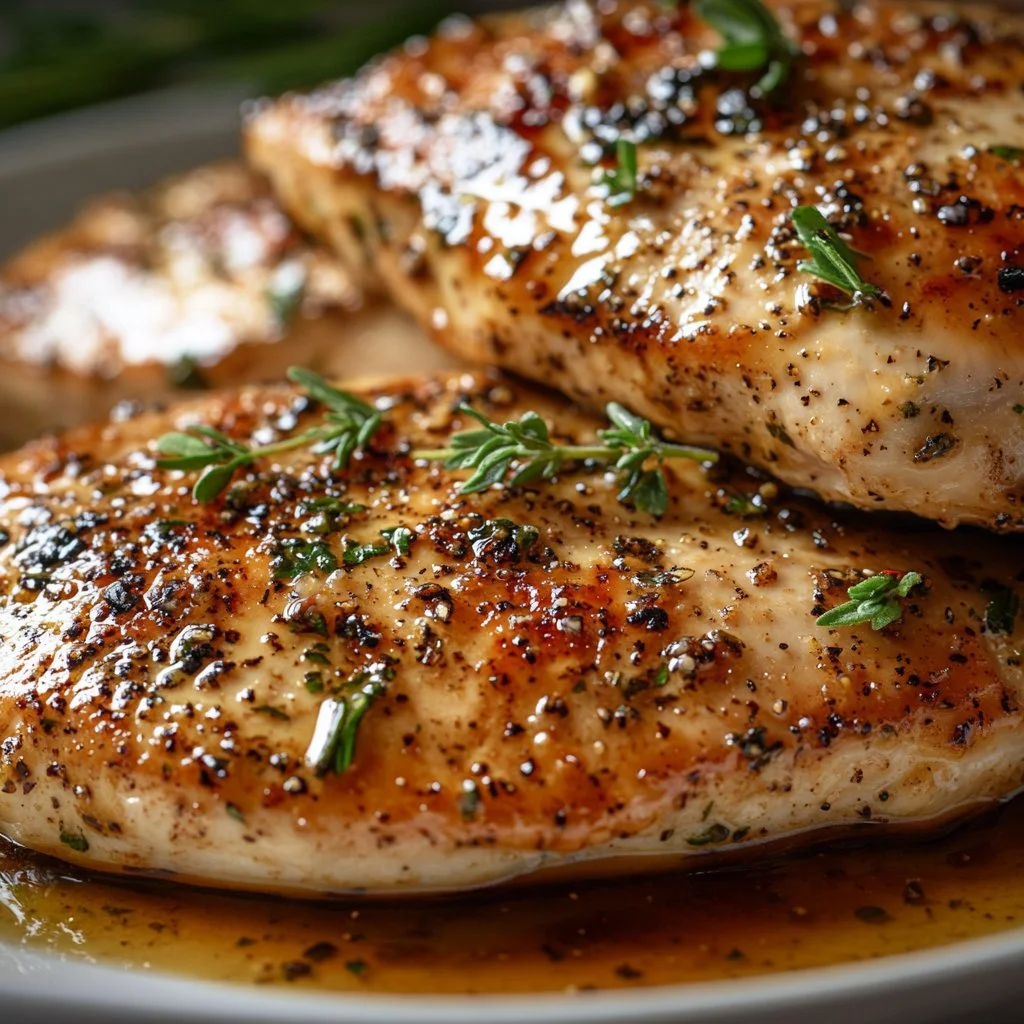
Serving this family-style is warm and simple. Place the whole breasts on a large platter. Sprinkle chopped parsley or cilantro over the top. Add lemon wedges to the side for anyone who likes a bright squeeze.
Pair with easy sides for a balanced plate. Steamed green beans, roasted potatoes, or a quick couscous all work. I also like to set out a bowl of warmed tortillas and salsa for an informal taco night. For a creamy side that kids usually love, consider a small scoop of mashed potatoes or a buttery rice pilaf.
Leftovers make great sandwiches. Layer sliced chicken on crusty bread with mayo and greens. If you need inspiration for creamy pairings, my recipe for creamy garlic parmesan chicken breast has ideas that translate well to sides.
Storage
Store leftover chicken in an airtight container in the refrigerator. It will keep well for up to 4 days. Cool the chicken to room temperature before refrigerating to prevent condensation inside the container.
To reheat without drying, slice the chicken and warm in a skillet with a splash of chicken broth or water over low heat. Cover the pan to trap steam and heat gently until warmed through. You can also reheat in a 300°F oven for 8 to 10 minutes. Using lower heat keeps the meat tender.
If you plan to freeze, wrap individual portions tightly in plastic wrap and place them in a freezer bag. They will keep for up to 3 months. Thaw overnight in the refrigerator before reheating.
Kitchen Notes
- Use an instant read thermometer for reliable results. I trust it more than judging by time alone.
- If your Blackstone runs hot, lower the heat to medium. Better a longer cook than char without doneness.
- Pound very thick breasts to even thickness so everything cooks at the same pace.
- Clean the griddle while it is still warm to avoid stuck bits next time.
- Make a double batch and refrigerate the extra for quick lunches during the week.
These small shortcuts save time and keep dinner stress low. I keep a food thermometer in a drawer by the stove so it is always handy.
Variations
- For picky eaters: Use only salt and a little olive oil. Kids often prefer plain chicken. Serve with a favorite dipping sauce.
- Low carb: Serve over a bed of leafy greens or with roasted broccoli and cauliflower rice.
- Gluten free: The recipe is naturally gluten free so it fits this diet without swaps.
- Bold flavor: Add 1 teaspoon chili powder and a squeeze of lime for a zesty finish. The lime brightens the flavors.
- Herb crust: Mix chopped rosemary and thyme with the olive oil and press gently onto the breasts before grilling.
If you want a full lineup of family-tested ideas, you might enjoy this roundup of deliciously easy chicken breast recipes to try tonight.
FAQ
Q: Can I use frozen chicken breasts for this recipe?
A: It is best to thaw them completely first. Thawed chicken cooks more evenly. Plan to thaw overnight in the refrigerator.
Q: How do I know when the chicken is done?
A: The safe internal temperature is 165°F. Use an instant read thermometer in the thickest part of the breast.
Q: Can I cook this on a cast iron pan instead of a Blackstone?
A: Yes. Heat a cast iron skillet on the stove and follow the same timing. The skillet will also give a nice sear.
Q: What if my chicken browns too quickly?
A: Lower the heat and move the chicken to a cooler zone. Finish cooking gently until the internal temperature hits 165°F.
Q: Can I marinate the chicken ahead of time?
A: You can. A simple olive oil, lemon juice, and herb marinade for 30 minutes helps flavor. If you marinate longer, keep it in the fridge and no more than 24 hours.
Conclusion
I hope this Quick Blackstone Chicken Breast becomes one of your go-to family meals. It is fast, dependable, and full of homey flavor. For step-by-step inspiration from another home cook, see this helpful guide to Blackstone Chicken – Easy Griddle Chicken Breast – Wendy Polisi. If you want tips on choosing and prepping the best breasts for your griddle, this article on Best Blackstone Chicken Breasts – Lara Clevenger is a great read.
Thanks for cooking with me. Come back and tell me how your family liked it.

Quick Blackstone Chicken Breast
Ingredients
Main ingredients
- 4 pieces boneless, skinless chicken breasts (Choose breasts that are similar in size for even cooking.)
- 2 tablespoons olive oil (Use extra virgin olive oil for flavor, but regular olive oil works fine.)
- 1 teaspoon garlic powder (Garlic powder gives even flavor quickly. Use fresh garlic if preferred.)
- 1 teaspoon paprika (Smoked paprika adds a subtle smoky note.)
- to taste salt (Season both sides. Kosher salt recommended.)
- to taste pepper (Season both sides.)
- Fresh herbs for garnish (Parsley or cilantro brightens the dish.)
Instructions
Preparation
- Preheat the Blackstone grill to medium-high heat.
- In a bowl, toss the chicken breasts with olive oil, garlic powder, paprika, salt, and pepper until evenly coated.
Cooking
- Place the chicken breasts on the grill and cook for about 5-7 minutes on each side, or until the internal temperature reaches 165°F (75°C).
- Remove from the grill and let rest for a few minutes.
Serving
- Garnish with fresh herbs if desired and serve immediately.
- Slice the chicken against the grain for neat, family-style serving.