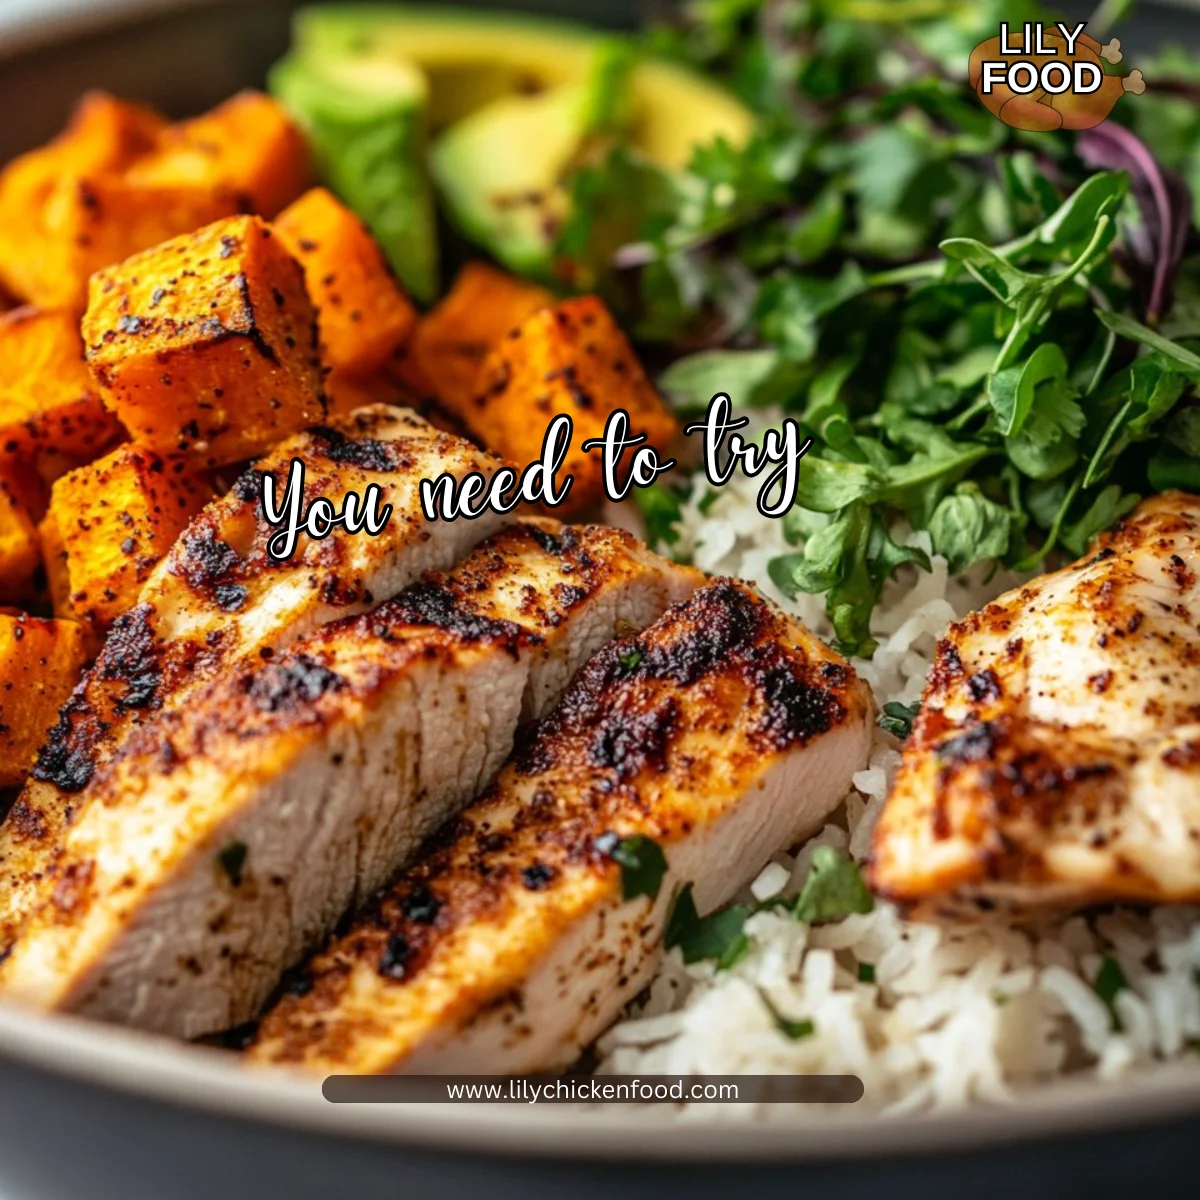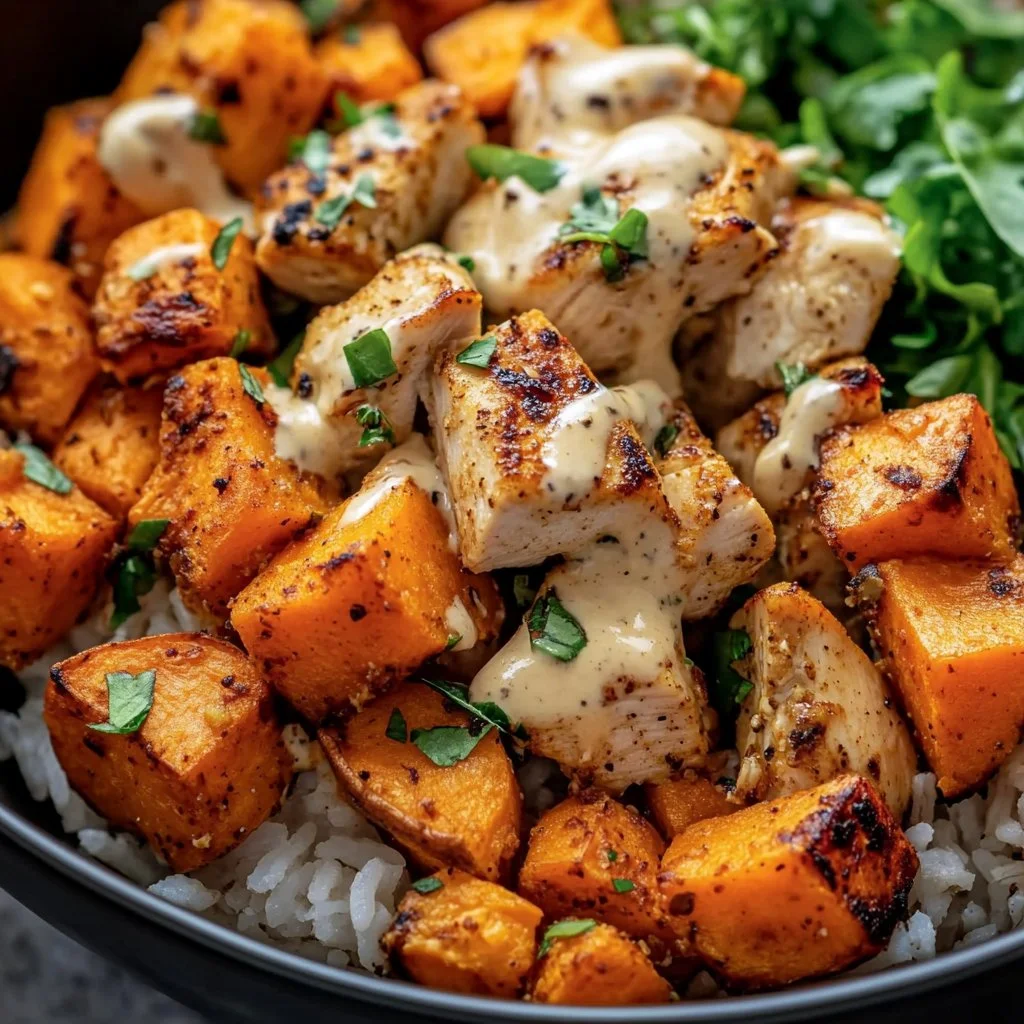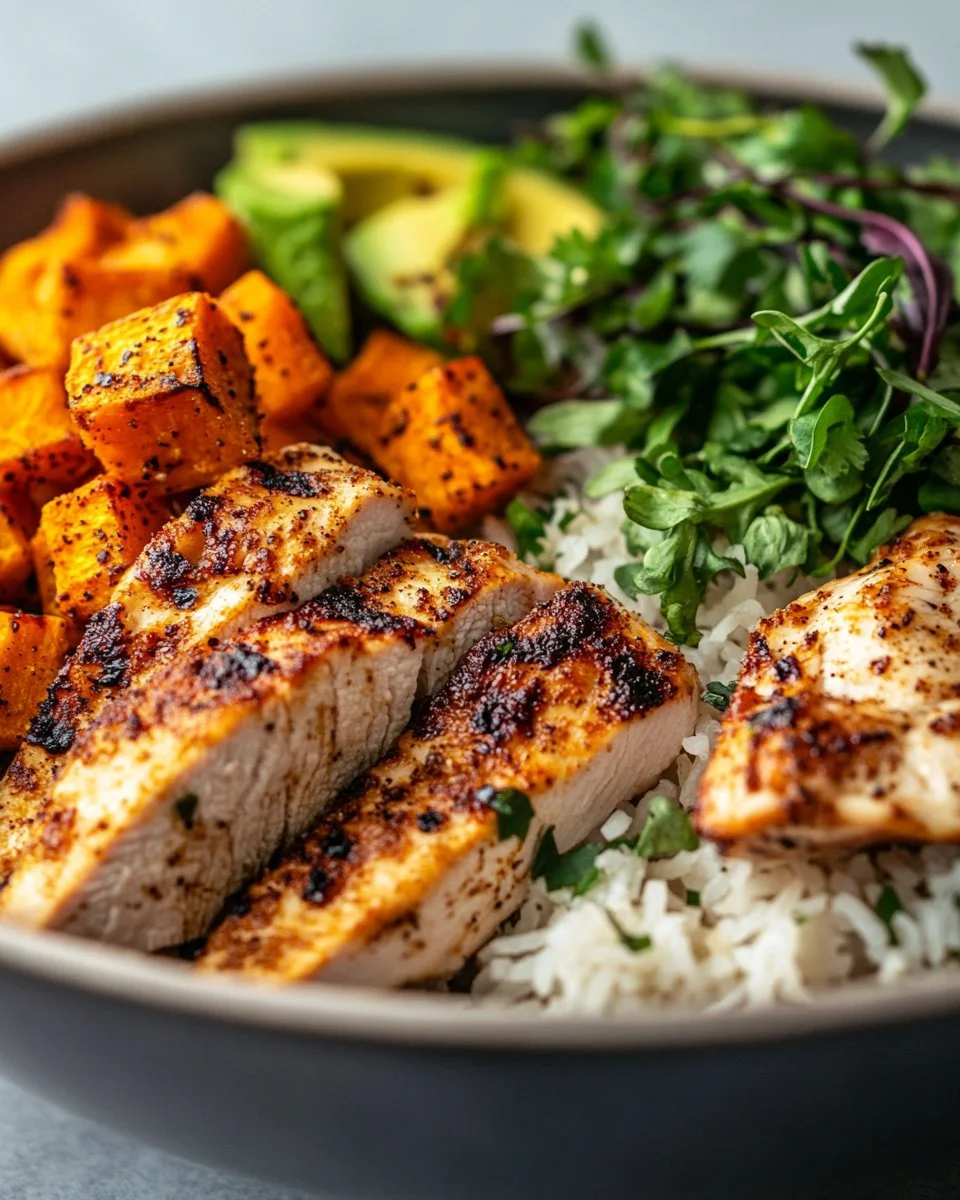
I can smell garlic and lemon the moment I walk into the kitchen. The sizzle of chicken in the pan feels like a small celebration on a busy night. That warm, familiar aroma tells me dinner is simple, satisfying, and ready to bring everyone to the table.
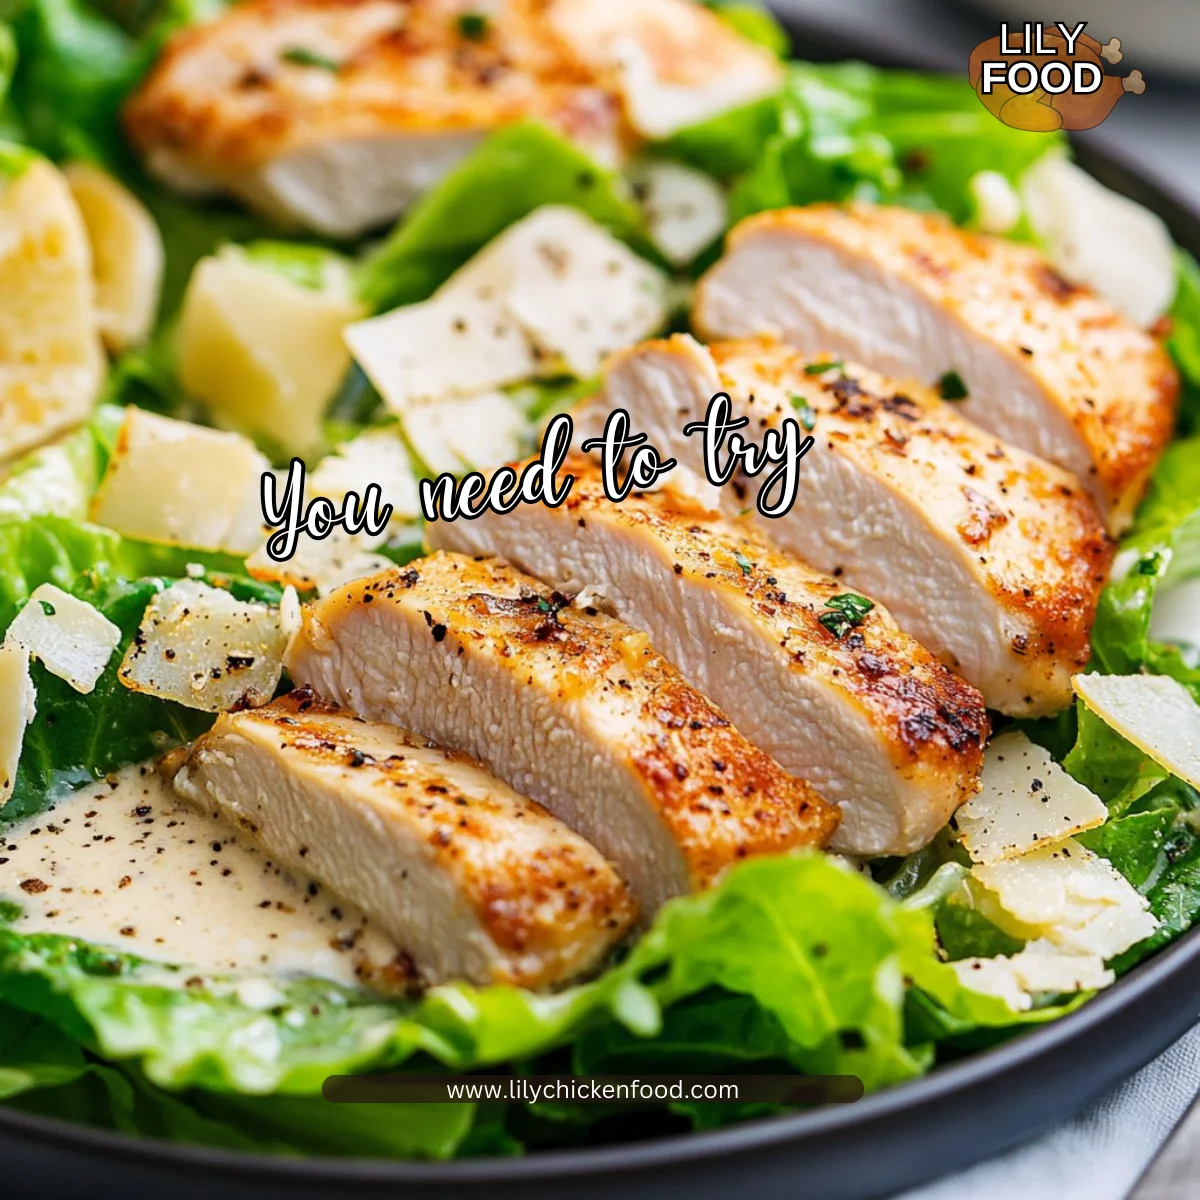
This Low Carb Caesar Salad with Chicken is one of those family recipes that feels fancy but comes together quickly. If you like hearty chicken salads, you might also enjoy my take on a creamy avocado chicken egg salad for a different weeknight option. Try that avocado chicken egg salad when you want another protein-packed meal.
Why this works
This recipe focuses on flavor and time. The dressing is rich and tangy, so a little goes a long way. That keeps the salad low carb while still feeling indulgent.
The chicken cooks fast when sliced thin. That means dinner happens sooner and everyone stays happy. For a shortcut on anchovy-free Caesar dressing options, I sometimes reference my alternate dressing ideas. See my anchovy-free dressing approach if you prefer a milder anchovy profile.
Because this salad is easy to scale you can feed a family or make enough for lunches the next day. Prep once and enjoy fresh salads all week.
Process Overview
“This is where the magic happens—when the aroma fills the kitchen.”
We make the dressing first so flavors can meld in the fridge. The chicken is straight forward: slice, season, and sear until golden. Toss at the end so the lettuce stays crisp.
If you enjoy preparing chicken in many ways, my family loves the texture variation in different chicken salad recipes. See our chicken salad with grapes for another idea to use cooked chicken.
Timing and flow
Make the dressing and chill it while you cook. Clean as you go and the final toss will feel quick and satisfying. Keep your tools ready: a sharp knife, a blender for the dressing, and a heavy pan for the chicken.
Ingredients
- Low Carb Homemade Caesar Salad dressing
- Lily’s tip: Make a double batch and refrigerate for up to a week. It brightens after a few hours.
- 1 pound Chicken Breasts
- Lily’s tip: Pound or slice thin for fast, even cooking. Thin slices lock in moisture.
- Salt
- Lily’s tip: Use kosher salt for easy control. Season lightly and taste as you go.
- Pepper
- Lily’s tip: Freshly ground black pepper gives a sharper finish than pre-ground.
- 6 cups Romaine Lettuce
- Lily’s tip: Wash, dry, and store in a salad spinner for lasting crunch.
- 1/4 cup Parmesan Cheese
- Lily’s tip: Use block parmesan and grate fresh for the best flavor.
- 1/2 cup Parmesan Crisps
- Lily’s tip: These add crunch without carbs. Break them up just before serving.
- 3/4 cup Mayonnaise
- Lily’s tip: Use a clean, full-fat mayo for the creamiest dressing.
- 1/2 cup Grated Parmesan Cheese
- Lily’s tip: Stir into the dressing for depth and salt balance.
- 1 ounce Anchovies in olive oil (4 Anchovy filets)
- Lily’s tip: Chop finely or mash into the blender. The oil carries flavor evenly.
- 4 cloves Fresh Garlic
- Lily’s tip: Smash and let rest 5 minutes before using to mellow the bite.
- 2 tablespoons Lemon Juice
- Lily’s tip: Fresh lemon juice brightens the whole dressing. Bottled works in a pinch.
- 1 teaspoon Dijon Mustard
- Lily’s tip: Dijon helps the dressing emulsify and adds subtle tang.
- 1/4 teaspoon Black Pepper
- Lily’s tip: Add a pinch more if you like a faint peppery heat.
- Pinch of Salt
- Lily’s tip: Taste at the end. Parmesan and anchovies add salt, so be gentle.
If you are curious about other chicken salad flavor combos, I sometimes use cranberries and toasted nuts for a sweet-savory twist. This Asian chicken cranberry salad shows a different direction.
Directions
How to Make Low Carb Caesar Salad Dressing
- Place all the ingredients for the low carb Caesar dressing into a blender and pulse until well blended.
- Encouraging note: Start slow, then pulse to the texture you like. The dressing will become glossy and thick.
- Pour into a salad dressing container and put in the fridge until salads are ready to be served.
- Encouraging note: Chill for at least 30 minutes if you have time. It tastes even better after the flavors marry.
How to Make Low Carb Chicken Caesar Salad
- Make the Caesar salad dressing.
- Encouraging note: Getting this done first makes the rest feel effortless.
- Heat a medium pan over medium heat.
- Encouraging note: A hot pan gives you a golden crust quickly, so don’t rush this step.
- Slice your chicken and half to end up with two thin slices of chicken.
- Encouraging note: Thin slices cook fast and stay tender. You can butterfly a thick breast to do this.
- Pat the chicken dry with a paper towel and season with salt and pepper.
- Encouraging note: Dry chicken sears better. The simple seasoning builds a great crust.
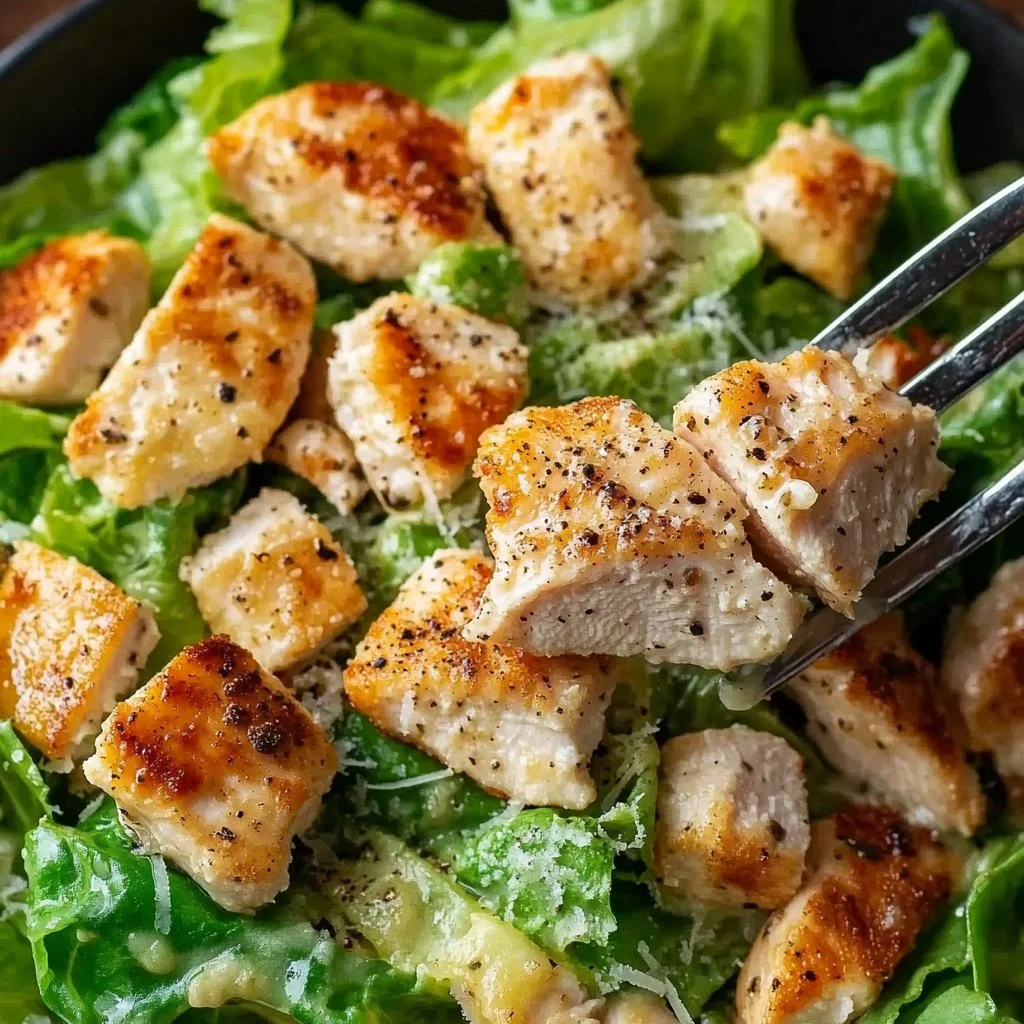
- Cook on both sides until golden brown and the internal temperature reaches 165°F.
- Encouraging note: Use a meat thermometer for confidence. Let the chicken rest a few minutes before slicing.
- Place your lettuce, parmesan, and crisps into a large bowl.
- Encouraging note: Toss gently so the lettuce stays crisp and the crisps do not break too much.
- Pour the dressing over the salad and toss the salad until all the lettuce is well coated.
- Encouraging note: Start with a little dressing and add more as needed. You can always add but not remove.
- Divide the salad into 4 bowls.
- Encouraging note: Portioning here keeps servings even and makes plating simple for family meals.
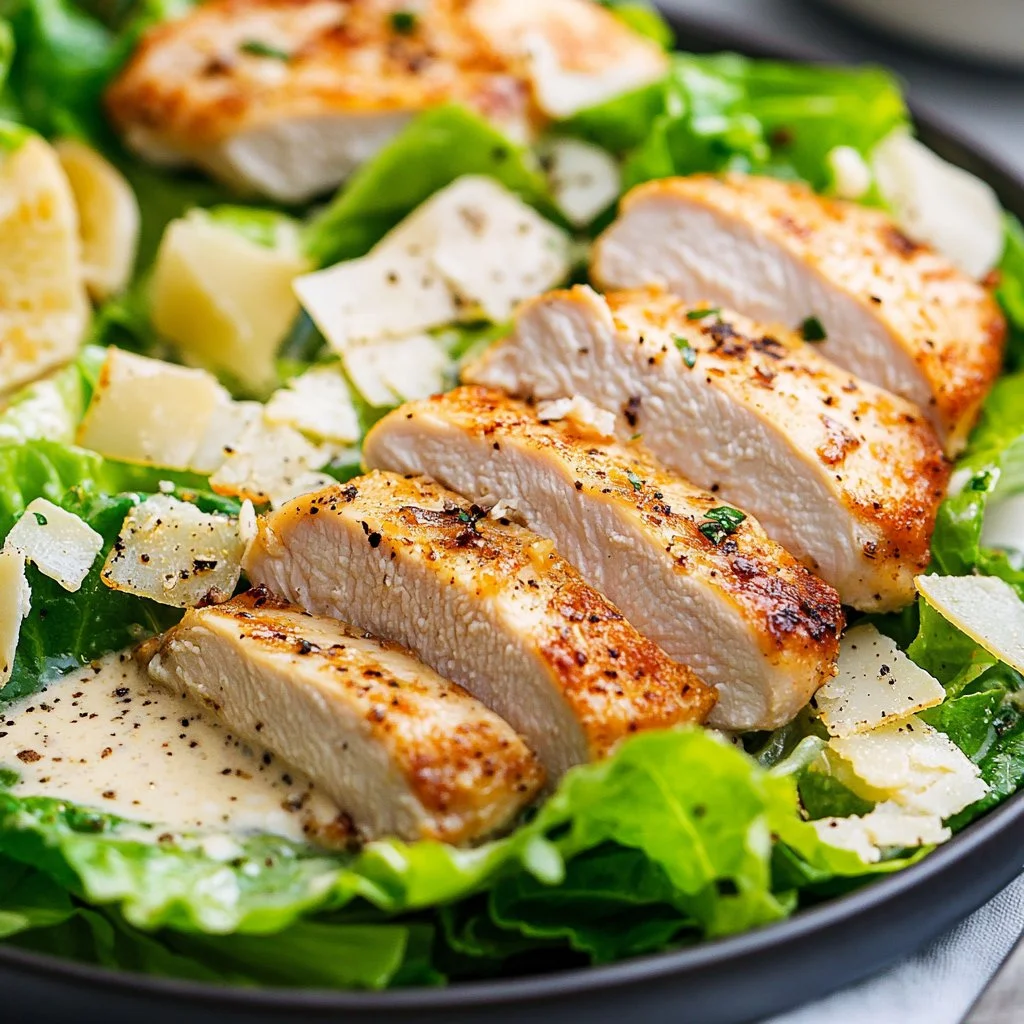
- Slice the chicken and place on top of the salad.
- Encouraging note: Arrange the chicken so every bowl gets a mix of meat and crisp lettuce. If you have leftovers, this chicken works wonderfully in a warm soup or the next day’s bowl; I often use leftover chicken in a simple white chicken chili when I want a different meal. See my white chicken chili method
Serving

Serve this Caesar salad family-style on a large platter for a shared meal. Tear some lettuce by hand for texture and scatter parmesan crisps across the top.
If you prefer composed plates, divide lettuce and toppings into individual bowls, then place sliced chicken on each. Garnish with extra lemon wedges for those who like a fresh squeeze at the table.
Pair with a simple roasted veggie or a warm bread for non-low-carb guests. Kids often enjoy the crisp pieces of parmesan and the familiar flavor of lemon and garlic.
Storage
Store leftover dressing in an airtight container in the fridge for up to one week. Give it a quick whisk before using it again, since separation can happen.
Keep leftover chicken in the refrigerator for up to 3 days. Reheat gently in a low oven at 300°F or slice cold for salads and wraps. Do not microwave for long periods; quick, gentle warming preserves juiciness.
If you want to meal prep for lunches, add the dressing at serving time so the lettuce stays crisp. Pack the dressing separate and toss right before eating.
Kitchen Notes
- Use a salad spinner to dry romaine completely. Dry leaves hold dressing better.
- Make extra dressing and freeze a small portion in ice cube trays for quick single-use portions.
- Swap chicken breasts for thighs if you prefer richer meat. Thighs stay juicier.
- For a crispier finish, pat chicken with a tiny bit of oil before seasoning.
- If you do not have anchovies, double the lemon and add an extra teaspoon of Dijon for savory depth.
Variations
- Picky eaters: Omit anchovies and use an extra tablespoon of Parmesan for a milder yet savory dressing.
- Dairy-free: Use a dairy-free mayonnaise and nutritional yeast instead of parmesan.
- Vegetarian: Skip the chicken and add roasted cauliflower or grilled portobello slices for a hearty main.
- Low sodium: Use low-sodium mayonnaise and reduce anchovy use. Taste and adjust the lemon to brighten the flavor.
- Spicy twist: Add a pinch of red pepper flakes or a teaspoon of sriracha to the dressing for heat.
FAQ
Q: Can I make the dressing without a blender?
A: Yes. Finely mince the anchovies and garlic, then whisk vigorously with the other ingredients until smooth. It takes a little elbow grease but works well.
Q: How do I keep the lettuce from getting soggy?
A: Dry the leaves thoroughly and add dressing right before serving. Toss gently so the leaves do not bruise.
Q: Can I grill the chicken instead of pan-searing?
A: Absolutely. Grill over medium heat until the internal temperature reaches 165°F. Grilling adds a lovely smoky flavor.
Q: Are parmesan crisps necessary?
A: They are optional but give great crunch without carbs. You can use toasted nuts for a different texture.
Q: Is this salad keto friendly?
A: Yes. With high-fat dressing, protein, and leafy greens, this salad fits well into low-carb and keto meal plans.
Conclusion
I hope this Low Carb Caesar Salad with Chicken becomes a favorite for your family weeknights. It is the kind of recipe that smells like home and brings everyone together quickly.
For a different take on chicken Caesar that leans into keto flavors, you can compare ideas with the Keto Chicken Caesar Salad – Mad Creations Hub. If you want another easy version to try at home, check out the Easy Keto Caesar Salad – Sugar Free Londoner for more inspiration.
Thanks for cooking with me. May your kitchen be warm and your table full.
Low Carb Caesar Salad with Chicken
Ingredients
For the Dressing
- 3/4 cup Mayonnaise (Use a clean, full-fat mayo for the creamiest dressing.)
- 1/2 cup Grated Parmesan Cheese (Stir into the dressing for depth and salt balance.)
- 1 ounce Anchovies in olive oil (4 Anchovy filets) (Chop finely or mash into the blender. The oil carries flavor evenly.)
- 4 cloves Fresh Garlic (Smash and let rest 5 minutes before using to mellow the bite.)
- 2 tablespoons Lemon Juice (Fresh lemon juice brightens the whole dressing. Bottled works in a pinch.)
- 1 teaspoon Dijon Mustard (Dijon helps the dressing emulsify and adds subtle tang.)
- 1/4 teaspoon Black Pepper (Add a pinch more if you like a faint peppery heat.)
- Pinch Salt (Taste at the end. Parmesan and anchovies add salt, so be gentle.)
For the Salad
- 1 pound Chicken Breasts (Pound or slice thin for fast, even cooking.)
- 6 cups Romaine Lettuce (Wash, dry, and store in a salad spinner for lasting crunch.)
- 1/4 cup Parmesan Cheese (Use block parmesan and grate fresh for the best flavor.)
- 1/2 cup Parmesan Crisps (These add crunch without carbs. Break them up just before serving.)
- Salt Salt (For seasoning the chicken.)
- Pepper Pepper (Freshly ground black pepper gives a sharper finish than pre-ground.)
Instructions
Make the Dressing
- Place all the ingredients for the low carb Caesar dressing into a blender and pulse until well blended.
- Pour into a salad dressing container and refrigerate until ready to serve.
Cook the Chicken
- Heat a medium pan over medium heat.
- Slice the chicken into thin slices.
- Pat the chicken dry and season with salt and pepper.
- Cook on both sides until golden brown and the internal temperature reaches 165°F.
- Let the chicken rest for a few minutes before slicing.
Assemble the Salad
- In a large bowl, combine the lettuce, parmesan, and crisps.
- Pour the dressing over the salad and toss until well coated.
- Divide the salad into bowls and top with sliced chicken.
- Serve immediately.