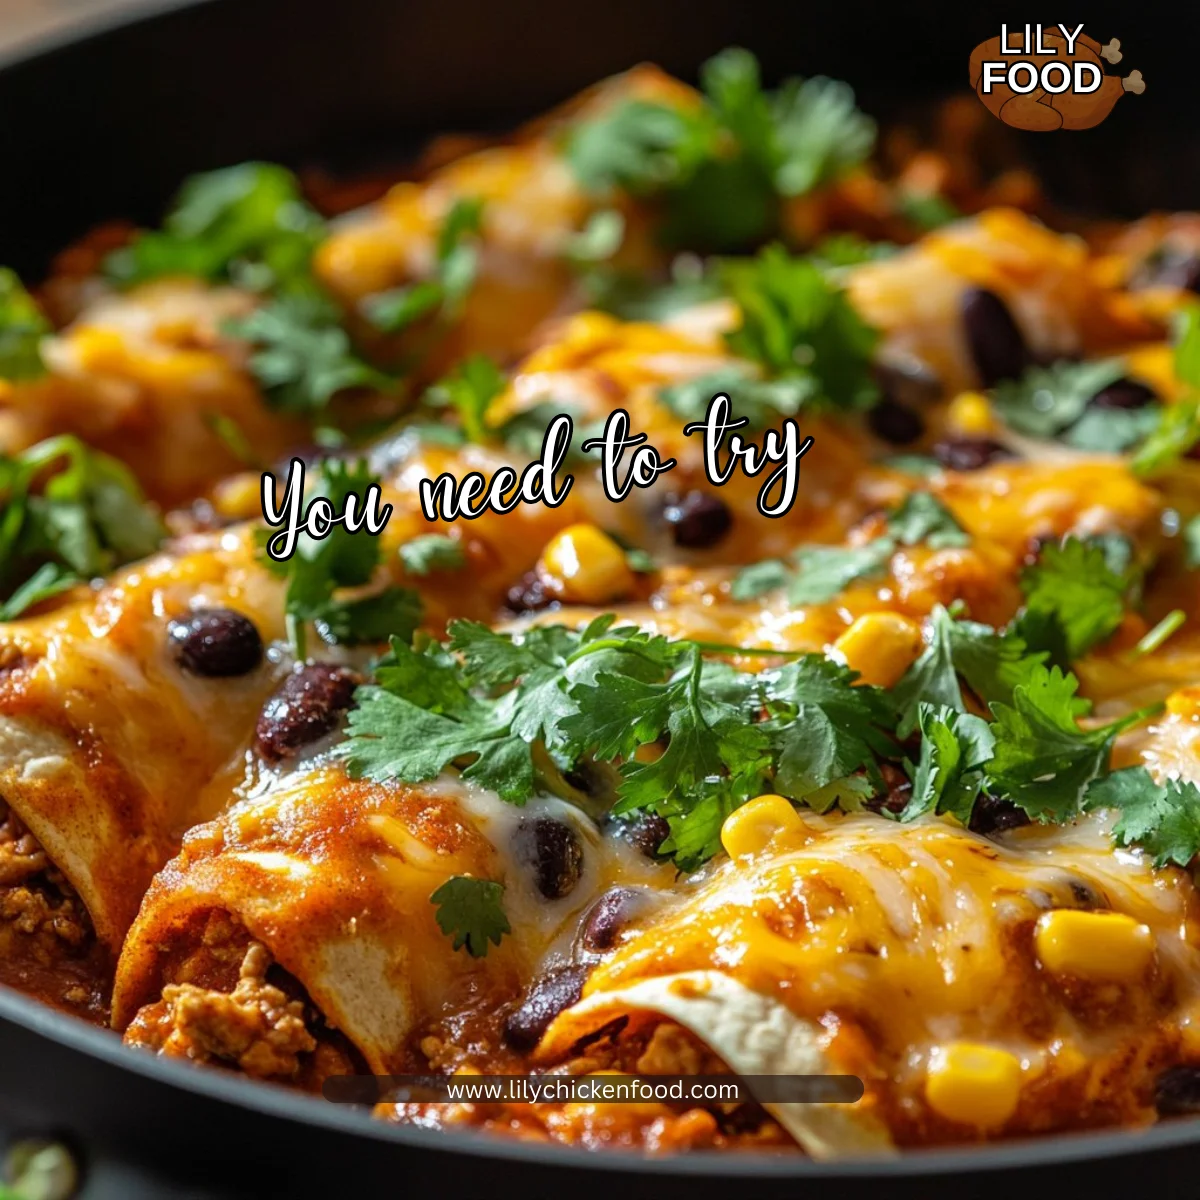
The kitchen smells like toasty onions and melted cheese. I hear the soft sizzle of patties in the skillet and the happy chatter of my family setting the table. That warm, confident feeling of a simple dinner coming together is one of my favorite parts of cooking.
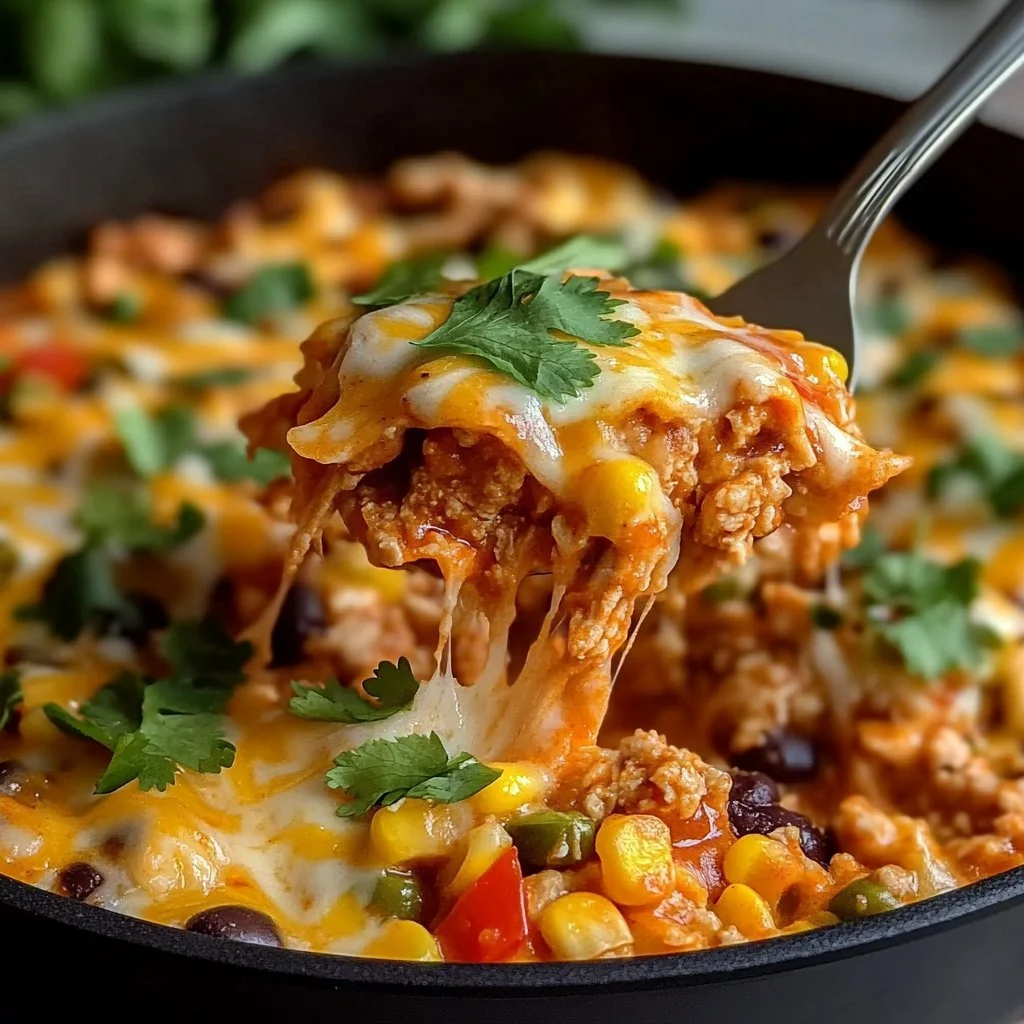
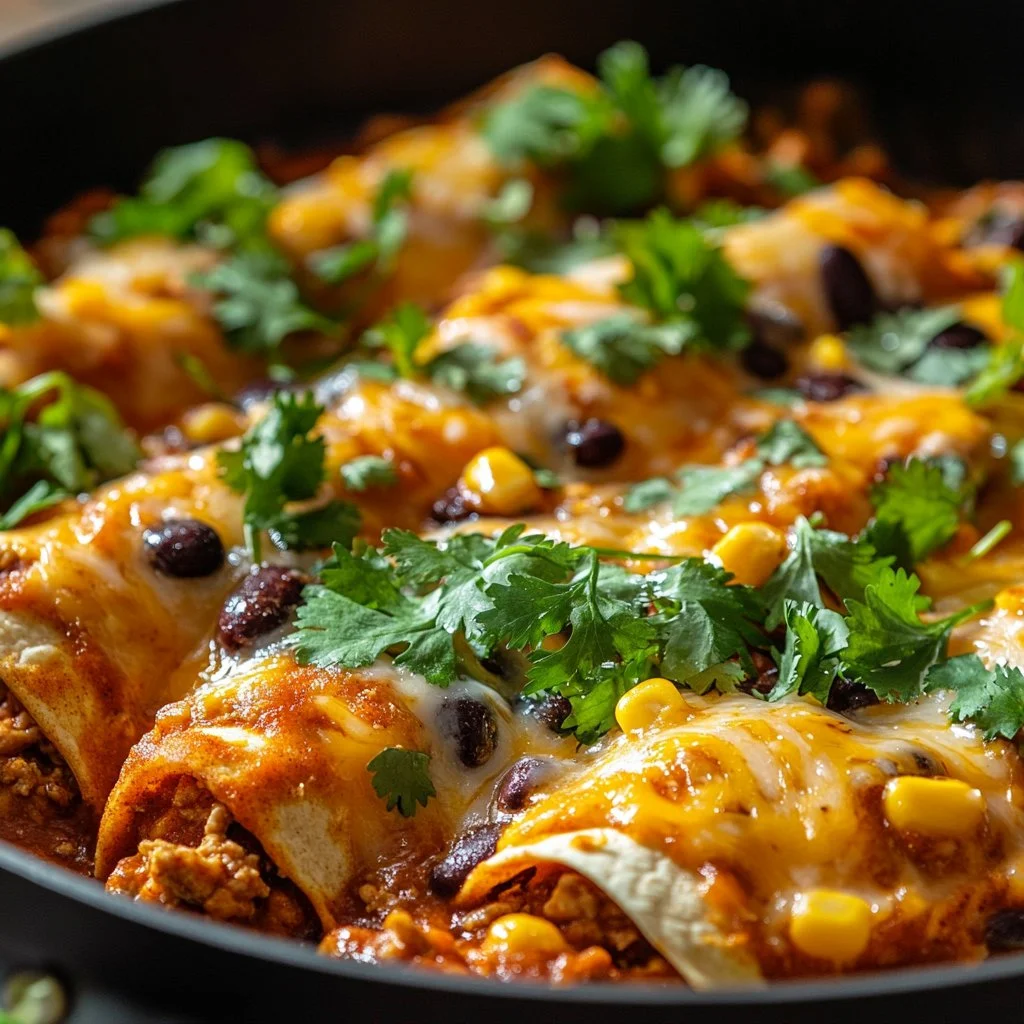
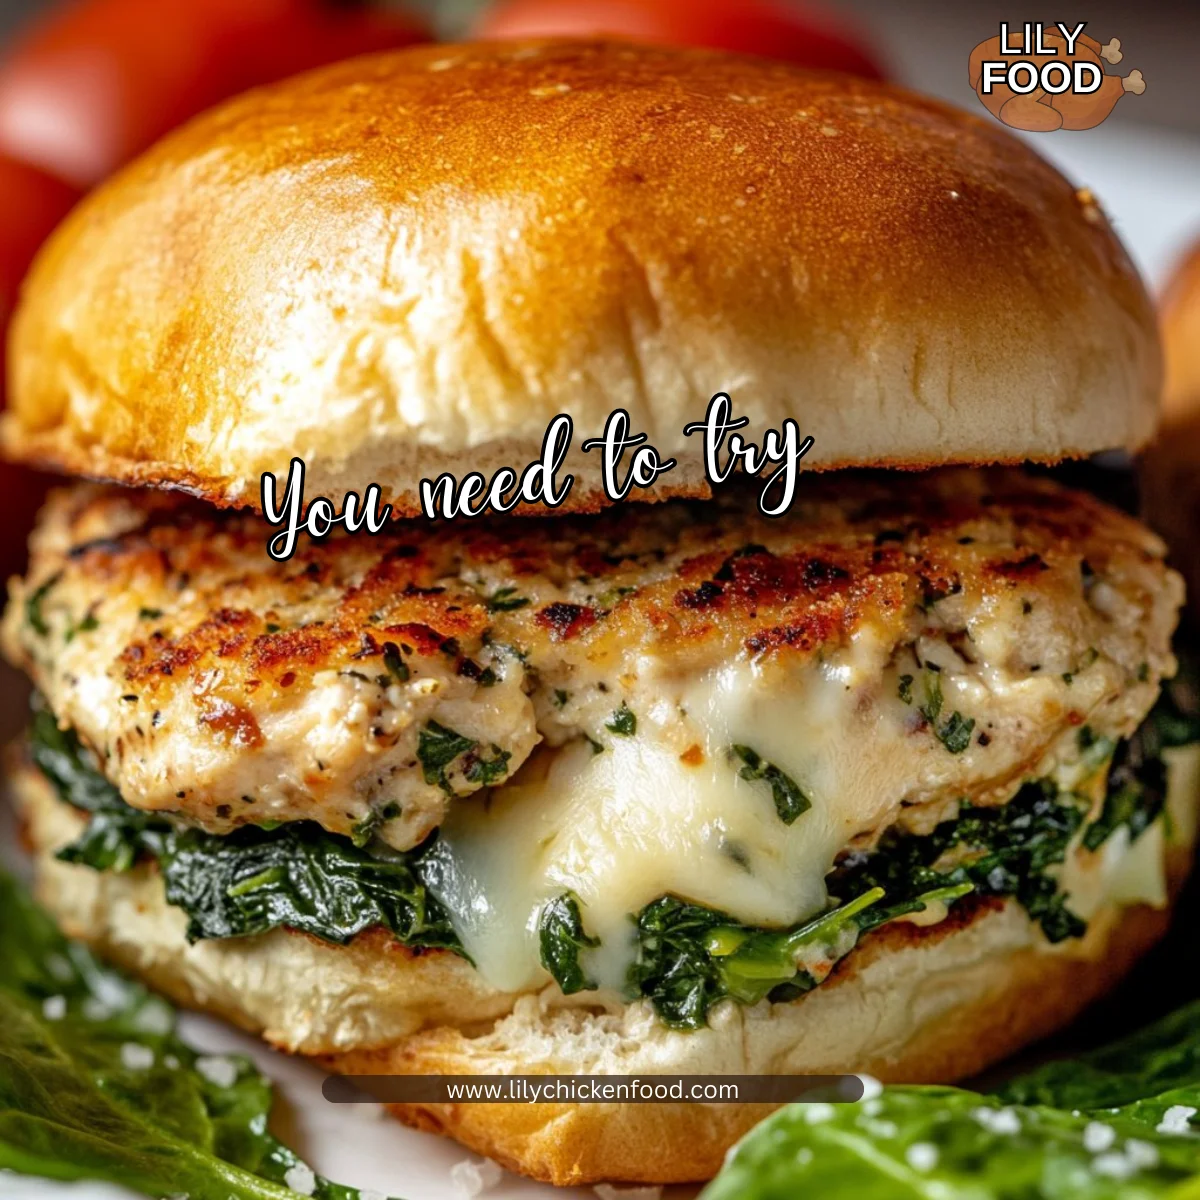
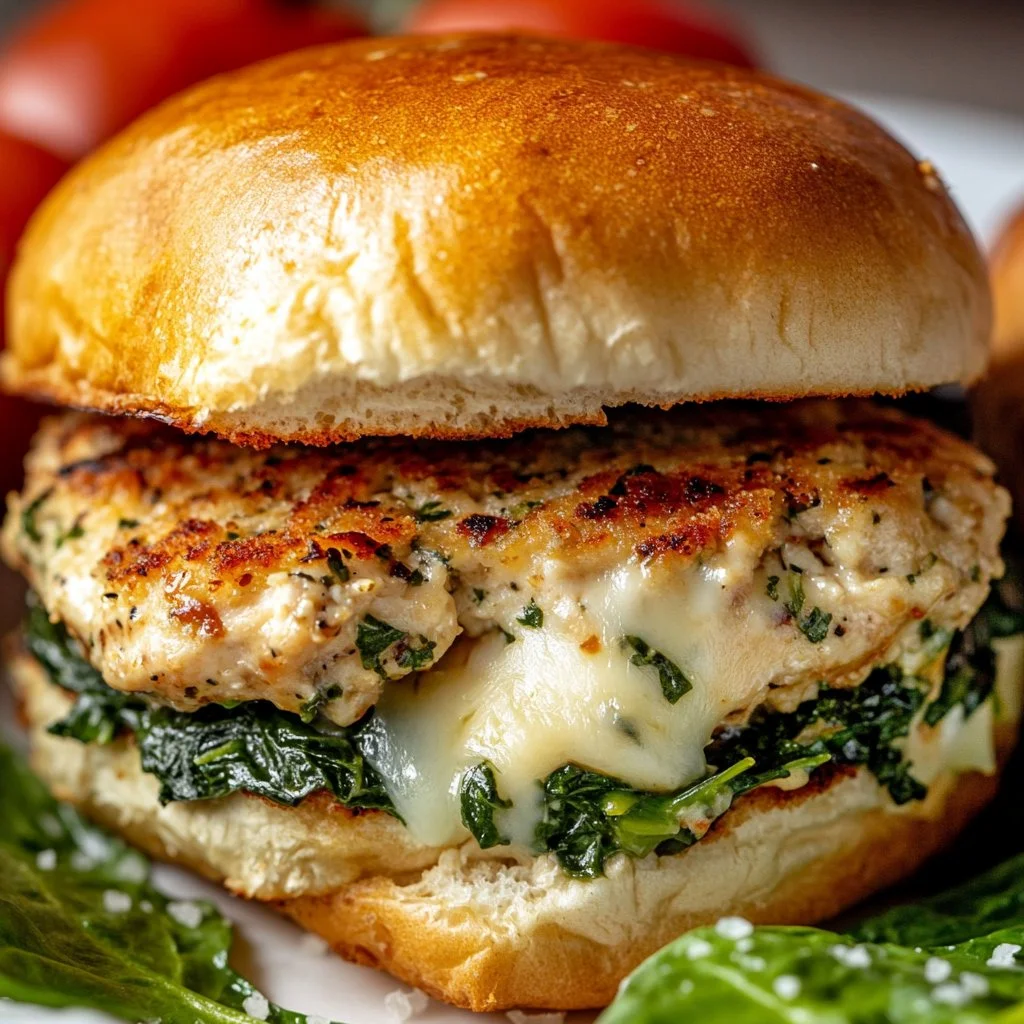
These White Cheddar and Spinach Chicken Burgers are easy, quick, and made for sharing. They are a weeknight winner when you want something healthier than beef but still full of flavor. If you love family-friendly chicken meals, you might also enjoy my take on homemade chicken and dumplings for another cozy dinner option.
Why this works
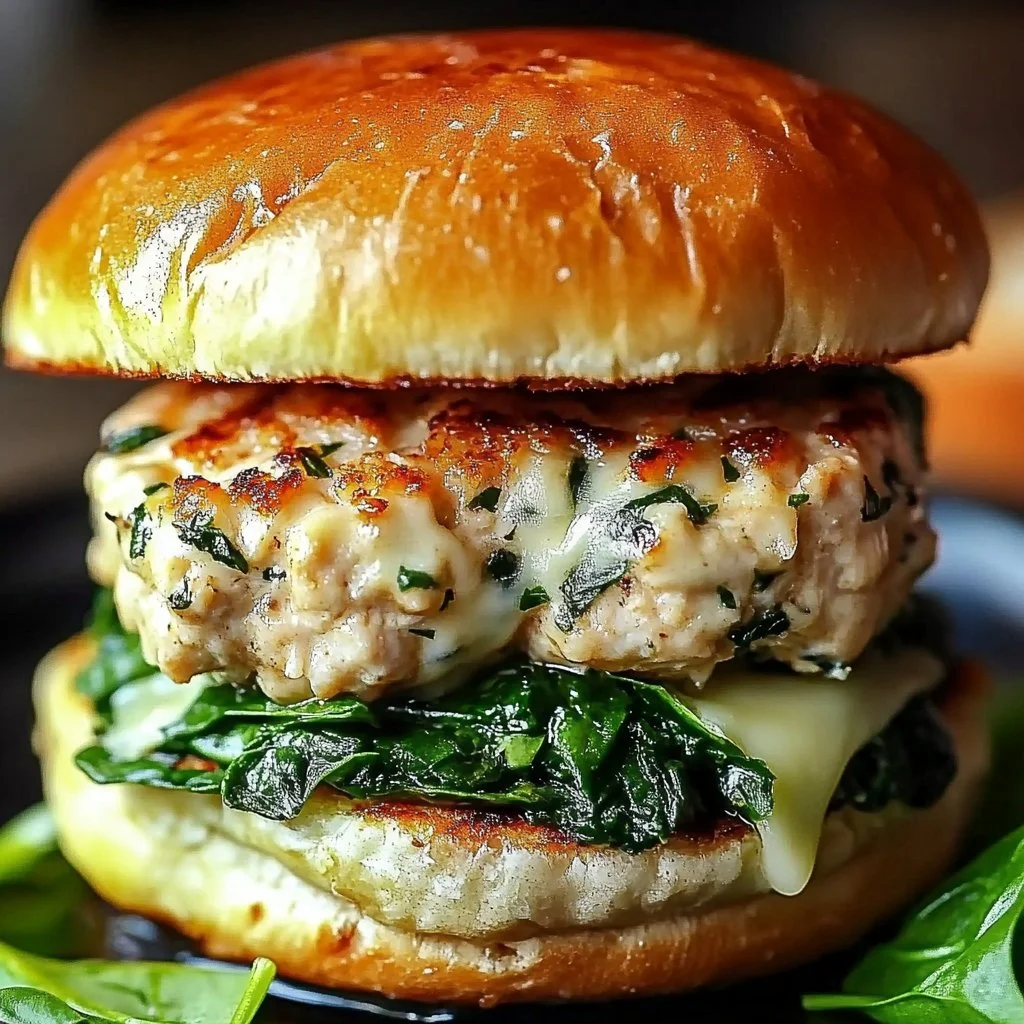
This recipe balances speed, flavor, and kid-friendly textures. Ground chicken cooks quickly, so dinner lands on the table fast. Fresh spinach adds color and nutrients without changing the mild, comforting taste that kids and adults both like.
Using shredded white cheddar gives each bite a little gooey surprise. Breadcrumbs help the patties hold together so they stay juicy while you cook. The whole method is family-friendly and saves time, especially when you need a no-fuss meal between activities. If you need more quick dinner ideas that fit busy nights, check out these rotisserie chicken recipes for busy weeknights for inspiration.
Process Overview
“This is where the magic happens—when the aroma fills the kitchen.”
We keep the process simple so you can focus on what matters. Mix the ingredients gently, shape the patties, and cook them in a hot skillet until they reach 165°F. The whole workflow fits into a single short recipe that still feels special.
If you want to explore more chicken-centered recipes that are quick and satisfying, try these chicken breast recipes to try tonight for more ideas to rotate through your week.
Ingredients
- 1 lb ground chicken
- 1 cup fresh spinach, finely chopped
- 1/2 cup shredded white cheddar cheese
- 1/4 cup breadcrumbs (or gluten-free alternative)
- 1/4 cup finely chopped onion
- 2 garlic cloves, minced
- 1 tbsp Dijon mustard
- 1 tsp Worcestershire sauce
- Salt and black pepper, to taste
- Olive oil, for cooking
- 4 burger buns
Optional toppings:
- Lettuce: adds a crisp, cool contrast
- Tomato slices: bring bright acidity that cuts the richness
- Extra cheese: melt another slice on top for a cheesier bite
Tip from Lily: For picky kids, serve cheese melted under the bun so it tucks into the burger. For more ways to use leftover cooked chicken, this leftover rotisserie chicken noodle soup recipe is a favorite in my house.
Directions
-
In a bowl, combine the ground chicken, spinach, cheddar, breadcrumbs, onion, garlic, mustard, Worcestershire sauce, salt, and pepper. Mix until just combined, being careful not to overmix.
Encouraging note: Use a light hand and let the ingredients do the work. Overmixing makes patties tough, but a gentle stir gives you tender burgers. -
Divide the mixture into 4 equal portions and shape them into patties.
Encouraging note: Wet your hands slightly to prevent sticking and press a shallow dimple in the center of each patty so they cook flat and even. -
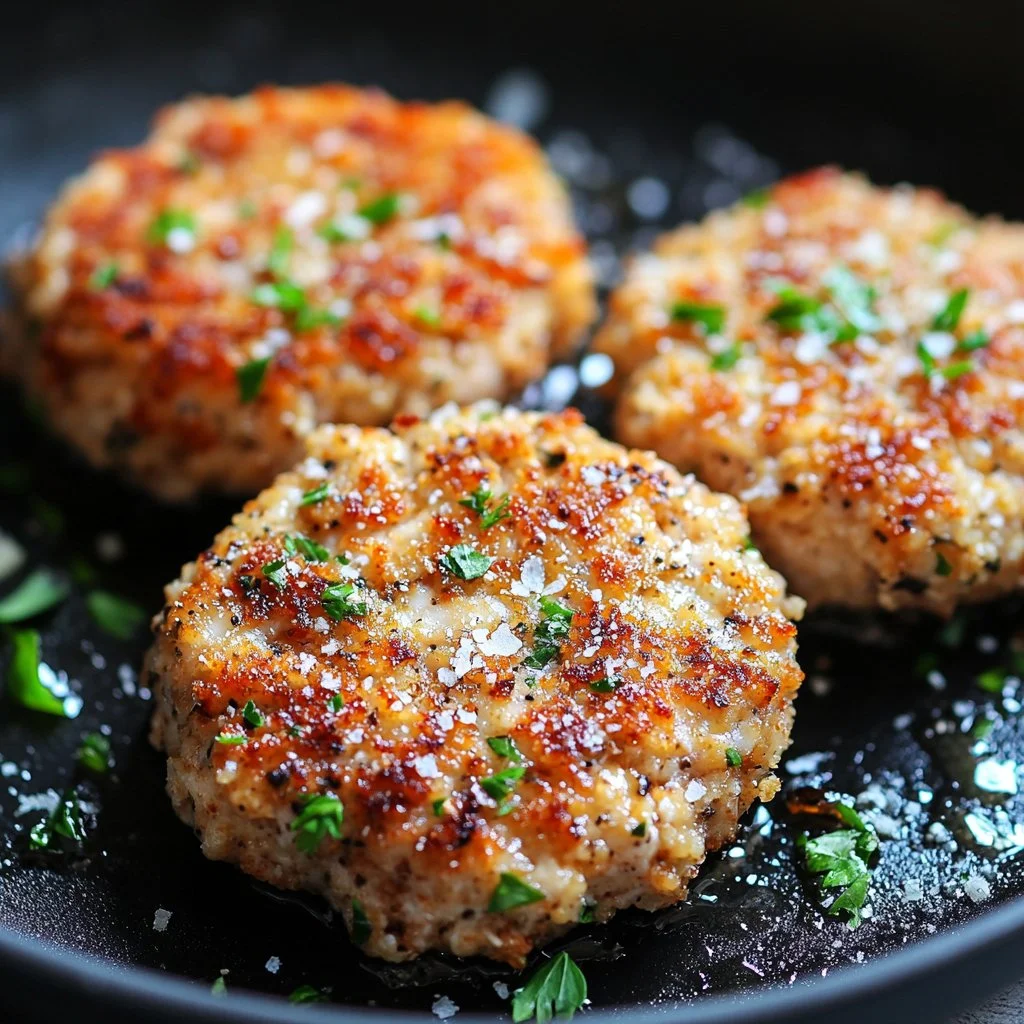
Heat a skillet with a drizzle of olive oil over medium heat, then cook the patties for 5-6 minutes per side, or until fully cooked through and reach an internal temperature of 165°F (75°C).
Encouraging note: Use a meat thermometer. The number keeps you confident and ensures safe, juicy chicken every time. -
4. Toast the buns if desired, then place the cooked chicken patties on the buns and top with your favorite toppings, such as lettuce, tomato slices, or extra cheese.
Encouraging note: A quick toast adds texture and keeps buns from getting soggy. Let the kids build their own burgers so everyone gets exactly what they want.
-
5. Serve warm and enjoy every delicious bite!
Encouraging note: Serve family-style and encourage everyone to dig in while the cheese is melty. Little moments like this make regular dinners feel special.
For another comforting, slow-cooker chicken option that is great for busy days, consider this easy crockpot white chicken chili soup.
Serving
Serve these burgers family-style on a platter with the buns, toppings, and a few simple sides. Think roasted potatoes, carrot sticks, or a green salad. Let each person assemble their burger. It keeps the meal relaxed and fun.
For a lighter plate, skip the bun and serve patties over mixed greens with a squeeze of lemon and extra black pepper. For a kid-friendly spread, add small bowls of favorite condiments and crunchy pickles.
Storage
Leftovers store well in the fridge for up to 3 days. Place cooled patties in an airtight container with a layer of paper towel to absorb moisture. To reheat, warm them in a skillet over medium heat for a few minutes per side or in a 350°F oven until heated through and registering 165°F with a meat thermometer. You can also microwave them for quick meals, but the skillet method keeps the outside crisp.
To freeze, wrap cooked patties individually in plastic wrap and place them in a freezer bag for up to 3 months. Thaw overnight in the refrigerator before reheating.
Kitchen Notes
- Use gentle mixing. Overworking the mix makes burgers dense rather than tender.
- Chop spinach finely. That keeps the texture uniform and prevents large leaves from falling out.
- If you have extra time, chill the formed patties for 15 minutes. They hold together better when cold.
- Swap breadcrumbs for crushed gluten-free crackers or oats for a gluten-free binder.
- Keep a meat thermometer handy. It is the most reliable way to know chicken is safe and juicy.
Variations
- Picky eater version: Omit visible spinach and finely grate it into the mix so it blends in. Mild flavor stays the same.
- Cheesy swap: Use mozzarella or pepper jack for a different melt and flavor. Pepper jack gives a gentle kick.
- Low carb: Serve in lettuce wraps or on portobello mushroom caps.
- Add herbs: Stir in 1 tbsp chopped fresh parsley or basil for brightness.
- Add heat: Mix in 1/2 tsp crushed red pepper or a few drops of hot sauce for adults who like spice.
FAQ
Can I make these ahead and refrigerate before cooking?
Yes. You can form the patties and refrigerate them for up to 24 hours before cooking. That makes dinner prep quick on busy nights.
Can I bake the patties instead of pan frying?
Absolutely. Bake on a lined sheet at 400°F for 18 to 22 minutes, flipping halfway, until internal temperature reaches 165°F.
Are these burgers safe for kids?
Yes. Ground chicken cooked to 165°F is safe for all ages. Cut into small pieces for toddlers and serve with familiar sides.
What is a good gluten-free binder?
Use gluten-free breadcrumbs, crushed cornflakes, or finely ground oats. Measure the same amount as the recipe calls for.
Can I use frozen spinach?
You can, but squeeze out all excess water and chop if needed. Fresh spinach gives the best texture, but well-drained frozen spinach works in a pinch.
Conclusion
I hope these White Cheddar and Spinach Chicken Burgers become a weeknight favorite in your home. They are fast, family-friendly, and full of melt-in-your-mouth cheese and tender chicken. For a similar recipe with a bright twist, see this take on Chicken Burgers with Spinach and Feta for inspiration. If you want another version that blends spinach and tangy cheese, try Chicken Burgers with Feta Cheese and Spinach for more ideas to customize your family meal.
Thanks for cooking with me. Gather the family, set the table, and enjoy the sound of hungry hands and happy conversation.

White Cheddar and Spinach Chicken Burgers
Ingredients
Main Ingredients
- 1 lb ground chicken
- 1 cup fresh spinach, finely chopped (Chop spinach finely for uniform texture.)
- 1/2 cup shredded white cheddar cheese (Provides gooey texture in the burgers.)
- 1/4 cup breadcrumbs (or gluten-free alternative) (Helps the patties hold together.)
- 1/4 cup finely chopped onion
- 2 cloves garlic, minced
- 1 tbsp Dijon mustard
- 1 tsp Worcestershire sauce
- Salt and black pepper, to taste
- Olive oil, for cooking
- 4 pieces burger buns (Toast if desired.)
Optional Toppings
- Lettuce (Adds a crisp, cool contrast.)
- Tomato slices (Brings bright acidity.)
- Extra cheese (Melt on top for a cheesier bite.)
Instructions
Preparation
- In a bowl, combine the ground chicken, spinach, cheddar, breadcrumbs, onion, garlic, mustard, Worcestershire sauce, salt, and pepper. Mix until just combined, being careful not to overmix.
- Divide the mixture into 4 equal portions and shape them into patties.
Cooking
- Heat a skillet with a drizzle of olive oil over medium heat, then cook the patties for 5-6 minutes per side, or until fully cooked through and reach an internal temperature of 165°F (75°C).
- Toast the buns if desired, then place the cooked chicken patties on the buns and top with your favorite toppings.
Serving
- Serve warm and enjoy every delicious bite!