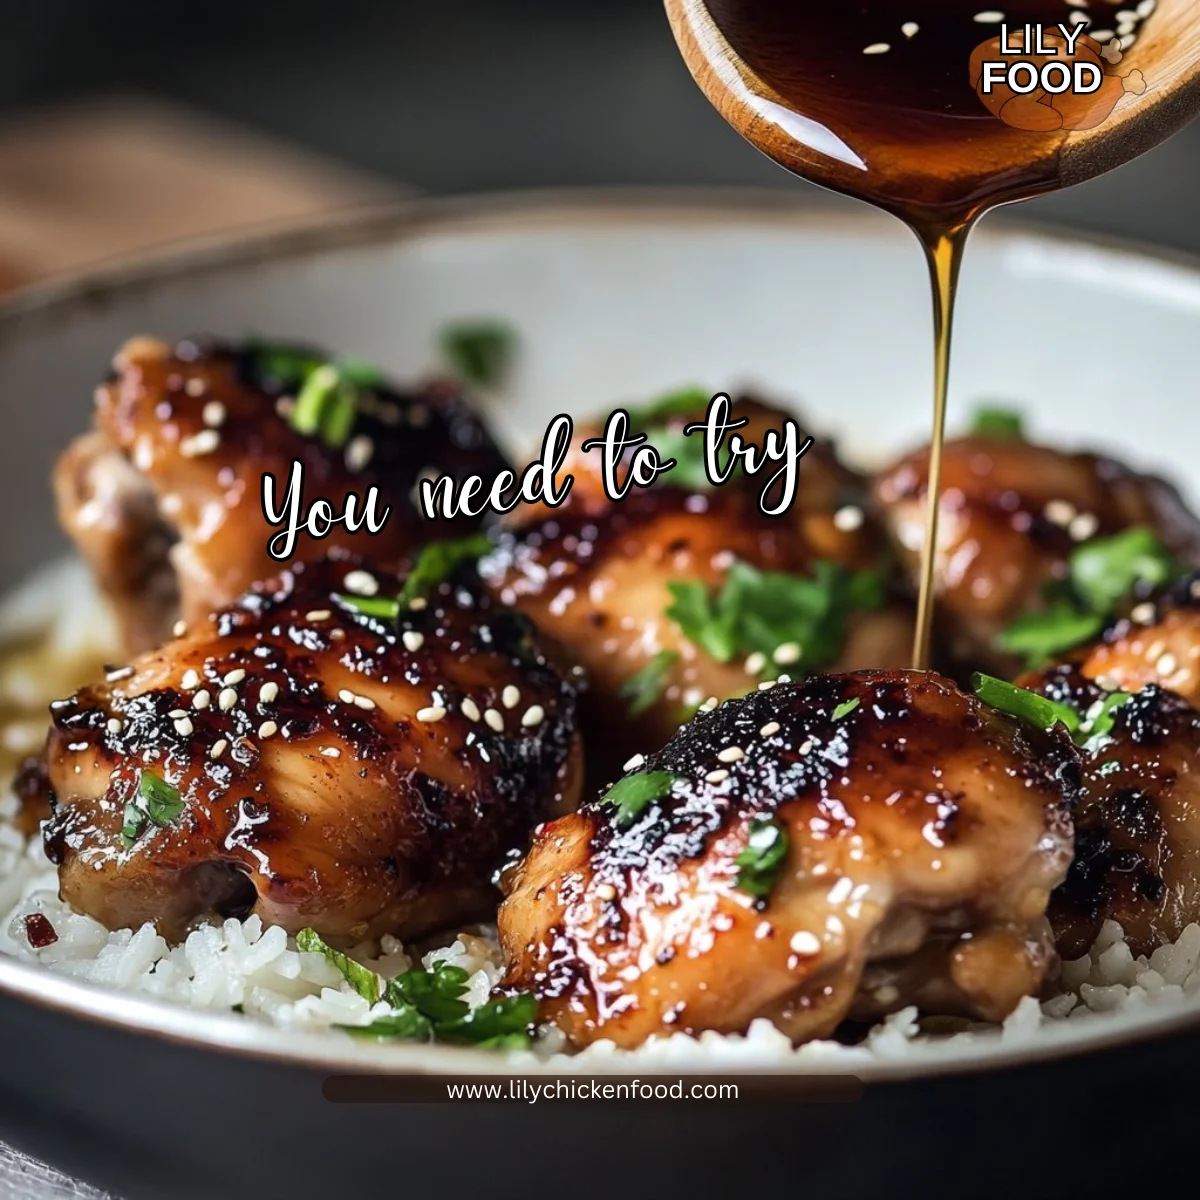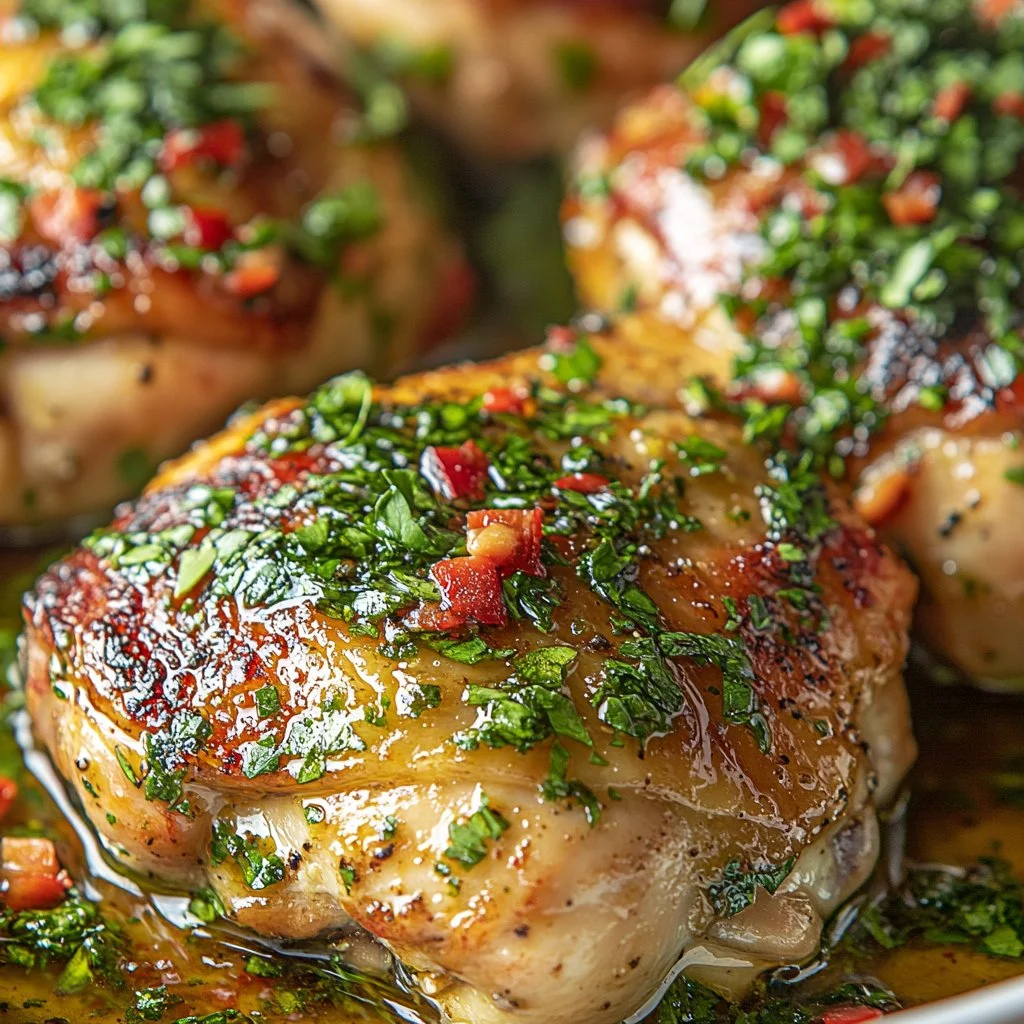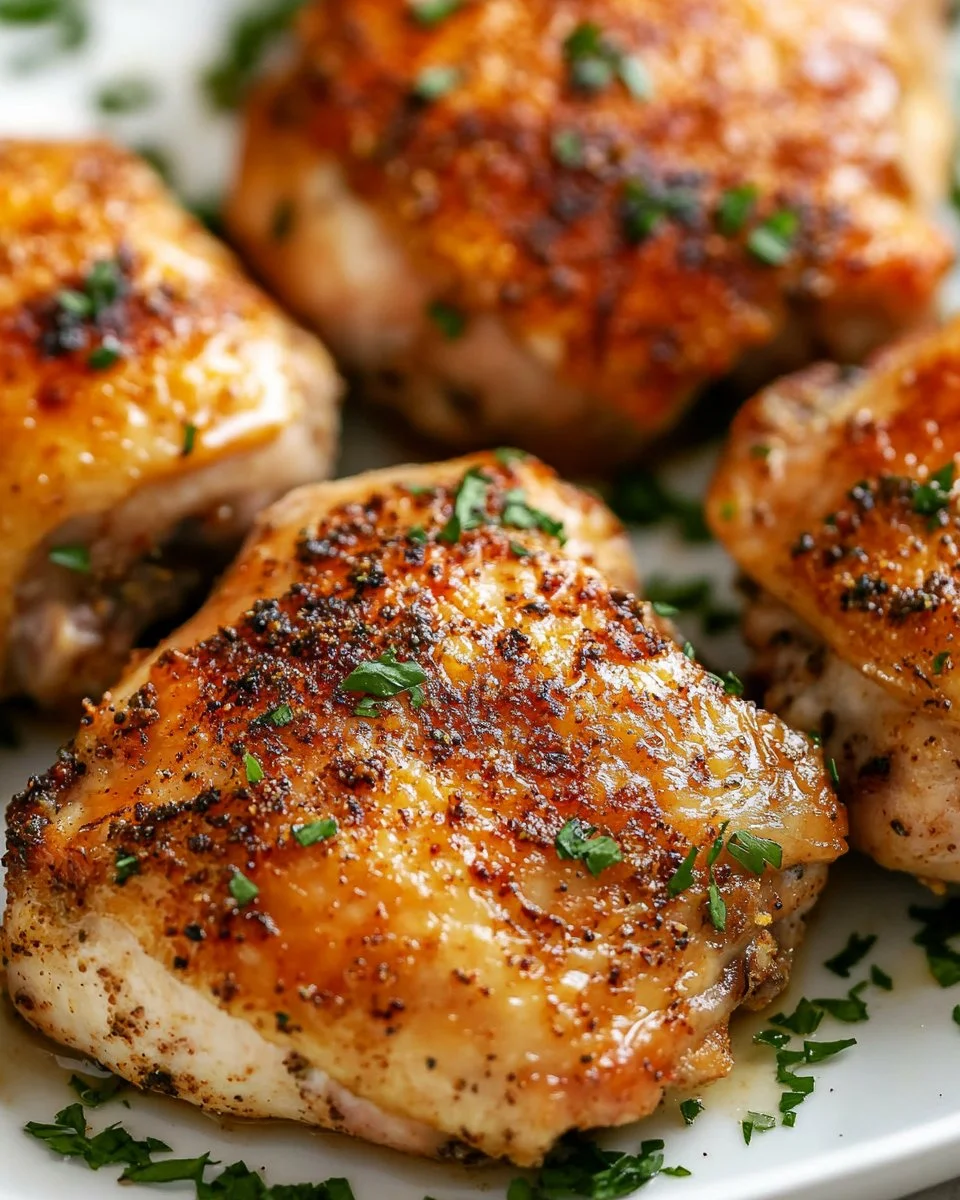
There’s something special about the smell of chicken thighs sizzling on a hot grill. The sound of that satisfying sear fills the kitchen with mouth-watering anticipation. When you bring a dish like Blackstone Chicken Thighs to the table, you’re not just serving dinner. You’re creating moments, memories, and most of all, joy for your family.
But let’s face it, we all lead busy lives. Finding a dish that’s not only delicious but also time-saving is essential. Blackstone Chicken Thighs checks all the boxes. This dish is packed with flavor, easy to prepare, and perfect for family gatherings. Whether it’s a weeknight meal or a weekend feast, this recipe is a winner.
Why This Works
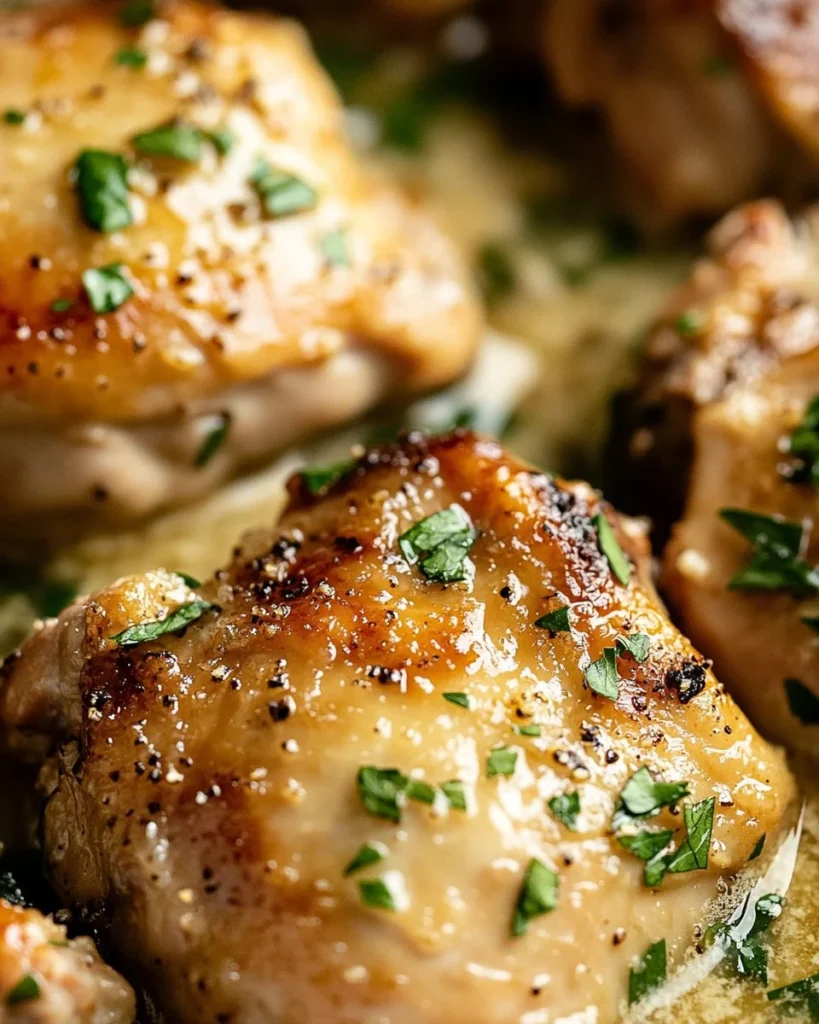
Blackstone Chicken Thighs are a fantastic choice for family meals because they are versatile and quick. Chicken thighs are juicy and flavorful, making them ideal for grilling. The Blackstone griddle makes it easy to cook multiple portions at once, so you can spend less time in the kitchen and more time with loved ones.
Plus, the ingredients are simple and straightforward. You’ll likely have most of them on hand already, making this dish a go-to in your meal rotation. Once you try it, you’ll see why families everywhere are falling in love with this recipe.
Process Overview
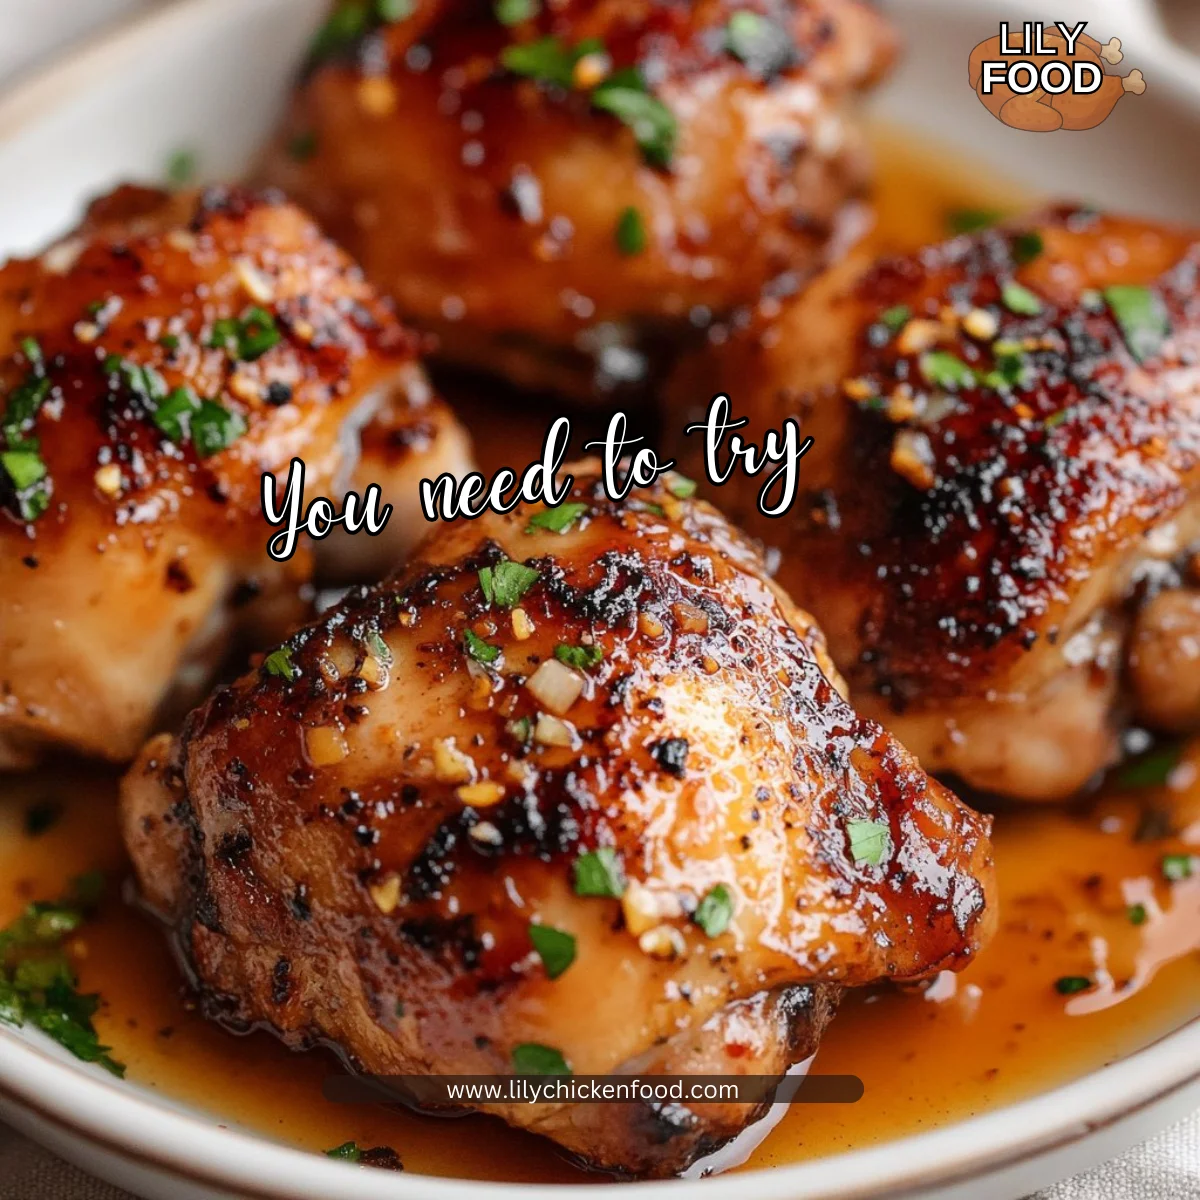
“This is where the magic happens—when the aroma fills the kitchen.”
The process begins with marinating the chicken thighs, letting them soak up a blend of soy sauce and garlic. After marinating, it’s all about cooking them on a hot griddle. This method locks in moisture and flavor, giving you tender and juicy chicken every time. Lastly, we let the chicken rest, allowing the juices to settle in. This step ensures you’ve got the juiciest bite possible.
Ingredients
Here’s what you’ll need for Blackstone Chicken Thighs:
- 6 boneless, skinless chicken thighs
- 1/4 cup + 2 tablespoons soy sauce (divided)
- Lily’s tip: Use low-sodium soy sauce if you’re watching salt intake.
- 2 tablespoons butter
- Lily’s tip: Use unsalted butter for better control over your dish’s saltiness.
- 2 teaspoons garlic (minced)
- Lily’s tip: Fresh garlic makes a noticeable difference in flavor. If using jarred, adjust for taste.
- Extra virgin olive oil (sub avocado oil if desired)
- Lily’s tip: Avocado oil has a higher smoke point, making it great for grilling.
- Kosher salt & ground black pepper
- Lily’s tip: Season generously, but taste before adding too much. You can always add more.
Directions
-
Marinate Chicken: Place chicken in a glass bowl and add 1/4 cup soy sauce. Toss to coat. Set aside while you prep the remaining items. This step adds flavor and tenderness, so don’t skip it.
-
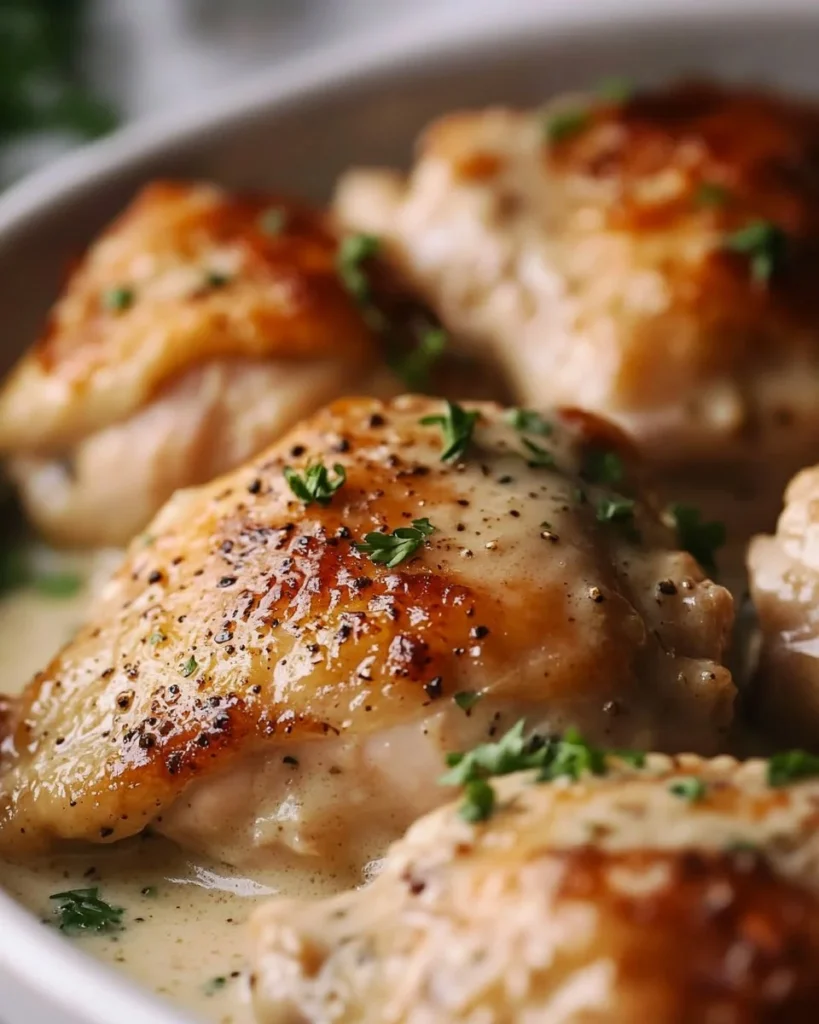
Garlic Butter: Combine 2 tablespoons butter and 2 teaspoons garlic in a small bowl; set aside. This buttery goodness will elevate the flavor of your meal.
-
Cook Chicken: Bring your flat-top to medium-high heat. Add a tablespoon of olive oil and spread it out over the cooktop. Place marinated chicken thighs on the hot grill. Season with kosher salt and ground black pepper. Close the lid and let it cook for 2-3 minutes.
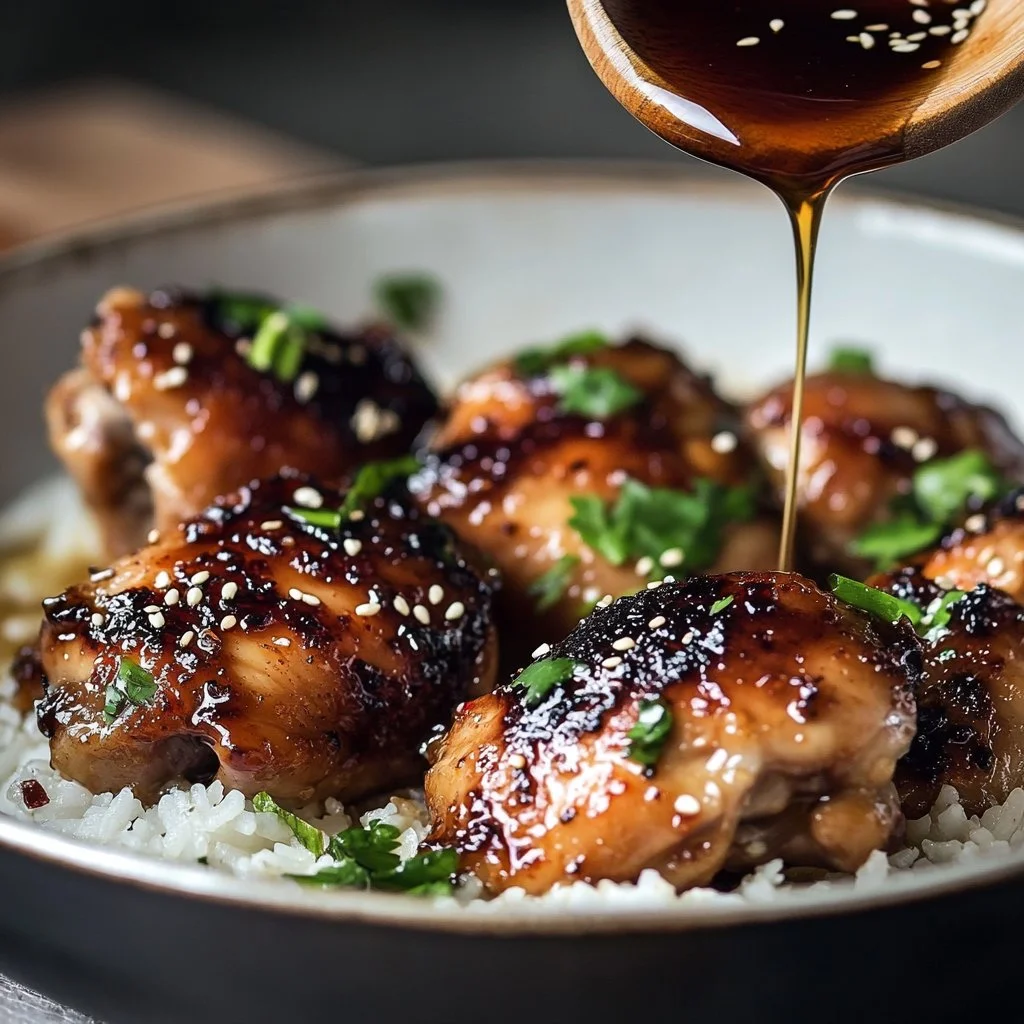
When you open the lid, drizzle a little soy sauce on top of the chicken and add approximately 1 tablespoon of garlic butter. Close the lid and let it cook for another minute or two. When ready, flip the chicken. Season the other side with salt and pepper, add 1 tablespoon of garlic butter, and drizzle with a little more soy sauce. Let cook until the chicken reaches an internal temperature of 162°F. Feel free to flip back and forth a bit until fully cooked.
-
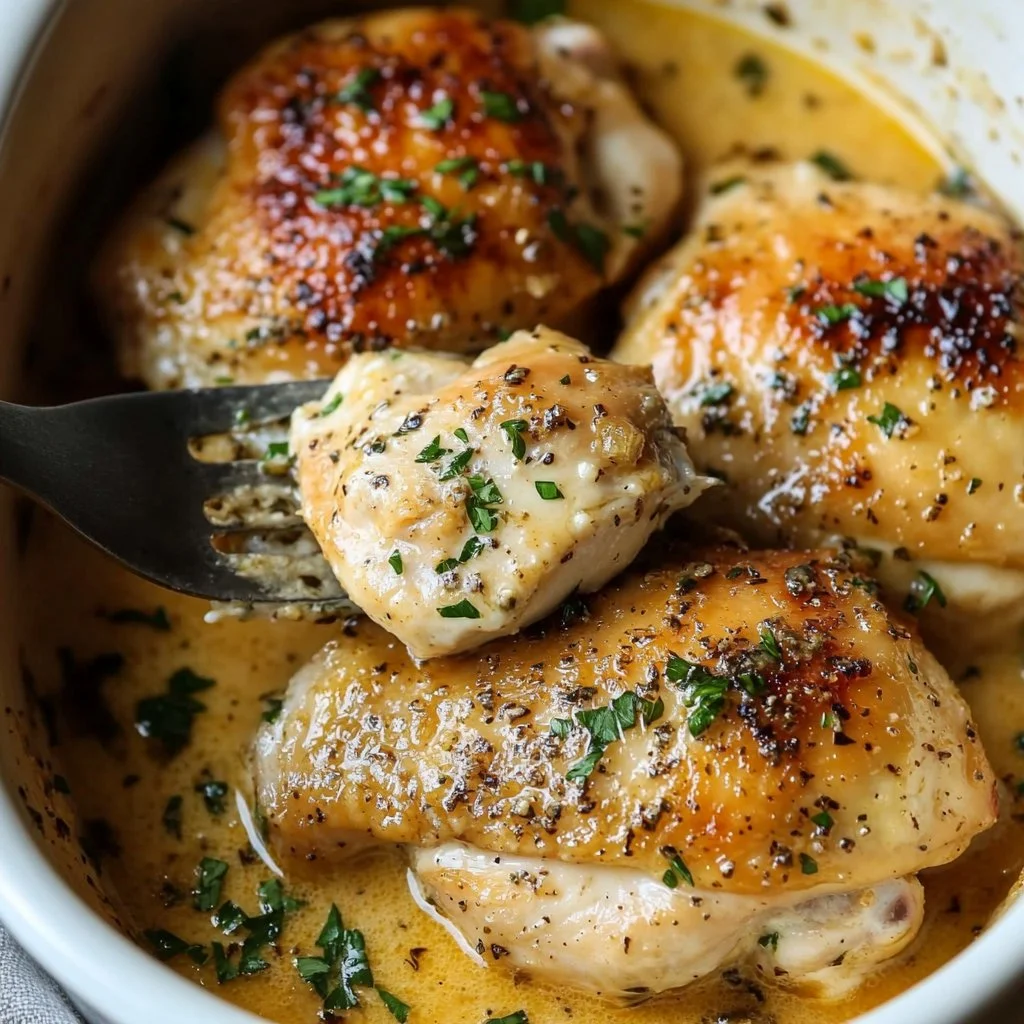
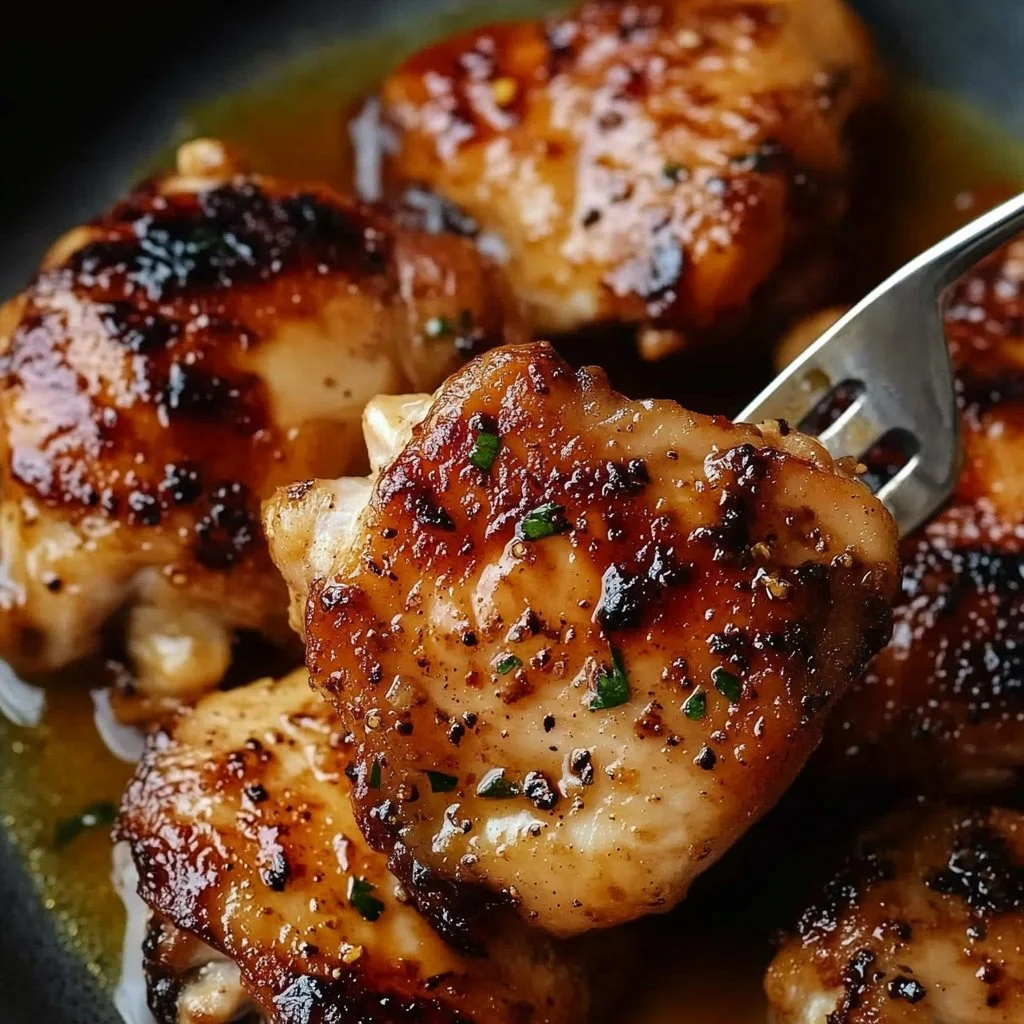
Rest Chicken: Transfer the chicken to a plate and let it rest. The internal temperature will continue to rise, reaching 165°F while it rests. Slice or cut into bite-sized pieces. This is where you decide how you want to serve it—there are so many delicious options!
Serving
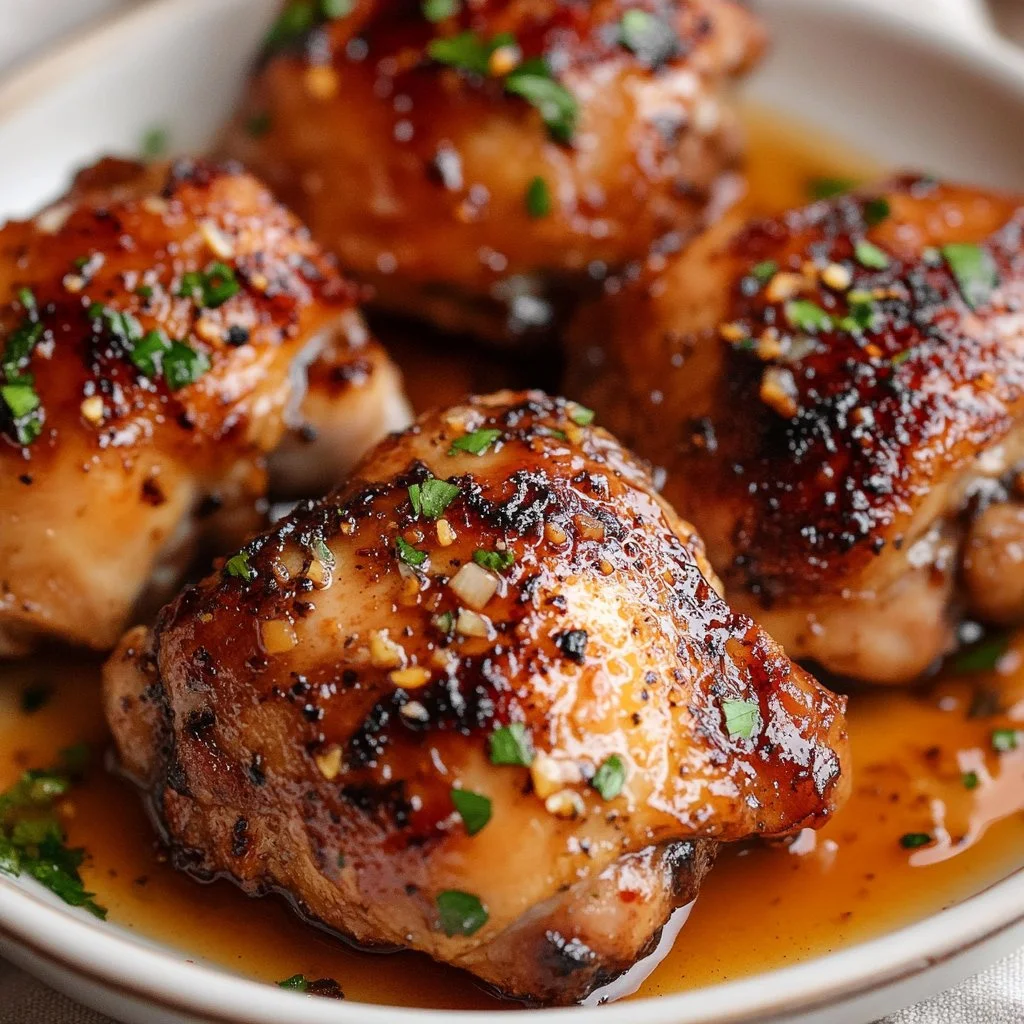
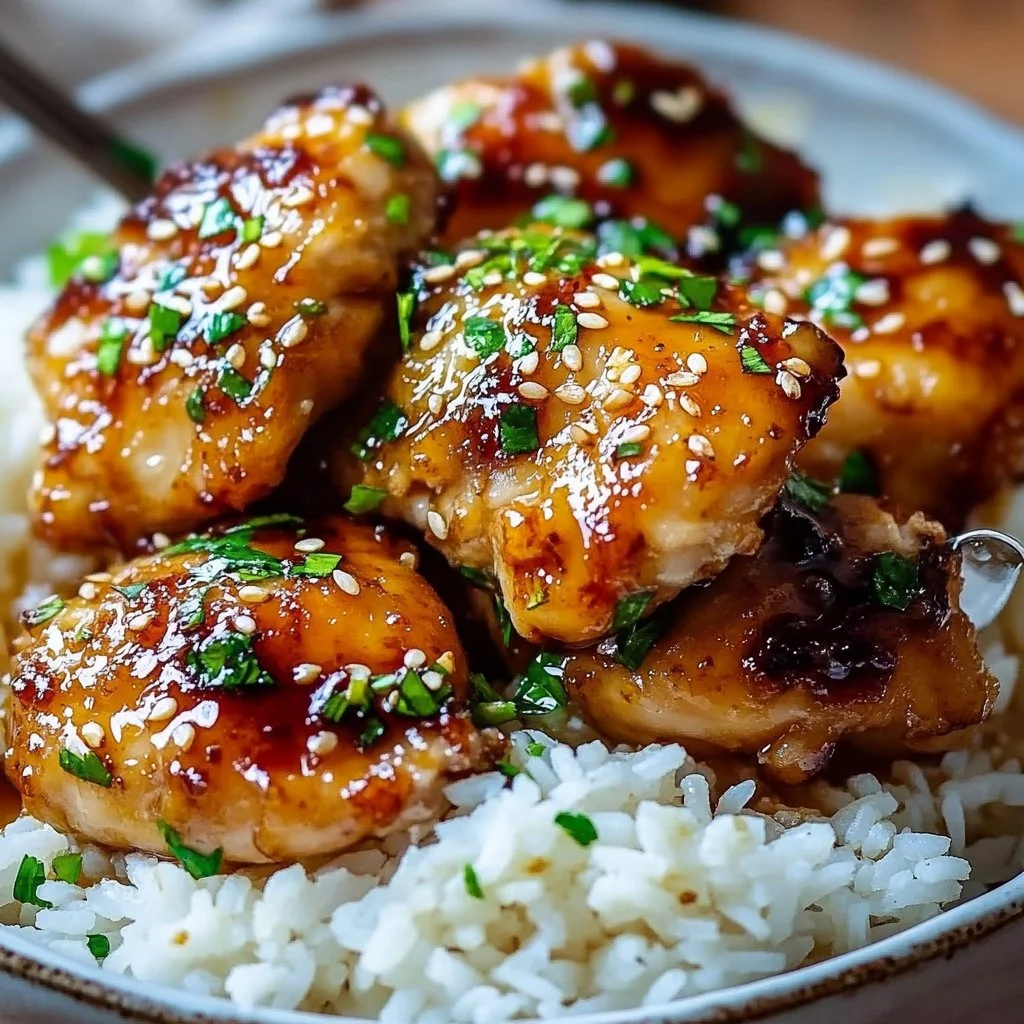
For a family-style meal, serve the Blackstone Chicken Thighs alongside fresh veggies, fluffy rice, or even in warm tortillas for chicken tacos. You can create a taco bar with toppings like salsa, guacamole, and fresh cilantro. Encourage everyone to customize their plates; it ignites conversation and laughter around the dinner table.
Storage
After enjoying this meal, store any leftovers in an airtight container in the refrigerator. They will keep well for up to 3 days. To reheat, pop them in the microwave or on the stovetop until warmed through. You can add a splash of chicken broth to prevent drying out.
Kitchen Notes
- Prep Ahead: Marinate the chicken the night before for even more flavor.
- Quick Cook: Use a meat thermometer for perfect doneness every time.
- Griddle Care: Pre-heat your Blackstone well to prevent sticking.
- Make it a Meal: Pair with steamed vegetables to add color and nutrition.
- Leftover Magic: Use leftover chicken in salads or wraps for lunch the next day.
Variations
If you have picky eaters or different diet preferences, you can easily tweak this recipe.
- For children: Serve plain grilled chicken and let them add sauces or toppings, allowing them to customize their meal.
- For low-carb diets: Skip the tortillas and serve the chicken over a bed of leafy greens or cauliflower rice.
- Spicy version: Add red pepper flakes or a dash of hot sauce to the chicken before grilling for a kick.
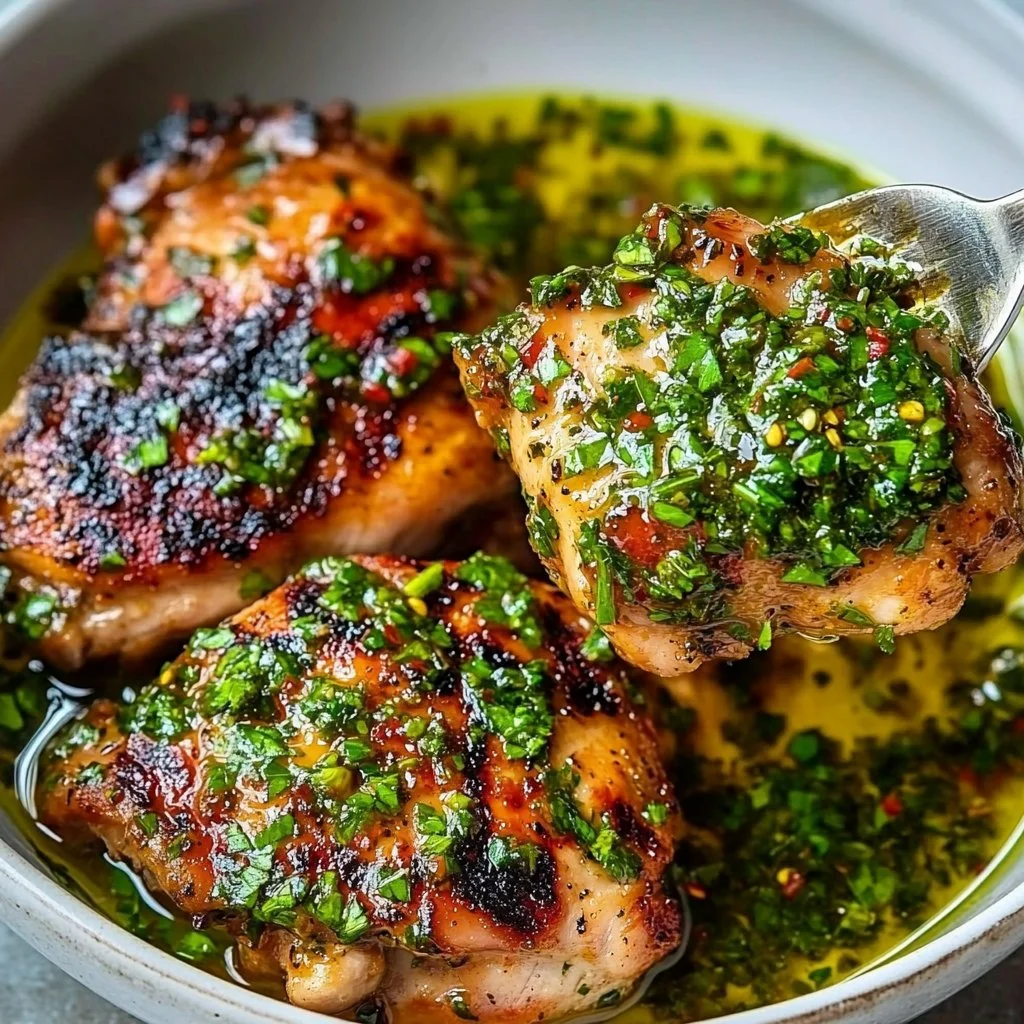
- Herb-infused: Add fresh herbs like rosemary or thyme to the marinade for a different flavor profile.
- Vegetarian Option: Substitute chicken with firm tofu, marinate it the same way, and grill until crispy on the outside.
FAQ
-
Can I use chicken breasts instead of thighs?
- Yes, but keep in mind that chicken breasts can dry out more easily. Adjust cooking time to prevent overcooking.
-
What’s the best way to check if the chicken is done?
- Use a meat thermometer. The internal temperature should reach 165°F for safe consumption.
-
Can I marinate overnight?
- Absolutely! Marinating overnight enhances the flavor.
-
Can I use a gas grill instead?
- Yes, just make sure to preheat the grill and grease grates to prevent sticking.
-
What should I serve with these chicken thighs?
- They pair well with rice, salads, roasted vegetables, or in tacos.
In conclusion, Blackstone Chicken Thighs are more than just a meal—they’re a way to gather around the table and connect with family. I hope this recipe brings warmth and joy to your kitchen. Remember, cooking is all about love, and the best memories are made over shared meals. Enjoy!

Blackstone Chicken Thighs
Ingredients
For the marinade
- 6 pieces boneless, skinless chicken thighs
- 0.25 cup soy sauce (Use low-sodium soy sauce if watching salt intake.)
For cooking
- 2 tablespoons butter (Use unsalted butter for better control over the dish's saltiness.)
- 2 teaspoons garlic (minced) (Fresh garlic makes a noticeable difference in flavor.)
- 1 tablespoon extra virgin olive oil (Sub avocado oil if desired for a higher smoke point.)
- to taste Kosher salt & ground black pepper (Season generously, but taste before adding too much.)
Instructions
Preparation
- Marinate Chicken: Place chicken in a glass bowl and add 1/4 cup soy sauce. Toss to coat.
- Garlic Butter: Combine 2 tablespoons butter and 2 teaspoons garlic in a small bowl; set aside.
Cooking
- Bring your flat-top to medium-high heat. Add a tablespoon of olive oil and spread it over the cooktop.
- Place marinated chicken thighs on the hot grill. Season with kosher salt and ground black pepper. Close the lid and let it cook for 2-3 minutes.
- Open the lid, drizzle a little soy sauce on top, and add approximately 1 tablespoon of garlic butter. Close the lid and let it cook for another minute or two.
- Flip the chicken, season the other side, and add 1 tablespoon of garlic butter and more soy sauce. Cook until the chicken reaches an internal temperature of 162°F.
Resting
- Transfer the chicken to a plate and let it rest. It will continue to cook to reach 165°F while resting.
- Slice or cut into bite-sized pieces and serve.