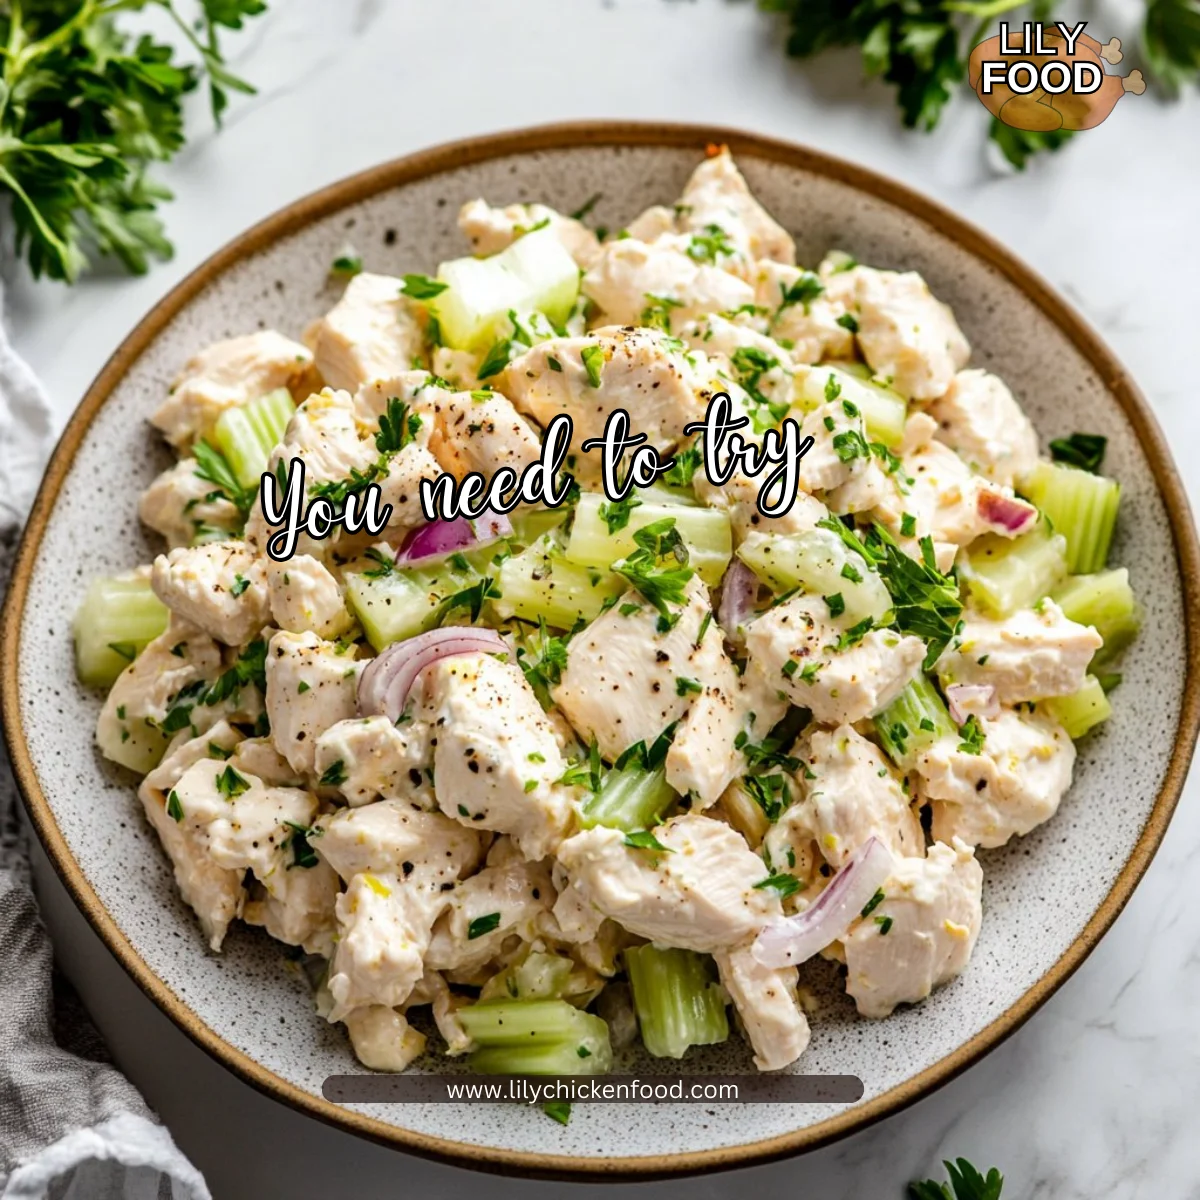
The air in my kitchen is warm with the bright scent of lemon and avocado. I can hear the soft clink of a spoon against a bowl and the happy chatter of my kids planning who gets the crispest lettuce leaf. There is something comforting about that sound, like home filling up.
This Avocado Chicken Salad Lettuce Wraps recipe came from evenings when I needed a quick, healthy dinner that everyone would eat. If you like similar flavors, try my Avocado Chicken Egg Salad for another family favorite.
Why this works

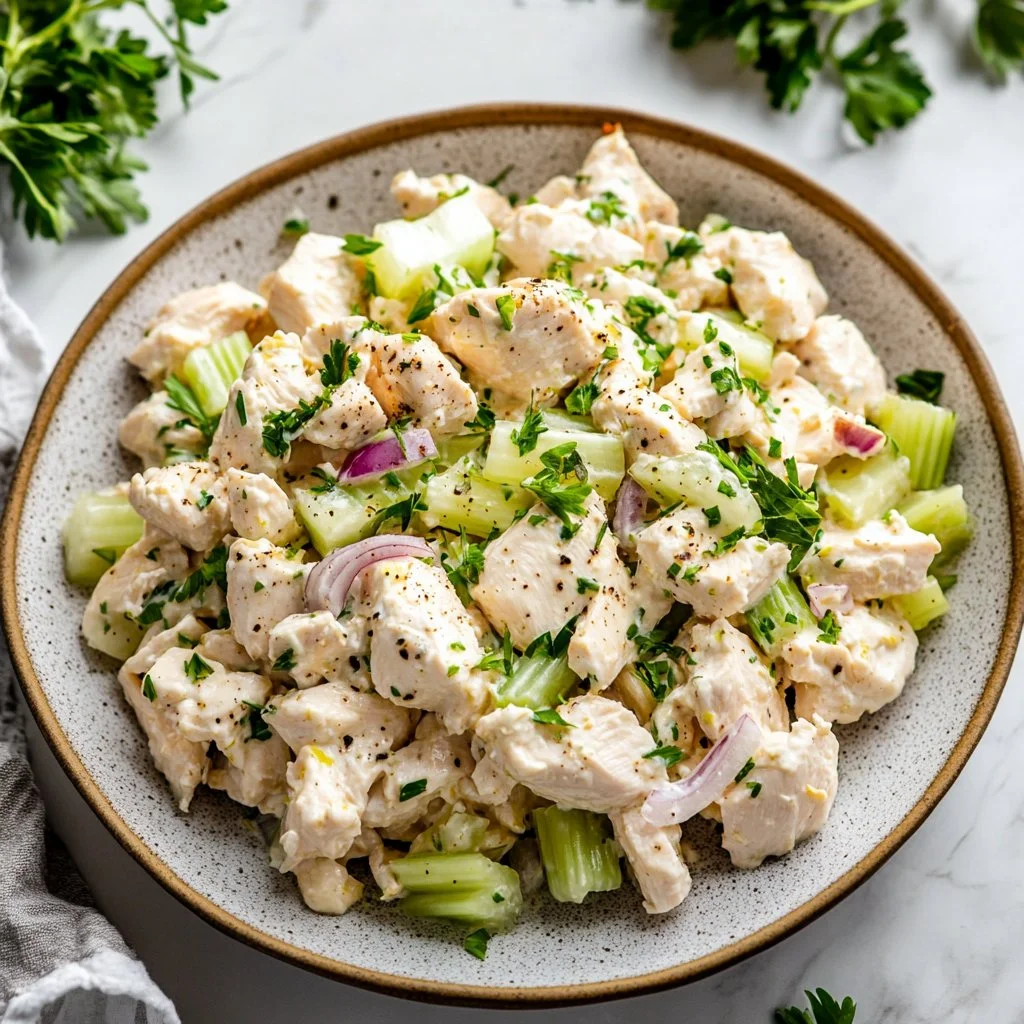
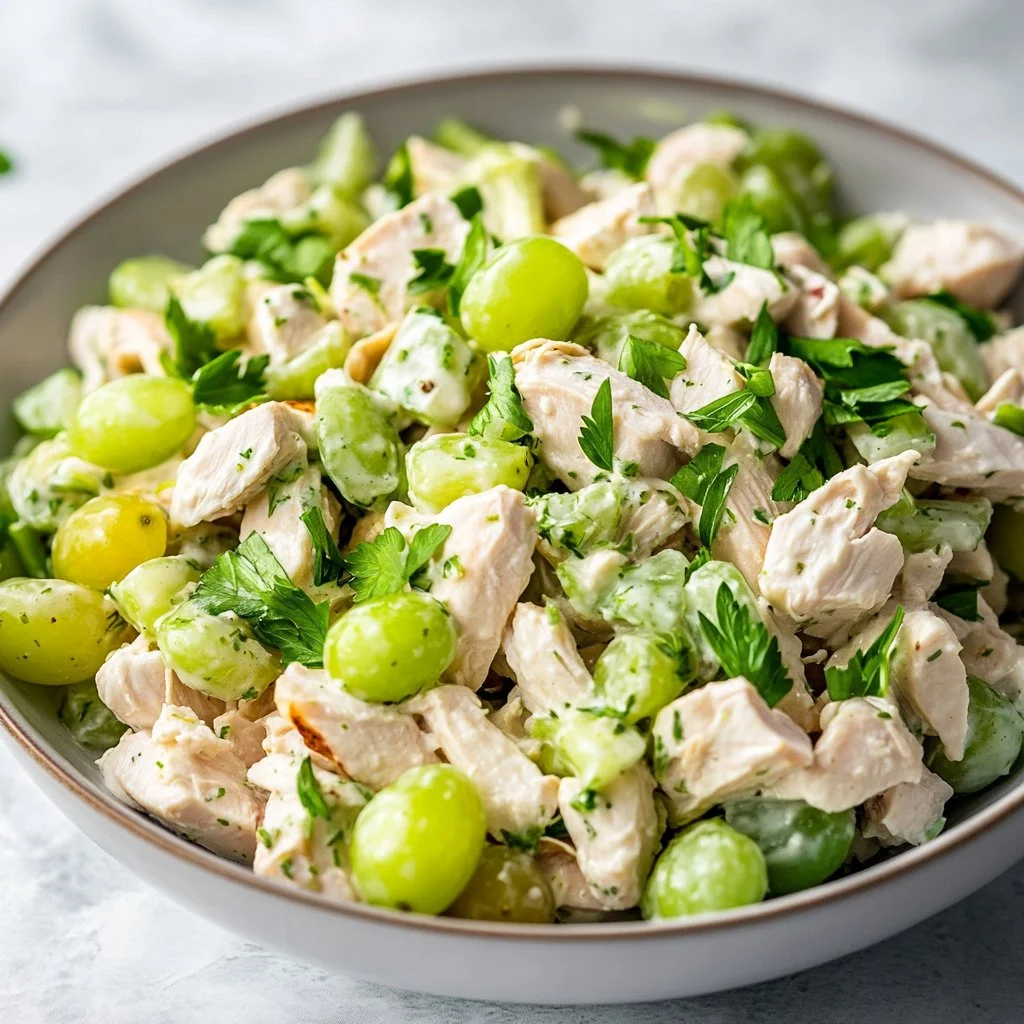
This recipe works because it balances creaminess, brightness, and crunch in one easy bite. The avocado brings healthy fats and a silky texture, while the Greek yogurt keeps the salad light and tangy. Lettuce cups add a fresh crunch and make the meal feel special without extra effort.
It also saves time. You can use leftover chicken or a rotisserie bird for a ready-made protein that needs only a few minutes to shred. That means less time cooking and more time at the table with family. For a slightly different take on avocado and chicken, check my Avocado Chicken Salad post.
Process Overview
“This is where the magic happens—when the aroma fills the kitchen.”
The process is simple. Shred or chop cooked chicken, mix it with yogurt, mayo, onion, and lemon, then fold in avocado. Spoon the mix into chilled lettuce leaves and serve. It takes about 10 to 15 minutes once your chicken is ready.
I like to prep the chicken ahead when I can. If the kids are home, I make it a small family task: one person shreds, another chops onions, and a third rinses lettuce. Simple teamwork makes dinner faster and more joyful.
Ingredients
- 2 cups cooked chicken, shredded (I use rotisserie)
Tip: Rotisserie chicken gives a rich flavor and saves time. If you prefer, roast a few boneless breasts the night before and shred them cold. - ¼ cup plain Greek Yogurt
Tip: Greek yogurt keeps the salad light and adds protein. Use full fat for creaminess or nonfat if you want fewer calories. - ¼ cup mayonnaise
Tip: A small amount of mayo rounds out the texture. I use light mayo for everyday meals and full mayo for gatherings. - 3 Tablespoons onions, finely chopped
Tip: Mild sweet onions or green onions work well for picky eaters. Rinse chopped white onion to tone down the bite. - 2 teaspoons lemon juice
Tip: Fresh lemon brightens the flavors. If fresh lemons are not available, use about 1½ teaspoons of bottled juice. - Salt and freshly ground black pepper, to taste
Tip: Start with a small pinch of each and taste before adding more. Kids often prefer less pepper. - 1 avocado, seeded, peeled, diced
Tip: Choose a ripe but firm avocado. If it is too soft, it will mash completely into the mix. - Romaine hearts or bib lettuce, about 16 leaves
Tip: Pick leaves that are whole and crisp. Bib lettuce is soft and tender for small hands, while romaine holds up better for travel.
For a spin on serving this mixture inside avocados, see my Chicken Salad Stuffed Avocado recipe.
Lily’s pantry notes
Keep extra lemons, plain yogurt, and mayo on hand. They make many quick meals possible, and you can adapt the salad for different tastes in minutes.
Directions
-
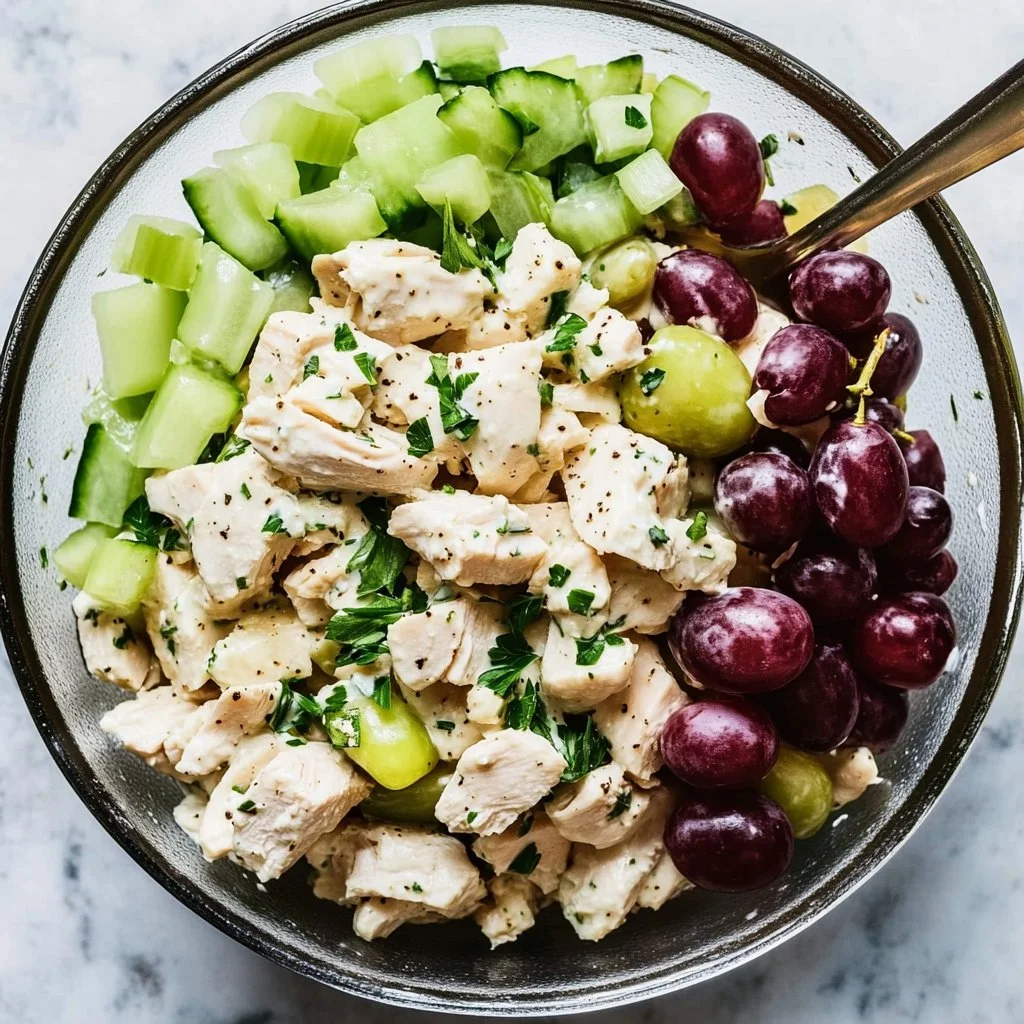
Add chicken, yogurt, mayo, onion, and lemon juice to a bowl and mix well to combine.
Encouragement: Use a large bowl so you can toss without spilling. A gentle toss keeps the chicken tender and cohesive. -
Season with salt and pepper, to taste.
Encouragement: Taste as you go. A little lemon can brighten a lot, and a small pinch of salt will bring the flavors forward. -
Stir in avocado.
Encouragement: Gently fold the avocado pieces in so they stay chunky and pretty. If you mash them slightly, the salad will be creamier. -
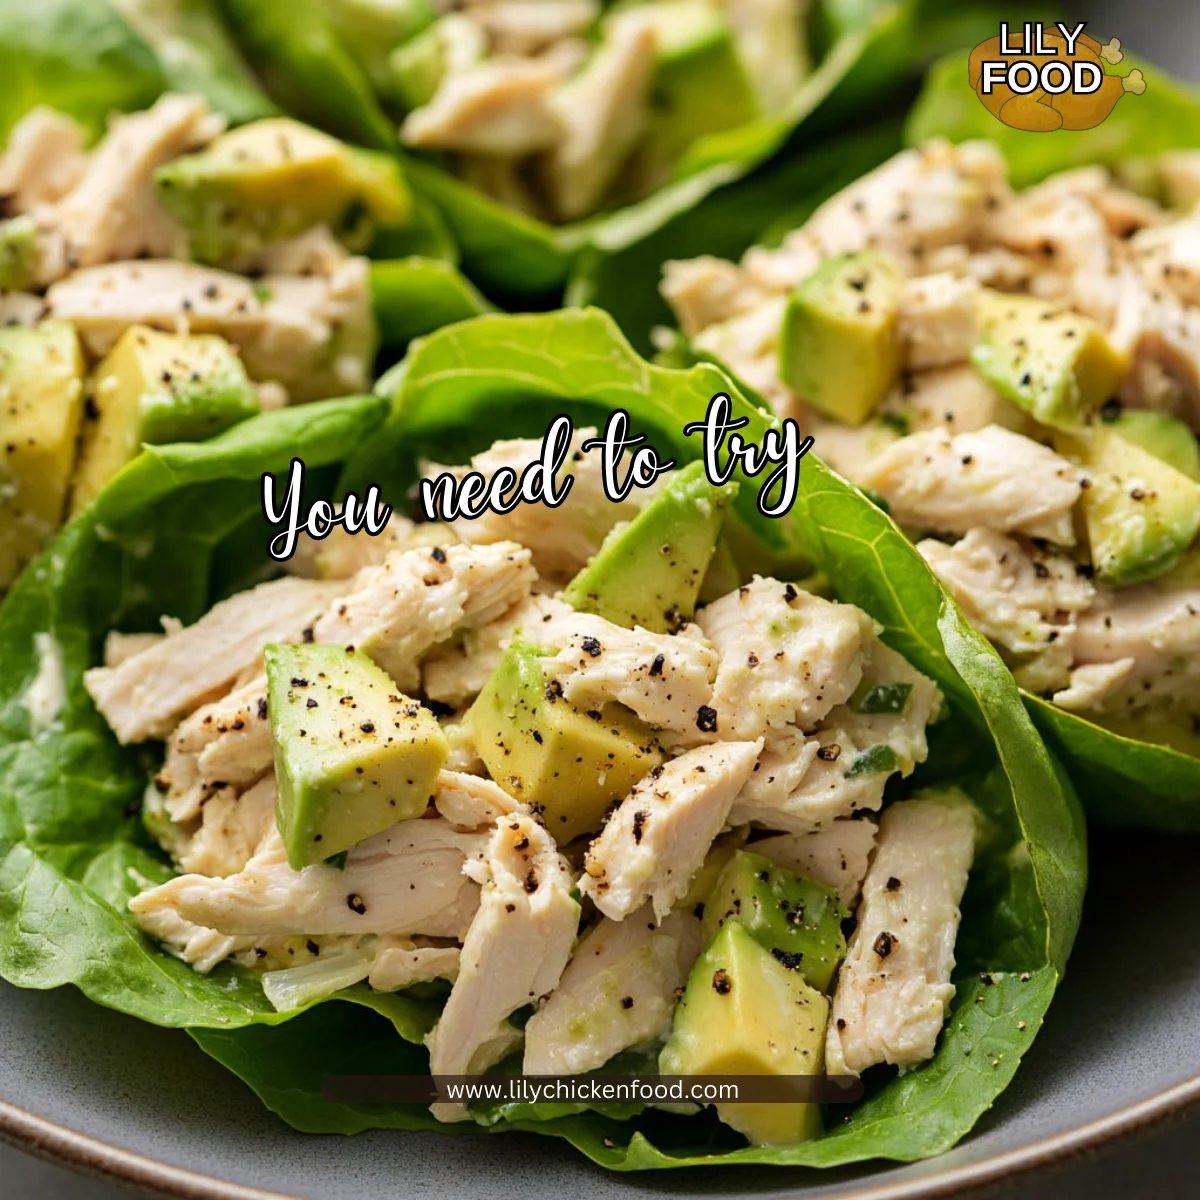
Serve in cold, crisp lettuce cups.
Encouragement: Chill the lettuce for ten minutes before serving for extra crunch. Arrange the cups like little boats on a platter to make dinner feel fun. -
You might also like Thai Chicken Lettuce Wraps!
Encouragement: If you want spice or herbs, add cilantro, a drizzle of chili sauce, or a sprinkle of chopped peanuts. For a southwest kick, try my Spicy Southwest Avocado Chicken Salad for inspiration.
Serve immediately for the best texture. If you wait too long, the lettuce will soften and the avocado will start to brown.
Serving
I serve these family style on a large platter. Place the lettuce cups on one side and a bowl of the chicken salad on the other. That way everyone can build their own wrap. Kids love choosing how much filling to add.
For a complete meal, offer simple sides like carrot sticks, cucumber slices, or a small fruit salad. Add a few lemon wedges and a small bowl of extra chopped herbs so guests can customize their wraps.
Presentation tips
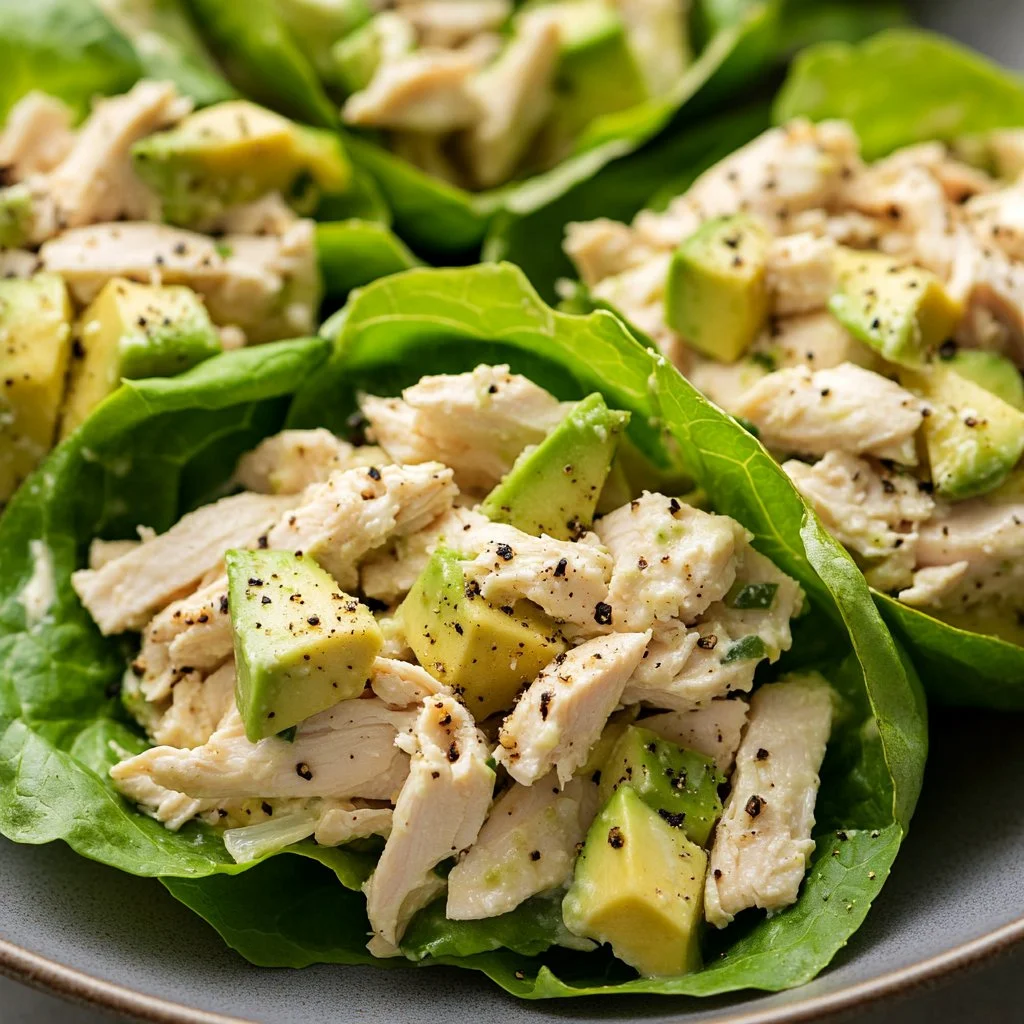
Use a shallow bowl to serve the chicken salad, so it is easy to scoop. Garnish with a few thin slices of avocado and a light dusting of black pepper for a homely but pretty finish.
Storage
Store cooled chicken salad in an airtight container in the refrigerator for up to 2 days. The avocado will brown slightly but the lemon slows the process.
If you want to prepare part of it ahead, make the chicken salad without avocado and keep it chilled. Dice and add fresh avocado within an hour before serving for best color and texture.
Do not freeze this salad. The lettuce will not hold up and avocado gets mushy after thawing.
Reheating and make-ahead
If your chicken is cold, you can warm just the chicken before mixing, then cool slightly before adding yogurt and avocado. For salads on busy days, shred chicken and mix the dressing separately. Combine everything at the last minute.
Kitchen Notes
- Shortcut: Use a store-bought rotisserie chicken to save 20 to 30 minutes.
- Shortcut: Swap plain Greek yogurt for dairy-free yogurt if needed.
- Shortcut: Use pre-washed lettuce hearts to cut prep time.
- Shortcut: Chop onions and store in a sealed container for up to two days to speed assembly.
- Shortcut: Keep lemons zested and juiced in small containers in the fridge to add fresh flavor fast.
Variations
- Kid-Friendly: Leave out raw onions and pepper. Mix in a small spoonful of honey for a sweet twist.
- Low-Carb: Serve in large butter lettuce leaves or romaine hearts to keep it light.
- Dairy-Free: Replace Greek yogurt with an equal amount of dairy-free yogurt and use avocado for creaminess.
- High-Protein: Stir in a tablespoon of hemp seeds or chopped hard-boiled eggs.
- Mediterranean Twist: Add chopped kalamata olives, diced cucumber, and a sprinkle of feta. For a fruit-forward version, check my Asian Chicken Cranberry Salad for ideas on mixing sweet and savory.
FAQ
Q: Can I use frozen chicken?
A: Yes. Thaw and warm it, then cool slightly before shredding. Avoid using hot chicken with yogurt to keep the salad texture right.
Q: How ripe should the avocado be?
A: Use an avocado that gives slightly to gentle pressure. Too soft and it will mash; too hard and it will be dry.
Q: Can I make this ahead for a picnic?
A: Make the chicken mixture up to a day ahead but add avocado right before serving. Pack lettuce leaves separately and assemble outdoors.
Q: Is this recipe freezer-friendly?
A: No. The avocado and lettuce do not freeze well. Freeze only the cooked chicken if you want long-term storage.
Q: How can I make this spicier?
A: Add a pinch of cayenne, a drizzle of hot sauce, or diced jalapeño to the mix. Start small and taste as you go.
Conclusion
I hope this Avocado Chicken Salad Lettuce Wraps recipe becomes one of those meals your family asks for again and again. The mix of creamy avocado, tangy yogurt, and crisp lettuce makes a light but satisfying dinner that is quick enough for weeknights and pretty enough for company.
For another take on the same flavors and an easy make-ahead option, see the recipe at Its Thyme 2 Cook for Avocado Chicken Salad Lettuce Wraps. If you want a slightly different method and extra tips, check the version at Domesticate ME for Avocado Chicken Salad Lettuce Wraps.
Thanks for cooking with me. Gather the family, pass the platter, and enjoy the simple pleasure of a homemade meal.

Avocado Chicken Salad Lettuce Wraps
Ingredients
Main Ingredients
- 2 cups cooked chicken, shredded (I use rotisserie) (Rotisserie chicken gives a rich flavor and saves time. If you prefer, roast a few boneless breasts the night before and shred them cold.)
- ¼ cup plain Greek Yogurt (Keeps the salad light and adds protein. Use full fat for creaminess or nonfat if you want fewer calories.)
- ¼ cup mayonnaise (A small amount of mayo rounds out the texture. I use light mayo for everyday meals and full mayo for gatherings.)
- 3 Tablespoons onions, finely chopped (Mild sweet onions or green onions work well for picky eaters. Rinse chopped white onion to tone down the bite.)
- 2 teaspoons lemon juice (Fresh lemon brightens the flavors. If fresh lemons are not available, use about 1½ teaspoons of bottled juice.)
- Salt and freshly ground black pepper, to taste (Start with a small pinch of each and taste before adding more. Kids often prefer less pepper.)
- 1 avocado, seeded, peeled, diced (Choose a ripe but firm avocado. If it is too soft, it will mash completely into the mix.)
- about 16 leaves Romaine hearts or bib lettuce (Pick leaves that are whole and crisp. Bib lettuce is soft and tender for small hands, while romaine holds up better for travel.)
Instructions
Preparation
- Add chicken, yogurt, mayo, onion, and lemon juice to a bowl and mix well to combine.
- Season with salt and pepper, to taste.
- Stir in avocado.
- Serve in cold, crisp lettuce cups.