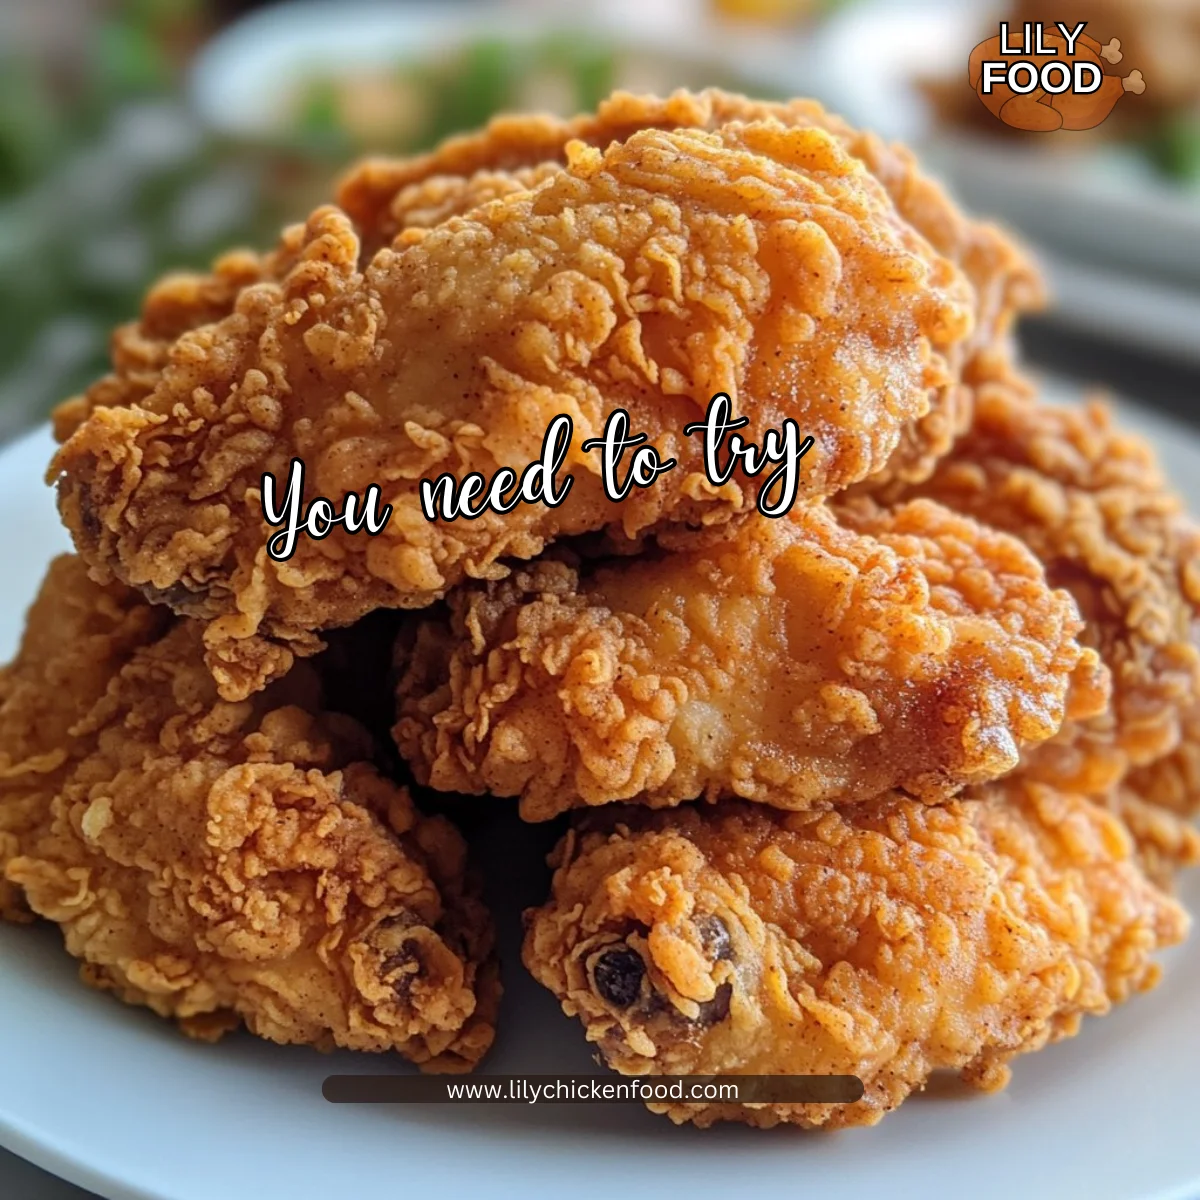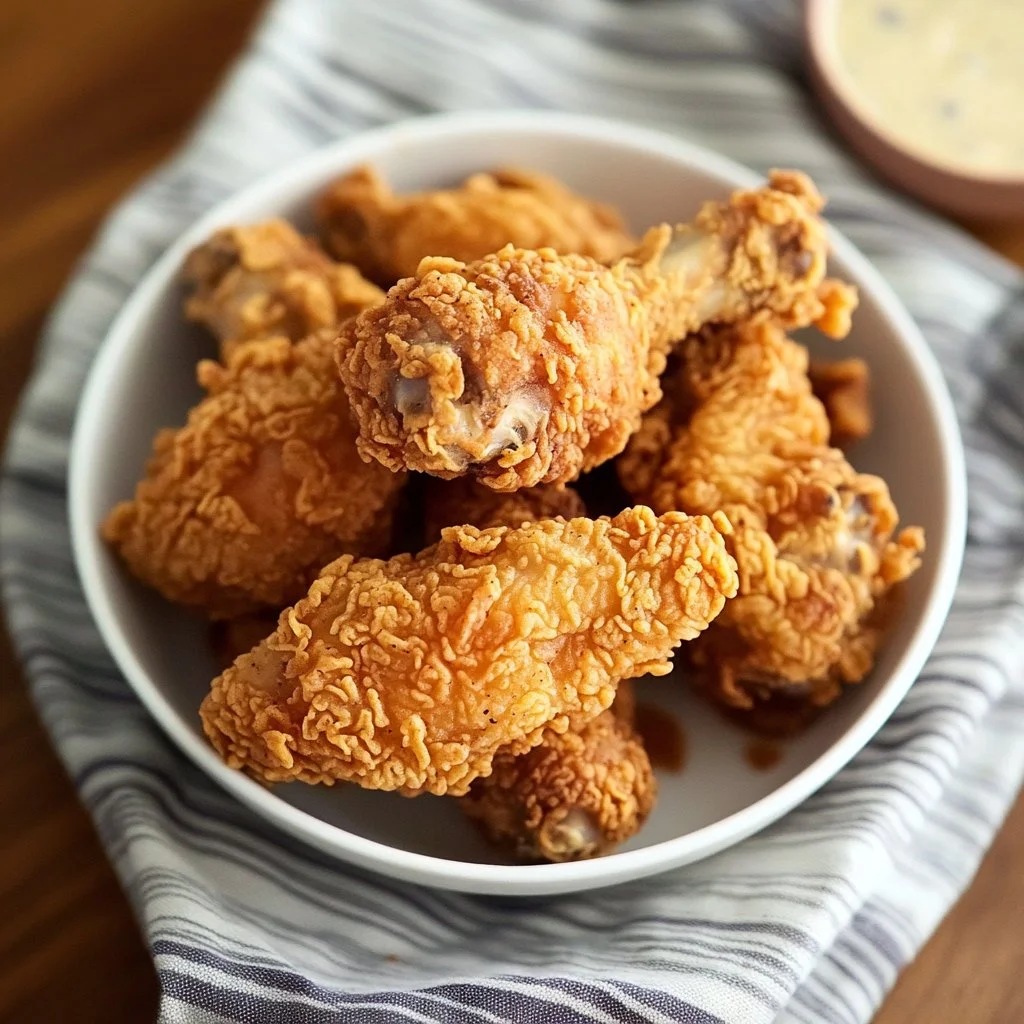
I can smell that first sizzle even now. The kitchen hums with the sound of oil warming and the soft clink of a wire rack. You can almost hear the laughter of family gatherings that follow a big plate of crispy chicken.
Hi, I am Lily. I have been cooking for my family for over 15 years and testing fried chicken recipes until they felt right. Today I share a copycat KFC chicken that brings comfort, crunch, and a little bit of kitchen joy. If you want a reliable guide that works for weeknights and special meals, you will find it here. For more fried chicken inspiration, check my full copycat guide at my copycat KFC fried chicken recipe.
Why this works
This recipe balances flavor, crunch, and ease so busy families get great results without stress. The buttermilk tenderizes while the flour and cornstarch blend creates the extra-crisp crust that holds up for serving family-style. I love how it stretches to feed a crowd.
Using simple pantry spices saves time. You do not need fancy tools or rare ingredients. A little planning while the chicken marinates lets you make sides or set the table. If you need quick oven or air fryer ideas while the chicken rests, try my 30 minute oven-baked thighs for a no-fuss option.
Process Overview
“This is where the magic happens—when the aroma fills the kitchen.”
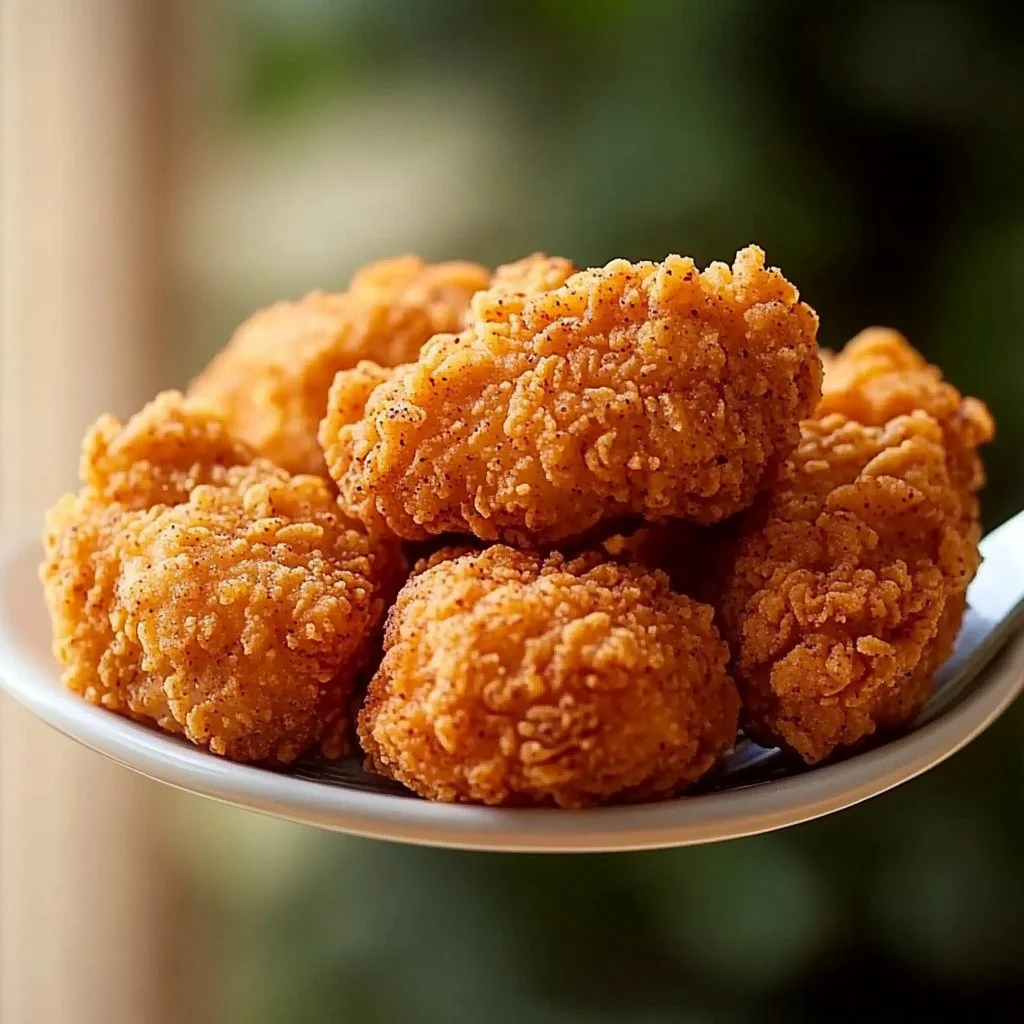
Think of this as three stages: marinate, coat, and fry. The marinade builds flavor and tenderness. The double-coating step gives the crunchy bite. Frying at the right temperature cooks the meat through without burning the crust.
If you want a quick weeknight twist, you can try a teriyaki bowl for the family while one batch fries by following a different easy recipe I love at my 30-minute teriyaki chicken bowl.
Ingredients
- 3 lbs chicken pieces (legs, thighs, breasts)
Tip: Use bone-in pieces for the best flavor and juicier meat. Trim excess skin if you prefer less grease. - 2 cups buttermilk
Tip: If you do not have buttermilk, mix 2 cups milk with 2 tablespoons lemon juice and let sit 5 minutes. - 2 large eggs
Tip: Beat the eggs well so they mix smoothly into the buttermilk for even coating. - 2 cups all-purpose flour
Tip: Spoon and level the flour into the cup for an accurate measure. - 1/2 cup cornstarch
Tip: Cornstarch lightens the crust and helps it crisp up quickly. - 2 tsp salt
Tip: Use kosher salt if you can. Adjust to taste depending on your salt brand. - 1 tsp black pepper
Tip: Freshly ground black pepper has better flavor than pre-ground. - 1 tbsp paprika
Tip: Smoked paprika adds a gentle warmth. Use sweet paprika for a milder taste. - 1 tsp garlic powder
Tip: Garlic powder gives depth without changing texture. - 1 tsp onion powder
Tip: Onion powder builds savory flavor in the crust. - 1/2 tsp dried thyme
Tip: Crush between your fingers to release the oils before adding. - 1/2 tsp dried basil
Tip: Basil adds a subtle herb note that families often love. - 1/2 tsp oregano
Tip: Oregano is classic in savory blends and pairs well with poultry. - 1/2 tsp celery salt
Tip: Celery salt gives that classic diner flavor some people associate with fried chicken. - 1/2 tsp ground mustard
Tip: Ground mustard adds a bright, warm edge to the spice blend. - 1/4 tsp ground ginger
Tip: Just a pinch of ginger brightens the overall taste. - 1/4 tsp white pepper
Tip: White pepper offers a different peppery note without black specks. - Vegetable oil (for frying)
Tip: Use a neutral oil with a high smoke point like canola or peanut oil. Fill the fryer or skillet no more than one-third full.
If you want a lighter technique, try adapting these flavors for air fryer chicken breasts.
Directions
-
In a large bowl, whisk together the buttermilk and eggs. Add chicken pieces and cover. Marinate in the fridge for at least 4 hours or overnight for best flavor.
Note: Marinating overnight gives deeper flavor and more tender meat. If you are short on time, 4 hours still makes a big difference. -
In another large bowl, whisk together flour, cornstarch, salt, pepper, and all the spices.
Note: Mix thoroughly so each bite gets an even flavor. Keep a little extra flour on hand for touch-ups. -
Remove chicken from marinade, letting excess drip off. Dredge each piece in the flour mixture, pressing firmly to coat well.
Note: Pressing the coating helps it adhere. Do not be shy about a thick coat if you want extra crunch. -
Place coated chicken on a wire rack and let rest for 10–15 minutes to help the coating stick.
Note: This step reduces flaking. Use this time to make a simple coleslaw or warm biscuits. -
Heat oil in a deep fryer or heavy skillet to 350°F (175°C).
Note: Use a thermometer for accuracy. Too hot and the crust burns. Too cool and the crust soaks up oil. -
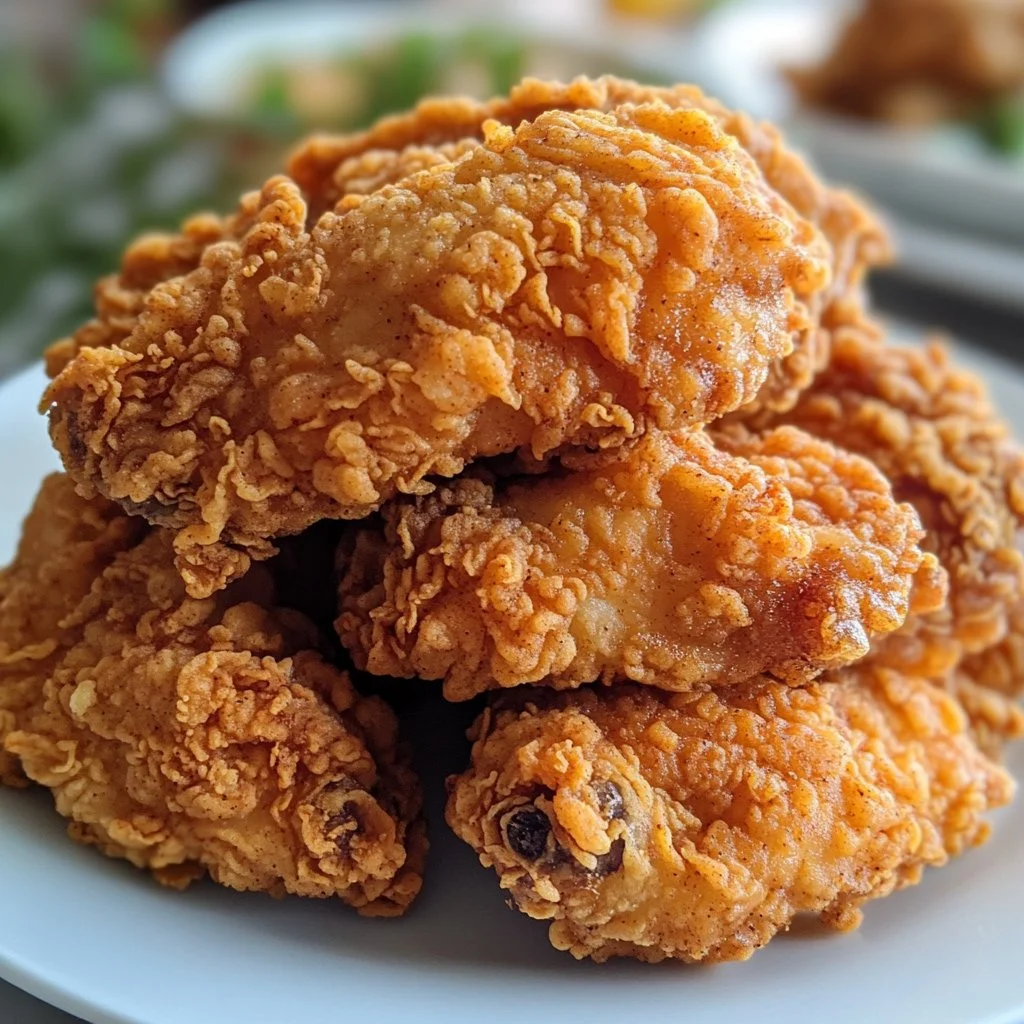
Fry chicken in batches, turning occasionally, for 15–18 minutes or until golden brown and internal temperature reaches 165°F.
Note: Keep batches small so the oil temperature stays steady. Use a meat thermometer to be sure the chicken is done. -
Drain on paper towels and let rest 5 minutes before serving.
Note: Resting lets juices redistribute. Serve while warm and crunchy for the best family smiles.
If you ever prefer wings done in the oven or air fryer as an alternative for smaller meals, I find this small change helpful: follow my guide to air fryer chicken wings for crispy results without deep frying.
Serving
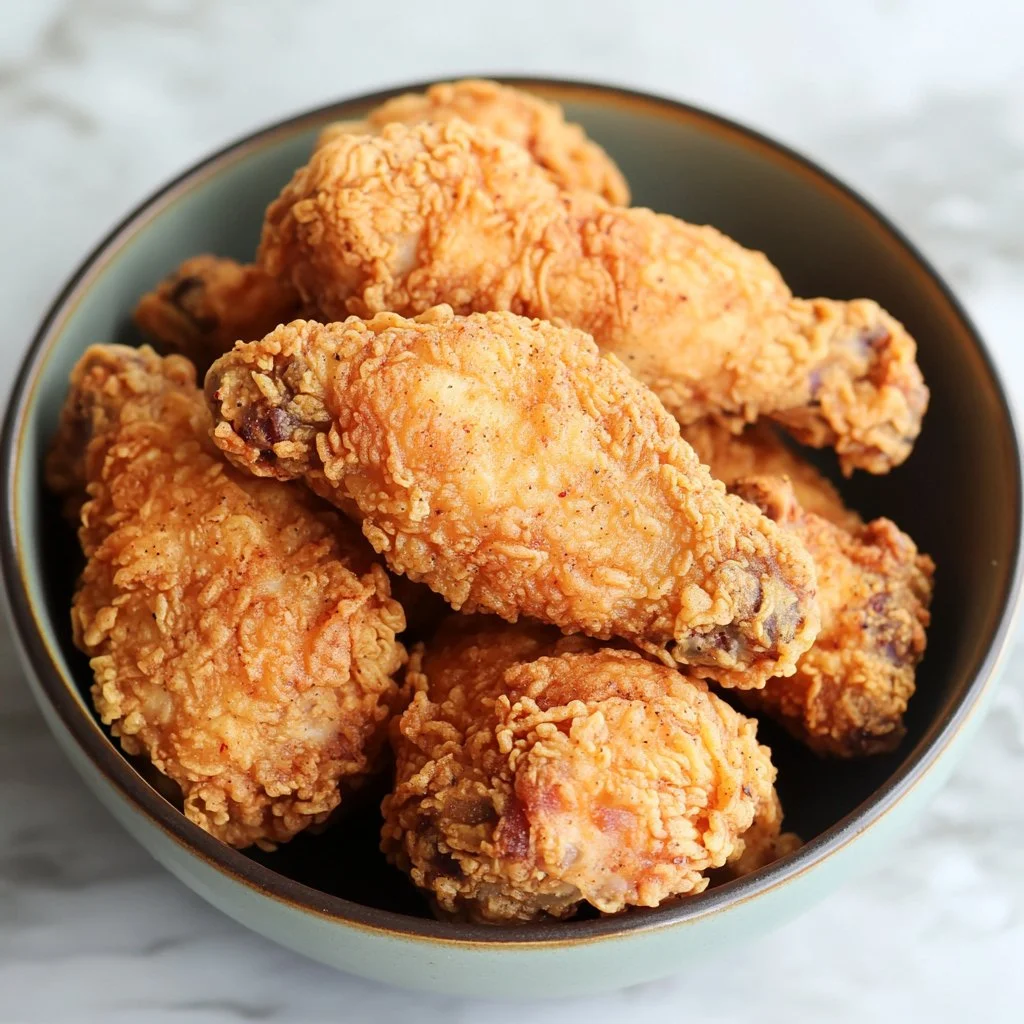
Serve this chicken family-style on a large platter so everyone can pick their favorite pieces. Add warm biscuits, mashed potatoes, and coleslaw for a classic meal. Pour a jug of sweet tea or iced lemonade for the kids and grown-ups.
To make a simple family platter, place the chicken on a wire rack over a tray to keep the crust crisp. Add a bowl of pickles and a small dish of honey or hot sauce for dipping. Let each person help build their plate. Eating together makes the meal feel special.
Storage
Refrigerator: Store leftover chicken in an airtight container for up to 3 days. Place a paper towel in the container to absorb excess oil and help the crust stay crisp.
Freezer: Cool completely, wrap each piece in plastic wrap, then freeze in a sealed bag for up to 2 months. Thaw overnight in the fridge before reheating.
Reheat: Reheat in a 375°F oven on a wire rack for 10–15 minutes until heated through and crisp. Avoid microwaving if you want the crust to stay crunchy. For faster reheating, a 350°F air fryer for 6–8 minutes works well.
Kitchen Notes
- Use a thermometer to keep oil at 350°F for even cooking and less oil absorption.
- Set up an assembly line: marinade bowl, flour bowl, wire rack. It makes coating faster and less messy.
- If kids are picky about spices, omit white pepper and reduce paprika by half for a milder crust.
- Save time by preparing the spice mix ahead and storing it in a sealed jar.
- Reuse oil once after straining and cooling. Store in a sealed container and use again within a week.
Variations
- Oven Baked: Toss coated pieces with a light spray of oil and bake at 425°F for 35–40 minutes until golden and cooked through.
- Spicy: Add 1 tsp cayenne pepper to the flour mix for kick. Serve with ranch to cool things down.
- Gluten-Free: Swap the flour with a 1-to-1 gluten-free flour and use potato starch instead of cornstarch for a similar texture.
- Herb Forward: Increase thyme and basil and add 1 tsp rosemary for a herbal twist that pairs well with lemon wedges.
- Kid-Friendly: For children who do not like visible spices, use only salt, pepper, and a touch of paprika. Serve with ketchup and steamed veggies.
FAQ
Q: Can I use boneless chicken?
A: Yes. Boneless pieces cook faster. Reduce frying time to about 8–12 minutes depending on size and check for 165°F internal temperature.
Q: Why do you use cornstarch?
A: Cornstarch helps create a lighter, crispier crust. It works with flour to make the coating hold and crisp quickly in hot oil.
Q: Can I double-coat for extra crunch?
A: Absolutely. After the first coat, dip the chicken back into the marinade briefly and dredge again. Press the second coat firmly for a thick crust.
Q: How do I keep the coating from falling off?
A: Letting the chicken rest on a rack for 10–15 minutes before frying helps the coating set. Also keep the oil temperature steady to prevent heavy bubbling that knocks off the crust.
Q: Is this recipe close to the real KFC mix?
A: This is a copycat inspired by classic fried chicken blends. It captures familiar notes like celery salt and paprika while staying family-friendly. For a tested copycat reference, see resources I used while developing this recipe.
Conclusion
Thank you for cooking with me today. I hope this copycat KFC chicken brings warmth and easy joy to your family table. For a well-tested restaurant-style take, you might enjoy the detailed recipe shown on Easy Copycat KFC Chicken Recipe – Mashed. If you are curious about whether leaked recipes match the restaurant versions, this discussion offers interesting insights: Copycat KFC? Is the leaked recipe the real deal?.
Happy cooking, and tell your family I said hello. Warmly, Lily

Copycat KFC Fried Chicken
Ingredients
For the Marinade
- 3 lbs chicken pieces (legs, thighs, breasts) (Use bone-in pieces for the best flavor and juicier meat. Trim excess skin if you prefer less grease.)
- 2 cups buttermilk (If you do not have buttermilk, mix 2 cups milk with 2 tablespoons lemon juice and let sit 5 minutes.)
- 2 large eggs (Beat the eggs well so they mix smoothly into the buttermilk for even coating.)
For the Coating
- 2 cups all-purpose flour (Spoon and level the flour into the cup for an accurate measure.)
- 1/2 cup cornstarch (Cornstarch lightens the crust and helps it crisp up quickly.)
- 2 tsps salt (Use kosher salt if you can. Adjust to taste depending on your salt brand.)
- 1 tsp black pepper (Freshly ground black pepper has better flavor than pre-ground.)
- 1 tbsp paprika (Smoked paprika adds a gentle warmth. Use sweet paprika for a milder taste.)
- 1 tsp garlic powder (Garlic powder gives depth without changing texture.)
- 1 tsp onion powder (Onion powder builds savory flavor in the crust.)
- 1/2 tsp dried thyme (Crush between your fingers to release the oils before adding.)
- 1/2 tsp dried basil (Basil adds a subtle herb note that families often love.)
- 1/2 tsp oregano (Oregano is classic in savory blends and pairs well with poultry.)
- 1/2 tsp celery salt (Celery salt gives that classic diner flavor some people associate with fried chicken.)
- 1/2 tsp ground mustard (Ground mustard adds a bright, warm edge to the spice blend.)
- 1/4 tsp ground ginger (Just a pinch of ginger brightens the overall taste.)
- 1/4 tsp white pepper (White pepper offers a different peppery note without black specks.)
For Frying
- Vegetable oil (for frying) (Use a neutral oil with a high smoke point like canola or peanut oil. Fill the fryer or skillet no more than one-third full.)
Instructions
Marinate
- In a large bowl, whisk together the buttermilk and eggs. Add chicken pieces and cover. Marinate in the fridge for at least 4 hours or overnight for best flavor.
Prepare the Coating
- In another large bowl, whisk together flour, cornstarch, salt, pepper, and all the spices.
- Mix thoroughly so each bite gets an even flavor. Keep a little extra flour on hand for touch-ups.
Coat Chicken
- Remove chicken from marinade, letting excess drip off. Dredge each piece in the flour mixture, pressing firmly to coat well.
- Place coated chicken on a wire rack and let rest for 10–15 minutes to help the coating stick.
Fry Chicken
- Heat oil in a deep fryer or heavy skillet to 350°F (175°C).
- Fry chicken in batches, turning occasionally, for 15–18 minutes or until golden brown and internal temperature reaches 165°F.
- Drain on paper towels and let rest 5 minutes before serving.