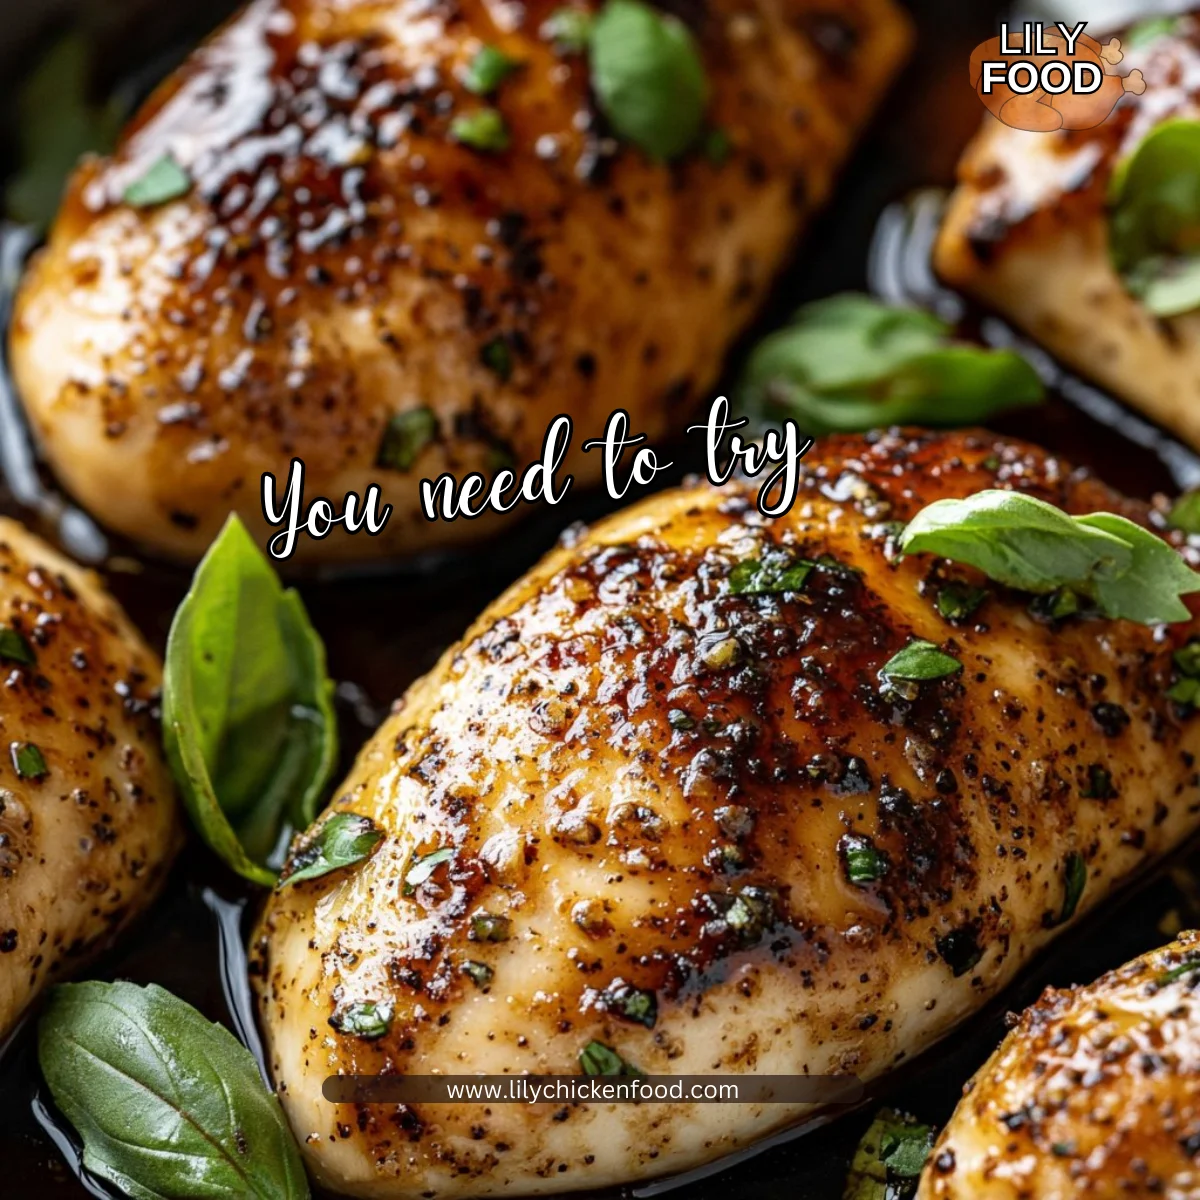
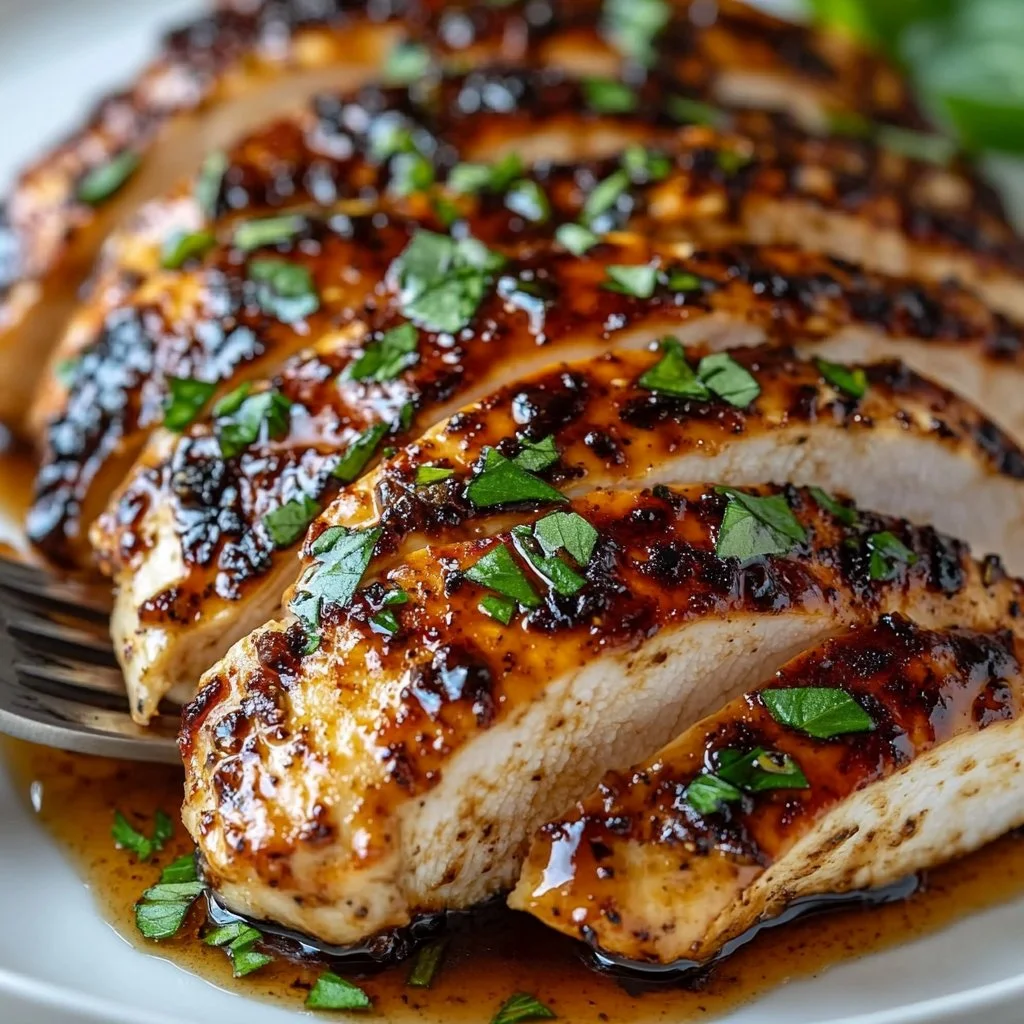
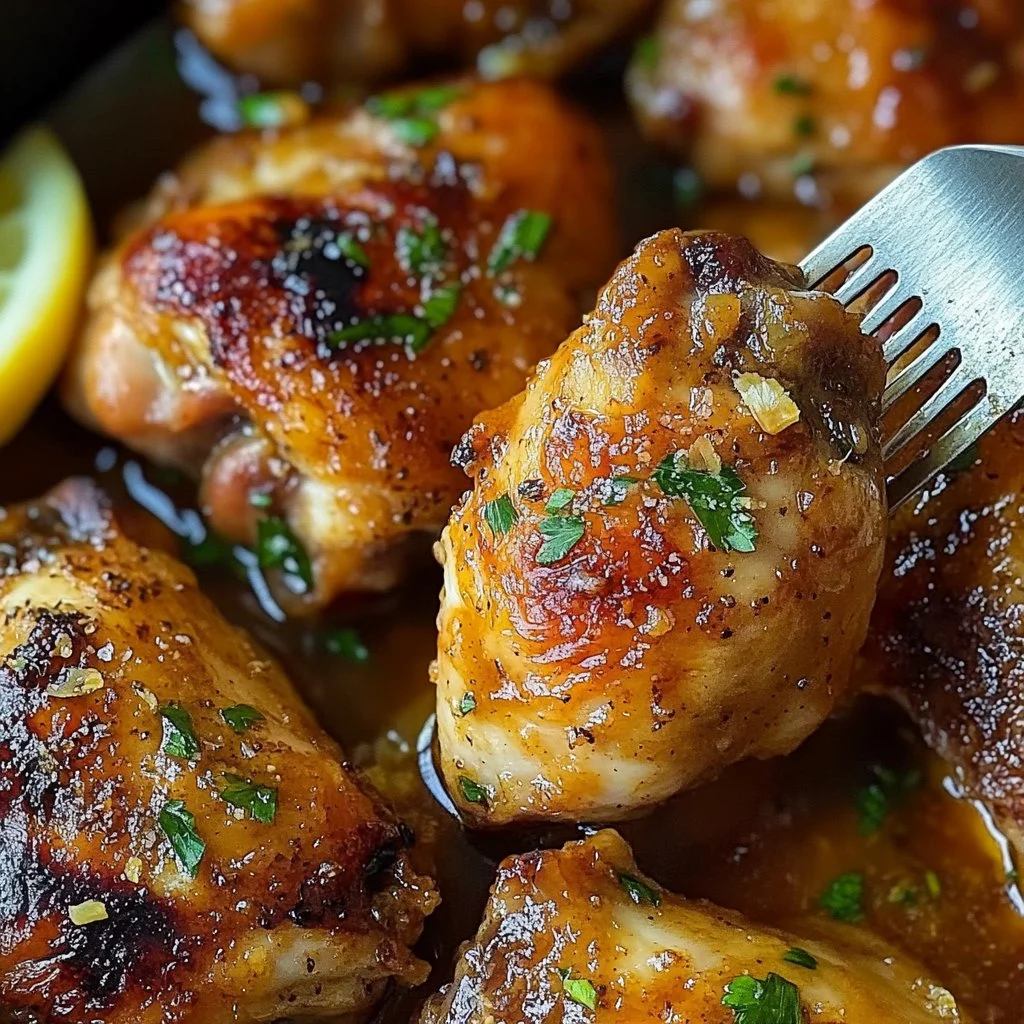
There’s something magical about the scent of roasting chicken wafting through the kitchen. The rich, savory aroma fills every corner, inviting everyone to gather around. You can almost hear the sizzle as the chicken transforms into a golden-brown masterpiece. Imagine the anticipation as you pull those juicy, crispy chicken thighs from the oven, ready to delight your family.
Why This Works
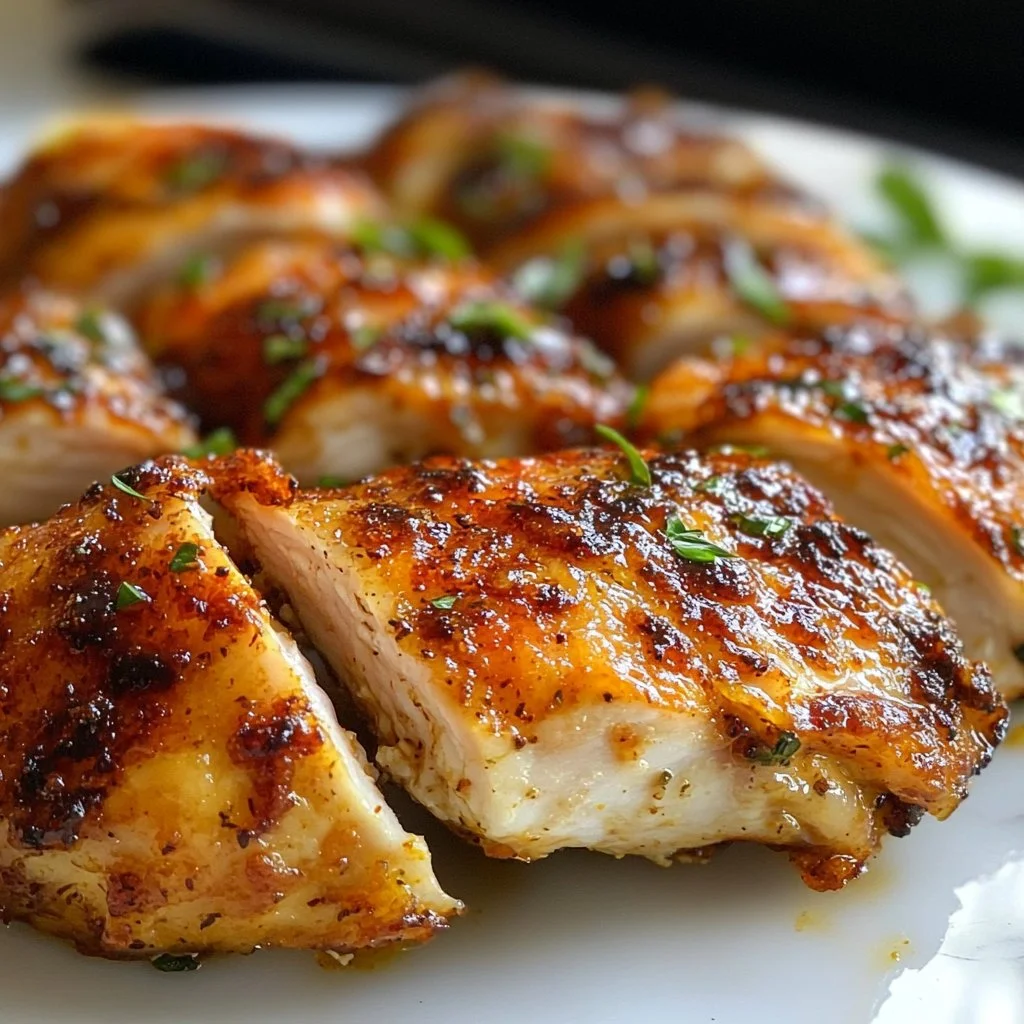
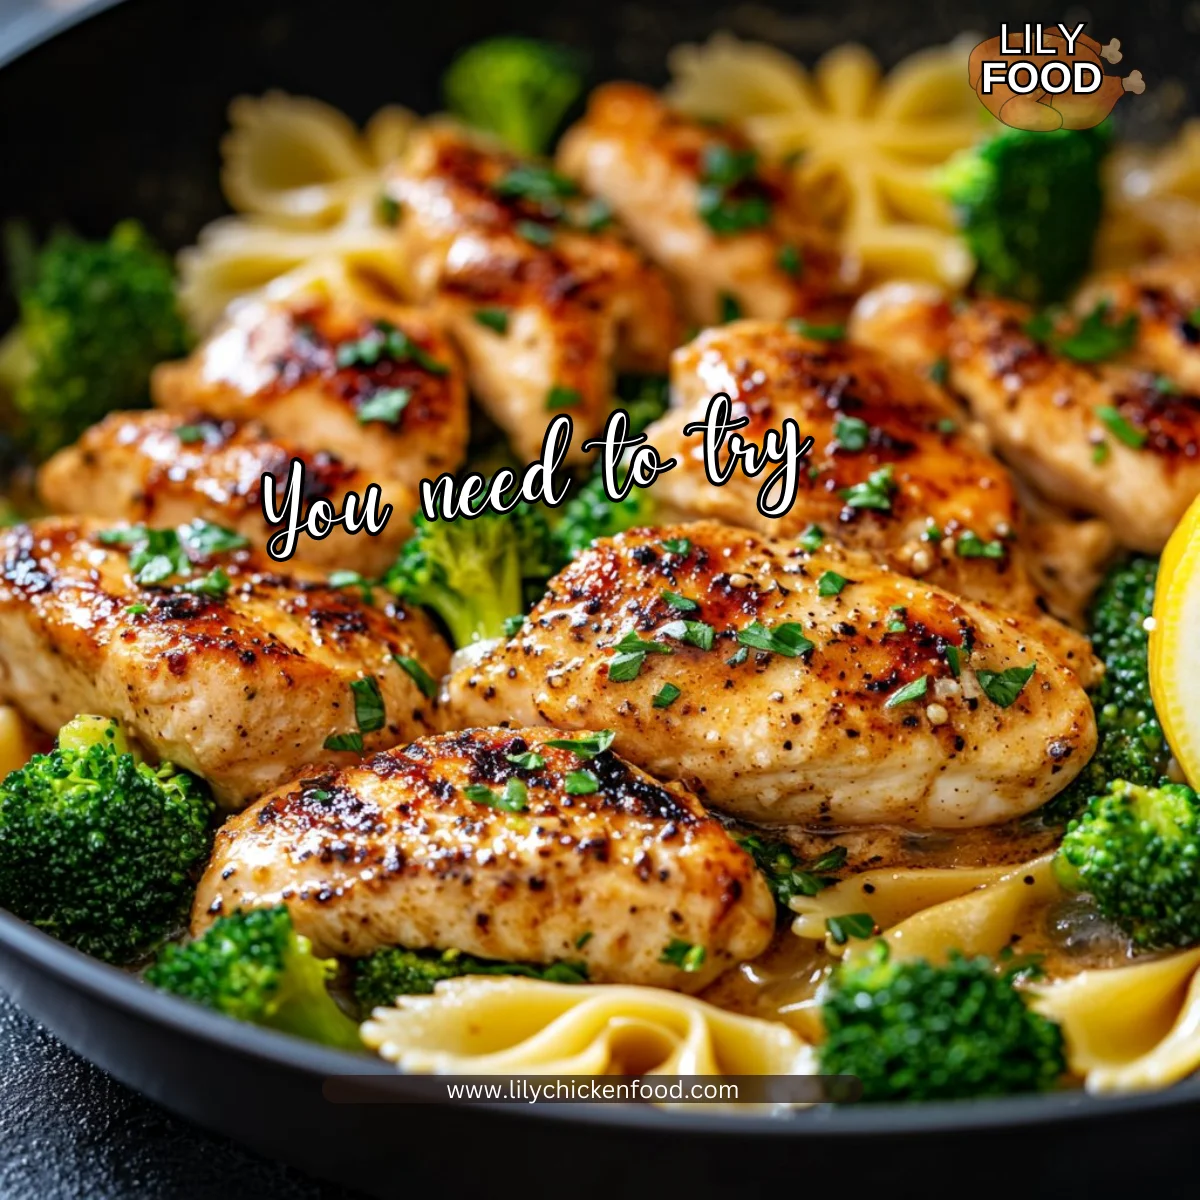
Juicy crispy chicken thighs are the ultimate family meal. They are simple to prepare, crave-worthy, and don’t demand hours in the kitchen. You can easily serve this dish on a busy weeknight or for a special Sunday dinner. Not only does it save time, but the delicious results will make your loved ones feel special and cared for.
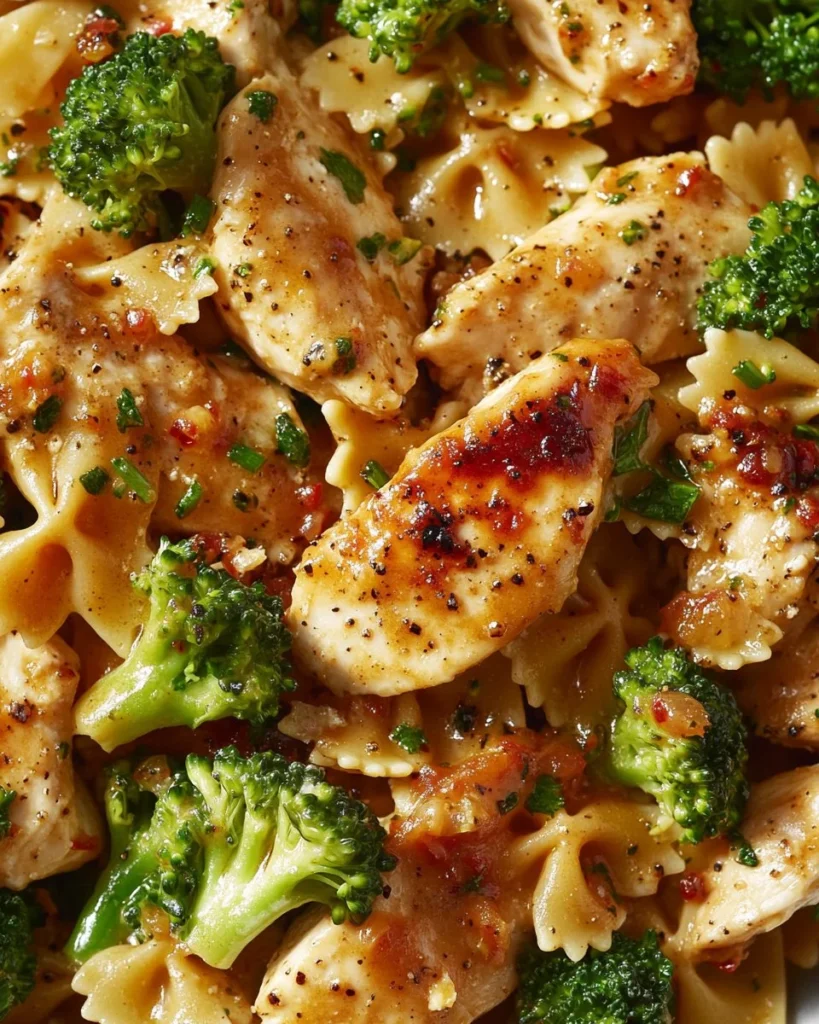
The skin crisps up beautifully, while the chicken remains tender and juicy on the inside. This recipe is designed to please everyone at the table—both kids and adults alike. Plus, it’s versatile enough to be enjoyed in wraps, salads, or on its own with sides of your choosing.
Process Overview
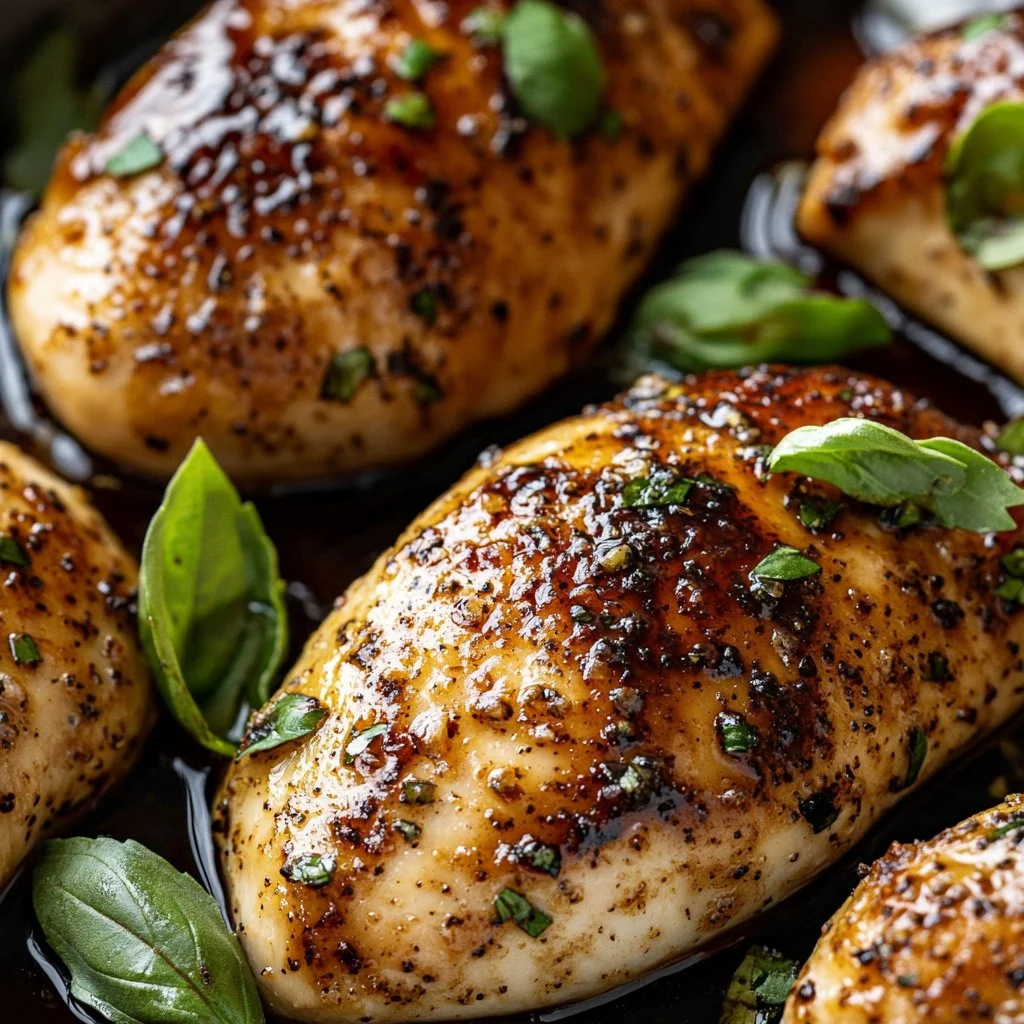
“This is where the magic happens—when the aroma fills the kitchen.”
The process for making these chicken thighs is straightforward. You will season them, roast them, and watch as they turn into a dish everyone will love. Follow the steps closely, and you’ll create a comforting family meal that’s sure to impress.
Ingredients
To get started, you’ll need a few key ingredients:
- Chicken Thighs: Bone-in, skin-on thighs work best for flavor and crispiness.
- Salt: Essential for enhancing the flavor of the chicken.
- Pepper: Freshly cracked black pepper adds a mild kick.
- Garlic Powder: Provides a hint of garlicky goodness.
- Onion Powder: Adds depth and sweetness.
- Paprika: Gives a beautiful color and a subtle smokiness.
- Olive Oil: Helps to crisp the skin and locks in moisture.
Lily’s Tips: When buying chicken, choose thighs that have a good amount of fat for extra juiciness. If you’re watching salt intake, feel free to adjust the seasoning to your preference. Fresh herbs can also be added to jazz it up if you have any on hand, like rosemary or thyme.
Directions
-
Preheat the oven to 425°F (220°C). This temperature ensures the chicken cooks perfectly and crisps up nicely.
-
Pat the chicken thighs dry and place them in a bowl. This step is crucial. Drying them helps the skin become crispy as they roast.
-
Drizzle with olive oil and season generously with salt, pepper, garlic powder, onion powder, and paprika. Don’t be shy with the seasoning. It really brings out the flavors!
-
Arrange the chicken thighs on a baking sheet, skin side up if they have skin. Make sure there’s enough space around each piece for even cooking.
-
Roast in the oven for about 30-35 minutes, or until the chicken reaches an internal temperature of 165°F (75°C) and the top is crispy and golden. Use a meat thermometer for accuracy.
-
Let rest for a few minutes before serving or using in wraps, salads, or sandwiches. This resting time allows the juices to redistribute, making every bite more flavorful.
Serving

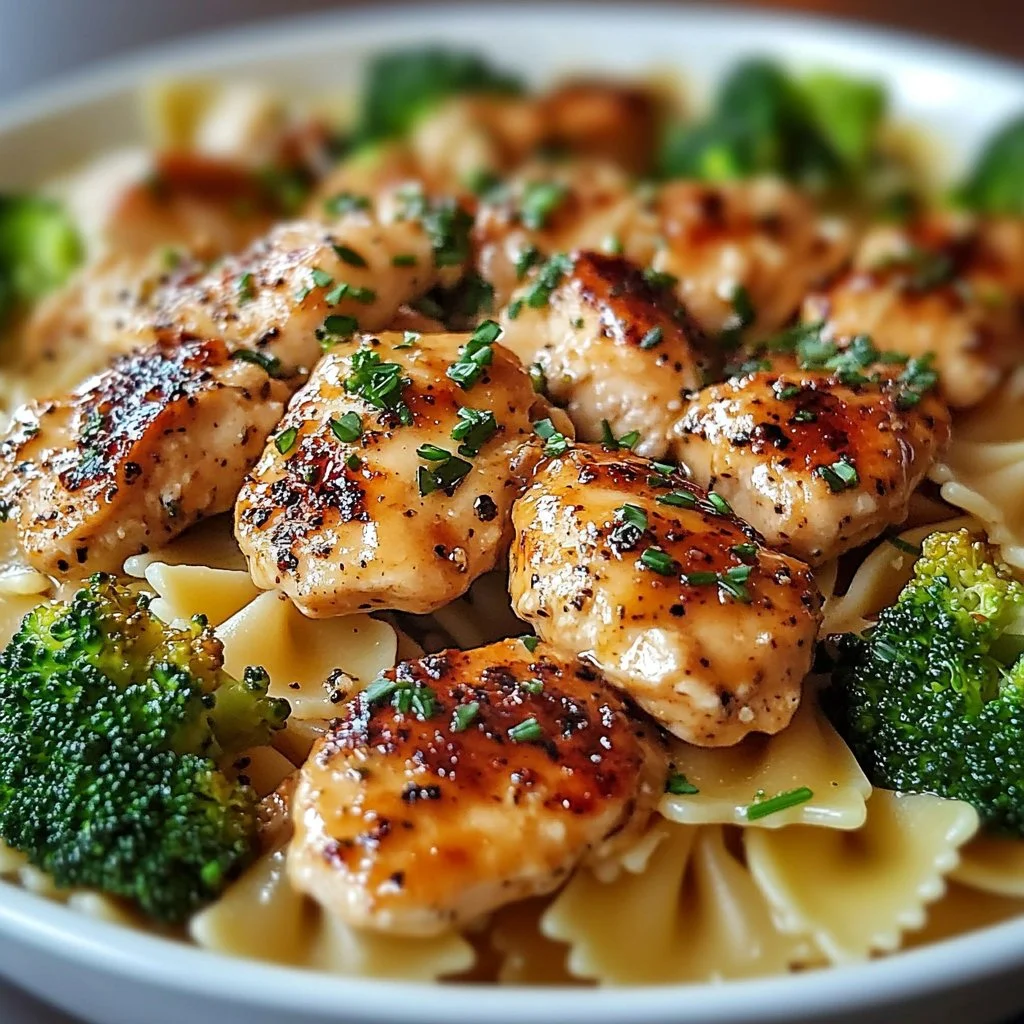
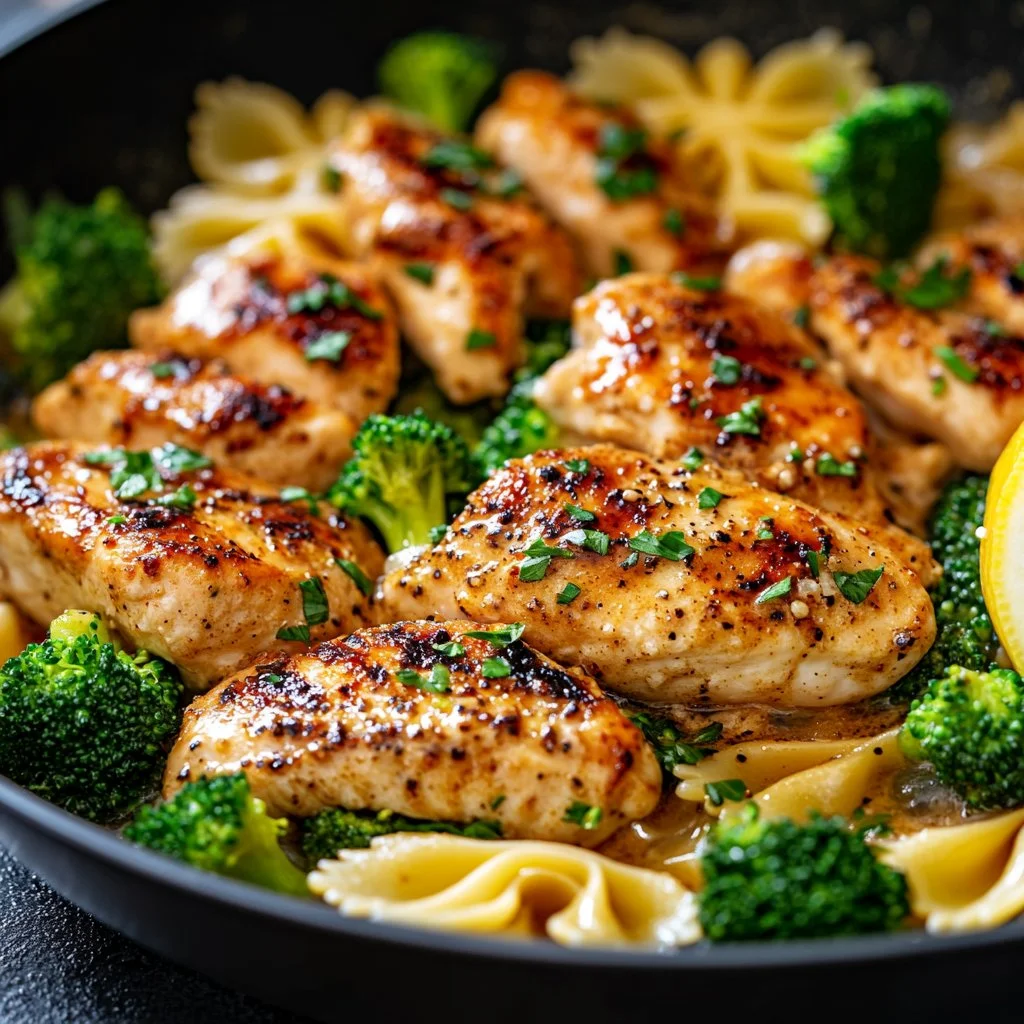
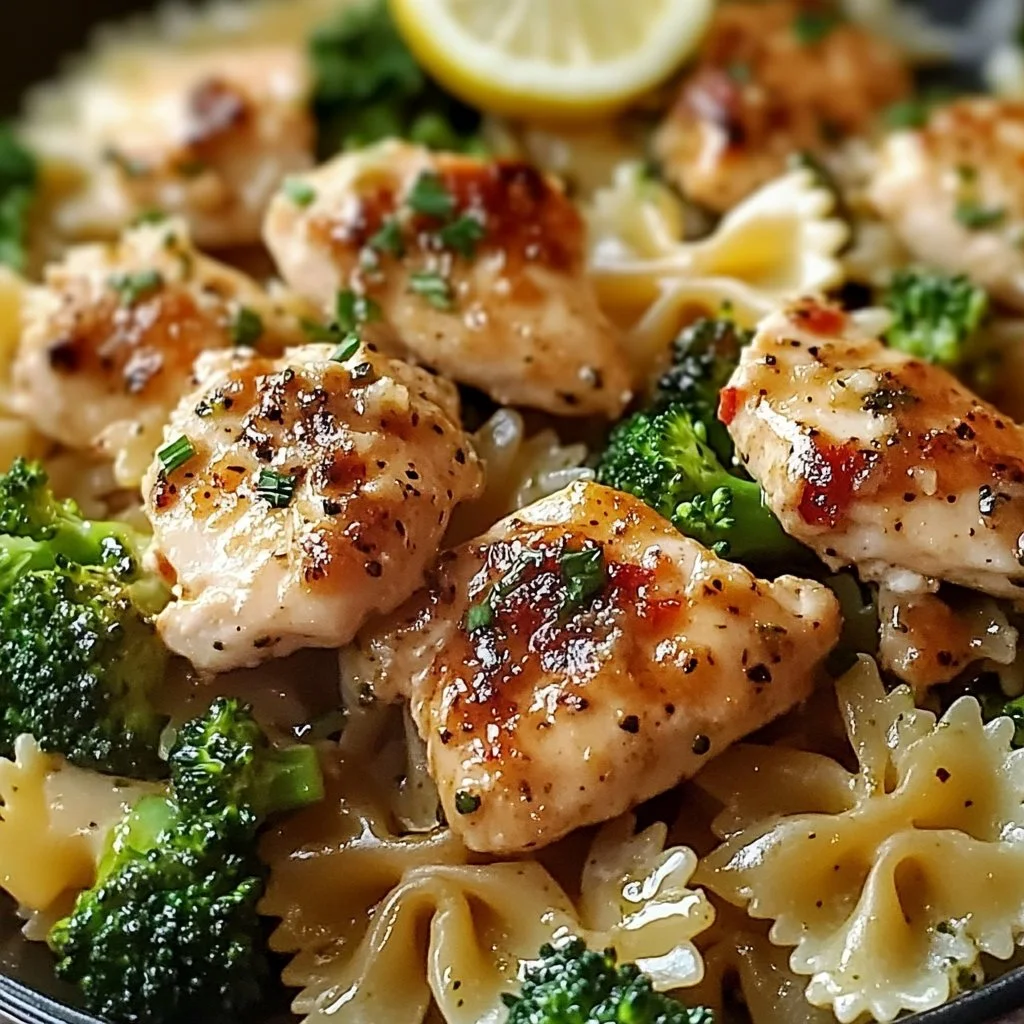
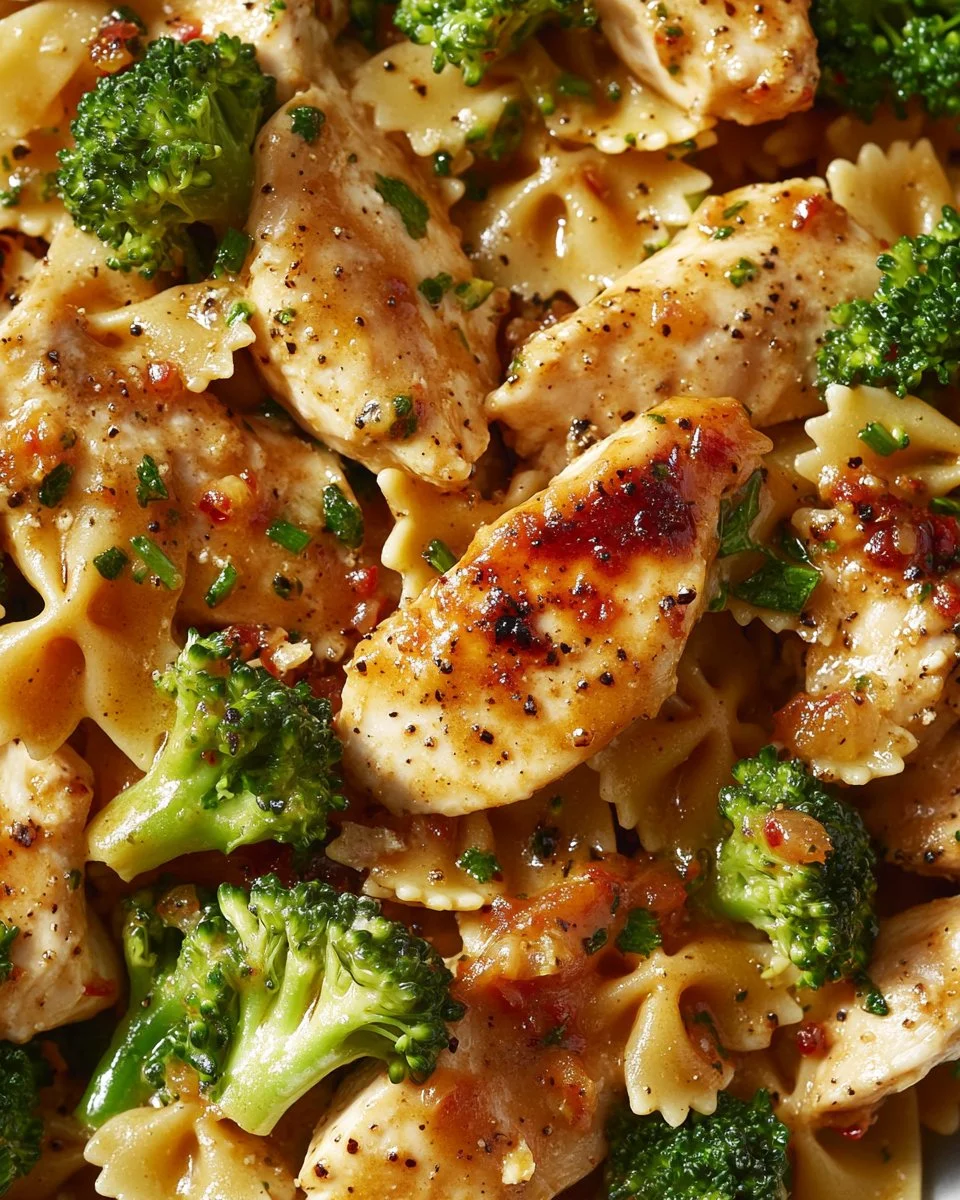
To serve these juicy crispy chicken thighs, try plating them family-style on a large platter. Surround them with colorful sides like roasted vegetables, mashed potatoes, or a fresh garden salad. This creates a warm, inviting atmosphere at the dinner table.
Encourage everyone to take what they like. The crispy skin will draw them in, while the tender meat will keep them coming back for more. Remember, mealtime is about connection and joy—these thighs are sure to create wonderful memories.
Storage
Leftovers? No problem! Allow the chicken to cool completely before transferring it to an airtight container. Store it in the fridge for up to 3 days.
To reheat, simply place the chicken thighs on a baking sheet and warm them in a preheated oven at 350°F (175°C) for about 10-15 minutes. This method helps maintain that crispy skin, so you won’t lose any of that wonderful texture.
If you plan on keeping leftovers for longer, you can freeze them as well. Just wrap them tightly in foil and place them in a freezer-safe bag or container. When you’re ready to enjoy them again, thaw in the fridge overnight before reheating.
Kitchen Notes
- Season Ahead: You can season the chicken thighs the night before and keep them in the fridge. This intensifies the flavors and saves time.
- Use a Wire Rack: If you have a wire rack, place it on the baking sheet. This allows air to circulate around the chicken, enhancing the crispiness.
- Try Different Flavors: Experiment with different spices like cayenne for heat or Italian seasoning for a herby touch.
- Make it a One-Pan Meal: Toss some chopped veggies onto the baking sheet for a complete dinner that saves on dishes!
- Don’t Skip the Resting: Always let the chicken sit before serving. It’s worth the wait for juicy results.
Variations
Not everyone loves chicken the same way. Here are some tweaks for picky eaters or different diets:
- Spicy Thighs: Add a teaspoon of cayenne or chili powder for some heat.
- Herbed Thighs: Mix in fresh herbs like rosemary or thyme with the spices for a fragrant twist.
- Whole30 or Paleo-Friendly: Use the same spices but substitute olive oil for avocado oil or ghee.
- Maple Glazed: Brush the chicken with a little maple syrup before roasting for a sweet and savory flavor.
- Lemon Zest: Add lemon zest to the seasoning mix to brighten the dish, perfect for those who enjoy citrus flavors.
FAQ
1. Can I use boneless chicken thighs?
Yes, boneless thighs will work, but they will cook faster. Check the internal temperature after around 20-25 minutes.
2. What sides pair well with these chicken thighs?
Roasted vegetables, rice, mashed potatoes, or a fresh salad make excellent companions.
3. Can I marinate the chicken?
Absolutely! You can marinate it for a few hours or overnight for even more flavor.
4. Is there a gluten-free option?
This recipe is naturally gluten-free as all the ingredients are gluten-free.
5. How do I know when the chicken is done?
Using a meat thermometer is the best way to check. Aim for 165°F (75°C) for perfectly cooked thighs.
In closing, I hope you find joy in making these juicy crispy chicken thighs for your family. Cooking is not just about feeding our loved ones; it’s about creating moments that bring us closer together. Enjoy each bite, each laugh, and each shared story around the table. Happy cooking!

Juicy Crispy Chicken Thighs
Ingredients
For the Chicken
- 4 pieces bone-in, skin-on chicken thighs (Choose thighs with a good amount of fat for extra juiciness.)
- 1 teaspoon salt (Adjust according to salt intake preference.)
- 1 teaspoon freshly cracked black pepper (Adds a mild kick.)
- 1 teaspoon garlic powder
- 1 teaspoon onion powder (Adds depth and sweetness.)
- 1 teaspoon paprika (Gives color and subtle smokiness.)
- 2 tablespoons olive oil (Helps to crisp the skin.)
Instructions
Preparation
- Preheat the oven to 425°F (220°C).
- Pat the chicken thighs dry and place them in a bowl.
- Drizzle with olive oil and season generously with salt, pepper, garlic powder, onion powder, and paprika.
- Arrange the chicken thighs on a baking sheet, skin side up if they have skin.
Cooking
- Roast in the oven for about 30-35 minutes, or until the chicken reaches an internal temperature of 165°F (75°C).
- Let rest for a few minutes before serving.