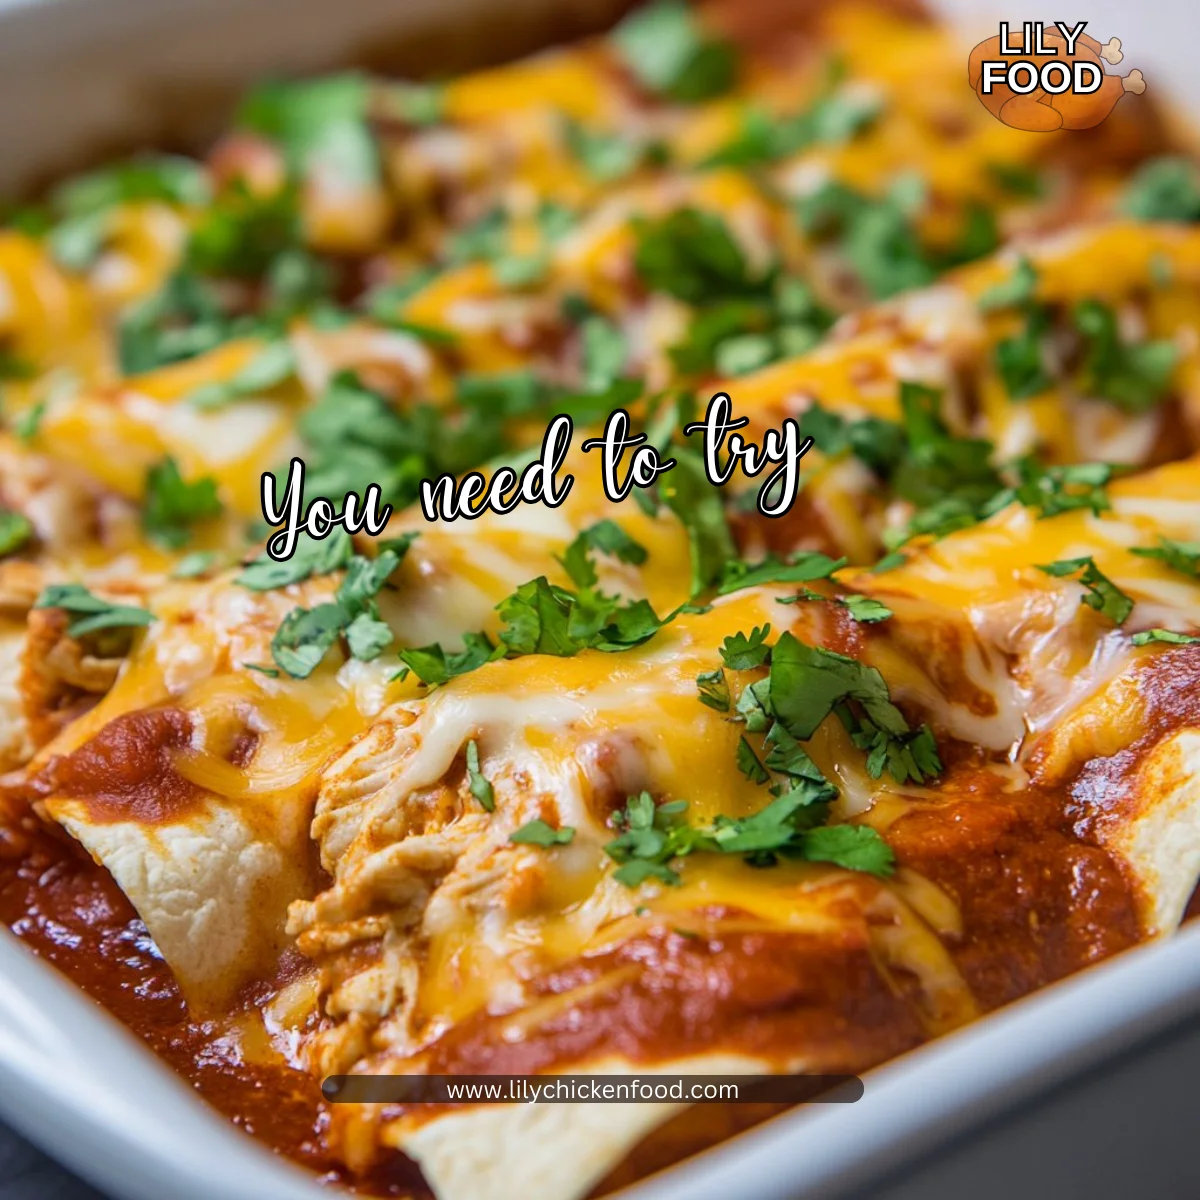
The warm, inviting scents of spices and roasted chicken fill the air. As you enter the kitchen, you hear a gentle simmering sound coming from the stove. It’s the beginning of an exciting family dinner—homemade Chicken Enchiladas with Red Enchilada Sauce. The combination of savory shredded chicken and cheesy goodness wrapped in soft tortillas brings back memories of family gatherings centered around hearty meals and happy conversations.
Time spent in the kitchen is more than just cooking; it’s about making memories with those you love. This recipe is perfect for a cozy family dinner or a weekend gathering with friends.
Why This Works
This Chicken Enchiladas recipe shines for its simplicity and heartiness. With just a few ingredients and little time, you can create a dish that feels like a celebration. Your family will relish the vibrant flavors of homemade red enchilada sauce paired with tender tortillas.
The best part? This recipe is designed to save you time. You can prep the enchiladas ahead and pop them in the oven when it’s time to eat. It makes dinner rush more manageable, leaving you with extra moments to spend with your loved ones.
Process Overview
“This is where the magic happens—when the aroma fills the kitchen.”
Making these enchiladas is a delightful journey through layers of flavor. You start with preparing a savory red enchilada sauce that will coat your chicken and tortillas in a glorious, rich flavor. Then you’ll assemble the enchiladas with swirling motions of joy. Finally, a beautiful layer of cheese melts over the top, creating a golden crust that everyone will love.
Ingredients
Here’s what you’ll need to make delicious Chicken Enchiladas:
-
2 cups cooked shredded chicken
Tip: You can use leftover rotisserie chicken to save time and enhance the flavor. -
8 flour tortillas
Tip: Choose larger tortillas for easier rolling; they hold more fillings! -
2 cups grated cheese (cheddar or Monterey Jack)
Tip: Mixing half cheddar and half Monterey Jack elevates the flavor and texture. -
1 can (15 oz) tomato sauce
Tip: Look for no-salt-added options if you’re watching your sodium intake. -
2 tablespoons chili powder
Tip: Adjust the amount to your taste—add more for extra warmth! -
1 teaspoon cumin
Tip: Purchasing whole cumin seeds and grinding them fresh gives a deeper flavor. -
1 teaspoon garlic powder
Tip: You can substitute with fresh garlic if you prefer a stronger garlic taste. -
1 teaspoon onion powder
Tip: Use finely chopped onions for added texture and sweetness. -
Salt and pepper to taste
Tip: Taste your sauce before adding salt; the cheese adds flavor too. -
1/4 cup chopped cilantro (optional)
Tip: Cilantro adds a refreshing brightness; you can also use parsley as an alternative. -
Sour cream (for serving, optional)
Tip: A dollop of sour cream balances the spiciness and adds creaminess.
Directions
-
Preheat the oven to 350°F (175°C).
This sets the stage for baking those enchiladas to perfection. -
In a saucepan, combine the tomato sauce, chili powder, cumin, garlic powder, onion powder, salt, and pepper. Simmer for 10 minutes to create the enchilada sauce.
Allow the spices to bloom, filling your kitchen with a delightful aroma. -
Spread a thin layer of the enchilada sauce on the bottom of a baking dish.
This prevents the tortillas from sticking and adds flavor to the base of your dish. -
In each tortilla, place a portion of shredded chicken, cheese, and a spoonful of enchilada sauce. Roll up the tortillas and place them seam-side down in the baking dish.
Fill them generously—the more flavor, the better! -
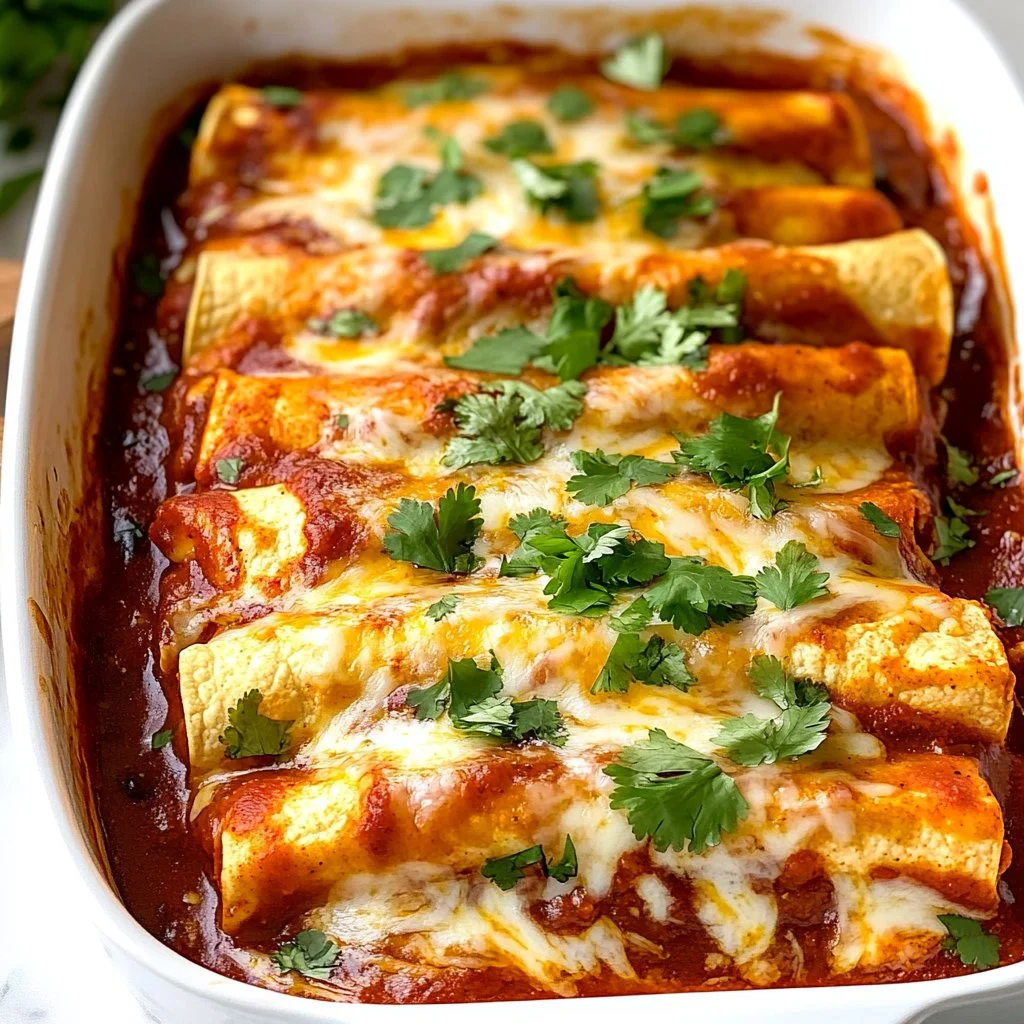
Pour the remaining enchilada sauce over the top and sprinkle with more cheese.
The layer of cheese creates a beautiful golden crust while keeping everything moist. -
Cover with foil and bake for 20 minutes, then remove the foil and bake for an additional 10 minutes until bubbly and golden.
The process transforms the dish into a creamy, comforting delight. -
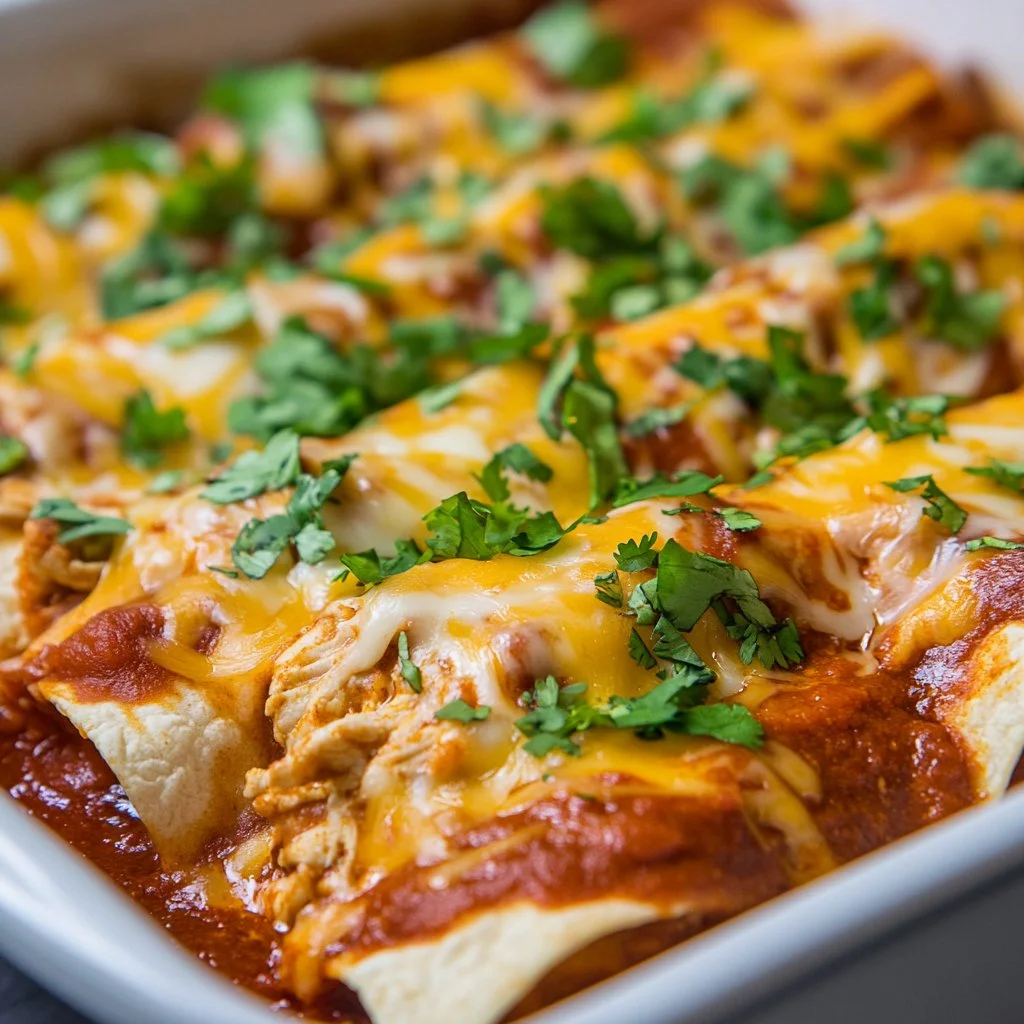
Garnish with chopped cilantro and serve hot with sour cream if desired.
A sprinkle of cilantro just before serving makes the dish look vibrant and inviting.
Serving

When it comes to serving Chicken Enchiladas, think family-style. Place the baking dish at the center of the table and let everyone help themselves. Accompany the dish with bowls of sour cream, additional cheese, and chopped cilantro for personal customization. Enjoy the lively chatter and laughter around the table, as everyone delights in their very own cheesy enchilada creation.
Storage
For leftovers, let the enchiladas cool completely before storing them in an airtight container in the fridge. They can be kept for up to 3 days. When you want to reheat, place them uncovered in the oven at 350°F for about 15-20 minutes. For individual portions, a microwave works too, but the oven gives a better texture on the cheese.
Kitchen Notes
- Shredded chicken shortcut: Buy pre-cooked or rotisserie chicken.
- Make ahead: Assemble the enchiladas, cover, and refrigerate before baking—perfect for busy nights.
- Frozen enchiladas: You can freeze assembled enchiladas for up to 3 months. Just add extra time when baking from frozen.
- Sauce substitutions: Store-bought enchilada sauce can save time if you’re in a pinch.
- One pot wonder: Consider using a large skillet to prepare the sauce and bake the enchiladas in the same pot for easier cleanup.
Variations
- Vegetarian: Substitute chicken with black beans or sautéed vegetables like bell peppers and zucchini.
- For the kiddos: Swap out the spices in the sauce for mild seasoning, making it friendly for little ones. Use cheese only in the filling if you need to tone down the flavors.
- Gluten-free: Use corn tortillas in place of flour tortillas for a gluten-free alternative.
- Extra spicy: Add diced jalapeños into the filling or increase the chili powder for more heat.
FAQ
1. Can I use other types of meat?
Yes! Ground beef, pork, or turkey all work wonderfully as substitutes.
2. How can I make the sauce smoother?
You can blend the sauce ingredients before simmering for a smoother texture.
3. Can I double this recipe?
Absolutely! Just ensure to use a larger baking dish and adjust cooking time slightly.
4. What’s the best way to reheat leftovers?
The oven gives the best fluffy texture, but microwaving is a quick alternative.
5. Can I prep this meal the day before?
Yes! Assemble everything and refrigerate until you are ready to bake it the next day.
As you create these Chicken Enchiladas with Homemade Red Enchilada Sauce, remember, it’s more than just a meal. It brings warmth, love, and togetherness to your table. These recipes become part of your family’s story, nurturing both body and soul. Happy cooking!
Chicken Enchiladas
Ingredients
Main Ingredients
- 2 cups cooked shredded chicken (You can use leftover rotisserie chicken to save time.)
- 8 pieces flour tortillas (Choose larger tortillas for easier rolling.)
- 2 cups grated cheese (cheddar or Monterey Jack) (Mixing half cheddar and half Monterey Jack elevates the flavor.)
- 1 can (15 oz) tomato sauce (Look for no-salt-added options if you’re watching your sodium intake.)
- 2 tablespoons chili powder (Adjust the amount to your taste.)
- 1 teaspoon cumin (Purchasing whole cumin seeds and grinding them fresh gives a deeper flavor.)
- 1 teaspoon garlic powder (You can substitute with fresh garlic for a stronger taste.)
- 1 teaspoon onion powder (Use finely chopped onions for added texture.)
- to taste Salt and pepper (Taste your sauce before adding salt.)
- 1/4 cup chopped cilantro (optional) (Cilantro adds brightness; parsley can be used as an alternative.)
- Sour cream (for serving, optional) (Balances the spiciness and adds creaminess.)
Instructions
Preparation
- Preheat the oven to 350°F (175°C).
- In a saucepan, combine the tomato sauce, chili powder, cumin, garlic powder, onion powder, salt, and pepper. Simmer for 10 minutes to create the enchilada sauce.
- Spread a thin layer of the enchilada sauce on the bottom of a baking dish.
- In each tortilla, place a portion of shredded chicken, cheese, and a spoonful of enchilada sauce. Roll up the tortillas and place them seam-side down in the baking dish.
- Pour the remaining enchilada sauce over the top and sprinkle with more cheese.
- Cover with foil and bake for 20 minutes, then remove the foil and bake for an additional 10 minutes until bubbly and golden.
- Garnish with chopped cilantro and serve hot with sour cream if desired.