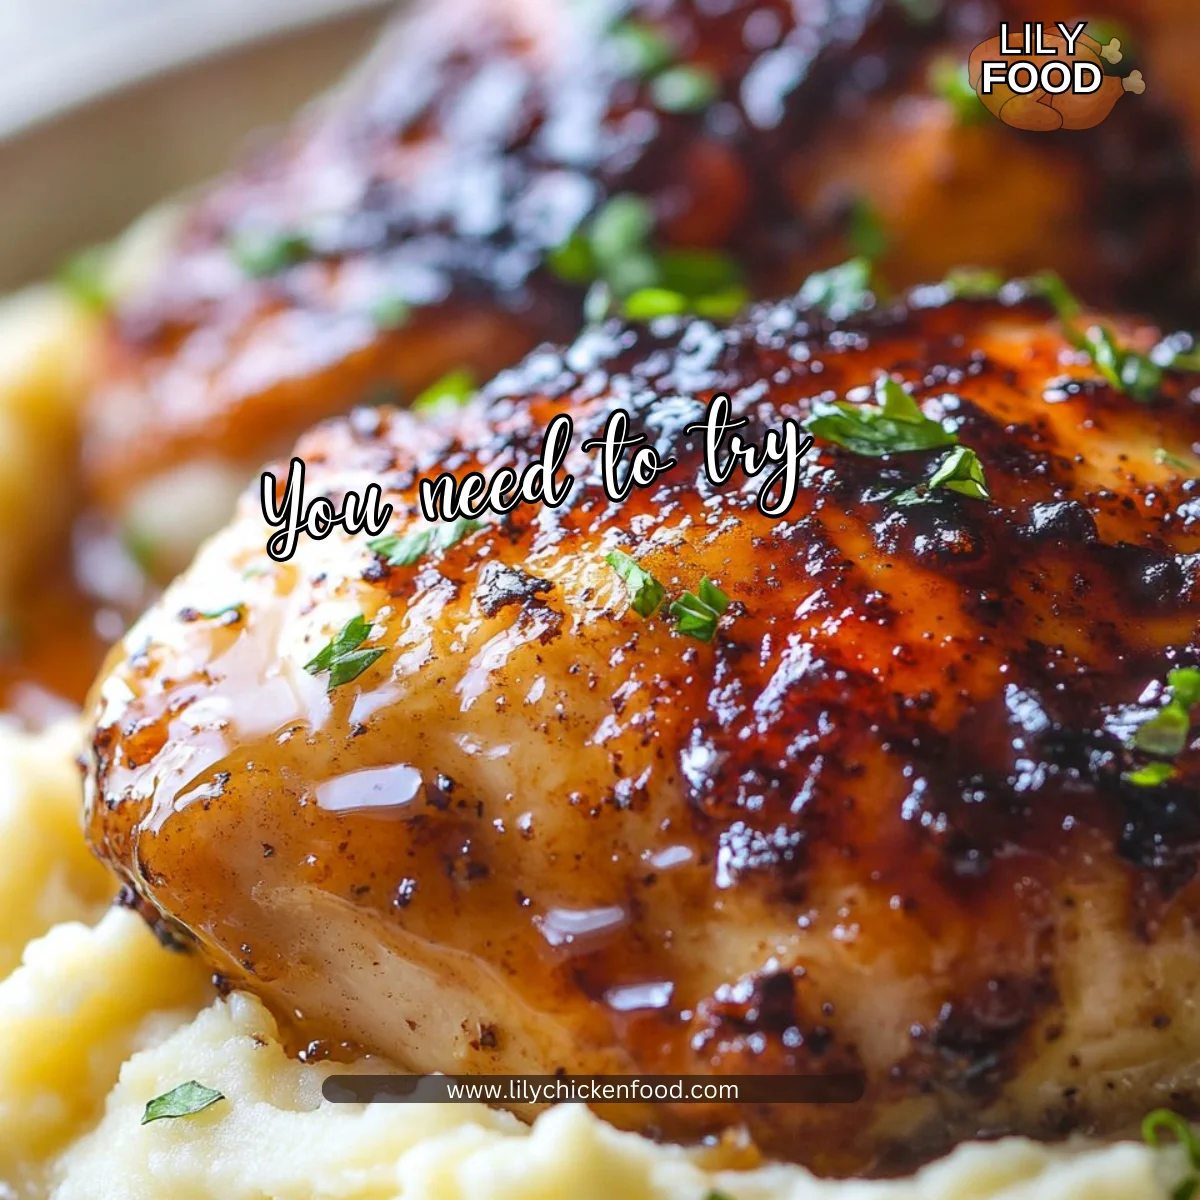
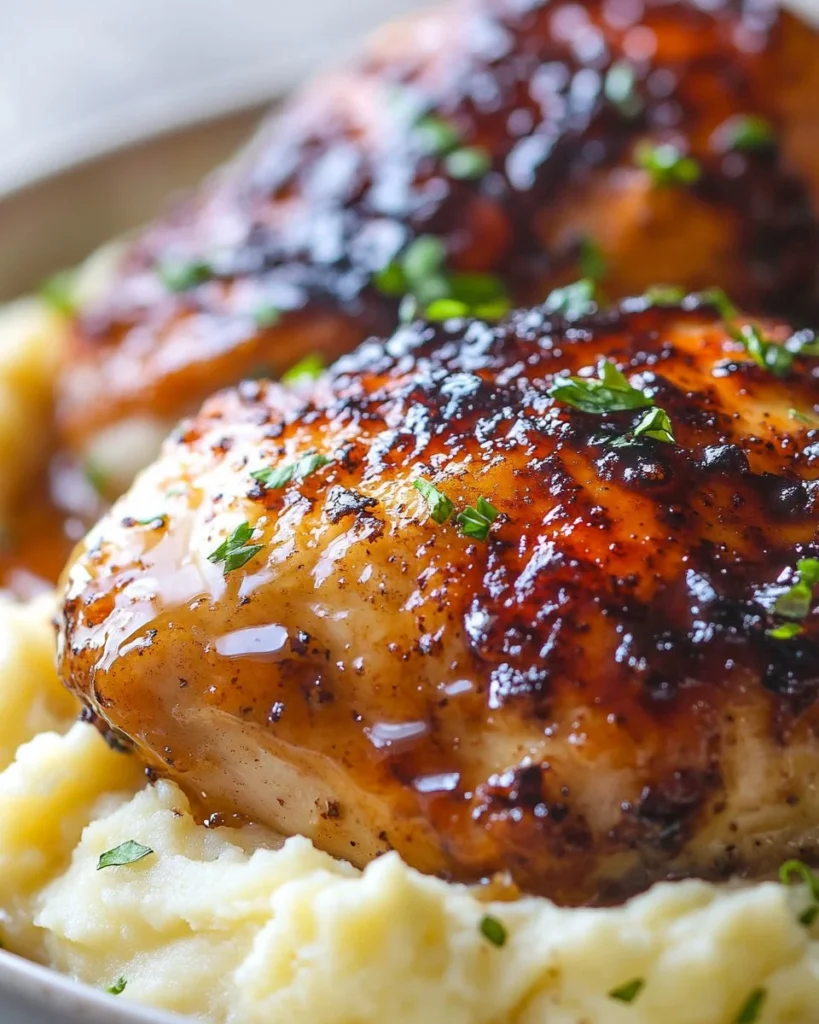
There’s something magical about the sounds and smells that fill the kitchen when you’re cooking, especially when preparing a meal for your family. The crackling of chicken thighs as they roast, the rich aroma of smoked gouda wafting through the air, and the comforting sizzle of mashed potatoes coming together create an atmosphere that feels both warm and inviting. Today, I’m excited to share a recipe for Chipotle Honey Chicken Thighs with Smoked Gouda Mashed Potatoes. It’s a dish that not only delights the taste buds but also saves time in the kitchen, making it perfect for busy families.
Why This Works
This recipe is all about ease and family time. With just a few simple ingredients, you can whip up a meal that tastes fantastic and has that lovely homemade feel. The chicken thighs are tender and juicy, coated in a sweet and spicy chipotle honey glaze that will have your family asking for seconds. The smoked gouda mashed potatoes add a creamy, cheesy richness that pairs beautifully with the chicken.
Not only is this dish quick to prepare, but it also frees up your evening for family bonding. While the chicken bakes, you can tend to other tasks or enjoy some quality time with your loved ones. It’s a win-win!
Process Overview
“This is where the magic happens—when the aroma fills the kitchen.”
Preparing this meal is straightforward and can be done in less than an hour. You start by prepping your ingredients and marinating the chicken. Then, while it roasts, you can focus on your mashed potatoes. The two components of this dish come together seamlessly, creating a comforting and satisfying meal.
Ingredients
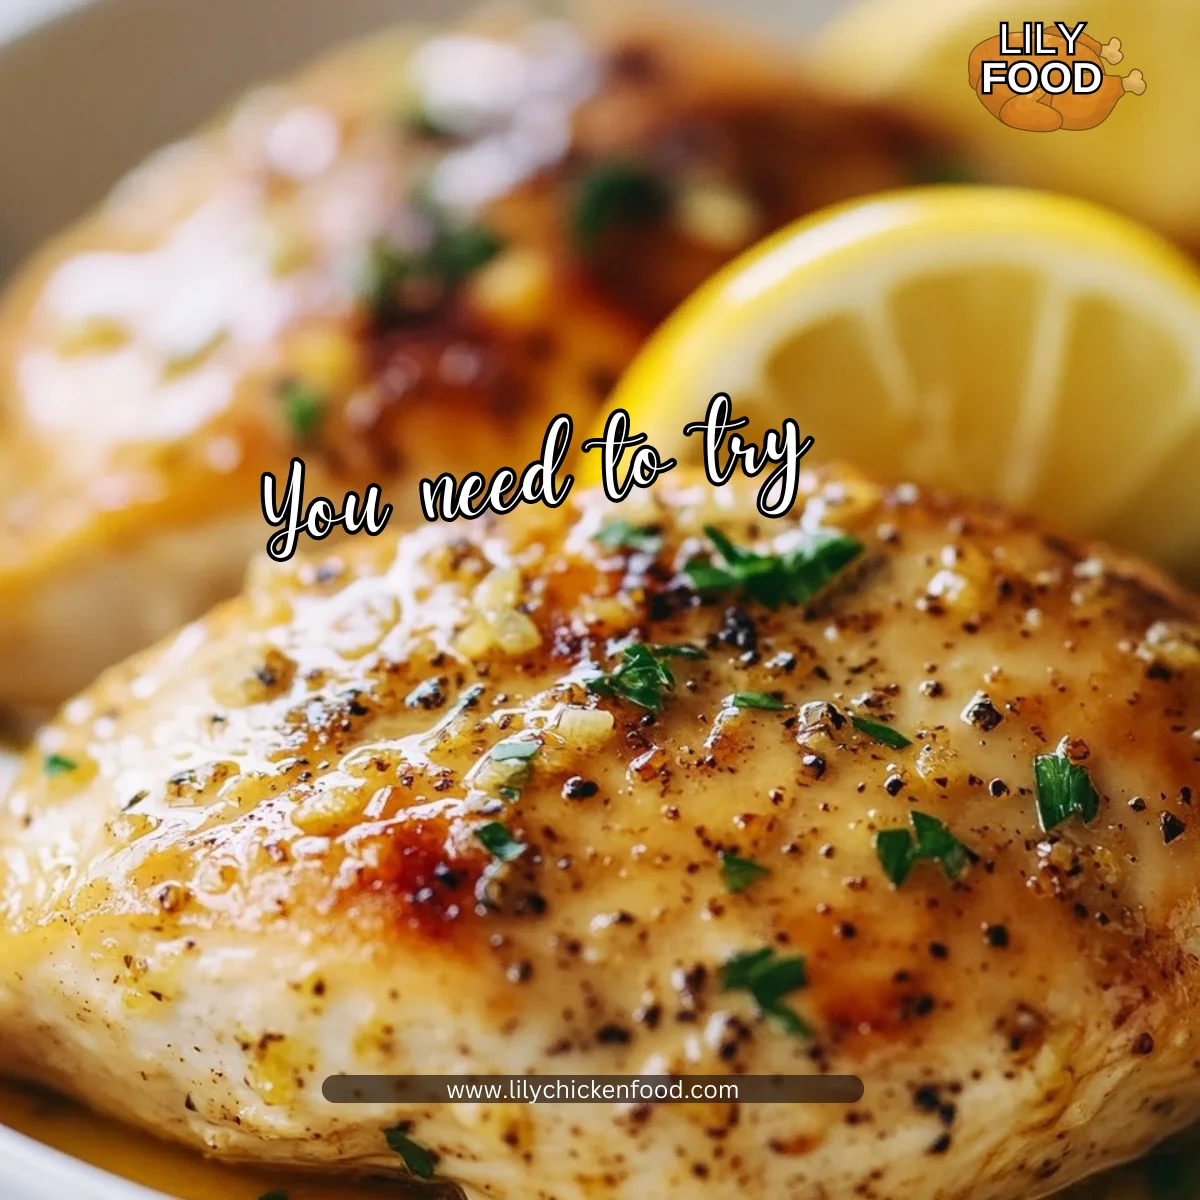
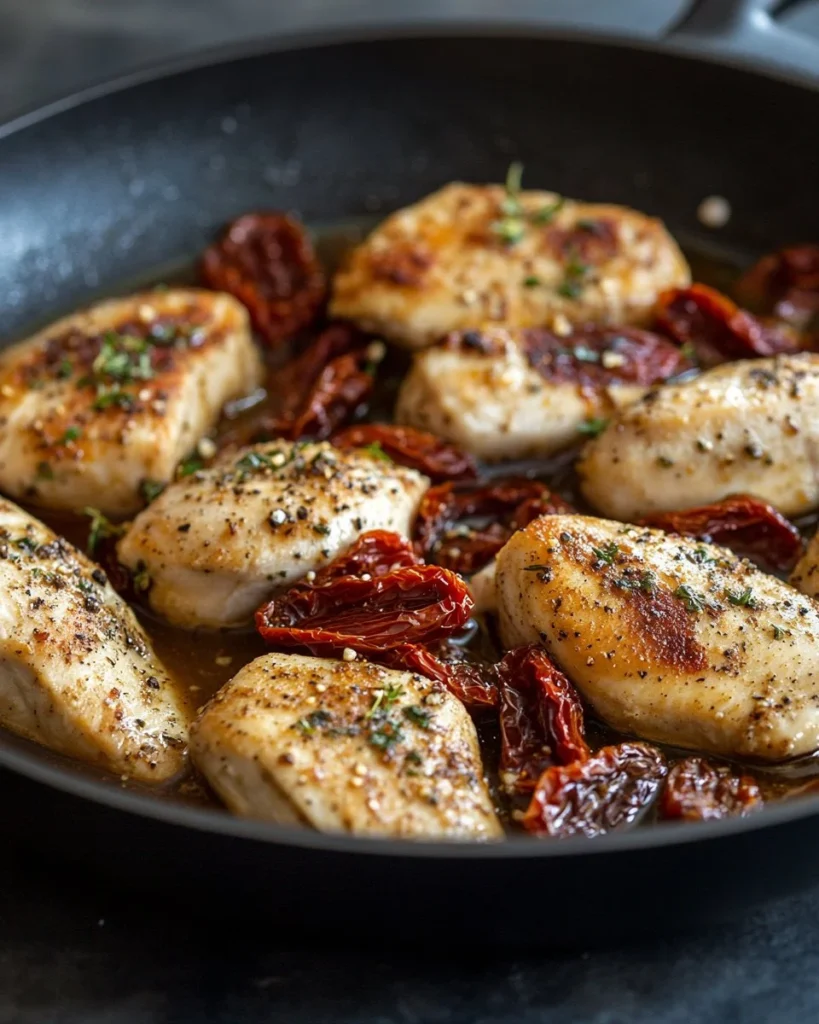
- 4 chicken thighs: Choose bone-in, skin-on thighs for maximum flavor and juiciness. They hold up well during baking.
- 2 tablespoons chipotle honey: This sweet and spicy honey elevates the flavor of the chicken. If you can’t find it, a mix of honey and a touch of chipotle powder will work too.
- 1 teaspoon smoked paprika: This adds a warm, smoky flavor that enhances the chicken’s profile.
- 1 teaspoon garlic powder: Garlic brings a robust flavor, balancing the sweetness of the honey.
- Salt and pepper to taste: Essential for seasoning and enhancing flavor.
- 2 pounds potatoes: I prefer Yukon Gold or Russet potatoes for their creamy texture when mashed.
- 1/2 cup milk: Whole milk will give your mashed potatoes a rich flavor, but you can use 2% or a dairy-free alternative if preferred.
- 1/4 cup butter: Unsalted butter is best, as it allows you to control the saltiness of your dish.
- 1 cup smoked gouda cheese, shredded: This cheese adds a wonderful creaminess and depth of flavor to the mashed potatoes.
Directions
-
Preheat the oven to 400°F (200°C).
- Make sure it’s fully heated before you pop the chicken in. This ensures it cooks evenly.
-
In a bowl, mix the chipotle honey, smoked paprika, garlic powder, salt, and pepper.
- This mixture should smell fantastic as you combine the ingredients.
-
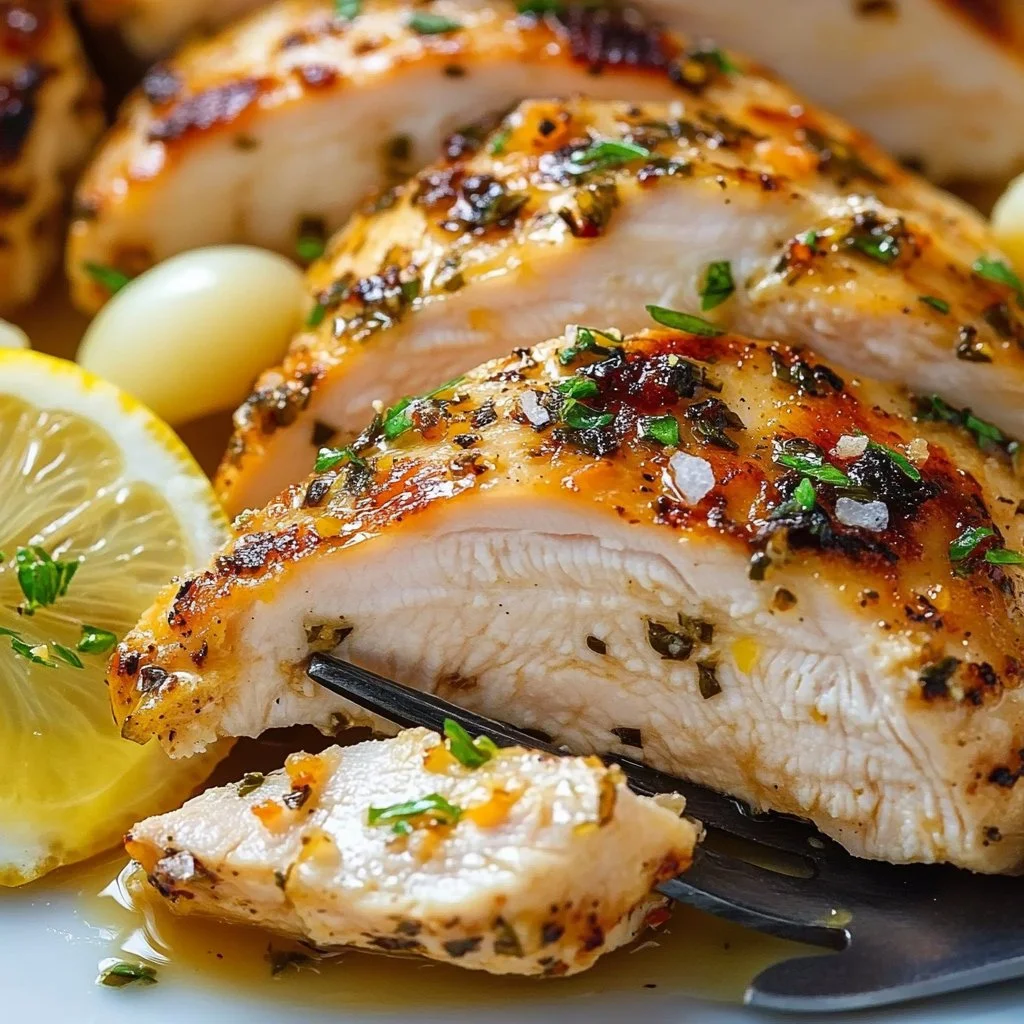
Coat the chicken thighs in the mixture and place them in a baking dish.
- Ensure each thigh is well covered with the glaze for the best flavor.
-
Bake the chicken for 30-35 minutes or until fully cooked.
- You want the internal temperature to reach 165°F for safety. The skin should be crispy and golden.
-
Meanwhile, peel and chop the potatoes, then boil them in salted water until tender.
- Test them with a fork. They should break apart easily.
-
Drain the potatoes and mash them with milk, butter, and smoked gouda until creamy.
- Feel free to adjust the milk based on your desired creaminess.
-
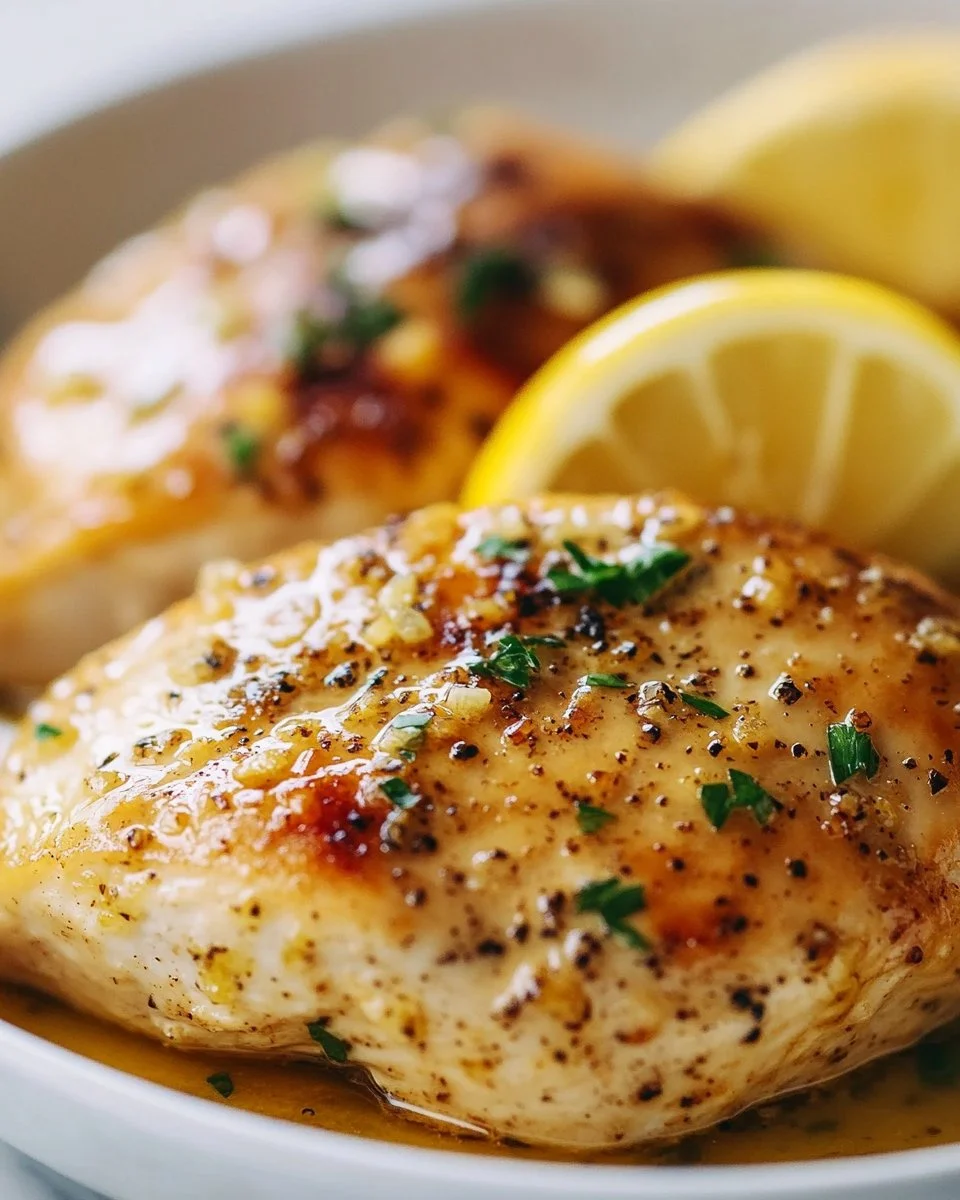
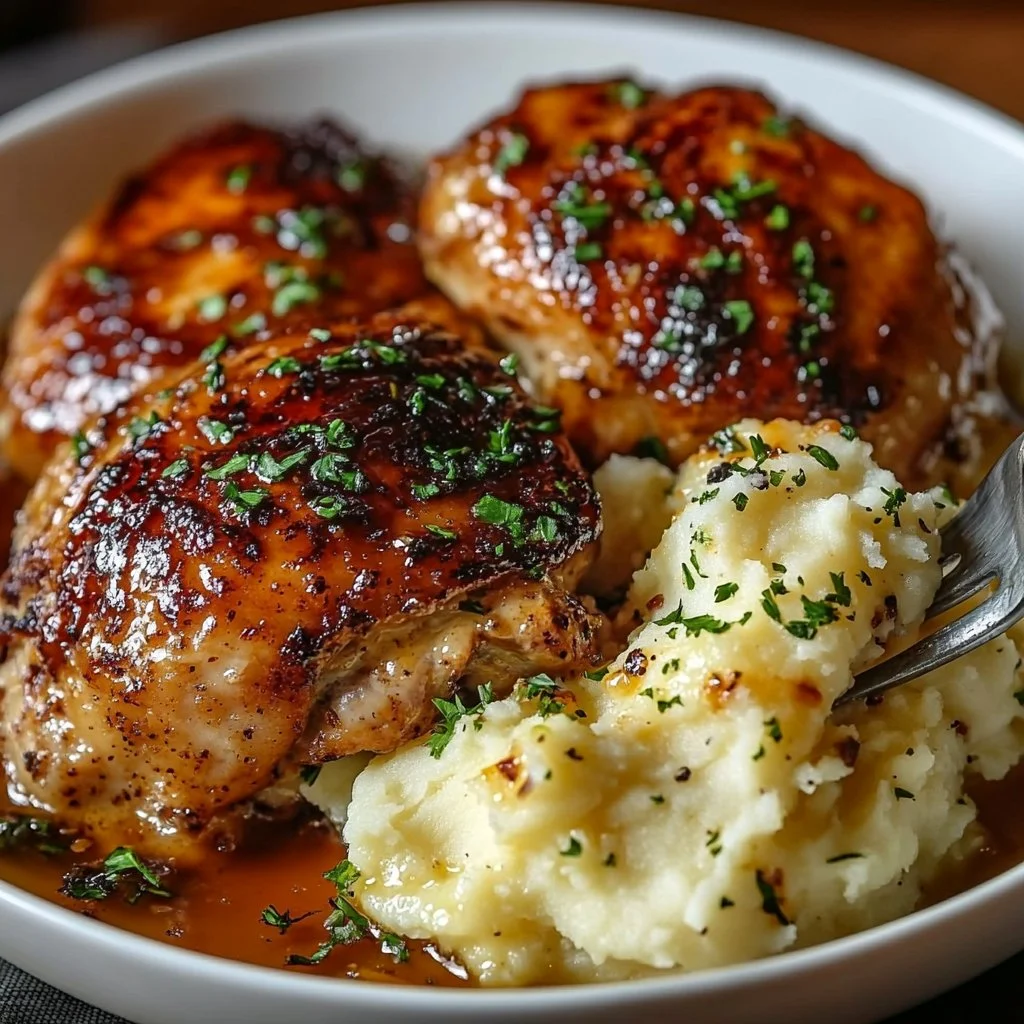
Serve the baked chicken thighs with the smoked gouda mashed potatoes.
- This is best enjoyed hot, with the flavor of the chicken and cheese melding beautifully together on the plate.
Serving

For a family-style presentation, I recommend serving everything on a large platter. Lay the chicken thighs in the center and mound the smoked gouda mashed potatoes around them. This not only looks inviting but also encourages everyone to dig in. Gather around the table, serve with a side salad, and enjoy each other’s company.
Storage
If you have leftovers, store them in an airtight container in the refrigerator for up to three days. To reheat, pop the chicken in the oven at 350°F until heated through, about 10-15 minutes. The mashed potatoes can be reheated in the microwave or on the stove with a bit of extra milk to bring back their creaminess.
Kitchen Notes
- Batch Cook: Double the recipe for meal prepping. The chicken freezes well for up to three months.
- Potato Skins: Leave the skins on the potatoes for added texture and nutrients.
- One-Pan Meal: Consider adding vegetables like green beans or broccoli to the baking dish half-way through the chicken cooking time. They’ll pick up the lovely flavors, too.
- Flavor Up: Feel free to add fresh herbs like thyme or rosemary for added fragrance.
- Spice Control: Adjust the chipotle honey to your spice preference. Use regular honey for a milder flavor.
Variations
If you have picky eaters at home, here are some tweaks you might consider:
- For Kids: Serve the chicken without the glaze and add a fun dipping sauce like ranch.
- For Vegetarians: Substitute the chicken with marinated tofu or portobello mushrooms.
- Low-Carb Option: Serve the chicken with cauliflower mash instead of potatoes.
- Gluten-Free: This recipe is naturally gluten-free, making it perfect for those with gluten sensitivities.
- Dairy-Free: Use a dairy-free milk alternative and vegan butter for the mashed potatoes.
FAQ
-
Can I use boneless chicken thighs?
Yes, boneless thighs will work. Reduce the baking time by about 5-10 minutes. -
What if I don’t have smoked gouda?
Any creamy cheese will work, such as cheddar or mozzarella. Just be mindful of flavor differences. -
Can this recipe be grilled instead?
Absolutely! Preheat your grill and cook the marinated chicken over medium heat until cooked through. -
How do I know when the chicken is cooked?
Use a meat thermometer to check if the internal temperature reaches 165°F. -
Can I prepare this ahead of time?
Yes, you can marinate the chicken a few hours in advance and store the potatoes ready to boil.
In conclusion, life in the kitchen should be as easy as it is enjoyable. This Chipotle Honey Chicken Thighs with Smoked Gouda Mashed Potatoes recipe provides a delightful and hearty meal that the whole family will love. So gather your ingredients, ignite your passion for cooking, and create something beautiful. Happy cooking!
Chipotle Honey Chicken Thighs with Smoked Gouda Mashed Potatoes
Ingredients
For the Chicken
- 4 pieces chicken thighs, bone-in, skin-on (Choose bone-in, skin-on thighs for maximum flavor and juiciness.)
- 2 tablespoons chipotle honey (This sweet and spicy honey elevates the flavor of the chicken.)
- 1 teaspoon smoked paprika (Adds a warm, smoky flavor to the chicken.)
- 1 teaspoon garlic powder (Balances the sweetness of the honey.)
- Salt and pepper to taste (Essential for seasoning and enhancing flavor.)
For the Mashed Potatoes
- 2 pounds potatoes, Yukon Gold or Russet (These types create a creamy texture.)
- 1/2 cup milk (Whole milk provides a rich flavor. Adjust based on your preference.)
- 1/4 cup butter (Unsalted butter is best for control over saltiness.)
- 1 cup smoked gouda cheese, shredded (Adds creaminess and depth of flavor.)
Instructions
Preparation
- Preheat the oven to 400°F (200°C). Ensure it's fully heated before adding the chicken.
- In a bowl, mix chipotle honey, smoked paprika, garlic powder, salt, and pepper.
- Coat the chicken thighs in the mixture and place them in a baking dish, ensuring each thigh is well covered.
Cooking
- Bake the chicken for 30-35 minutes or until the internal temperature reaches 165°F.
- Meanwhile, peel and chop the potatoes. Boil them in salted water until tender.
- Drain the potatoes and mash them with milk, butter, and smoked gouda until creamy.
- Serve the baked chicken thighs with the smoked gouda mashed potatoes.