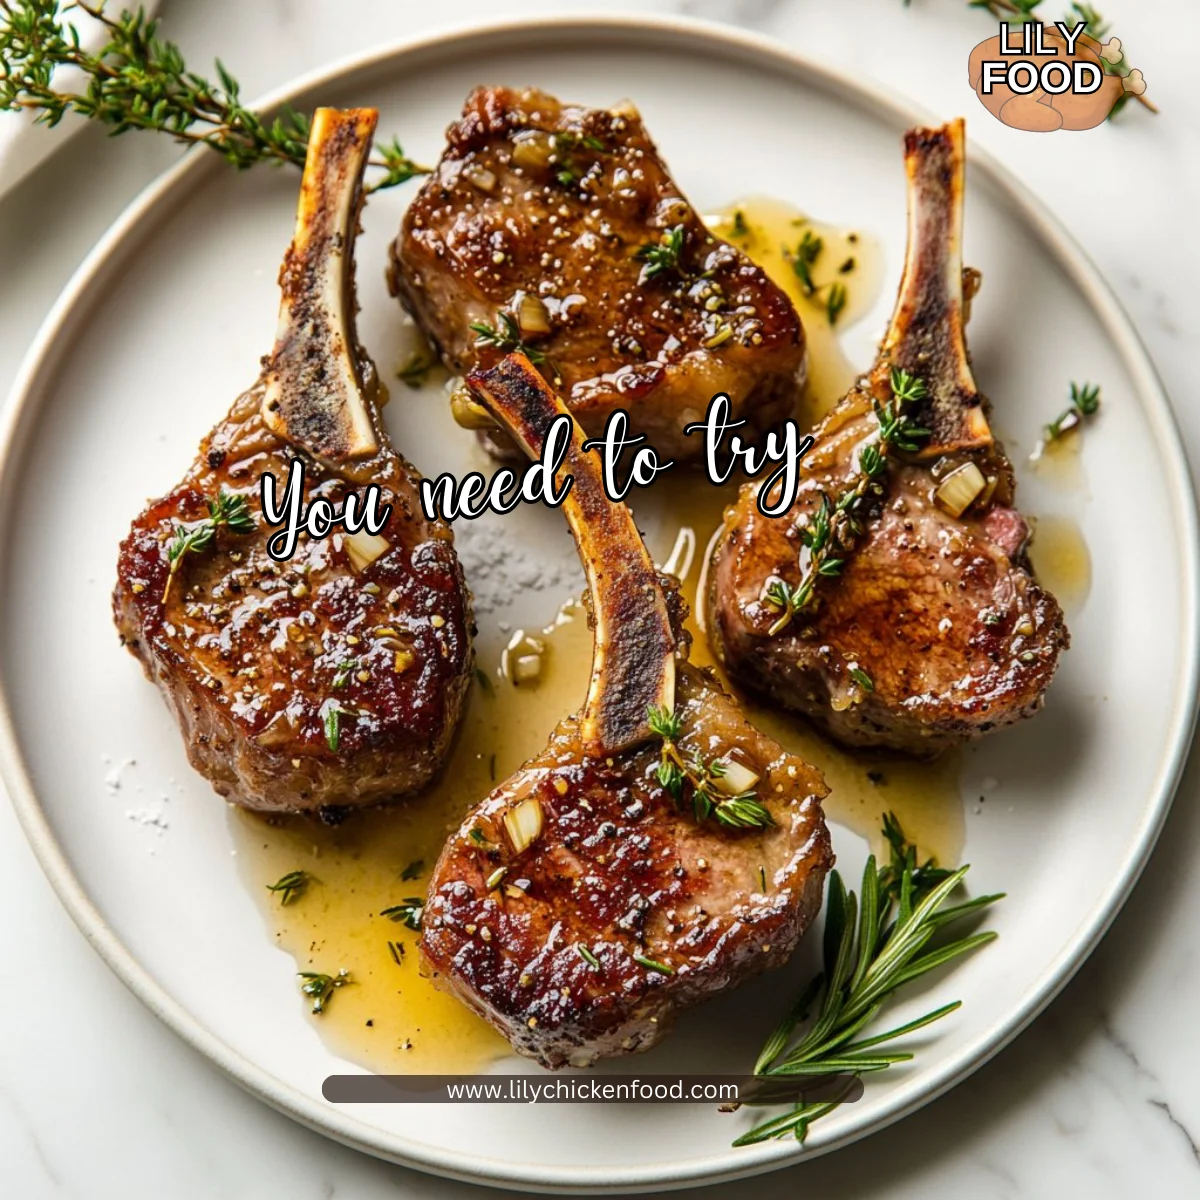
The sound of tiny forks tapping the table, a soft laugh from the back room, and the scent of sweet garlic and warm honey that always makes my kitchen feel like home. I pull the pan off the heat and call everyone over. Those little moments are why I cook: to see faces light up and to make a plain night feel special. If you love food that feels like a hug, give these Honey Garlic Lamb Chops a try and invite someone to sit down with you. For a little extra garlic inspiration while you plan your sides, I often peek at best garlic chicken recipes for ideas that pair well with bold lamb.
Why This Honey Garlic Lamb Chops Feels Like Home
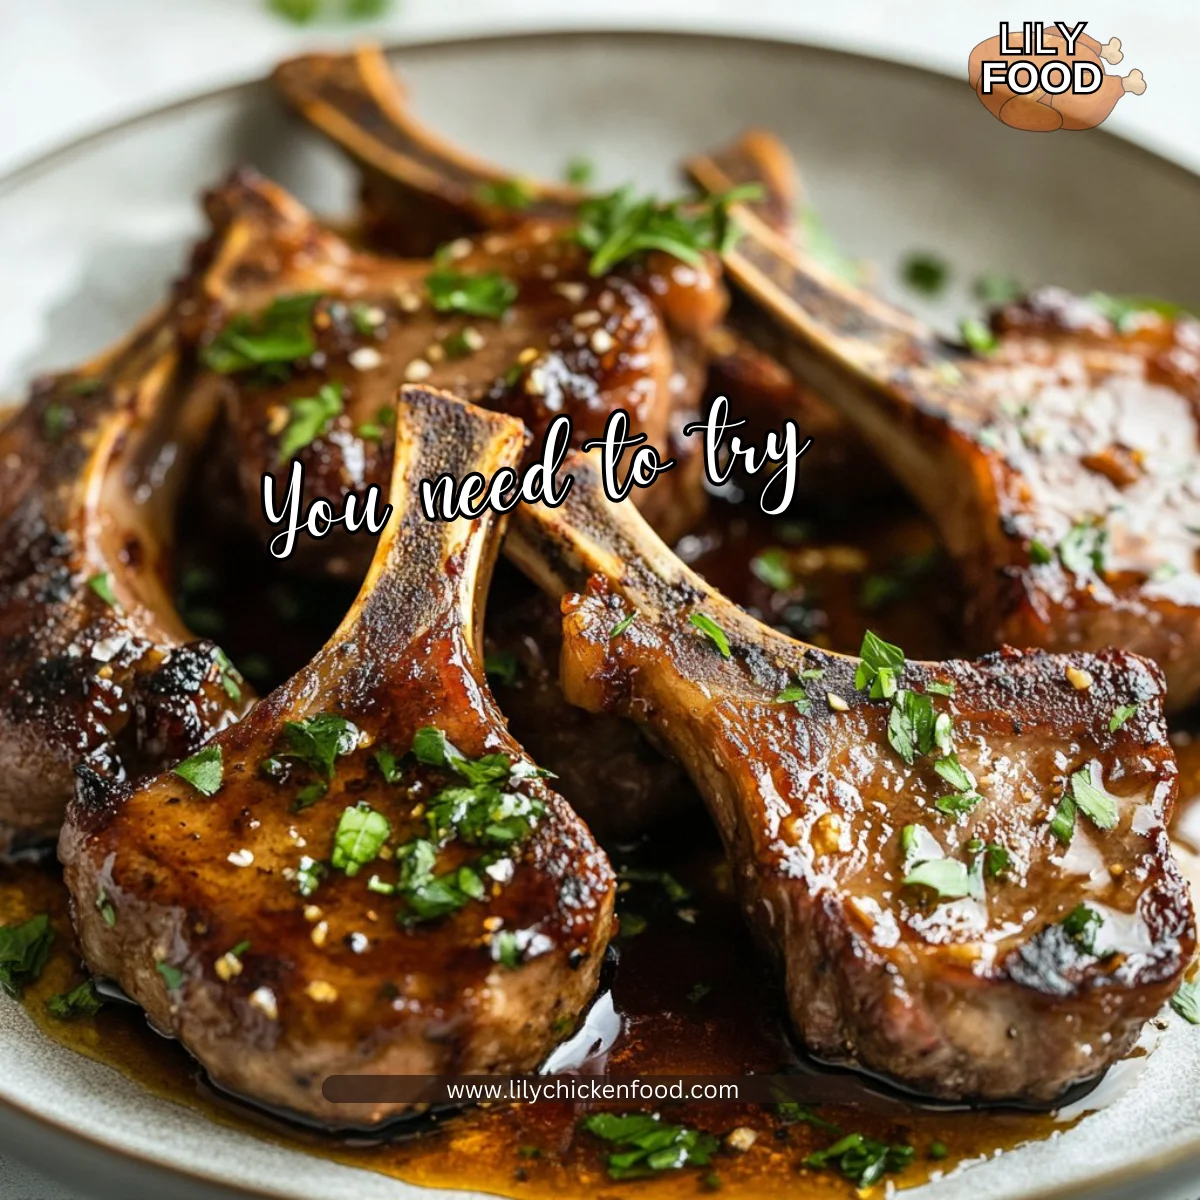
There is something about honey and garlic together that calls up cozy, full-table dinners. The honey caramelizes and gives the outside a shiny, warm color while the garlic melts into the meat, creating a rounded fragrance that travels through the house. 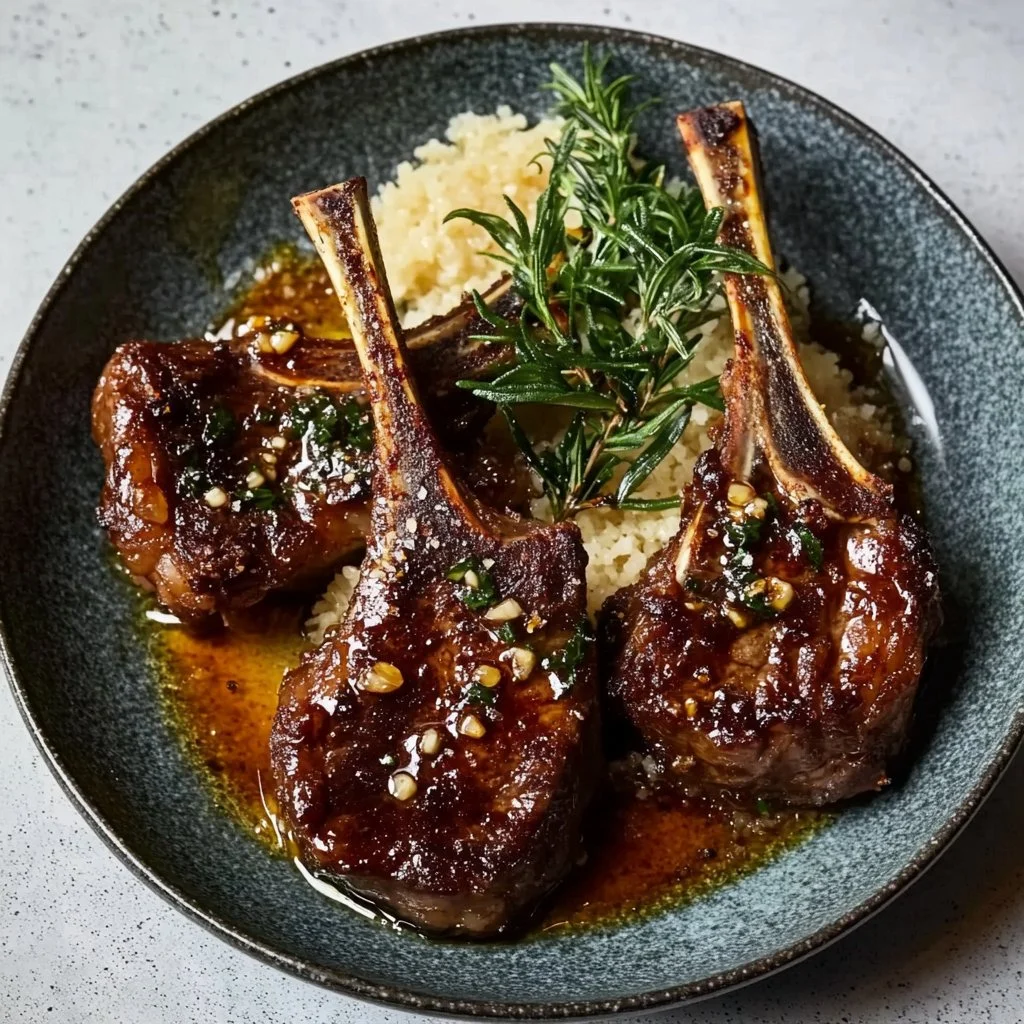
This recipe is honest and simple. It needs little prep, uses pantry staples, and delivers big flavor. My family loves that it looks fancy but comes together in a snap, which means more time for stories and less time at the stove.
Why this matters: you can make something that tastes special without a fuss. The lamb chops pick up color in a hot pan, the honey helps build a slightly crisp surface, and the garlic gives that savory lift that family members always ask for seconds of.
Why Honey Garlic Lamb Chops is Our New Family Favorite
We started making these on busy nights when everyone was running in and out of the house. They were a hit the first time because they smell wonderful and feel like a treat, even when the rest of the meal is simple. I will say, when you bring them to the table, people pause. That five-second pause is the best part.
If you want a quick, reliable recipe that still feels celebratory, these lamb chops are it. They are great for weeknights and easy enough for a small weekend gathering. Meanwhile, they pair nicely with bright salads, roasted potatoes, or a creamy mash.
The Simple Magic Behind Honey Garlic Lamb Chops
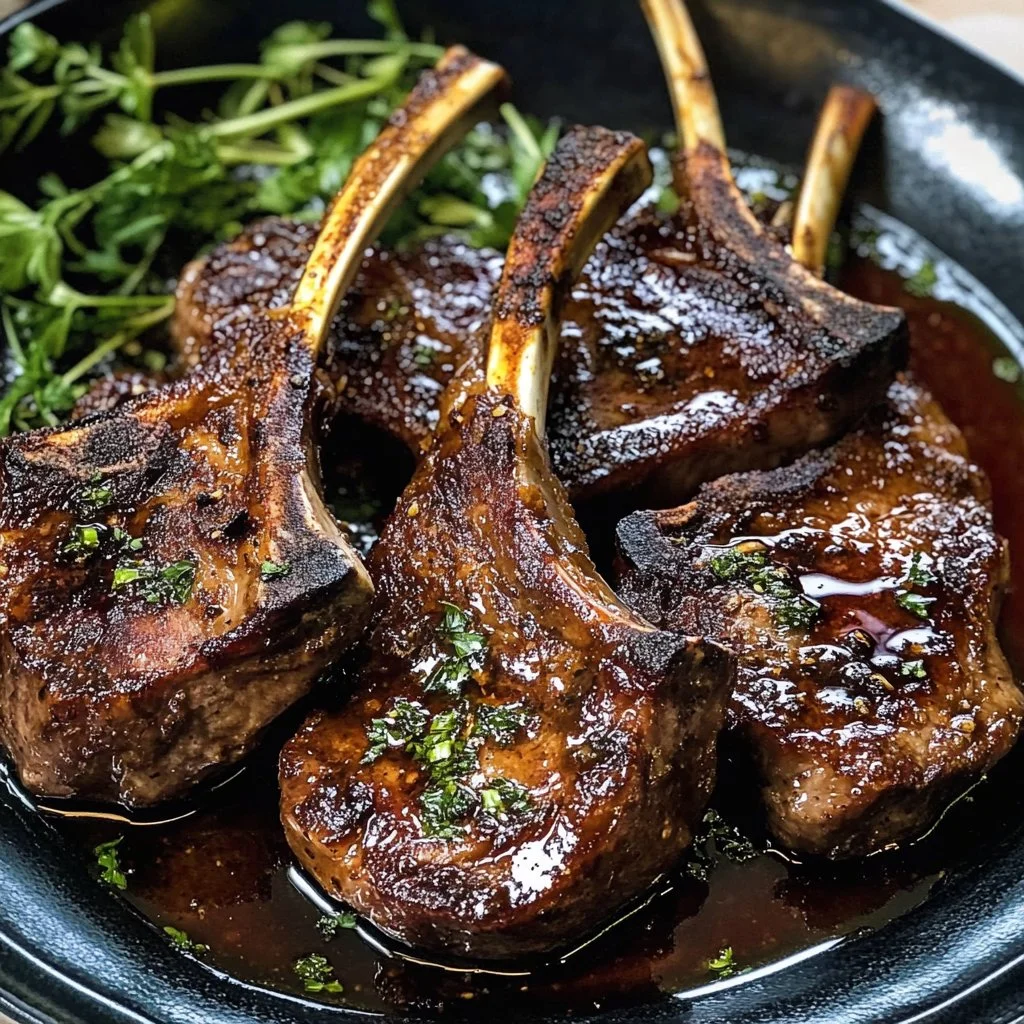
The trick is in balance. Honey gives sweetness and a glaze, garlic gives depth, and a little olive oil helps everything stick and crisp. When those flavors meet sizzling lamb, they form a lovely crust while keeping the meat juicy inside.
It is also forgiving. If a chop sits a little longer in the pan, the texture still holds up. If you like a bit more herb aroma, a quick sprinkle of fresh rosemary or thyme brightens the whole plate. From my experience, these small finishing touches make the meal feel like it was made with care.
How to Make Honey Garlic Lamb Chops, The Heartwarming Way
“This is where the magic happens—when the aroma fills the kitchen and my kids come running in, asking ‘Is it ready yet?’”
Here is the short story of how it comes together. First you mix the honey, garlic, and oil into a glossy sauce. Next, you rub that over the chops and let the flavors sit. Heat a pan until it is hot and shimmering, then cook the chops until they are browned and fragrant. Look for a warm pink center if you prefer medium rare, or cook a touch longer for medium. You will know they are right when the juices run clear and the pan smells irresistible. For an extra tip on garlic-forward meals that inspire family dinners, I sometimes peek at cheesy garlic chicken wraps — family version to see how others balance bold garlic with creamy sides.
Ingredients You’ll Need
4 lamb chops
2 tablespoons honey
3 cloves garlic, minced
2 tablespoons olive oil
Salt and pepper to taste
Fresh rosemary or thyme for garnish
Don’t skip the fresh herbs; they are the soul of the dish. If you only have dried herbs, use about a third of the amount and add them earlier so they bloom in the oil. Use what’s in your fridge when needed—this recipe is about creativity, not perfection. For a different garlic angle, check out this cheesy garlic chicken wraps recipe for inspiration on how garlic works with richer, creamier sides.
Step-by-Step Directions
-
In a small bowl, mix together honey, minced garlic, olive oil, salt, and pepper.
This forms a glossy marinade that will coat the chops.
Taste a tiny dab for balance; it should be sweet with a garlic lift. -
Rub the honey-garlic mixture over the lamb chops, ensuring they are well-coated.
Work the mixture into all sides and edges for even flavor.
If you have time, let them rest for 20 minutes; even a quick rub does wonders. -
Heat a grill or skillet over medium-high heat.
You want the pan hot enough to brown the meat but not so hot the honey burns.
A cast-iron skillet is my go-to because it gives great color and steady heat. -
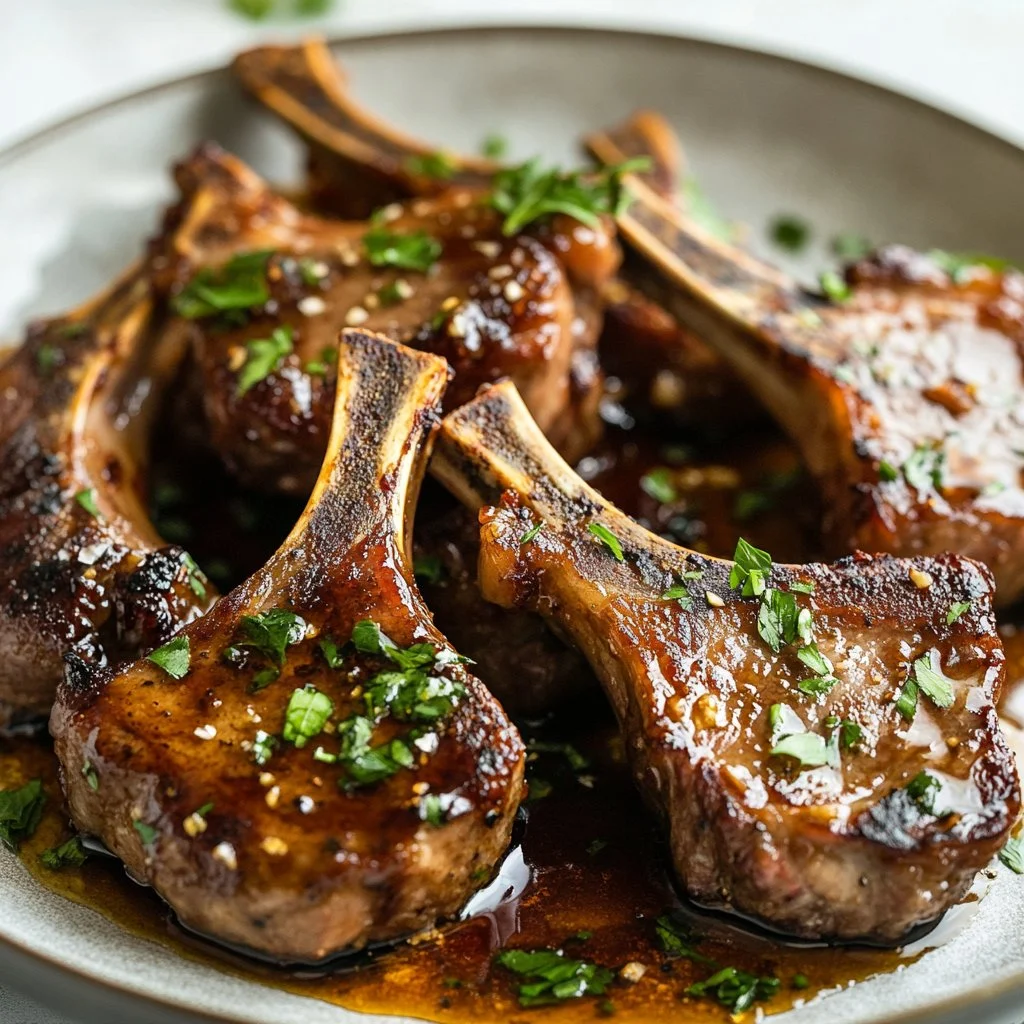
Cook the lamb chops for about 4-5 minutes on each side, or until they reach your desired level of doneness.
Aim for a nice golden crust and a juicy interior.
Use a thermometer if it helps: 130°F for medium-rare, 140°F for medium. -
Remove from heat and let them rest for a few minutes.
Resting lets the juices redistribute so each bite is tender.
Tent lightly with foil if the kitchen is drafty. -
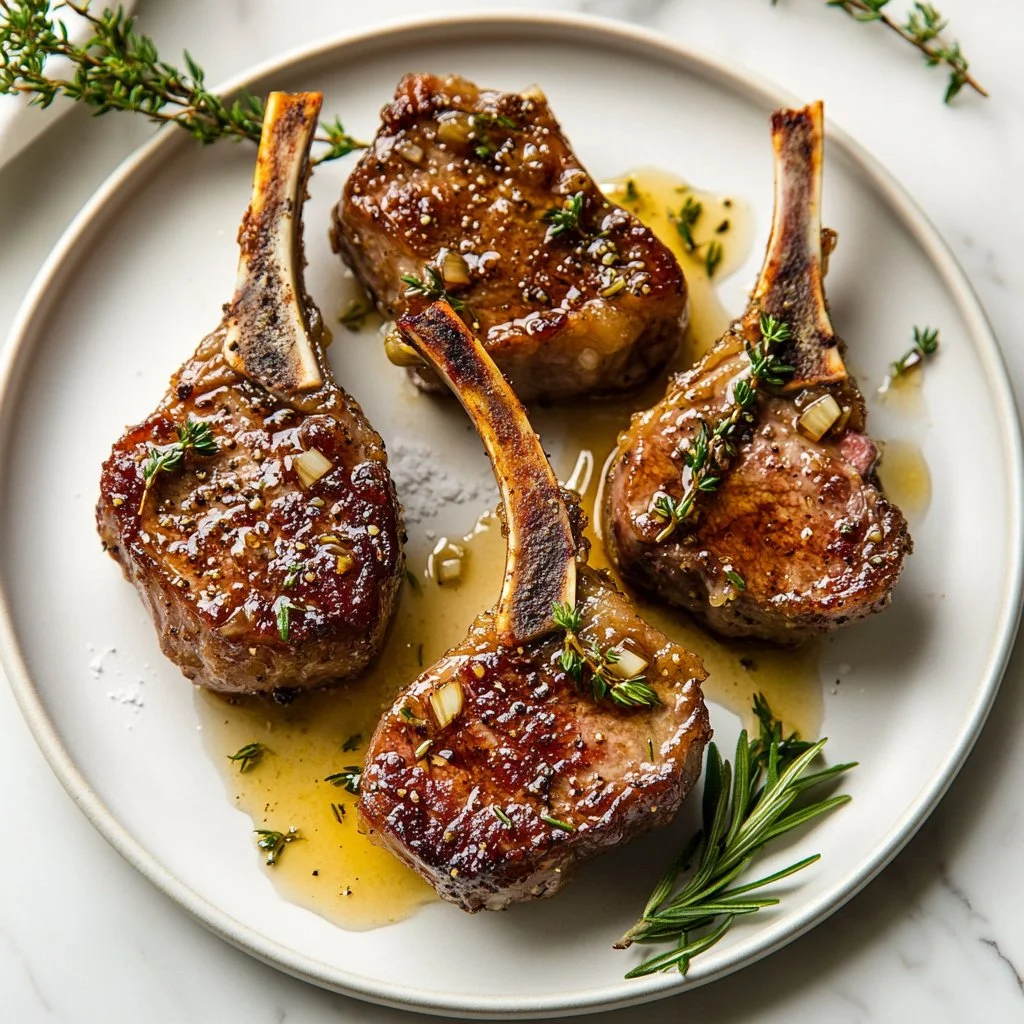
Garnish with fresh rosemary or thyme before serving.
The herbs add a bright, savory finish that balances the honey.
Serve family-style and let everyone grab a chop or two.
A little browning here builds flavor, just like my grandmother showed me. Let the kids help at step 2 by rubbing on the marinade if they want; it is an easy, fun job.
Serving Honey Garlic Lamb Chops with Love
We put the platter in the center of the table and let people help themselves. That is how we keep dinner relaxed and friendly. I like to serve these lamb chops with roasted vegetables, lemony couscous, or a simple green salad to cut the sweetness. For a heartier pairing, creamy mashed potatoes or a buttered polenta feel cozy and filling.
One of our favorites is to add a small bowl of roasted garlic yogurt or tzatziki on the side. My youngest dips every bite, which always makes me smile. If you want a smoky side that plays well with honey and garlic, I often serve these chops with a smoky potato mash inspired by chipotle honey chicken thighs with smoked gouda mashed potatoes, tweaked to suit lamb.
Storage & Reheat Tips (Keeping the Goodness)
Leftovers can be lovely if stored right. Place cooled lamb chops in an airtight container and refrigerate up to 3 days. If you want to freeze, wrap each chop individually and freeze for up to 2 months.
For reheating, the oven is your friend. Preheat to 300°F, place chops on a baking tray, cover loosely with foil, and warm for 10–15 minutes until heated through. The oven helps the meat warm gently and keeps it juicy. The microwave works in a pinch; use 50 percent power and short bursts to avoid overcooking. A quick tip: add a spoonful of stock or a little water to the dish when reheating to preserve moisture.
My Kitchen Notes & Shortcuts
- Swap one tablespoon of honey for maple syrup if that is what you have. It shifts the flavor slightly but still gives that glossy finish.
- Mince garlic ahead of time and store in the fridge for up to two days. It makes weeknight prep snap.
- If you like more herb flavor, chop rosemary or thyme and mix a bit into the marinade.
- For a kid-friendly step, let them sprinkle the salt or help place the chops on the plate.
- Use room-temperature lamb for more even cooking; pull it from the fridge 20 minutes before cooking.
These shortcuts keep the heart of the dish intact while freeing up your time to enjoy the table.
Family-Friendly Variations
- Lighter version: Use half the honey and add a squeeze of lemon after cooking to brighten things up.
- Kid-friendly: Reduce garlic to one clove and serve with a mild honey mustard dip on the side.
- Herb-forward: Add chopped mint to the garnish for a fresh lift that cuts the richness.
- Spicy twist: Sprinkle a pinch of red pepper flakes into the marinade for a gentle heat.
- Oven-roasted option: Sear chops for 2 minutes per side, then roast at 400°F for 6–8 minutes for easy hands-off cooking.
Play with this recipe and make it your own. Food becomes family history when you add your own twist.
FAQs About Honey Garlic Lamb Chops
Can I make this ahead for a busy week?
Absolutely. Marinate up to 24 hours ahead for deeper flavor. Just keep the coated chops covered in the fridge until ready to cook.
How do I tell when lamb is done?
Use a meat thermometer for confidence. Aim for 130°F for medium-rare and 140°F for medium. If you do not use a thermometer, look for a golden crust and a slight spring when you press the center.
What if I only have bone-in or larger chops?
Adjust the cooking time. Thicker or bone-in chops need extra time. Sear to brown, then finish in a 400°F oven for 6–10 minutes depending on thickness.
Can I use another cut of meat?
Yes. This glaze works great on pork chops or chicken thighs. Each will need slightly different cook times, but the flavor logic is the same.
Is it okay to skip the resting step?
Resting really helps. Even five minutes makes a difference in juiciness, so I gently insist we wait.
One Final Thought from My Kitchen
I hope this Honey Garlic Lamb Chops recipe finds a place at your table, on the nights when you want something that feels both simple and special. Cooking for the people you love should be a comfort, not a chore, and this dish does that job. If you try it, let it be relaxed; let the sound of plates and the scent of garlic and honey do the rest.
Conclusion
If you like a visual guide or prefer to watch someone cook each step, this Honey Garlic Lamb Chops Video Recipe – Cooked by Julie is a lovely companion to the written notes here. For a slightly richer butter-forward version that plays with similar flavors, see Honey Garlic Butter Lamb Cutlets – Daen’s Kitchen. Until next time, may your kitchen be full of good smells, easy laughter, and delicious food.

Honey Garlic Lamb Chops
Ingredients
Main Ingredients
- 4 pieces lamb chops
- 2 tablespoons honey (Can substitute with maple syrup.)
- 3 cloves garlic, minced (Adjust to taste.)
- 2 tablespoons olive oil (Helps with browning.)
- to taste Salt and pepper
- to taste Fresh rosemary or thyme for garnish (Essential for flavor.)
Instructions
Preparation
- In a small bowl, mix together honey, minced garlic, olive oil, salt, and pepper to create a glossy marinade.
- Rub the honey-garlic mixture over the lamb chops, ensuring they are well-coated. Let them rest for 20 minutes.
Cooking
- Heat a grill or skillet over medium-high heat until hot.
- Cook the lamb chops for about 4-5 minutes on each side or until they reach your desired level of doneness.
- Remove from heat and let them rest for a few minutes.
Serving
- Garnish with fresh rosemary or thyme before serving. Serve family-style.