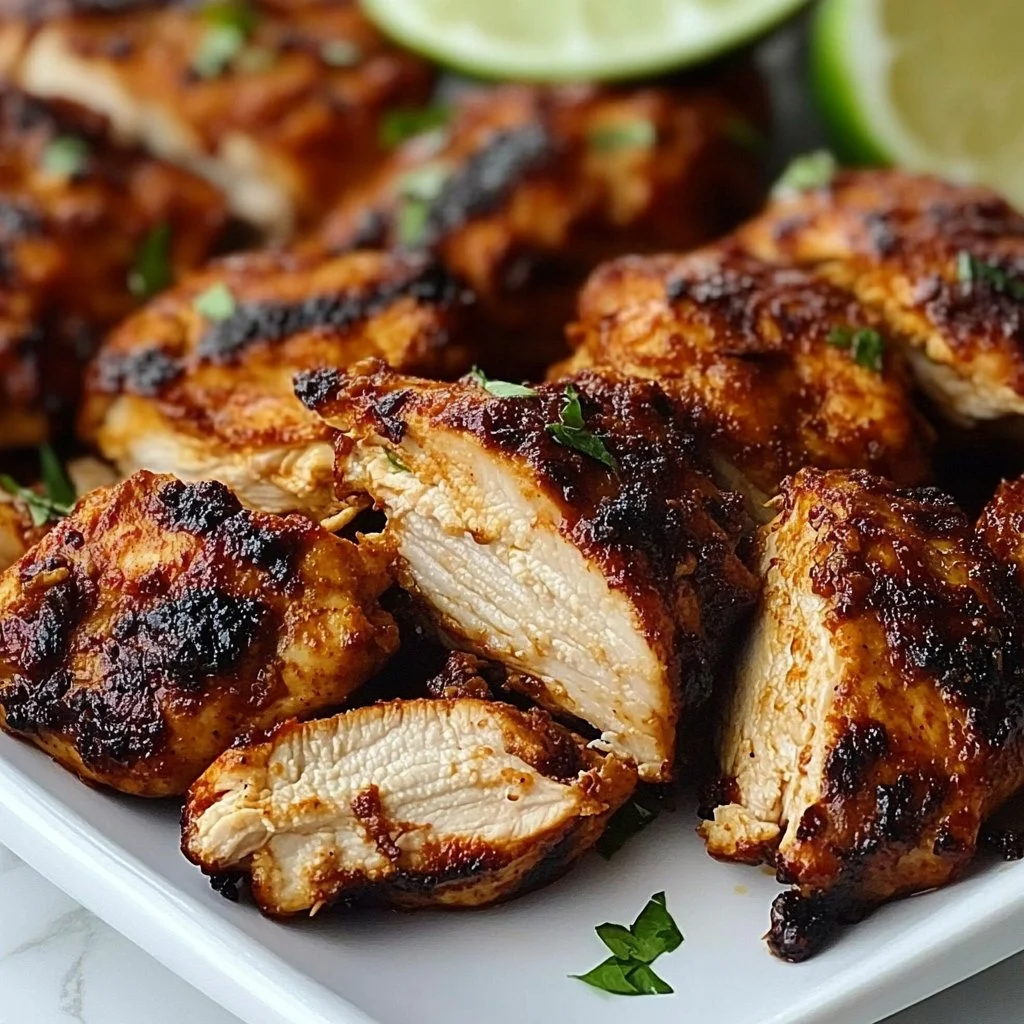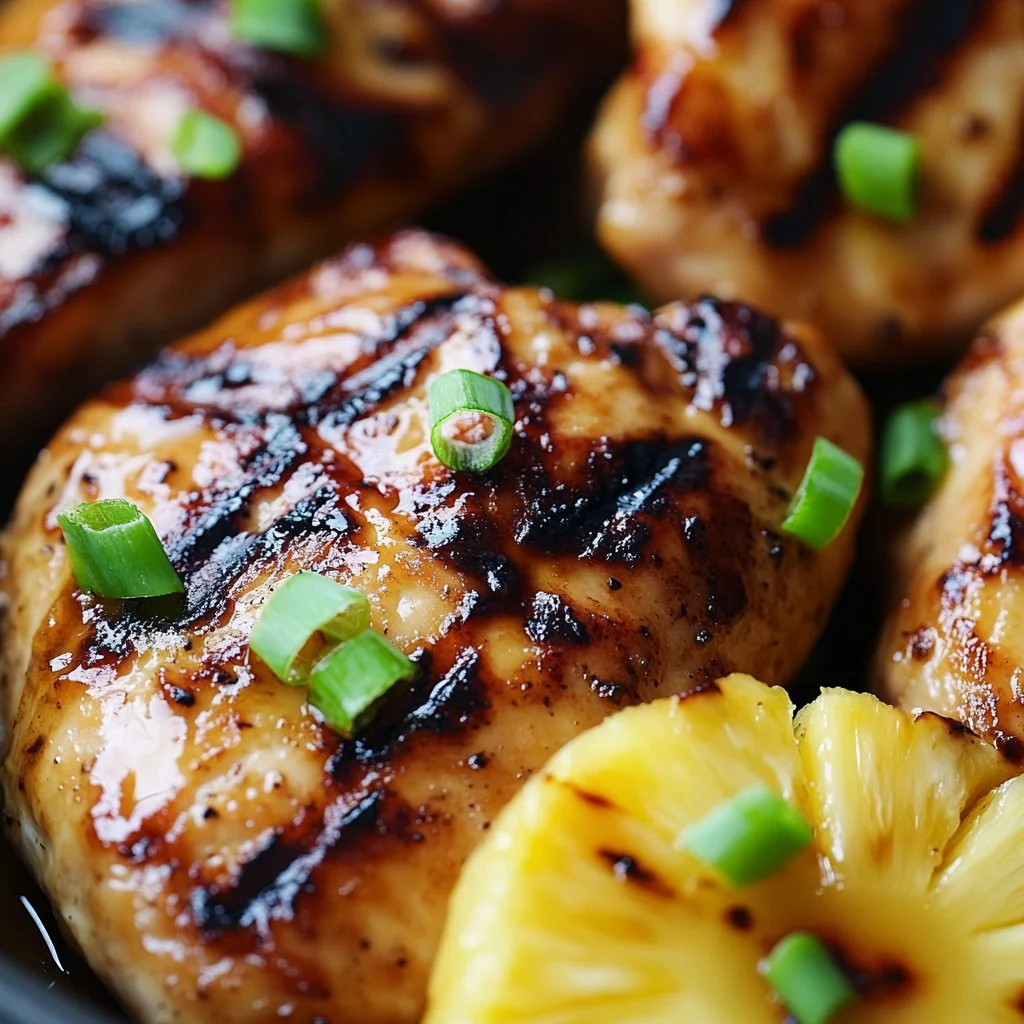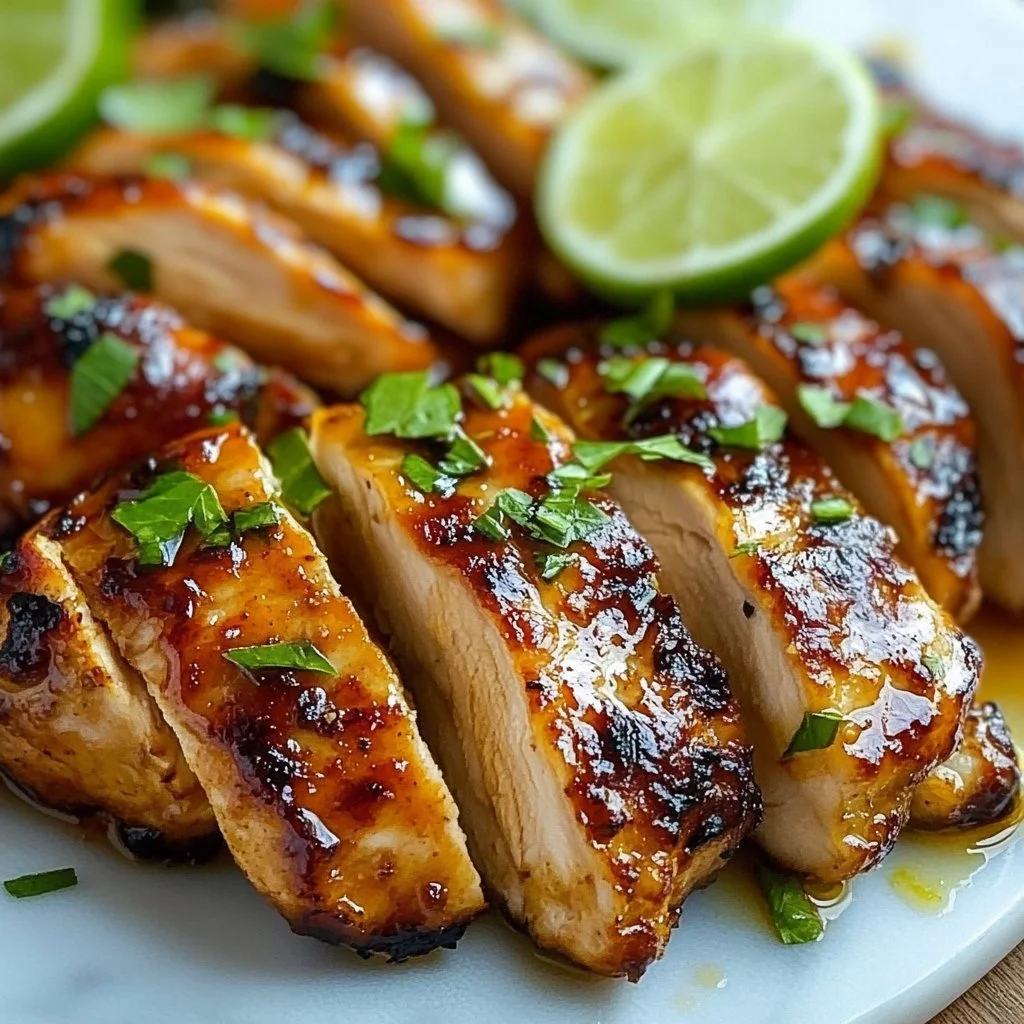
The kitchen smells like caramelized soy and warm garlic. I hear the faint sizzle of chicken hitting a hot grill and the happy chatter of family at the table. Those small moments make this recipe feel like home.
If you love simple weeknight meals that taste like a celebration, you are in the right place. This recipe folds bold flavor into a fast, family-friendly method. If you need another quick weeknight idea, try my 30-minute teriyaki chicken bowl your family will crave for a change of pace.
Why this works
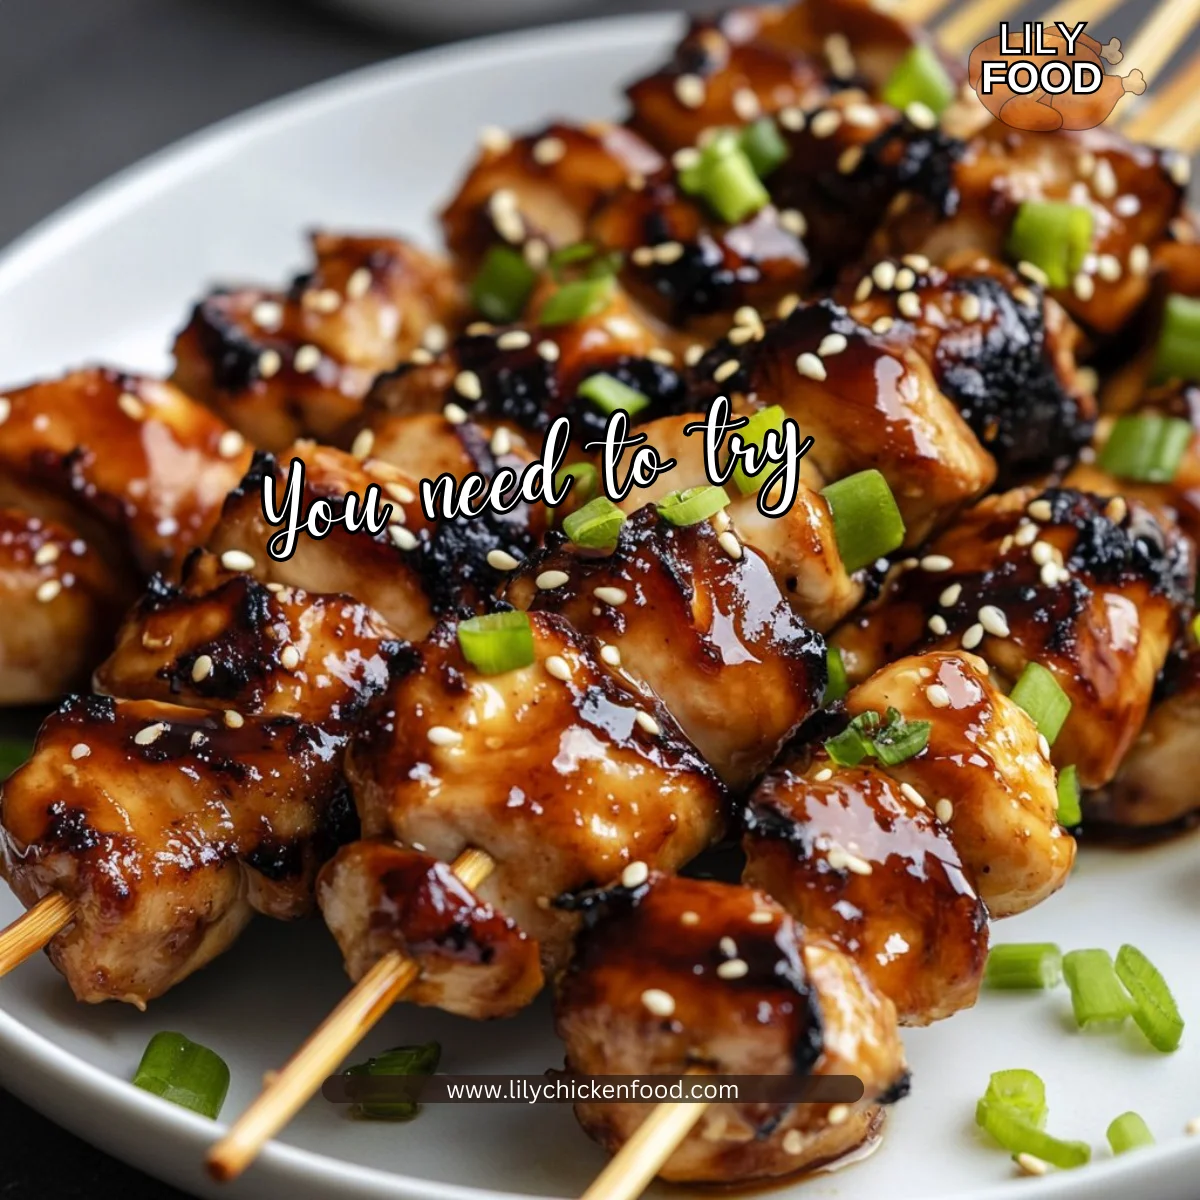
This teriyaki chicken skewer recipe gives you the best of two worlds. You get deep, sticky sauce that clings to the meat and a quick cooking time that keeps dinner moving. The marinade does the heavy lifting in flavor so you can spend less time fussing and more time with your family.
These skewers are a time saver. Marinate in the morning and grill at dinnertime. You can even make extra to freeze for a later meal. If you like an indoor option on busy nights, the air fryer version is a great alternative and you can find a helpful guide to that technique here: air fryer chicken skewers.
Families will love the build-your-own nature of these skewers. Kids can help thread chicken and choose garnishes. This makes dinner more fun and teaches small kitchen skills that build confidence.
Process Overview
“This is where the magic happens—when the aroma fills the kitchen.”
Here is the simple flow for success. It keeps things organized and calm.
- Mix the marinade.
- Marinate the chicken.
- Thread and grill.
- Garnish and serve hot.
If you want to try a more saucy, crunchy twist next time, my recipe for bang bang chicken skewers shows how to add a zingy topping and is a kid favorite.
Ingredients
I list the core items below, along with little tips I use in my kitchen. These keep the process predictable and family friendly.
Lily’s personal tips
-
1 pound chicken breast, cut into cubes
Tip: Cut even pieces so they cook at the same rate. If kids prefer dark meat, swap half the breasts for thighs. -
1/4 cup soy sauce
Tip: Use low sodium if you are watching salt. Taste the final sauce before adding more. -
1/4 cup brown sugar
Tip: Light or dark brown sugar both work. Dark gives a deeper molasses note. -
2 tablespoons rice vinegar
Tip: This brightens the sauce. If you do not have rice vinegar, lemon juice can work in a pinch. -
2 tablespoons sesame oil
Tip: A little goes a long way. Toasted sesame oil adds a nutty finish; add less if you prefer a mild flavor. -
2 cloves garlic, minced
Tip: Fresh garlic is best. If you need to save time, use 1/2 teaspoon jarred minced garlic. -
1 teaspoon ground ginger
Tip: Ground ginger blends easily into the sauce. For more freshness, swap with 1 tablespoon grated fresh ginger. -
Skewers (wooden or metal)
Tip: If using wooden skewers, soak them in water for 20 minutes to prevent burning. -
Sesame seeds for garnish
Tip: Toast them in a dry pan for a minute to boost the aroma. -
Chopped green onions for garnish
Tip: Slice thinly on an angle for the best presentation and mild flavor.
For extra balance and texture, plan a simple side like steamed rice and a quick cucumber salad.
Directions
-
In a bowl, mix soy sauce, brown sugar, rice vinegar, sesame oil, garlic, and ginger to create the marinade.
Encouraging note: Whisk until the sugar dissolves and the sauce looks glossy. Your family will notice this deep flavor. -
Add the chicken cubes and marinate for at least 30 minutes, preferably overnight in the refrigerator.
Encouraging note: Overnight gives the best flavor, but even a short marinate lifts the chicken. Pop it in the fridge if you need to run out for a bit. -
Preheat the grill to medium-high heat.
Encouraging note: A hot grill gives nice color fast and keeps the inside juicy. If you are using a gas grill, give it 8 to 10 minutes to heat up. -
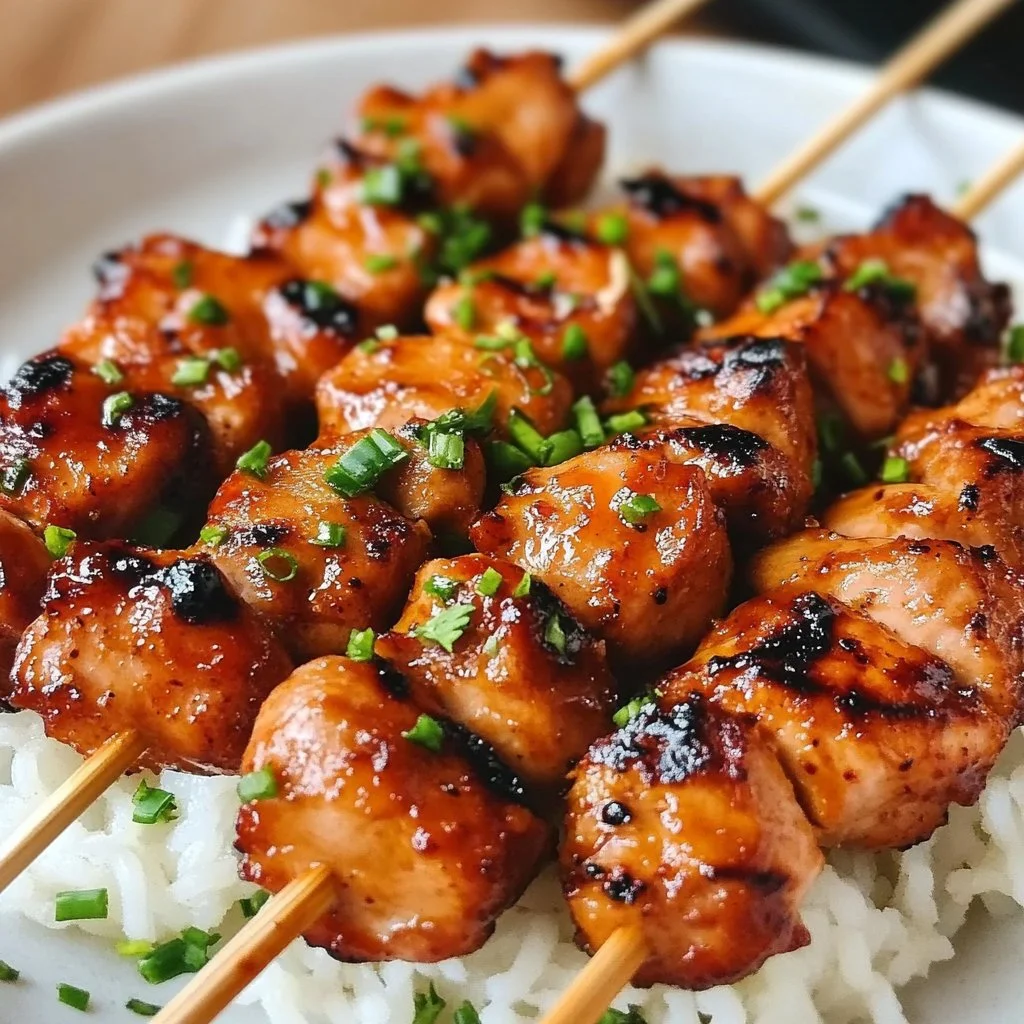
Thread the marinated chicken onto skewers.
Encouraging note: Thread tightly but not squashed. Kids often enjoy helping with this step. Use two skewers per person for easy handling. -
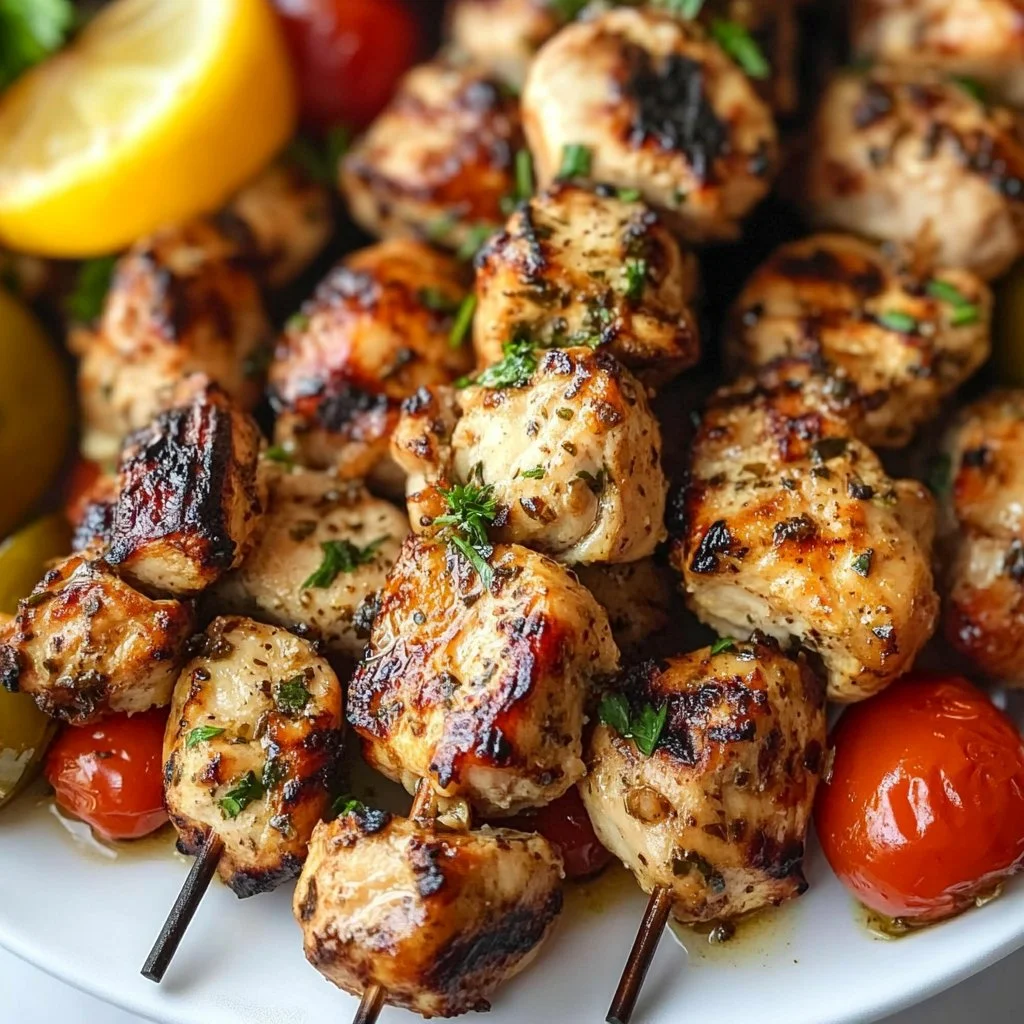
Grill the skewers for about 6-8 minutes, turning occasionally, until the chicken is cooked through and has nice grill marks.
Encouraging note: Cook time varies by grill and cube size. Aim for an internal temperature of 165°F for safe, juicy chicken. -
Brush with additional teriyaki sauce during grilling if desired.
Encouraging note: Basting once or twice adds shine and flavor. Save a small bowl of sauce off the heat for final brushing. -
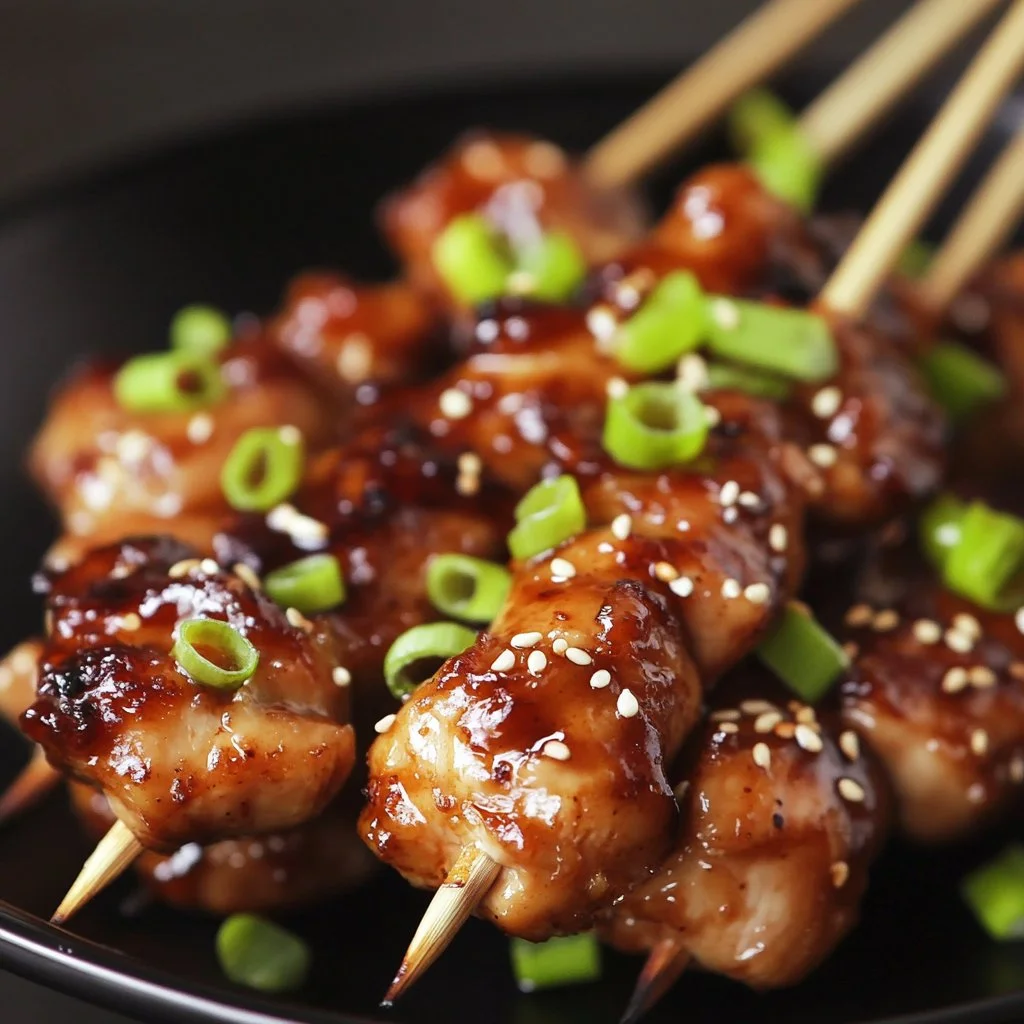
Remove from the grill, garnish with sesame seeds and chopped green onions, and serve hot.
Encouraging note: Let the skewers rest for a minute before serving. This keeps the juices inside and makes every bite tender.
When you want a buttery finish on the side, try pairing these skewers with my grilled chicken skewers with cowboy butter for a special treat.
Serving

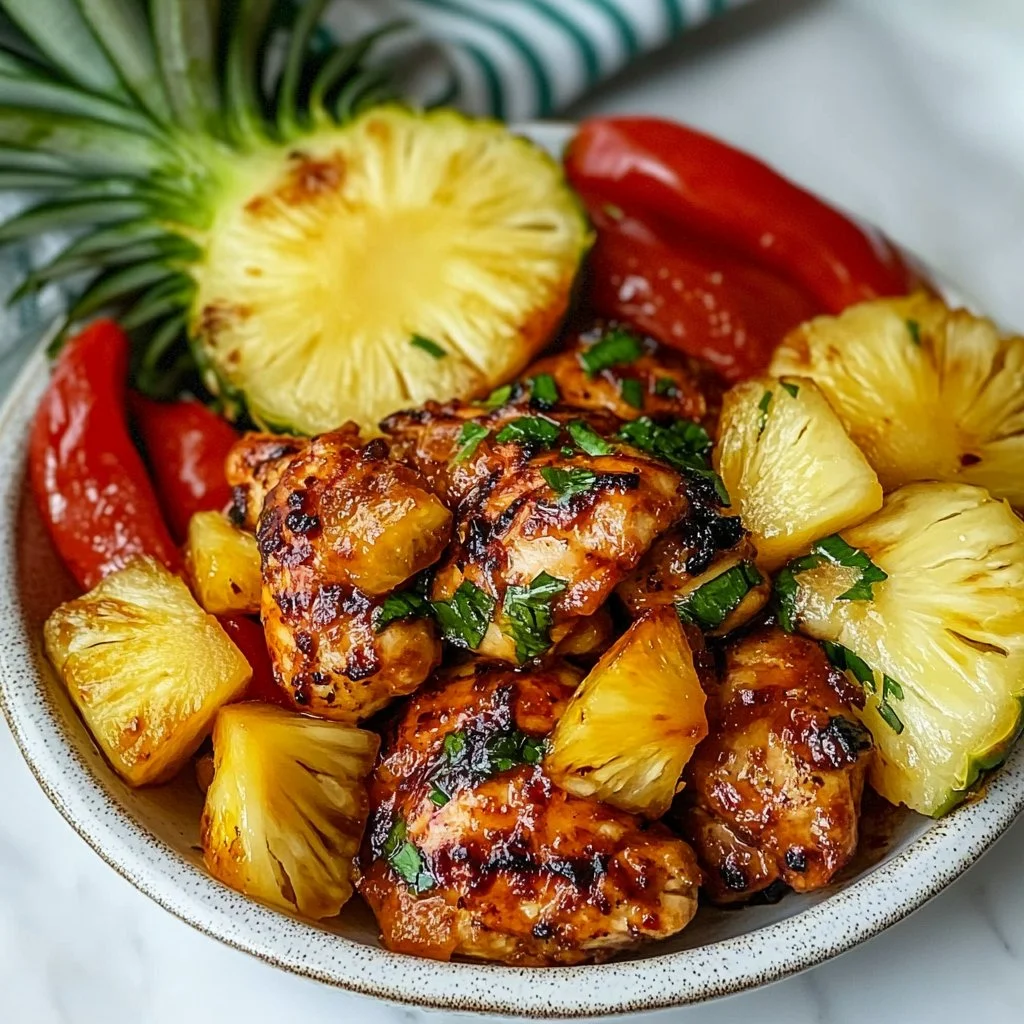
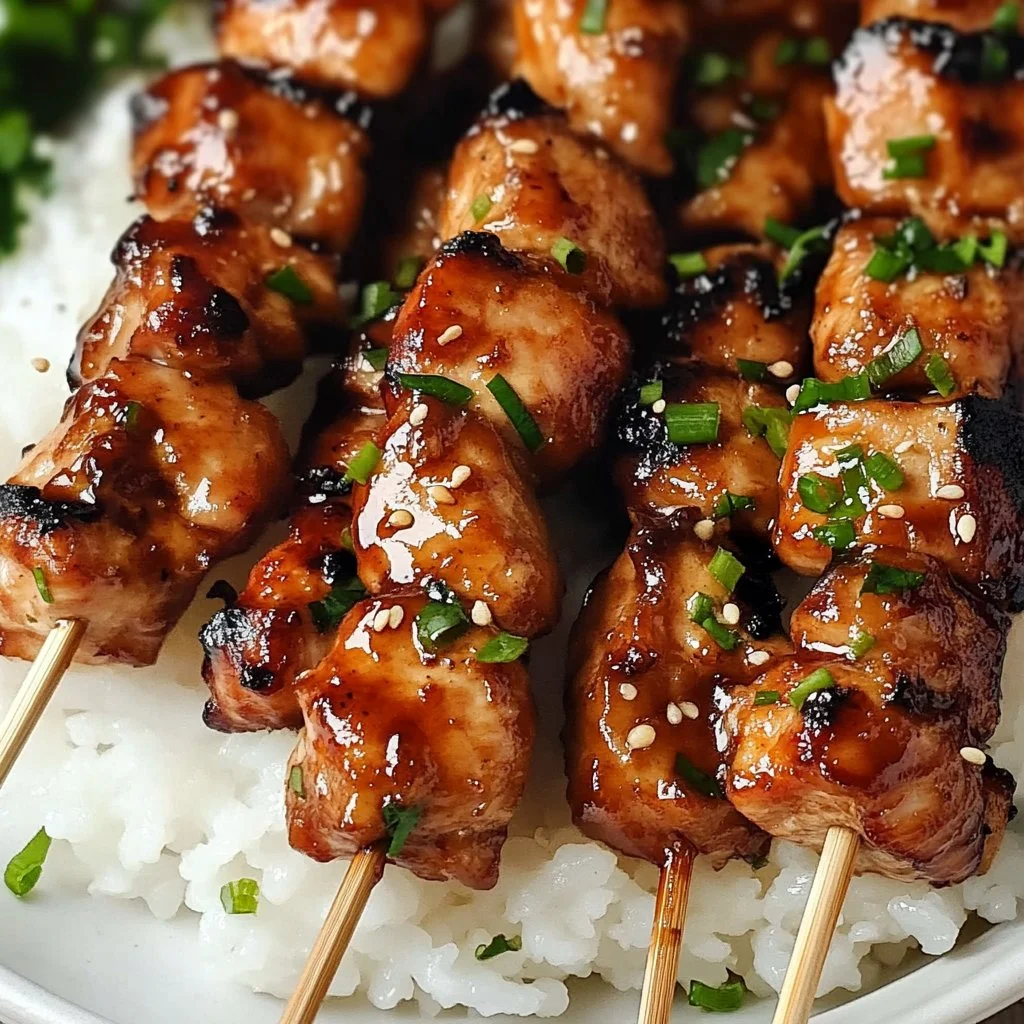
Serve these skewers family-style on a large platter for an inviting table. Place rice in a bowl and set small dishes of garnishes around the platter. Let everyone build their plate.
For a balanced plate, include steamed vegetables and a simple green salad. If you want to add a crunchy side, toss sliced cucumbers with rice vinegar, a pinch of sugar, and salt. This brightens the meal and keeps things fresh for little mouths.
If you are feeding a crowd, keep finished skewers warm on a baking sheet in a 200°F oven until ready to serve.
Kid-friendly serving ideas
- Cut the chicken off the skewer and slice for toddlers.
- Offer small bowls of toppings like sesame seeds and green onions for picky eaters.
- Serve with a mild dipping sauce on the side for children who like less saucy food.
Storage
Fridge: Store leftovers in an airtight container for up to 3 days. Keep the sauce separate if you think you will reheat only part of the batch.
Freezer: For longer storage, thread raw marinated chicken on skewers and freeze on a tray until solid, then wrap tightly. Use within 2 months for best quality. Thaw in the refrigerator before grilling.
Reheating: Warm gently in an oven set to 300°F for 8 to 12 minutes, or reheat in a skillet over medium heat until warmed through. Avoid very high heat which can dry the chicken.
Sauce: If you saved extra marinade as a glaze, bring it to a full boil for at least one minute to ensure safety before using it hot.
Kitchen Notes
- Prep ahead: Marinate overnight to save time on busy evenings.
- Double duty: Reserve a small portion of the marinade before adding raw chicken to use as a finishing glaze.
- Even pieces: Cut chicken into uniform cubes for predictable cooking.
- Skewer care: If using wooden skewers, soak them before threading to prevent charring.
- Thermometer tip: Use an instant read thermometer for perfect doneness and peace of mind.
These shortcuts keep dinner relaxed and reliable. You can always involve kids in washing veggies or sprinkling sesame seeds for extra family time.
Variations
- For picky eaters: Reduce the brown sugar by half and offer sauce on the side. You can also swap chicken for tofu cubes for a milder taste kids often prefer.
- Low-carb option: Serve over cauliflower rice or a bed of lettuce instead of white rice.
- Gluten-free: Use gluten-free tamari in place of soy sauce to make the recipe safe for those avoiding gluten.
- Spicy twist: Add 1 teaspoon chili garlic sauce to the marinade for a gentle kick.
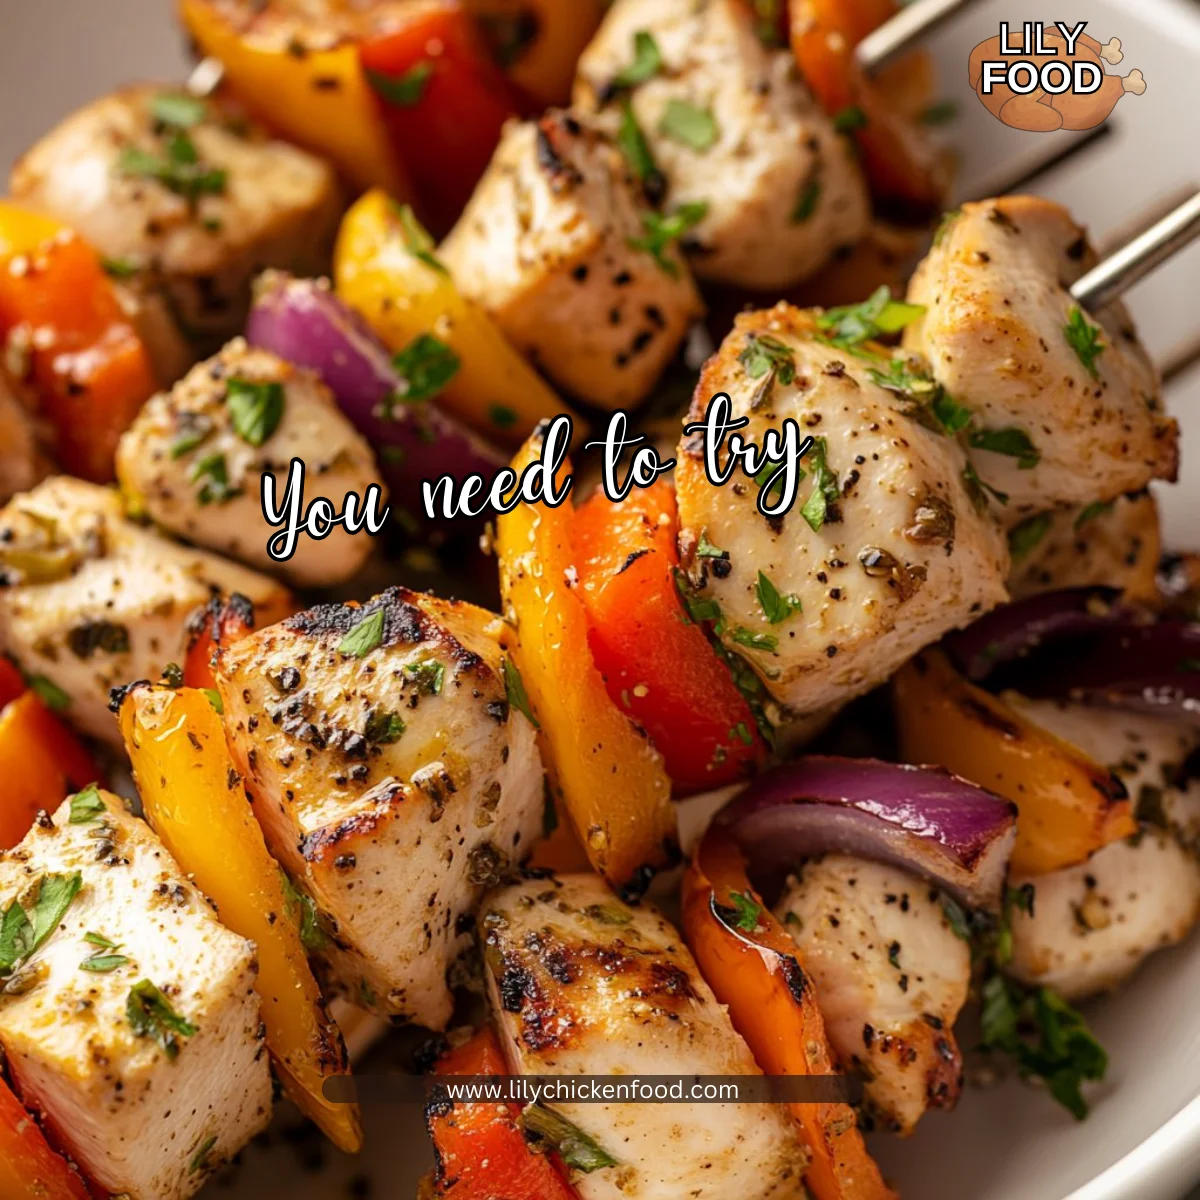
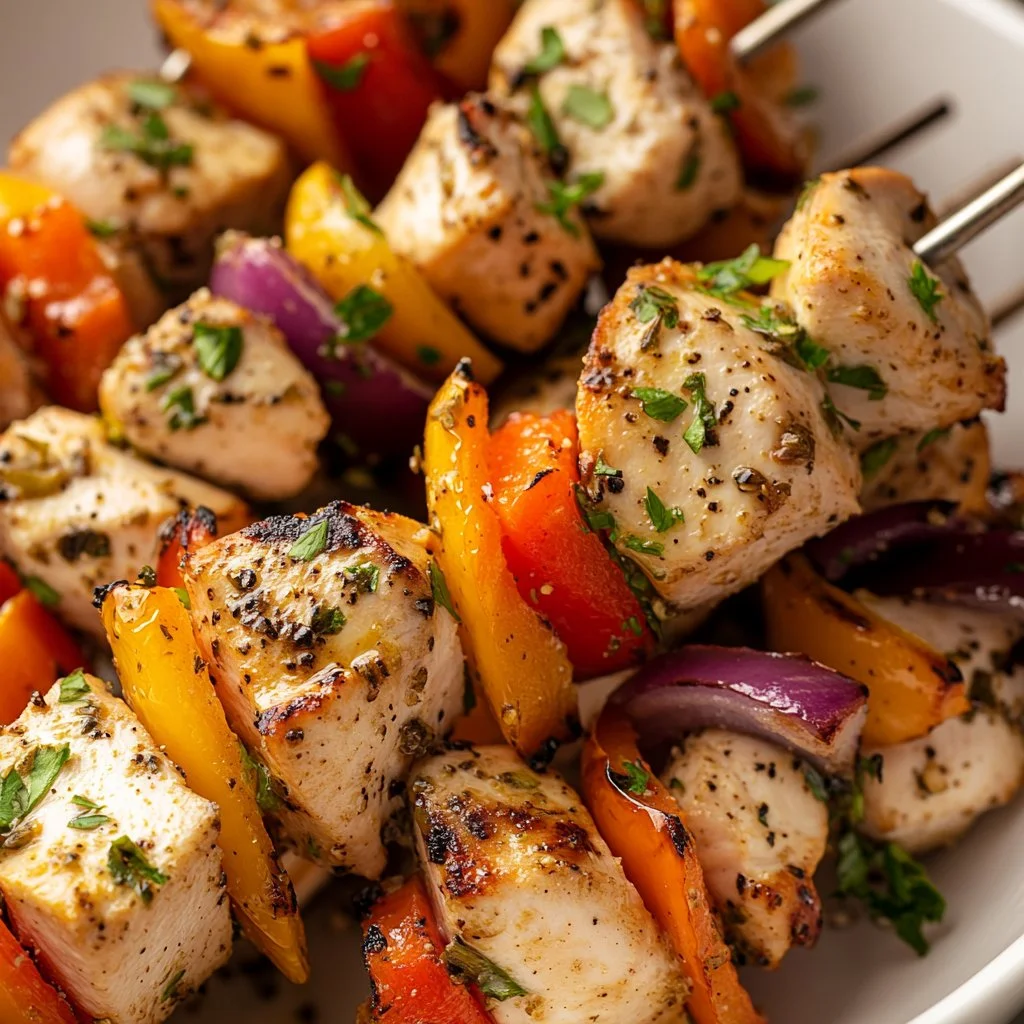
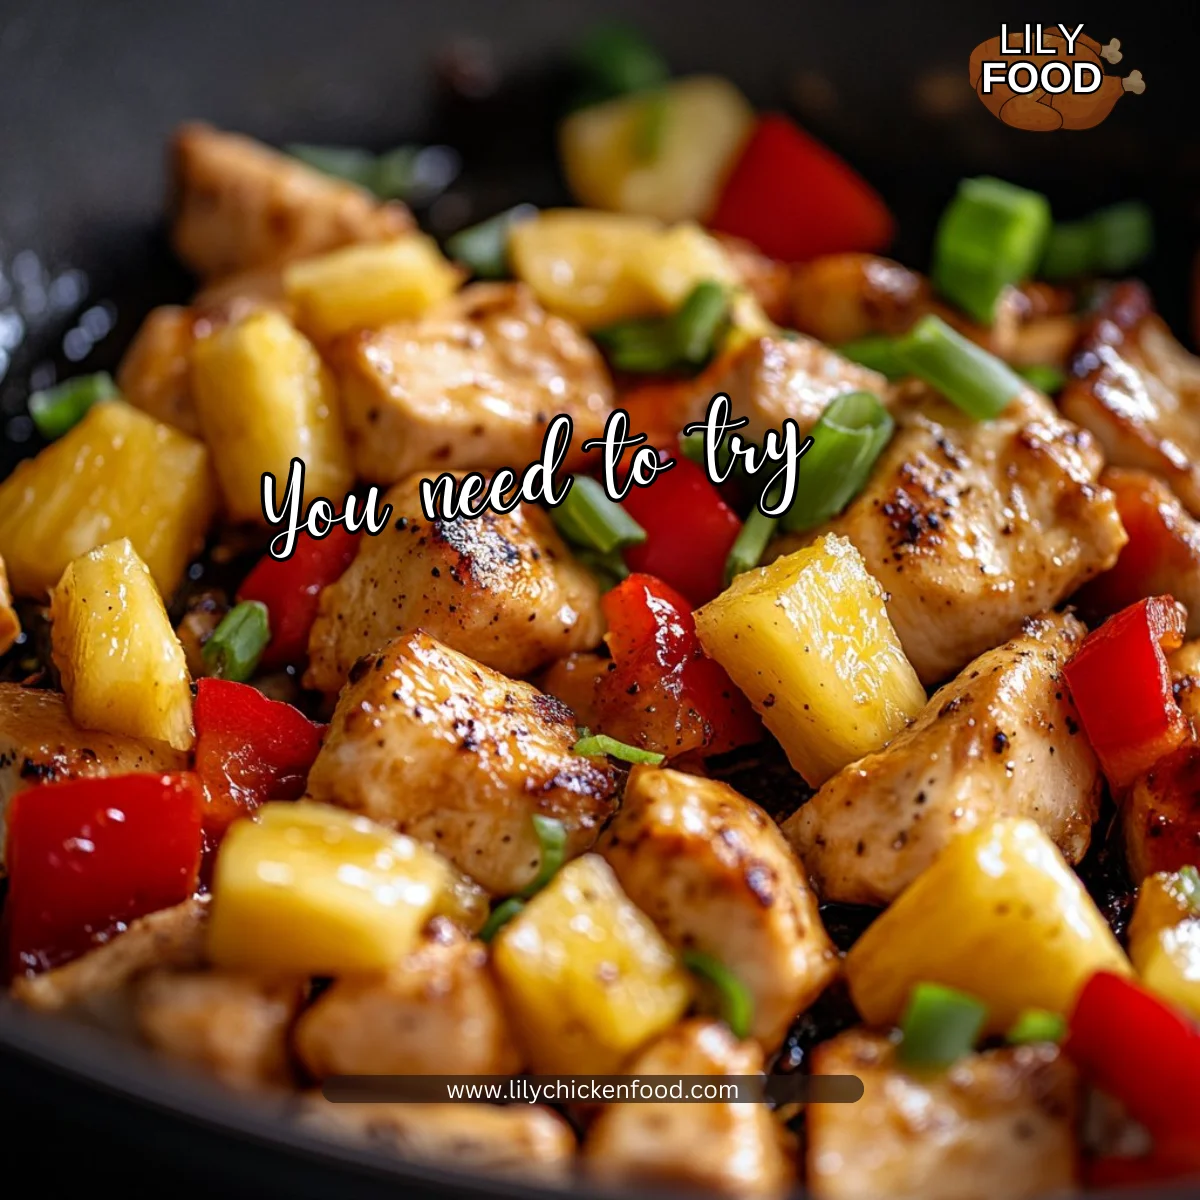
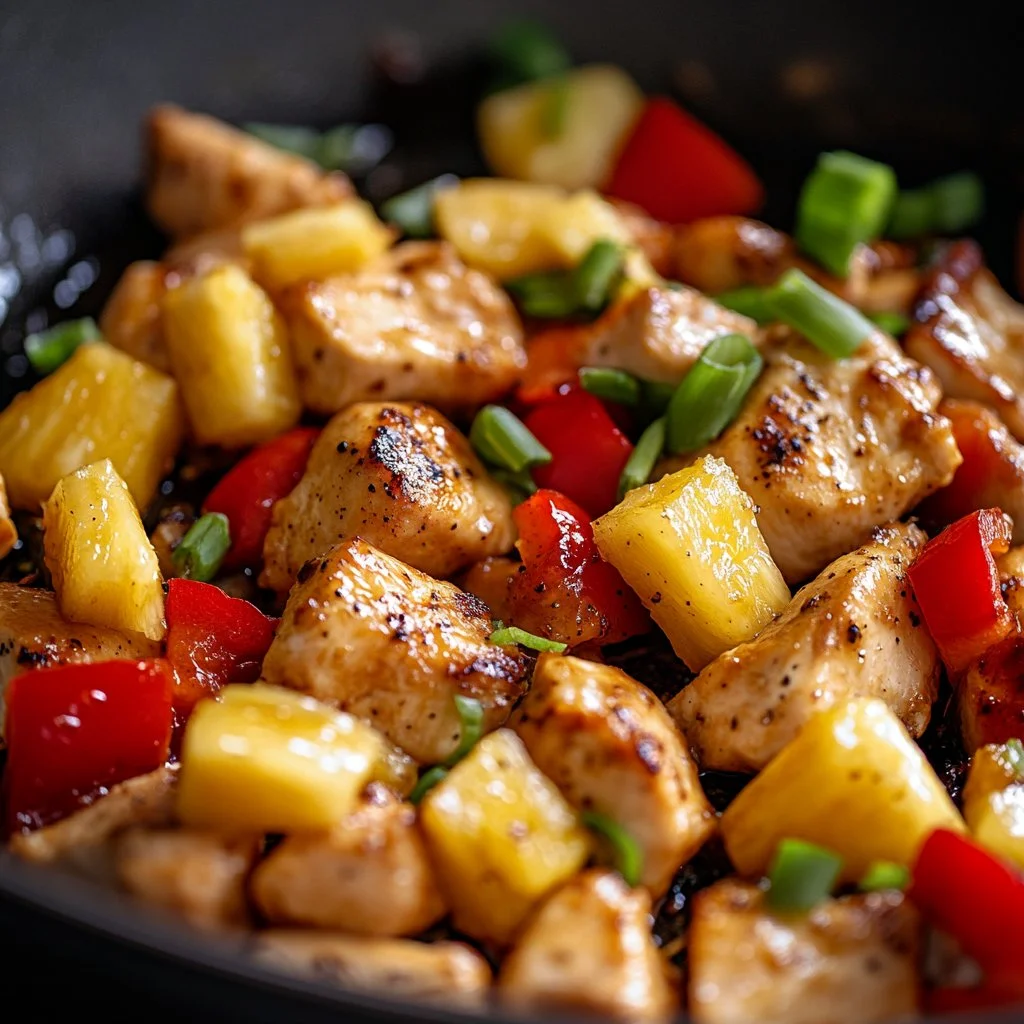
- Teriyaki-glazed vegetables: Thread bell peppers, onions, and pineapple with the chicken or make separate veggie skewers for the kids who love crunch.
These simple swaps help you tailor the dish to different tastes without extra fuss.
FAQ
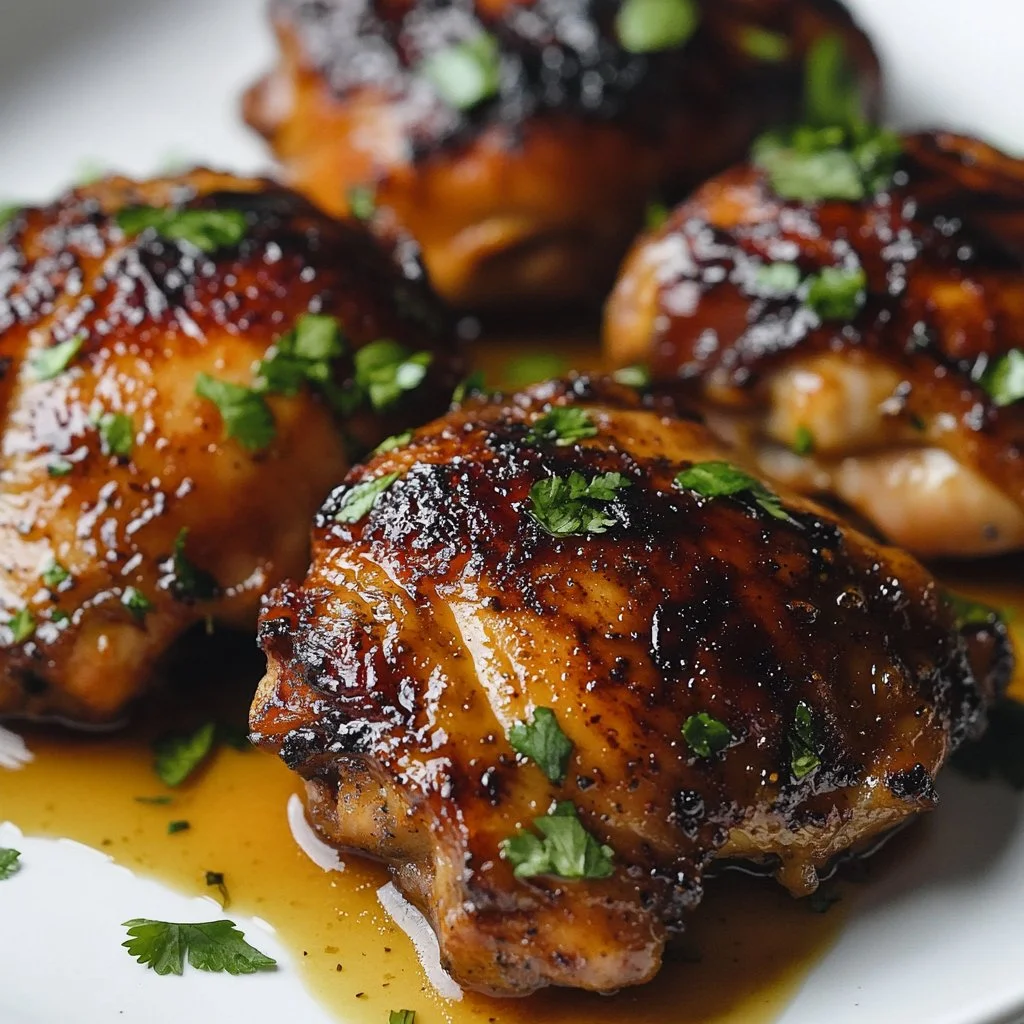
Q: Can I use chicken thighs instead of breasts?
A: Yes. Chicken thighs stay juicier and work well with the marinade. Adjust grill time if your cubes are larger.
Q: How long can I marinate the chicken safely?
A: You can marinate safely for up to 24 hours. Overnight gives the best flavor. Avoid marinating much longer as the texture can change.
Q: Can I make the sauce ahead of time?
A: Absolutely. Make the sauce up to 3 days ahead and store in the refrigerator. Warm gently before using.
Q: What if my grill smokes a lot?
A: Cut back on oil and remove excess marinade before grilling. Move skewers to a cooler part of the grill if flare-ups happen.
Q: How do I prevent the sugar from burning on the grill?
A: Grill over medium-high heat and turn often. Baste toward the end of cooking rather than for the whole time.
Conclusion
Thank you for cooking with me today. I hope these teriyaki chicken skewers become a new family favorite that brings warmth to your table. For more inspiration and a different teriyaki spin, see this take on Teriyaki Chicken Skewers – Amanda Cooks & Styles. If you enjoy bold, savory chicken ideas, you might also like the recipe for Garlic Parmesan Chicken Skewers – Over The Fire Cooking for a tasty change.
Happy grilling from my kitchen to yours.

Teriyaki Chicken Skewers
Ingredients
Main Ingredients
- 1 pound chicken breast, cut into cubes (Cut even pieces so they cook at the same rate.)
- 1/4 cup soy sauce (Use low sodium if you are watching salt.)
- 1/4 cup brown sugar (Light or dark brown sugar both work. Dark gives a deeper molasses note.)
- 2 tablespoons rice vinegar (If you do not have rice vinegar, lemon juice can work in a pinch.)
- 2 tablespoons sesame oil (Toasted sesame oil adds a nutty finish.)
- 2 cloves garlic, minced (Fresh garlic is best.)
- 1 teaspoon ground ginger (For more freshness, swap with 1 tablespoon grated fresh ginger.)
- Skewers wooden or metal (If using wooden skewers, soak them in water for 20 minutes to prevent burning.)
- sesame seeds for garnish (Toast them in a dry pan for a minute to boost the aroma.)
- chopped green onions for garnish (Slice thinly on an angle for the best presentation.)
Instructions
Preparation
- In a bowl, mix soy sauce, brown sugar, rice vinegar, sesame oil, garlic, and ginger to create the marinade. Whisk until the sugar dissolves and the sauce looks glossy.
- Add the chicken cubes and marinate for at least 30 minutes, preferably overnight in the refrigerator.
- Preheat the grill to medium-high heat.
- Thread the marinated chicken onto skewers, threading tightly but not squashed.
Cooking
- Grill the skewers for about 6-8 minutes, turning occasionally, until the chicken is cooked through.
- Brush with additional teriyaki sauce during grilling if desired.
Serving
- Remove from the grill, garnish with sesame seeds and chopped green onions, and serve hot.


")