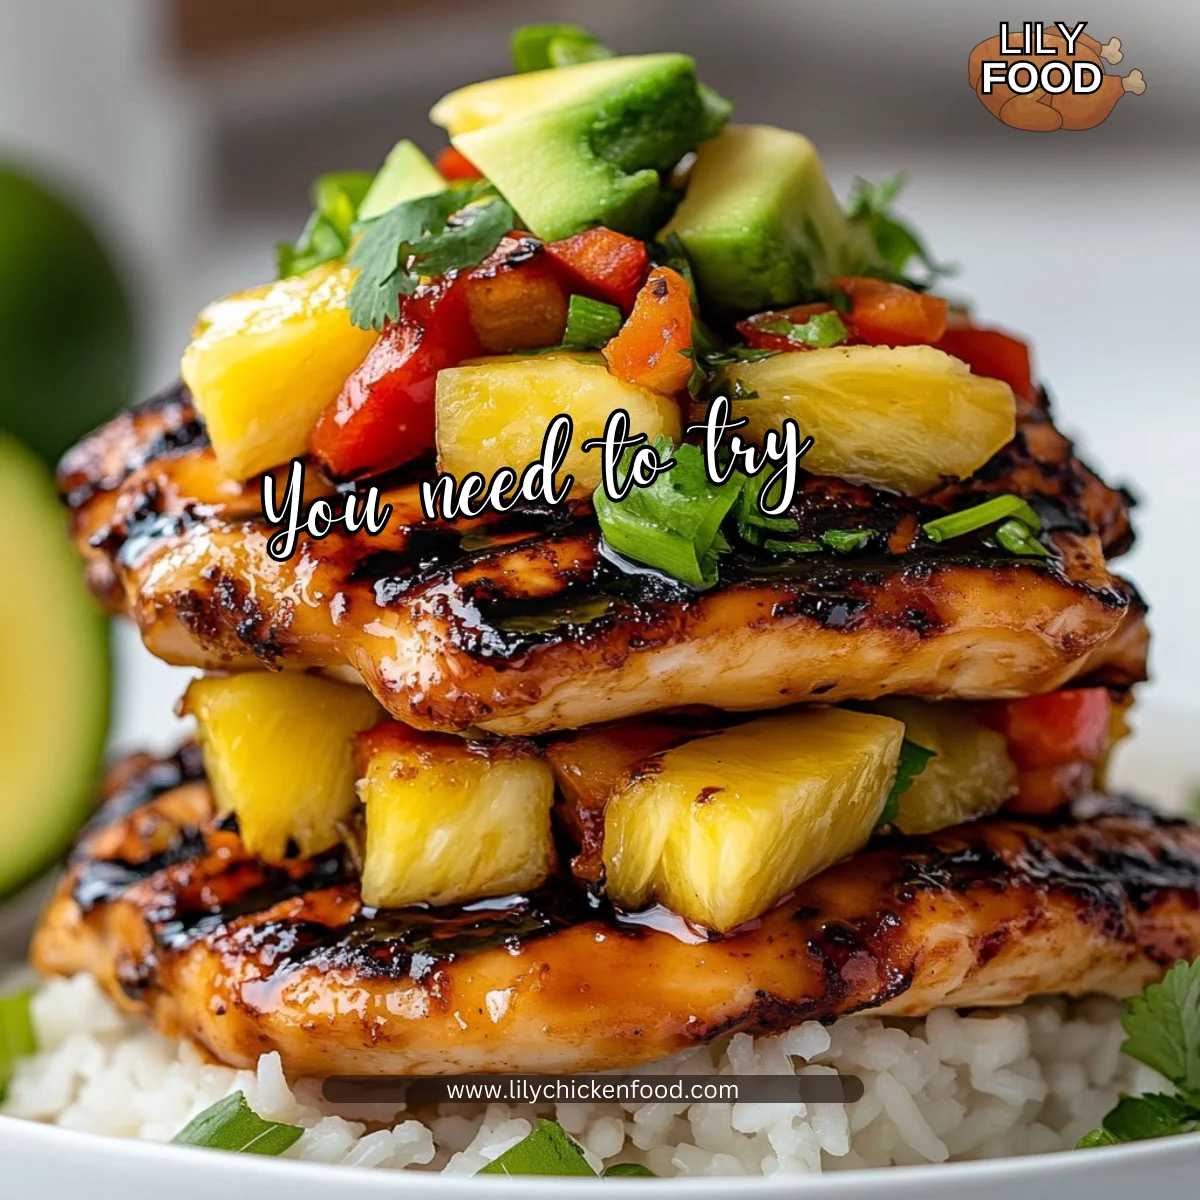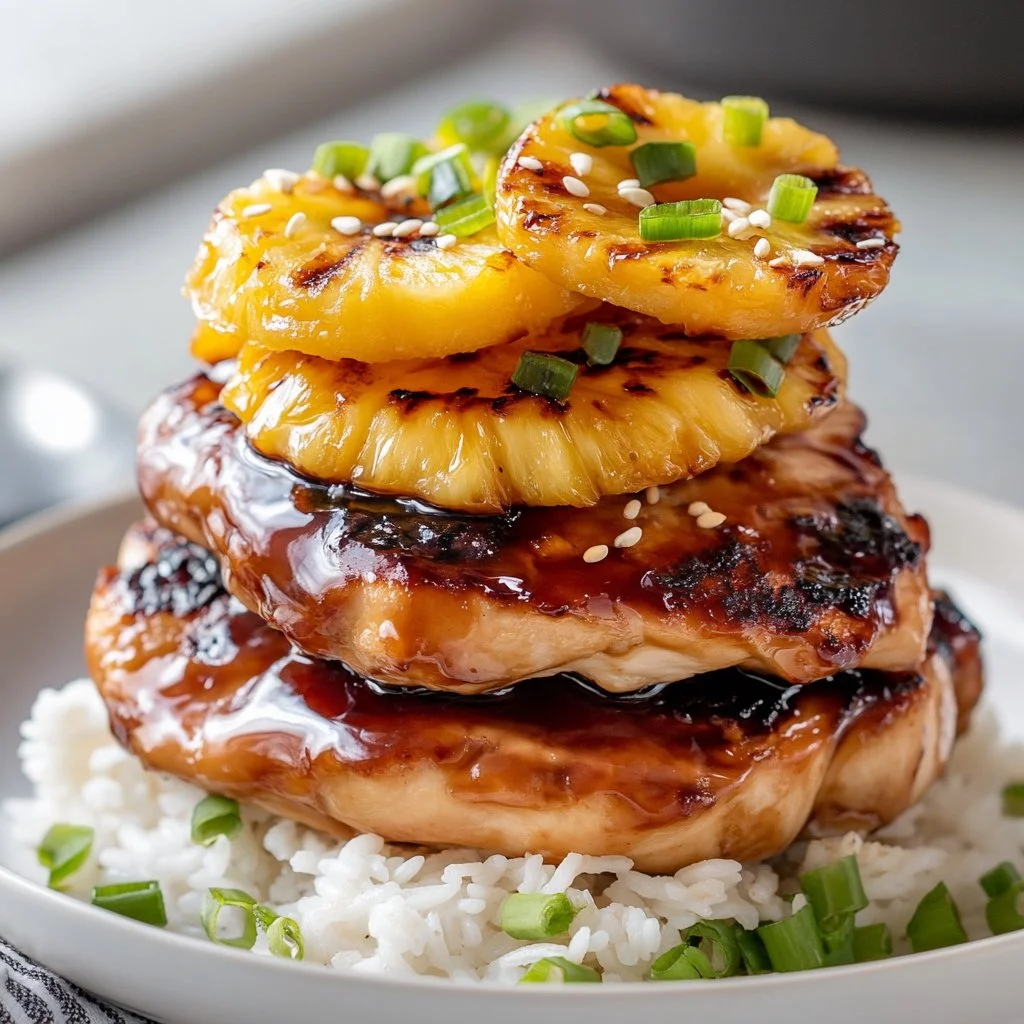
There’s nothing like the scent of grilled chicken wafting through the air, mingling with the sweet aroma of pineapples. The sound of the grill sizzling brings a comforting warmth, signaling a perfect family meal is on its way. Today, let’s dive into a delightful recipe for Pineapple Chicken Skewers. This dish packs a punch of flavor and is incredibly easy to prepare, making it a go-to option for busy weeknights or sunny weekend barbecues.
Why This Works

One of the best parts about these Pineapple Chicken Skewers is how they bring the family together. The colorful ingredients are not only visually appealing but also encourage everyone to get involved in the cooking process. Whether it’s cubing the chicken or threading the skewers, this dish offers a fun and interactive way to enjoy meal prep together.
Plus, the simplicity of this recipe cuts down on stress in the kitchen. With just a handful of ingredients, you can create a meal that feels special without spending hours cooking. The marinade works wonders in a short time, making it a time-saving win for busy families.
Process Overview
“This is where the magic happens—when the aroma fills the kitchen.”
As you prepare for this recipe, keep your senses awake. The sound of the sizzling grill will soon accompany the wonderful fragrance of sweet and savory chicken and pineapple. Before long, you will have an irresistible dish that everyone can enjoy together.
Ingredients
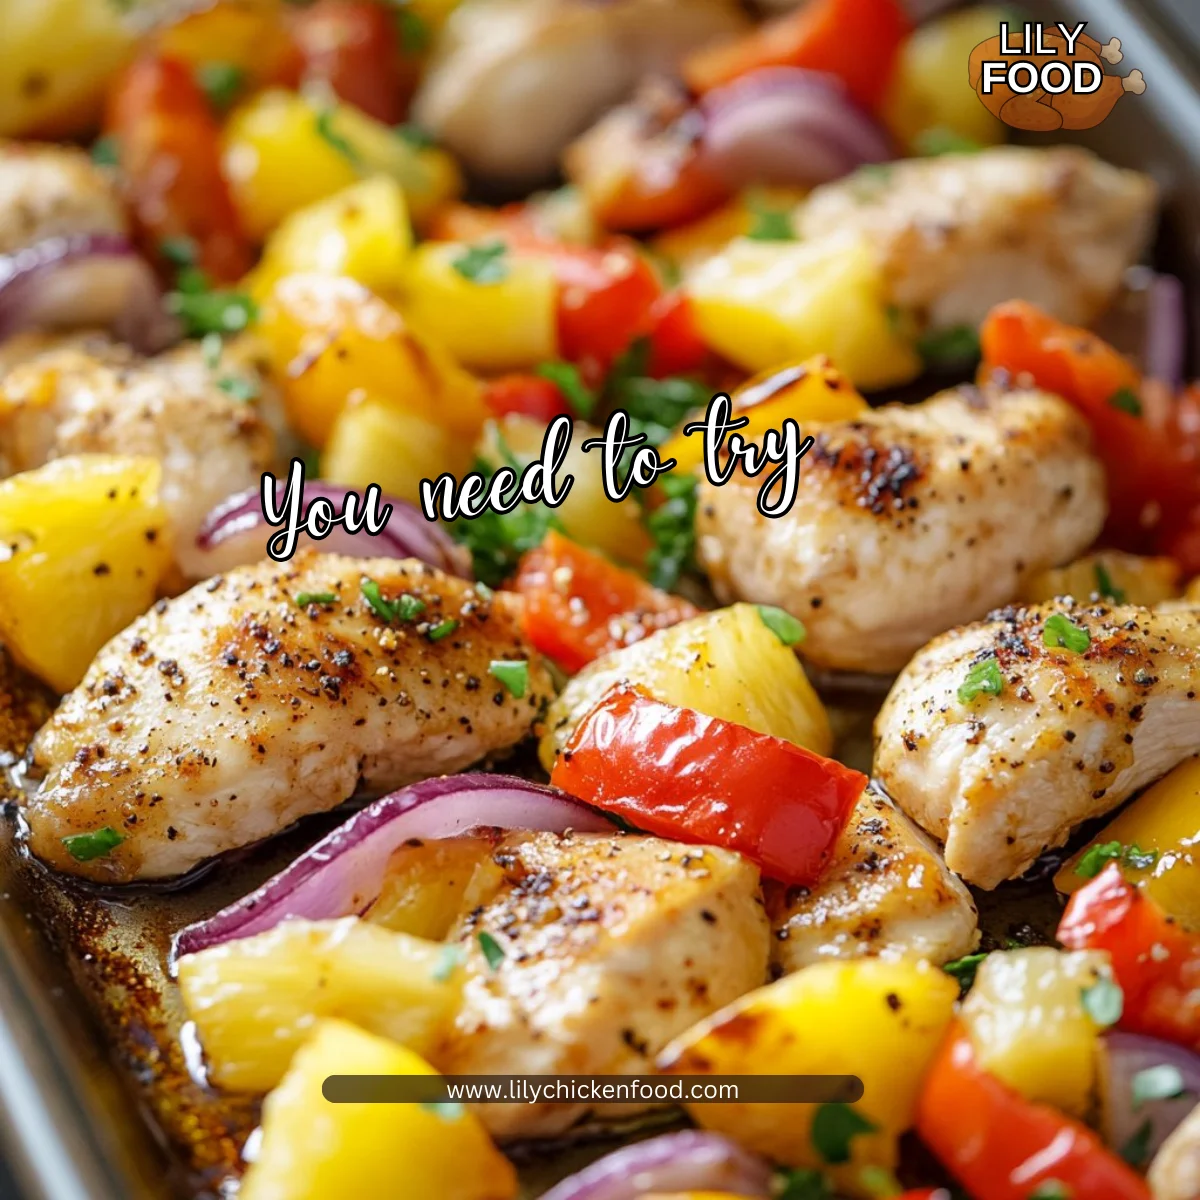
To make Pineapple Chicken Skewers, gather these ingredients:
- 2 Chicken breasts, cubed: Choose high-quality, fresh chicken for the best flavor.
- 1 cup Pineapple chunks: Fresh pineapple will provide the sweetest taste, but canned works too.
- 1 Bell pepper (any color, cut into pieces): Feel free to mix colors for a vibrant dish.
- 2 tablespoons Olive oil: This adds richness to the marinade.
- 3 tablespoons Soy sauce: Adds saltiness and depth to the flavor.
- 2 cloves Garlic, minced: Fresh garlic gives an excellent kick.
- 1 tablespoon Honey or brown sugar: This balances the saltiness with sweetness.
- Salt and pepper to taste: Essential for enhancing all the flavors.
- Skewers: Wooden or metal works; soak wooden skewers in water for at least 30 minutes before use to prevent burning.
Lily’s Tips
- Use chicken thighs instead of breasts for a juicier bite.
- Experiment with different colors of bell peppers to add a pop of color.
- Always taste your marinade before adding chicken to ensure it meets your flavor preferences.
Directions
-
In a bowl, mix olive oil, soy sauce, minced garlic, honey or brown sugar, salt, and pepper to create a marinade. This step is crucial, as the marinade infuses the chicken with flavor, so don’t rush through it.
-
Add the cubed chicken to the marinade, cover, and let it sit for at least 30 minutes. While you wait, it’s a great time to prepare your veggies.
-
Preheat the grill to medium heat. A well-heated grill ensures the chicken gets those beautiful grill marks we all love.
-
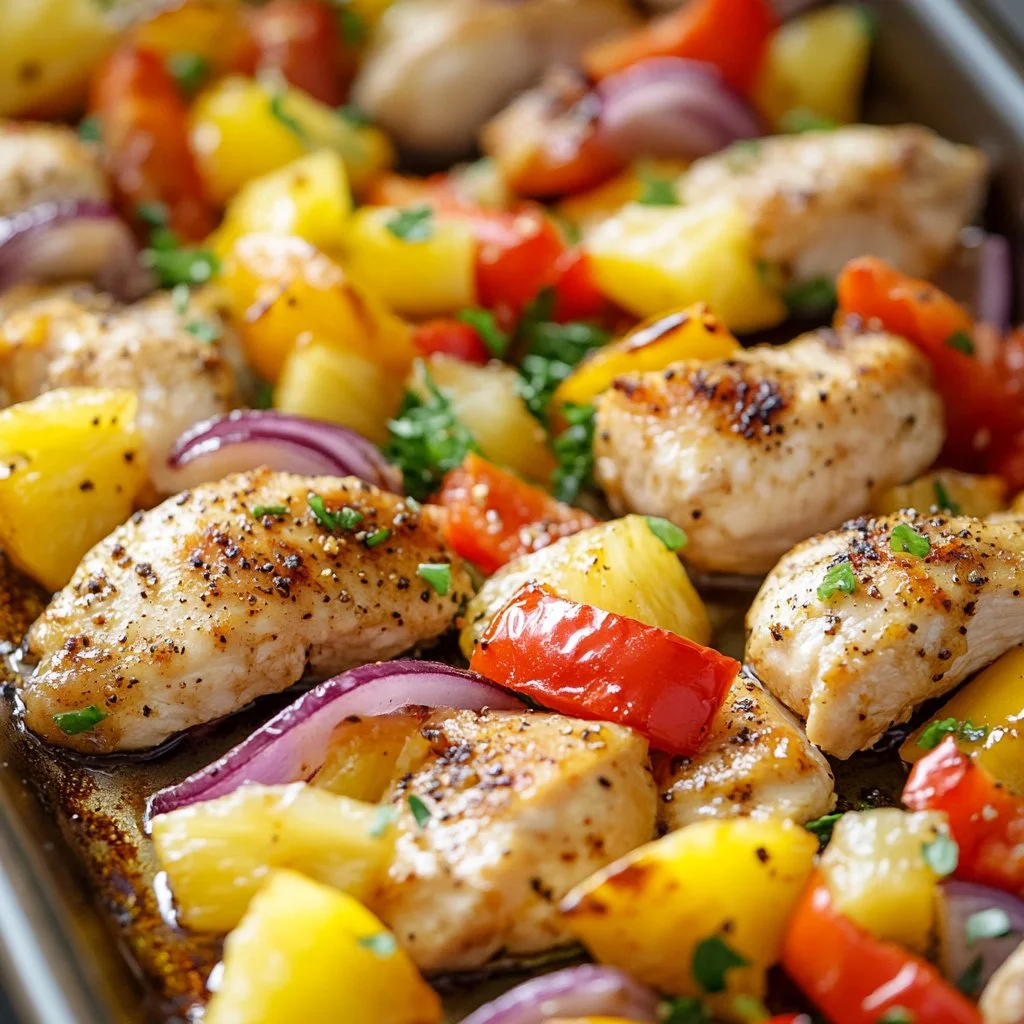
Thread the marinated chicken, pineapple chunks, and bell peppers onto skewers, alternating between them. Get creative with the arrangement—this is where you can have fun!
-
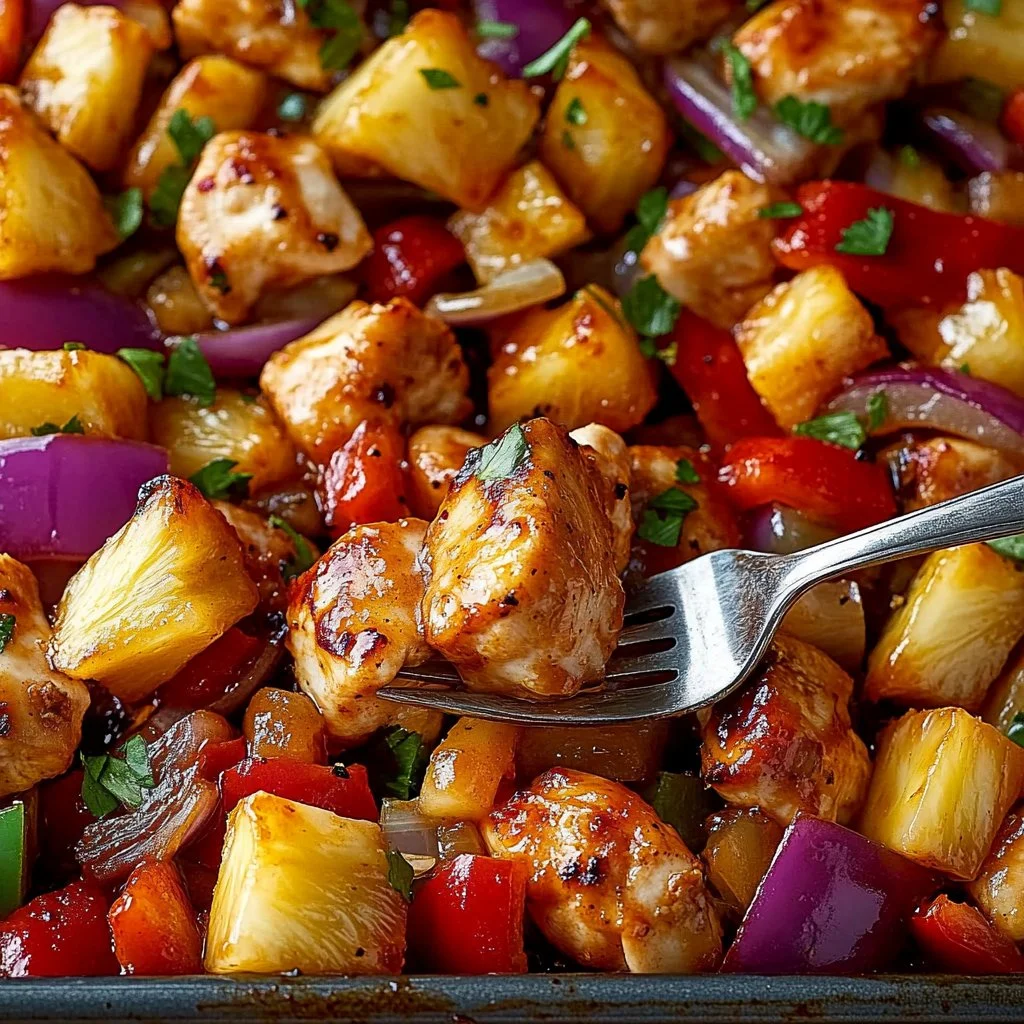
Grill the kabobs for about 10-15 minutes, turning occasionally until the chicken is cooked through and has nice grill marks. You’ll hear the delightful sizzle, making your mouth water in anticipation.
-
Serve with rice or a fresh salad. This adds freshness to the meal and complements the skewers beautifully.
Serving

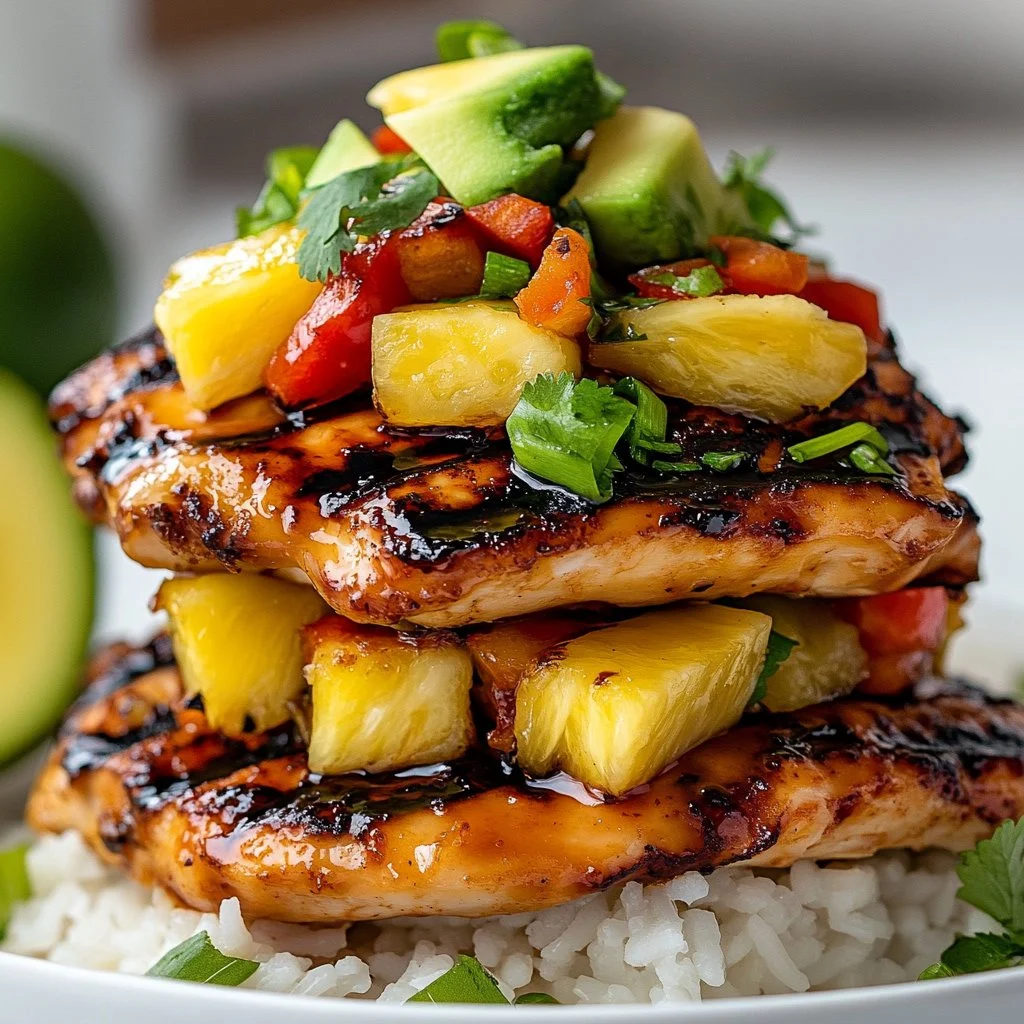
Pineapple Chicken Skewers are perfect for serving family-style. Lay out the skewers on a large platter for everyone to help themselves. Pair them with a side of brown rice or a crisp garden salad for a fulfilling meal. This encourages family bonding and makes for a warm dining experience where stories can be shared and laughter can thrive.
Storage
Let any leftover skewers cool completely before storing them in an airtight container. They can be kept in the fridge for up to three days. When reheating, place them in a skillet over medium heat for about 5-7 minutes until warmed through. You can also use the microwave, although the grill or stovetop will help retain that desirable grilled flavor.
Kitchen Notes
Here are five shortcuts to make the process even easier:
- Prep Ahead: Marinate the chicken the night before to save time on cooking day.
- Look for Pre-cut Vegetables: Many grocery stores offer pre-cut bell peppers which can save on prep time.
- Use Grill Basket: A grill basket allows you to grill smaller pieces without worrying about them falling into the flames.
- Use Leftovers in Wraps: If you have leftovers, they make delicious fillings for wraps or sandwiches.
- Make Extra Marinade: Always make a little extra marinade for future stir-fries or as a salad dressing.
Variations
If you have picky eaters at home or are looking for some dietary tweaks, here are a few variations:
- For different proteins: Swap the chicken for shrimp or tofu for a vegetarian option.
- Add veggies: Try zucchini, cherry tomatoes, or mushrooms for added nutrition and taste.
- Gluten-free option: Use coconut aminos instead of soy sauce for a gluten-free marinade.
- Spice it up: Adding a pinch of red pepper flakes to the marinade introduces heat for those who enjoy a spicy kick.
- Change the fruit: Experiment with mango or peaches instead of pineapple for a different flavor profile.
FAQ
1. Can I use frozen chicken for this recipe?
Yes, but ensure it’s fully thawed before marinating to allow for even flavor distribution.
2. How can I tell if the chicken is cooked through?
Use a meat thermometer to check for an internal temperature of 165°F.
3. What do I do if I don’t have skewers?
You can cook the marinated ingredients in a grill basket or on a grill pan.
4. How many skewers does this recipe make?
This recipe typically yields about 4-6 skewers, depending on how you assemble them.
5. Can I bake these skewers instead?
Absolutely! Preheat your oven to 400°F and place the skewers on a baking sheet. Bake for about 15-20 minutes, turning halfway through.
Conclusion
As we prepare to enjoy these Pineapple Chicken Skewers, remember that cooking is not just about the food; it’s about creating memories together. The joyful sounds and enticing smells from the kitchen serve to remind us that family time is precious. Happy cooking, and enjoy this delightful dish with your loved ones.
Pineapple Chicken Skewers
Ingredients
For the Skewers
- 2 pieces Chicken breasts, cubed (Choose high-quality, fresh chicken for the best flavor.)
- 1 cup Pineapple chunks (Fresh pineapple will provide the sweetest taste, but canned works too.)
- 1 piece Bell pepper (any color, cut into pieces) (Feel free to mix colors for a vibrant dish.)
- 2 tablespoons Olive oil (Adds richness to the marinade.)
- 3 tablespoons Soy sauce (Adds saltiness and depth to the flavor.)
- 2 cloves Garlic, minced (Fresh garlic gives an excellent kick.)
- 1 tablespoon Honey or brown sugar (Balances the saltiness with sweetness.)
- to taste none Salt and pepper (Essential for enhancing all the flavors.)
- none Skewers (Wooden or metal works; soak wooden skewers in water for at least 30 minutes before use to prevent burning.)
Instructions
Preparation
- In a bowl, mix olive oil, soy sauce, minced garlic, honey or brown sugar, salt, and pepper to create a marinade. This step is crucial, as the marinade infuses the chicken with flavor.
- Add the cubed chicken to the marinade, cover, and let it sit for at least 30 minutes. While you wait, it’s a great time to prepare your veggies.
- Preheat the grill to medium heat.
- Thread the marinated chicken, pineapple chunks, and bell peppers onto skewers, alternating between them.
Cooking
- Grill the kabobs for about 10-15 minutes, turning occasionally until the chicken is cooked through and has nice grill marks.
- Serve with rice or a fresh salad.