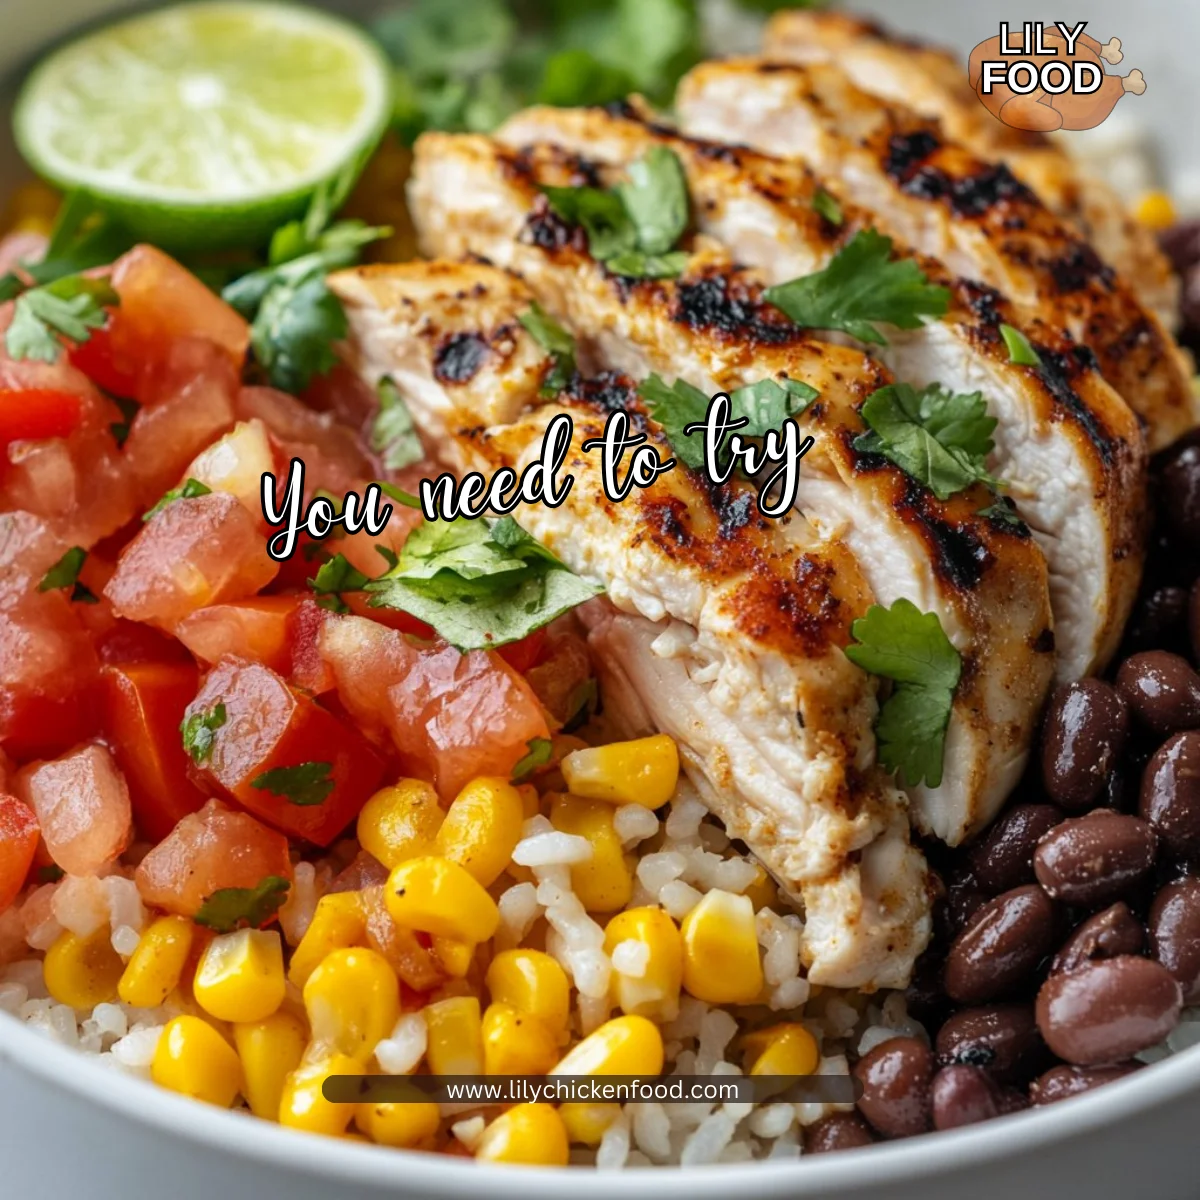
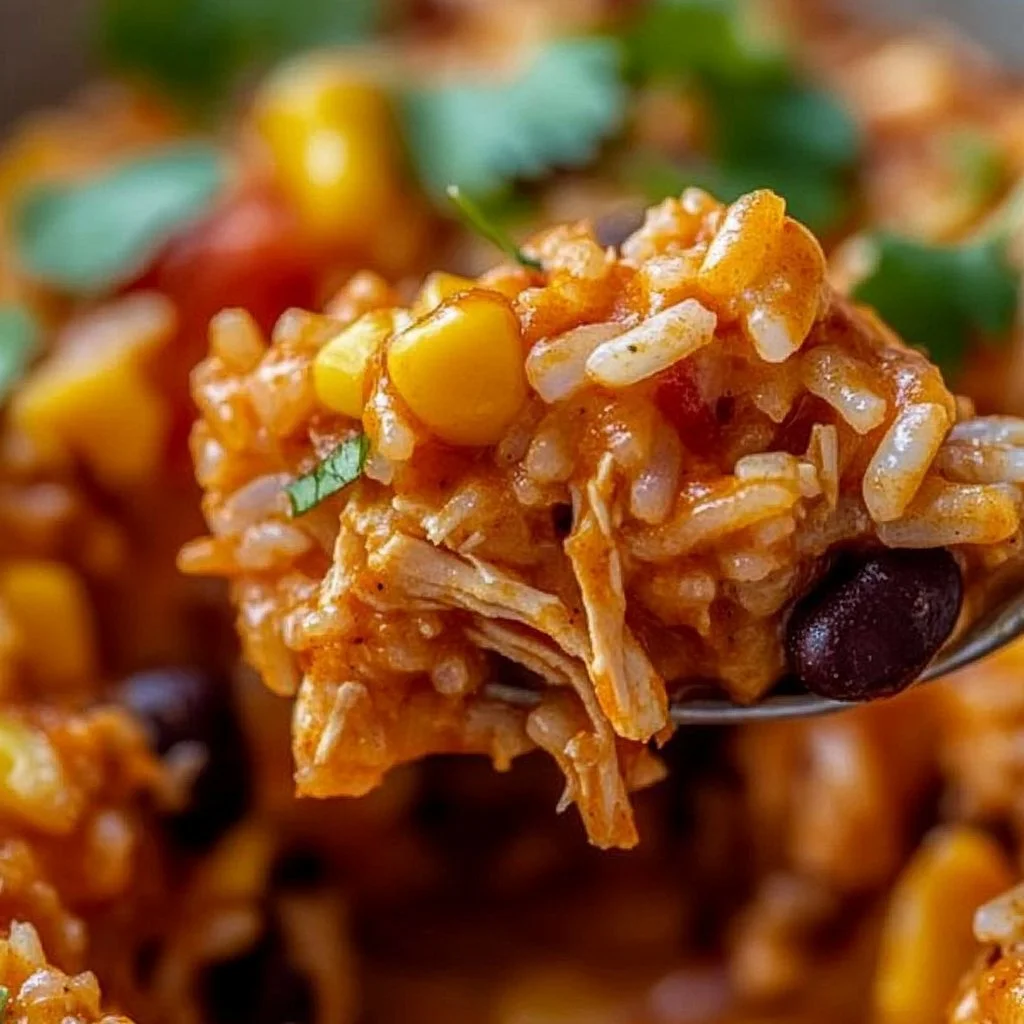
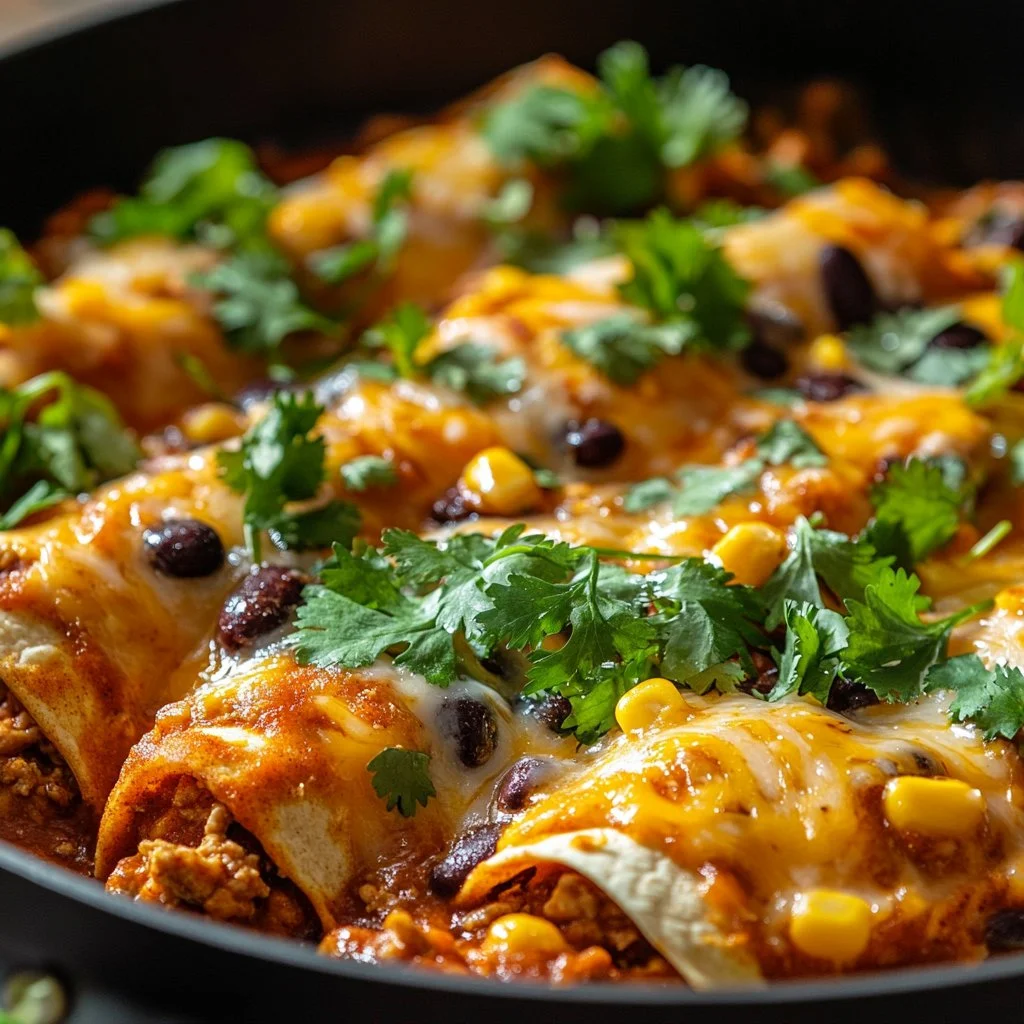
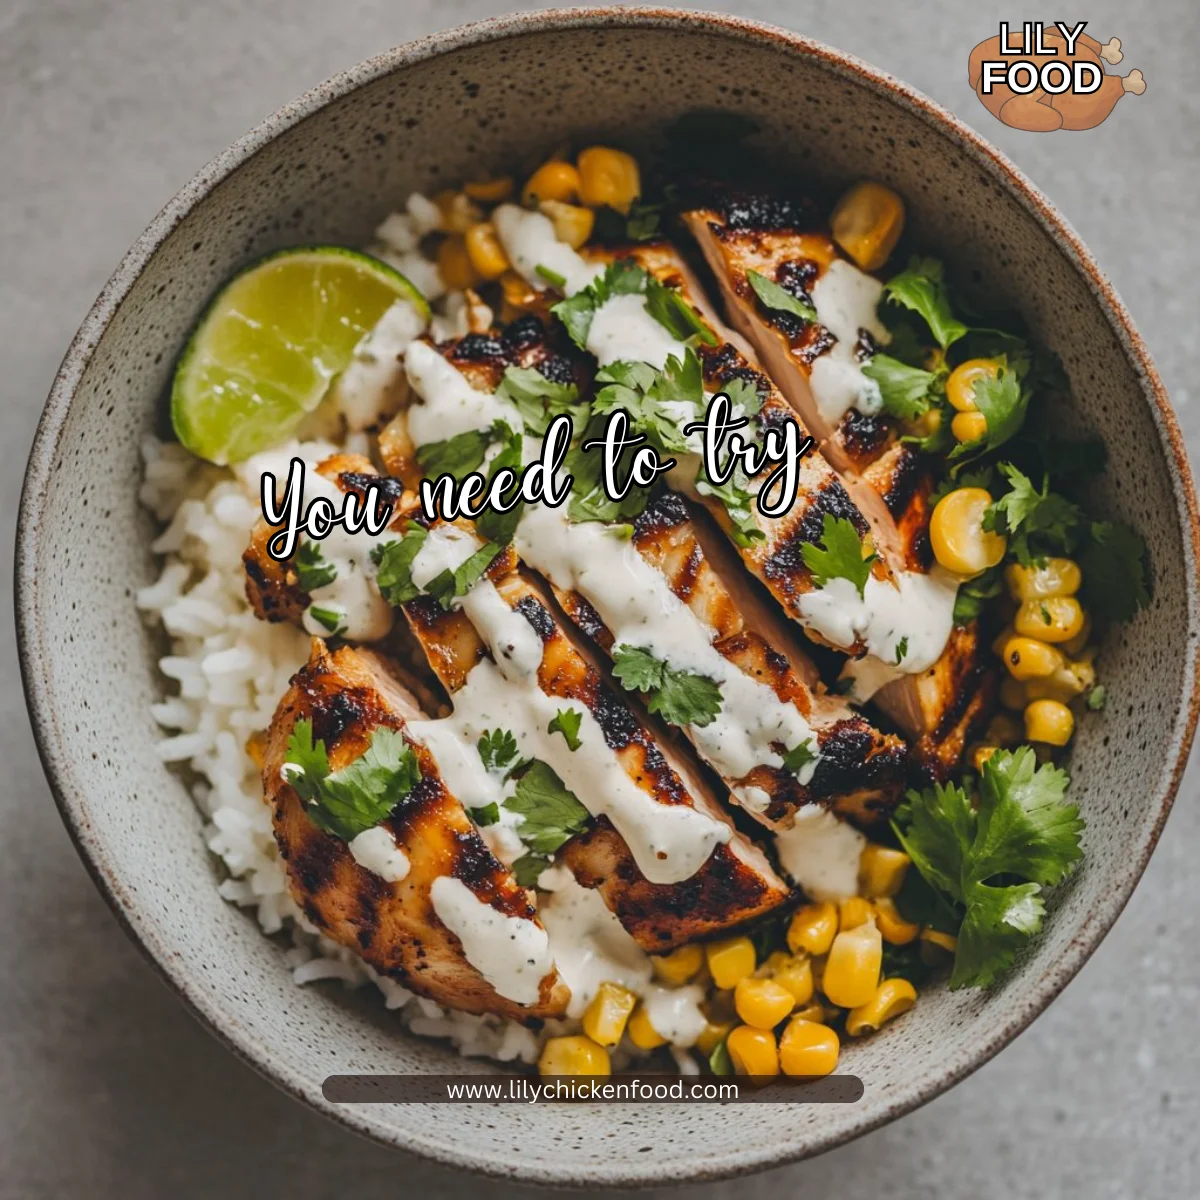
Nothing beats the feeling of stepping into a warm kitchen, where the aroma of grilled chicken and spices dances in the air. The sizzle of corn hitting the hot skillet is music to my ears, a promise of deliciousness on the horizon. Today, I’m excited to share with you a recipe that brings comfort, joy, and a hint of adventure to the dinner table: the Street Corn Chicken Rice Bowl. It’s a vibrant dish that’s not just satisfying but also incredibly easy to prepare on a busy weeknight.
Why this works
This recipe is the very definition of a family favorite. First, it’s a time-saver. You can have it on the table in less than 30 minutes, which means more time spent with loved ones instead of hovering over the stove. The combination of grilled chicken, sweet corn, and zesty lime crema ensures that everyone at the table is delighted.
Another reason this dish is a winner is its flexibility. You can tweak ingredients based on what your family loves or what you have on hand. It’s a one-bowl meal that satisfies hunger and makes everyone feel good.
Process Overview
“This is where the magic happens—when the aroma fills the kitchen.”
In just a few steps, you’ll create a filling meal that captures the essence of street food. The sequence is simple: sauté the corn, prepare the lime crema, layer your rice bowl, and top it off beautifully. Each step is straightforward, allowing you to focus on what really matters—creating a wonderful shared experience over dinner.
Ingredients
Let’s gather what you need for this mouthwatering dish:
- 2 cups cooked rice (white, brown, or cilantro-lime rice)
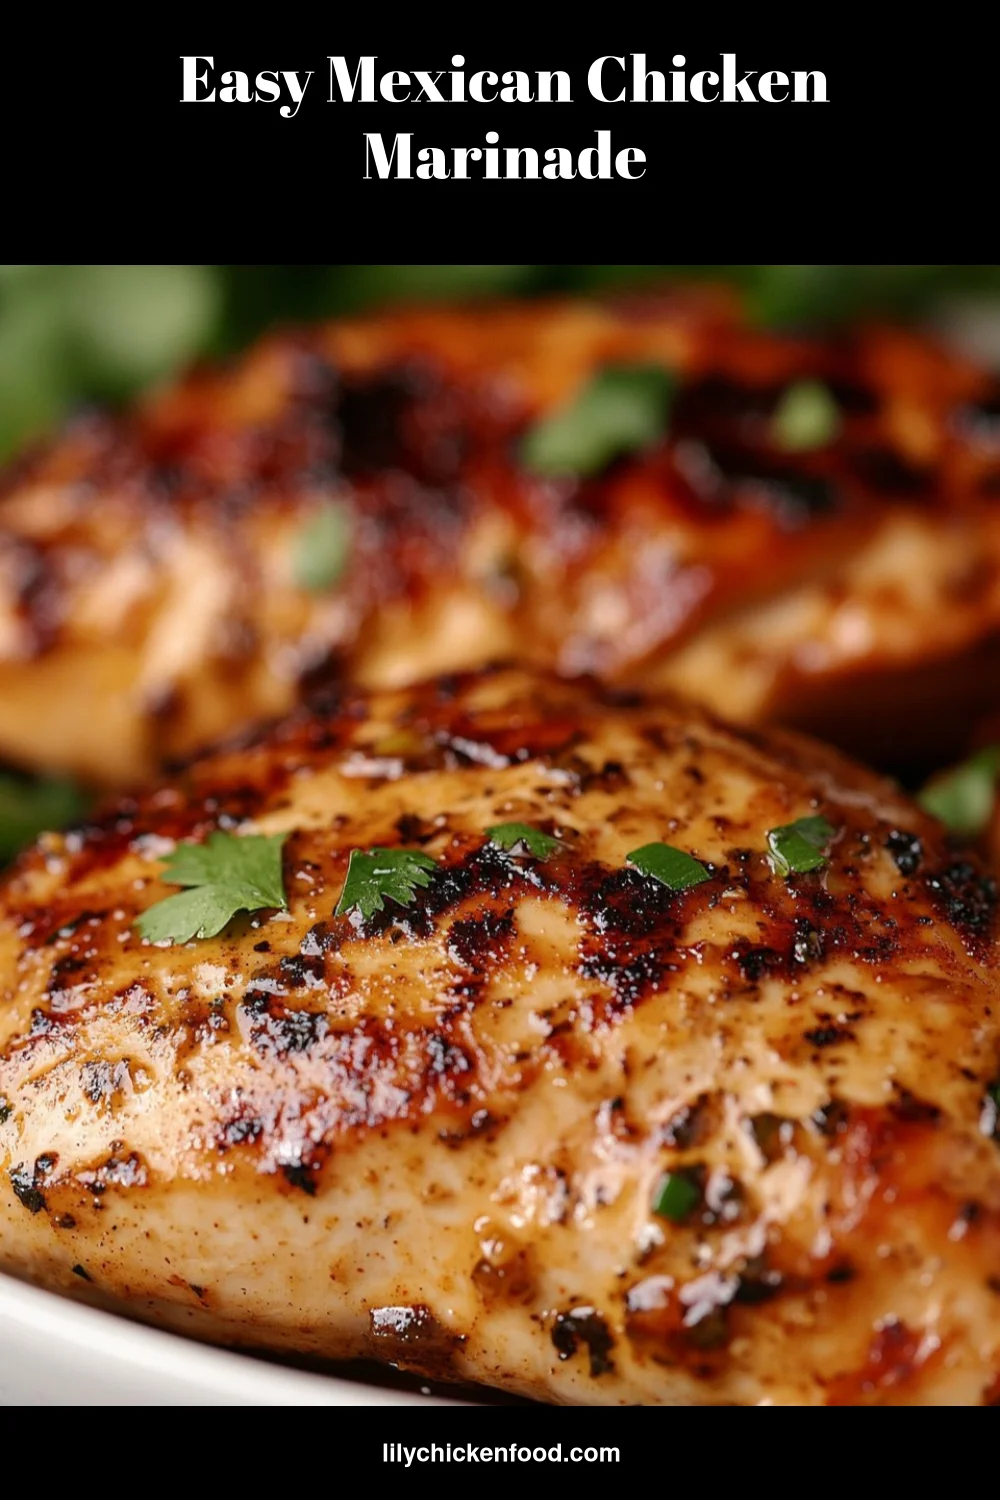
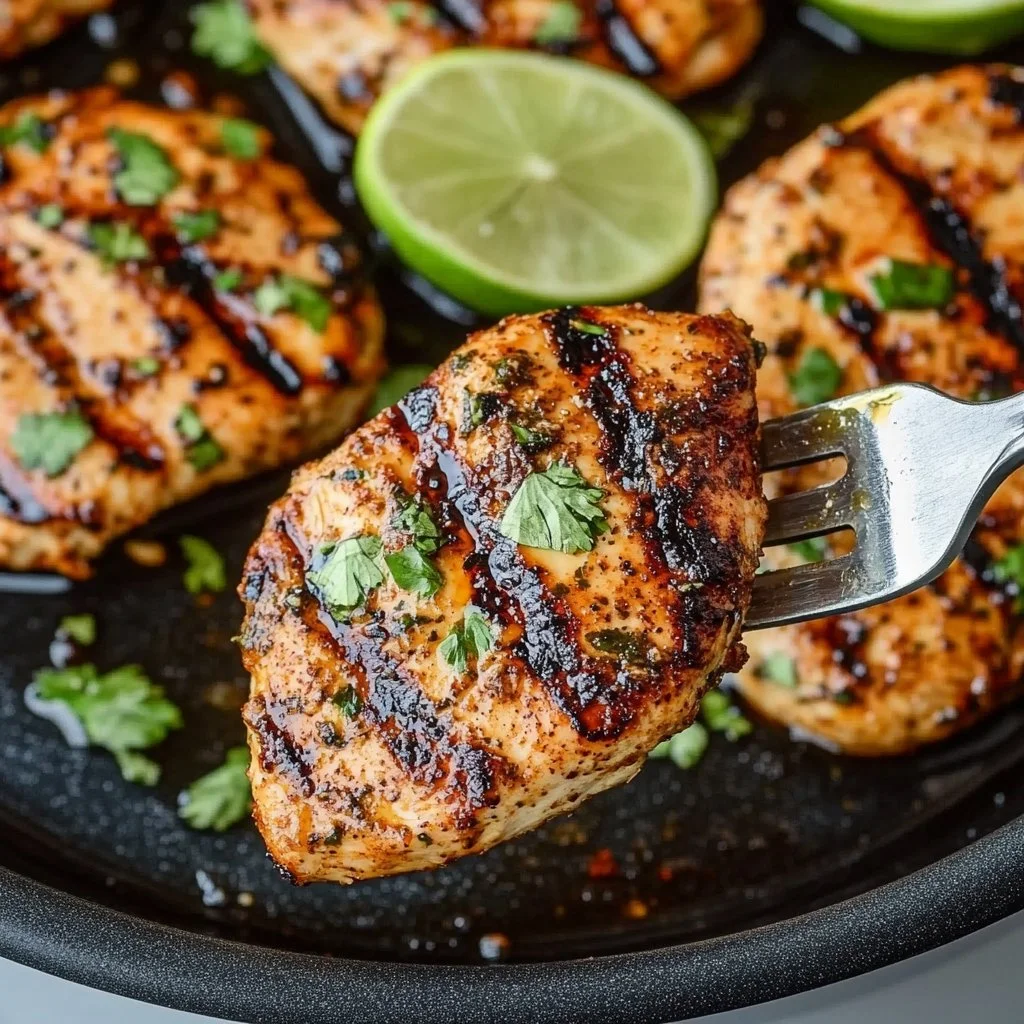
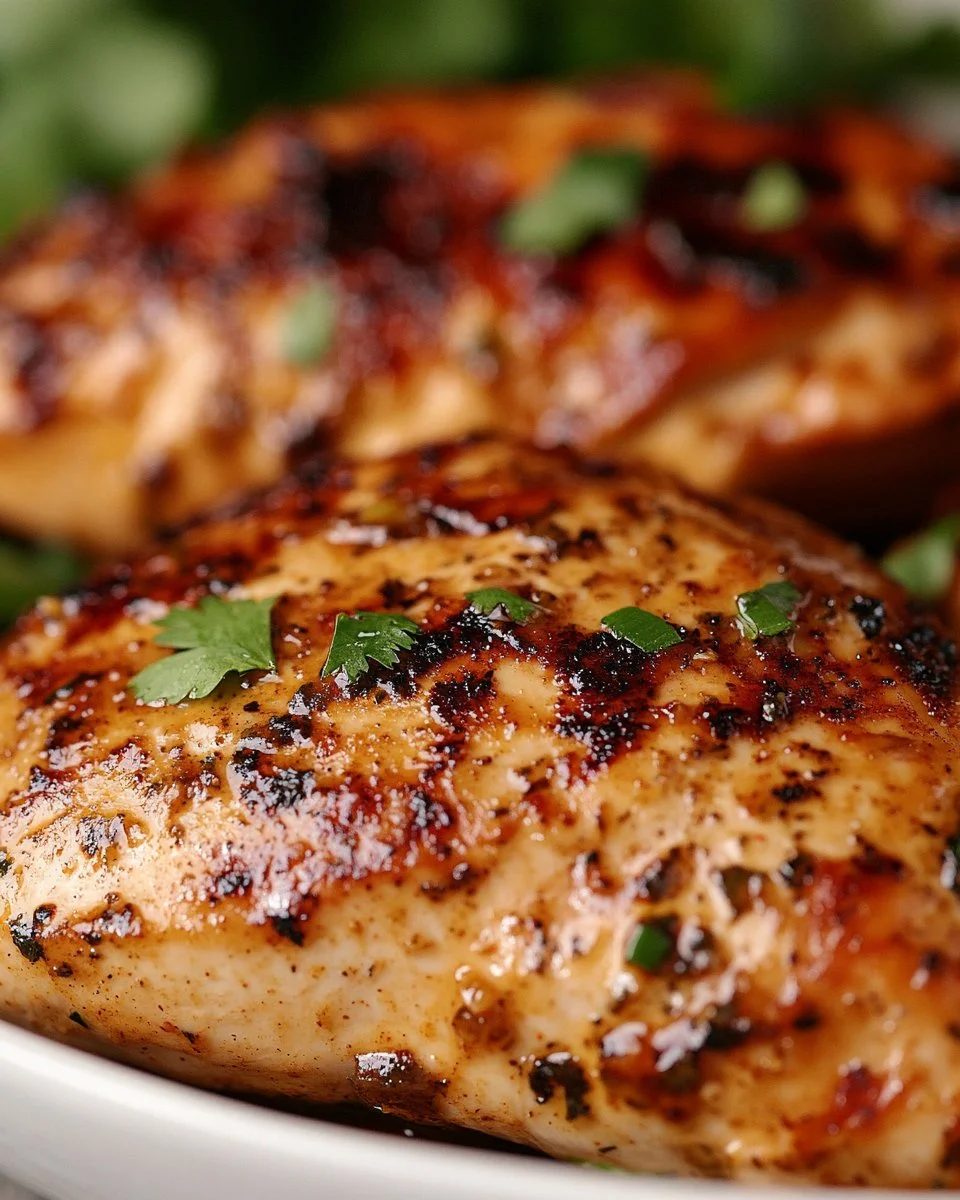
- 2 chicken breasts (grilled and sliced)
- 1 cup corn kernels (fresh, frozen, or canned)
- 1/2 cup black beans (drained and rinsed)
- 1/4 cup diced red onion
- 1/4 cup diced tomatoes
- 1/4 cup crumbled cotija cheese
- 2 tablespoons chopped fresh cilantro (for garnish)
- 1 tablespoon olive oil
- 1 teaspoon chili powder
- 1/2 teaspoon smoked paprika
- 1/2 teaspoon cumin
- 1/4 teaspoon salt
- 1/4 teaspoon black pepper
- 1/2 cup sour cream or Greek yogurt
- Juice of 1 lime
- 1/2 teaspoon garlic powder
- 1/4 teaspoon salt
Lily’s Tips
- Rice: Cilantro-lime rice adds a zesty kick. Just mix cooked rice with some lime juice and fresh cilantro.
- Chicken: Grill the chicken the day before to make prep even quicker.
- Corn: For extra flavor, consider charring the corn on the grill if you have the time.
- Beans: Canned beans are a huge time-saver when you’re in a pinch. Rinse them well for the best flavor.
- Lime crema: Add more lime juice for a tangier dressing.
Directions
-
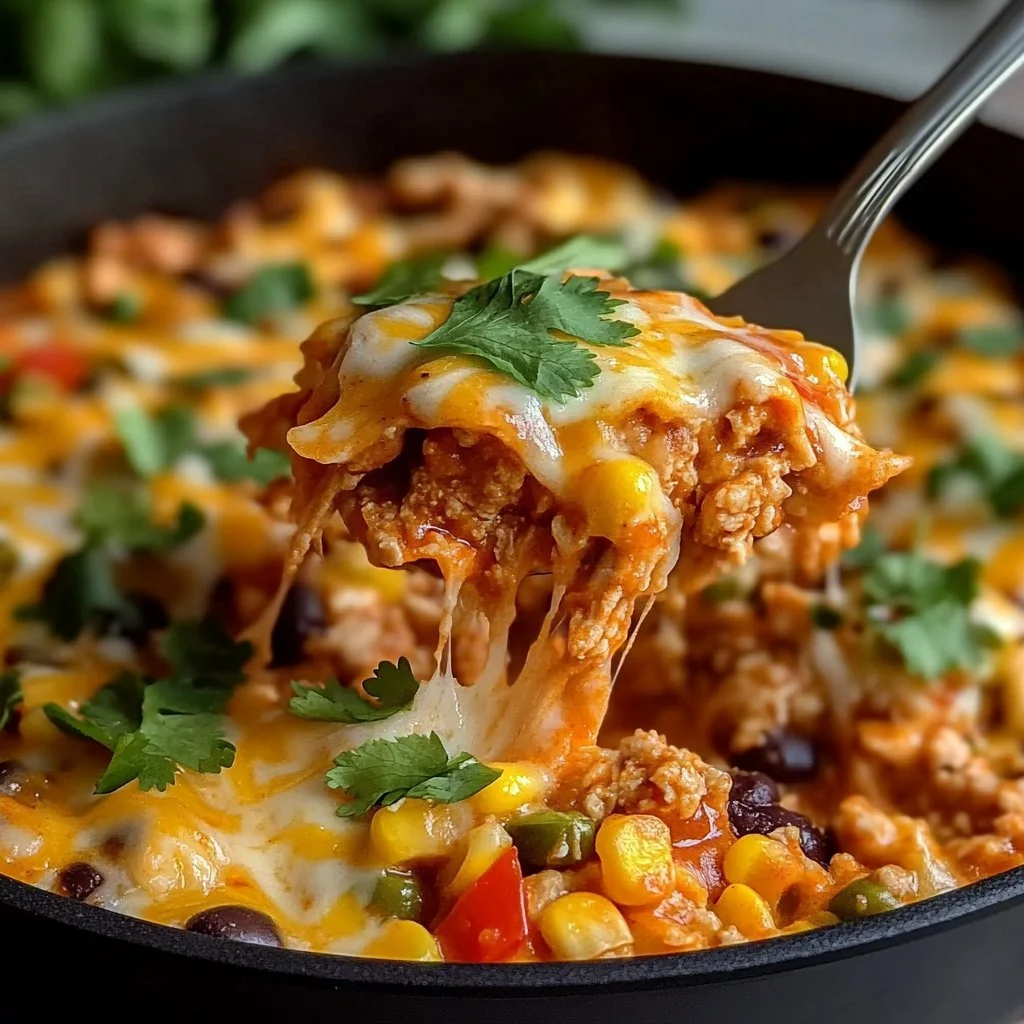
Heat a skillet over medium heat. Add the olive oil and sauté the corn kernels for 3-4 minutes until lightly charred. Season with chili powder, smoked paprika, cumin, salt, and pepper. Set aside. The aroma is already irresistible.
-
In a small bowl, mix together the sour cream, lime juice, garlic powder, and salt to make the lime crema. Adjust lime juice to taste. This creamy mixture adds a delightful zing.
-
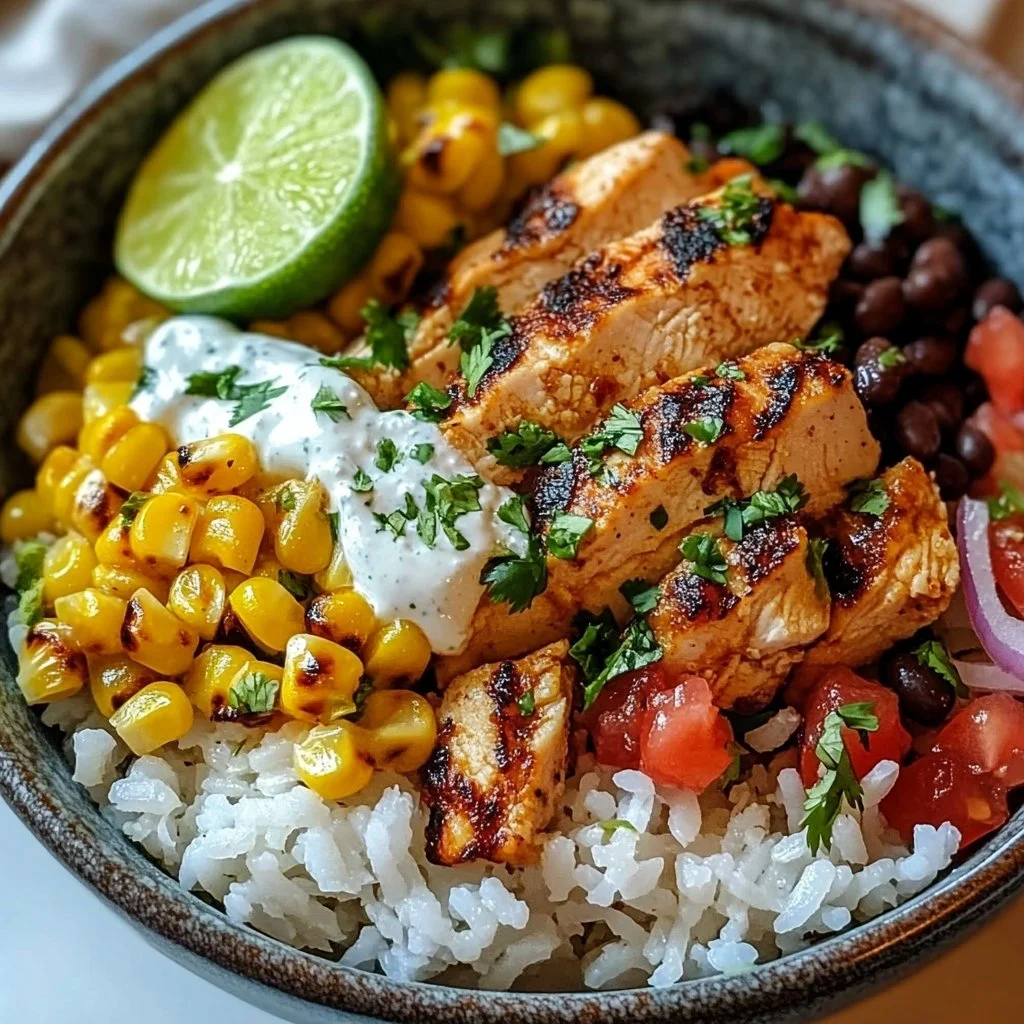
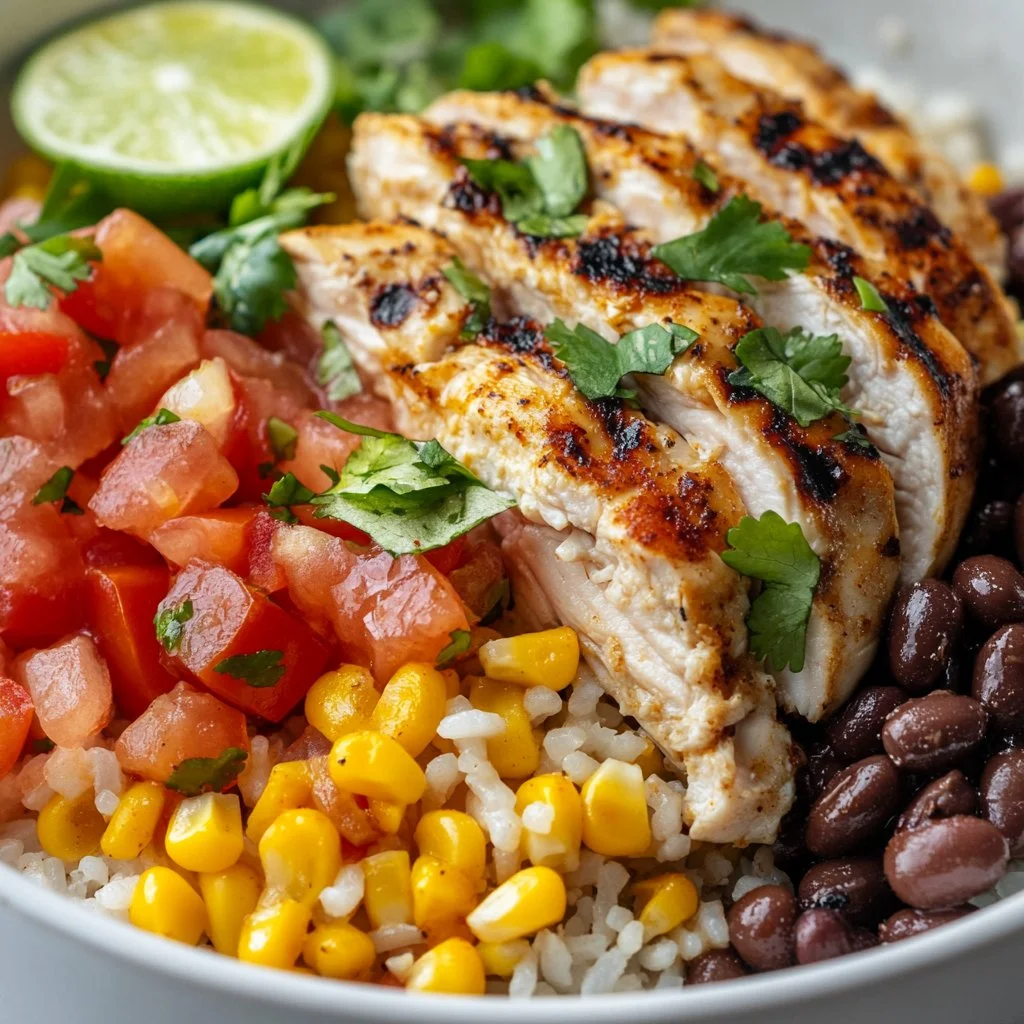
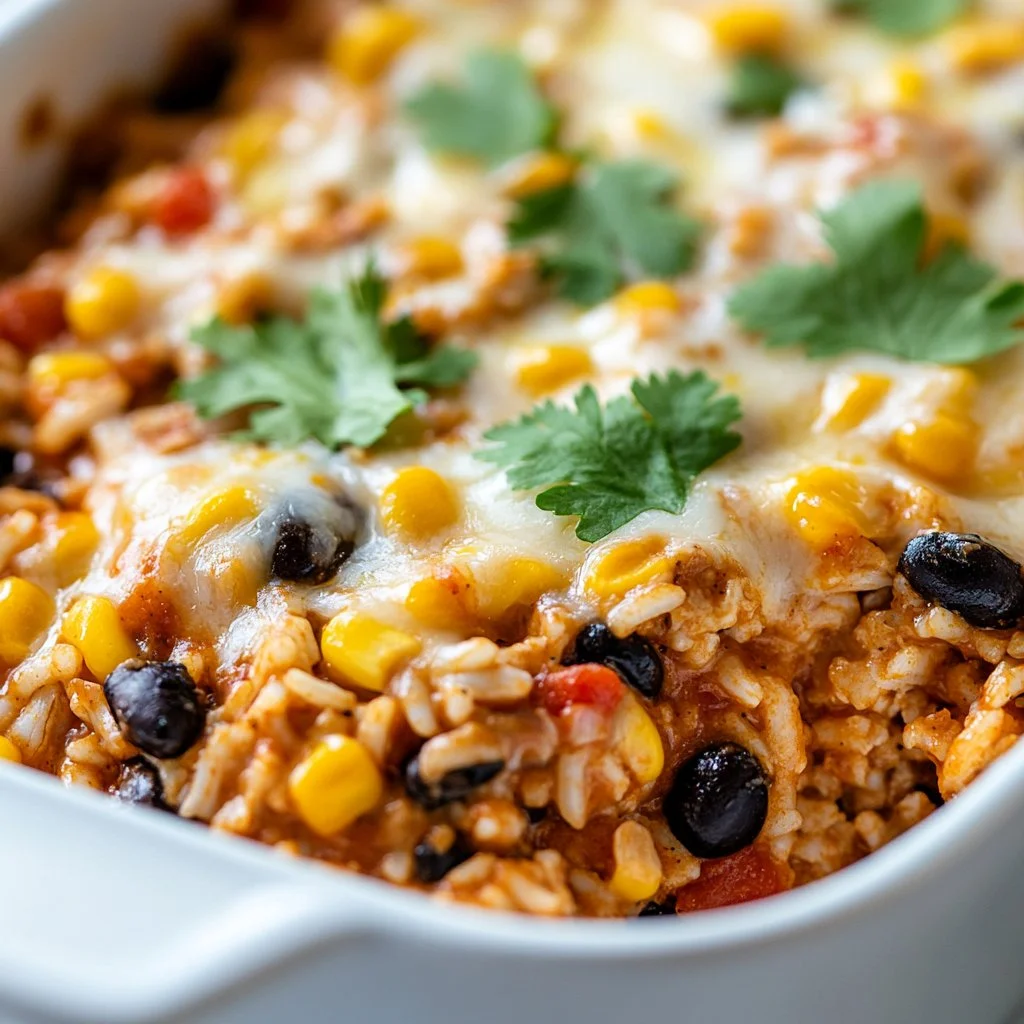
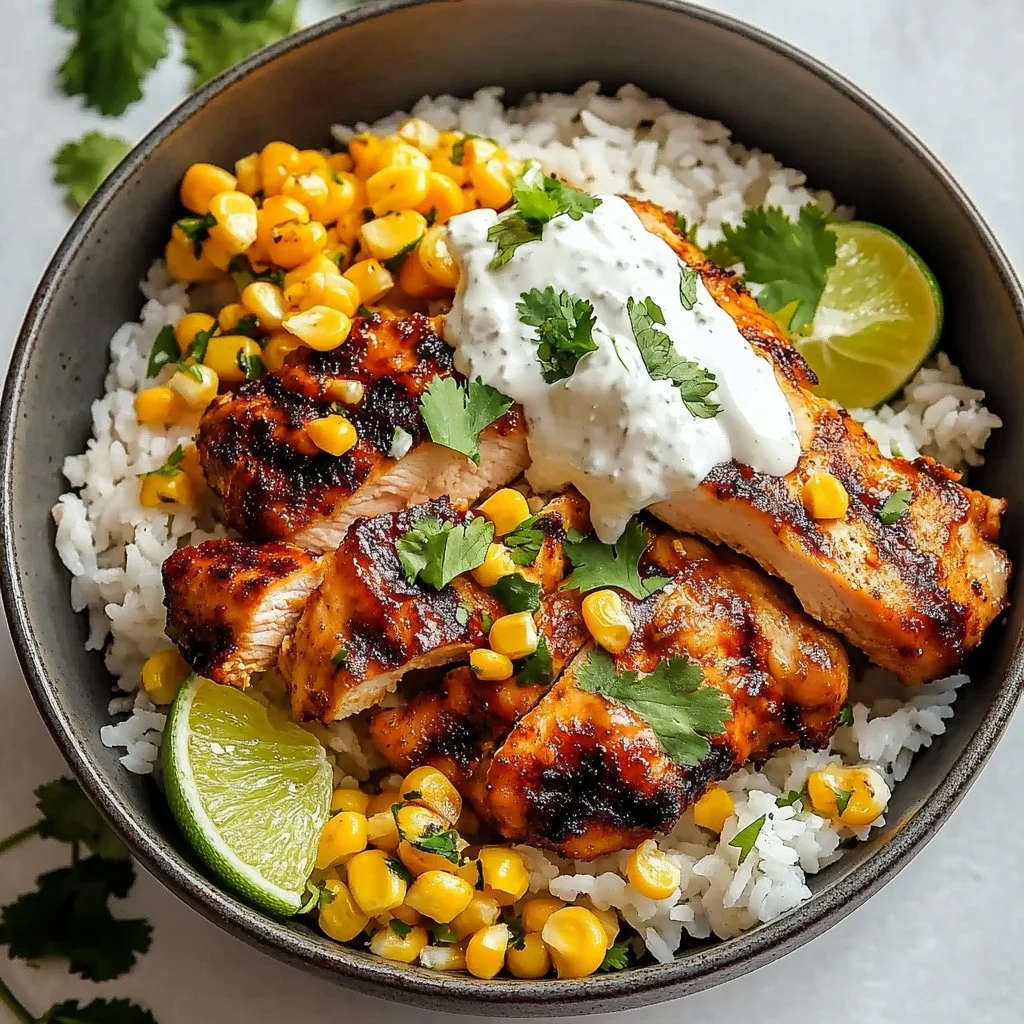
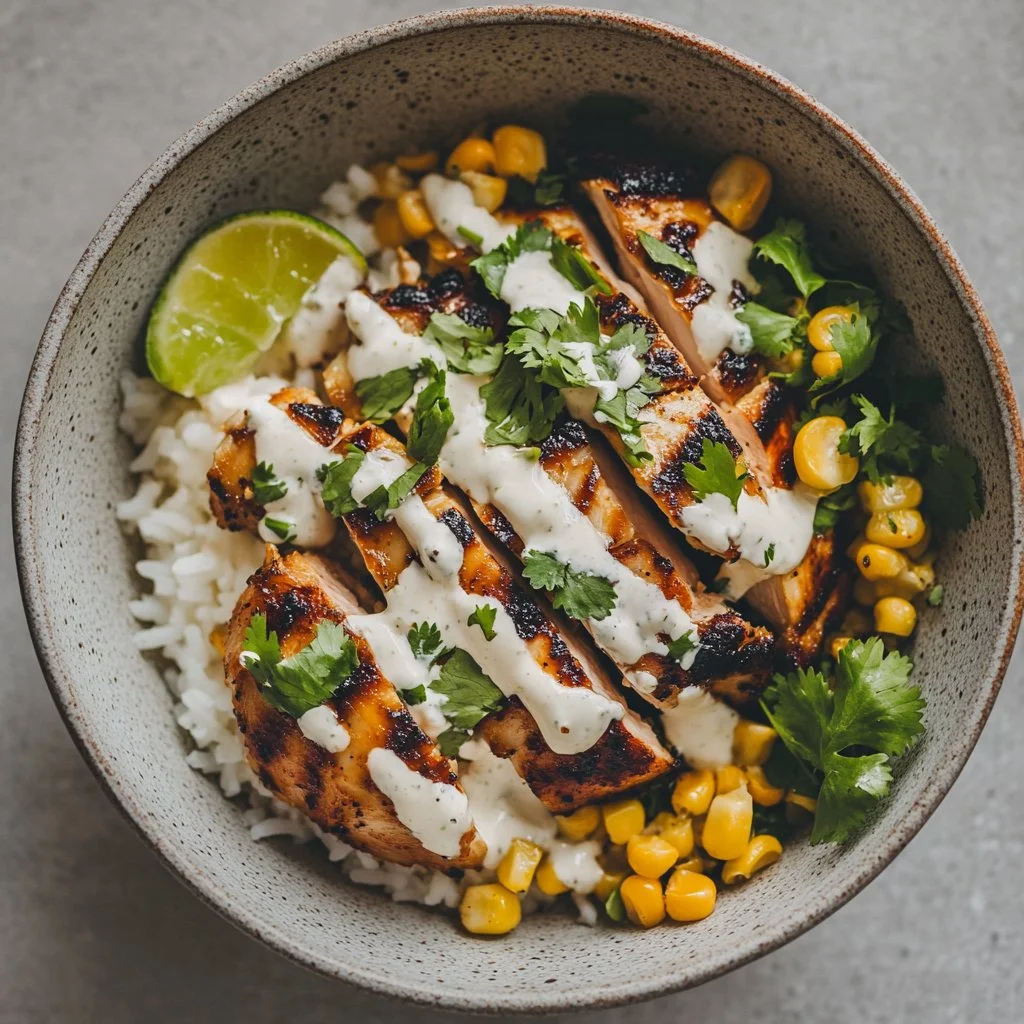
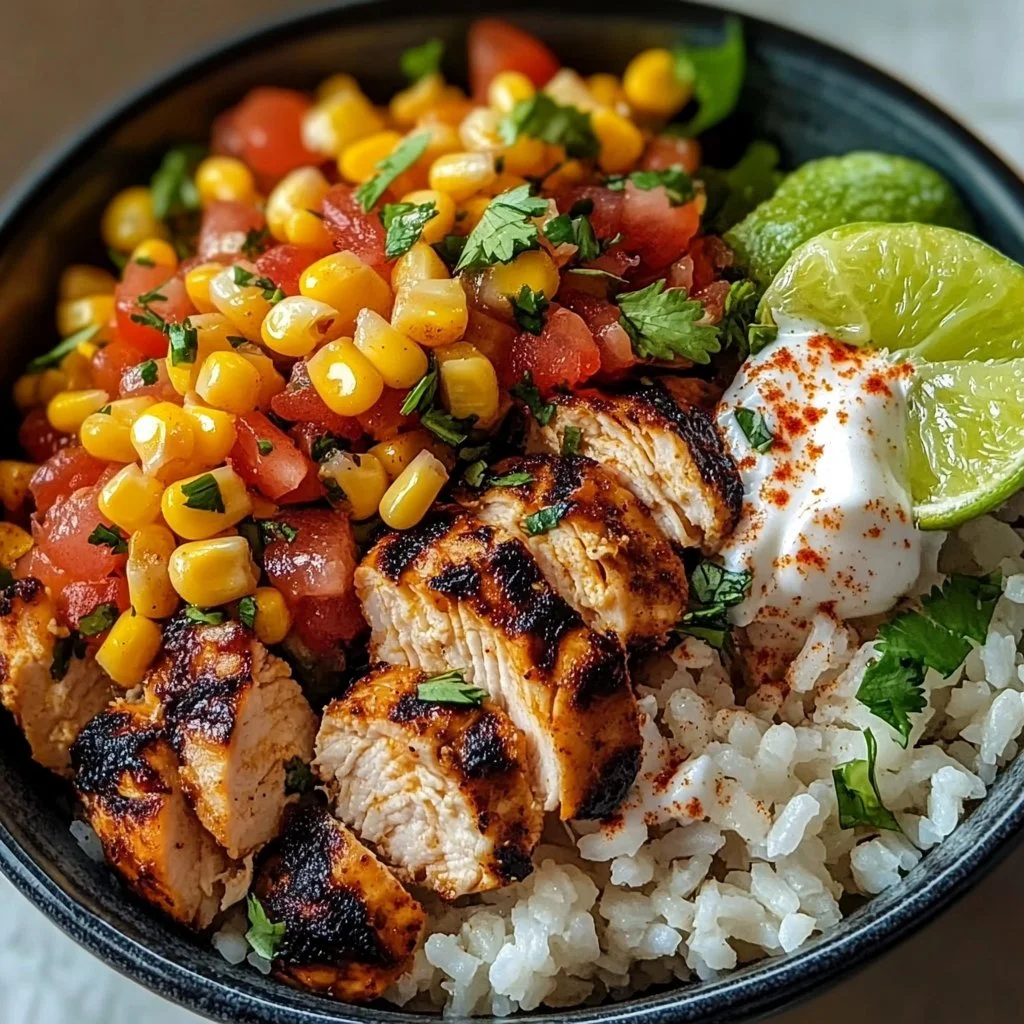
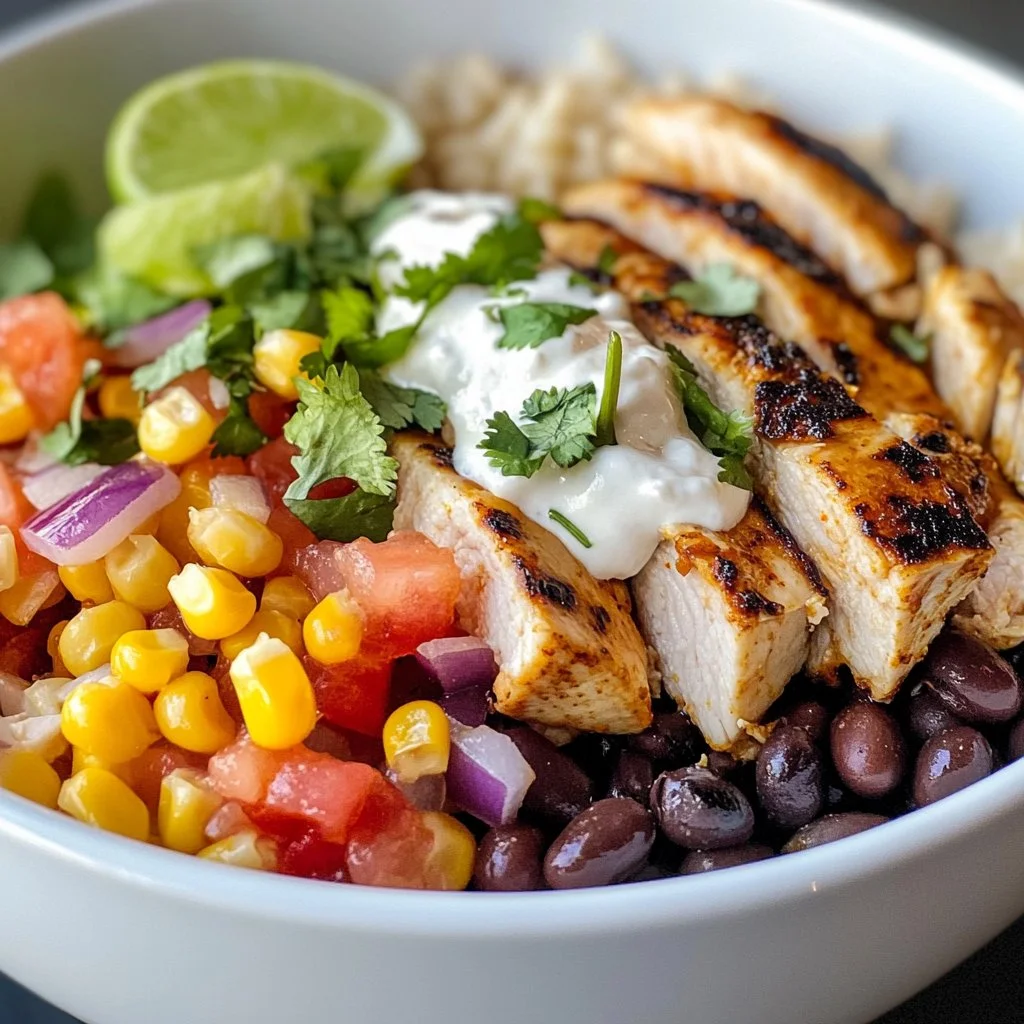
Assemble the bowls: Start with a base of cooked rice. Layer the grilled chicken slices, charred corn, black beans, diced tomatoes, red onion, and cotija cheese on top. Each layer adds texture and flavor—get creative!
-
Drizzle the lime crema over the bowl and garnish with fresh cilantro. Feel free to add more toppings if you wish.
-
Serve immediately and enjoy! Share smiles and stories over this delicious meal.
Serving

To serve this dish family-style, create a beautiful spread by placing all the components on the table. Let everyone build their own rice bowl exactly how they like it. Watching your loved ones customize their meal is half the fun. Plus, it encourages everyone to try something new!
Storage
If you have leftovers (which is rare but happens), store each component in separate airtight containers in the fridge. The rice and beans will hold up well for about three days. Just reheat them gently in the microwave. The lime crema keeps well too, but it’s best used within two days for fresh flavor.
Kitchen Notes
- Cook Rice in Bulk: Make extra rice over the weekend to save time during the week.
- Pre-cook Chicken: Grill or sauté chicken ahead of time and refrigerate.
- Frozen Corn: If you’re short on fresh corn, frozen works perfectly and cooks quickly.
- Meal Prep: Chop the veggies ahead of time for an even quicker assembly.
- Dress Up Leftovers: Use leftovers to create a wrap or salad the next day—no food waste here!
Variations
- For Picky Eaters: If kids aren’t fans of black beans, substitute with refried beans or simply leave them out.
- Vegetarian Option: Replace chicken with grilled tofu or tempeh, and add more veggies like bell peppers or zucchini.
- Spicy Kick: Add jalapeños or your favorite hot sauce for a bit of heat.
- Gluten-Free: This recipe is naturally gluten-free, but always check labels when buying canned or packaged ingredients.
- Dairy-Free: Swap out cotija cheese for nutritional yeast or vegan cheese, and use a dairy-free yogurt for the crema.
FAQ
1. Can I use brown rice instead of white rice?
Absolutely. Brown rice adds a nuttier flavor and more fiber.
2. How can I make this dish spicier?
Consider adding more chili powder, diced jalapeños, or your favorite hot sauce.
3. Can I prepare this dish in advance?
You can prep the ingredients in advance but it’s best to assemble the bowl just before serving.
4. Is there a substitute for cotija cheese?
Feta cheese or any crumbly cheese works as a great substitute.
5. How do I store leftovers?
Keep leftovers in airtight containers in the fridge for up to three days.
As we wrap up this cooking adventure, I hope this Street Corn Chicken Rice Bowl becomes a cherished recipe in your family’s meal rotation. Food should be a source of comfort and joy, and I believe this bowl offers just that. So gather around the table, savor each bite, and share those warm nights filled with laughter and love. Happy cooking!
Street Corn Chicken Rice Bowl
Ingredients
Base Ingredients
- 2 cups cooked rice (white, brown, or cilantro-lime rice)
- 2 breasts chicken (grilled and sliced)
- 1 cup corn kernels (fresh, frozen, or canned)
- 1/2 cup black beans (drained and rinsed)
- 1/4 cup diced red onion
- 1/4 cup diced tomatoes
- 1/4 cup crumbled cotija cheese
- 2 tablespoons chopped fresh cilantro (for garnish)
Seasonings and Dressing
- 1 tablespoon olive oil
- 1 teaspoon chili powder
- 1/2 teaspoon smoked paprika
- 1/2 teaspoon cumin
- 1/4 teaspoon salt
- 1/4 teaspoon black pepper
- 1/2 cup sour cream or Greek yogurt
- Juice of 1 lime
- 1/2 teaspoon garlic powder
- 1/4 teaspoon salt
Instructions
Preparation
- Heat a skillet over medium heat. Add the olive oil and sauté the corn kernels for 3-4 minutes until lightly charred. Season with chili powder, smoked paprika, cumin, salt, and pepper. Set aside.
- In a small bowl, mix together the sour cream, lime juice, garlic powder, and salt to make the lime crema. Adjust lime juice to taste.
Assembly
- Assemble the bowls: Start with a base of cooked rice. Layer the grilled chicken slices, charred corn, black beans, diced tomatoes, red onion, and cotija cheese on top.
- Drizzle the lime crema over the bowl and garnish with fresh cilantro.
- Serve immediately and enjoy!