There’s something magical about the kitchen, isn’t there? The moment you step inside, all the vibrant aromas begin to swirl around you. The sweet scent of grilling chicken mingles with the toasted notes of coconut rice, creating an atmosphere that’s both welcoming and exciting. The sizzle of chicken on the grill, the soft simmer of rice cooking, and the mouthwatering smell of caramelized pineapple fills the air and makes your heart feel full. This is what you can expect when you prepare Hawaiian Chicken with Pineapple and Coconut Rice.
Why This Works
This dish is a winner for several reasons. First, it’s incredibly simple—perfect for busy families looking to enjoy a flavorful meal without spending hours in the kitchen. You can marinate the chicken, grill it, and prepare the rice all while enjoying some quality time with your loved ones.
The balance of sweet and savory flavors makes it a crowd-pleaser. Additionally, the colorful presentation is sure to impress both kids and adults alike. It’s one of those meals that brings everyone to the table with smiles on their faces. Plus, most of the ingredients are pantry staples, making it easy to whip together on a weeknight without the stress of an elaborate grocery list.
Process Overview
“This is where the magic happens—when the aroma fills the kitchen.”
Let’s break down how to create this delightful meal. The entire process can be completed in about an hour, perfect for a weeknight dinner or even a weekend family feast. With just some simple preparation and cooking techniques, you’ll have an impressive dish that feels like a culinary getaway to the islands.
Ingredients
Here’s what you’ll need for this Hawaiian-inspired dish:
-
2 chicken breasts
Tip: Look for chicken breasts that are similar in size for even cooking. -
1 cup pineapple slices
Tip: Fresh pineapple is the best option for flavor, but canned will work too. Just make sure to drain it well. -
1 cup coconut rice
Tip: You can make your coconut rice from scratch, but it’s just as delicious using a good-quality rice mix. -
2 tablespoons soy sauce
Tip: Low-sodium soy sauce is a great option if you’re watching sodium intake. -
1 tablespoon olive oil
Tip: Extra virgin olive oil will add a nice depth of flavor. -
Salt and pepper to taste
Tip: Season lightly at first; you can always add more later. -
Chopped green onions for garnish
Tip: These add a fresh crunch. You can also use cilantro if preferred.
Directions
Let’s get cooking! Follow these simple steps to create your meal.
-
In a bowl, marinate the chicken breasts with soy sauce, olive oil, salt, and pepper for at least 30 minutes.
Encouragement: This is your chance to infuse the chicken with flavor while you prepare the other ingredients. -
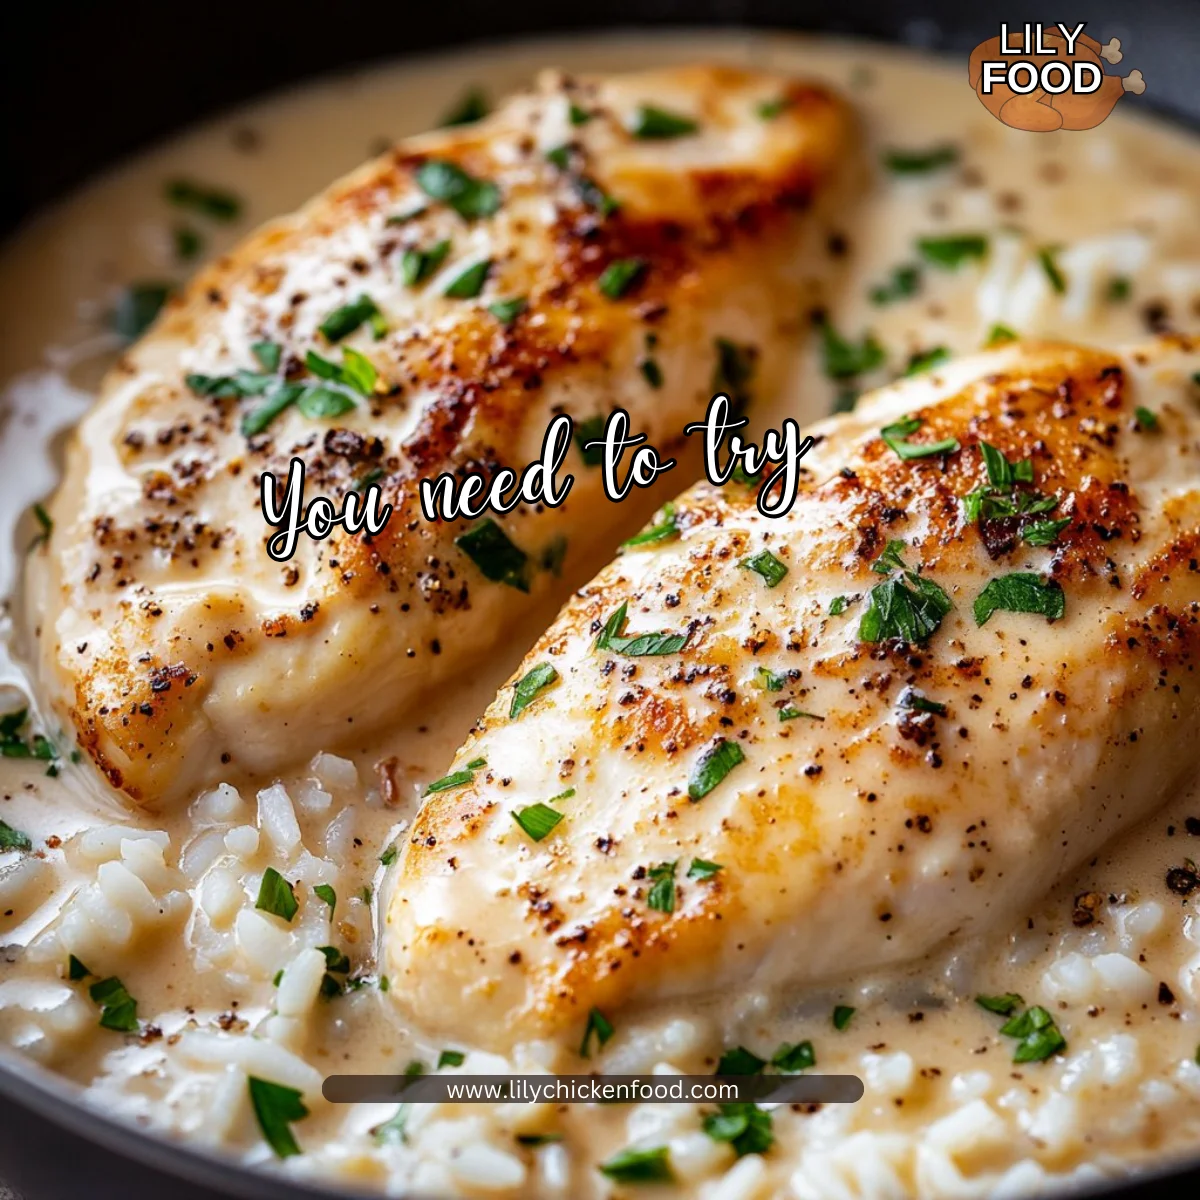
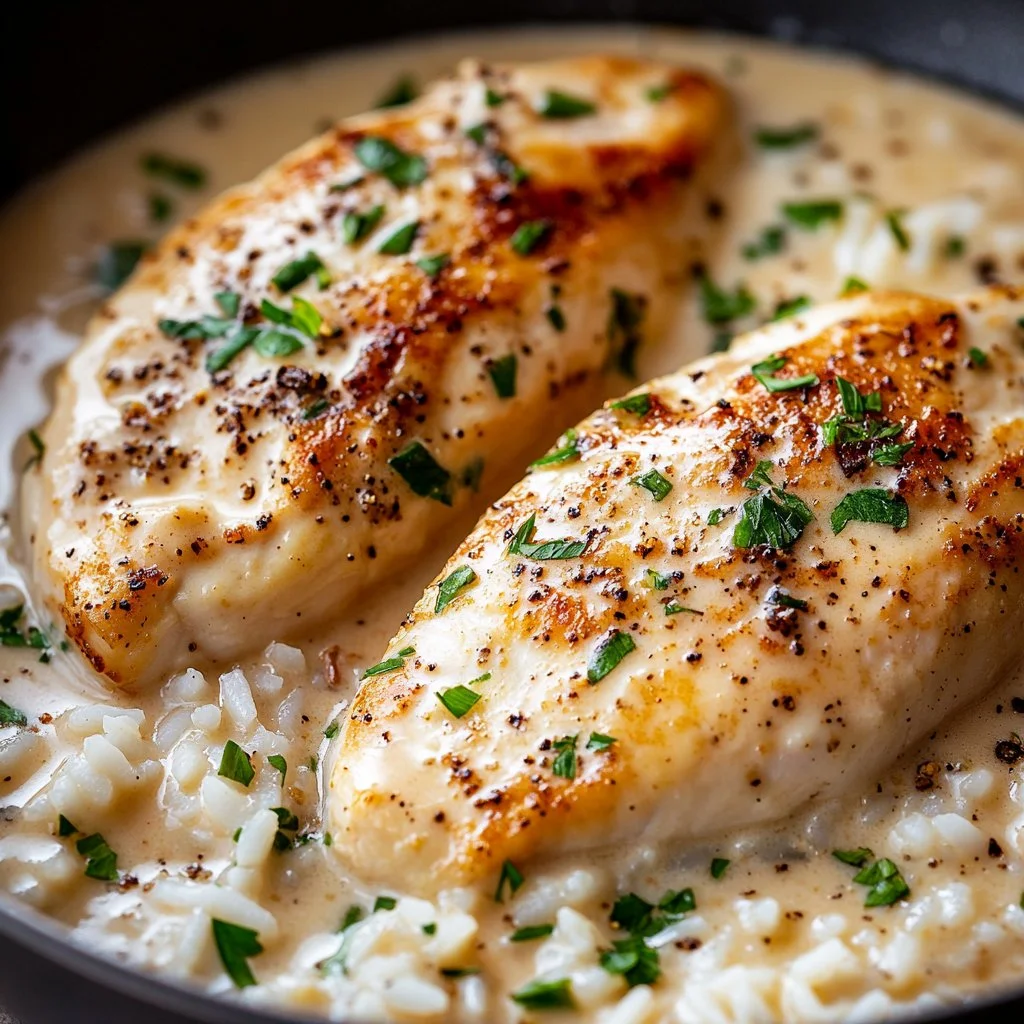
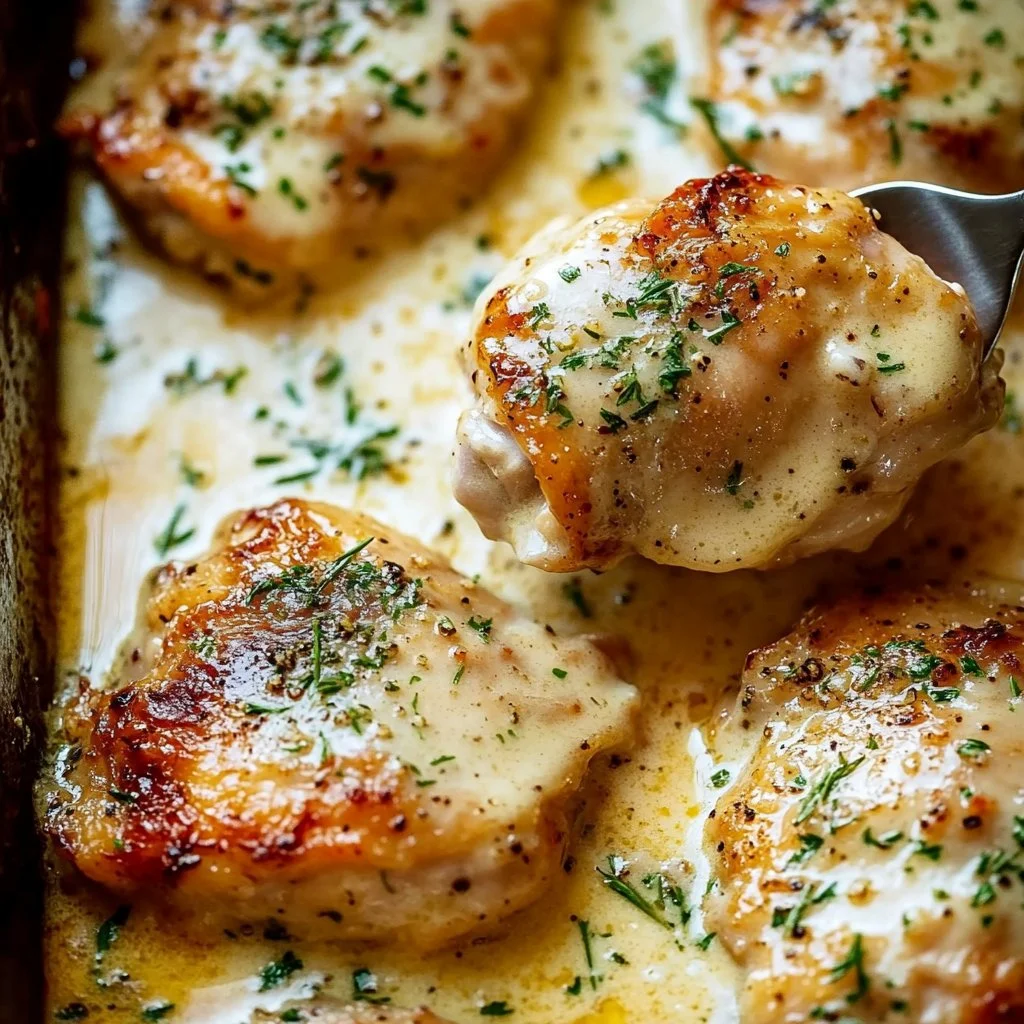
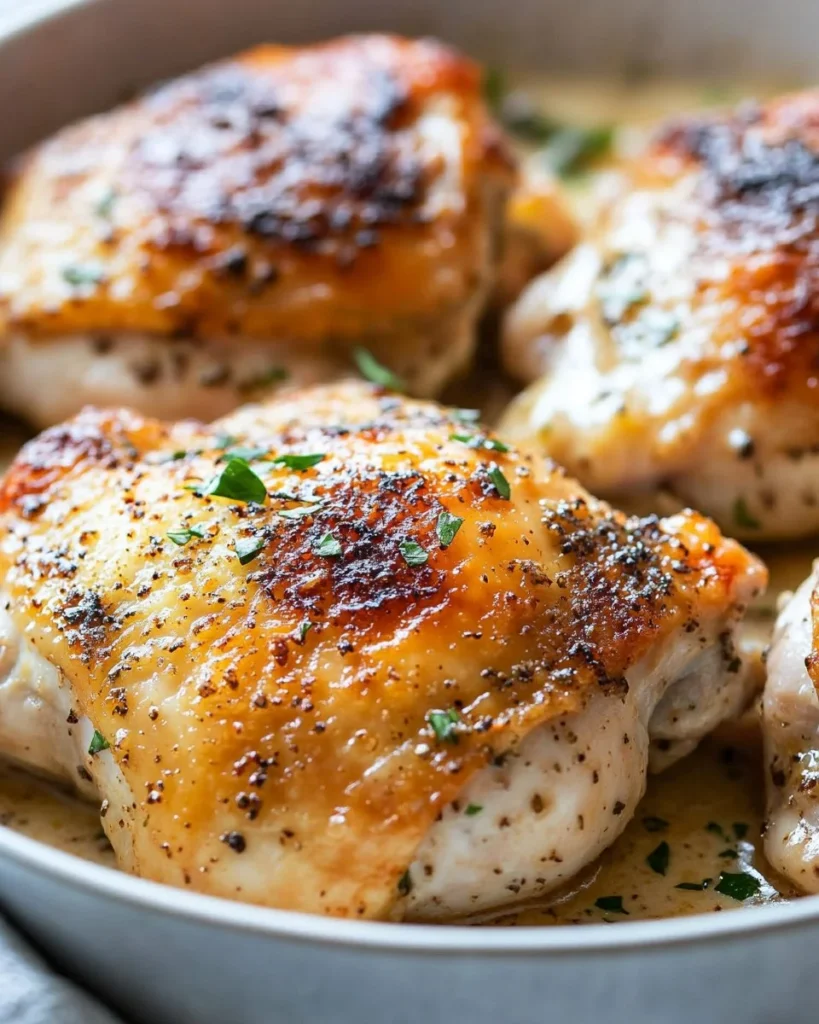
Grill or pan-fry the chicken over medium heat until fully cooked, about 6-7 minutes per side.
Encouragement: Make sure to check the internal temperature. It should read 165°F for perfectly juicy chicken! -
Grill the pineapple slices for about 2-3 minutes on each side until caramelized.
Encouragement: Keep an eye on them; you want that golden sweetness to come out, but not to burn! -
Prepare coconut rice according to package instructions.
Encouragement: This is a great time to set the table while the rice cooks. -
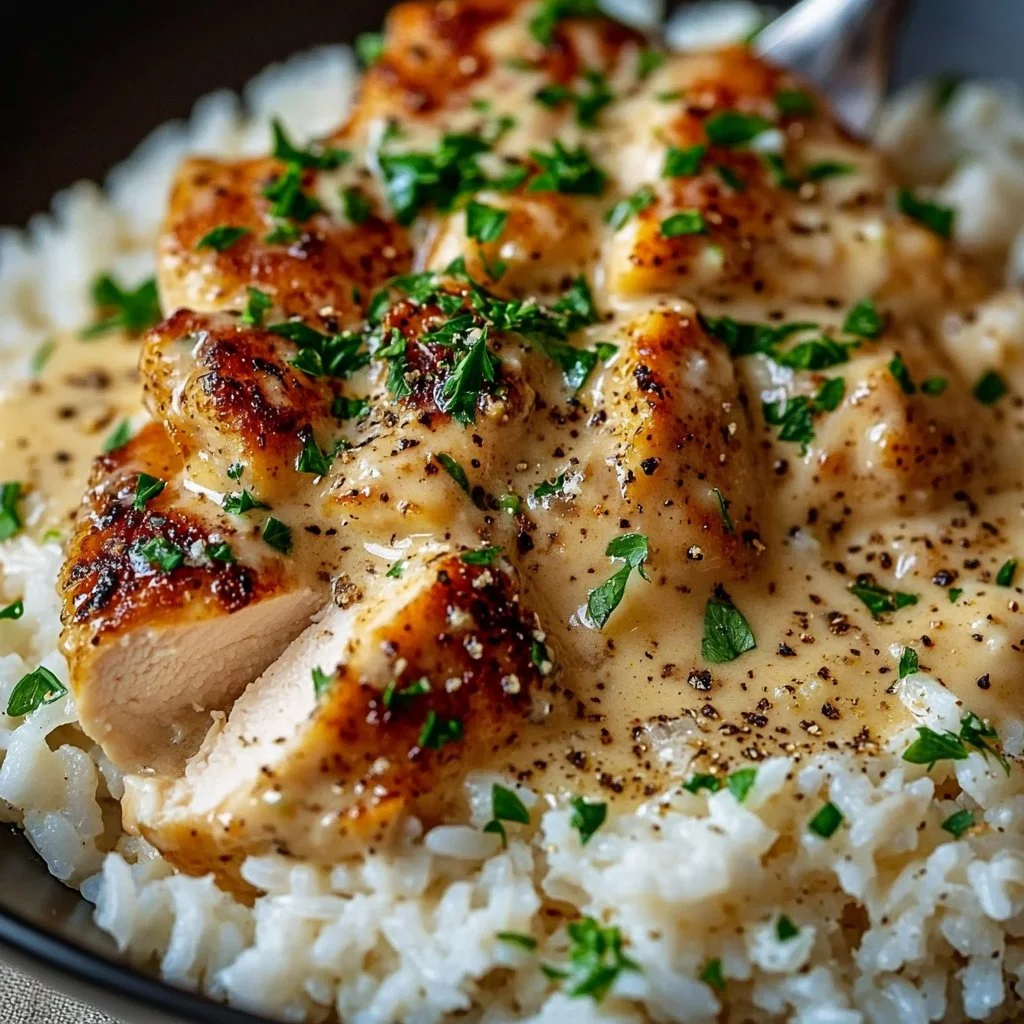
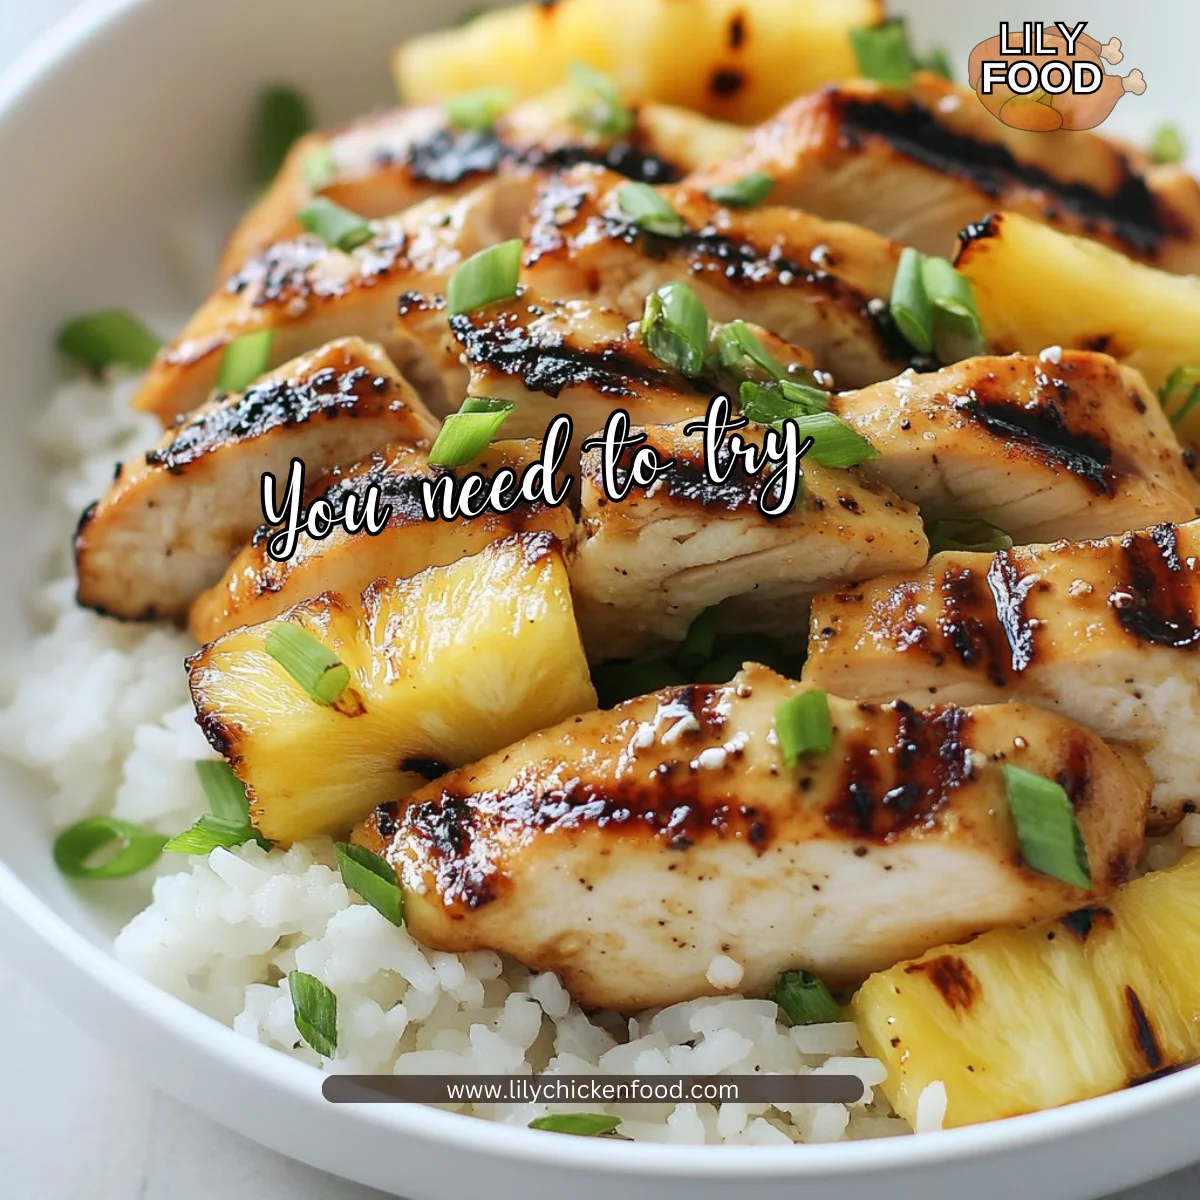
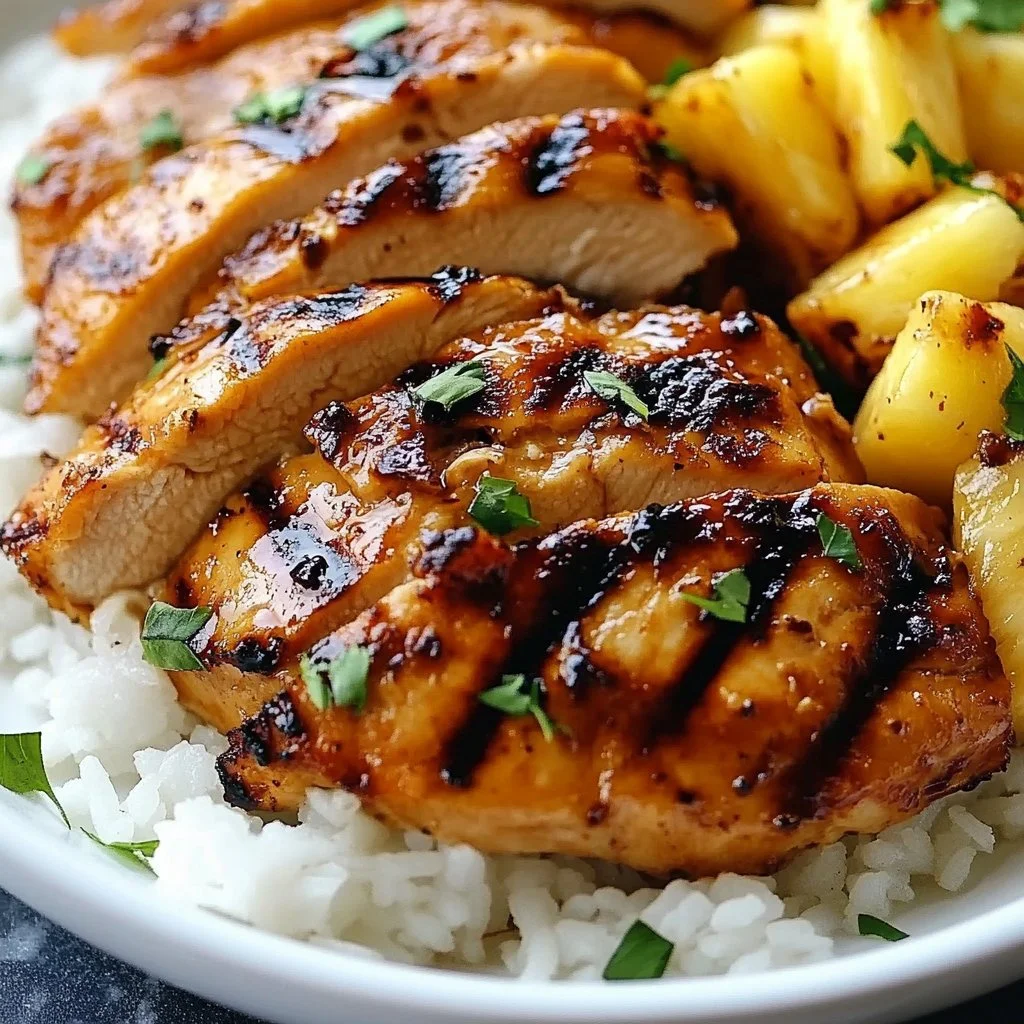
Serve the grilled chicken with grilled pineapple on a bed of coconut rice.
Encouragement: Layering the dish looks beautiful and makes it more satisfying. -
Garnish with chopped green onions.
Encouragement: A few green onions on top not only look lovely, but they provide a fresh bite that complements the dish perfectly!
Serving
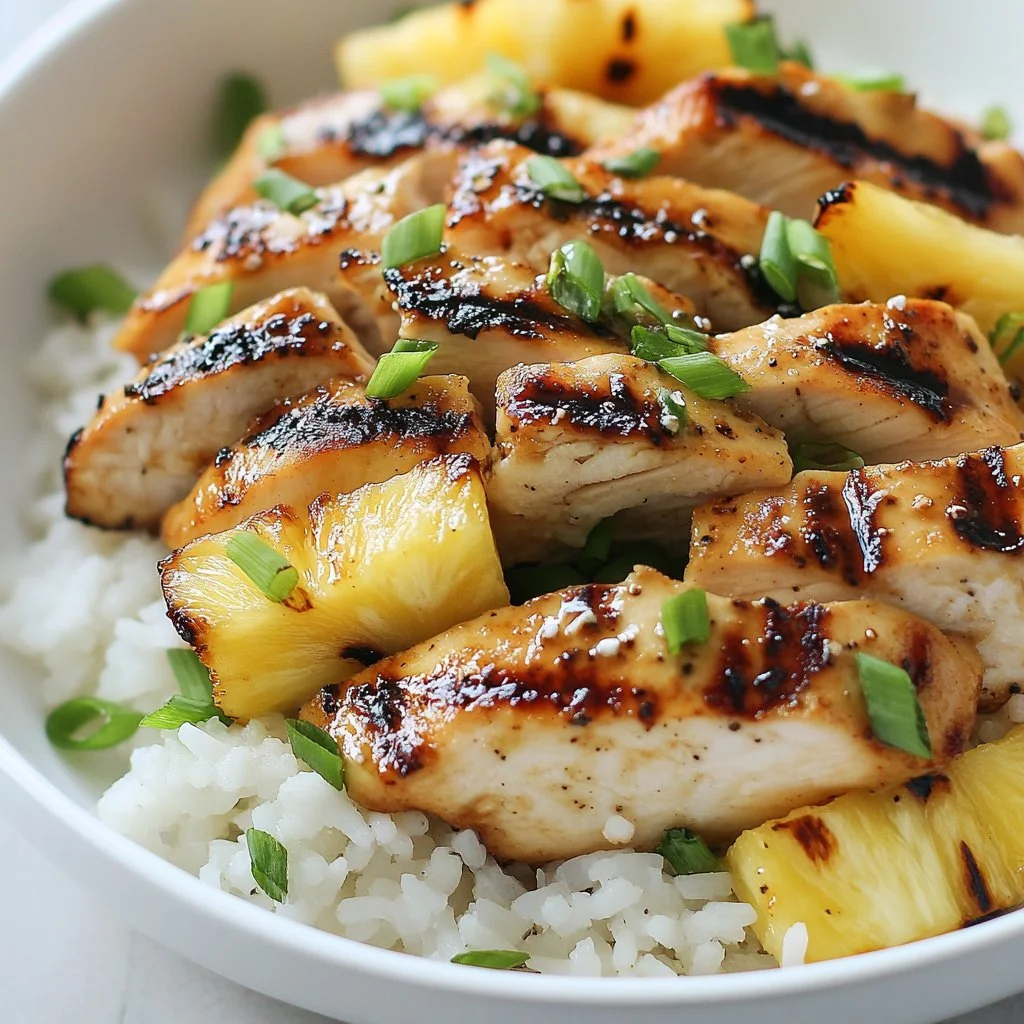
To make serving easy and fun, arrange the coconut rice in the center of a large platter. Place the grilled chicken on top, then pile the caramelized pineapple slices beside it. Finally, sprinkle the chopped green onions over everything. Your family will love digging in together, creating their own unique platefuls. The shared experience promotes conversation and laughter, making mealtime a cherished part of the day.
Storage
Have leftovers? Don’t worry; this dish keeps well in the fridge. Store any uneaten chicken and rice in an airtight container. You can easily enjoy it the next day or later in the week. To reheat, simply microwave it for a few minutes or warm it in a skillet over medium heat. Adding a splash of water or coconut milk will keep the rice from drying out.
Kitchen Notes
Here are some shortcuts to make your cooking experience smoother:
- Marinate the chicken the night before. It saves time and enhances flavor.
- Use precooked or instant coconut rice for a quick fix.
- Grill extra chicken and pineapple for meal prep throughout the week.
- Substitute chicken thighs for a more flavorful option.
- Buy a bottle of pre-made teriyaki sauce if you’re short on time.
Variations
Every family has different tastes. Here are some tweaks you can consider:
- For picky eaters: Serve the components separately. Let everyone create their own plates.
- For a vegetarian option: Substitute tofu for chicken and marinate it the same way.
- For a gluten-free meal: Use gluten-free soy sauce or tamari.
- For added heat: Drizzle some sriracha over your dish before serving.
- For different flavors: Incorporate chopped bell peppers and snap peas for a colorful stir-fried addition.
FAQ
-
Can I use frozen chicken?
Yes, but ensure it is fully thawed before marinating. -
What should I serve with this dish?
A simple green salad or steamed vegetables would complement it perfectly. -
Can the rice be prepared ahead of time?
Absolutely! Cook your coconut rice a day in advance and store it in the refrigerator. -
How can I make this dish spicier?
Add a touch of crushed red pepper flakes to the marinade for a kick. -
Is there a dairy-free alternative?
This recipe is naturally dairy-free. Just use coconut rice and you’re all set!
Conclusion
Cooking Hawaiian Chicken with Pineapple and Coconut Rice is more than just making dinner; it’s about creating a family experience that you all can share. This dish is a wonderful reminder to slow down and enjoy what really matters—spending time with those you love. With its vibrant colors and harmonious flavors, this meal is sure to warm your heart and fill your home with delightful aromas for years to come.

Hawaiian Chicken with Pineapple and Coconut Rice
Ingredients
Main Ingredients
- 2 pieces chicken breasts (Look for chicken breasts that are similar in size for even cooking.)
- 1 cup pineapple slices (Fresh pineapple is best, but canned will work too. Make sure to drain it well.)
- 1 cup coconut rice (Use a good-quality rice mix or make from scratch.)
- 2 tablespoons soy sauce (Low-sodium soy sauce is a great option if you’re watching sodium intake.)
- 1 tablespoon olive oil (Extra virgin olive oil will add a nice depth of flavor.)
- Salt and pepper (Season lightly at first; you can always add more later.)
- Chopped green onions (These add a fresh crunch. You can also use cilantro if preferred.)
Instructions
Preparation
- In a bowl, marinate the chicken breasts with soy sauce, olive oil, salt, and pepper for at least 30 minutes.
Cooking
- Grill or pan-fry the chicken over medium heat until fully cooked, about 6-7 minutes per side.
- Grill the pineapple slices for about 2-3 minutes on each side until caramelized.
- Prepare coconut rice according to package instructions.
Serving
- Serve the grilled chicken with grilled pineapple on a bed of coconut rice.
- Garnish with chopped green onions.