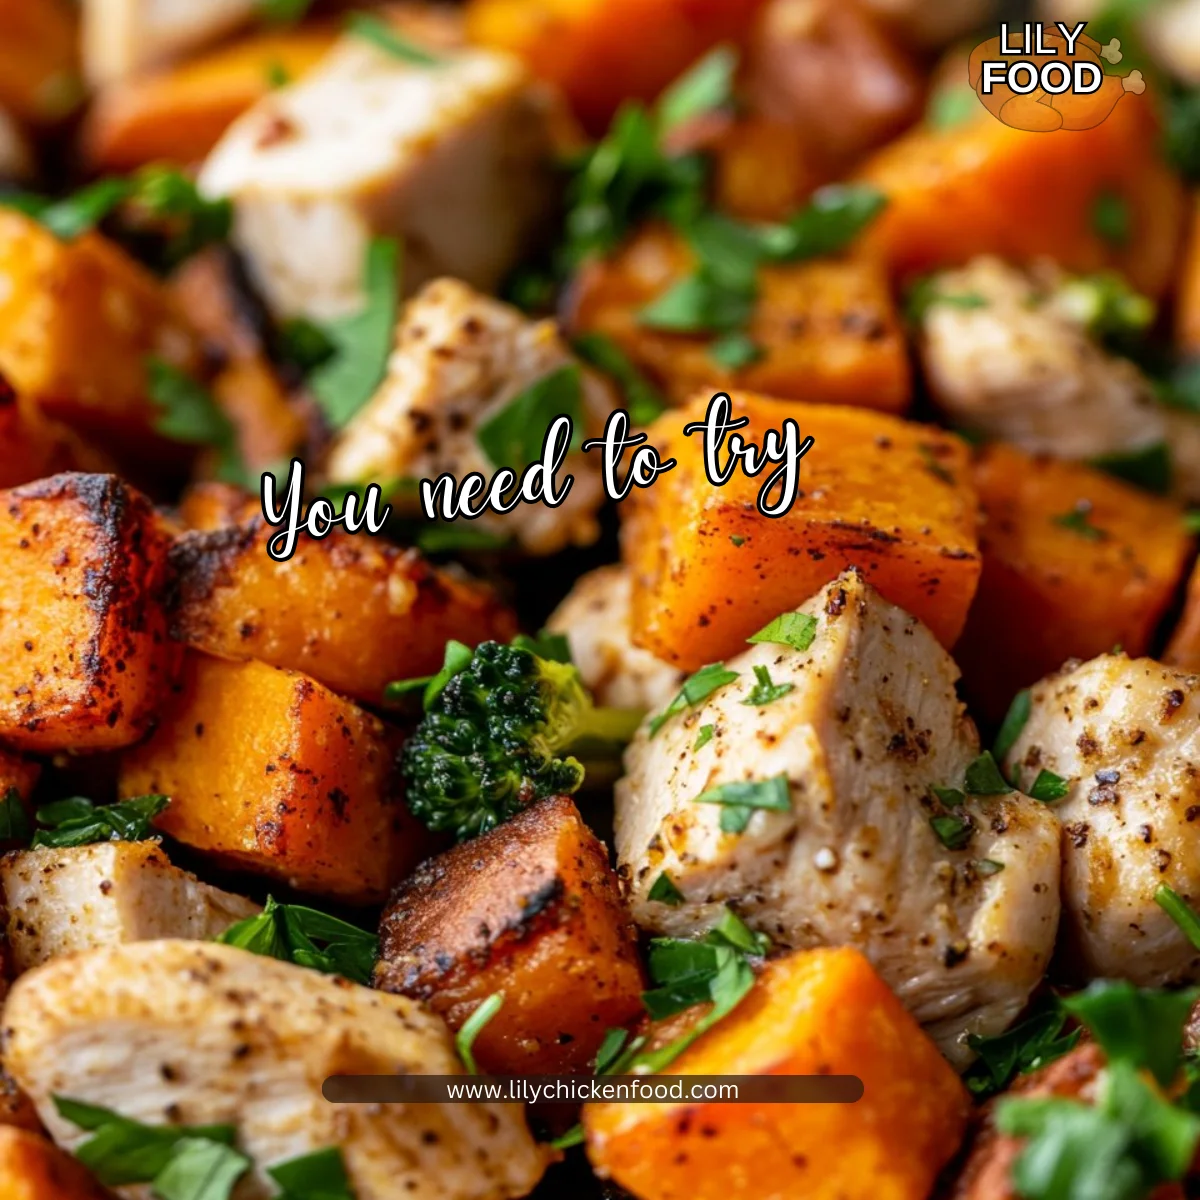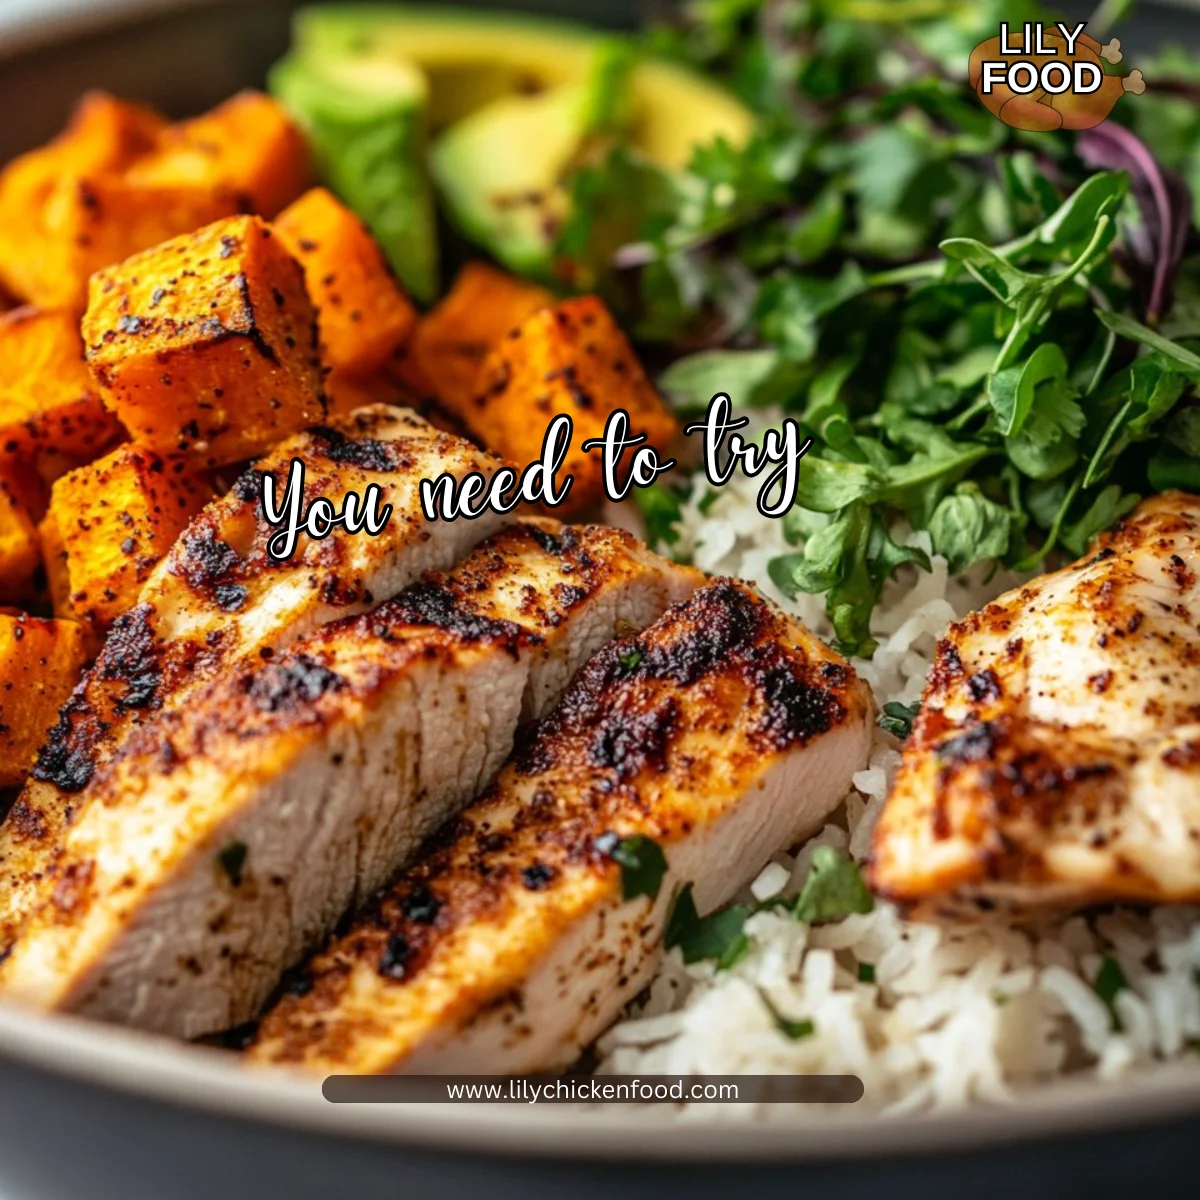
The smell of sweet potatoes roasting in the oven fills the kitchen, blending with the enticing aroma of seasoned chicken sizzling in a pan. The sound of chopping and stirring creates a cozy rhythm that reminds me of family dinners gathered around the table. Each element in the air invites everyone in the house to come together and enjoy a wholesome meal. Today, we’re making a Healthy Chicken & Sweet Potato Rice Bowl that is not only delicious but also simple enough for any weeknight dinner.
Why This Works
This Healthy Chicken & Sweet Potato Rice Bowl is perfect for busy families. With prep and cooking time combined, you can have a healthy and tasty dinner ready in about 45 minutes. Roasting sweet potatoes brings out their natural sweetness while keeping the chicken juicy and flavorful. Plus, this dish is always a hit, meaning your family and friends will ask for seconds. It’s a win-win in the kitchen!
Process Overview
“This is where the magic happens—when the aroma fills the kitchen.”
By focusing on fresh, wholesome ingredients, we can create a meal that nourishes our bodies and warms our hearts. The process is straightforward, meaning more time to spend with loved ones and less time stressing over dinner.
Ingredients
Here’s what you will need for our Healthy Chicken & Sweet Potato Rice Bowl:
- Chicken breast: About 1 pound. I recommend using boneless and skinless for easier cooking and slicing.
- Sweet potatoes: 2 medium-sized. Choose firm sweet potatoes without blemishes. They are the star of the dish!
- Rice: 1 cup, white or brown. Brown rice is great for added fiber, but use whatever you prefer.
- Olive oil: 2 tablespoons. A pantry staple that adds flavor and helps to roast the veggies perfectly.
- Salt: To taste. A little sprinkle can elevate the flavors.
- Pepper: To taste. Freshly cracked black pepper enhances the dish beautifully.
- Garlic powder: 1 teaspoon. Adds a wonderful depth of flavor with ease.
- Paprika: 1 teaspoon. Not only for flavor but also for a lovely color.
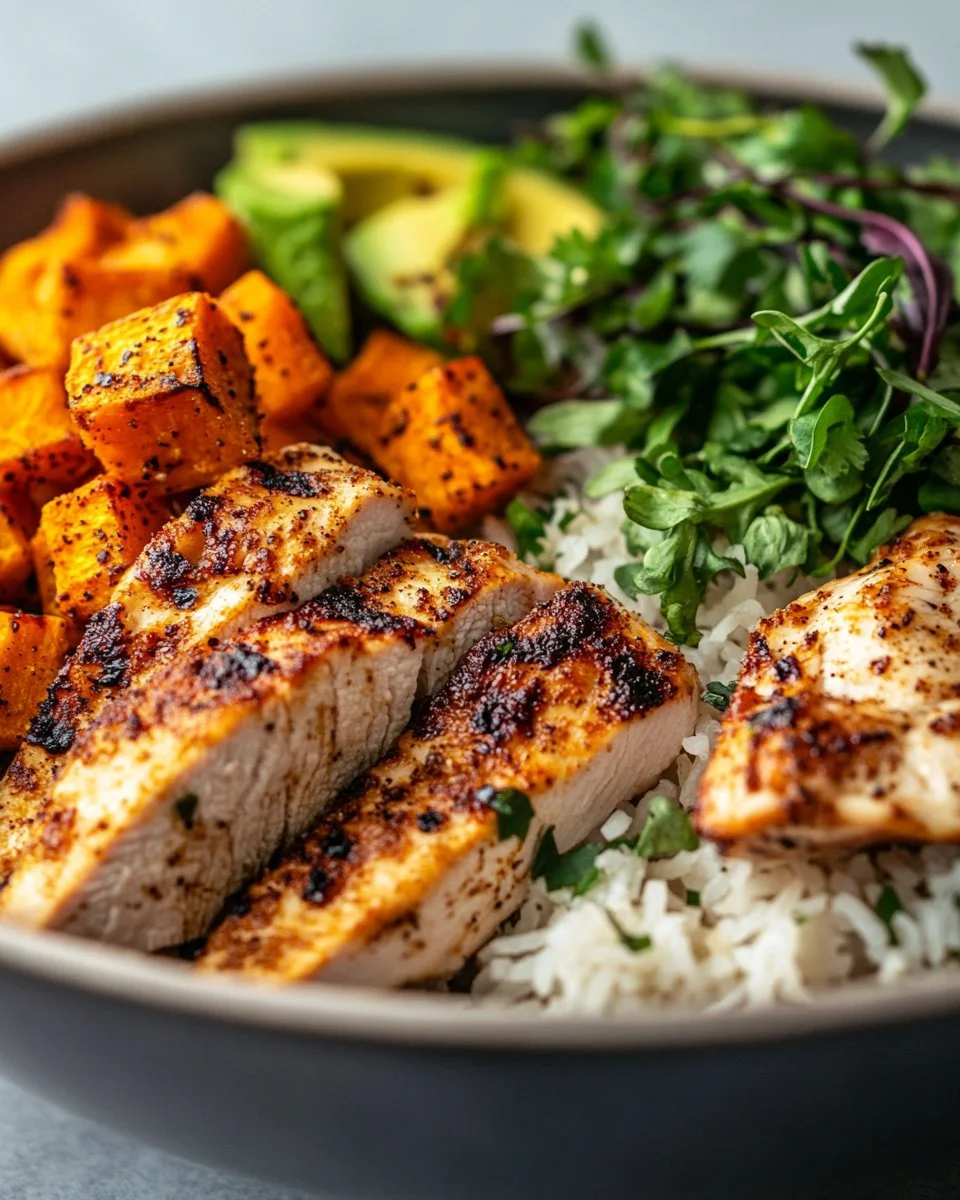
- Optional toppings: Feel free to add greens, avocado, or nuts. These toppings not only bring added nutrition but also beautiful color and flavors. For example, a handful of spinach or sliced almonds can give it a nice crunch.
Directions
-
Preheat the oven to 400°F (200°C). This is an important first step. A hot oven ensures that your sweet potatoes will roast to perfection.
-
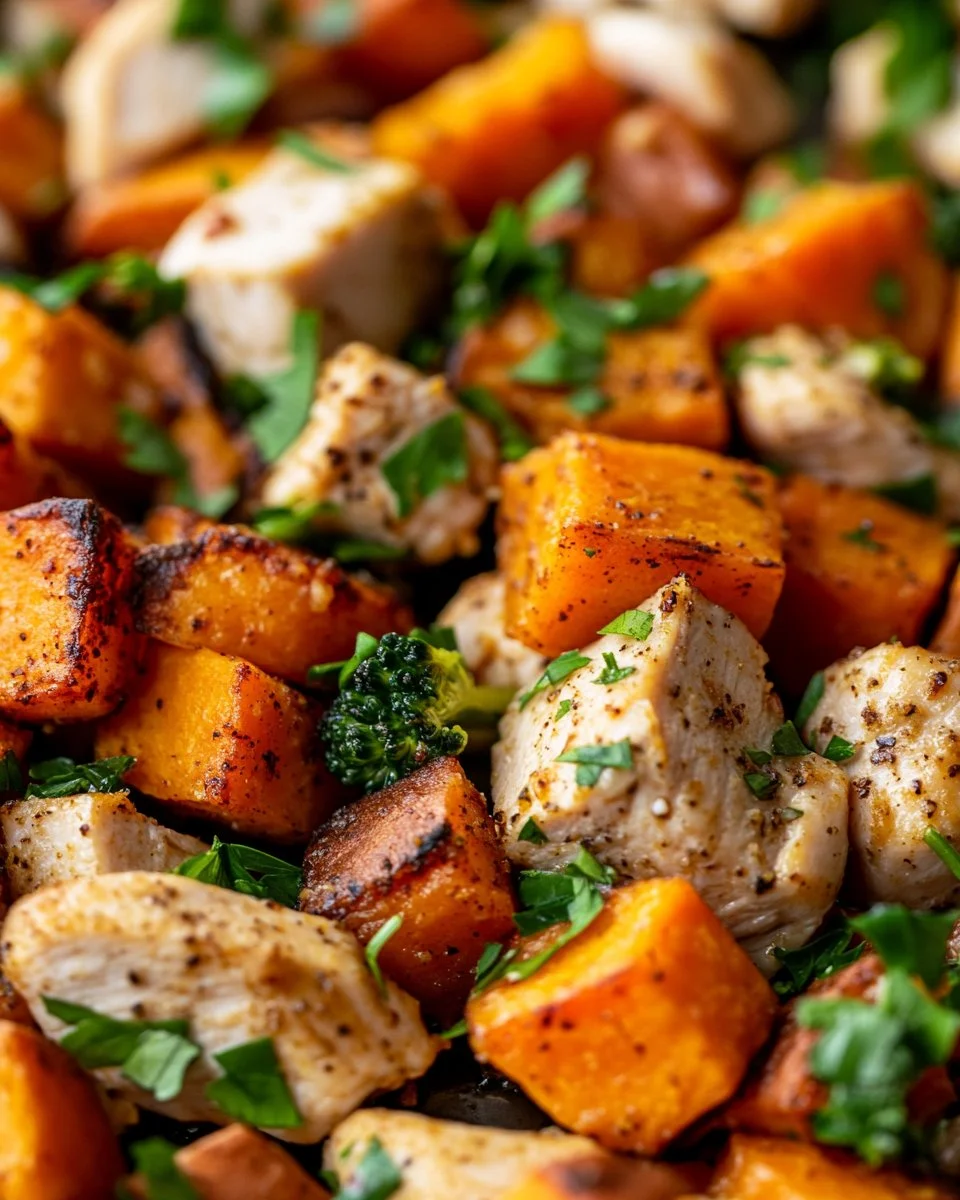
Cut the sweet potatoes into cubes and toss them with olive oil, salt, pepper, garlic powder, and paprika. Spread them out on a baking sheet and roast for 25-30 minutes until tender. Keep an eye on them; flipping halfway will help them brown evenly.
-
While the sweet potatoes are roasting, cook the rice according to package instructions. You can use a rice cooker or stovetop, depending on what you have on hand. This is a great time to let the kids help rinse the rice.
-
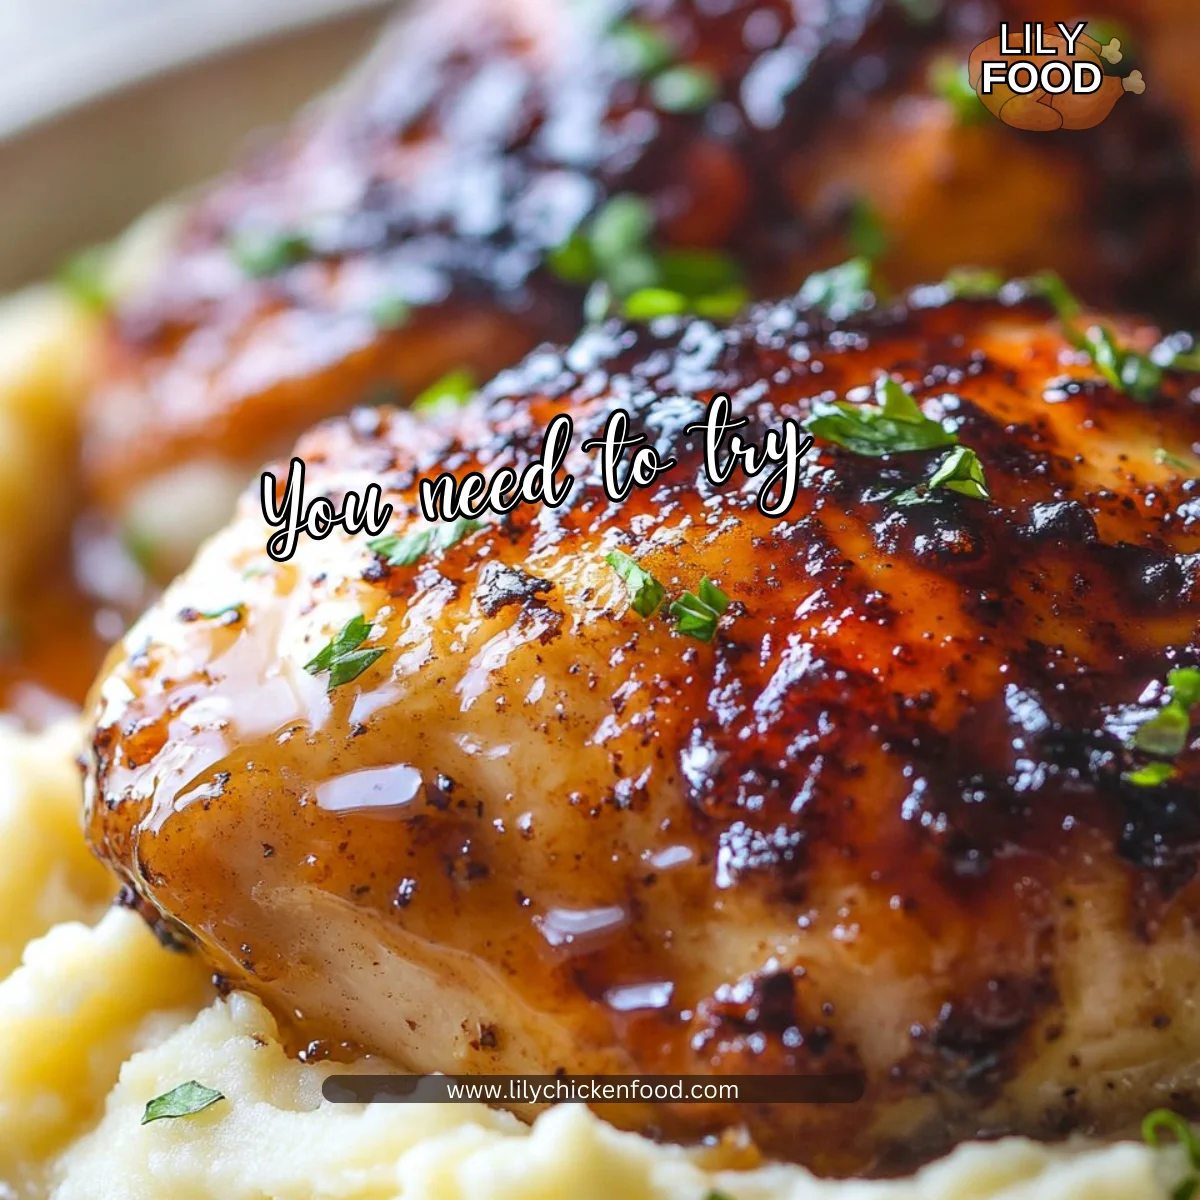
Season the chicken with salt, pepper, and any desired spices. Grill or sauté the chicken in a pan until cooked through, about 6-8 minutes on each side. Use medium-high heat for that lovely sear!
-
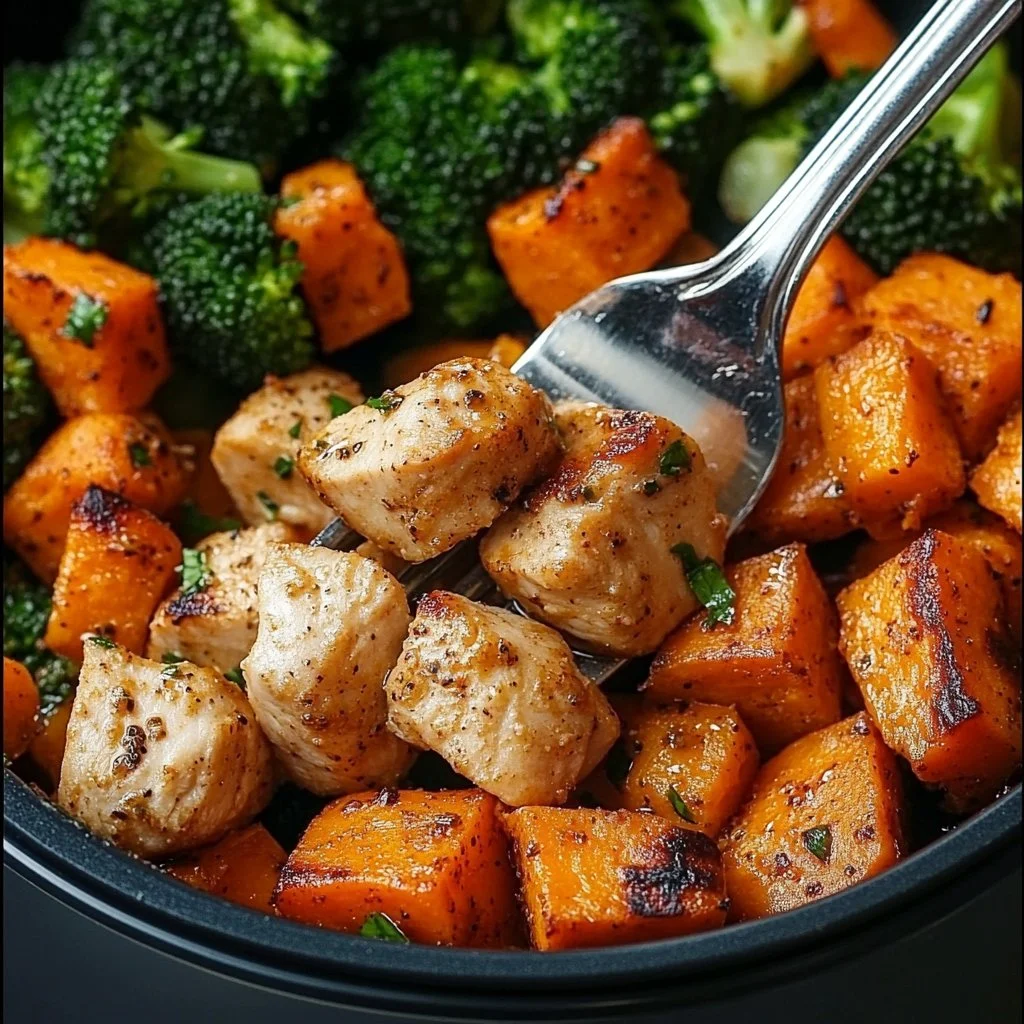
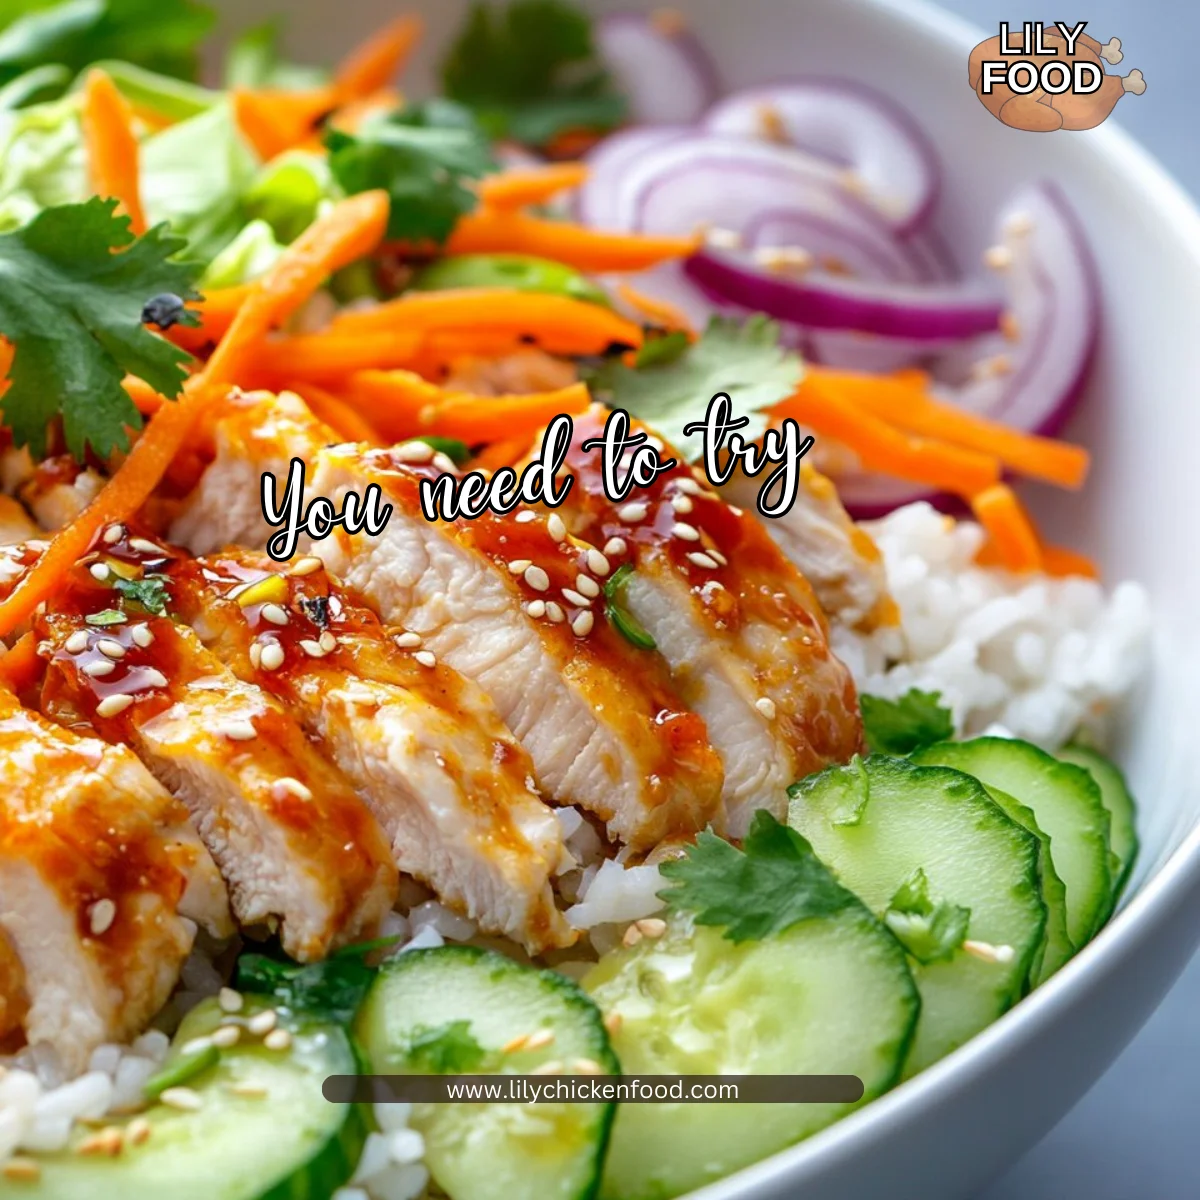
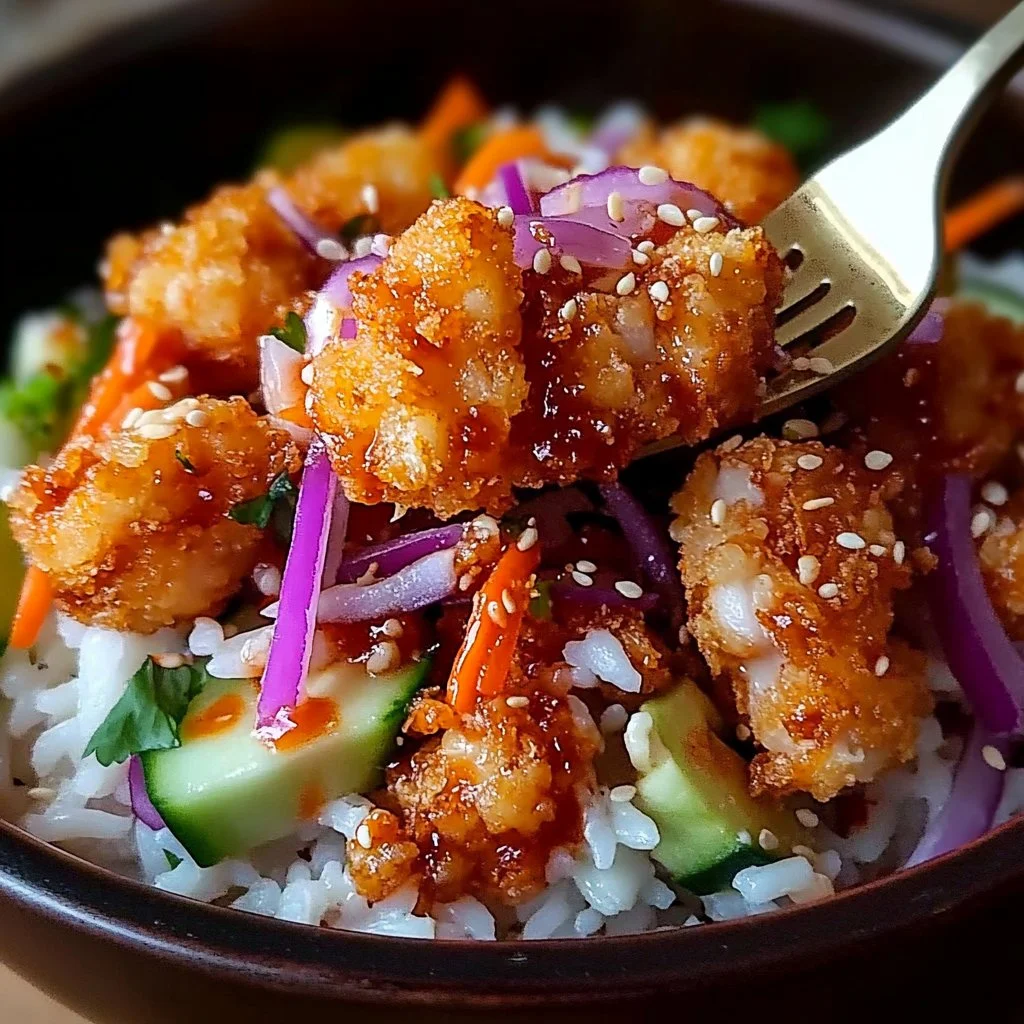
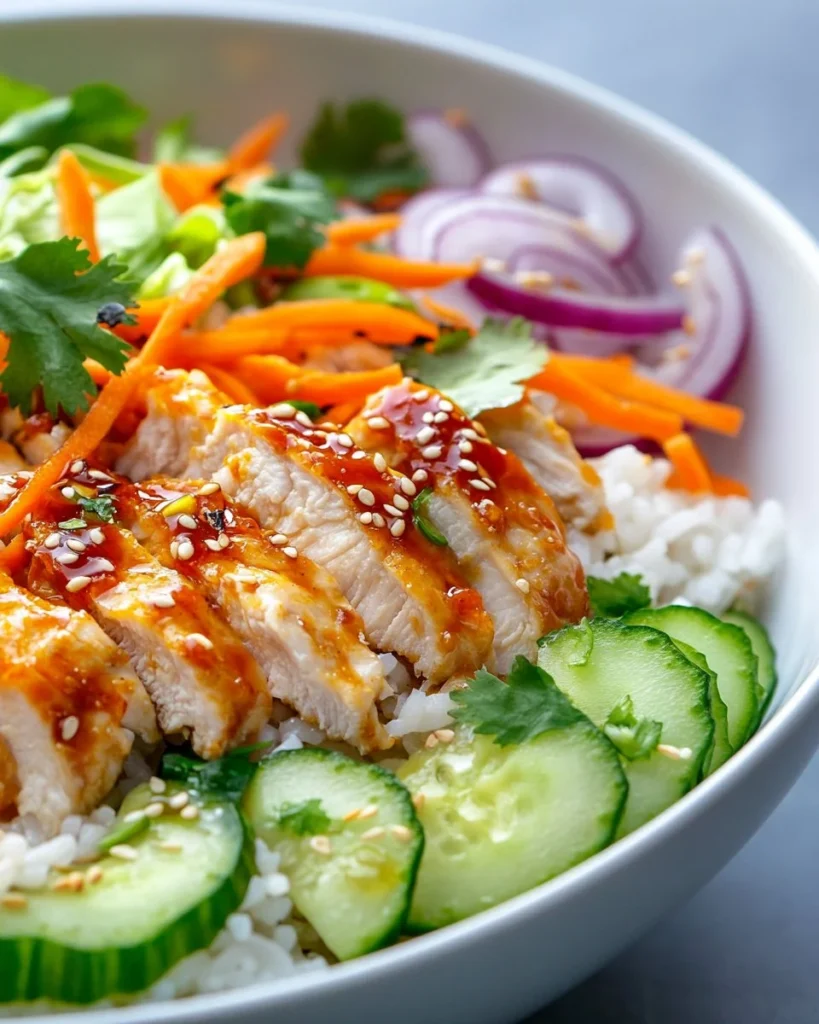
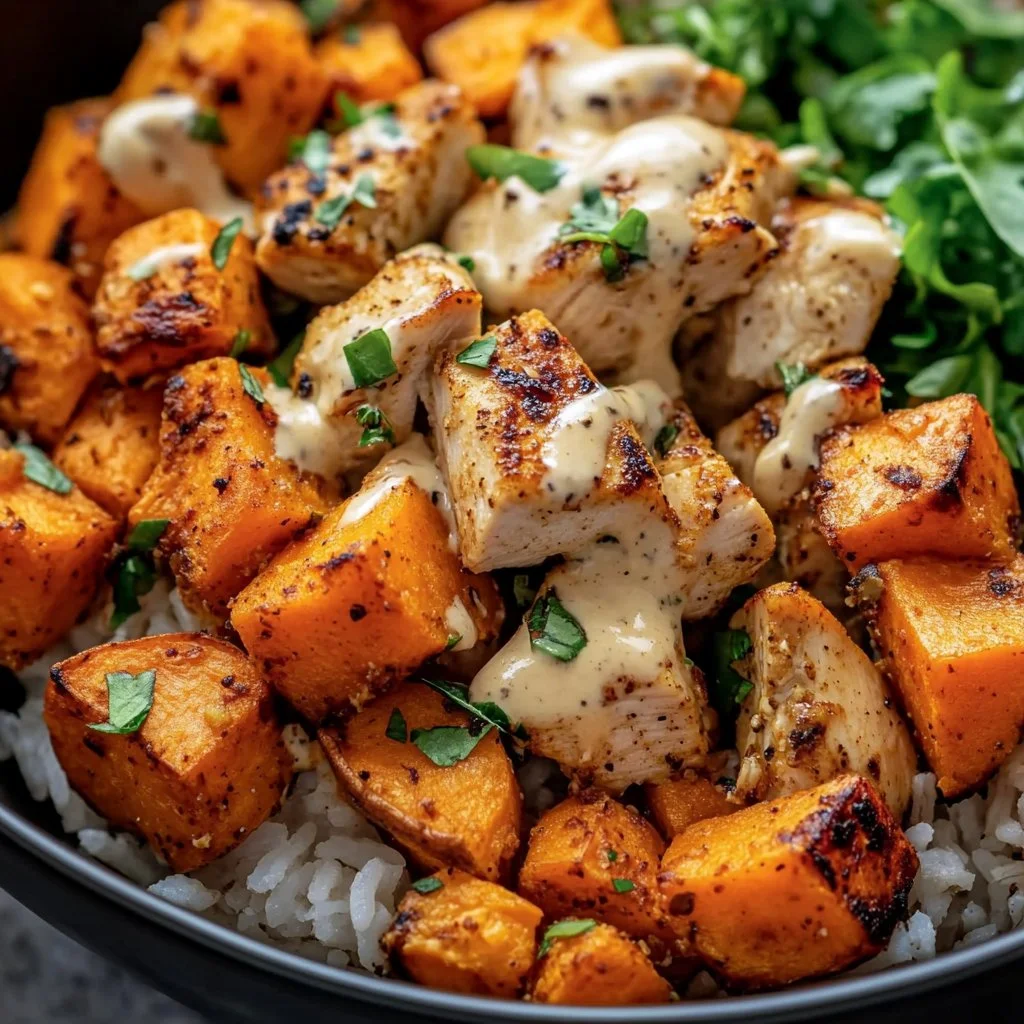
In a bowl, layer cooked rice, roasted sweet potatoes, and sliced chicken. Encourage the kids to help build their own bowl. It makes dinner interactive and fun.
-
Add any optional toppings and serve. A sprinkle of greens or a couple slices of avocado can take your bowl to the next level.
Serving
When serving, consider creating a family-style setup. Place large bowls of the rice, sweet potatoes, and sliced chicken in the center of the table and let everyone build their own bowl. This not only encourages creativity but also brings everyone together, fostering conversation and connection over a shared meal.
Storage
Leftovers can be stored in an airtight container in the fridge for up to three days. To reheat, simply pop it in the microwave for about 1-2 minutes. If you like, you can add a splash of water to keep it moist while reheating. Alternatively, you can heat it on the stove in a little olive oil, which also adds more flavor.
Kitchen Notes
- Use pre-cooked rotisserie chicken to save time on busy nights.
- Cut sweet potatoes into smaller cubes for quicker cooking.
- Cook rice in advance during meal prep for easy dinners later in the week.
- Feeling creative? Try adding beans or lentils for extra protein.
- Use frozen veggies if you’re short on time; they are just as nutritious.
Variations
If you have picky eaters or specific dietary requirements, this recipe can easily be tweaked.
- Substituting quinoa for rice adds a nutty flavor and is gluten-free.
- Swap chicken for chickpeas or tofu for a vegetarian or vegan option.
- If your family prefers milder flavors, reduce spices and stick with just olive oil, salt, and pepper.
FAQ
-
Can I make this meal ahead of time?
Yes, you can roast the sweet potatoes and cook the chicken in advance. Just reheat when ready to serve. -
Can I use other vegetables in this bowl?
Absolutely. Broccoli, bell peppers, or kale would work wonderfully. -
What can I substitute for rice?
Quinoa, cauliflower rice, or even farro can be delicious alternatives. -
Is this dish freezer-friendly?
Yes, you can freeze the components separately. Just ensure everything is cool before sealing. -
Can I adjust the spice levels?
Definitely! Feel free to play around with the spices and make it as mild or spicy as your family likes.
Conclusion
Crafting a healthy meal for the family doesn’t have to be complicated. This Chicken & Sweet Potato Rice Bowl is not only easy to make but also packed with nutrients that everyone will love. I hope this dish fills your kitchen with warmth and brings your family to the table for memorable meals together. Enjoy the laughter, the love, and, most importantly, the delicious food!

Healthy Chicken & Sweet Potato Rice Bowl
Ingredients
Chicken and Vegetables
- 1 pound boneless, skinless chicken breast (Recommended for easier cooking and slicing.)
- 2 medium sweet potatoes (Choose firm ones without blemishes.)
Grains
- 1 cup rice (white or brown) (Brown rice adds extra fiber.)
Seasoning and Toppings
- 2 tablespoons olive oil (For roasting vegetables.)
- to taste salt (Enhances flavors.)
- to taste pepper (Use freshly cracked for better flavor.)
- 1 teaspoon garlic powder (Adds depth of flavor.)
- 1 teaspoon paprika (For flavor and color.)
- as desired optional toppings (greens, avocado, nuts) (Adds nutrition and color.)
Instructions
Preparation
- Preheat the oven to 400°F (200°C).
- Cut the sweet potatoes into cubes and toss them with olive oil, salt, pepper, garlic powder, and paprika. Spread them on a baking sheet and roast for 25-30 minutes until tender, flipping halfway.
- While the sweet potatoes are roasting, cook the rice according to package instructions using a rice cooker or stovetop.
- Season the chicken with salt, pepper, and any desired spices. Grill or sauté in a pan over medium-high heat for about 6-8 minutes on each side until cooked through.
Assembly
- In a bowl, layer cooked rice, roasted sweet potatoes, and sliced chicken.
- Add any optional toppings and serve.