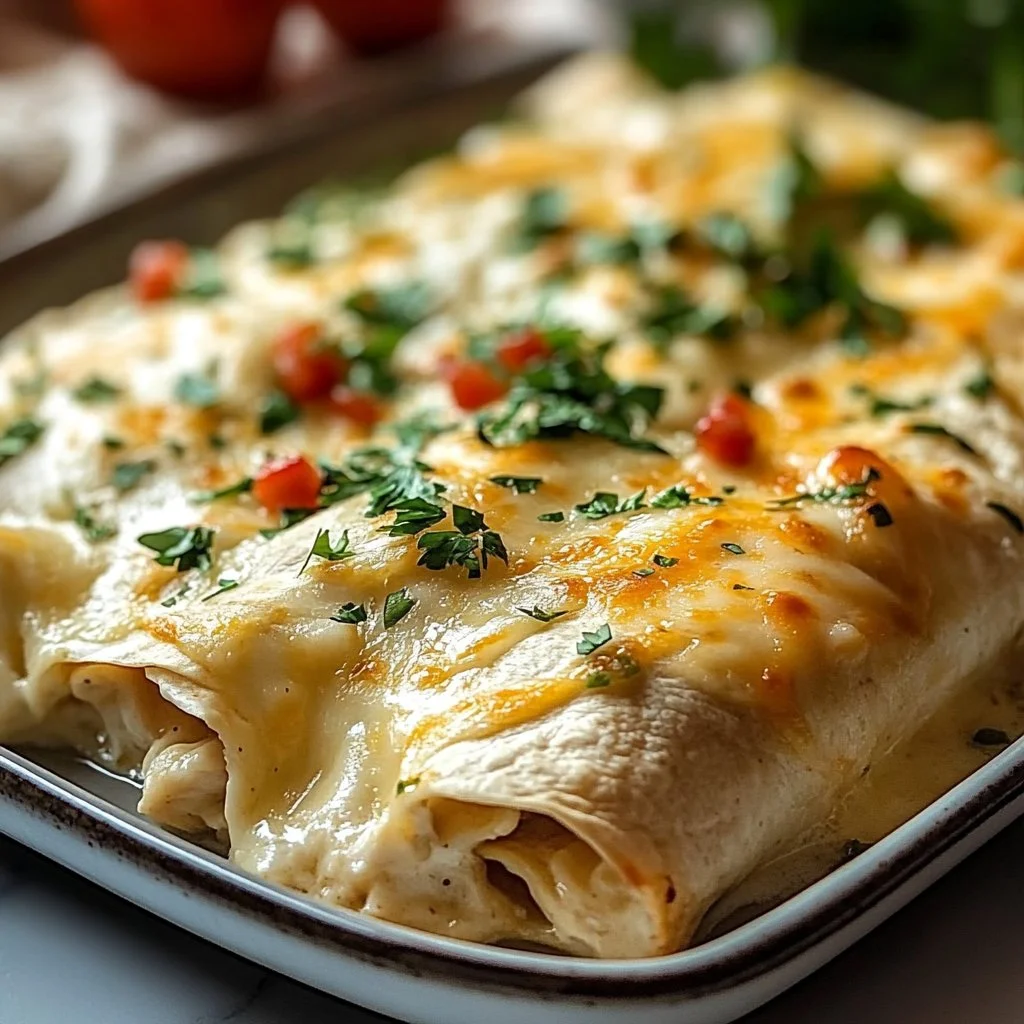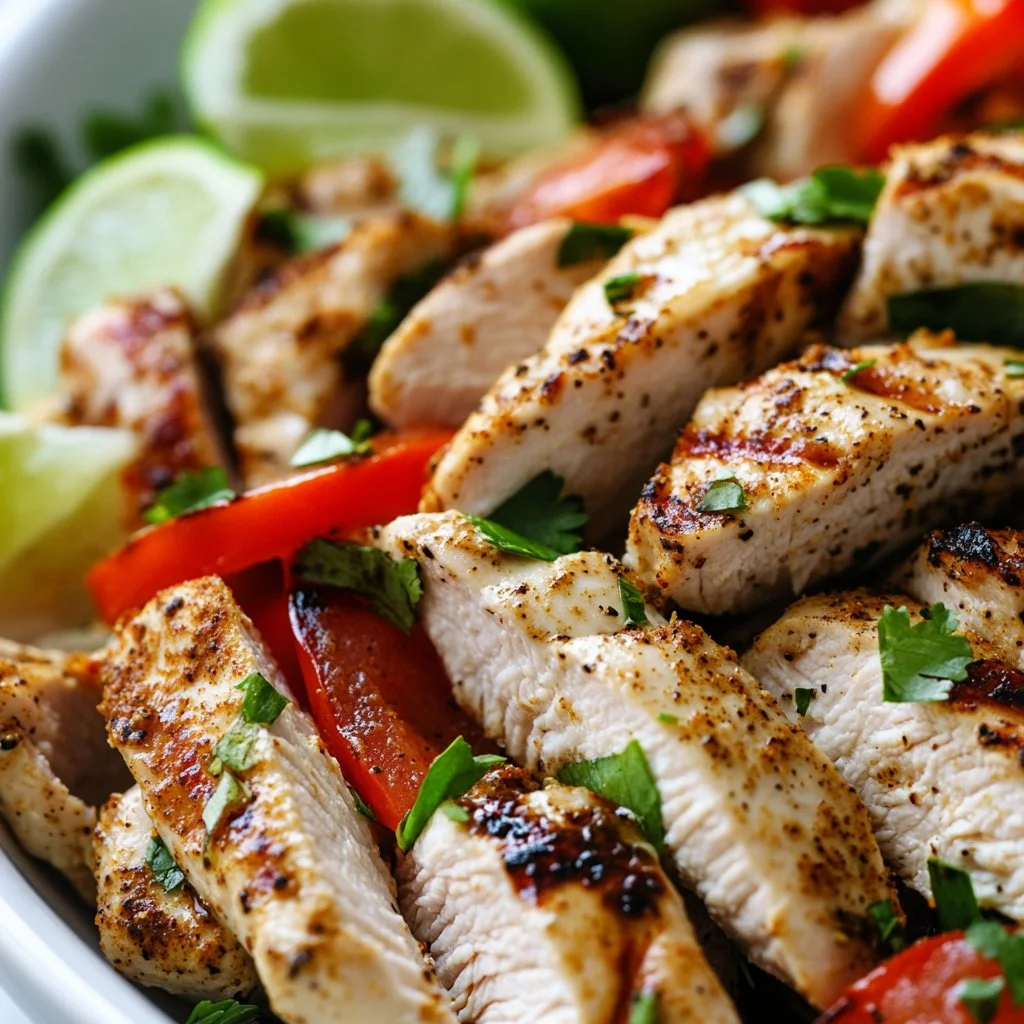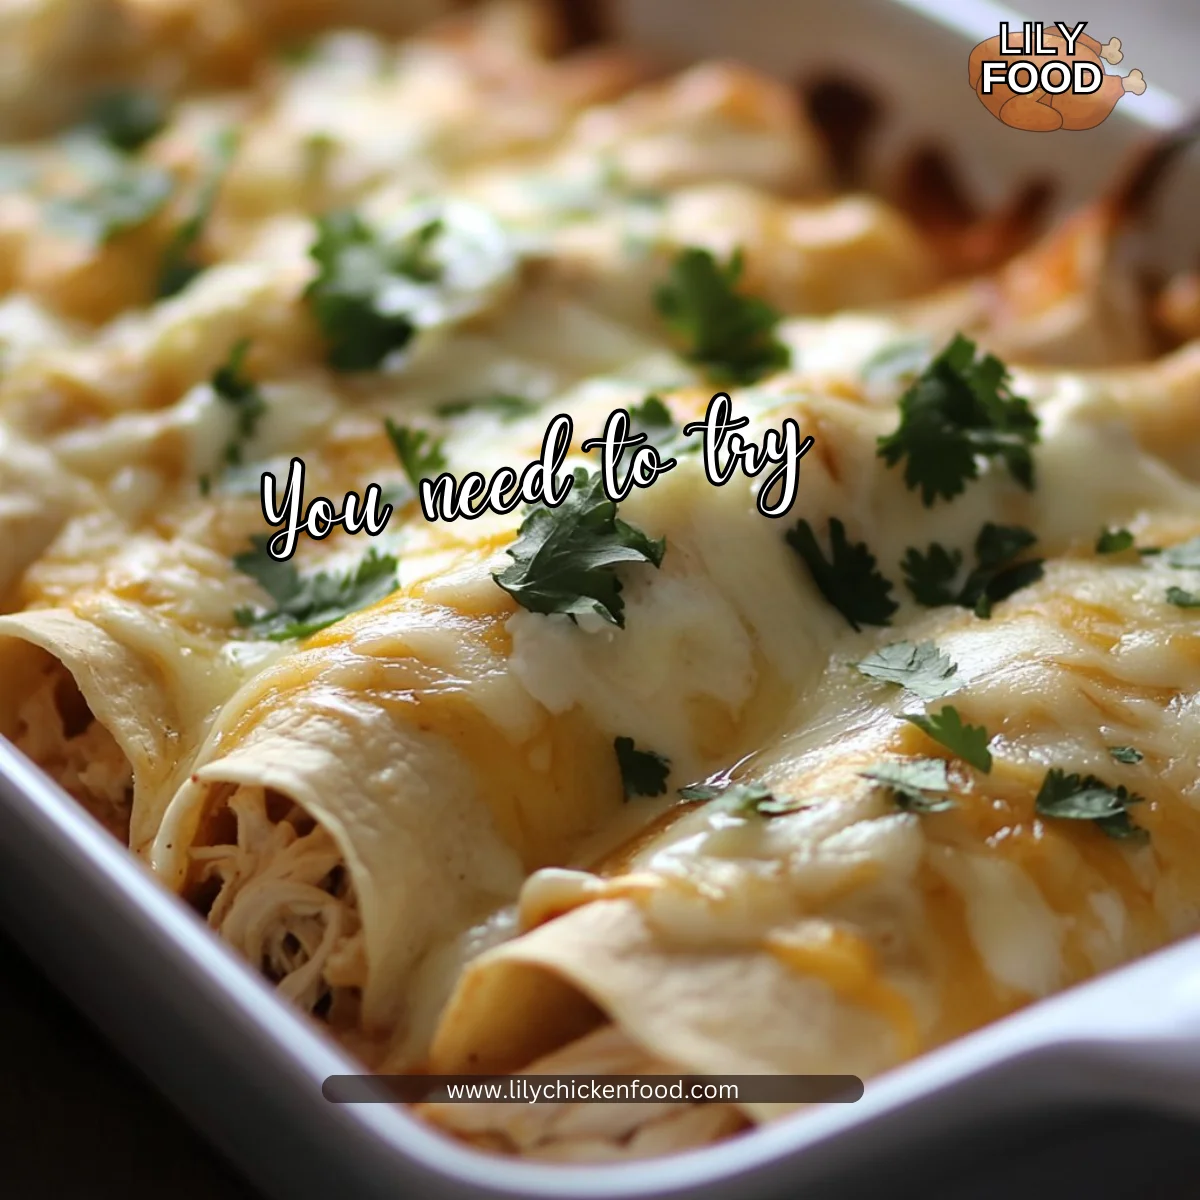
There’s something special about the hustle and bustle of a kitchen, especially when the air is filled with the savory smell of chicken enchiladas baking in the oven. You can hear the gentle bubbling as the sauce simmers and the cheese melts to perfection. This is not just another meal; it’s a delightful experience for the whole family. As you slice into these green chicken enchiladas, the vibrant colors and inviting aromas draw everyone to the table. Let’s dive into this scrumptious recipe that promises to brighten any weeknight dinner.
Why This Works
Family meals are about connection. Green chicken enchiladas not only bring delicious flavors to the table but also save time and hassle in the kitchen. With a few simple ingredients and straightforward steps, you can whip up a dish that delights everyone, from the youngest eaters to the pickiest of them. Whether you are feeding a large family or just a couple of busy, hungry folks, these enchiladas come together quickly and deliver the comfort of home-cooked goodness.
Process Overview
“This is where the magic happens—when the aroma fills the kitchen.”
Cooking enchiladas is a great way to enjoy the process while creating lasting memories. The steps are easy to follow, requiring minimal prep time. You’ll chop, mix, roll, and bake, all while the wonderful scents transform your home into a cozy haven. Gather everyone around, because once you start cooking, they’ll be eagerly anticipating a delicious meal.
Ingredients
Here’s what you’ll need for these mouthwatering green chicken enchiladas:
-
2 cups cooked chicken, shredded
Tip: Use leftover rotisserie chicken to save time. -
8 corn or flour tortillas
Tip: If using corn tortillas, warm them up on a skillet for a few seconds to prevent them from tearing. -
2 cups green salsa
Tip: Go for your favorite store-bought brand for convenience, or make your own for a fresh twist. -
1 cup shredded cheese (cheddar or Monterey Jack)
Tip: Mix cheeses for a richer flavor. -
1/2 cup sour cream
Tip: Use Greek yogurt as a healthy alternative. -
1/4 cup chopped cilantro
Tip: Add more or less based on your taste preference. -
Salt and pepper to taste
Tip: Don’t be afraid to taste as you go to ensure a balanced flavor.
Directions
-
Preheat the oven to 350°F (175°C).
Starting with a preheated oven guarantees a quicker cook time and perfectly melted cheese. -
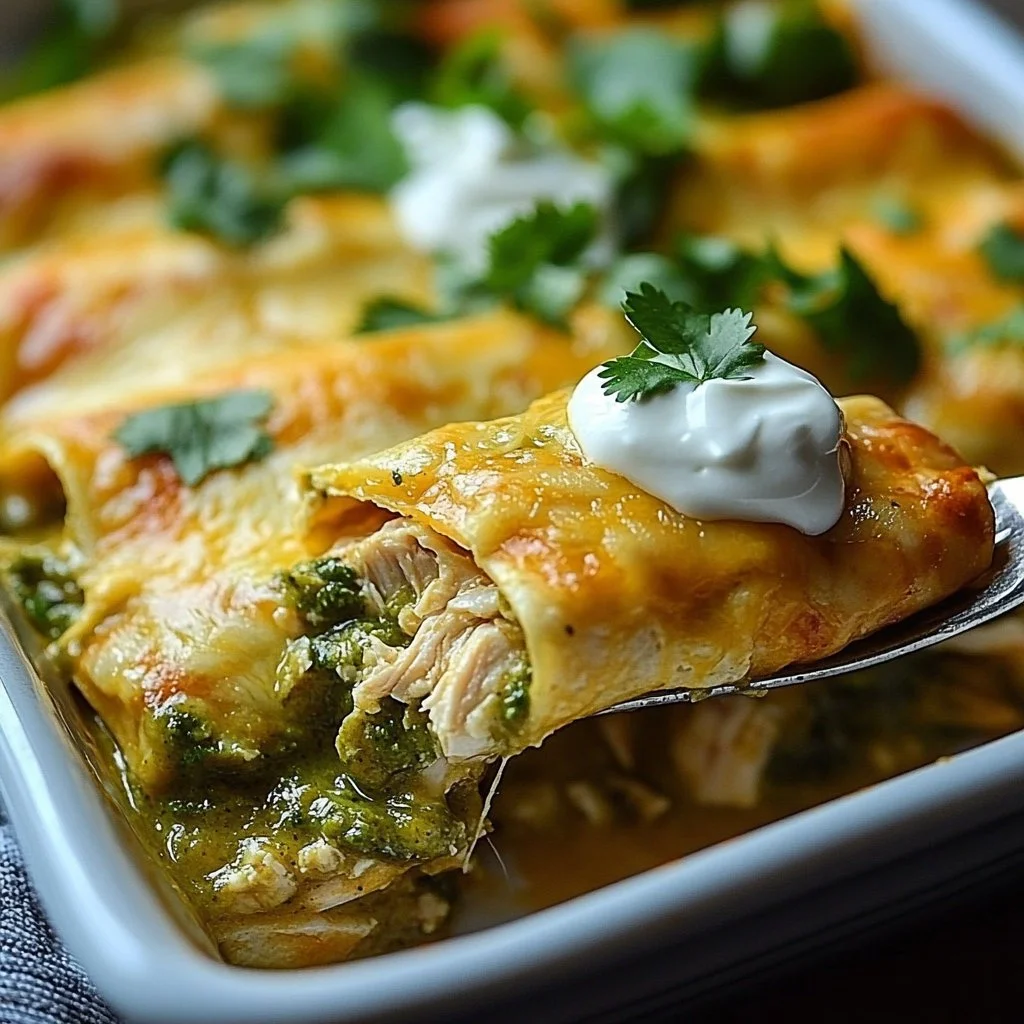
In a bowl, mix shredded chicken with half of the green salsa, salt, and pepper.
Taste the mixture to adjust the seasoning; this is your chance to make it just right. -
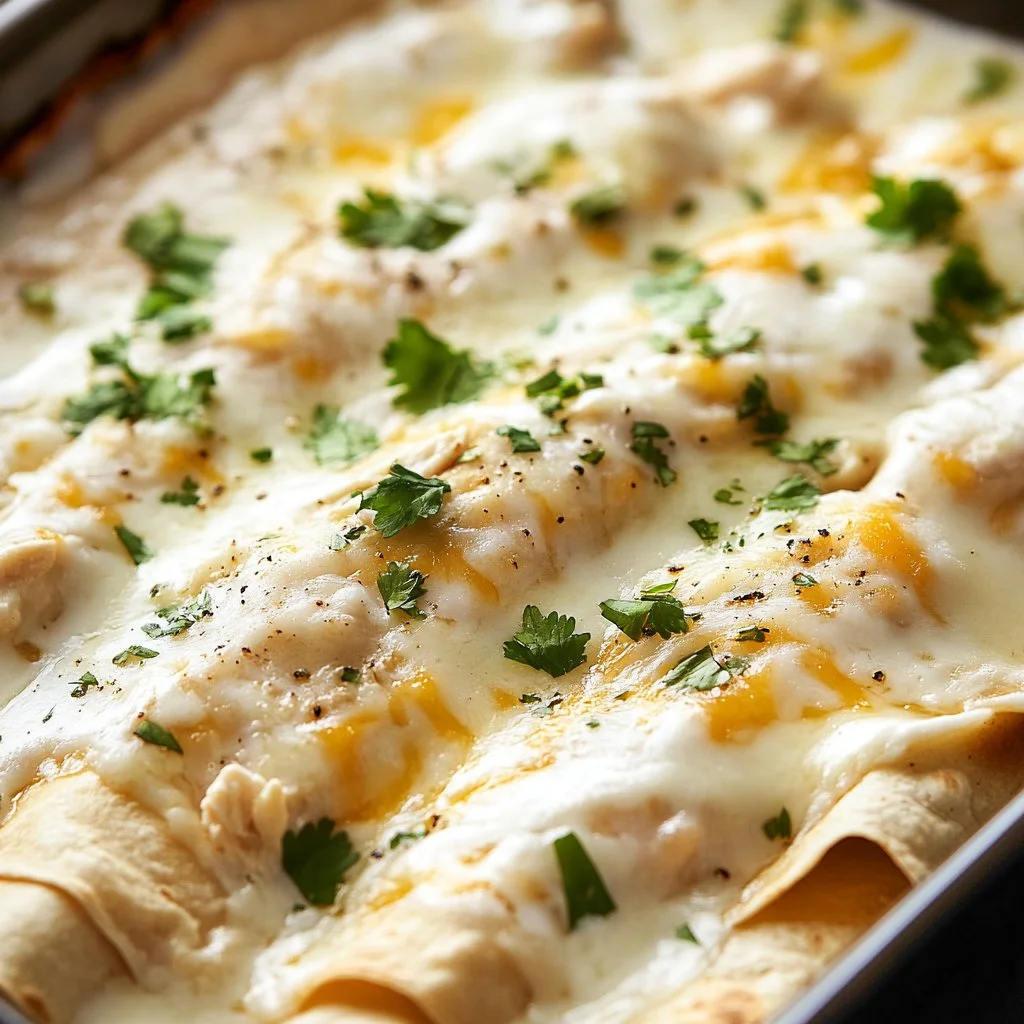
Lay a tortilla flat, add a portion of the chicken mixture, roll it up, and place it seam-side down in a baking dish.
Don’t worry if your rolls aren’t perfect; they’ll still turn out delicious! -
Repeat with remaining tortillas.
Take your time; the more care you put into rolling, the better they’ll hold up during baking. -
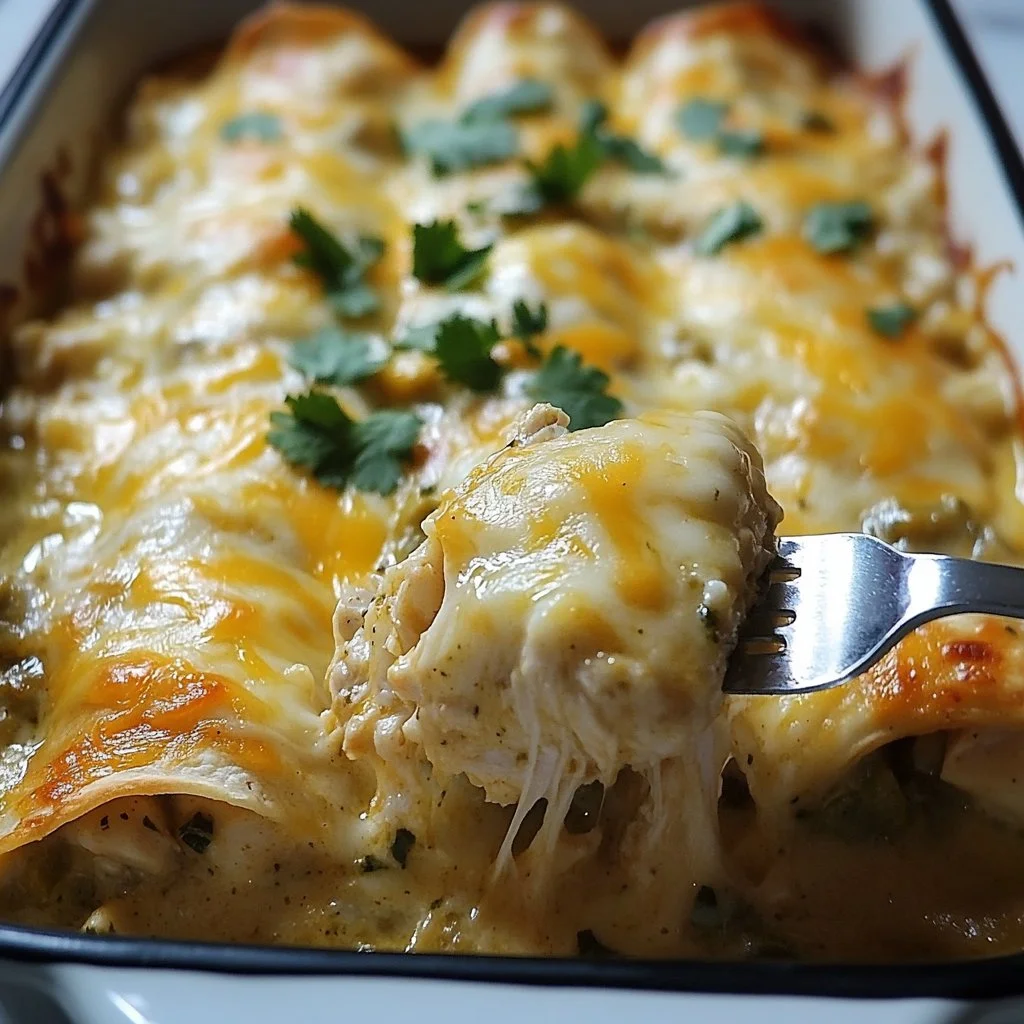
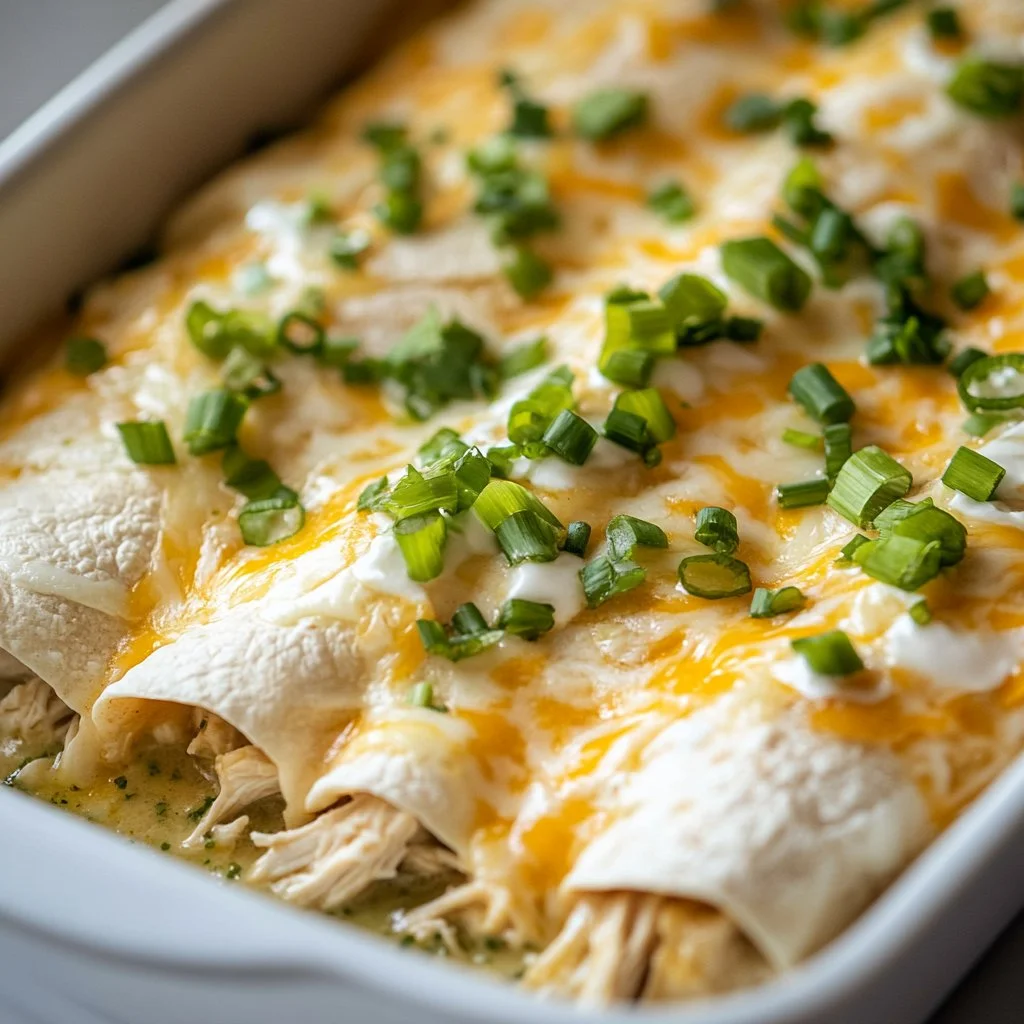
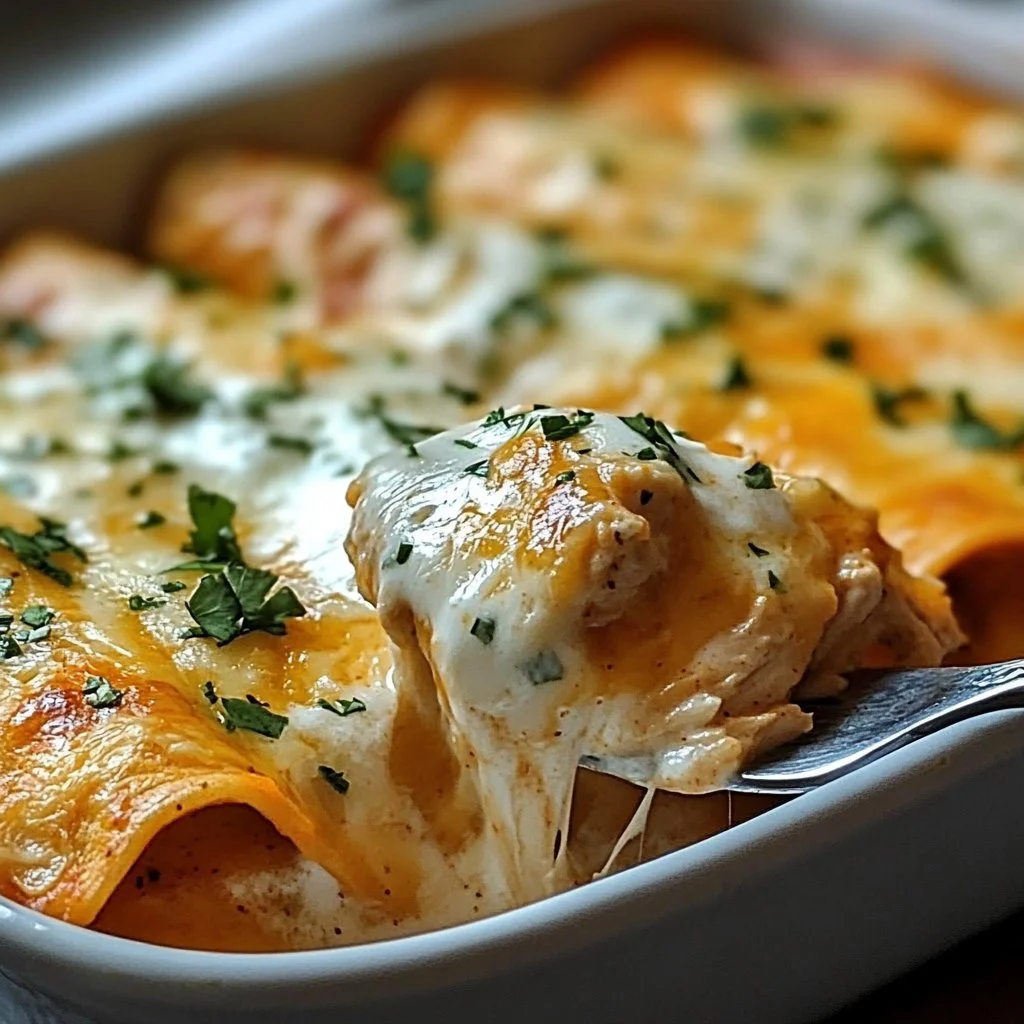
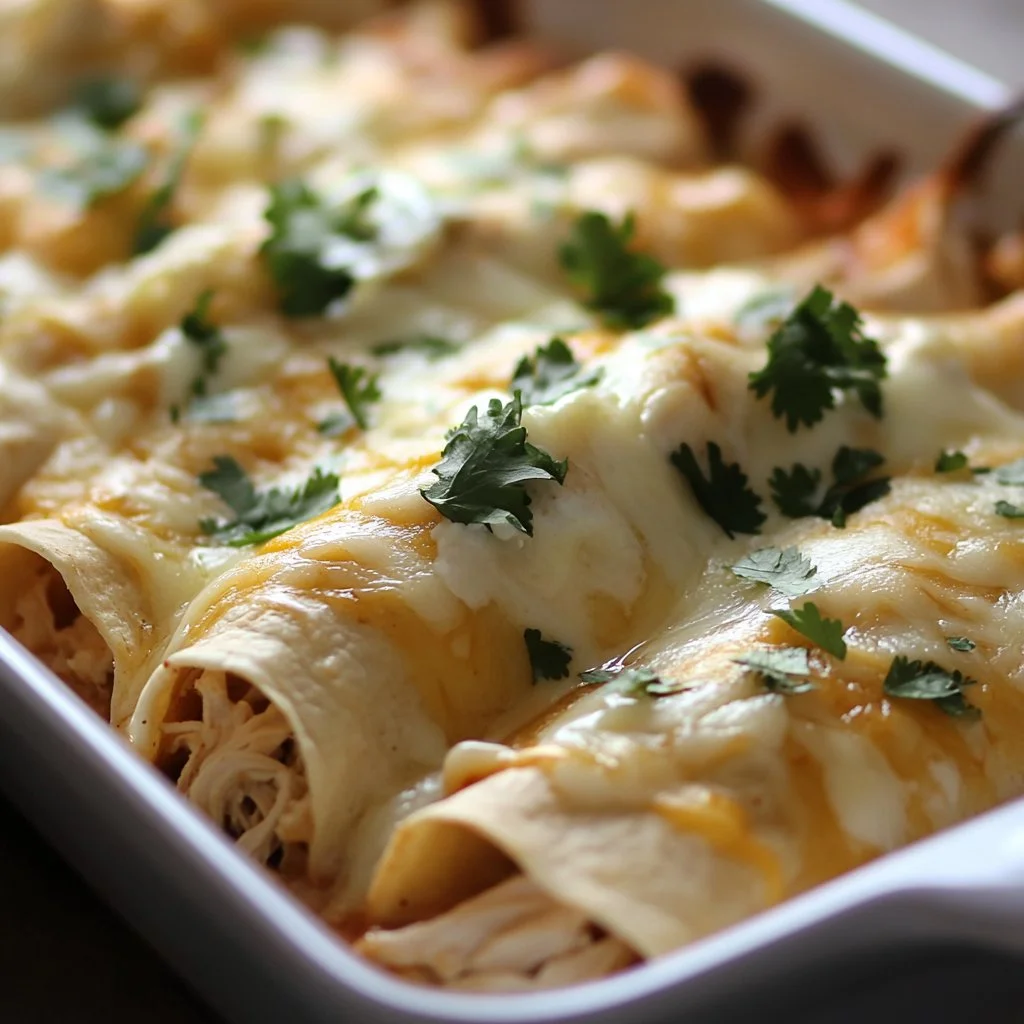
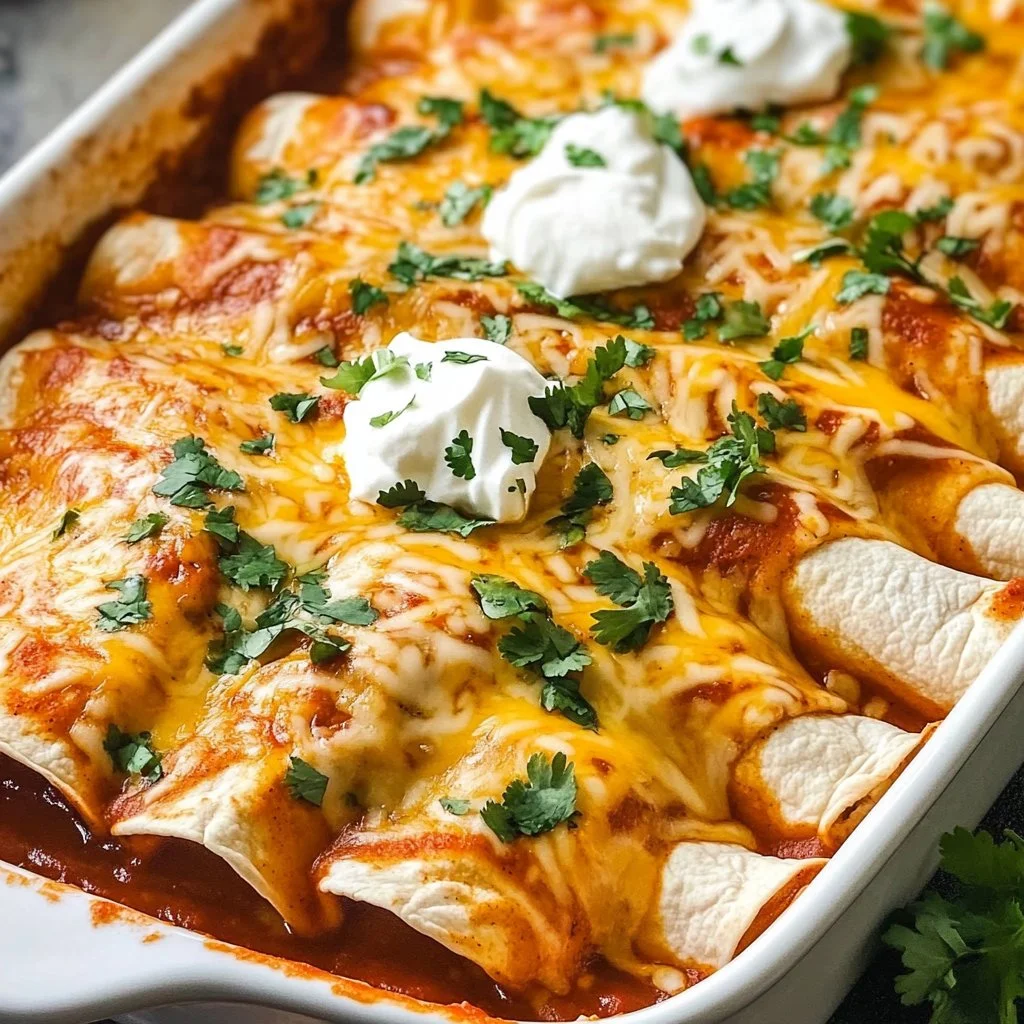
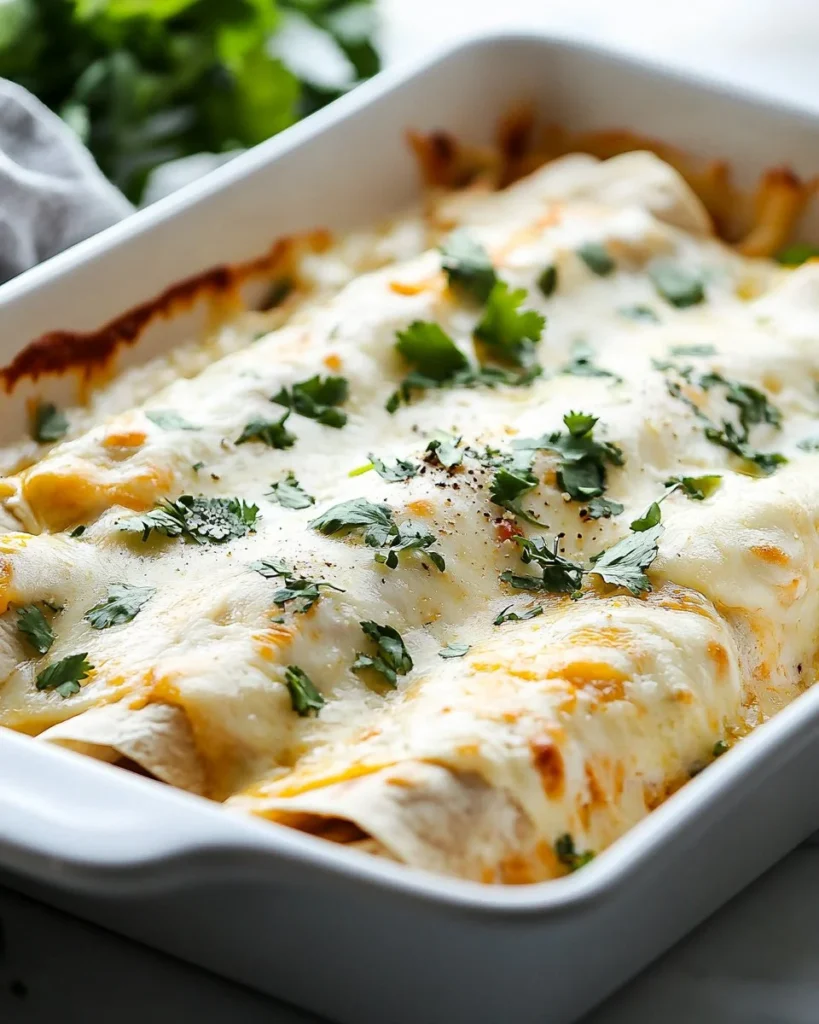
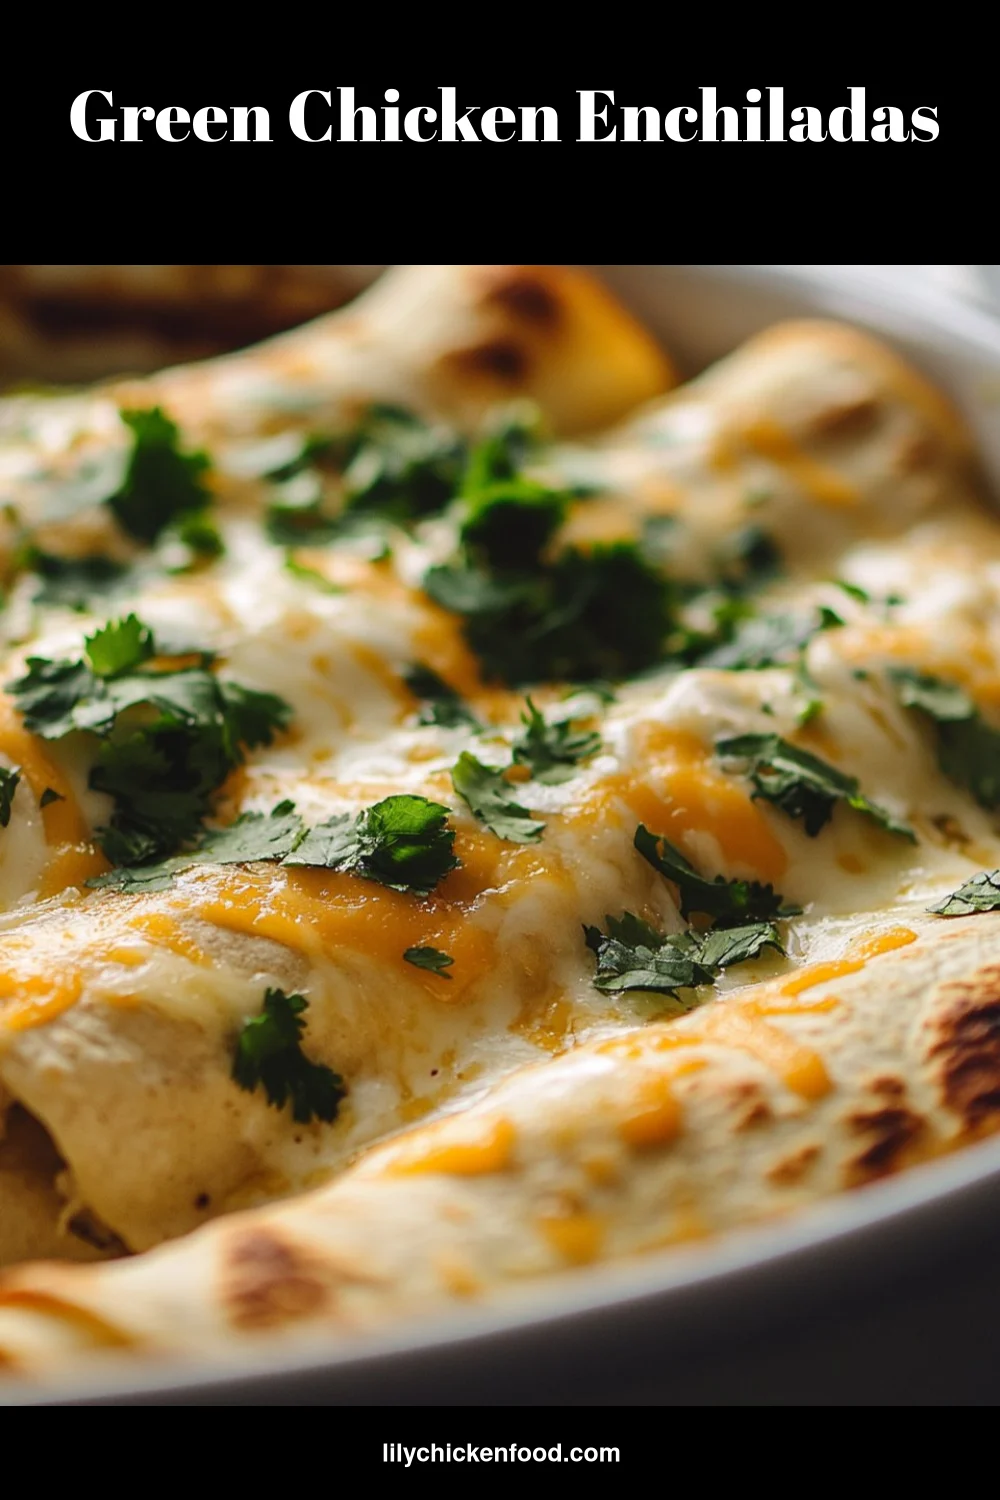
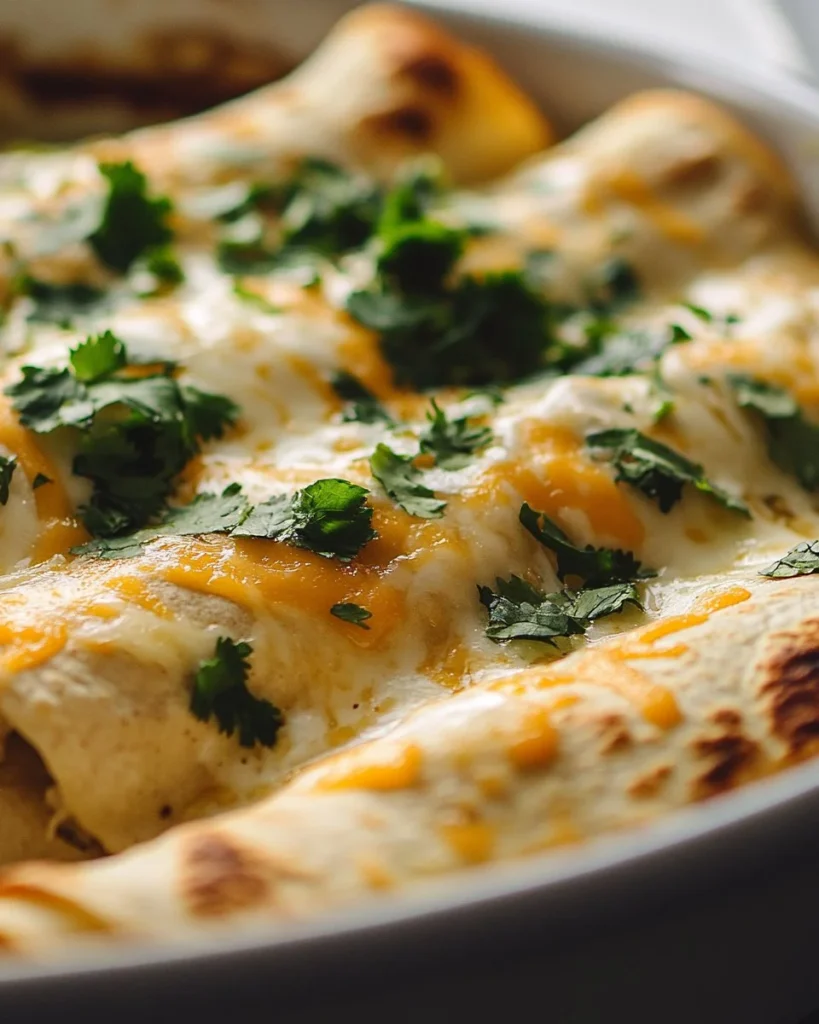
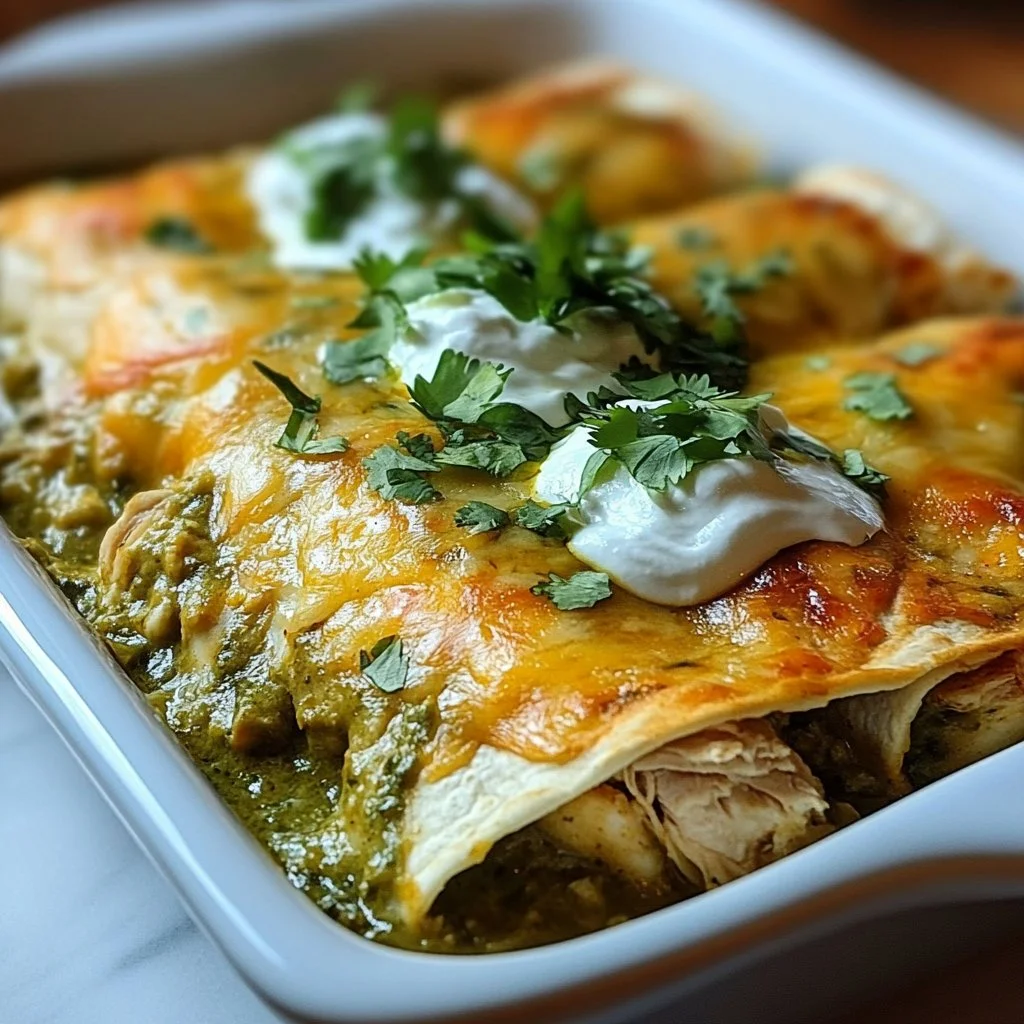
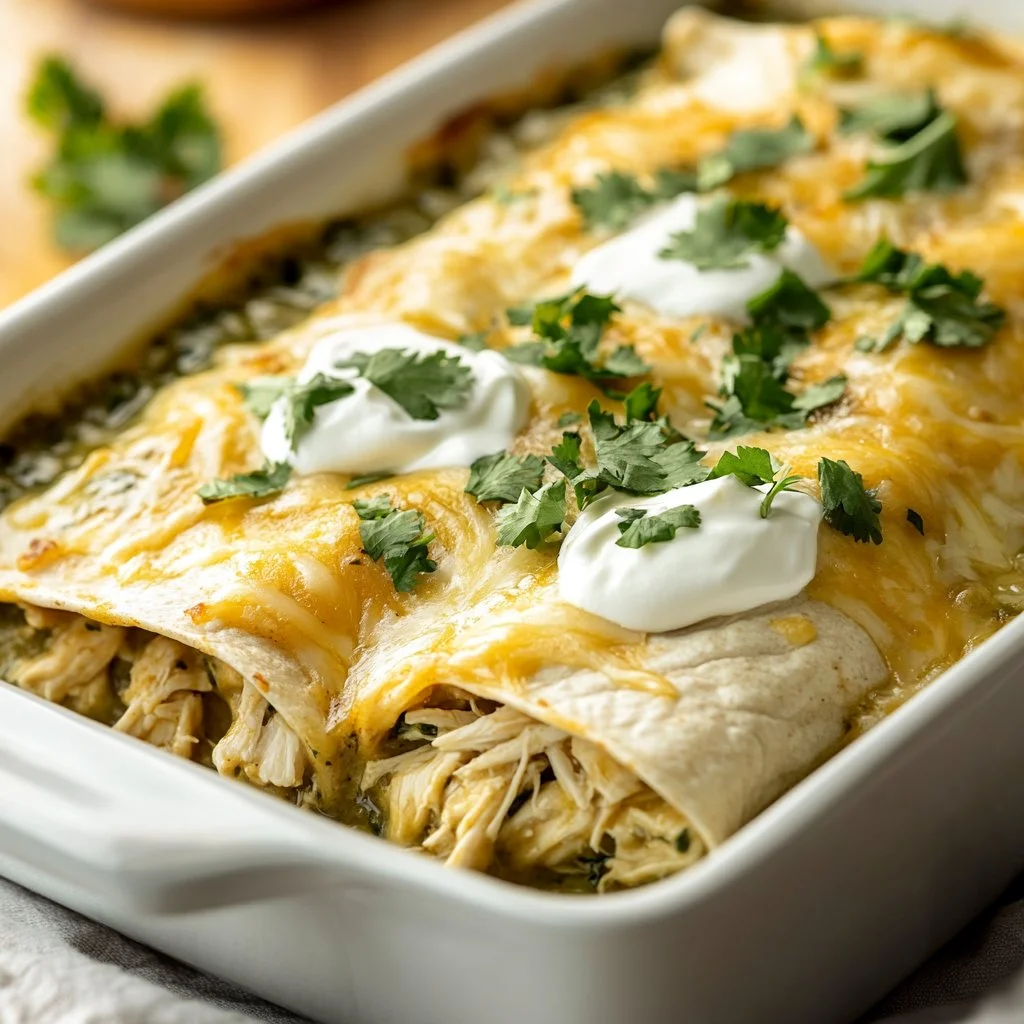
Pour the remaining salsa over the enchiladas and sprinkle with cheese.
This step adds extra flavor and helps achieve that golden, bubbly cheese on top. -
Bake for 20-25 minutes, or until heated through and cheese is melted.
Keep an eye on them; you want that perfect golden hue without burning. -
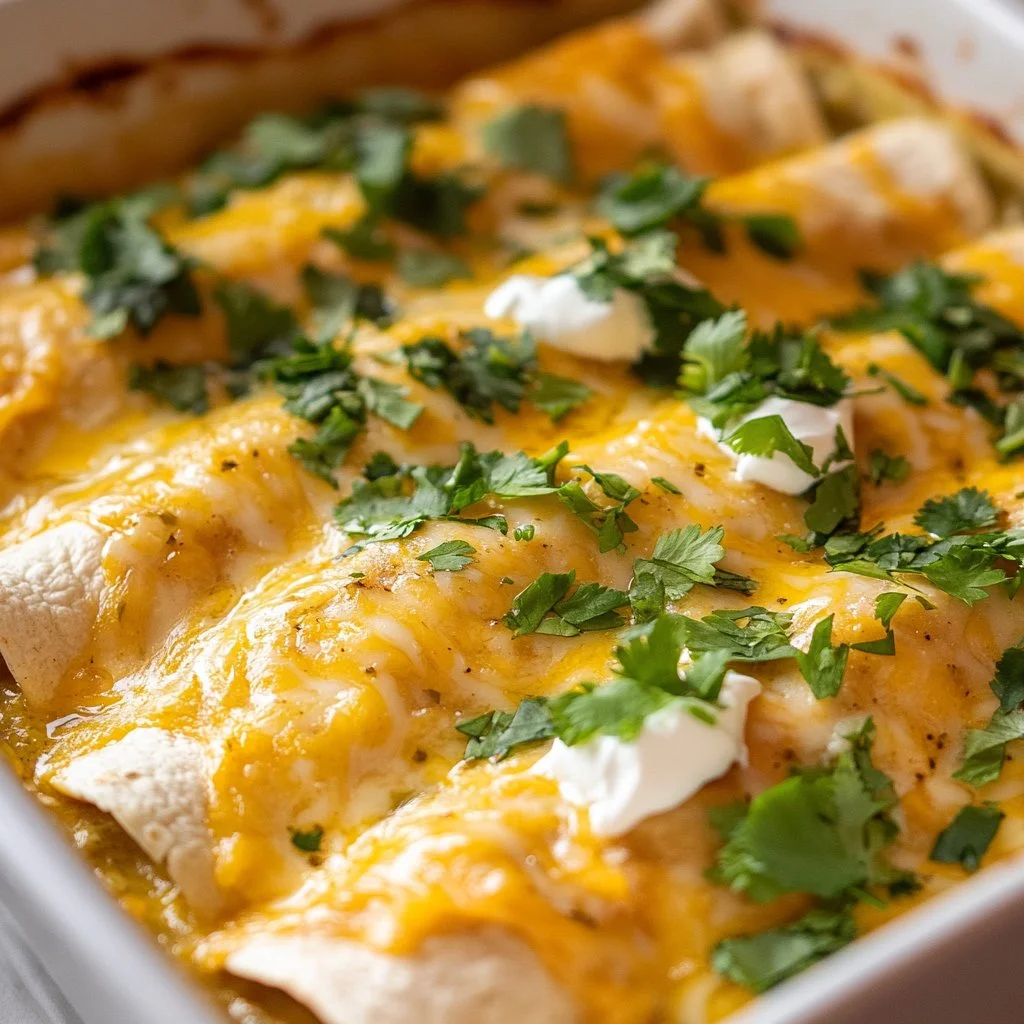
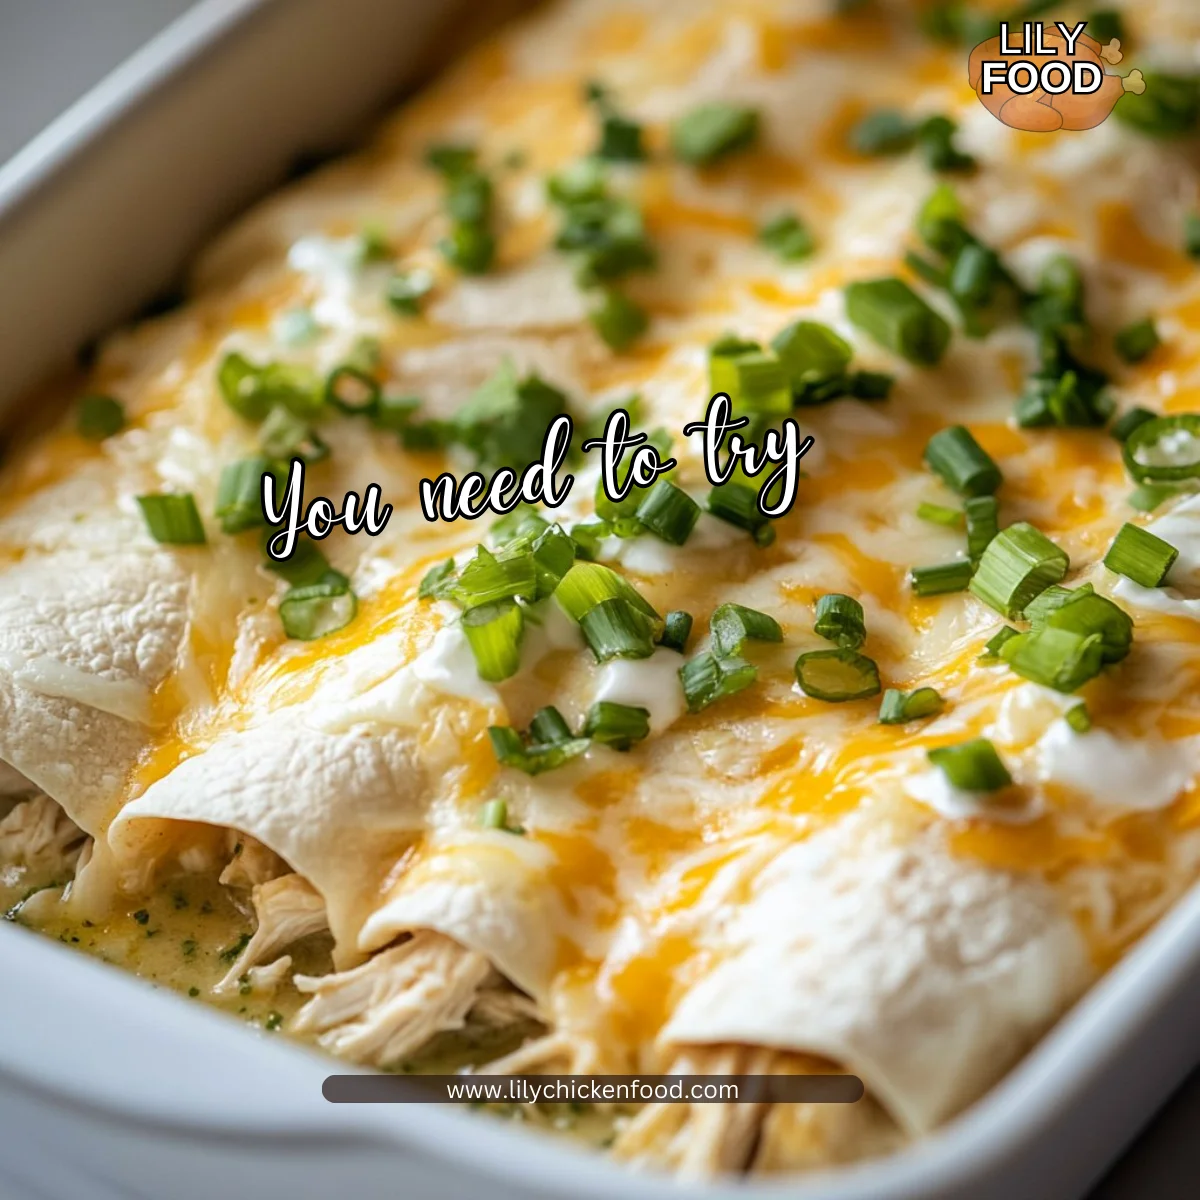
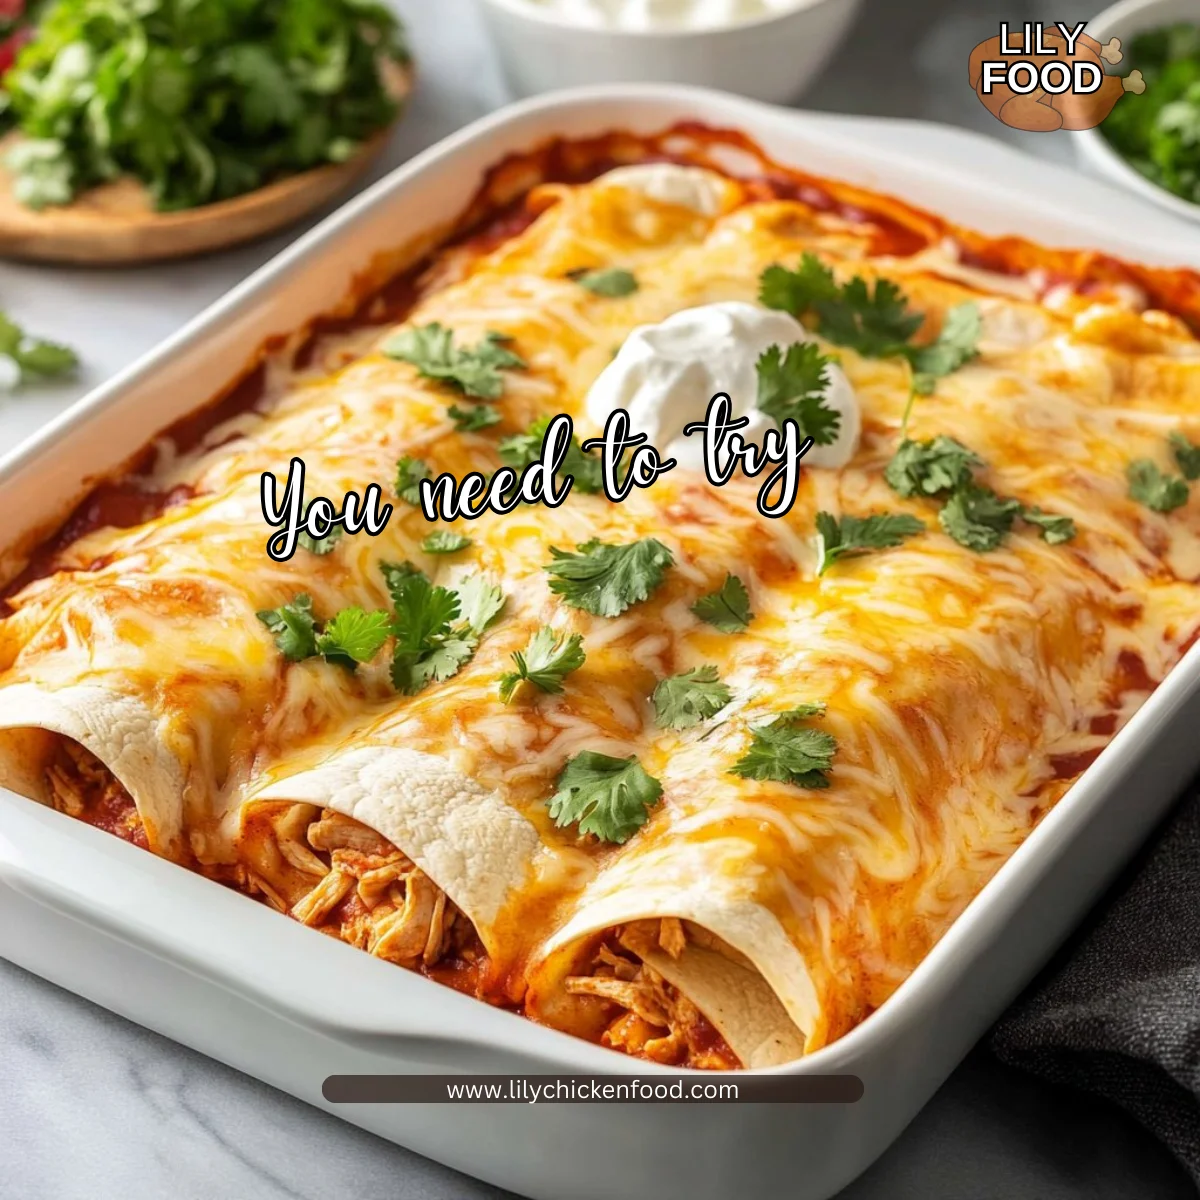
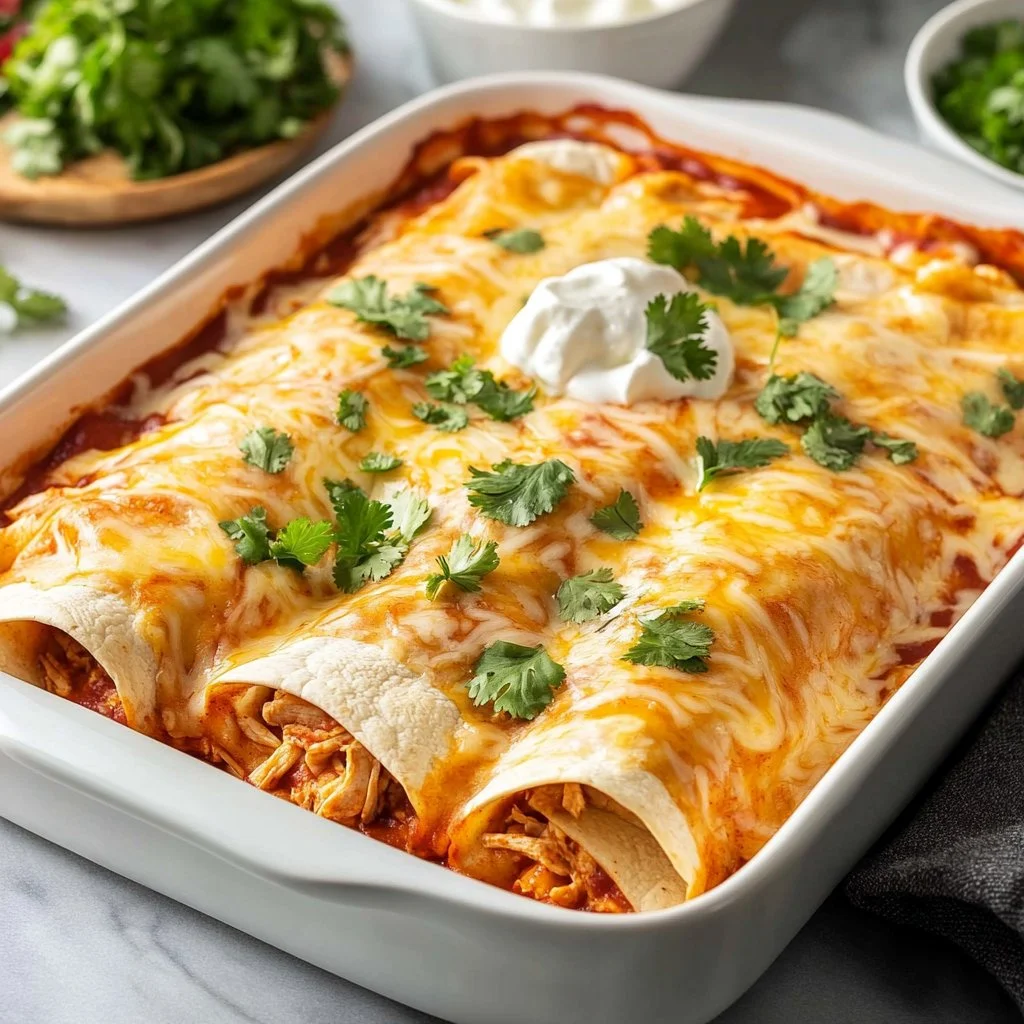
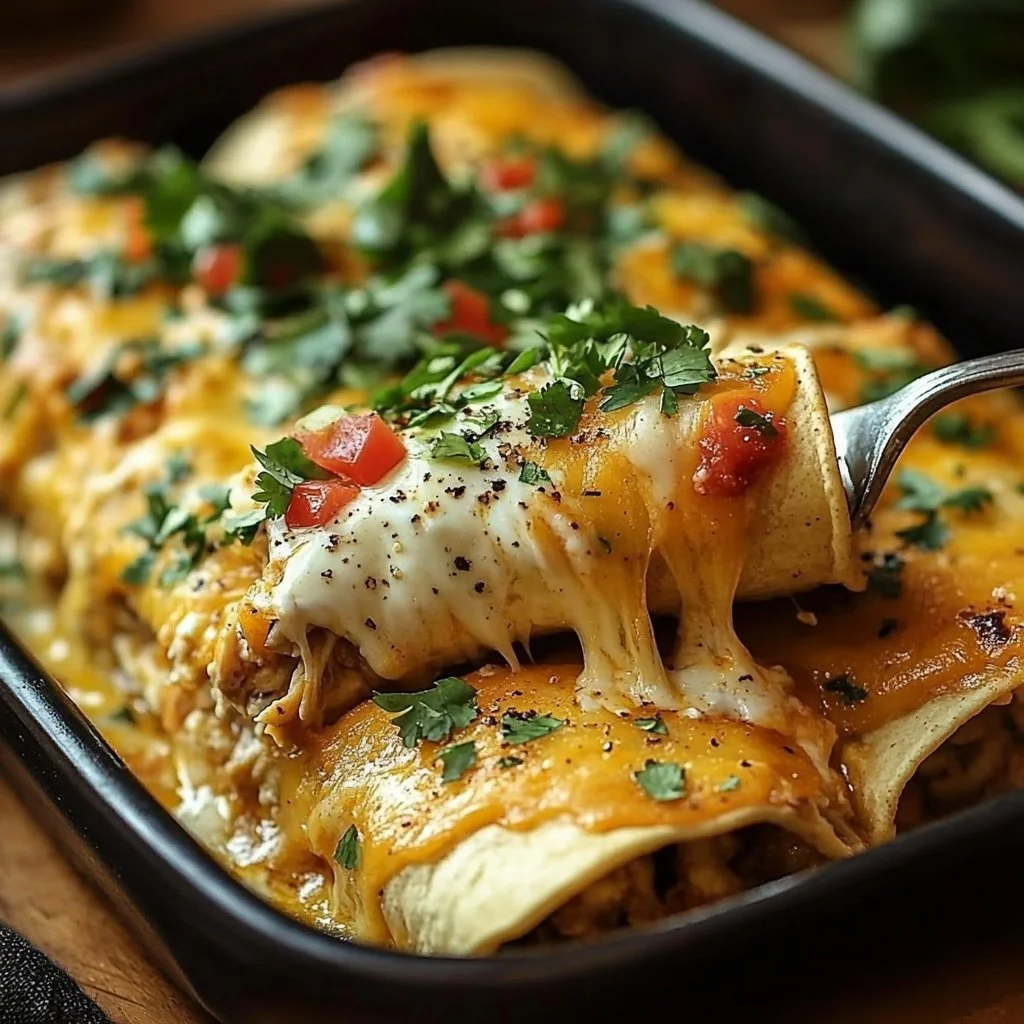
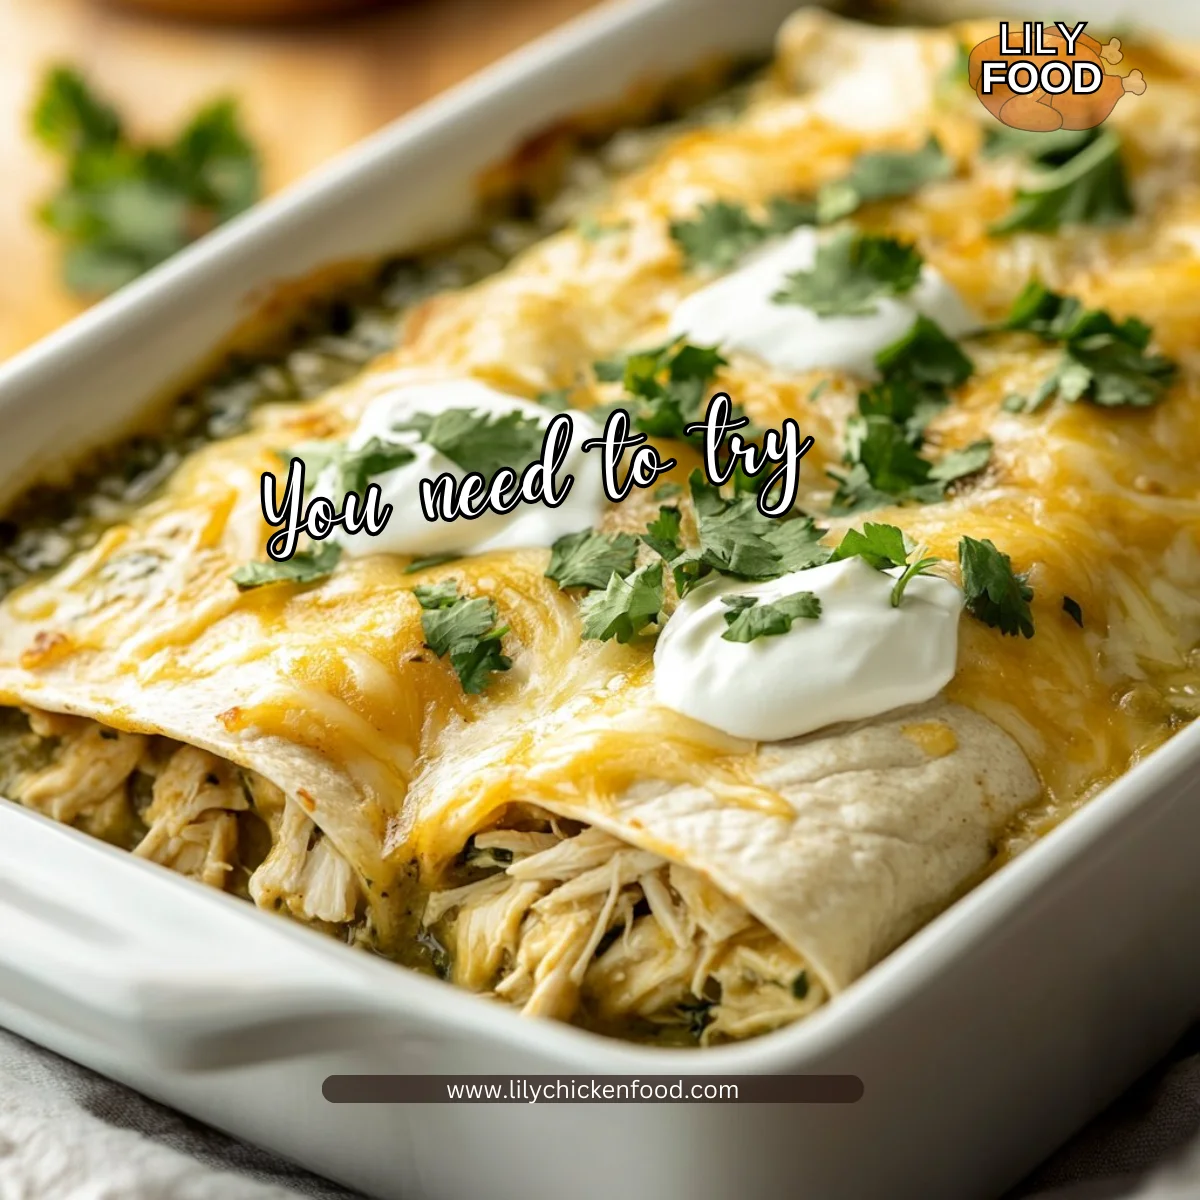
Serve with sour cream and cilantro on top.
A simple dollop of sour cream adds a creamy contrast to the spiciness of the salsa.
Serving

These green chicken enchiladas make a fantastic family-style dish. Serve them right from the baking dish, allowing everyone to indulge at their own pace. You could also offer additional toppings like diced avocados, lime wedges, or chopped green onions for everyone to customize their plates. Encouraging your family to serve themselves can create a fun and relaxed mealtime atmosphere.
Storage
Leftovers can be a lifesaver on busy nights. To store, cover the baking dish tightly with plastic wrap or transfer the enchiladas to an airtight container. They will keep in the fridge for up to three days.
To reheat, preheat your oven to 350°F (175°C) and bake until warmed through, about 15-20 minutes. You can also reheat in the microwave, but be sure to cover the dish to retain moisture.
Kitchen Notes
-
Prep Ahead: You can assemble the enchiladas a day in advance, store them in the fridge, and bake when ready to serve.
-
Meal Prep: Double the recipe and freeze one batch for a quick future meal.
-
Chop Once: Cut all your veggies and cilantro ahead of time for quicker assembly.
-
Utilize Leftovers: Any leftover ingredients can be tossed into salads or wraps the next day.
-
Use One Bowl: Mix your ingredients in one bowl for less mess and easier cleanup.
Variations
Not everyone enjoys green salsa or specific fillings. Here are a few ideas to cater to the entire family:
-
For Picky Eaters: Swap out the green salsa for a mild red salsa and use ground beef or turkey if chicken isn’t a hit.
-
Vegetarian Option: Substitute shredded chicken with black beans, zucchini, and corn. Just be sure to add some extra spices to keep it flavorful.
-
Gluten-Free: Use gluten-free tortillas to offer a safe option for family members with gluten sensitivities.
-
Dairy-Free: Replace cheese and sour cream with dairy-free alternatives made from nuts or soy.
-
Spicy Twist: Add jalapeños or diced green chilies to kick the flavor up a notch.
FAQ
-
Can I use frozen chicken?
Yes, you can cook frozen chicken directly in the pressure cooker or slow cooker; just ensure it’s fully cooked before shredding. -
What if I don’t have green salsa?
You can make a simple green sauce with tomatillos, cilantro, and a dash of lime juice if you have the ingredients on hand. -
Can I prepare these enchiladas without baking?
Yes! You can serve them fresh without baking; simply heat the ingredients and roll them up. -
How can I make this dish spicier?
Add diced jalapeños or use spicy salsa to give your enchiladas a flavorful kick. -
Are leftovers good for lunch?
Absolutely! They make an excellent and quick reheatable lunch option filled with protein and flavor.
In the end, this recipe for green chicken enchiladas brings not just a meal to your family but a warmth that radiates from the kitchen. Feel free to make it your own by adding personal touches or adapting it to fit your family’s preferences. Cooking should be enjoyable and filled with love as much as it is about the food itself. Happy cooking!
Green Chicken Enchiladas
Ingredients
Main Ingredients
- 2 cups cooked chicken, shredded (Use leftover rotisserie chicken to save time.)
- 8 pieces corn or flour tortillas (If using corn tortillas, warm them up on a skillet for a few seconds to prevent them from tearing.)
- 2 cups green salsa (Go for your favorite store-bought brand for convenience, or make your own for a fresh twist.)
- 1 cup shredded cheese (cheddar or Monterey Jack) (Mix cheeses for a richer flavor.)
- 1/2 cup sour cream (Use Greek yogurt as a healthy alternative.)
- 1/4 cup chopped cilantro (Add more or less based on your taste preference.)
- Salt and pepper to taste (Don’t be afraid to taste as you go to ensure a balanced flavor.)
Instructions
Preparation
- Preheat the oven to 350°F (175°C).
- In a bowl, mix shredded chicken with half of the green salsa, salt, and pepper.
- Lay a tortilla flat, add a portion of the chicken mixture, roll it up, and place it seam-side down in a baking dish.
- Repeat with remaining tortillas.
Baking
- Pour the remaining salsa over the enchiladas and sprinkle with cheese.
- Bake for 20-25 minutes, or until heated through and cheese is melted.
- Serve with sour cream and cilantro on top.