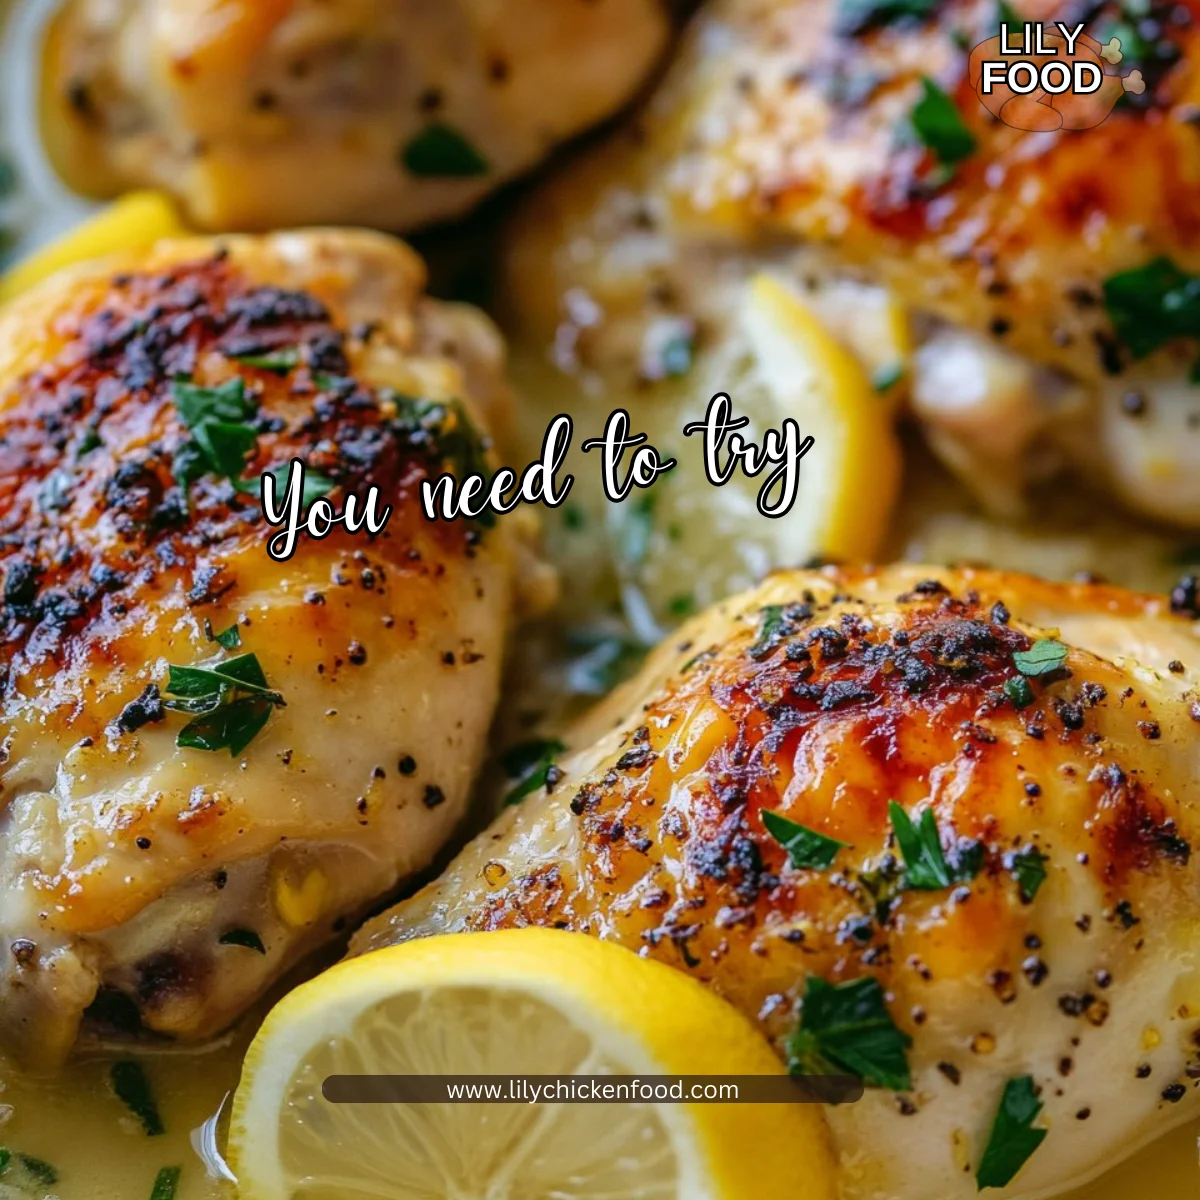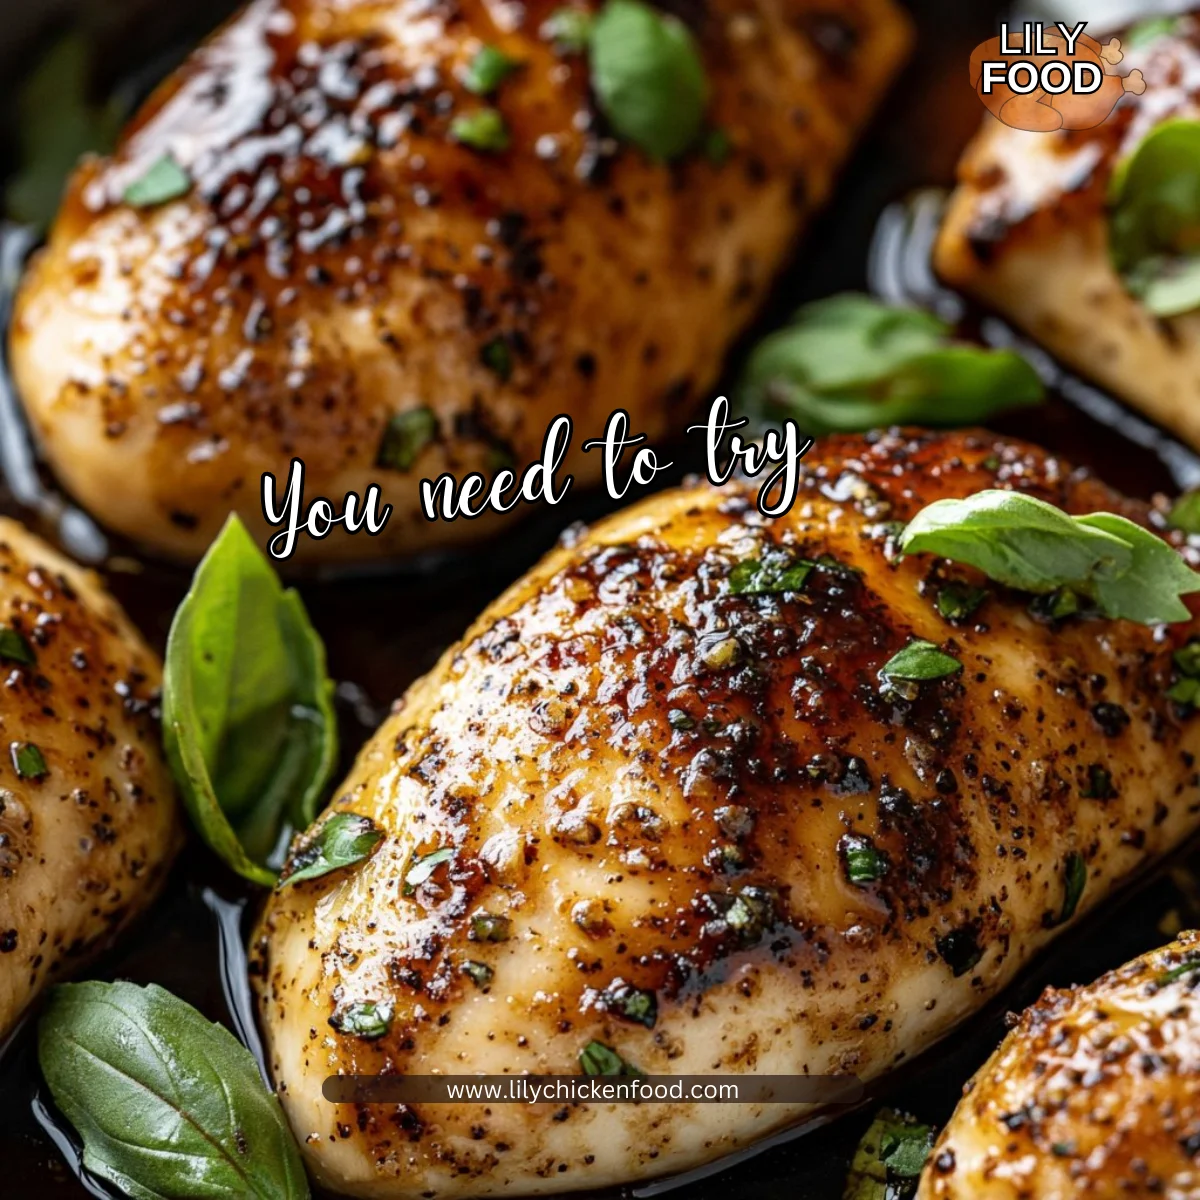
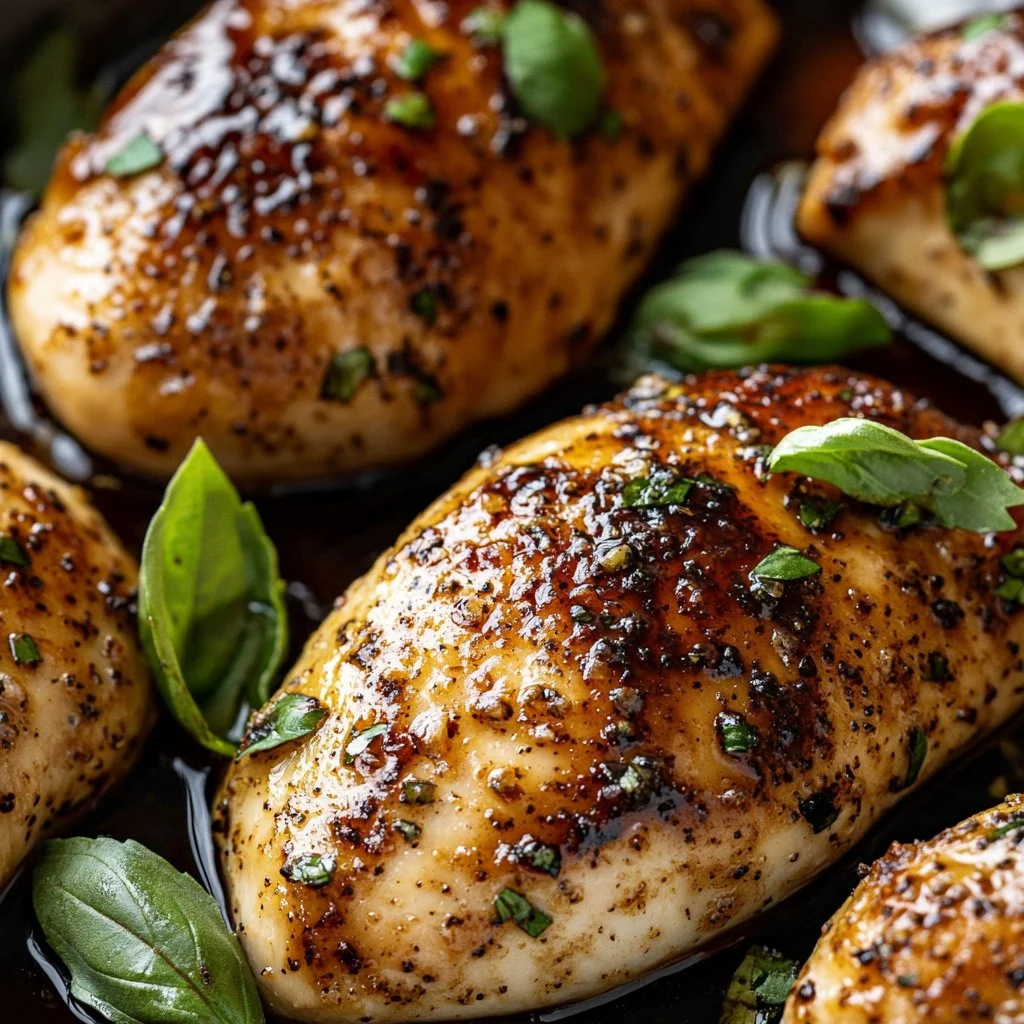
There’s something truly delightful about the sound of a sizzling chicken in the oven and the warm, sweet aroma of balsamic vinegar as it mingles with garlic and honey. As you enter your kitchen, the mingling scents beckon, promising a hearty family meal. You know something delicious is coming, and the anticipation fills the air. It’s all about the simple pleasures—and this Balsamic Baked Chicken Breast recipe is one that the whole family will love.
Why This Works
Family meals are crucial, where laughter and stories weave memories. This Balsamic Baked Chicken Breast recipe is not just quick and easy; it also brings everyone together. It uses pantry staples, saving you time while delivering bold flavors that will leave your family eagerly waiting for the next meal.
With just a few simple ingredients, you can create a dish that’s healthy, fulfilling, and packed with deliciousness. Whether you’re a busy mom or just trying to put a tasty meal on the table after a long day, this recipe will fit seamlessly into your schedule.
Process Overview
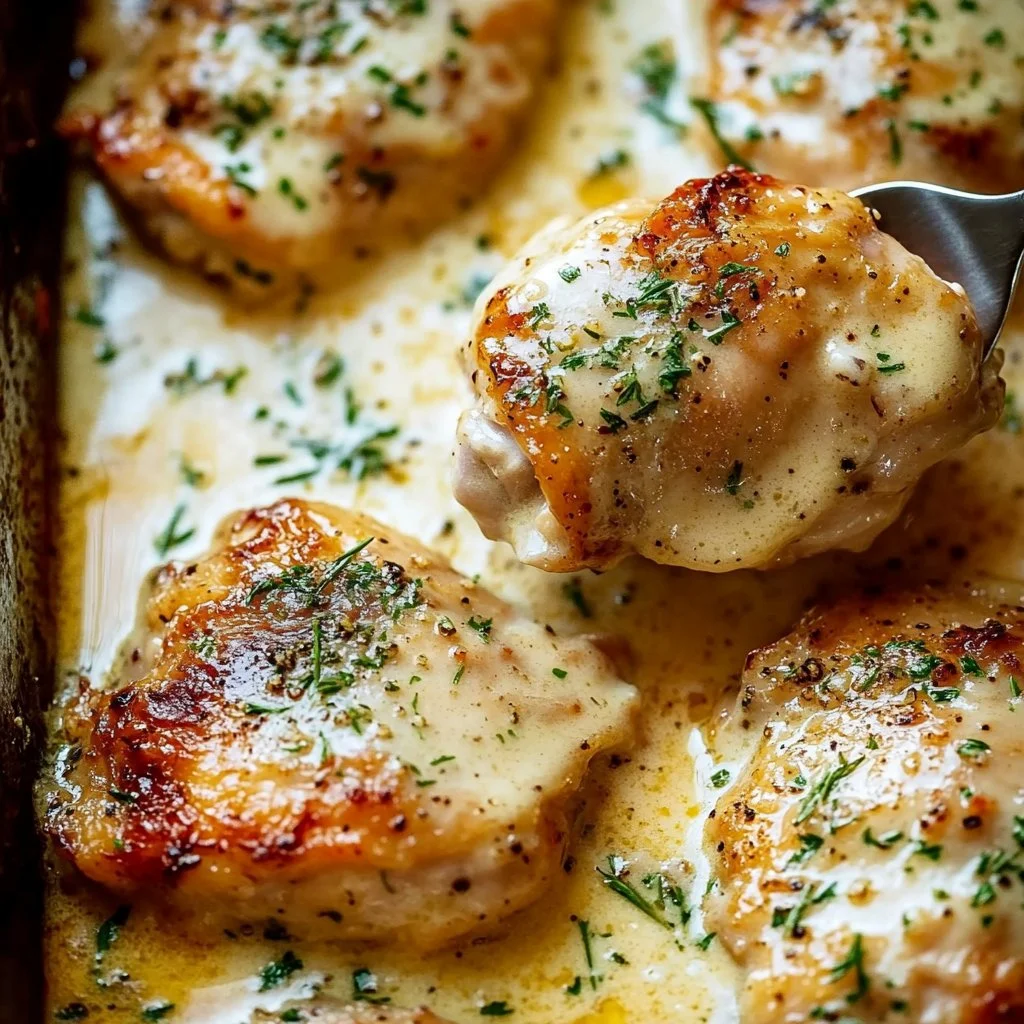
“This is where the magic happens—when the aroma fills the kitchen.”
As you gather your ingredients, you’ll find the marinade comes together swiftly. The magic lies in the balance of sweet and tangy flavors. The chicken absorbs everything it needs to turn into a mouthwatering centerpiece for your dinner table.
By marinating the chicken, you not only enhance its flavor but also keep it juicy and tender. The texture and aroma that waft through the kitchen while it bakes will make your family rush to the table.
Ingredients
For this Balsamic Baked Chicken Breast recipe, you will need:
-
4 boneless, skinless chicken breasts
Choose chicken breasts that are of even thickness for uniform cooking. -
1/2 cup balsamic vinegar
Opt for high-quality balsamic that’s rich and flavorful; it makes a big difference. -
1/4 cup olive oil
Extra virgin olive oil adds depth; feel free to substitute with avocado oil if preferred. -
2 tablespoons honey
Using raw honey can add a unique depth that complements the balsamic. -
3 cloves garlic (minced)
Fresh garlic enhances the dish; if you’re in a pinch, garlic powder will work too. -
1 teaspoon dried oregano
Dried herbs provide a wonderful note; fresh herbs can also be used. -
1 teaspoon dried thyme
This herb pairs beautifully with chicken and adds warmth to the dish. -
Salt and pepper (to taste)
Season liberally for the best flavor, but adjust according to personal preferences. -
Fresh basil leaves (for garnish, optional)
Chopped fresh basil adds a pop of color and freshness when served.
Directions
-
In a medium-sized mixing bowl, combine the balsamic vinegar, olive oil, honey, minced garlic, dried oregano, and dried thyme. This blend creates a luscious marinade.
-
Whisk the ingredients together until well blended, ensuring the honey dissolves completely. Don’t rush this step; the more incorporated, the better.
-
Season the marinade with salt and pepper to taste. Remember, taste as you go to make sure it suits your family’s preferences.
-
Place the chicken breasts in a large resealable plastic bag or shallow dish. This makes for easy marinating and clean-up.
-
Pour the marinade over the chicken, ensuring each piece is well coated. Seal the bag tightly or cover the dish with plastic wrap and let the flavors soak in.
-
Refrigerate for at least 30 minutes, preferably 2 to 4 hours for best results. This step is key—allow the chicken to marinate for flavors to deepen.
-
Preheat your oven to 400°F (200°C). Getting the oven hot ensures a crisp exterior while keeping the inside juicy.
-
Remove the chicken from the refrigerator and let it sit at room temperature for 10-15 minutes. This helps it cook evenly.
-
Line a baking dish with aluminum foil or parchment paper and lightly grease it with olive oil. A little grease helps with easy clean-up.
-
Place the marinated chicken breasts in the prepared baking dish, spaced evenly. This crucial step ensures even cooking.
-
Pour any remaining marinade over the chicken. More flavor equals more deliciousness.
-
Bake for 25-30 minutes, or until the internal temperature reaches 165°F (75°C). Make sure to check for doneness to keep your family safe.
-
Optionally, baste the chicken with pan juices halfway through baking for extra tenderness and flavor.
-
Once cooked, remove the chicken from the oven and let it rest for 5-10 minutes. Resting allows the juices to redistribute.
-
Prepare any desired sides while the chicken rests. Roasted vegetables or a quinoa salad pair wonderfully.
-
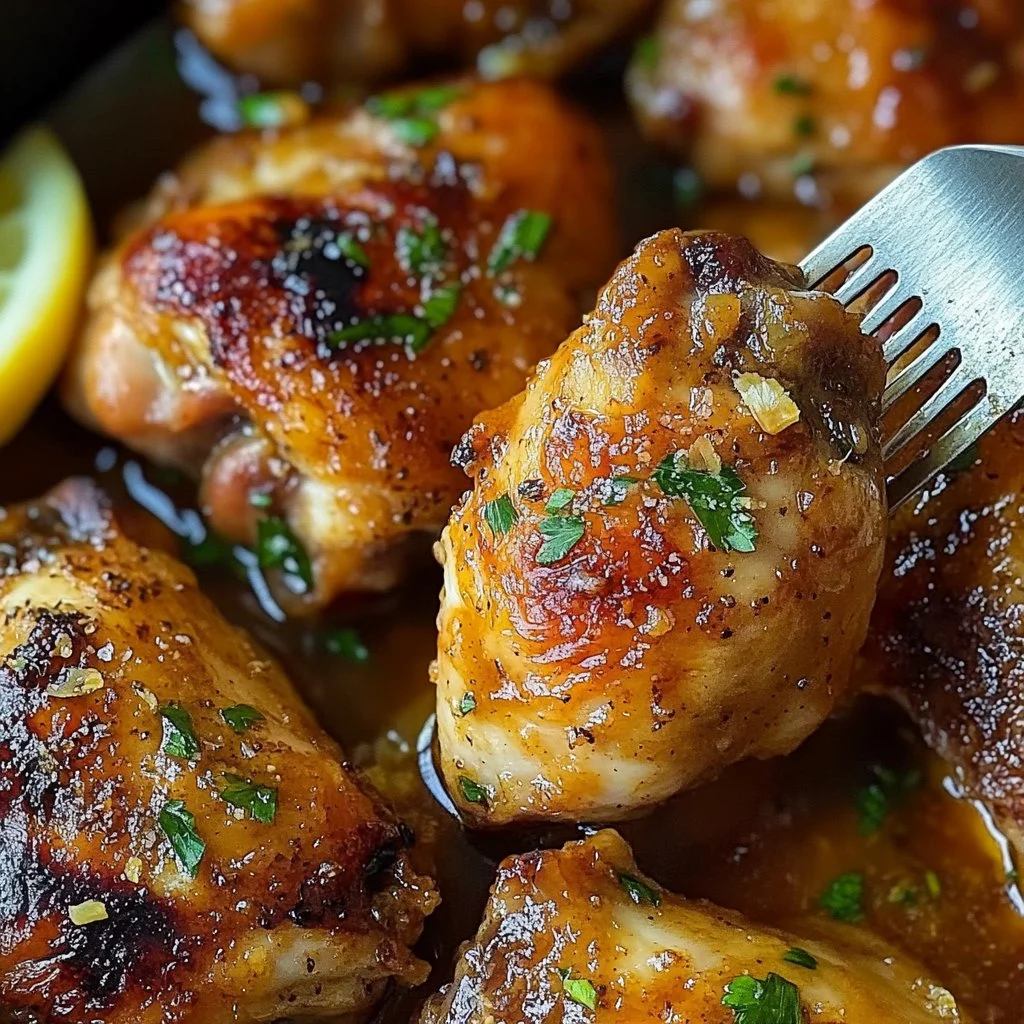
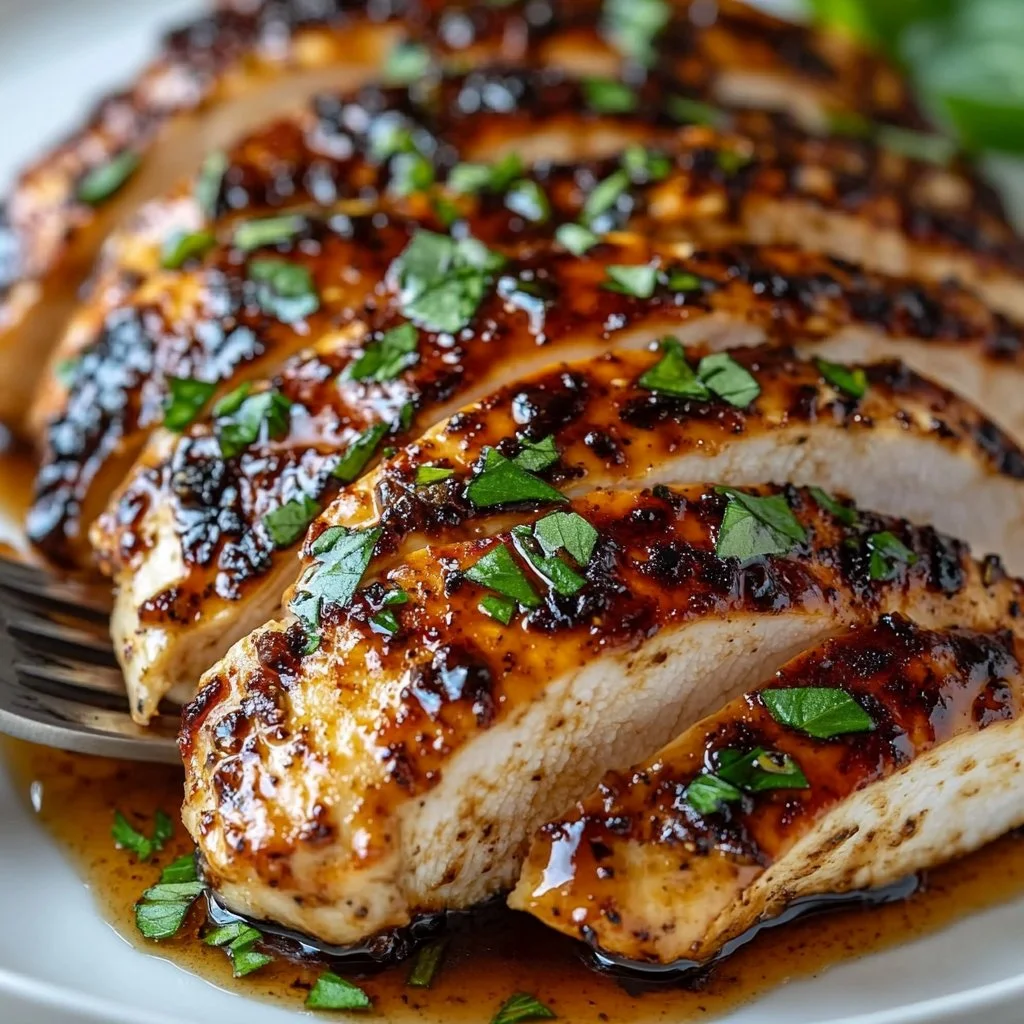
Slice the chicken into thick pieces for serving. Slicing makes it easy to share and enjoy together.
-
Arrange the sliced chicken on a serving platter and drizzle with pan juices. This presentation is simple yet elegant.
-
Garnish with fresh basil leaves if desired. An easy and pretty touch for any meal.
-
Serve with your choice of sides, such as roasted vegetables or quinoa. Enjoy every bite with your loved ones!
-
Allow any leftovers to cool completely before storing in an airtight container in the refrigerator for up to 3 days. Leftovers can be just as good!
-
Reheat in a microwave or oven until warmed through. Simple steps for hassle-free meals later in the week.
Serving
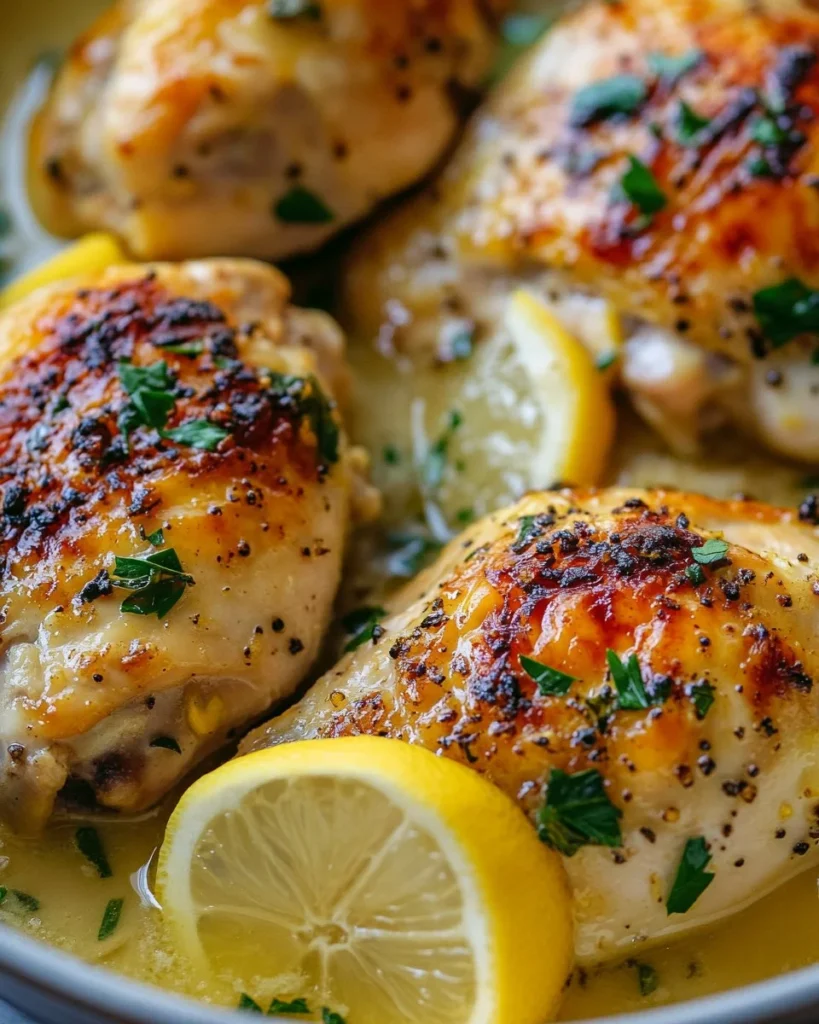
Serving this Balsamic Baked Chicken Breast is a delightful experience. Present the chicken on a beautiful platter, drizzled with pan juices, and surrounded by vibrant sides.
Whether you’re sharing a meal around the table or hosting a gathering, this dish is sure to impress. Pair it with some roasted veggies, a fresh garden salad, or fluffy quinoa for a balanced meal that everyone will enjoy.
Storage
For practical storage, ensure your leftovers have cooled completely. Store them in an airtight container, and they can stay fresh in the fridge for up to 3 days. Reheating is easy; just use a microwave or place the chicken in a preheated oven until warmed through.
Kitchen Notes
- Quick Marinate: If short on time, marinate for 30 minutes or while your oven preheats.
- Batch Cooking: Make extra chicken to use in wraps or salads during the week.
- Easier Cleanup: Use parchment paper for easy cleanup.
- Try Different Proteins: This marinade works great with shrimp or firm tofu.
- Add Veggies: Toss some vegetables in the marinade and roast them alongside the chicken for a one-pan meal.
Variations
If your family has different tastes, consider these tweaks:
- For Picky Eaters: Cut chicken into smaller pieces before marinating to make it more enticing.
- Low-Carb Diets: Serve with cauliflower rice instead of grains.
- Add Heat: Incorporate a dash of red pepper flakes in the marinade for a kick.
- Herb Swaps: Use rosemary or Italian seasoning instead of oregano and thyme for a different flavor profile.
- Vegan Option: Substitute chicken with firm tofu for a plant-based alternative that marinates beautifully.
FAQ
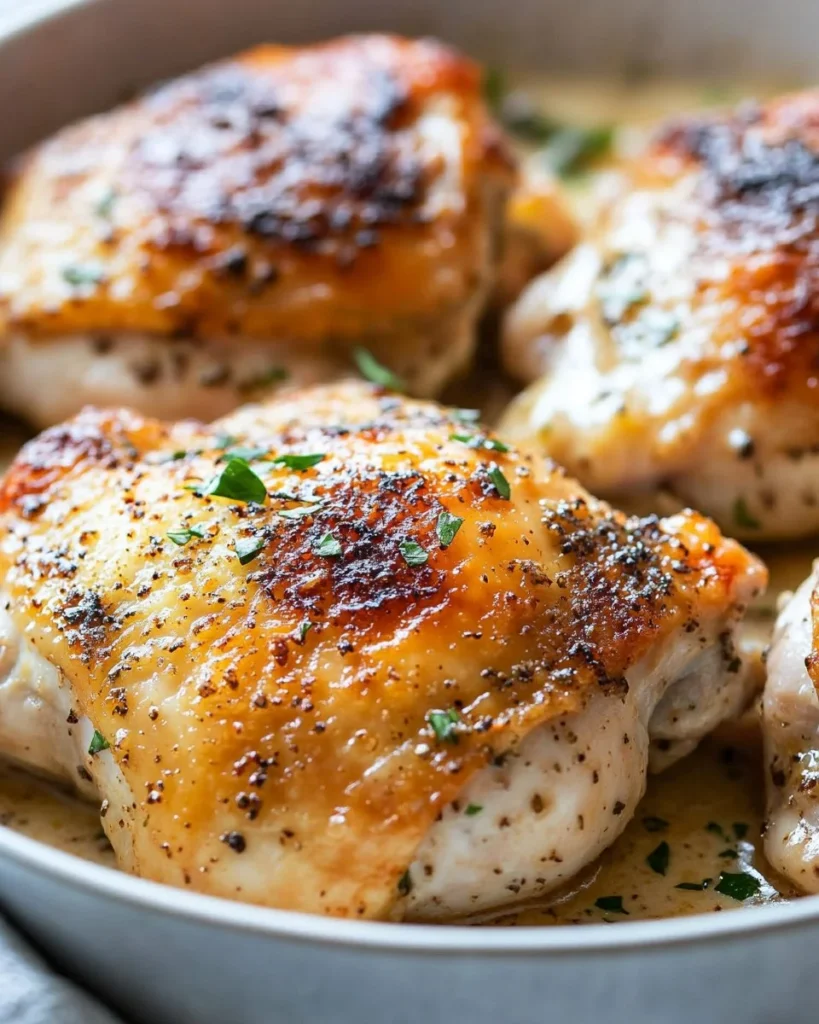
1. Can I use chicken thighs instead of breasts?
Absolutely! Chicken thighs add extra moisture and flavor. Adjust cooking time accordingly.
2. How can I tell when the chicken is done cooking?
Use a meat thermometer. The internal temperature should reach 165°F (75°C).
3. Can I make this recipe ahead of time?
Yes! Marinate the chicken a day in advance for even richer flavor.
4. What sides go well with this chicken?
Roasted vegetables, quinoa, or a simple green salad are perfect complements.
5. Can I freeze the leftover chicken?
Yes, it freezes well! Store in an airtight container for up to 3 months and thaw in the refrigerator before reheating.
Cooking with love is what makes a meal special. This Balsamic Baked Chicken Breast not only fills the bellies of your family but warms their hearts as well. As you gather around the table, remember it’s the togetherness that matters most. Enjoy your meal!

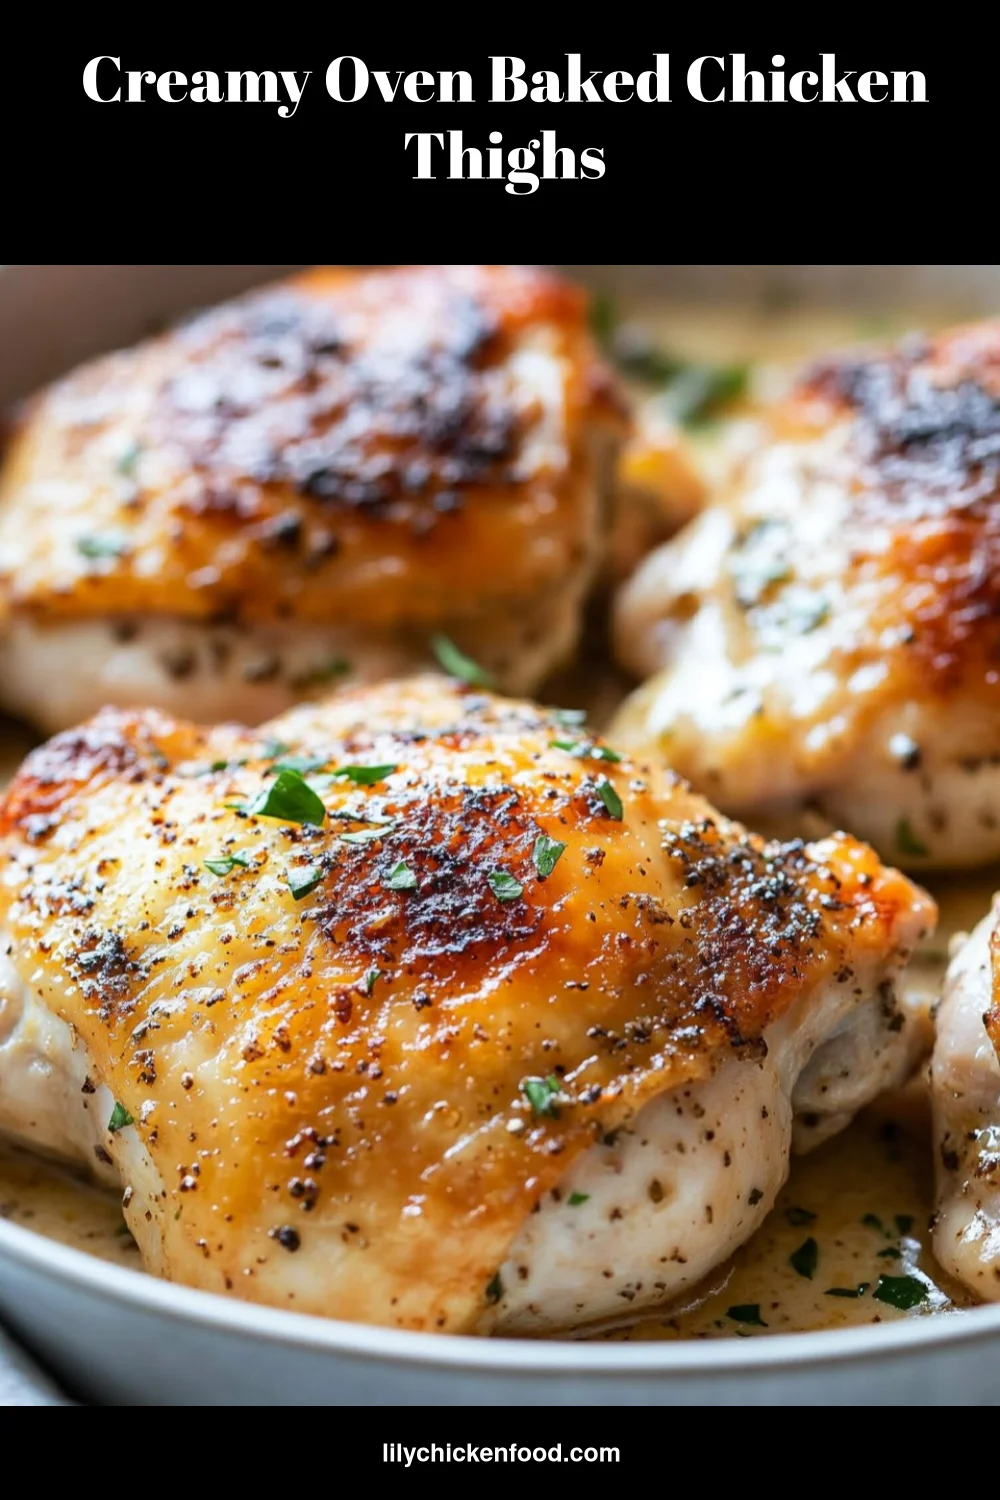
Balsamic Baked Chicken Breast
Ingredients
For the Marinade
- 1/2 cup balsamic vinegar (Opt for high-quality balsamic that’s rich and flavorful.)
- 1/4 cup olive oil (Extra virgin olive oil adds depth; feel free to substitute with avocado oil if preferred.)
- 2 tablespoons honey (Using raw honey can add a unique depth that complements the balsamic.)
- 3 cloves garlic (minced) (Fresh garlic enhances the dish; if you’re in a pinch, garlic powder will work too.)
- 1 teaspoon dried oregano (Dried herbs provide a wonderful note; fresh herbs can also be used.)
- 1 teaspoon dried thyme (This herb adds warmth to the dish.)
- Salt and pepper to taste Salt and pepper (Season liberally for the best flavor.)
For the Chicken
- 4 pieces boneless, skinless chicken breasts (Choose chicken breasts that are of even thickness for uniform cooking.)
Garnish
- to taste leaves Fresh basil leaves (Chopped fresh basil adds a pop of color and freshness.)
Instructions
Preparation
- In a medium-sized mixing bowl, combine balsamic vinegar, olive oil, honey, minced garlic, dried oregano, and dried thyme.
- Whisk the ingredients together until well blended, ensuring the honey dissolves completely.
- Season the marinade with salt and pepper to taste.
- Place the chicken breasts in a large resealable plastic bag or shallow dish and pour the marinade over them.
- Seal the bag tightly or cover the dish with plastic wrap and let the flavors soak in for at least 30 minutes, preferably 2 to 4 hours.
Cooking
- Preheat your oven to 400°F (200°C).
- Remove the chicken from the refrigerator and let it sit at room temperature for 10-15 minutes.
- Line a baking dish with aluminum foil or parchment paper and lightly grease it with olive oil.
- Place the marinated chicken breasts in the prepared baking dish, spaced evenly.
- Pour any remaining marinade over the chicken.
- Bake for 25-30 minutes, or until the internal temperature reaches 165°F (75°C).
- Once cooked, remove the chicken from the oven and let it rest for 5-10 minutes.
- Slice the chicken into thick pieces for serving.
- Arrange the sliced chicken on a serving platter and garnish with fresh basil leaves if desired.