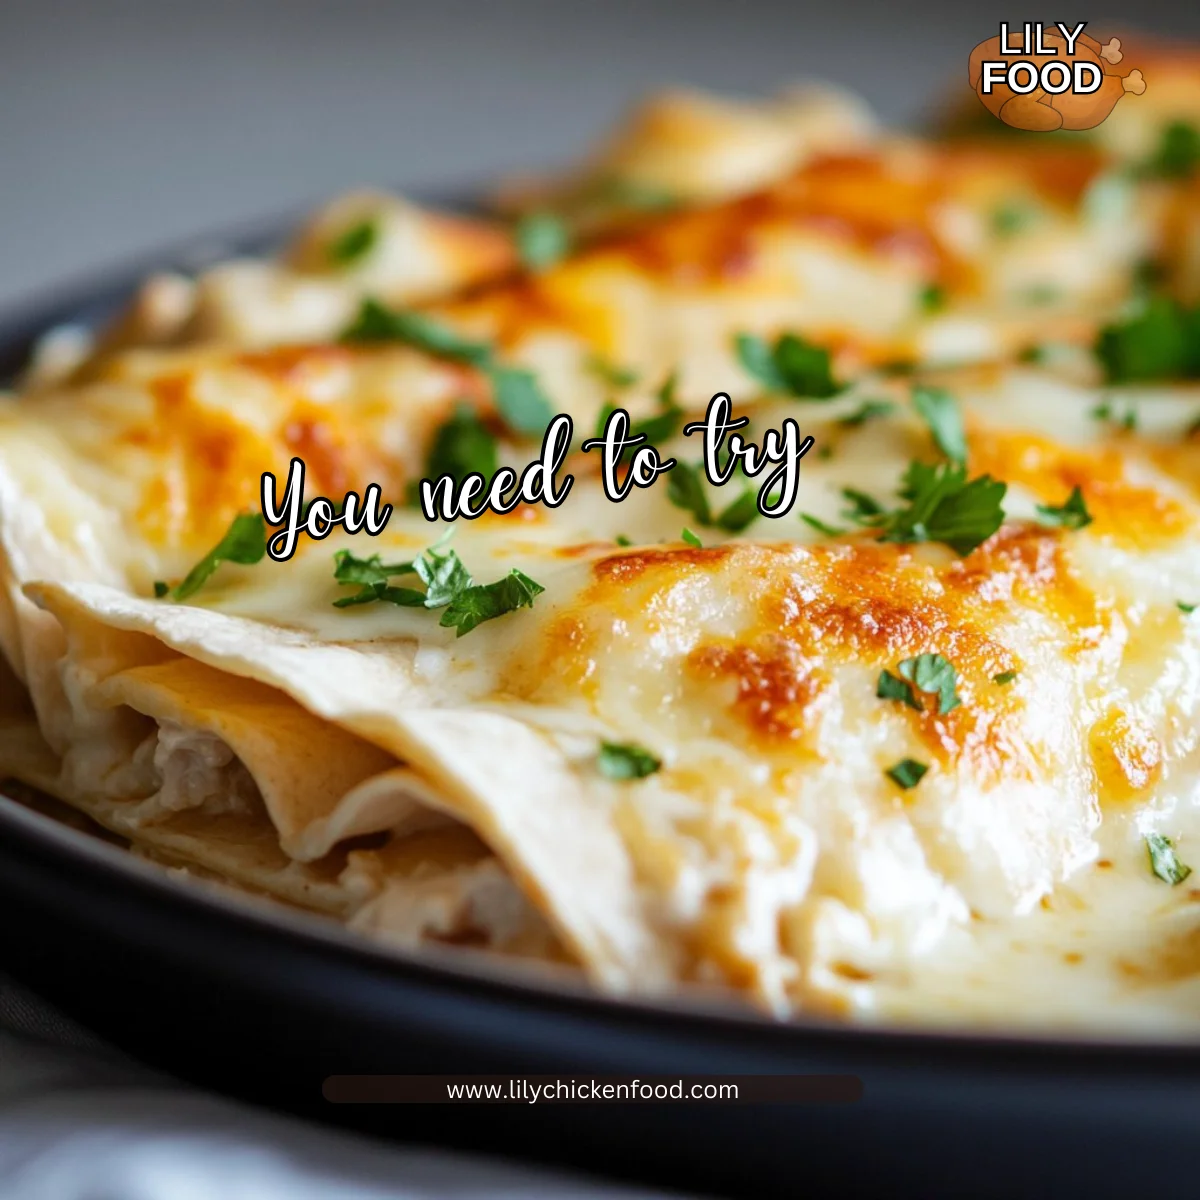
Crispy Blackstone Chicken Quesadillas with Caramelized Onions
The kitchen smells warm and savory the minute the onions hit the griddle. You hear a light sizzle as thin chicken slices kiss the hot surface. That sound is comfort if you feed a family, and it promises a dinner everyone will gather around.
This recipe is one of my go-to weeknight wins. It is straightforward, forgiving, and full of flavor. If you love cozy, crowd-pleasing dinners like my chicken pot pie with biscuits, you will understand why I return to these quesadillas again and again.
Why this works
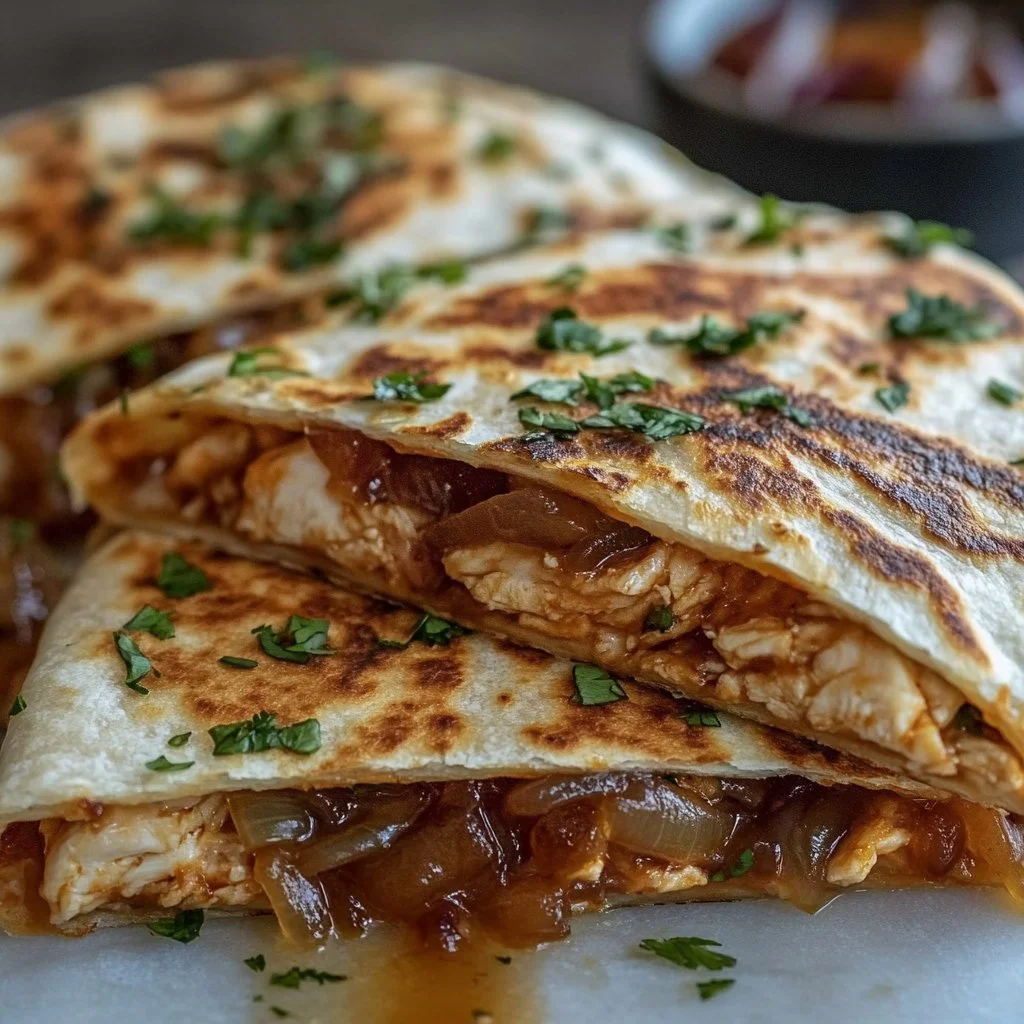
These quesadillas come together fast, and they stretch to feed anyone who wanders into the kitchen. Cooking the chicken and onions on a Blackstone or any griddle gives a crispy exterior and deep brown color that kids and adults both notice first. Caramelized onions add sweet depth that turns a simple cheese and chicken combination into something that feels special.
Because everything cooks on one surface, cleanup stays simple and the whole family gets a hot meal at the same time. If you like layered flavors, this is an easy recipe to pair with bold sides like my chicken shawarma with garlic sauce for a themed dinner night.
Process Overview
“This is where the magic happens—when the aroma fills the kitchen.”
I tested this recipe several times on a Blackstone and in a heavy skillet to make sure the timing is reliable. Start low for the onions, then crank up the heat briefly for the chicken. The cheese holds everything together and becomes the glue for crisp tortillas. Little adjustments, like a squeeze of lime or a scatter of cilantro, make these quesadillas feel homemade and bright.
I also like to prep the onions and chicken ahead when mornings are busy. They hold well in the fridge and reheat quickly. For a lighter option, you can use a nonstick griddle or cooking spray instead of butter.
Ingredients
- 1 pound (450 g) chicken breast, thinly sliced or shredded
- Lily tip: Thin slices cook evenly and quickly. If you shred, poach briefly then shred for tenderness.
- Large flour tortillas (10-12 inches)
- Lily tip: Use fresh tortillas for best crisp. Press them slightly to remove air pockets.
- 2 medium yellow onions, thinly sliced
- Lily tip: Slice evenly so they caramelize at the same rate. A mandoline helps if you have one.
- 1 ½ cups (about 150 g) shredded sharp cheddar and Monterey Jack cheese blend
- Lily tip: Freshly shredded cheese melts better than pre-shredded.
- 2 tablespoons olive oil or butter
- Lily tip: Butter adds flavor, olive oil stands up to higher heat. Use a mix if you like both.
- ½ teaspoon garlic powder
- Lily tip: Garlic powder gives even flavor without burning like fresh garlic can.
- ½ teaspoon ground cumin
- Lily tip: Cumin warms the chicken and pairs beautifully with caramelized onions.
- Salt and black pepper to taste
- Lily tip: Season in layers. Taste the cooked chicken and adjust before assembling.
- Optional: fresh cilantro, sliced jalapeños, fresh lime juice
- Lily tip: Cilantro brightens, jalapeños add heat, and lime juice wakes up every bite.
If you love bold family dinners, try adding a crunchy side like my Bang Bang Chicken Crispy Rice Salad to round the meal.
Directions
-
In a bowl, toss chicken breast with garlic powder, ground cumin, salt, and pepper. Set aside.
- Encouragement: You are building great flavor with very little effort. Let the spices sit while you prepare onions.
-
Heat 1 tablespoon olive oil or butter in a griddle or skillet over medium-low heat. Add sliced onions and a pinch of salt. Stir occasionally and cook for 20-25 minutes until deep golden brown and soft.
- Encouragement: Low and slow is worth it. Take this time to tidy up or prep toppings. The smell will tell you when they are ready.
-
Push onions to one side or transfer to a bowl. Add remaining tablespoon of oil or butter and increase heat to medium-high. Add seasoned chicken slices and cook for 4-5 minutes per side until cooked through and browned.
- Encouragement: Let the chicken form a nice crust before flipping. If you have a meat thermometer, aim for 165°F internally.
-
Remove chicken and onions from the griddle. Lay one tortilla flat, sprinkle about ½ cup cheese evenly, then layer half the chicken and caramelized onions on top. Add more cheese, then top with another tortilla.
- Encouragement: Build them gently. The cheese on both sides helps glue everything together and gives a beautiful pull when melted.
-
Heat griddle or skillet to medium heat. Place quesadilla on surface and cook for 3-4 minutes until golden and crispy. Flip carefully and cook another 3-4 minutes until other side is golden and cheese is melted.
- Encouragement: Go slow on the flip. A wide spatula and a confident movement make this easy. The golden color is your cue.
-
Transfer to cutting board and let sit for a minute before slicing into wedges. Serve warm with salsa, sour cream, or guacamole.
- Encouragement: Let them rest briefly so the cheese sets. Then watch the family dig in. If you want a lighter finish, add a squeeze of lime.
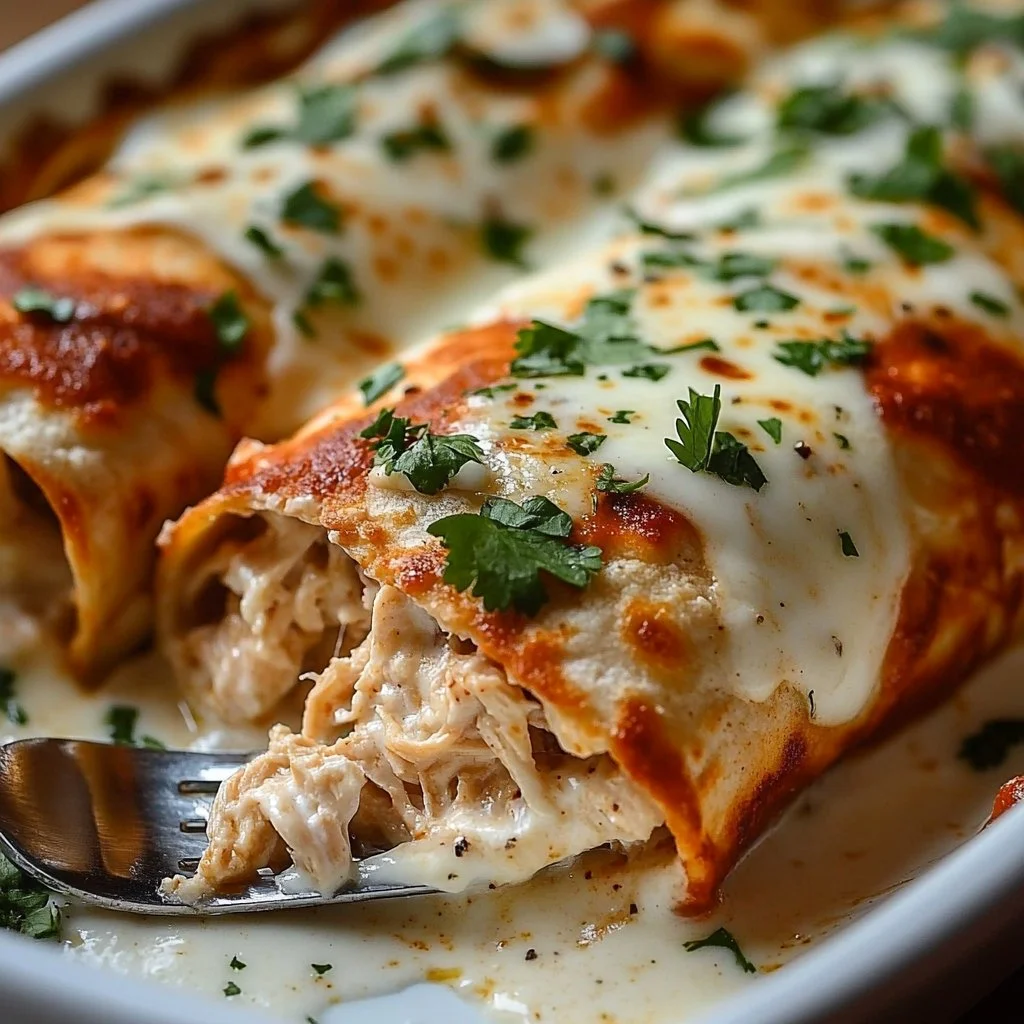
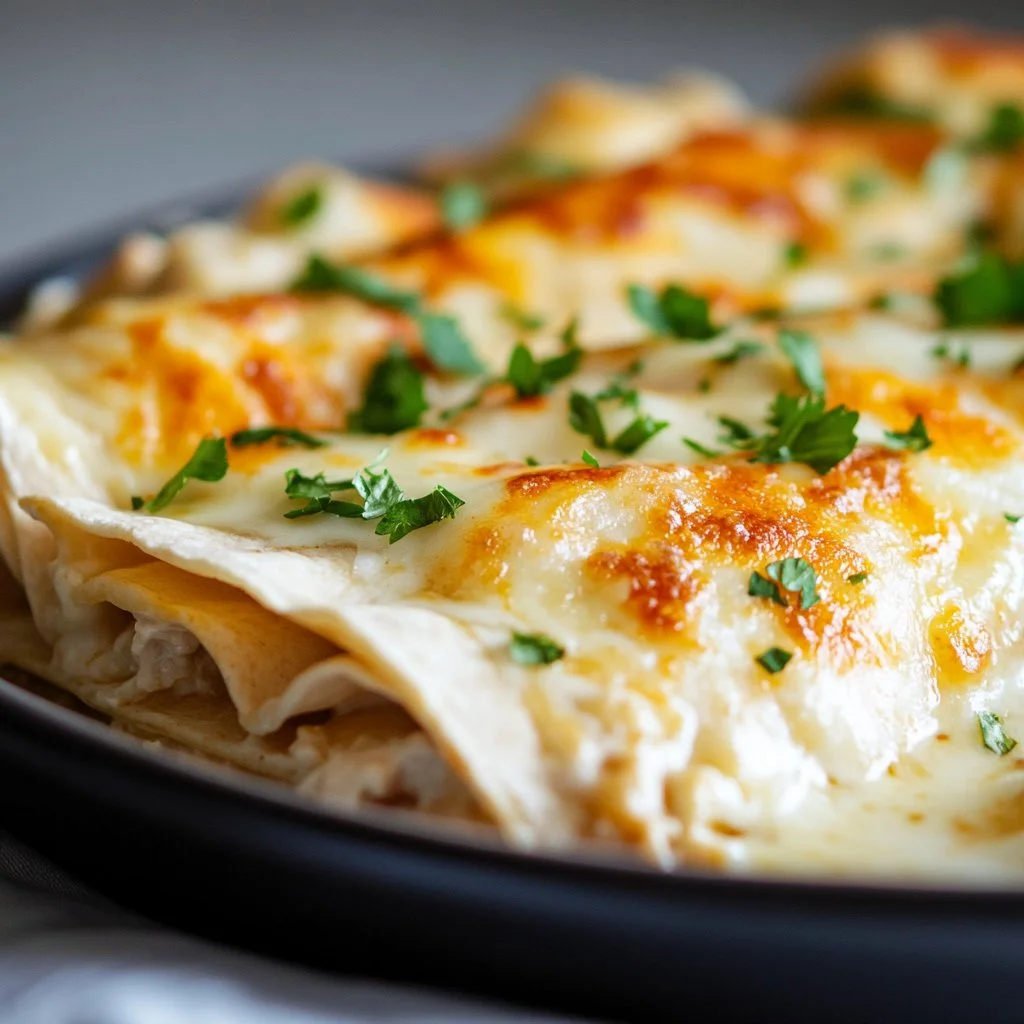
If you want to try a slightly different flavor profile, the same technique works for layered fillings like the ones in my chicken enchiladas with sour cream sauce.
Serving

Serve these quesadillas family-style on a large board or platter. Cut into 8 wedges and let everyone pick their favorite dipping sauce. I like to offer salsa, sour cream, and guacamole together so each person can customize their plate.
For a simple family meal, pair with a crisp green salad and a tray of fresh lime wedges. For a weekend gathering, add bowls of pickled jalapeños and chopped cilantro. If you need a grain or extra veggie, roasted corn or a quick slaw is a great partner.
If you prefer lighter sides, these quesadillas pair nicely with a Mediterranean salad or a tangy cabbage slaw inspired by my chicken kofta with creamy garlic yogurt sauce.
Storage
- Refrigerator: Store cooled, wrapped quesadilla wedges in an airtight container for up to 3 days. Stack them with parchment between layers to avoid sticking.
- Reheat on griddle or skillet: This is my favorite method. Reheat over medium heat for 2-3 minutes per side until warmed through and crispy again.
- Reheat in oven: Preheat oven to 350°F and heat on a baking sheet for about 8-10 minutes.
- Microwave option: Microwave for 30-45 seconds to warm, then finish on a skillet for crispness.
- Freezing: Assemble cooked wedges on a tray and freeze until firm. Transfer to a freezer bag and reheat at 350°F for 12-15 minutes from frozen.
If you want meal prep tips, I often cook extra chicken and onions and use them throughout the week in bowls, salads, or quick wraps. Leftovers inspired my take on family meals like the Bang Bang Chicken Crispy Rice Salad when I need a no-fuss lunch.
Kitchen Notes
- Use a hot griddle for a fast sear on chicken. This locks in juices and gives a better texture.
- For evenly caramelized onions, keep the heat low and stir every few minutes. Patience pays off.
- Shred your own cheese for the best melt. Packaged pre-shredded cheese often contains anti-caking agents that change melt behavior.
- If you do not have a griddle, use a heavy skillet and work in batches to keep heat consistent.
- For easier flipping, use two spatulas or slide the quesadilla onto a plate and flip it back into the skillet.
These shortcuts help you get dinner on the table without losing flavor or family time.
Variations
- Kid-friendly: Omit jalapeños and serve with a mild salsa. Swap Monterey Jack for mozzarella for a milder melt.
- Low-carb: Use low-carb tortillas or large lettuce leaves for wraps. They will be softer but still tasty.
- Gluten-free: Use corn tortillas and press them slightly between two hot pans to make them pliable before filling. If you try a corn tortilla version, check this technique for inspiration at Corn Tortilla Quesadillas with Caramelized Onions.
- Spicy: Add sliced pickled jalapeños, a dash of chili powder to the chicken, or a smear of chipotle mayo.
- Vegetarian: Replace the chicken with seasoned black beans or grilled mushrooms. Caramelized onions plus melted cheese still give you that satisfying bite.
Small changes make this recipe fit picky eaters, dietary needs, and different meal moods.
FAQ
Q1: Can I use pre-cooked rotisserie chicken?
A1: Yes. Shred rotisserie chicken and toss with garlic powder and cumin for quick assembly. Warm it briefly on the griddle to take off the chill.
Q2: How do I prevent tortillas from getting soggy?
A2: Cook on a hot surface until golden and crispy. Use a small amount of oil and avoid overfilling. Let them rest a minute after cooking to set the cheese.
Q3: How long does it take to caramelize onions?
A3: Expect 20-25 minutes over medium-low heat. Faster methods exist, but low and slow gives the sweetest, richest flavor.
Q4: Can I make these ahead for a party?
A4: Yes. Cook and assemble, then keep warm in a 200°F oven on baking sheets. Crisp them briefly on the griddle right before serving.
Q5: What is the best cheese blend?
A5: A sharp cheddar and Monterey Jack blend melts well and has flavor depth. You can use all cheddar for tang or all Monterey Jack for a milder, creamier melt.
Conclusion
I hope these Crispy Blackstone Chicken Quesadillas with Caramelized Onions become a regular in your dinner rotation. They are forgiving, fast, and beloved by families who need big flavor without a lot of fuss. If you want an easy weeknight twist inspired by griddle cooking, check a Blackstone dinner idea like Blackstone Dinner: Easy Chicken Teriyaki, Hotdogs & Roasted Sides for more simple mains and sides. For a gluten-free take on caramelized onion quesadillas that uses corn tortillas, see this helpful recipe for Corn Tortilla Quesadillas with Caramelized Onions.
Thanks for cooking with me. This recipe is warm, simple, and made to be shared.

Crispy Blackstone Chicken Quesadillas with Caramelized Onions
Ingredients
For the Quesadillas
- 1 pound chicken breast, thinly sliced or shredded (Thin slices cook evenly and quickly. If you shred, poach briefly then shred for tenderness.)
- 2 medium yellow onions, thinly sliced (Slice evenly so they caramelize at the same rate. A mandoline helps if you have one.)
- 1.5 cups shredded sharp cheddar and Monterey Jack cheese blend (Freshly shredded cheese melts better than pre-shredded.)
- 2 tablespoons olive oil or butter (Butter adds flavor, olive oil stands up to higher heat. Use a mix if you like both.)
- ½ teaspoon garlic powder (Garlic powder gives even flavor without burning like fresh garlic can.)
- ½ teaspoon ground cumin (Cumin warms the chicken and pairs beautifully with caramelized onions.)
- to taste salt and black pepper (Season in layers. Taste the cooked chicken and adjust before assembling.)
- optional fresh cilantro, sliced jalapeños, fresh lime juice (Cilantro brightens, jalapeños add heat, and lime juice wakes up every bite.)
For Cooking
- Large flour tortillas (10-12 inches) (Use fresh tortillas for best crisp. Press them slightly to remove air pockets.)
Instructions
Preparation
- In a bowl, toss chicken breast with garlic powder, ground cumin, salt, and pepper. Set aside.
- Heat 1 tablespoon olive oil or butter in a griddle or skillet over medium-low heat. Add sliced onions and a pinch of salt. Stir occasionally and cook for 20-25 minutes until deep golden brown and soft.
Cooking
- Push onions to one side or transfer to a bowl. Add remaining tablespoon of oil or butter and increase heat to medium-high. Add seasoned chicken slices and cook for 4-5 minutes per side until cooked through and browned.
- Remove chicken and onions from the griddle. Lay one tortilla flat, sprinkle about ½ cup cheese evenly, then layer half the chicken and caramelized onions on top. Add more cheese, then top with another tortilla.
- Heat griddle or skillet to medium heat. Place quesadilla on surface and cook for 3-4 minutes until golden and crispy. Flip carefully and cook another 3-4 minutes until other side is golden and cheese is melted.
- Transfer to cutting board and let sit for a minute before slicing into wedges. Serve warm with salsa, sour cream, or guacamole.