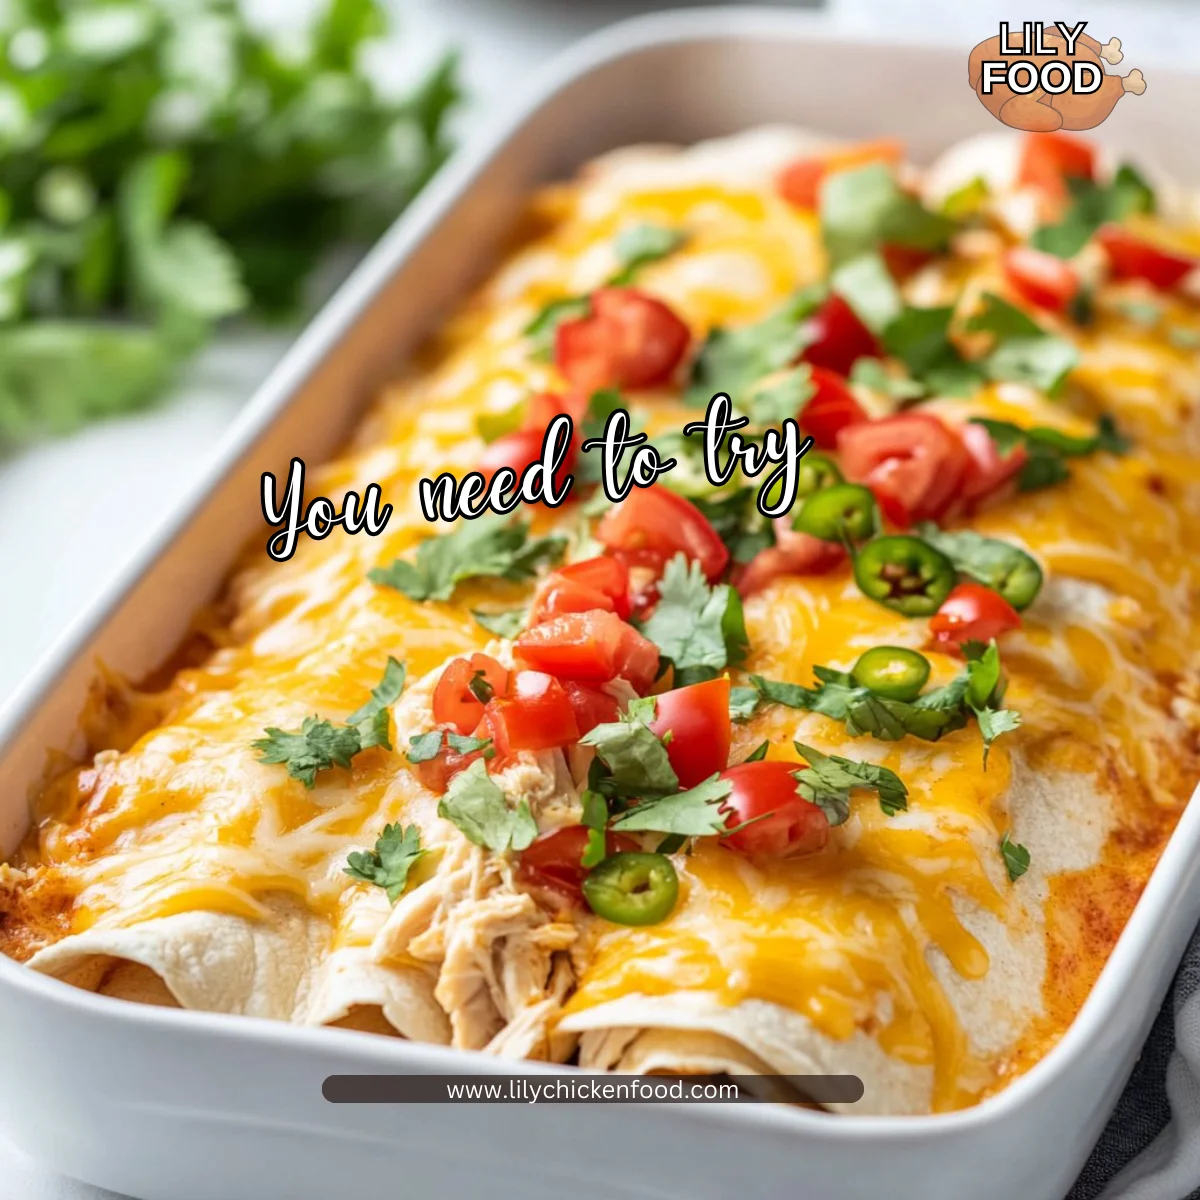
There’s something so special about the sound of laughter bubbling in the background while delicious aromas fill the air. I can almost hear my kids setting the table, each plate placed with care, their innocent banter creating a joyful symphony. In the midst of it all, there’s a comforting smell wafting from the oven—my Queso Chicken Enchiladas for a Quick and Cheesy Dinner Delight. This dish not only brings my family around the table but also weaves their memories into mine. It’s these simple moments that turn an ordinary meal into a cherished family gathering.
Why This Queso Chicken Enchiladas for a Quick and Cheesy Dinner Delight Feels Like Home
When I first began making Queso Chicken Enchiladas, I was drawn to their simplicity and the way they wrapped everyone in a warm embrace of flavor. There’s a real magic in seeing my family’s eyes light up at the sight of these cheesy beauties. It feels like home because each bite carries a comforting familiarity, reminiscent of special occasions and cozy nights together. The creamy queso and tender chicken invite everyone in, even the pickiest eaters, making it easy to share laughter and conversations around the table.
This recipe is perfect for busy weeknights when cooking can feel daunting. All the ingredients play together harmoniously, creating a delightful dish without spending hours in the kitchen. It’s genuinely an effortless yet special recipe that transforms a regular dinner into a warm gathering.
Why Queso Chicken Enchiladas for a Quick and Cheesy Dinner Delight is Our New Family Favorite
What sets Queso Chicken Enchiladas apart as our new family favorite is their adaptability. Each week brings different schedules and tastes, yet this dish molds to fit everyone’s needs. Plus, it brings everyone into the kitchen. The kids love to help mix the ingredients, making it a dynamic family affair. Watching them engage with food creates a culinary connection that’s just as important as eating together.
With flavors that excite yet comfort, these enchiladas strike the perfect balance. You can modify ingredients based on what you have on hand or your family’s preferences. It’s a dish that encourages creativity and spontaneity, reminding us that the best meals often emerge from improvisation in the kitchen.
The Simple Magic Behind Queso Chicken Enchiladas for a Quick and Cheesy Dinner Delight
The recipe embraces the concept of effortless cooking while delivering outstanding flavor. You start with some rotisserie chicken—how easy is that? No need to spend time cooking the chicken from scratch. Toss it in with some velvety queso, tender tortillas, and a handful of spices, and you’re well on your way to a delicious meal.
Each ingredient complements the others, creating a symphony of taste. The shredded chicken provides heartiness, melted queso gives richness, while the green chilies add a bit of zing. Together, they form the ultimate comfort food, reminding you that good meals don’t need to be complicated.
Why This Recipe Works for Our Busy, Joyful Nights
In my home, busy nights are the norm. Between school activities, work, and everything in between, I often found myself scrambling for dinner ideas. That’s where this Queso Chicken Enchiladas recipe shines.
It comes together in no time. You could say it’s a lifesaver on those chaotic evenings when everyone is hungry, and I can’t afford to spend hours prepping. Plus, it requires minimal cleanup. You don’t need multiple pots and pans that clutter the kitchen after a long day. Instead, it consolidates everything into a single dish that you can serve family-style, making everyone feel included.
“This is where the magic happens—when the aroma fills the kitchen, and my kids come running in, asking ‘Is it ready yet?’”
How to Make Queso Chicken Enchiladas for a Quick and Cheesy Dinner Delight, The Heartwarming Way
Creating these enchiladas is an engaging and joyful process. It starts with gathering a handful of ingredients that you may already have in your pantry, making it accessible for anyone. Here is a peek into what you will need.
Ingredients You’ll Need
- 4 burrito-sized flour tortillas (Corn tortillas can also be used, just warm them first)
- 2 cups shredded chicken (Rotisserie chicken works fabulously for faster prep!)
- 1 packet taco seasoning (Feel free to use homemade or store-bought)
- 1 cup sour cream (Greek yogurt is a healthier substitute if desired)
- 1 cup shredded cheddar cheese (Mix in Monterey Jack for extra creaminess)
- 1 can chopped green chilies (Adjust quantity based on heat preference)
- 1 can diced tomatoes with green chilies (Undrained for moisture)
- 16 oz Queso Blanco Velveeta (Melts beautifully to create a creamy sauce)
Remember, cooking is about flexibility. Use what’s in your fridge. This is about creativity, not perfection. And while fresh herbs add brilliance, you can skip them if you need to.
Step-by-Step Directions
Now for the fun part—making the enchiladas! Follow these steps for a delightful meal that even your kids will love to help with.
-
Preheat your oven to 350°F (175°C). This will ensure that when your enchiladas are ready, the oven is warm and waiting.
-
In a mixing bowl, combine shredded chicken, taco seasoning, sour cream, and half of the cheese. Mix until everything is beautifully coated. This step builds flavor just as I learned from grandma.
-
Take a tortilla and place a generous amount of the chicken mixture in the middle. Roll it up tightly and place it seam-side down in a greased baking dish. This is where you get to let creativity shine; it’s even fun to let the kids practice their rolling skills!
-
Repeat the process for the remaining tortillas until the baking dish is full. You may want to sneak in a taste—a little nibble never hurt anyone.
-
In a separate bowl, mix the diced tomatoes with chilies and Velveeta. Stir until you have a creamy concoction. This savory sauce is the showstopper that brings everything together.
-
Pour the queso sauce over the rolled enchiladas, ensuring every corner is covered. Don’t skimp on that lovely sauce.
-
Sprinkle with the remaining cheese on top. It’s all about that cheesy goodness that everyone craves.
-
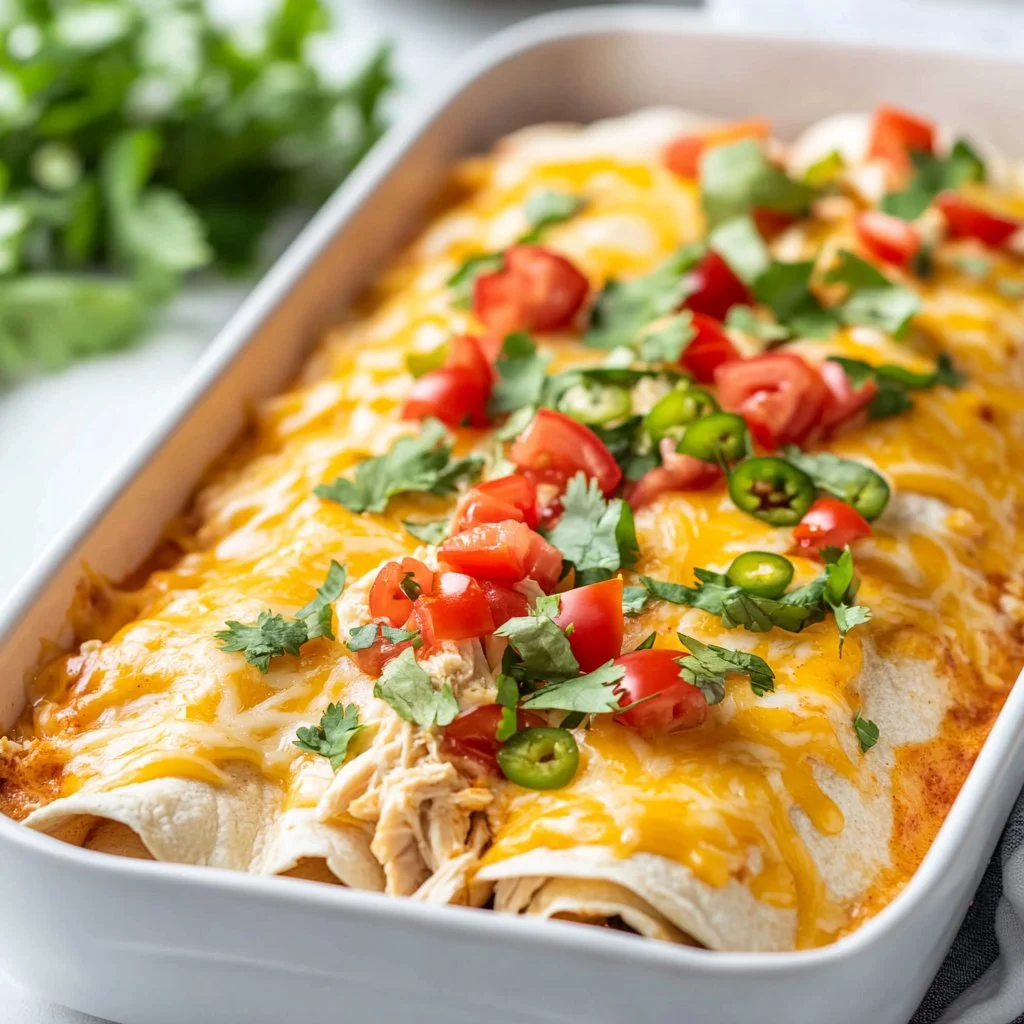
Bake for 20-25 minutes, until the cheese is bubbly and golden brown. The aroma filling your kitchen will have everyone searching for the source.
-
Once cooled for a few minutes, serve the enchiladas straight out of the oven. Enjoy every cheesy bite and the smiles around the table.
Serving Queso Chicken Enchiladas for a Quick and Cheesy Dinner Delight with Love
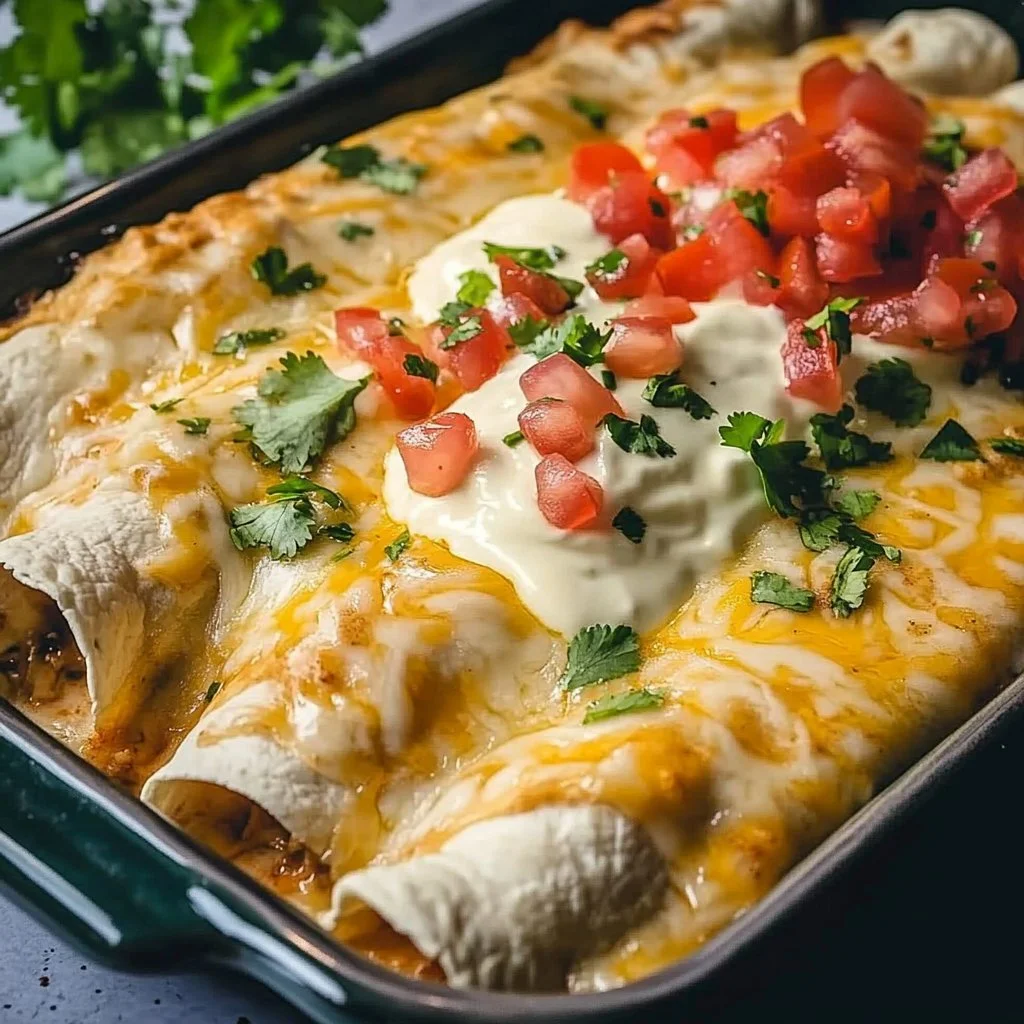
We serve Queso Chicken Enchiladas family-style right in the center of the table. It’s such a heartwarming experience to see everyone helping themselves. We often add toppings like diced avocado, fresh cilantro, or a squeeze of lime to brighten up each bite.
Sometimes we pair it with a simple salad or refried beans on the side to round out the meal. It’s always interesting to note how different family members have their favorite toppings. My husband swears by extra sour cream, while one of my kids prefers it spicy with jalapeños. Each plate becomes a personal story, a reminder of the beautiful variety that family brings to a meal.

Storage & Reheat Tips
If you happen to have leftovers—I know it’s hard to resist digging in right away—they store beautifully for another meal. Here are some practical tips for keeping that goodness intact.
-
Cool before storing: Let the enchiladas cool down to room temperature. This helps maintain their texture and flavor.
-
Store in an airtight container: Place leftovers in a sealed container and refrigerate them. They should last for up to three days.
-
Reheat in the oven for best results: While the microwave is a quick fix, heating them in the oven restores their melty cheese and soft tortillas. Just cover with foil to prevent over-browning.
-
Can be frozen too: Freeze the enchiladas, wrapped tightly, for up to two months. Thaw in the refrigerator overnight and bake until warm.
My Kitchen Notes & Shortcuts
Here are a few things I’ve learned along the way that might help make your cooking experience smoother and more enjoyable.
-
Use leftover chicken: This is a perfect way to utilize any leftover rotisserie chicken you might have. It drastically cuts down on prep time.
-
Taco seasoning substitutes: If you want to skip the package stuff, you can easily make your own with spices you likely already have. Think chili powder, cumin, garlic powder, and onion powder.
-
Engage the kids: Let the kids get involved! From mixing ingredients to rolling tortillas, it’s a perfect chance for family bonding and learning in the kitchen.
-
Prep ahead: You can assemble the enchiladas earlier in the day and pop them into the oven when you’re ready. Eating together is what counts, after all.
Family-Friendly Variations
Cooking with easy flexibility in mind encourages creativity, and these Queso Chicken Enchiladas can adapt to many tastes. Here are ways to personalize your dish:
-
Vegetarian option: Replace the chicken with black beans or sautéed veggies. It’s delicious and just as satisfying.
-
Cheesy variations: Layer in different cheeses or even mix in cream cheese for an ultra-creamy filling.
-
Add some crunch: Try adding some black olives or sliced bell peppers for extra texture before rolling the tortillas.
-
Spice it up: For a little kick, add diced jalapeños or use spicy queso.
FAQs About Queso Chicken Enchiladas for a Quick and Cheesy Dinner Delight
Can I make this ahead for a busy week?
Absolutely! In fact, letting it sit for an hour lets the flavors get to know each other, just like an old family recipe.
What if I can’t find Queso Blanco Velveeta?
You can use any melty cheese blend as a substitute. Look for Mexican blend cheese, which will work just as wonderfully.
How do I make these gluten-free?
Use corn tortillas instead, and double-check the taco seasoning and Velveeta for gluten-free options.
One Final Thought from My Kitchen
I hope this dish finds its way into your family’s laughter and stories. Cooking is about connection, joy, and sharing meals that become part of our fabric. If Queso Chicken Enchiladas for a Quick and Cheesy Dinner Delight does just that, my heart is full, and my grandmother’s kitchen is smiling. Until next time, happy cooking!
Queso Chicken Enchiladas
Ingredients
Main ingredients
- 4 pieces burrito-sized flour tortillas (Corn tortillas can also be used, just warm them first.)
- 2 cups shredded chicken (Rotisserie chicken works fabulously for faster prep!)
- 1 packet taco seasoning (Feel free to use homemade or store-bought.)
- 1 cup sour cream (Greek yogurt is a healthier substitute if desired.)
- 1 cup shredded cheddar cheese (Mix in Monterey Jack for extra creaminess.)
- 1 can chopped green chilies (Adjust quantity based on heat preference.)
- 1 can diced tomatoes with green chilies (Undrained for moisture.)
- 16 oz Queso Blanco Velveeta (Melts beautifully to create a creamy sauce.)
Instructions
Preparation
- Preheat your oven to 350°F (175°C).
- In a mixing bowl, combine shredded chicken, taco seasoning, sour cream, and half of the cheese. Mix until everything is beautifully coated.
- Take a tortilla and place a generous amount of the chicken mixture in the middle. Roll it up tightly and place it seam-side down in a greased baking dish.
- Repeat the process for the remaining tortillas until the baking dish is full.
- In a separate bowl, mix the diced tomatoes with chilies and Velveeta. Stir until you have a creamy concoction.
- Pour the queso sauce over the rolled enchiladas, ensuring every corner is covered. Sprinkle with the remaining cheese on top.
Cooking
- Bake for 20-25 minutes, until the cheese is bubbly and golden brown.
- Once cooled for a few minutes, serve the enchiladas straight out of the oven.